Difference between revisions of "Picture and Print Collection"
Jump to navigation
Jump to search


| Line 1,486: | Line 1,486: | ||
|[[File:1998-14.1.JPG|center|link=http://catalogue.wmlmt.org.uk/share/Images/1998/1998-14.1.JPG|x50px]] | |[[File:1998-14.1.JPG|center|link=http://catalogue.wmlmt.org.uk/share/Images/1998/1998-14.1.JPG|x50px]] | ||
| | | | ||
| − | |align="Left"|[[1998/14.1: Photograph of First Degree Tracing Board on Display in Evesham Masonic Hall as originally used by Lodge of Mercy & Truth No.703 1818-1831|Photograph of First Degree Tracing Board on Display in Evesham Masonic Hall as originally used by Lodge of Mercy & Truth No.703 1818-1831]] | + | |align="Left"|[[1998/14.1: Photograph of First Degree Tracing Board on Display in Evesham Masonic Hall as originally used by Lodge of Mercy & Truth No.703 1818-1831/2|Photograph of First Degree Tracing Board on Display in Evesham Masonic Hall as originally used by Lodge of Mercy & Truth No.703 1818-1831]] |
| | | | ||
| − | |align="Left"|[[1998/14.1: Photograph of First Degree Tracing Board on Display in Evesham Masonic Hall as originally used by Lodge of Mercy & Truth No.703 1818-1831|Photograph]] | + | |align="Left"|[[1998/14.1: Photograph of First Degree Tracing Board on Display in Evesham Masonic Hall as originally used by Lodge of Mercy & Truth No.703 1818-1831/2|Photograph]] |
| − | |align="Left"|[[1998/14.1: Photograph of First Degree Tracing Board on Display in Evesham Masonic Hall as originally used by Lodge of Mercy & Truth No.703 1818-1831|1998/14.1]] | + | |align="Left"|[[1998/14.1: Photograph of First Degree Tracing Board on Display in Evesham Masonic Hall as originally used by Lodge of Mercy & Truth No.703 1818-1831/2|1998/14.1]] |
|- | |- | ||
|[[File:1998-14.2.JPG|center|link=http://catalogue.wmlmt.org.uk/share/Images/1998/1998-14.2.JPG|x50px]] | |[[File:1998-14.2.JPG|center|link=http://catalogue.wmlmt.org.uk/share/Images/1998/1998-14.2.JPG|x50px]] | ||
| | | | ||
| − | |align="Left"|[[1998/14.2: Photograph of Second Degree Tracing Board on Display in Evesham Masonic Hall as originally used by Lodge of Mercy & Truth No.703 1818-1831|Photograph of Second Degree Tracing Board on Display in Evesham Masonic Hall as originally used by Lodge of Mercy & Truth No.703 1818-1831]] | + | |align="Left"|[[1998/14.2: Photograph of Second Degree Tracing Board on Display in Evesham Masonic Hall as originally used by Lodge of Mercy & Truth No.703 1818-1831/1|Photograph of Second Degree Tracing Board on Display in Evesham Masonic Hall as originally used by Lodge of Mercy & Truth No.703 1818-1831]] |
| | | | ||
| − | |align="Left"|[[1998/14.2: Photograph of Second Degree Tracing Board on Display in Evesham Masonic Hall as originally used by Lodge of Mercy & Truth No.703 1818-1831|Photograph]] | + | |align="Left"|[[1998/14.2: Photograph of Second Degree Tracing Board on Display in Evesham Masonic Hall as originally used by Lodge of Mercy & Truth No.703 1818-1831/1|Photograph]] |
| − | |align="Left"|[[1998/14.2: Photograph of Second Degree Tracing Board on Display in Evesham Masonic Hall as originally used by Lodge of Mercy & Truth No.703 1818-1831|1998/14.2]] | + | |align="Left"|[[1998/14.2: Photograph of Second Degree Tracing Board on Display in Evesham Masonic Hall as originally used by Lodge of Mercy & Truth No.703 1818-1831/1|1998/14.2]] |
|- | |- | ||
|[[File:1998-14.3.JPG|center|link=http://catalogue.wmlmt.org.uk/share/Images/1998/1998-14.3.JPG|x50px]] | |[[File:1998-14.3.JPG|center|link=http://catalogue.wmlmt.org.uk/share/Images/1998/1998-14.3.JPG|x50px]] | ||
| Line 8,043: | Line 8,043: | ||
|align="Left"|[[2019/13.280: Photograph of V W Bro Dr H John White being presented with 50 year Certificate by R W Bro Michael Price, PGM of Warwickshire|2019/13.280]] | |align="Left"|[[2019/13.280: Photograph of V W Bro Dr H John White being presented with 50 year Certificate by R W Bro Michael Price, PGM of Warwickshire|2019/13.280]] | ||
|- | |- | ||
| − | |[[File:2019-13. | + | |[[File:2019-13.660.JPG|center|link=http://catalogue.wmlmt.org.uk/share/Images/2019/2019-13.660.JPG|x50px]] |
| − | | | + | | |
| − | |align="Left"|[[2019/13. | + | |align="Left"|[[2019/13.660: Photograph of Ex. Comp Dr H J White receiving his 50 year certificate from the Most Excellent Grand Superintendant of Worcestershire|Photograph of Ex. Comp Dr H J White receiving his 50 year certificate from the Most Excellent Grand Superintendant of Worcestershire]] |
| | | | ||
| − | |align="Left"|[[2019/13. | + | |align="Left"|[[2019/13.660: Photograph of Ex. Comp Dr H J White receiving his 50 year certificate from the Most Excellent Grand Superintendant of Worcestershire|Photograph]] |
| − | |align="Left"|[[2019/13. | + | |align="Left"|[[2019/13.660: Photograph of Ex. Comp Dr H J White receiving his 50 year certificate from the Most Excellent Grand Superintendant of Worcestershire|2019/13.660]] |
|- | |- | ||
| − | |[[File:2019-13. | + | |[[File:2019-13.661.JPG|center|link=http://catalogue.wmlmt.org.uk/share/Images/2019/2019-13.661.JPG|x50px]] |
| − | | | + | | |
| − | |align="Left"|[[2019/13. | + | |align="Left"|[[2019/13.661: Photograph taken at the Retirement Dinner of Ex Comp MNR Verdun 2nd Provincial Principal of Worcestershire|Photograph taken at the Retirement Dinner of Ex Comp MNR Verdun 2nd Provincial Principal of Worcestershire]] |
| | | | ||
| − | |align="Left"|[[2019/13. | + | |align="Left"|[[2019/13.661: Photograph taken at the Retirement Dinner of Ex Comp MNR Verdun 2nd Provincial Principal of Worcestershire|Photograph]] |
| − | |align="Left"|[[2019/13. | + | |align="Left"|[[2019/13.661: Photograph taken at the Retirement Dinner of Ex Comp MNR Verdun 2nd Provincial Principal of Worcestershire|2019/13.661]] |
|- | |- | ||
| − | |[[File:2019-13. | + | |[[File:2019-13.662.JPG|center|link=http://catalogue.wmlmt.org.uk/share/Images/2019/2019-13.662.JPG|x50px]] |
| − | | | + | | |
| − | |align="Left"|[[2019/13. | + | |align="Left"|[[2019/13.662: Photograph taken at the 100th Meeting of St Nicholas Rose Croix Chapter No.198|Photograph taken at the 100th Meeting of St Nicholas Rose Croix Chapter No.198]] |
| | | | ||
| − | |align="Left"|[[2019/13. | + | |align="Left"|[[2019/13.662: Photograph taken at the 100th Meeting of St Nicholas Rose Croix Chapter No.198|Photograph]] |
| − | |align="Left"|[[2019/13. | + | |align="Left"|[[2019/13.662: Photograph taken at the 100th Meeting of St Nicholas Rose Croix Chapter No.198|2019/13.662]] |
|- | |- | ||
| − | |[[File:2019-13. | + | |[[File:2019-13.663.JPG|center|link=http://catalogue.wmlmt.org.uk/share/Images/2019/2019-13.663.JPG|x50px]] |
| − | |||
| − | |||
| | | | ||
| − | |align="Left"|[[2019/13. | + | |align="Left"|[[2019/13.663: Photograph of Dr H J White taken at the Grand Charity Festival on 22/6/2000|Photograph of Dr H J White taken at the Grand Charity Festival on 22/6/2000]] |
| − | |align="Left"|[[2019/13. | + | |align="Left"|[[2019/13.663: Photograph of Dr H J White taken at the Grand Charity Festival on 22/6/2000|2000]] |
| + | |align="Left"|[[2019/13.663: Photograph of Dr H J White taken at the Grand Charity Festival on 22/6/2000|Photograph]] | ||
| + | |align="Left"|[[2019/13.663: Photograph of Dr H J White taken at the Grand Charity Festival on 22/6/2000|2019/13.663]] | ||
|- | |- | ||
| − | |[[File:2019-13. | + | |[[File:2019-13.664.JPG|center|link=http://catalogue.wmlmt.org.uk/share/Images/2019/2019-13.664.JPG|x50px]] |
| − | |||
| − | |||
| | | | ||
| − | |align="Left"|[[2019/13. | + | |align="Left"|[[2019/13.664: Photograph of Dr H J White taken at Almacantar Lodge No.7023 Ladies Evening held on 29/11/1992/1|Photograph of Dr H J White taken at Almacantar Lodge No.7023 Ladies Evening held on 29/11/1992]] |
| − | |align="Left"|[[2019/13. | + | |align="Left"|[[2019/13.664: Photograph of Dr H J White taken at Almacantar Lodge No.7023 Ladies Evening held on 29/11/1992/1|1992]] |
| + | |align="Left"|[[2019/13.664: Photograph of Dr H J White taken at Almacantar Lodge No.7023 Ladies Evening held on 29/11/1992/1|Photograph]] | ||
| + | |align="Left"|[[2019/13.664: Photograph of Dr H J White taken at Almacantar Lodge No.7023 Ladies Evening held on 29/11/1992/1|2019/13.664]] | ||
|- | |- | ||
| − | |[[File:2019-13. | + | |[[File:2019-13.665.JPG|center|link=http://catalogue.wmlmt.org.uk/share/Images/2019/2019-13.665.JPG|x50px]] |
| − | | | + | | |
| − | |align="Left"|[[2019/13. | + | |align="Left"|[[2019/13.665: Photograph of Dr H J White and RGH Goddard etc.|Photograph of Dr H J White and RGH Goddard etc.]] |
| | | | ||
| − | |align="Left"|[[2019/13. | + | |align="Left"|[[2019/13.665: Photograph of Dr H J White and RGH Goddard etc.|Photograph]] |
| − | |align="Left"|[[2019/13. | + | |align="Left"|[[2019/13.665: Photograph of Dr H J White and RGH Goddard etc.|2019/13.665]] |
|- | |- | ||
| − | |[[File:2019-13. | + | |[[File:2019-13.666.JPG|center|link=http://catalogue.wmlmt.org.uk/share/Images/2019/2019-13.666.JPG|x50px]] |
| − | | | + | | |
| − | |align="Left"|[[2019/13. | + | |align="Left"|[[2019/13.666: Photograph of Dr H J White and EF Hanson with Ladies|Photograph of Dr H J White and EF Hanson with Ladies]] |
| | | | ||
| − | |align="Left"|[[2019/13. | + | |align="Left"|[[2019/13.666: Photograph of Dr H J White and EF Hanson with Ladies|Photograph]] |
| − | |align="Left"|[[2019/13. | + | |align="Left"|[[2019/13.666: Photograph of Dr H J White and EF Hanson with Ladies|2019/13.666]] |
|- | |- | ||
| − | |[[File:2019-13. | + | |[[File:2019-13.667.JPG|center|link=http://catalogue.wmlmt.org.uk/share/Images/2019/2019-13.667.JPG|x50px]] |
| − | |||
| − | |||
| | | | ||
| − | |align="Left"|[[2019/13. | + | |align="Left"|[[2019/13.667: Photograph of Dr H J White at Arter Lodge No.2654 Ladies Evening held on 16/2/1991|Photograph of Dr H J White at Arter Lodge No.2654 Ladies Evening held on 16/2/1991]] |
| − | |align="Left"|[[2019/13. | + | |align="Left"|[[2019/13.667: Photograph of Dr H J White at Arter Lodge No.2654 Ladies Evening held on 16/2/1991|1991]] |
| + | |align="Left"|[[2019/13.667: Photograph of Dr H J White at Arter Lodge No.2654 Ladies Evening held on 16/2/1991|Photograph]] | ||
| + | |align="Left"|[[2019/13.667: Photograph of Dr H J White at Arter Lodge No.2654 Ladies Evening held on 16/2/1991|2019/13.667]] | ||
|- | |- | ||
| − | |[[File:2019-13. | + | |[[File:2019-13.668.JPG|center|link=http://catalogue.wmlmt.org.uk/share/Images/2019/2019-13.668.JPG|x50px]] |
| − | |||
| − | |||
| | | | ||
| − | |align="Left"|[[2019/13. | + | |align="Left"|[[2019/13.668: Photograph of the Grand Master of Iowa (second from left) visiting Dudley Masonic Hall July 1978/1|Photograph of the Grand Master of Iowa (second from left) visiting Dudley Masonic Hall July 1978]] |
| − | |align="Left"|[[2019/13. | + | |align="Left"|[[2019/13.668: Photograph of the Grand Master of Iowa (second from left) visiting Dudley Masonic Hall July 1978/1|1978]] |
| + | |align="Left"|[[2019/13.668: Photograph of the Grand Master of Iowa (second from left) visiting Dudley Masonic Hall July 1978/1|Photograph]] | ||
| + | |align="Left"|[[2019/13.668: Photograph of the Grand Master of Iowa (second from left) visiting Dudley Masonic Hall July 1978/1|2019/13.668]] | ||
|- | |- | ||
| − | |[[File:2019-13. | + | |[[File:2019-13.669.JPG|center|link=http://catalogue.wmlmt.org.uk/share/Images/2019/2019-13.669.JPG|x50px]] |
| − | |||
| − | |||
| | | | ||
| − | |align="Left"|[[2019/13. | + | |align="Left"|[[2019/13.669: Photograph of the Grand Master of Iowa outside Dudley Masonic Hall July 1978|Photograph of the Grand Master of Iowa outside Dudley Masonic Hall July 1978]] |
| − | |align="Left"|[[2019/13. | + | |align="Left"|[[2019/13.669: Photograph of the Grand Master of Iowa outside Dudley Masonic Hall July 1978|1978]] |
| + | |align="Left"|[[2019/13.669: Photograph of the Grand Master of Iowa outside Dudley Masonic Hall July 1978|Photograph]] | ||
| + | |align="Left"|[[2019/13.669: Photograph of the Grand Master of Iowa outside Dudley Masonic Hall July 1978|2019/13.669]] | ||
| + | |- | ||
| + | |[[File:2019-13.670.JPG|center|link=http://catalogue.wmlmt.org.uk/share/Images/2019/2019-13.670.JPG|x50px]] | ||
| + | | | ||
| + | |align="Left"|[[2019/13.670: Photograph of Dr H J White with M Morgan Grand Prior at Bromsgrove|Photograph of Dr H J White with M Morgan Grand Prior at Bromsgrove]] | ||
| + | | | ||
| + | |align="Left"|[[2019/13.670: Photograph of Dr H J White with M Morgan Grand Prior at Bromsgrove|Photograph]] | ||
| + | |align="Left"|[[2019/13.670: Photograph of Dr H J White with M Morgan Grand Prior at Bromsgrove|2019/13.670]] | ||
|- | |- | ||
| − | |[[File:2019-13. | + | |[[File:2019-13.671.JPG|center|link=http://catalogue.wmlmt.org.uk/share/Images/2019/2019-13.671.JPG|x50px]] |
| − | | | + | | |
| − | |align="Left"|[[2019/13. | + | |align="Left"|[[2019/13.671: Photograph of E F Hanson as Inspector General with others|Photograph of E F Hanson as Inspector General with others]] |
| | | | ||
| − | |align="Left"|[[2019/13. | + | |align="Left"|[[2019/13.671: Photograph of E F Hanson as Inspector General with others|Photograph]] |
| − | |align="Left"|[[2019/13. | + | |align="Left"|[[2019/13.671: Photograph of E F Hanson as Inspector General with others|2019/13.671]] |
|- | |- | ||
| − | |[[File:2019-13. | + | |[[File:2019-13.672.JPG|center|link=http://catalogue.wmlmt.org.uk/share/Images/2019/2019-13.672.JPG|x50px]] |
| − | | | + | | |
| − | |align="Left"|[[2019/13. | + | |align="Left"|[[2019/13.672: Photograph of Dr H J White Inspector General with M Morgan Grand Prior at Bromsgrove|Photograph of Dr H J White Inspector General with M Morgan Grand Prior at Bromsgrove]] |
| | | | ||
| − | |align="Left"|[[2019/13. | + | |align="Left"|[[2019/13.672: Photograph of Dr H J White Inspector General with M Morgan Grand Prior at Bromsgrove|Photograph]] |
| − | |align="Left"|[[2019/13. | + | |align="Left"|[[2019/13.672: Photograph of Dr H J White Inspector General with M Morgan Grand Prior at Bromsgrove|2019/13.672]] |
|- | |- | ||
| − | |[[File:2019-13. | + | |[[File:2019-13.673.JPG|center|link=http://catalogue.wmlmt.org.uk/share/Images/2019/2019-13.673.JPG|x50px]] |
| − | | | + | | |
| − | |align="Left"|[[2019/13. | + | |align="Left"|[[2019/13.673: Photograph of M Morgan Grand Prior at Bromsgrove|Photograph of M Morgan Grand Prior at Bromsgrove]] |
| | | | ||
| − | |align="Left"|[[2019/13. | + | |align="Left"|[[2019/13.673: Photograph of M Morgan Grand Prior at Bromsgrove|Photograph]] |
| − | |align="Left"|[[2019/13. | + | |align="Left"|[[2019/13.673: Photograph of M Morgan Grand Prior at Bromsgrove|2019/13.673]] |
|- | |- | ||
| − | |[[File:2019-13. | + | |[[File:2019-13.674.JPG|center|link=http://catalogue.wmlmt.org.uk/share/Images/2019/2019-13.674.JPG|x50px]] |
| − | | | + | | |
| − | |align="Left"|[[2019/13. | + | |align="Left"|[[2019/13.674: Photograph of Dr H J White Inspector General with M Morgan Grand Prior at Bromsgrove|Photograph of Dr H J White Inspector General with M Morgan Grand Prior at Bromsgrove]] |
| | | | ||
| − | |align="Left"|[[2019/13. | + | |align="Left"|[[2019/13.674: Photograph of Dr H J White Inspector General with M Morgan Grand Prior at Bromsgrove|Photograph]] |
| − | |align="Left"|[[2019/13. | + | |align="Left"|[[2019/13.674: Photograph of Dr H J White Inspector General with M Morgan Grand Prior at Bromsgrove|2019/13.674]] |
|- | |- | ||
| − | |[[File:2019-13. | + | |[[File:2019-13.675.JPG|center|link=http://catalogue.wmlmt.org.uk/share/Images/2019/2019-13.675.JPG|x50px]] |
| − | | | + | | |
| − | |align="Left"|[[2019/13. | + | |align="Left"|[[2019/13.675: Photograph of Richard de Vernon Preceptory No.52 taken at Worcester Masonic Hall|Photograph of Richard de Vernon Preceptory No.52 taken at Worcester Masonic Hall]] |
| | | | ||
| − | |align="Left"|[[2019/13. | + | |align="Left"|[[2019/13.675: Photograph of Richard de Vernon Preceptory No.52 taken at Worcester Masonic Hall|Photograph]] |
| − | |align="Left"|[[2019/13. | + | |align="Left"|[[2019/13.675: Photograph of Richard de Vernon Preceptory No.52 taken at Worcester Masonic Hall|2019/13.675]] |
|- | |- | ||
| − | |[[File:2019-13. | + | |[[File:2019-13.676.JPG|center|link=http://catalogue.wmlmt.org.uk/share/Images/2019/2019-13.676.JPG|x50px]] |
| − | | | + | | |
| − | |align="Left"|[[2019/13. | + | |align="Left"|[[2019/13.676: Photograph of E F Hanson Provincial Grand Master of Worcestershire with other Dignitaries at Provincial Grand Lodge at Birmingham University|Photograph of E F Hanson Provincial Grand Master of Worcestershire with other Dignitaries at Provincial Grand Lodge at Birmingham University]] |
| | | | ||
| − | |align="Left"|[[2019/13. | + | |align="Left"|[[2019/13.676: Photograph of E F Hanson Provincial Grand Master of Worcestershire with other Dignitaries at Provincial Grand Lodge at Birmingham University|Photograph]] |
| − | |align="Left"|[[2019/13. | + | |align="Left"|[[2019/13.676: Photograph of E F Hanson Provincial Grand Master of Worcestershire with other Dignitaries at Provincial Grand Lodge at Birmingham University|2019/13.676]] |
|- | |- | ||
| − | |[[File:2019-13. | + | |[[File:2019-13.677.JPG|center|link=http://catalogue.wmlmt.org.uk/share/Images/2019/2019-13.677.JPG|x50px]] |
| − | | | + | | |
| − | |align="Left"|[[2019/13. | + | |align="Left"|[[2019/13.677: Photograph of E F Hanson Grand Superintendant of Worcestershire with other Principals at Provincial Grand Chapter at Birmingham University|Photograph of E F Hanson Grand Superintendant of Worcestershire with other Principals at Provincial Grand Chapter at Birmingham University]] |
| | | | ||
| − | |align="Left"|[[2019/13. | + | |align="Left"|[[2019/13.677: Photograph of E F Hanson Grand Superintendant of Worcestershire with other Principals at Provincial Grand Chapter at Birmingham University|Photograph]] |
| − | |align="Left"|[[2019/13. | + | |align="Left"|[[2019/13.677: Photograph of E F Hanson Grand Superintendant of Worcestershire with other Principals at Provincial Grand Chapter at Birmingham University|2019/13.677]] |
|- | |- | ||
| − | |[[File:2019-13. | + | |[[File:2019-13.678.JPG|center|link=http://catalogue.wmlmt.org.uk/share/Images/2019/2019-13.678.JPG|x50px]] |
| − | | | + | | |
| − | |align="Left"|[[2019/13. | + | |align="Left"|[[2019/13.678: Photograph of E F Hanson Grand Superintendant of Worcestershire with other Dignitaries at Provincial Grand Chapter at Birmingham University|Photograph of E F Hanson Grand Superintendant of Worcestershire with other Dignitaries at Provincial Grand Chapter at Birmingham University]] |
| | | | ||
| − | |align="Left"|[[2019/13. | + | |align="Left"|[[2019/13.678: Photograph of E F Hanson Grand Superintendant of Worcestershire with other Dignitaries at Provincial Grand Chapter at Birmingham University|Photograph]] |
| − | |align="Left"|[[2019/13. | + | |align="Left"|[[2019/13.678: Photograph of E F Hanson Grand Superintendant of Worcestershire with other Dignitaries at Provincial Grand Chapter at Birmingham University|2019/13.678]] |
|- | |- | ||
| − | |[[File:2019-13. | + | |[[File:2019-13.679.JPG|center|link=http://catalogue.wmlmt.org.uk/share/Images/2019/2019-13.679.JPG|x50px]] |
| − | | | + | | |
| − | |align="Left"|[[2019/13. | + | |align="Left"|[[2019/13.679: Photograph of Dr H J White meeting HRH The Duke of Kent|Photograph of Dr H J White meeting HRH The Duke of Kent]] |
| + | | | ||
| + | |align="Left"|[[2019/13.679: Photograph of Dr H J White meeting HRH The Duke of Kent|Photograph]] | ||
| + | |align="Left"|[[2019/13.679: Photograph of Dr H J White meeting HRH The Duke of Kent|2019/13.679]] | ||
| + | |- | ||
| + | |[[File:2019-13.680.JPG|center|link=http://catalogue.wmlmt.org.uk/share/Images/2019/2019-13.680.JPG|x50px]] | ||
| + | | | ||
| + | |align="Left"|[[2019/13.680: Photograp[h of Dr H J White and other Royal Ark Grand Officers taken at Dudley|Photograp[h of Dr H J White and other Royal Ark Grand Officers taken at Dudley]] | ||
| | | | ||
| − | |align="Left"|[[2019/13. | + | |align="Left"|[[2019/13.680: Photograp[h of Dr H J White and other Royal Ark Grand Officers taken at Dudley|Photograph]] |
| − | |align="Left"|[[2019/13. | + | |align="Left"|[[2019/13.680: Photograp[h of Dr H J White and other Royal Ark Grand Officers taken at Dudley|2019/13.680]] |
|- | |- | ||
| − | |[[File:2019-13. | + | |[[File:2019-13.681.1.JPG|center|link=http://catalogue.wmlmt.org.uk/share/Images/2019/2019-13.681.1.JPG|x50px]] |
| | | | ||
| − | |align="Left"|[[2019/13. | + | |align="Left"|[[2019/13.681.1: Postcard of Freemasons' Hall, London showing Lodge Room No.1|Postcard of Freemasons' Hall, London showing Lodge Room No.1]] |
| | | | ||
| − | |align="Left"|[[2019/13. | + | |align="Left"|[[2019/13.681.1: Postcard of Freemasons' Hall, London showing Lodge Room No.1|Post Card]] |
| − | |align="Left"|[[2019/13. | + | |align="Left"|[[2019/13.681.1: Postcard of Freemasons' Hall, London showing Lodge Room No.1|2019/13.681.1]] |
|- | |- | ||
| − | |[[File:2019-13. | + | |[[File:2019-13.681.1.JPG|center|link=http://catalogue.wmlmt.org.uk/share/Images/Copyright.JPG|x50px]] |
|© | |© | ||
| − | |align="Left"|[[2019/13. | + | |align="Left"|[[2019/13.681.1: Postcard of Freemasons' Hall, London showing Lodge Room No.1|Postcard of Freemasons' Hall, London showing Lodge Room No.1]] |
| | | | ||
| − | |align="Left"|[[2019/13. | + | |align="Left"|[[2019/13.681.1: Postcard of Freemasons' Hall, London showing Lodge Room No.1|Post Card]] |
| − | |align="Left"|[[2019/13. | + | |align="Left"|[[2019/13.681.1: Postcard of Freemasons' Hall, London showing Lodge Room No.1|2019/13.681.1]] |
|- | |- | ||
| − | |[[File:2019-13. | + | |[[File:2019-13.681.11.JPG|center|link=http://catalogue.wmlmt.org.uk/share/Images/2019/2019-13.681.11.JPG|x50px]] |
| − | | | + | | |
| − | |align="Left"|[[2019/13. | + | |align="Left"|[[2019/13.681.11: Postcard of Freemasons' Hall, London showing Lodge Room No.10|Postcard of Freemasons' Hall, London showing Lodge Room No.10]] |
| | | | ||
| − | |align="Left"|[[2019/13. | + | |align="Left"|[[2019/13.681.11: Postcard of Freemasons' Hall, London showing Lodge Room No.10|Post Card]] |
| − | |align="Left"|[[2019/13. | + | |align="Left"|[[2019/13.681.11: Postcard of Freemasons' Hall, London showing Lodge Room No.10|2019/13.681.11]] |
|- | |- | ||
| − | |[[File:2019-13. | + | |[[File:2019-13.681.11.JPG|center|link=http://catalogue.wmlmt.org.uk/share/Images/Copyright.JPG|x50px]] |
|© | |© | ||
| − | |align="Left"|[[2019/13. | + | |align="Left"|[[2019/13.681.11: Postcard of Freemasons' Hall, London showing Lodge Room No.10|Postcard of Freemasons' Hall, London showing Lodge Room No.10]] |
| | | | ||
| − | |align="Left"|[[2019/13. | + | |align="Left"|[[2019/13.681.11: Postcard of Freemasons' Hall, London showing Lodge Room No.10|Post Card]] |
| − | |align="Left"|[[2019/13. | + | |align="Left"|[[2019/13.681.11: Postcard of Freemasons' Hall, London showing Lodge Room No.10|2019/13.681.11]] |
|- | |- | ||
| − | |[[File:2019-13. | + | |[[File:2019-13.681.12.JPG|center|link=http://catalogue.wmlmt.org.uk/share/Images/Copyright.JPG|x50px]] |
|© | |© | ||
| − | |align="Left"|[[2019/13. | + | |align="Left"|[[2019/13.681.12: Postcard of Freemasons' Hall, London showing Lodge Room No.10|Postcard of Freemasons' Hall, London showing Lodge Room No.10]] |
| | | | ||
| − | |align="Left"|[[2019/13. | + | |align="Left"|[[2019/13.681.12: Postcard of Freemasons' Hall, London showing Lodge Room No.10|Post Card]] |
| − | |align="Left"|[[2019/13. | + | |align="Left"|[[2019/13.681.12: Postcard of Freemasons' Hall, London showing Lodge Room No.10|2019/13.681.12]] |
|- | |- | ||
| − | |[[File:2019-13. | + | |[[File:2019-13.681.12.JPG|center|link=http://catalogue.wmlmt.org.uk/share/Images/2019/2019-13.681.12.JPG|x50px]] |
| + | | | ||
| + | |align="Left"|[[2019/13.681.12: Postcard of Freemasons' Hall, London showing Lodge Room No.10|Postcard of Freemasons' Hall, London showing Lodge Room No.10]] | ||
| | | | ||
| − | |align="Left"|[[2019/13. | + | |align="Left"|[[2019/13.681.12: Postcard of Freemasons' Hall, London showing Lodge Room No.10|Post Card]] |
| + | |align="Left"|[[2019/13.681.12: Postcard of Freemasons' Hall, London showing Lodge Room No.10|2019/13.681.12]] | ||
| + | |- | ||
| + | |[[File:2019-13.681.13.JPG|center|link=http://catalogue.wmlmt.org.uk/share/Images/Copyright.JPG|x50px]] | ||
| + | |© | ||
| + | |align="Left"|[[2019/13.681.13: Postcard of Freemasons' Hall, London showing the Grand Temple Doors - Inner Face|Postcard of Freemasons' Hall, London showing the Grand Temple Doors - Inner Face]] | ||
| | | | ||
| − | |align="Left"|[[2019/13. | + | |align="Left"|[[2019/13.681.13: Postcard of Freemasons' Hall, London showing the Grand Temple Doors - Inner Face|Post Card]] |
| − | |align="Left"|[[2019/13. | + | |align="Left"|[[2019/13.681.13: Postcard of Freemasons' Hall, London showing the Grand Temple Doors - Inner Face|2019/13.681.13]] |
|- | |- | ||
| − | |[[File:2019-13. | + | |[[File:2019-13.681.13.JPG|center|link=http://catalogue.wmlmt.org.uk/share/Images/2019/2019-13.681.13.JPG|x50px]] |
| | | | ||
| − | |align="Left"|[[2019/13. | + | |align="Left"|[[2019/13.681.13: Postcard of Freemasons' Hall, London showing the Grand Temple Doors - Inner Face|Postcard of Freemasons' Hall, London showing the Grand Temple Doors - Inner Face]] |
| | | | ||
| − | |align="Left"|[[2019/13. | + | |align="Left"|[[2019/13.681.13: Postcard of Freemasons' Hall, London showing the Grand Temple Doors - Inner Face|Post Card]] |
| − | |align="Left"|[[2019/13. | + | |align="Left"|[[2019/13.681.13: Postcard of Freemasons' Hall, London showing the Grand Temple Doors - Inner Face|2019/13.681.13]] |
|- | |- | ||
| − | |[[File:2019-13. | + | |[[File:2019-13.681.14.JPG|center|link=http://catalogue.wmlmt.org.uk/share/Images/2019/2019-13.681.14.JPG|x50px]] |
| | | | ||
| − | |align="Left"|[[2019/13. | + | |align="Left"|[[2019/13.681.14: Postcard of Freemasons' Hall, London showing the Grand Temple Doors - Outer Face|Postcard of Freemasons' Hall, London showing the Grand Temple Doors - Outer Face]] |
| | | | ||
| − | |align="Left"|[[2019/13. | + | |align="Left"|[[2019/13.681.14: Postcard of Freemasons' Hall, London showing the Grand Temple Doors - Outer Face|Post Card]] |
| − | |align="Left"|[[2019/13. | + | |align="Left"|[[2019/13.681.14: Postcard of Freemasons' Hall, London showing the Grand Temple Doors - Outer Face|2019/13.681.14]] |
|- | |- | ||
| − | |[[File:2019-13. | + | |[[File:2019-13.681.14.JPG|center|link=http://catalogue.wmlmt.org.uk/share/Images/Copyright.JPG|x50px]] |
| + | |© | ||
| + | |align="Left"|[[2019/13.681.14: Postcard of Freemasons' Hall, London showing the Grand Temple Doors - Outer Face|Postcard of Freemasons' Hall, London showing the Grand Temple Doors - Outer Face]] | ||
| | | | ||
| − | |align="Left"|[[2019/13. | + | |align="Left"|[[2019/13.681.14: Postcard of Freemasons' Hall, London showing the Grand Temple Doors - Outer Face|Post Card]] |
| − | + | |align="Left"|[[2019/13.681.14: Postcard of Freemasons' Hall, London showing the Grand Temple Doors - Outer Face|2019/13.681.14]] | |
| − | |align="Left"|[[2019/13. | ||
| − | |||
|- | |- | ||
| − | |[[File:2019-13. | + | |[[File:2019-13.681.15.JPG|center|link=http://catalogue.wmlmt.org.uk/share/Images/2019/2019-13.681.15.JPG|x50px]] |
| | | | ||
| − | |align="Left"|[[2019/13. | + | |align="Left"|[[2019/13.681.15: Postcard of Freemasons' Hall, London showing the Tower Entrance|Postcard of Freemasons' Hall, London showing the Tower Entrance]] |
| | | | ||
| − | |align="Left"|[[2019/13. | + | |align="Left"|[[2019/13.681.15: Postcard of Freemasons' Hall, London showing the Tower Entrance|Post Card]] |
| − | |align="Left"|[[2019/13. | + | |align="Left"|[[2019/13.681.15: Postcard of Freemasons' Hall, London showing the Tower Entrance|2019/13.681.15]] |
|- | |- | ||
| − | |[[File:2019-13. | + | |[[File:2019-13.681.15.JPG|center|link=http://catalogue.wmlmt.org.uk/share/Images/Copyright.JPG|x50px]] |
| + | |© | ||
| + | |align="Left"|[[2019/13.681.15: Postcard of Freemasons' Hall, London showing the Tower Entrance|Postcard of Freemasons' Hall, London showing the Tower Entrance]] | ||
| + | | | ||
| + | |align="Left"|[[2019/13.681.15: Postcard of Freemasons' Hall, London showing the Tower Entrance|Post Card]] | ||
| + | |align="Left"|[[2019/13.681.15: Postcard of Freemasons' Hall, London showing the Tower Entrance|2019/13.681.15]] | ||
| + | |- | ||
| + | |[[File:2019-13.681.16.JPG|center|link=http://catalogue.wmlmt.org.uk/share/Images/2019/2019-13.681.16.JPG|x50px]] | ||
| | | | ||
| − | |align="Left"|[[2019/13. | + | |align="Left"|[[2019/13.681.16: Postcard of Freemasons' Hall, London showing the Administrative Entrance|Postcard of Freemasons' Hall, London showing the Administrative Entrance]] |
| | | | ||
| − | |align="Left"|[[2019/13. | + | |align="Left"|[[2019/13.681.16: Postcard of Freemasons' Hall, London showing the Administrative Entrance|Post Card]] |
| − | |align="Left"|[[2019/13. | + | |align="Left"|[[2019/13.681.16: Postcard of Freemasons' Hall, London showing the Administrative Entrance|2019/13.681.16]] |
|- | |- | ||
| − | |[[File:2019-13. | + | |[[File:2019-13.681.16.JPG|center|link=http://catalogue.wmlmt.org.uk/share/Images/Copyright.JPG|x50px]] |
| + | |© | ||
| + | |align="Left"|[[2019/13.681.16: Postcard of Freemasons' Hall, London showing the Administrative Entrance|Postcard of Freemasons' Hall, London showing the Administrative Entrance]] | ||
| | | | ||
| − | |align="Left"|[[2019/13. | + | |align="Left"|[[2019/13.681.16: Postcard of Freemasons' Hall, London showing the Administrative Entrance|Post Card]] |
| + | |align="Left"|[[2019/13.681.16: Postcard of Freemasons' Hall, London showing the Administrative Entrance|2019/13.681.16]] | ||
| + | |- | ||
| + | |[[File:2019-13.681.2.JPG|center|link=http://catalogue.wmlmt.org.uk/share/Images/Copyright.JPG|x50px]] | ||
| + | |© | ||
| + | |align="Left"|[[2019/13.681.2: Postcard of Freemasons' Hall, London showing the Grand Temple|Postcard of Freemasons' Hall, London showing the Grand Temple]] | ||
| | | | ||
| − | |align="Left"|[[2019/13. | + | |align="Left"|[[2019/13.681.2: Postcard of Freemasons' Hall, London showing the Grand Temple|Post Card]] |
| − | |align="Left"|[[2019/13. | + | |align="Left"|[[2019/13.681.2: Postcard of Freemasons' Hall, London showing the Grand Temple|2019/13.681.2]] |
|- | |- | ||
| − | |[[File:2019-13. | + | |[[File:2019-13.681.2.JPG|center|link=http://catalogue.wmlmt.org.uk/share/Images/2019/2019-13.681.2.JPG|x50px]] |
| | | | ||
| − | |align="Left"|[[2019/13. | + | |align="Left"|[[2019/13.681.2: Postcard of Freemasons' Hall, London showing the Grand Temple|Postcard of Freemasons' Hall, London showing the Grand Temple]] |
| | | | ||
| − | |align="Left"|[[2019/13. | + | |align="Left"|[[2019/13.681.2: Postcard of Freemasons' Hall, London showing the Grand Temple|Post Card]] |
| − | |align="Left"|[[2019/13. | + | |align="Left"|[[2019/13.681.2: Postcard of Freemasons' Hall, London showing the Grand Temple|2019/13.681.2]] |
|- | |- | ||
| − | |[[File:2019-13. | + | |[[File:2019-13.681.3.JPG|center|link=http://catalogue.wmlmt.org.uk/share/Images/2019/2019-13.681.3.JPG|x50px]] |
| | | | ||
| − | |align="Left"|[[2019/13. | + | |align="Left"|[[2019/13.681.3: Postcard of Freemasons' Hall, London showing the Ceiling of Grand Temple|Postcard of Freemasons' Hall, London showing the Ceiling of Grand Temple]] |
| | | | ||
| − | |align="Left"|[[2019/13. | + | |align="Left"|[[2019/13.681.3: Postcard of Freemasons' Hall, London showing the Ceiling of Grand Temple|Post Card]] |
| − | |align="Left"|[[2019/13. | + | |align="Left"|[[2019/13.681.3: Postcard of Freemasons' Hall, London showing the Ceiling of Grand Temple|2019/13.681.3]] |
|- | |- | ||
| − | |[[File:2019-13. | + | |[[File:2019-13.681.4.JPG|center|link=http://catalogue.wmlmt.org.uk/share/Images/2019/2019-13.681.4.JPG|x50px]] |
| + | | | ||
| + | |align="Left"|[[2019/13.681.4: Postcard of Freemasons' Hall, London showing theStaircase to first vestibule|Postcard of Freemasons' Hall, London showing theStaircase to first vestibule]] | ||
| | | | ||
| − | |align="Left"|[[2019/13. | + | |align="Left"|[[2019/13.681.4: Postcard of Freemasons' Hall, London showing theStaircase to first vestibule|Post Card]] |
| + | |align="Left"|[[2019/13.681.4: Postcard of Freemasons' Hall, London showing theStaircase to first vestibule|2019/13.681.4]] | ||
| + | |- | ||
| + | |[[File:2019-13.681.4.JPG|center|link=http://catalogue.wmlmt.org.uk/share/Images/Copyright.JPG|x50px]] | ||
| + | |© | ||
| + | |align="Left"|[[2019/13.681.4: Postcard of Freemasons' Hall, London showing theStaircase to first vestibule|Postcard of Freemasons' Hall, London showing theStaircase to first vestibule]] | ||
| | | | ||
| − | |align="Left"|[[2019/13. | + | |align="Left"|[[2019/13.681.4: Postcard of Freemasons' Hall, London showing theStaircase to first vestibule|Post Card]] |
| − | |align="Left"|[[2019/13. | + | |align="Left"|[[2019/13.681.4: Postcard of Freemasons' Hall, London showing theStaircase to first vestibule|2019/13.681.4]] |
|- | |- | ||
| − | |[[File:2019-13. | + | |[[File:2019-13.681.5.JPG|center|link=http://catalogue.wmlmt.org.uk/share/Images/2019/2019-13.681.5.JPG|x50px]] |
| | | | ||
| − | |align="Left"|[[2019/13. | + | |align="Left"|[[2019/13.681.5: Postcard of Freemasons' Hall, London showing the War Memorial Window|Postcard of Freemasons' Hall, London showing the War Memorial Window]] |
| | | | ||
| − | |align="Left"|[[2019/13. | + | |align="Left"|[[2019/13.681.5: Postcard of Freemasons' Hall, London showing the War Memorial Window|Post Card]] |
| − | |align="Left"|[[2019/13. | + | |align="Left"|[[2019/13.681.5: Postcard of Freemasons' Hall, London showing the War Memorial Window|2019/13.681.5]] |
|- | |- | ||
| − | |[[File:2019-13. | + | |[[File:2019-13.681.6.JPG|center|link=http://catalogue.wmlmt.org.uk/share/Images/Copyright.JPG|x50px]] |
| − | | | + | |© |
| − | |align="Left"|[[2019/13. | + | |align="Left"|[[2019/13.681.6: Postcard of Freemasons' Hall, London showing the Library|Postcard of Freemasons' Hall, London showing the Library]] |
| | | | ||
| − | |align="Left"|[[2019/13. | + | |align="Left"|[[2019/13.681.6: Postcard of Freemasons' Hall, London showing the Library|Photograph]] |
| − | |align="Left"|[[2019/13. | + | |align="Left"|[[2019/13.681.6: Postcard of Freemasons' Hall, London showing the Library|2019/13.681.6]] |
|- | |- | ||
| − | |[[File:2019-13. | + | |[[File:2019-13.681.6.JPG|center|link=http://catalogue.wmlmt.org.uk/share/Images/2019/2019-13.681.6.JPG|x50px]] |
| | | | ||
| − | |align="Left"|[[2019/13. | + | |align="Left"|[[2019/13.681.6: Postcard of Freemasons' Hall, London showing the Library|Postcard of Freemasons' Hall, London showing the Library]] |
| | | | ||
| − | |align="Left"|[[2019/13. | + | |align="Left"|[[2019/13.681.6: Postcard of Freemasons' Hall, London showing the Library|Photograph]] |
| − | |align="Left"|[[2019/13. | + | |align="Left"|[[2019/13.681.6: Postcard of Freemasons' Hall, London showing the Library|2019/13.681.6]] |
|- | |- | ||
| − | |[[File:2019-13. | + | |[[File:2019-13.681.7.JPG|center|link=http://catalogue.wmlmt.org.uk/share/Images/Copyright.JPG|x50px]] |
| + | |© | ||
| + | |align="Left"|[[2019/13.681.7: Postcard of Freemasons' Hall, London showing the Museum|Postcard of Freemasons' Hall, London showing the Museum]] | ||
| | | | ||
| − | |align="Left"|[[2019/13. | + | |align="Left"|[[2019/13.681.7: Postcard of Freemasons' Hall, London showing the Museum|Post Card]] |
| − | + | |align="Left"|[[2019/13.681.7: Postcard of Freemasons' Hall, London showing the Museum|2019/13.681.7]] | |
| − | |align="Left"|[[2019/13. | ||
| − | |||
|- | |- | ||
| − | |[[File:2019-13. | + | |[[File:2019-13.681.7.JPG|center|link=http://catalogue.wmlmt.org.uk/share/Images/2019/2019-13.681.7.JPG|x50px]] |
| | | | ||
| − | |align="Left"|[[2019/13. | + | |align="Left"|[[2019/13.681.7: Postcard of Freemasons' Hall, London showing the Museum|Postcard of Freemasons' Hall, London showing the Museum]] |
| | | | ||
| − | |align="Left"|[[2019/13. | + | |align="Left"|[[2019/13.681.7: Postcard of Freemasons' Hall, London showing the Museum|Post Card]] |
| − | |align="Left"|[[2019/13. | + | |align="Left"|[[2019/13.681.7: Postcard of Freemasons' Hall, London showing the Museum|2019/13.681.7]] |
|- | |- | ||
| − | |[[File:2019-13. | + | |[[File:2019-13.681.8.JPG|center|link=http://catalogue.wmlmt.org.uk/share/Images/2019/2019-13.681.8.JPG|x50px]] |
| | | | ||
| − | |align="Left"|[[2019/13. | + | |align="Left"|[[2019/13.681.8: Postcard of Freemasons' Hall, London showing the Buckinghamshire Room|Postcard of Freemasons' Hall, London showing the Buckinghamshire Room]] |
| | | | ||
| − | |align="Left"|[[2019/13. | + | |align="Left"|[[2019/13.681.8: Postcard of Freemasons' Hall, London showing the Buckinghamshire Room|Post Card]] |
| − | |align="Left"|[[2019/13. | + | |align="Left"|[[2019/13.681.8: Postcard of Freemasons' Hall, London showing the Buckinghamshire Room|2019/13.681.8]] |
|- | |- | ||
| − | |[[File:2019-13. | + | |[[File:2019-13.681.8.JPG|center|link=http://catalogue.wmlmt.org.uk/share/Images/Copyright.JPG|x50px]] |
| + | |© | ||
| + | |align="Left"|[[2019/13.681.8: Postcard of Freemasons' Hall, London showing the Buckinghamshire Room|Postcard of Freemasons' Hall, London showing the Buckinghamshire Room]] | ||
| | | | ||
| − | |align="Left"|[[2019/13. | + | |align="Left"|[[2019/13.681.8: Postcard of Freemasons' Hall, London showing the Buckinghamshire Room|Post Card]] |
| + | |align="Left"|[[2019/13.681.8: Postcard of Freemasons' Hall, London showing the Buckinghamshire Room|2019/13.681.8]] | ||
| + | |- | ||
| + | |[[File:2019-13.681.9.JPG|center|link=http://catalogue.wmlmt.org.uk/share/Images/Copyright.JPG|x50px]] | ||
| + | |© | ||
| + | |align="Left"|[[2019/13.681.9: Postcard of Freemasons' Hall, London showing the Board Room|Postcard of Freemasons' Hall, London showing the Board Room]] | ||
| | | | ||
| − | |align="Left"|[[2019/13. | + | |align="Left"|[[2019/13.681.9: Postcard of Freemasons' Hall, London showing the Board Room|Post Card]] |
| − | |align="Left"|[[2019/13. | + | |align="Left"|[[2019/13.681.9: Postcard of Freemasons' Hall, London showing the Board Room|2019/13.681.9]] |
|- | |- | ||
| − | |[[File:2019-13. | + | |[[File:2019-13.681.9.JPG|center|link=http://catalogue.wmlmt.org.uk/share/Images/2019/2019-13.681.9.JPG|x50px]] |
| | | | ||
| − | |align="Left"|[[2019/13. | + | |align="Left"|[[2019/13.681.9: Postcard of Freemasons' Hall, London showing the Board Room|Postcard of Freemasons' Hall, London showing the Board Room]] |
| | | | ||
| − | |align="Left"|[[2019/13. | + | |align="Left"|[[2019/13.681.9: Postcard of Freemasons' Hall, London showing the Board Room|Post Card]] |
| − | |align="Left"|[[2019/13. | + | |align="Left"|[[2019/13.681.9: Postcard of Freemasons' Hall, London showing the Board Room|2019/13.681.9]] |
|- | |- | ||
| − | |[[File:2019-13. | + | |[[File:2019-13.682.JPG|center|link=http://catalogue.wmlmt.org.uk/share/Images/2019/2019-13.682.JPG|x50px]] |
| | | | ||
| − | |align="Left"|[[2019/13. | + | |align="Left"|[[2019/13.682: Photograph of Ex Comp E F Hanson the Most Excellent Grand Superintendant of Worcestershire at Birmingham University on 21/4/1993|Photograph of Ex Comp E F Hanson the Most Excellent Grand Superintendant of Worcestershire at Birmingham University on 21/4/1993]] |
| + | |align="Left"|[[2019/13.682: Photograph of Ex Comp E F Hanson the Most Excellent Grand Superintendant of Worcestershire at Birmingham University on 21/4/1993|1993]] | ||
| + | |align="Left"|[[2019/13.682: Photograph of Ex Comp E F Hanson the Most Excellent Grand Superintendant of Worcestershire at Birmingham University on 21/4/1993|Photograph]] | ||
| + | |align="Left"|[[2019/13.682: Photograph of Ex Comp E F Hanson the Most Excellent Grand Superintendant of Worcestershire at Birmingham University on 21/4/1993|2019/13.682]] | ||
| + | |- | ||
| + | |[[File:2019-13.683.JPG|center|link=http://catalogue.wmlmt.org.uk/share/Images/Copyright.JPG|x50px]] | ||
| + | |© | ||
| + | |align="Left"|[[2019/13.683: Aerial Photograph of the Royal Masonic School, Bushey Herts.|Aerial Photograph of the Royal Masonic School, Bushey Herts.]] | ||
| | | | ||
| − | |align="Left"|[[2019/13. | + | |align="Left"|[[2019/13.683: Aerial Photograph of the Royal Masonic School, Bushey Herts.|Post Card]] |
| − | |align="Left"|[[2019/13. | + | |align="Left"|[[2019/13.683: Aerial Photograph of the Royal Masonic School, Bushey Herts.|2019/13.683]] |
|- | |- | ||
| − | |[[File:2019-13. | + | |[[File:2019-13.683.JPG|center|link=http://catalogue.wmlmt.org.uk/share/Images/2019/2019-13.683.JPG|x50px]] |
| | | | ||
| − | |align="Left"|[[2019/13. | + | |align="Left"|[[2019/13.683: Aerial Photograph of the Royal Masonic School, Bushey Herts.|Aerial Photograph of the Royal Masonic School, Bushey Herts.]] |
| | | | ||
| − | |align="Left"|[[2019/13. | + | |align="Left"|[[2019/13.683: Aerial Photograph of the Royal Masonic School, Bushey Herts.|Post Card]] |
| − | |align="Left"|[[2019/13. | + | |align="Left"|[[2019/13.683: Aerial Photograph of the Royal Masonic School, Bushey Herts.|2019/13.683]] |
|- | |- | ||
| − | |[[File:2019-13. | + | |[[File:2019-13.684.1.JPG|center|link=http://catalogue.wmlmt.org.uk/share/Images/Copyright.JPG|x50px]] |
| + | |© | ||
| + | |align="Left"|[[2019/13.684.1: United Grand Lodge of England Set 1 of 12 Slides of Freemasons' Hall, London, Series A - Main Doors, exterior/2|United Grand Lodge of England Set 1 of 12 Slides of Freemasons' Hall, London, Series A - Main Doors, exterior]] | ||
| | | | ||
| − | |align="Left"|[[2019/13. | + | |align="Left"|[[2019/13.684.1: United Grand Lodge of England Set 1 of 12 Slides of Freemasons' Hall, London, Series A - Main Doors, exterior/2|Slide]] |
| − | + | |align="Left"|[[2019/13.684.1: United Grand Lodge of England Set 1 of 12 Slides of Freemasons' Hall, London, Series A - Main Doors, exterior/2|2019/13.684.1]] | |
| − | |||
| − | |align="Left"|[[2019/13. | ||
|- | |- | ||
| − | |[[File:2019-13. | + | |[[File:2019-13.684.11.JPG|center|link=http://catalogue.wmlmt.org.uk/share/Images/Copyright.JPG|x50px]] |
| + | |© | ||
| + | |align="Left"|[[2019/13.684.11: United Grand Lodge of England Set 10 of 12 Slides of Freemasons' Hall, London, Series A - Processional Corridor|United Grand Lodge of England Set 10 of 12 Slides of Freemasons' Hall, London, Series A - Processional Corridor]] | ||
| | | | ||
| − | |align="Left"|[[2019/13. | + | |align="Left"|[[2019/13.684.11: United Grand Lodge of England Set 10 of 12 Slides of Freemasons' Hall, London, Series A - Processional Corridor|Slide]] |
| − | + | |align="Left"|[[2019/13.684.11: United Grand Lodge of England Set 10 of 12 Slides of Freemasons' Hall, London, Series A - Processional Corridor|2019/13.684.11]] | |
| − | |||
| − | |align="Left"|[[2019/13. | ||
|- | |- | ||
| − | |[[File:2019-13. | + | |[[File:2019-13.684.12.JPG|center|link=http://catalogue.wmlmt.org.uk/share/Images/Copyright.JPG|x50px]] |
| + | |© | ||
| + | |align="Left"|[[2019/13.684.12: United Grand Lodge of England Set 11 of 12 Slides of Freemasons' Hall, London, Series A - Board of General Purposes Room|United Grand Lodge of England Set 11 of 12 Slides of Freemasons' Hall, London, Series A - Board of General Purposes Room]] | ||
| | | | ||
| − | |align="Left"|[[2019/13. | + | |align="Left"|[[2019/13.684.12: United Grand Lodge of England Set 11 of 12 Slides of Freemasons' Hall, London, Series A - Board of General Purposes Room|Slide]] |
| − | + | |align="Left"|[[2019/13.684.12: United Grand Lodge of England Set 11 of 12 Slides of Freemasons' Hall, London, Series A - Board of General Purposes Room|2019/13.684.12]] | |
| − | |||
| − | |align="Left"|[[2019/13. | ||
|- | |- | ||
| − | |[[File:2019-13. | + | |[[File:2019-13.684.13.JPG|center|link=http://catalogue.wmlmt.org.uk/share/Images/Copyright.JPG|x50px]] |
| + | |© | ||
| + | |align="Left"|[[2019/13.684.13: United Grand Lodge of England Set 12 of 12 Slides of Freemasons' Hall, London, Series A - Library|United Grand Lodge of England Set 12 of 12 Slides of Freemasons' Hall, London, Series A - Library]] | ||
| + | | | ||
| + | |align="Left"|[[2019/13.684.13: United Grand Lodge of England Set 12 of 12 Slides of Freemasons' Hall, London, Series A - Library|Slide]] | ||
| + | |align="Left"|[[2019/13.684.13: United Grand Lodge of England Set 12 of 12 Slides of Freemasons' Hall, London, Series A - Library|2019/13.684.13]] | ||
| + | |- | ||
| + | |[[File:2019-13.684.2.JPG|center|link=http://catalogue.wmlmt.org.uk/share/Images/Copyright.JPG|x50px]] | ||
| + | |© | ||
| + | |align="Left"|[[2019/13.684.2: United Grand Lodge of England Set 2 of 12 Slides of Freemasons' Hall, London, Series A - Grand Temple - General View|United Grand Lodge of England Set 2 of 12 Slides of Freemasons' Hall, London, Series A - Grand Temple - General View]] | ||
| + | | | ||
| + | |align="Left"|[[2019/13.684.2: United Grand Lodge of England Set 2 of 12 Slides of Freemasons' Hall, London, Series A - Grand Temple - General View|Slide]] | ||
| + | |align="Left"|[[2019/13.684.2: United Grand Lodge of England Set 2 of 12 Slides of Freemasons' Hall, London, Series A - Grand Temple - General View|2019/13.684.2]] | ||
| + | |- | ||
| + | |[[File:2019-13.684.3.JPG|center|link=http://catalogue.wmlmt.org.uk/share/Images/Copyright.JPG|x50px]] | ||
| + | |© | ||
| + | |align="Left"|[[2019/13.684.3: United Grand Lodge of England Set 3 of 12 Slides of Freemasons' Hall, London, Series A - Grand Temple - Ceiling|United Grand Lodge of England Set 3 of 12 Slides of Freemasons' Hall, London, Series A - Grand Temple - Ceiling]] | ||
| + | | | ||
| + | |align="Left"|[[2019/13.684.3: United Grand Lodge of England Set 3 of 12 Slides of Freemasons' Hall, London, Series A - Grand Temple - Ceiling|Slide]] | ||
| + | |align="Left"|[[2019/13.684.3: United Grand Lodge of England Set 3 of 12 Slides of Freemasons' Hall, London, Series A - Grand Temple - Ceiling|2019/13.684.3]] | ||
| + | |- | ||
| + | |[[File:2019-13.684.4.JPG|center|link=http://catalogue.wmlmt.org.uk/share/Images/Copyright.JPG|x50px]] | ||
| + | |© | ||
| + | |align="Left"|[[2019/13.684.4: United Grand Lodge of England Set 4 of 12 Slides of Freemasons' Hall, London, Series A - Grand Temple - Vestibule Ceiling|United Grand Lodge of England Set 4 of 12 Slides of Freemasons' Hall, London, Series A - Grand Temple - Vestibule Ceiling]] | ||
| + | | | ||
| + | |align="Left"|[[2019/13.684.4: United Grand Lodge of England Set 4 of 12 Slides of Freemasons' Hall, London, Series A - Grand Temple - Vestibule Ceiling|Slide]] | ||
| + | |align="Left"|[[2019/13.684.4: United Grand Lodge of England Set 4 of 12 Slides of Freemasons' Hall, London, Series A - Grand Temple - Vestibule Ceiling|2019/13.684.4]] | ||
| + | |- | ||
| + | |[[File:2019-13.684.5.JPG|center|link=http://catalogue.wmlmt.org.uk/share/Images/Copyright.JPG|x50px]] | ||
| + | |© | ||
| + | |align="Left"|[[2019/13.684.5: United Grand Lodge of England Set 5 of 12 Slides of Freemasons' Hall, London, Series A - Grand Temple - Main Doors, exterior|United Grand Lodge of England Set 5 of 12 Slides of Freemasons' Hall, London, Series A - Grand Temple - Main Doors, exterior]] | ||
| + | | | ||
| + | |align="Left"|[[2019/13.684.5: United Grand Lodge of England Set 5 of 12 Slides of Freemasons' Hall, London, Series A - Grand Temple - Main Doors, exterior|Slide]] | ||
| + | |align="Left"|[[2019/13.684.5: United Grand Lodge of England Set 5 of 12 Slides of Freemasons' Hall, London, Series A - Grand Temple - Main Doors, exterior|2019/13.684.5]] | ||
| + | |- | ||
| + | |[[File:2019-13.684.6.JPG|center|link=http://catalogue.wmlmt.org.uk/share/Images/Copyright.JPG|x50px]] | ||
| + | |© | ||
| + | |align="Left"|[[2019/13.684.6: United Grand Lodge of England Set 6 of 12 Slides of Freemasons' Hall, London, Series A - Grand Temple - Main Doors, interior|United Grand Lodge of England Set 6 of 12 Slides of Freemasons' Hall, London, Series A - Grand Temple - Main Doors, interior]] | ||
| | | | ||
| − | |align="Left"|[[2019/13. | + | |align="Left"|[[2019/13.684.6: United Grand Lodge of England Set 6 of 12 Slides of Freemasons' Hall, London, Series A - Grand Temple - Main Doors, interior|Slide]] |
| + | |align="Left"|[[2019/13.684.6: United Grand Lodge of England Set 6 of 12 Slides of Freemasons' Hall, London, Series A - Grand Temple - Main Doors, interior|2019/13.684.6]] | ||
| + | |- | ||
| + | |[[File:2019-13.684.7.JPG|center|link=http://catalogue.wmlmt.org.uk/share/Images/Copyright.JPG|x50px]] | ||
| + | |© | ||
| + | |align="Left"|[[2019/13.684.7: United Grand Lodge of England Set 7 of 12 Slides of Freemasons' Hall, London, Series A - Shrine|United Grand Lodge of England Set 7 of 12 Slides of Freemasons' Hall, London, Series A - Shrine]] | ||
| | | | ||
| − | |align="Left"|[[2019/13. | + | |align="Left"|[[2019/13.684.7: United Grand Lodge of England Set 7 of 12 Slides of Freemasons' Hall, London, Series A - Shrine|Slide]] |
| − | |align="Left"|[[2019/13. | + | |align="Left"|[[2019/13.684.7: United Grand Lodge of England Set 7 of 12 Slides of Freemasons' Hall, London, Series A - Shrine|2019/13.684.7]] |
|- | |- | ||
| − | |[[File:2019-13. | + | |[[File:2019-13.684.8.JPG|center|link=http://catalogue.wmlmt.org.uk/share/Images/Copyright.JPG|x50px]] |
| − | | | + | |© |
| − | |align="Left"|[[2019/13. | + | |align="Left"|[[2019/13.684.8: United Grand Lodge of England Set 8 of 12 Slides of Freemasons' Hall, London, Series A - Grand Master's Throne|United Grand Lodge of England Set 8 of 12 Slides of Freemasons' Hall, London, Series A - Grand Master's Throne]] |
| − | | | + | | |
| − | |align="Left"|[[2019/13. | + | |align="Left"|[[2019/13.684.8: United Grand Lodge of England Set 8 of 12 Slides of Freemasons' Hall, London, Series A - Grand Master's Throne|Slide]] |
| − | |align="Left"|[[2019/13. | + | |align="Left"|[[2019/13.684.8: United Grand Lodge of England Set 8 of 12 Slides of Freemasons' Hall, London, Series A - Grand Master's Throne|2019/13.684.8]] |
| + | |- | ||
| + | |[[File:2019-13.684.9.JPG|center|link=http://catalogue.wmlmt.org.uk/share/Images/Copyright.JPG|x50px]] | ||
| + | |© | ||
| + | |align="Left"|[[2019/13.684.9: United Grand Lodge of England Set 9 of 12 Slides of Freemasons' Hall, London, Series A - No.1 Lodge Room|United Grand Lodge of England Set 9 of 12 Slides of Freemasons' Hall, London, Series A - No.1 Lodge Room]] | ||
| + | | | ||
| + | |align="Left"|[[2019/13.684.9: United Grand Lodge of England Set 9 of 12 Slides of Freemasons' Hall, London, Series A - No.1 Lodge Room|Slide]] | ||
| + | |align="Left"|[[2019/13.684.9: United Grand Lodge of England Set 9 of 12 Slides of Freemasons' Hall, London, Series A - No.1 Lodge Room|2019/13.684.9]] | ||
| + | |- | ||
| + | |[[File:2019-13.685.1.JPG|center|link=http://catalogue.wmlmt.org.uk/share/Images/Copyright.JPG|x50px]] | ||
| + | |© | ||
| + | |align="Left"|[[2019/13.685.1: United Grand Lodge of England Set 1 of 12 Slides of Museum of Freemasons' Hall, London, Series B -The Museum|United Grand Lodge of England Set 1 of 12 Slides of Museum of Freemasons' Hall, London, Series B -The Museum]] | ||
| + | | | ||
| + | |align="Left"|[[2019/13.685.1: United Grand Lodge of England Set 1 of 12 Slides of Museum of Freemasons' Hall, London, Series B -The Museum|Slide]] | ||
| + | |align="Left"|[[2019/13.685.1: United Grand Lodge of England Set 1 of 12 Slides of Museum of Freemasons' Hall, London, Series B -The Museum|2019/13.685.1]] | ||
| + | |- | ||
| + | |[[File:2019-13.685.11.JPG|center|link=http://catalogue.wmlmt.org.uk/share/Images/Copyright.JPG|x50px]] | ||
| + | |© | ||
| + | |align="Left"|[[2019/13.685.11: United Grand Lodge of England Set 10 of 12 Slides of Museum of Freemasons' Hall, London, Series B - Silverware|United Grand Lodge of England Set 10 of 12 Slides of Museum of Freemasons' Hall, London, Series B - Silverware]] | ||
| + | | | ||
| + | |align="Left"|[[2019/13.685.11: United Grand Lodge of England Set 10 of 12 Slides of Museum of Freemasons' Hall, London, Series B - Silverware|Slide]] | ||
| + | |align="Left"|[[2019/13.685.11: United Grand Lodge of England Set 10 of 12 Slides of Museum of Freemasons' Hall, London, Series B - Silverware|2019/13.685.11]] | ||
| + | |- | ||
| + | |[[File:2019-13.685.12.JPG|center|link=http://catalogue.wmlmt.org.uk/share/Images/Copyright.JPG|x50px]] | ||
| + | |© | ||
| + | |align="Left"|[[2019/13.685.12: United Grand Lodge of England Set 11 of 12 Slides of Museum of Freemasons' Hall, London, Series B - Duke of Sussex|United Grand Lodge of England Set 11 of 12 Slides of Museum of Freemasons' Hall, London, Series B - Duke of Sussex]] | ||
| + | | | ||
| + | |align="Left"|[[2019/13.685.12: United Grand Lodge of England Set 11 of 12 Slides of Museum of Freemasons' Hall, London, Series B - Duke of Sussex|Slide]] | ||
| + | |align="Left"|[[2019/13.685.12: United Grand Lodge of England Set 11 of 12 Slides of Museum of Freemasons' Hall, London, Series B - Duke of Sussex|2019/13.685.12]] | ||
| + | |- | ||
| + | |[[File:2019-13.685.13.JPG|center|link=http://catalogue.wmlmt.org.uk/share/Images/Copyright.JPG|x50px]] | ||
| + | |© | ||
| + | |align="Left"|[[2019/13.685.13: United Grand Lodge of England Set 12 of 12 Slides of Museum of Freemasons' Hall, London, Series B - Standards, Sword and Bag|United Grand Lodge of England Set 12 of 12 Slides of Museum of Freemasons' Hall, London, Series B - Standards, Sword and Bag]] | ||
| + | | | ||
| + | |align="Left"|[[2019/13.685.13: United Grand Lodge of England Set 12 of 12 Slides of Museum of Freemasons' Hall, London, Series B - Standards, Sword and Bag|Slide]] | ||
| + | |align="Left"|[[2019/13.685.13: United Grand Lodge of England Set 12 of 12 Slides of Museum of Freemasons' Hall, London, Series B - Standards, Sword and Bag|2019/13.685.13]] | ||
| + | |- | ||
| + | |[[File:2019-13.685.2.JPG|center|link=http://catalogue.wmlmt.org.uk/share/Images/Copyright.JPG|x50px]] | ||
| + | |© | ||
| + | |align="Left"|[[2019/13.685.2: United Grand Lodge of England Set 2 of 12 Slides of Museum of Freemasons' Hall, London, Series B - Old Charges|United Grand Lodge of England Set 2 of 12 Slides of Museum of Freemasons' Hall, London, Series B - Old Charges]] | ||
| + | | | ||
| + | |align="Left"|[[2019/13.685.2: United Grand Lodge of England Set 2 of 12 Slides of Museum of Freemasons' Hall, London, Series B - Old Charges|Slide]] | ||
| + | |align="Left"|[[2019/13.685.2: United Grand Lodge of England Set 2 of 12 Slides of Museum of Freemasons' Hall, London, Series B - Old Charges|2019/13.685.2]] | ||
| + | |- | ||
| + | |[[File:2019-13.685.3.JPG|center|link=http://catalogue.wmlmt.org.uk/share/Images/Copyright.JPG|x50px]] | ||
| + | |© | ||
| + | |align="Left"|[[2019/13.685.3: United Grand Lodge of England Set 3 of 12 Slides of Museum of Freemasons' Hall, London, Series B - Anthony Sayer, Grand Master 1717|United Grand Lodge of England Set 3 of 12 Slides of Museum of Freemasons' Hall, London, Series B - Anthony Sayer, Grand Master 1717]] | ||
| + | | | ||
| + | |align="Left"|[[2019/13.685.3: United Grand Lodge of England Set 3 of 12 Slides of Museum of Freemasons' Hall, London, Series B - Anthony Sayer, Grand Master 1717|Slide]] | ||
| + | |align="Left"|[[2019/13.685.3: United Grand Lodge of England Set 3 of 12 Slides of Museum of Freemasons' Hall, London, Series B - Anthony Sayer, Grand Master 1717|2019/13.685.3]] | ||
| + | |- | ||
| + | |[[File:2019-13.685.4.JPG|center|link=http://catalogue.wmlmt.org.uk/share/Images/Copyright.JPG|x50px]] | ||
| + | |© | ||
| + | |align="Left"|[[2019/13.685.4: United Grand Lodge of England Set 4 of 12 Slides of Museum of Freemasons' Hall, London, Series B -Book of Constitutions and Minute Book|United Grand Lodge of England Set 4 of 12 Slides of Museum of Freemasons' Hall, London, Series B -Book of Constitutions and Minute Book]] | ||
| + | | | ||
| + | |align="Left"|[[2019/13.685.4: United Grand Lodge of England Set 4 of 12 Slides of Museum of Freemasons' Hall, London, Series B -Book of Constitutions and Minute Book|Slide]] | ||
| + | |align="Left"|[[2019/13.685.4: United Grand Lodge of England Set 4 of 12 Slides of Museum of Freemasons' Hall, London, Series B -Book of Constitutions and Minute Book|2019/13.685.4]] | ||
| + | |- | ||
| + | |[[File:2019-13.685.5.JPG|center|link=http://catalogue.wmlmt.org.uk/share/Images/2019/2019-13.685.5.JPG|x50px]] | ||
| + | | | ||
| + | |align="Left"|[[2019/13.685.5: United Grand Lodge of England Set 5 of 12 Slides of Museum of Freemasons' Hall, London, Series B - Aprons|United Grand Lodge of England Set 5 of 12 Slides of Museum of Freemasons' Hall, London, Series B - Aprons]] | ||
| + | | | ||
| + | |align="Left"|[[2019/13.685.5: United Grand Lodge of England Set 5 of 12 Slides of Museum of Freemasons' Hall, London, Series B - Aprons|Slide]] | ||
| + | |align="Left"|[[2019/13.685.5: United Grand Lodge of England Set 5 of 12 Slides of Museum of Freemasons' Hall, London, Series B - Aprons|2019/13.685.5]] | ||
| + | |- | ||
| + | |[[File:2019-13.685.6.JPG|center|link=http://catalogue.wmlmt.org.uk/share/Images/Copyright.JPG|x50px]] | ||
| + | |© | ||
| + | |align="Left"|[[2019/13.685.6: United Grand Lodge of England Set 6 of 12 Slides of Museum of Freemasons' Hall, London, Series B - Pierced and Plate Jewels|United Grand Lodge of England Set 6 of 12 Slides of Museum of Freemasons' Hall, London, Series B - Pierced and Plate Jewels]] | ||
| + | | | ||
| + | |align="Left"|[[2019/13.685.6: United Grand Lodge of England Set 6 of 12 Slides of Museum of Freemasons' Hall, London, Series B - Pierced and Plate Jewels|Slide]] | ||
| + | |align="Left"|[[2019/13.685.6: United Grand Lodge of England Set 6 of 12 Slides of Museum of Freemasons' Hall, London, Series B - Pierced and Plate Jewels|2019/13.685.6]] | ||
| + | |- | ||
| + | |[[File:2019-13.685.7.JPG|center|link=http://catalogue.wmlmt.org.uk/share/Images/Copyright.JPG|x50px]] | ||
| + | |© | ||
| + | |align="Left"|[[2019/13.685.7: United Grand Lodge of England Set 7 of 12 Slides of Museum of Freemasons' Hall, London, Series B - Enamel and Paste Jewels|United Grand Lodge of England Set 7 of 12 Slides of Museum of Freemasons' Hall, London, Series B - Enamel and Paste Jewels]] | ||
| + | | | ||
| + | |align="Left"|[[2019/13.685.7: United Grand Lodge of England Set 7 of 12 Slides of Museum of Freemasons' Hall, London, Series B - Enamel and Paste Jewels|Slide]] | ||
| + | |align="Left"|[[2019/13.685.7: United Grand Lodge of England Set 7 of 12 Slides of Museum of Freemasons' Hall, London, Series B - Enamel and Paste Jewels|2019/13.685.7]] | ||
| + | |- | ||
| + | |[[File:2019-13.685.8.JPG|center|link=http://catalogue.wmlmt.org.uk/share/Images/Copyright.JPG|x50px]] | ||
| + | |© | ||
| + | |align="Left"|[[2019/13.685.8: United Grand Lodge of England Set 8 of 12 Slides of Museum of Freemasons' Hall, London, Series B - Porcelain and Pottery|United Grand Lodge of England Set 8 of 12 Slides of Museum of Freemasons' Hall, London, Series B - Porcelain and Pottery]] | ||
| + | | | ||
| + | |align="Left"|[[2019/13.685.8: United Grand Lodge of England Set 8 of 12 Slides of Museum of Freemasons' Hall, London, Series B - Porcelain and Pottery|Slide]] | ||
| + | |align="Left"|[[2019/13.685.8: United Grand Lodge of England Set 8 of 12 Slides of Museum of Freemasons' Hall, London, Series B - Porcelain and Pottery|2019/13.685.8]] | ||
| + | |- | ||
| + | |[[File:2019-13.685.9.JPG|center|link=http://catalogue.wmlmt.org.uk/share/Images/Copyright.JPG|x50px]] | ||
| + | |© | ||
| + | |align="Left"|[[2019/13.685.9: United Grand Lodge of England Set 9 of 12 Slides of Museum of Freemasons' Hall, London, Series B - Glassware|United Grand Lodge of England Set 9 of 12 Slides of Museum of Freemasons' Hall, London, Series B - Glassware]] | ||
| + | | | ||
| + | |align="Left"|[[2019/13.685.9: United Grand Lodge of England Set 9 of 12 Slides of Museum of Freemasons' Hall, London, Series B - Glassware|Slide]] | ||
| + | |align="Left"|[[2019/13.685.9: United Grand Lodge of England Set 9 of 12 Slides of Museum of Freemasons' Hall, London, Series B - Glassware|2019/13.685.9]] | ||
| + | |- | ||
| + | |[[File:2019-13.686.1.JPG|center|link=http://catalogue.wmlmt.org.uk/share/Images/2019/2019-13.686.1.JPG|x50px]] | ||
| + | | | ||
| + | |align="Left"|[[2019/13.686.1: Box of 29 Slides - No.1 Knights Templar Procession|Box of 29 Slides - No.1 Knights Templar Procession]] | ||
| + | | | ||
| + | |align="Left"|[[2019/13.686.1: Box of 29 Slides - No.1 Knights Templar Procession|Slide]] | ||
| + | |align="Left"|[[2019/13.686.1: Box of 29 Slides - No.1 Knights Templar Procession|2019/13.686.1]] | ||
| + | |- | ||
| + | |[[File:2019-13.686.11.JPG|center|link=http://catalogue.wmlmt.org.uk/share/Images/2019/2019-13.686.11.JPG|x50px]] | ||
| + | | | ||
| + | |align="Left"|[[2019/13.686.11: Box of 29 Slides - No.10.A Worshipful Master|Box of 29 Slides - No.10.A Worshipful Master]] | ||
| + | | | ||
| + | |align="Left"|[[2019/13.686.11: Box of 29 Slides - No.10.A Worshipful Master|Slide]] | ||
| + | |align="Left"|[[2019/13.686.11: Box of 29 Slides - No.10.A Worshipful Master|2019/13.686.11]] | ||
| + | |- | ||
| + | |[[File:2019-13.686.12.JPG|center|link=http://catalogue.wmlmt.org.uk/share/Images/2019/2019-13.686.12.JPG|x50px]] | ||
| + | | | ||
| + | |align="Left"|[[2019/13.686.12: Box of 29 Slides - No.11. A Knight Templar|Box of 29 Slides - No.11. A Knight Templar]] | ||
| + | | | ||
| + | |align="Left"|[[2019/13.686.12: Box of 29 Slides - No.11. A Knight Templar|Slide]] | ||
| + | |align="Left"|[[2019/13.686.12: Box of 29 Slides - No.11. A Knight Templar|2019/13.686.12]] | ||
| + | |- | ||
| + | |[[File:2019-13.686.13.JPG|center|link=http://catalogue.wmlmt.org.uk/share/Images/2019/2019-13.686.13.JPG|x50px]] | ||
| + | | | ||
| + | |align="Left"|[[2019/13.686.13: Box of 29 Slides - No.12. A Royal Arch Mason|Box of 29 Slides - No.12. A Royal Arch Mason]] | ||
| + | | | ||
| + | |align="Left"|[[2019/13.686.13: Box of 29 Slides - No.12. A Royal Arch Mason|Slide]] | ||
| + | |align="Left"|[[2019/13.686.13: Box of 29 Slides - No.12. A Royal Arch Mason|2019/13.686.13]] | ||
| + | |- | ||
| + | |[[File:2019-13.686.14.JPG|center|link=http://catalogue.wmlmt.org.uk/share/Images/2019/2019-13.686.14.JPG|x50px]] | ||
| + | | | ||
| + | |align="Left"|[[2019/13.686.14: Box of 29 Slides - No.13. An Organist|Box of 29 Slides - No.13. An Organist]] | ||
| + | | | ||
| + | |align="Left"|[[2019/13.686.14: Box of 29 Slides - No.13. An Organist|Slide]] | ||
| + | |align="Left"|[[2019/13.686.14: Box of 29 Slides - No.13. An Organist|2019/13.686.14]] | ||
| + | |- | ||
| + | |[[File:2019-13.686.15.JPG|center|link=http://catalogue.wmlmt.org.uk/share/Images/2019/2019-13.686.15.JPG|x50px]] | ||
| + | | | ||
| + | |align="Left"|[[2019/13.686.15: Box of 29 Slides - No.14. An Organist|Box of 29 Slides - No.14. An Organist]] | ||
| + | | | ||
| + | |align="Left"|[[2019/13.686.15: Box of 29 Slides - No.14. An Organist|Slide]] | ||
| + | |align="Left"|[[2019/13.686.15: Box of 29 Slides - No.14. An Organist|2019/13.686.15]] | ||
| + | |- | ||
| + | |[[File:2019-13.686.16.JPG|center|link=http://catalogue.wmlmt.org.uk/share/Images/2019/2019-13.686.16.JPG|x50px]] | ||
| + | | | ||
| + | |align="Left"|[[2019/13.686.16: Box of 29 Slides - No.15. An Organist|Box of 29 Slides - No.15. An Organist]] | ||
| + | | | ||
| + | |align="Left"|[[2019/13.686.16: Box of 29 Slides - No.15. An Organist|Slide]] | ||
| + | |align="Left"|[[2019/13.686.16: Box of 29 Slides - No.15. An Organist|2019/13.686.16]] | ||
| + | |- | ||
| + | |[[File:2019-13.686.17.JPG|center|link=http://catalogue.wmlmt.org.uk/share/Images/2019/2019-13.686.17.JPG|x50px]] | ||
| + | | | ||
| + | |align="Left"|[[2019/13.686.17: Box of 29 Slides - No.16. In the Bar at Halesowen|Box of 29 Slides - No.16. In the Bar at Halesowen]] | ||
| + | | | ||
| + | |align="Left"|[[2019/13.686.17: Box of 29 Slides - No.16. In the Bar at Halesowen|Slide]] | ||
| + | |align="Left"|[[2019/13.686.17: Box of 29 Slides - No.16. In the Bar at Halesowen|2019/13.686.17]] | ||
| + | |- | ||
| + | |[[File:2019-13.686.18.JPG|center|link=http://catalogue.wmlmt.org.uk/share/Images/2019/2019-13.686.18.JPG|x50px]] | ||
| + | | | ||
| + | |align="Left"|[[2019/13.686.18: Box of 29 Slides - No.17. Royal Arch Room|Box of 29 Slides - No.17. Royal Arch Room]] | ||
| + | | | ||
| + | |align="Left"|[[2019/13.686.18: Box of 29 Slides - No.17. Royal Arch Room|Slide]] | ||
| + | |align="Left"|[[2019/13.686.18: Box of 29 Slides - No.17. Royal Arch Room|2019/13.686.18]] | ||
| + | |- | ||
| + | |[[File:2019-13.686.19.JPG|center|link=http://catalogue.wmlmt.org.uk/share/Images/2019/2019-13.686.19.JPG|x50px]] | ||
| + | | | ||
| + | |align="Left"|[[2019/13.686.19: Box of 29 Slides - No.18. Royal Arch Room|Box of 29 Slides - No.18. Royal Arch Room]] | ||
| + | | | ||
| + | |align="Left"|[[2019/13.686.19: Box of 29 Slides - No.18. Royal Arch Room|Slide]] | ||
| + | |align="Left"|[[2019/13.686.19: Box of 29 Slides - No.18. Royal Arch Room|2019/13.686.19]] | ||
| + | |- | ||
| + | |[[File:2019-13.686.2.JPG|center|link=http://catalogue.wmlmt.org.uk/share/Images/2019/2019-13.686.2.JPG|x50px]] | ||
| + | | | ||
| + | |align="Left"|[[2019/13.686.2: Box of 29 Slides - No.2 Knights Templar Procession|Box of 29 Slides - No.2 Knights Templar Procession]] | ||
| + | | | ||
| + | |align="Left"|[[2019/13.686.2: Box of 29 Slides - No.2 Knights Templar Procession|Slide]] | ||
| + | |align="Left"|[[2019/13.686.2: Box of 29 Slides - No.2 Knights Templar Procession|2019/13.686.2]] | ||
| + | |- | ||
| + | |[[File:2019-13.686.21.JPG|center|link=http://catalogue.wmlmt.org.uk/share/Images/2019/2019-13.686.21.JPG|x50px]] | ||
| + | | | ||
| + | |align="Left"|[[2019/13.686.21: Box of 29 Slides - No.19. Church Window|Box of 29 Slides - No.19. Church Window]] | ||
| + | | | ||
| + | |align="Left"|[[2019/13.686.21: Box of 29 Slides - No.19. Church Window|Slide]] | ||
| + | |align="Left"|[[2019/13.686.21: Box of 29 Slides - No.19. Church Window|2019/13.686.21]] | ||
| + | |- | ||
| + | |[[File:2019-13.686.22.JPG|center|link=http://catalogue.wmlmt.org.uk/share/Images/2019/2019-13.686.22.JPG|x50px]] | ||
| + | | | ||
| + | |align="Left"|[[2019/13.686.22: Box of 29 Slides - No.20. Church Window|Box of 29 Slides - No.20. Church Window]] | ||
| + | | | ||
| + | |align="Left"|[[2019/13.686.22: Box of 29 Slides - No.20. Church Window|Slide]] | ||
| + | |align="Left"|[[2019/13.686.22: Box of 29 Slides - No.20. Church Window|2019/13.686.22]] | ||
| + | |- | ||
| + | |[[File:2019-13.686.23.JPG|center|link=http://catalogue.wmlmt.org.uk/share/Images/2019/2019-13.686.23.JPG|x50px]] | ||
| + | | | ||
| + | |align="Left"|[[2019/13.686.23: Box of 29 Slides - No.21. Plaque|Box of 29 Slides - No.21. Plaque]] | ||
| + | | | ||
| + | |align="Left"|[[2019/13.686.23: Box of 29 Slides - No.21. Plaque|Slide]] | ||
| + | |align="Left"|[[2019/13.686.23: Box of 29 Slides - No.21. Plaque|2019/13.686.23]] | ||
| + | |- | ||
| + | |[[File:2019-13.686.24.JPG|center|link=http://catalogue.wmlmt.org.uk/share/Images/2019/2019-13.686.24.JPG|x50px]] | ||
| + | | | ||
| + | |align="Left"|[[2019/13.686.24: Box of 29 Slides - No.23. Church|Box of 29 Slides - No.23. Church]] | ||
| + | | | ||
| + | |align="Left"|[[2019/13.686.24: Box of 29 Slides - No.23. Church|Slide]] | ||
| + | |align="Left"|[[2019/13.686.24: Box of 29 Slides - No.23. Church|2019/13.686.24]] | ||
| + | |- | ||
| + | |[[File:2019-13.686.25.JPG|center|link=http://catalogue.wmlmt.org.uk/share/Images/2019/2019-13.686.25.JPG|x50px]] | ||
| + | | | ||
| + | |align="Left"|[[2019/13.686.25: Box of 29 Slides - No.23. Church Window|Box of 29 Slides - No.23. Church Window]] | ||
| + | | | ||
| + | |align="Left"|[[2019/13.686.25: Box of 29 Slides - No.23. Church Window|Slide]] | ||
| + | |align="Left"|[[2019/13.686.25: Box of 29 Slides - No.23. Church Window|2019/13.686.25]] | ||
| + | |- | ||
| + | |[[File:2019-13.686.26.JPG|center|link=http://catalogue.wmlmt.org.uk/share/Images/2019/2019-13.686.26.JPG|x50px]] | ||
| + | | | ||
| + | |align="Left"|[[2019/13.686.26: Box of 29 Slides - No.24. Knight Templar Procession|Box of 29 Slides - No.24. Knight Templar Procession]] | ||
| + | | | ||
| + | |align="Left"|[[2019/13.686.26: Box of 29 Slides - No.24. Knight Templar Procession|Slide]] | ||
| + | |align="Left"|[[2019/13.686.26: Box of 29 Slides - No.24. Knight Templar Procession|2019/13.686.26]] | ||
| + | |- | ||
| + | |[[File:2019-13.686.27.JPG|center|link=http://catalogue.wmlmt.org.uk/share/Images/2019/2019-13.686.27.JPG|x50px]] | ||
| + | | | ||
| + | |align="Left"|[[2019/13.686.27: Box of 29 Slides - No.25. Masonic Architecture|Box of 29 Slides - No.25. Masonic Architecture]] | ||
| + | | | ||
| + | |align="Left"|[[2019/13.686.27: Box of 29 Slides - No.25. Masonic Architecture|Slide]] | ||
| + | |align="Left"|[[2019/13.686.27: Box of 29 Slides - No.25. Masonic Architecture|2019/13.686.27]] | ||
| + | |- | ||
| + | |[[File:2019-13.686.28.JPG|center|link=http://catalogue.wmlmt.org.uk/share/Images/2019/2019-13.686.28.JPG|x50px]] | ||
| + | | | ||
| + | |align="Left"|[[2019/13.686.28: Box of 29 Slides - No.26. Masonic Architecture|Box of 29 Slides - No.26. Masonic Architecture]] | ||
| + | | | ||
| + | |align="Left"|[[2019/13.686.28: Box of 29 Slides - No.26. Masonic Architecture|Slide]] | ||
| + | |align="Left"|[[2019/13.686.28: Box of 29 Slides - No.26. Masonic Architecture|2019/13.686.28]] | ||
| + | |- | ||
| + | |[[File:2019-13.686.29.JPG|center|link=http://catalogue.wmlmt.org.uk/share/Images/2019/2019-13.686.29.JPG|x50px]] | ||
| + | | | ||
| + | |align="Left"|[[2019/13.686.29: Box of 29 Slides - No.27. Masonic Architecture|Box of 29 Slides - No.27. Masonic Architecture]] | ||
| + | | | ||
| + | |align="Left"|[[2019/13.686.29: Box of 29 Slides - No.27. Masonic Architecture|Slide]] | ||
| + | |align="Left"|[[2019/13.686.29: Box of 29 Slides - No.27. Masonic Architecture|2019/13.686.29]] | ||
| + | |- | ||
| + | |[[File:2019-13.686.3.JPG|center|link=http://catalogue.wmlmt.org.uk/share/Images/2019/2019-13.686.3.JPG|x50px]] | ||
| + | | | ||
| + | |align="Left"|[[2019/13.686.3: Box of 29 Slides - No.3 Knights Templar Procession|Box of 29 Slides - No.3 Knights Templar Procession]] | ||
| + | | | ||
| + | |align="Left"|[[2019/13.686.3: Box of 29 Slides - No.3 Knights Templar Procession|Slide]] | ||
| + | |align="Left"|[[2019/13.686.3: Box of 29 Slides - No.3 Knights Templar Procession|2019/13.686.3]] | ||
| + | |- | ||
| + | |[[File:2019-13.686.31.JPG|center|link=http://catalogue.wmlmt.org.uk/share/Images/2019/2019-13.686.31.JPG|x50px]] | ||
| + | | | ||
| + | |align="Left"|[[2019/13.686.31: Box of 29 Slides - No.28. Masonic Architecture|Box of 29 Slides - No.28. Masonic Architecture]] | ||
| + | | | ||
| + | |align="Left"|[[2019/13.686.31: Box of 29 Slides - No.28. Masonic Architecture|Slide]] | ||
| + | |align="Left"|[[2019/13.686.31: Box of 29 Slides - No.28. Masonic Architecture|2019/13.686.31]] | ||
| + | |- | ||
| + | |[[File:2019-13.686.32.JPG|center|link=http://catalogue.wmlmt.org.uk/share/Images/2019/2019-13.686.32.JPG|x50px]] | ||
| + | | | ||
| + | |align="Left"|[[2019/13.686.32: Box of 29 Slides - No.29. Masonic Architecture|Box of 29 Slides - No.29. Masonic Architecture]] | ||
| + | | | ||
| + | |align="Left"|[[2019/13.686.32: Box of 29 Slides - No.29. Masonic Architecture|Slide]] | ||
| + | |align="Left"|[[2019/13.686.32: Box of 29 Slides - No.29. Masonic Architecture|2019/13.686.32]] | ||
| + | |- | ||
| + | |[[File:2019-13.686.4.JPG|center|link=http://catalogue.wmlmt.org.uk/share/Images/2019/2019-13.686.4.JPG|x50px]] | ||
| + | | | ||
| + | |align="Left"|[[2019/13.686.4: Box of 29 Slides - No.4 Knights Templar Procession|Box of 29 Slides - No.4 Knights Templar Procession]] | ||
| + | | | ||
| + | |align="Left"|[[2019/13.686.4: Box of 29 Slides - No.4 Knights Templar Procession|Slide]] | ||
| + | |align="Left"|[[2019/13.686.4: Box of 29 Slides - No.4 Knights Templar Procession|2019/13.686.4]] | ||
| + | |- | ||
| + | |[[File:2019-13.686.5.JPG|center|link=http://catalogue.wmlmt.org.uk/share/Images/2019/2019-13.686.5.JPG|x50px]] | ||
| + | | | ||
| + | |align="Left"|[[2019/13.686.5: Box of 29 Slides - No.5 Knights Templar Procession|Box of 29 Slides - No.5 Knights Templar Procession]] | ||
| + | | | ||
| + | |align="Left"|[[2019/13.686.5: Box of 29 Slides - No.5 Knights Templar Procession|Slide]] | ||
| + | |align="Left"|[[2019/13.686.5: Box of 29 Slides - No.5 Knights Templar Procession|2019/13.686.5]] | ||
| + | |- | ||
| + | |[[File:2019-13.686.6.JPG|center|link=http://catalogue.wmlmt.org.uk/share/Images/2019/2019-13.686.6.JPG|x50px]] | ||
| + | | | ||
| + | |align="Left"|[[2019/13.686.6: Box of 29 Slides - No.6 Knights Templar Procession|Box of 29 Slides - No.6 Knights Templar Procession]] | ||
| + | | | ||
| + | |align="Left"|[[2019/13.686.6: Box of 29 Slides - No.6 Knights Templar Procession|Slide]] | ||
| + | |align="Left"|[[2019/13.686.6: Box of 29 Slides - No.6 Knights Templar Procession|2019/13.686.6]] | ||
| + | |- | ||
| + | |[[File:2019-13.686.7.JPG|center|link=http://catalogue.wmlmt.org.uk/share/Images/2019/2019-13.686.7.JPG|x50px]] | ||
| + | | | ||
| + | |align="Left"|[[2019/13.686.7: Box of 29 Slides - No.7 Knights Templar Procession|Box of 29 Slides - No.7 Knights Templar Procession]] | ||
| + | | | ||
| + | |align="Left"|[[2019/13.686.7: Box of 29 Slides - No.7 Knights Templar Procession|Slide]] | ||
| + | |align="Left"|[[2019/13.686.7: Box of 29 Slides - No.7 Knights Templar Procession|2019/13.686.7]] | ||
| + | |- | ||
| + | |[[File:2019-13.686.8.JPG|center|link=http://catalogue.wmlmt.org.uk/share/Images/2019/2019-13.686.8.JPG|x50px]] | ||
| + | | | ||
| + | |align="Left"|[[2019/13.686.8: Box of 29 Slides - No.8 Knights Templar Procession|Box of 29 Slides - No.8 Knights Templar Procession]] | ||
| + | | | ||
| + | |align="Left"|[[2019/13.686.8: Box of 29 Slides - No.8 Knights Templar Procession|Slide]] | ||
| + | |align="Left"|[[2019/13.686.8: Box of 29 Slides - No.8 Knights Templar Procession|2019/13.686.8]] | ||
| + | |- | ||
| + | |[[File:2019-13.686.9.JPG|center|link=http://catalogue.wmlmt.org.uk/share/Images/2019/2019-13.686.9.JPG|x50px]] | ||
| + | | | ||
| + | |align="Left"|[[2019/13.686.9: Box of 29 Slides - No.9 Knights Templar Procession|Box of 29 Slides - No.9 Knights Templar Procession]] | ||
| + | | | ||
| + | |align="Left"|[[2019/13.686.9: Box of 29 Slides - No.9 Knights Templar Procession|Slide]] | ||
| + | |align="Left"|[[2019/13.686.9: Box of 29 Slides - No.9 Knights Templar Procession|2019/13.686.9]] | ||
| + | |- | ||
| + | |[[File:2019-16.10.JPG|center|link=http://catalogue.wmlmt.org.uk/share/Images/2019/2019-16.10.JPG|x50px]] | ||
| + | | | ||
| + | |align="Left"|[[2019/16.10: Photograph Bushy Boys School before sold and turned into apartments|Photograph Bushy Boys School before sold and turned into apartments]] | ||
| + | | | ||
| + | |align="Left"|[[2019/16.10: Photograph Bushy Boys School before sold and turned into apartments|Photograph]] | ||
| + | |align="Left"|[[2019/16.10: Photograph Bushy Boys School before sold and turned into apartments|2019/16.10]] | ||
| + | |- | ||
| + | |[[File:2019-16.11.JPG|center|link=http://catalogue.wmlmt.org.uk/share/Images/2019/2019-16.11.JPG|x50px]] | ||
| + | | | ||
| + | |align="Left"|[[2019/16.11: Photograph Bushy Boys School before sold and turned into apartments|Photograph Bushy Boys School before sold and turned into apartments]] | ||
| + | | | ||
| + | |align="Left"|[[2019/16.11: Photograph Bushy Boys School before sold and turned into apartments|Photograph]] | ||
| + | |align="Left"|[[2019/16.11: Photograph Bushy Boys School before sold and turned into apartments|2019/16.11]] | ||
| + | |- | ||
| + | |[[File:2019-16.13.JPG|center|link=http://catalogue.wmlmt.org.uk/share/Images/2019/2019-16.13.JPG|x50px]] | ||
| + | | | ||
| + | |align="Left"|[[2019/16.13: Painting of Chapel at Royal Masonic School for Girls, painted by Gordon Metcalf who taught Art & Crafts at Bushey Boys Scool & when it closed he moved to Rickmansworth Girls School.|Painting of Chapel at Royal Masonic School for Girls, painted by Gordon Metcalf who taught Art & Crafts at Bushey Boys Scool & when it closed he moved to Rickmansworth Girls School.]] | ||
| + | | | ||
| + | |align="Left"|[[2019/16.13: Painting of Chapel at Royal Masonic School for Girls, painted by Gordon Metcalf who taught Art & Crafts at Bushey Boys Scool & when it closed he moved to Rickmansworth Girls School.|Painting]] | ||
| + | |align="Left"|[[2019/16.13: Painting of Chapel at Royal Masonic School for Girls, painted by Gordon Metcalf who taught Art & Crafts at Bushey Boys Scool & when it closed he moved to Rickmansworth Girls School.|2019/16.13]] | ||
| + | |- | ||
| + | |[[File:2019-16.14.JPG|center|link=http://catalogue.wmlmt.org.uk/share/Images/2019/2019-16.14.JPG|x50px]] | ||
| + | | | ||
| + | |align="Left"|[[2019/16.14: Photograph of Girls School Rickmansworth, the eight houses|Photograph of Girls School Rickmansworth, the eight houses]] | ||
| + | | | ||
| + | |align="Left"|[[2019/16.14: Photograph of Girls School Rickmansworth, the eight houses|Photograph]] | ||
| + | |align="Left"|[[2019/16.14: Photograph of Girls School Rickmansworth, the eight houses|2019/16.14]] | ||
| + | |- | ||
| + | |[[File:2019-16.15.JPG|center|link=http://catalogue.wmlmt.org.uk/share/Images/2019/2019-16.15.JPG|x50px]] | ||
| + | | | ||
| + | |align="Left"|[[2019/16.15: Photograph of Girls School Rickmansworth, school entrance|Photograph of Girls School Rickmansworth, school entrance]] | ||
| + | | | ||
| + | |align="Left"|[[2019/16.15: Photograph of Girls School Rickmansworth, school entrance|Photograph]] | ||
| + | |align="Left"|[[2019/16.15: Photograph of Girls School Rickmansworth, school entrance|2019/16.15]] | ||
| + | |- | ||
| + | |[[File:2019-16.16.JPG|center|link=http://catalogue.wmlmt.org.uk/share/Images/2019/2019-16.16.JPG|x50px]] | ||
| + | | | ||
| + | |align="Left"|[[2019/16.16: Photograph of Girls School Rickmansworth, chapel windows|Photograph of Girls School Rickmansworth, chapel windows]] | ||
| + | | | ||
| + | |align="Left"|[[2019/16.16: Photograph of Girls School Rickmansworth, chapel windows|Photograph]] | ||
| + | |align="Left"|[[2019/16.16: Photograph of Girls School Rickmansworth, chapel windows|2019/16.16]] | ||
| + | |- | ||
| + | |[[File:2019-16.17.JPG|center|link=http://catalogue.wmlmt.org.uk/share/Images/2019/2019-16.17.JPG|x50px]] | ||
| + | | | ||
| + | |align="Left"|[[2019/16.17: Photograph of Girls School Rickmansworth, the school Hall|Photograph of Girls School Rickmansworth, the school Hall]] | ||
| + | | | ||
| + | |align="Left"|[[2019/16.17: Photograph of Girls School Rickmansworth, the school Hall|Photograph]] | ||
| + | |align="Left"|[[2019/16.17: Photograph of Girls School Rickmansworth, the school Hall|2019/16.17]] | ||
| + | |- | ||
| + | |[[File:2019-16.18.JPG|center|link=http://catalogue.wmlmt.org.uk/share/Images/2019/2019-16.18.JPG|x50px]] | ||
| + | | | ||
| + | |align="Left"|[[2019/16.18: Photograph of Girls School Rickmansworth, balcony in the school Hall|Photograph of Girls School Rickmansworth, balcony in the school Hall]] | ||
| + | | | ||
| + | |align="Left"|[[2019/16.18: Photograph of Girls School Rickmansworth, balcony in the school Hall|Photograph]] | ||
| + | |align="Left"|[[2019/16.18: Photograph of Girls School Rickmansworth, balcony in the school Hall|2019/16.18]] | ||
| + | |- | ||
| + | |[[File:2019-16.19.JPG|center|link=http://catalogue.wmlmt.org.uk/share/Images/2019/2019-16.19.JPG|x50px]] | ||
| + | | | ||
| + | |align="Left"|[[2019/16.19: Photograph of Girls School Rickmansworth, chapel windows|Photograph of Girls School Rickmansworth, chapel windows]] | ||
| + | | | ||
| + | |align="Left"|[[2019/16.19: Photograph of Girls School Rickmansworth, chapel windows|Photograph]] | ||
| + | |align="Left"|[[2019/16.19: Photograph of Girls School Rickmansworth, chapel windows|2019/16.19]] | ||
| + | |- | ||
| + | |[[File:2019-16.20.JPG|center|link=http://catalogue.wmlmt.org.uk/share/Images/2019/2019-16.20.JPG|x50px]] | ||
| + | | | ||
| + | |align="Left"|[[2019/16.20: Photograph of Girls School Rickmansworth, the Chapel|Photograph of Girls School Rickmansworth, the Chapel]] | ||
| + | | | ||
| + | |align="Left"|[[2019/16.20: Photograph of Girls School Rickmansworth, the Chapel|Photograph]] | ||
| + | |align="Left"|[[2019/16.20: Photograph of Girls School Rickmansworth, the Chapel|2019/16.20]] | ||
| + | |- | ||
| + | |[[File:2019-16.6.JPG|center|link=http://catalogue.wmlmt.org.uk/share/Images/2019/2019-16.6.JPG|x50px]] | ||
| + | | | ||
| + | |align="Left"|[[2019/16.6: Photograph Bushy Boys School before sold and turned into apartments|Photograph Bushy Boys School before sold and turned into apartments]] | ||
| + | | | ||
| + | |align="Left"|[[2019/16.6: Photograph Bushy Boys School before sold and turned into apartments|Photograph]] | ||
| + | |align="Left"|[[2019/16.6: Photograph Bushy Boys School before sold and turned into apartments|2019/16.6]] | ||
| + | |- | ||
| + | |[[File:2019-16.7.JPG|center|link=http://catalogue.wmlmt.org.uk/share/Images/2019/2019-16.7.JPG|x50px]] | ||
| + | | | ||
| + | |align="Left"|[[2019/16.7: Photograph Bushy Boys School before sold and turned into apartments|Photograph Bushy Boys School before sold and turned into apartments]] | ||
| + | | | ||
| + | |align="Left"|[[2019/16.7: Photograph Bushy Boys School before sold and turned into apartments|Photograph]] | ||
| + | |align="Left"|[[2019/16.7: Photograph Bushy Boys School before sold and turned into apartments|2019/16.7]] | ||
| + | |- | ||
| + | |[[File:2019-16.8.JPG|center|link=http://catalogue.wmlmt.org.uk/share/Images/2019/2019-16.8.JPG|x50px]] | ||
| + | | | ||
| + | |align="Left"|[[2019/16.8: Photograph Bushy Boys School before sold and turned into apartments|Photograph Bushy Boys School before sold and turned into apartments]] | ||
| + | | | ||
| + | |align="Left"|[[2019/16.8: Photograph Bushy Boys School before sold and turned into apartments|Photograph]] | ||
| + | |align="Left"|[[2019/16.8: Photograph Bushy Boys School before sold and turned into apartments|2019/16.8]] | ||
| + | |- | ||
| + | |[[File:2019-16.9.JPG|center|link=http://catalogue.wmlmt.org.uk/share/Images/2019/2019-16.9.JPG|x50px]] | ||
| + | | | ||
| + | |align="Left"|[[2019/16.9: Photograph Bushy Boys School before sold and turned into apartments|Photograph Bushy Boys School before sold and turned into apartments]] | ||
| + | | | ||
| + | |align="Left"|[[2019/16.9: Photograph Bushy Boys School before sold and turned into apartments|Photograph]] | ||
| + | |align="Left"|[[2019/16.9: Photograph Bushy Boys School before sold and turned into apartments|2019/16.9]] | ||
| + | |- | ||
| + | |[[File:2019-2.17.JPG|center|link=http://catalogue.wmlmt.org.uk/share/Images/2019/2019-2.17.JPG|x50px]] | ||
| + | | | ||
| + | |align="Left"|[[2019/2.17: Photograph believed to be of Members of Old Wrekinian Lodge No.5481 dated on back 1983|Photograph believed to be of Members of Old Wrekinian Lodge No.5481 dated on back 1983]] | ||
| + | |align="Left"|[[2019/2.17: Photograph believed to be of Members of Old Wrekinian Lodge No.5481 dated on back 1983|1983]] | ||
| + | |align="Left"|[[2019/2.17: Photograph believed to be of Members of Old Wrekinian Lodge No.5481 dated on back 1983|Photograph]] | ||
| + | |align="Left"|[[2019/2.17: Photograph believed to be of Members of Old Wrekinian Lodge No.5481 dated on back 1983|2019/2.17]] | ||
| + | |- | ||
| + | |[[File:2019-2.30.JPG|center|link=http://catalogue.wmlmt.org.uk/share/Images/2019/2019-2.30.JPG|x50px]] | ||
| + | | | ||
| + | |align="Left"|[[2019/2.30: Photgraph of D H Philips of St Alphege Lodge No.1431|Photgraph of D H Philips of St Alphege Lodge No.1431]] | ||
| + | | | ||
| + | |align="Left"|[[2019/2.30: Photgraph of D H Philips of St Alphege Lodge No.1431|Photograph]] | ||
| + | |align="Left"|[[2019/2.30: Photgraph of D H Philips of St Alphege Lodge No.1431|2019/2.30]] | ||
| + | |- | ||
| + | |[[File:2019-2.37.JPG|center|link=http://catalogue.wmlmt.org.uk/share/Images/2019/2019-2.37.JPG|x50px]] | ||
| + | | | ||
| + | |align="Left"|[[2019/2.37: Photograph of Masters Pedestal of St Alphege Lodge No.1431/1|Photograph of Masters Pedestal of St Alphege Lodge No.1431]] | ||
| + | | | ||
| + | |align="Left"|[[2019/2.37: Photograph of Masters Pedestal of St Alphege Lodge No.1431/1|Photograph]] | ||
| + | |align="Left"|[[2019/2.37: Photograph of Masters Pedestal of St Alphege Lodge No.1431/1|2019/2.37]] | ||
| + | |- | ||
| + | |[[File:2019-2.38.JPG|center|link=http://catalogue.wmlmt.org.uk/share/Images/2019/2019-2.38.JPG|x50px]] | ||
| + | | | ||
| + | |align="Left"|[[2019/2.38: Photograph of W.Bro D H Philips with W.Bro of St Alphege Lodge No.1431/1|Photograph of W.Bro D H Philips with W.Bro of St Alphege Lodge No.1431]] | ||
| + | | | ||
| + | |align="Left"|[[2019/2.38: Photograph of W.Bro D H Philips with W.Bro of St Alphege Lodge No.1431/1|Photograph]] | ||
| + | |align="Left"|[[2019/2.38: Photograph of W.Bro D H Philips with W.Bro of St Alphege Lodge No.1431/1|2019/2.38]] | ||
| + | |- | ||
| + | |[[File:2019-2.39.JPG|center|link=http://catalogue.wmlmt.org.uk/share/Images/2019/2019-2.39.JPG|x50px]] | ||
| + | | | ||
| + | |align="Left"|[[2019/2.39: Photograph of W.Bro D H Philips with Master , PGM and DC at St Alphege Lodge No.1431/1|Photograph of W.Bro D H Philips with Master , PGM and DC at St Alphege Lodge No.1431]] | ||
| + | | | ||
| + | |align="Left"|[[2019/2.39: Photograph of W.Bro D H Philips with Master , PGM and DC at St Alphege Lodge No.1431/1|Photograph]] | ||
| + | |align="Left"|[[2019/2.39: Photograph of W.Bro D H Philips with Master , PGM and DC at St Alphege Lodge No.1431/1|2019/2.39]] | ||
| + | |- | ||
| + | |[[File:2019-2.40.JPG|center|link=http://catalogue.wmlmt.org.uk/share/Images/2019/2019-2.40.JPG|x50px]] | ||
| + | | | ||
| + | |align="Left"|[[2019/2.40: Photograph W.Bro D H Philips with Master of St Alphage Lodge No.1431 and PGM/1|Photograph W.Bro D H Philips with Master of St Alphage Lodge No.1431 and PGM]] | ||
| + | | | ||
| + | |align="Left"|[[2019/2.40: Photograph W.Bro D H Philips with Master of St Alphage Lodge No.1431 and PGM/1|Photograph]] | ||
| + | |align="Left"|[[2019/2.40: Photograph W.Bro D H Philips with Master of St Alphage Lodge No.1431 and PGM/1|2019/2.40]] | ||
| + | |- | ||
| + | |[[File:2020-5.150.JPG|center|link=http://catalogue.wmlmt.org.uk/share/Images/2020/2020-5.150.JPG|x50px]] | ||
| + | | | ||
| + | |align="Left"|[[2020/5.150: Postcard of Masonic Temple, formerly the Old Court House. Building erected in 1771. Camden SC|Postcard of Masonic Temple, formerly the Old Court House. Building erected in 1771. Camden SC]] | ||
| + | | | ||
| + | |align="Left"|[[2020/5.150: Postcard of Masonic Temple, formerly the Old Court House. Building erected in 1771. Camden SC|Post Card]] | ||
| + | |align="Left"|[[2020/5.150: Postcard of Masonic Temple, formerly the Old Court House. Building erected in 1771. Camden SC|2020/5.150]] | ||
| + | |- | ||
| + | |[[File:2020-5.171.JPG|center|link=http://catalogue.wmlmt.org.uk/share/Images/2020/2020-5.171.JPG|x50px]] | ||
| + | | | ||
| + | |align="Left"|[[2020/5.171: Postcard of the Nova Scotia Freemasons' Home, Windsor, Nova Scotia|Postcard of the Nova Scotia Freemasons' Home, Windsor, Nova Scotia]] | ||
| + | | | ||
| + | |align="Left"|[[2020/5.171: Postcard of the Nova Scotia Freemasons' Home, Windsor, Nova Scotia|Post Card]] | ||
| + | |align="Left"|[[2020/5.171: Postcard of the Nova Scotia Freemasons' Home, Windsor, Nova Scotia|2020/5.171]] | ||
| + | |- | ||
| + | |[[File:2020-5.173.JPG|center|link=http://catalogue.wmlmt.org.uk/share/Images/2020/2020-5.173.JPG|x50px]] | ||
| + | | | ||
| + | |align="Left"|[[2020/5.173: Photograph of E.Knight Murray Brown in Templar regalia|Photograph of E.Knight Murray Brown in Templar regalia]] | ||
| + | | | ||
| + | |align="Left"|[[2020/5.173: Photograph of E.Knight Murray Brown in Templar regalia|Photograph]] | ||
| + | |align="Left"|[[2020/5.173: Photograph of E.Knight Murray Brown in Templar regalia|2020/5.173]] | ||
| + | |- | ||
| + | |[[File:2020-5.174.JPG|center|link=http://catalogue.wmlmt.org.uk/share/Images/2020/2020-5.174.JPG|x50px]] | ||
| + | | | ||
| + | |align="Left"|[[2020/5.174: Photograph of Mason in19th century Rose Croix Regalia|Photograph of Mason in19th century Rose Croix Regalia]] | ||
| + | | | ||
| + | |align="Left"|[[2020/5.174: Photograph of Mason in19th century Rose Croix Regalia|Photograph]] | ||
| + | |align="Left"|[[2020/5.174: Photograph of Mason in19th century Rose Croix Regalia|2020/5.174]] | ||
| + | |- | ||
| + | |[[File:2020-5.30.JPG|center|link=http://catalogue.wmlmt.org.uk/share/Images/2020/2020-5.30.JPG|x50px]] | ||
| + | | | ||
| + | |align="Left"|[[2020/5.30: Photograph - Tiled surface - Masonic design (date unknown)|Photograph - Tiled surface - Masonic design (date unknown)]] | ||
| + | | | ||
| + | |align="Left"|[[2020/5.30: Photograph - Tiled surface - Masonic design (date unknown)|Photograph]] | ||
| + | |align="Left"|[[2020/5.30: Photograph - Tiled surface - Masonic design (date unknown)|2020/5.30]] | ||
| + | |- | ||
| + | |[[File:2020-5.314.pdf|center|page=1|link=http://catalogue.wmlmt.org.uk/share/Images/Copyright.JPG|x50px]] | ||
| + | |© | ||
| + | |align="Left"|[[2020/5.314: Copy of Painting of R.W. Bro. John Dent PGM (Worcestershire 1792-1826|Copy of Painting of R.W. Bro. John Dent PGM (Worcestershire 1792-1826]] | ||
| + | | | ||
| + | |align="Left"|[[2020/5.314: Copy of Painting of R.W. Bro. John Dent PGM (Worcestershire 1792-1826|Painting]] | ||
| + | |align="Left"|[[2020/5.314: Copy of Painting of R.W. Bro. John Dent PGM (Worcestershire 1792-1826|2020/5.314]] | ||
| + | |- | ||
| + | |[[File:2020-5.328.pdf|center|page=1|link=http://catalogue.wmlmt.org.uk/share/Files/2020\2020-5.328.pdf|x50px]] | ||
| + | |0.2 | ||
| + | |align="Left"|[[2020/5.328: Photograph of Rev. Henry McKean in Provincial Chaplain Masonic Regalia. Founder Godson Lodge No.2385 with covering letter/1|Photograph of Rev. Henry McKean in Provincial Chaplain Masonic Regalia. Founder Godson Lodge No.2385 with covering letter]] | ||
| + | | | ||
| + | |align="Left"|[[2020/5.328: Photograph of Rev. Henry McKean in Provincial Chaplain Masonic Regalia. Founder Godson Lodge No.2385 with covering letter/1|Photograph]] | ||
| + | |align="Left"|[[2020/5.328: Photograph of Rev. Henry McKean in Provincial Chaplain Masonic Regalia. Founder Godson Lodge No.2385 with covering letter/1|2020/5.328]] | ||
| + | |- | ||
| + | |[[File:2020-5.391.JPG|center|link=http://catalogue.wmlmt.org.uk/share/Images/2020/2020-5.391.JPG|x50px]] | ||
| + | | | ||
| + | |align="Left"|[[2020/5.391: Print of authentic signatures of William Shakespeare|Print of authentic signatures of William Shakespeare]] | ||
| + | | | ||
| + | |align="Left"|[[2020/5.391: Print of authentic signatures of William Shakespeare|Print/Plate]] | ||
| + | |align="Left"|[[2020/5.391: Print of authentic signatures of William Shakespeare|2020/5.391]] | ||
| + | |- | ||
| + | |[[File:2020-5.394.JPG|center|link=http://catalogue.wmlmt.org.uk/share/Images/2020/2020-5.394.JPG|x50px]] | ||
| + | | | ||
| + | |align="Left"|[[2020/5.394: Photograph of unknown member of KT {Richard Woof???}|Photograph of unknown member of KT {Richard Woof???}]] | ||
| + | | | ||
| + | |align="Left"|[[2020/5.394: Photograph of unknown member of KT {Richard Woof???}|Photograph]] | ||
| + | |align="Left"|[[2020/5.394: Photograph of unknown member of KT {Richard Woof???}|2020/5.394]] | ||
| + | |- | ||
| + | |[[File:2020-5.395.pdf|center|page=1|link=http://catalogue.wmlmt.org.uk/share/Files/2020\2020-5.395.pdf|x50px]] | ||
| + | |0.3 | ||
| + | |align="Left"|[[2020/5.395: Dedication to the Duke of Cumberland - Grand Master - Plate/1|Dedication to the Duke of Cumberland - Grand Master - Plate]] | ||
| + | | | ||
| + | |align="Left"|[[2020/5.395: Dedication to the Duke of Cumberland - Grand Master - Plate/1|Print/Plate]] | ||
| + | |align="Left"|[[2020/5.395: Dedication to the Duke of Cumberland - Grand Master - Plate/1|2020/5.395]] | ||
| + | |- | ||
| + | |[[File:2020-5.396.pdf|center|page=1|link=http://catalogue.wmlmt.org.uk/share/Files/2020\2020-5.396.pdf|x50px]] | ||
| + | |0.1 | ||
| + | |align="Left"|[[2020/5.396: Plate of A Bonfire before the Ruins of the HRDM Castle in Commemoration of Institution of the Royal Cumberland Free Masons School on Lady Day the 25/3/1788/1|Plate of A Bonfire before the Ruins of the HRDM Castle in Commemoration of Institution of the Royal Cumberland Free Masons School on Lady Day the 25/3/1788]] | ||
| + | | | ||
| + | |align="Left"|[[2020/5.396: Plate of A Bonfire before the Ruins of the HRDM Castle in Commemoration of Institution of the Royal Cumberland Free Masons School on Lady Day the 25/3/1788/1|Print/Plate]] | ||
| + | |align="Left"|[[2020/5.396: Plate of A Bonfire before the Ruins of the HRDM Castle in Commemoration of Institution of the Royal Cumberland Free Masons School on Lady Day the 25/3/1788/1|2020/5.396]] | ||
| + | |- | ||
| + | |[[File:2020-5.404.1.JPG|center|link=http://catalogue.wmlmt.org.uk/share/Images/2020/2020-5.404.1.JPG|x50px]] | ||
| + | | | ||
| + | |align="Left"|[[2020/5.404.1: Photograph of Museum Exhibition held in Dining Room at Rainbow Hill Masonic Hall, Worcester (1 of 17)|Photograph of Museum Exhibition held in Dining Room at Rainbow Hill Masonic Hall, Worcester (1 of 17)]] | ||
| + | | | ||
| + | |align="Left"|[[2020/5.404.1: Photograph of Museum Exhibition held in Dining Room at Rainbow Hill Masonic Hall, Worcester (1 of 17)|Photograph]] | ||
| + | |align="Left"|[[2020/5.404.1: Photograph of Museum Exhibition held in Dining Room at Rainbow Hill Masonic Hall, Worcester (1 of 17)|2020/5.404.1]] | ||
| + | |- | ||
| + | |[[File:2020-5.404.11.JPG|center|link=http://catalogue.wmlmt.org.uk/share/Images/2020/2020-5.404.11.JPG|x50px]] | ||
| + | | | ||
| + | |align="Left"|[[2020/5.404.11: Photograph of Museum Exhibition held in Dining Room at Rainbow Hill Masonic Hall, Worcester (10 of 17)|Photograph of Museum Exhibition held in Dining Room at Rainbow Hill Masonic Hall, Worcester (10 of 17)]] | ||
| + | | | ||
| + | |align="Left"|[[2020/5.404.11: Photograph of Museum Exhibition held in Dining Room at Rainbow Hill Masonic Hall, Worcester (10 of 17)|Photograph]] | ||
| + | |align="Left"|[[2020/5.404.11: Photograph of Museum Exhibition held in Dining Room at Rainbow Hill Masonic Hall, Worcester (10 of 17)|2020/5.404.11]] | ||
| + | |- | ||
| + | |[[File:2020-5.404.12.JPG|center|link=http://catalogue.wmlmt.org.uk/share/Images/2020/2020-5.404.12.JPG|x50px]] | ||
| + | | | ||
| + | |align="Left"|[[2020/5.404.12: Photograph of Museum Exhibition held in Dining Room at Rainbow Hill Masonic Hall, Worcester (11 of 17)|Photograph of Museum Exhibition held in Dining Room at Rainbow Hill Masonic Hall, Worcester (11 of 17)]] | ||
| + | | | ||
| + | |align="Left"|[[2020/5.404.12: Photograph of Museum Exhibition held in Dining Room at Rainbow Hill Masonic Hall, Worcester (11 of 17)|Photograph]] | ||
| + | |align="Left"|[[2020/5.404.12: Photograph of Museum Exhibition held in Dining Room at Rainbow Hill Masonic Hall, Worcester (11 of 17)|2020/5.404.12]] | ||
| + | |- | ||
| + | |[[File:2020-5.404.13.JPG|center|link=http://catalogue.wmlmt.org.uk/share/Images/2020/2020-5.404.13.JPG|x50px]] | ||
| + | | | ||
| + | |align="Left"|[[2020/5.404.13: Photograph of Museum Exhibition held in Dining Room at Rainbow Hill Masonic Hall, Worcester (12 of 17)|Photograph of Museum Exhibition held in Dining Room at Rainbow Hill Masonic Hall, Worcester (12 of 17)]] | ||
| + | | | ||
| + | |align="Left"|[[2020/5.404.13: Photograph of Museum Exhibition held in Dining Room at Rainbow Hill Masonic Hall, Worcester (12 of 17)|Photograph]] | ||
| + | |align="Left"|[[2020/5.404.13: Photograph of Museum Exhibition held in Dining Room at Rainbow Hill Masonic Hall, Worcester (12 of 17)|2020/5.404.13]] | ||
| + | |- | ||
| + | |[[File:2020-5.404.14.JPG|center|link=http://catalogue.wmlmt.org.uk/share/Images/2020/2020-5.404.14.JPG|x50px]] | ||
| + | | | ||
| + | |align="Left"|[[2020/5.404.14: Photograph of Museum Exhibition held in Dining Room at Rainbow Hill Masonic Hall, Worcester (13 of 17)/1|Photograph of Museum Exhibition held in Dining Room at Rainbow Hill Masonic Hall, Worcester (13 of 17)]] | ||
| + | | | ||
| + | |align="Left"|[[2020/5.404.14: Photograph of Museum Exhibition held in Dining Room at Rainbow Hill Masonic Hall, Worcester (13 of 17)/1|Photograph]] | ||
| + | |align="Left"|[[2020/5.404.14: Photograph of Museum Exhibition held in Dining Room at Rainbow Hill Masonic Hall, Worcester (13 of 17)/1|2020/5.404.14]] | ||
| + | |- | ||
| + | |[[File:2020-5.404.15.JPG|center|link=http://catalogue.wmlmt.org.uk/share/Images/2020/2020-5.404.15.JPG|x50px]] | ||
| + | | | ||
| + | |align="Left"|[[2020/5.404.15: Photograph of Museum Exhibition held in Dining Room at Rainbow Hill Masonic Hall, Worcester (14 of 17)|Photograph of Museum Exhibition held in Dining Room at Rainbow Hill Masonic Hall, Worcester (14 of 17)]] | ||
| + | | | ||
| + | |align="Left"|[[2020/5.404.15: Photograph of Museum Exhibition held in Dining Room at Rainbow Hill Masonic Hall, Worcester (14 of 17)|Photograph]] | ||
| + | |align="Left"|[[2020/5.404.15: Photograph of Museum Exhibition held in Dining Room at Rainbow Hill Masonic Hall, Worcester (14 of 17)|2020/5.404.15]] | ||
| + | |- | ||
| + | |[[File:2020-5.404.16.JPG|center|link=http://catalogue.wmlmt.org.uk/share/Images/2020/2020-5.404.16.JPG|x50px]] | ||
| + | | | ||
| + | |align="Left"|[[2020/5.404.16: Photograph of Museum Exhibition held in Dining Room at Rainbow Hill Masonic Hall, Worcester (15 of 17)|Photograph of Museum Exhibition held in Dining Room at Rainbow Hill Masonic Hall, Worcester (15 of 17)]] | ||
| + | | | ||
| + | |align="Left"|[[2020/5.404.16: Photograph of Museum Exhibition held in Dining Room at Rainbow Hill Masonic Hall, Worcester (15 of 17)|Photograph]] | ||
| + | |align="Left"|[[2020/5.404.16: Photograph of Museum Exhibition held in Dining Room at Rainbow Hill Masonic Hall, Worcester (15 of 17)|2020/5.404.16]] | ||
| + | |- | ||
| + | |[[File:2020-5.404.17.JPG|center|link=http://catalogue.wmlmt.org.uk/share/Images/2020/2020-5.404.17.JPG|x50px]] | ||
| + | | | ||
| + | |align="Left"|[[2020/5.404.17: Photograph of Museum Exhibition held in Dining Room at Rainbow Hill Masonic Hall, Worcester (16 of 17)|Photograph of Museum Exhibition held in Dining Room at Rainbow Hill Masonic Hall, Worcester (16 of 17)]] | ||
| + | | | ||
| + | |align="Left"|[[2020/5.404.17: Photograph of Museum Exhibition held in Dining Room at Rainbow Hill Masonic Hall, Worcester (16 of 17)|Photograph]] | ||
| + | |align="Left"|[[2020/5.404.17: Photograph of Museum Exhibition held in Dining Room at Rainbow Hill Masonic Hall, Worcester (16 of 17)|2020/5.404.17]] | ||
| + | |- | ||
| + | |[[File:2020-5.404.18.JPG|center|link=http://catalogue.wmlmt.org.uk/share/Images/2020/2020-5.404.18.JPG|x50px]] | ||
| + | | | ||
| + | |align="Left"|[[2020/5.404.18: Photograph of Museum Exhibition held in Dining Room at Rainbow Hill Masonic Hall, Worcester (17 of 17)|Photograph of Museum Exhibition held in Dining Room at Rainbow Hill Masonic Hall, Worcester (17 of 17)]] | ||
| + | | | ||
| + | |align="Left"|[[2020/5.404.18: Photograph of Museum Exhibition held in Dining Room at Rainbow Hill Masonic Hall, Worcester (17 of 17)|Photograph]] | ||
| + | |align="Left"|[[2020/5.404.18: Photograph of Museum Exhibition held in Dining Room at Rainbow Hill Masonic Hall, Worcester (17 of 17)|2020/5.404.18]] | ||
| + | |- | ||
| + | |[[File:2020-5.404.2.JPG|center|link=http://catalogue.wmlmt.org.uk/share/Images/2020/2020-5.404.2.JPG|x50px]] | ||
| + | | | ||
| + | |align="Left"|[[2020/5.404.2: Photograph of Museum Exhibition held in Dining Room at Rainbow Hill Masonic Hall, Worcester (2 of 17)|Photograph of Museum Exhibition held in Dining Room at Rainbow Hill Masonic Hall, Worcester (2 of 17)]] | ||
| + | | | ||
| + | |align="Left"|[[2020/5.404.2: Photograph of Museum Exhibition held in Dining Room at Rainbow Hill Masonic Hall, Worcester (2 of 17)|Photograph]] | ||
| + | |align="Left"|[[2020/5.404.2: Photograph of Museum Exhibition held in Dining Room at Rainbow Hill Masonic Hall, Worcester (2 of 17)|2020/5.404.2]] | ||
| + | |- | ||
| + | |[[File:2020-5.404.3.JPG|center|link=http://catalogue.wmlmt.org.uk/share/Images/2020/2020-5.404.3.JPG|x50px]] | ||
| + | | | ||
| + | |align="Left"|[[2020/5.404.3: Photograph of Museum Exhibition held in Dining Room at Rainbow Hill Masonic Hall, Worcester (3 of 17)|Photograph of Museum Exhibition held in Dining Room at Rainbow Hill Masonic Hall, Worcester (3 of 17)]] | ||
| + | | | ||
| + | |align="Left"|[[2020/5.404.3: Photograph of Museum Exhibition held in Dining Room at Rainbow Hill Masonic Hall, Worcester (3 of 17)|Photograph]] | ||
| + | |align="Left"|[[2020/5.404.3: Photograph of Museum Exhibition held in Dining Room at Rainbow Hill Masonic Hall, Worcester (3 of 17)|2020/5.404.3]] | ||
| + | |- | ||
| + | |[[File:2020-5.404.4.JPG|center|link=http://catalogue.wmlmt.org.uk/share/Images/2020/2020-5.404.4.JPG|x50px]] | ||
| + | | | ||
| + | |align="Left"|[[2020/5.404.4: Photograph of Museum Exhibition held in Dining Room at Rainbow Hill Masonic Hall, Worcester (4 of 17)|Photograph of Museum Exhibition held in Dining Room at Rainbow Hill Masonic Hall, Worcester (4 of 17)]] | ||
| + | | | ||
| + | |align="Left"|[[2020/5.404.4: Photograph of Museum Exhibition held in Dining Room at Rainbow Hill Masonic Hall, Worcester (4 of 17)|Photograph]] | ||
| + | |align="Left"|[[2020/5.404.4: Photograph of Museum Exhibition held in Dining Room at Rainbow Hill Masonic Hall, Worcester (4 of 17)|2020/5.404.4]] | ||
| + | |- | ||
| + | |[[File:2020-5.404.5.JPG|center|link=http://catalogue.wmlmt.org.uk/share/Images/2020/2020-5.404.5.JPG|x50px]] | ||
| + | | | ||
| + | |align="Left"|[[2020/5.404.5: Photograph of Museum Exhibition held in Dining Room at Rainbow Hill Masonic Hall, Worcester (5 of 17)|Photograph of Museum Exhibition held in Dining Room at Rainbow Hill Masonic Hall, Worcester (5 of 17)]] | ||
| + | | | ||
| + | |align="Left"|[[2020/5.404.5: Photograph of Museum Exhibition held in Dining Room at Rainbow Hill Masonic Hall, Worcester (5 of 17)|Photograph]] | ||
| + | |align="Left"|[[2020/5.404.5: Photograph of Museum Exhibition held in Dining Room at Rainbow Hill Masonic Hall, Worcester (5 of 17)|2020/5.404.5]] | ||
| + | |- | ||
| + | |[[File:2020-5.404.6.JPG|center|link=http://catalogue.wmlmt.org.uk/share/Images/2020/2020-5.404.6.JPG|x50px]] | ||
| + | | | ||
| + | |align="Left"|[[2020/5.404.6: Photograph of Museum Exhibition held in Dining Room at Rainbow Hill Masonic Hall, Worcester (6 of 17)|Photograph of Museum Exhibition held in Dining Room at Rainbow Hill Masonic Hall, Worcester (6 of 17)]] | ||
| + | | | ||
| + | |align="Left"|[[2020/5.404.6: Photograph of Museum Exhibition held in Dining Room at Rainbow Hill Masonic Hall, Worcester (6 of 17)|Photograph]] | ||
| + | |align="Left"|[[2020/5.404.6: Photograph of Museum Exhibition held in Dining Room at Rainbow Hill Masonic Hall, Worcester (6 of 17)|2020/5.404.6]] | ||
| + | |- | ||
| + | |[[File:2020-5.404.7.JPG|center|link=http://catalogue.wmlmt.org.uk/share/Images/2020/2020-5.404.7.JPG|x50px]] | ||
| + | | | ||
| + | |align="Left"|[[2020/5.404.7: Photograph of Museum Exhibition held in Dining Room at Rainbow Hill Masonic Hall, Worcester (7 of 17)|Photograph of Museum Exhibition held in Dining Room at Rainbow Hill Masonic Hall, Worcester (7 of 17)]] | ||
| + | | | ||
| + | |align="Left"|[[2020/5.404.7: Photograph of Museum Exhibition held in Dining Room at Rainbow Hill Masonic Hall, Worcester (7 of 17)|Photograph]] | ||
| + | |align="Left"|[[2020/5.404.7: Photograph of Museum Exhibition held in Dining Room at Rainbow Hill Masonic Hall, Worcester (7 of 17)|2020/5.404.7]] | ||
| + | |- | ||
| + | |[[File:2020-5.404.8.JPG|center|link=http://catalogue.wmlmt.org.uk/share/Images/2020/2020-5.404.8.JPG|x50px]] | ||
| + | | | ||
| + | |align="Left"|[[2020/5.404.8: Photograph of Museum Exhibition held in Dining Room at Rainbow Hill Masonic Hall, Worcester (8 of 17)|Photograph of Museum Exhibition held in Dining Room at Rainbow Hill Masonic Hall, Worcester (8 of 17)]] | ||
| + | | | ||
| + | |align="Left"|[[2020/5.404.8: Photograph of Museum Exhibition held in Dining Room at Rainbow Hill Masonic Hall, Worcester (8 of 17)|Photograph]] | ||
| + | |align="Left"|[[2020/5.404.8: Photograph of Museum Exhibition held in Dining Room at Rainbow Hill Masonic Hall, Worcester (8 of 17)|2020/5.404.8]] | ||
| + | |- | ||
| + | |[[File:2020-5.404.9.JPG|center|link=http://catalogue.wmlmt.org.uk/share/Images/2020/2020-5.404.9.JPG|x50px]] | ||
| + | | | ||
| + | |align="Left"|[[2020/5.404.9: Photograph of Museum Exhibition held in Dining Room at Rainbow Hill Masonic Hall, Worcester (9 of 17)|Photograph of Museum Exhibition held in Dining Room at Rainbow Hill Masonic Hall, Worcester (9 of 17)]] | ||
| + | | | ||
| + | |align="Left"|[[2020/5.404.9: Photograph of Museum Exhibition held in Dining Room at Rainbow Hill Masonic Hall, Worcester (9 of 17)|Photograph]] | ||
| + | |align="Left"|[[2020/5.404.9: Photograph of Museum Exhibition held in Dining Room at Rainbow Hill Masonic Hall, Worcester (9 of 17)|2020/5.404.9]] | ||
| + | |- | ||
| + | |[[File:2020-5.405.pdf|center|page=1|link=http://catalogue.wmlmt.org.uk/share/Files/2020\2020-5.405.pdf|x50px]] | ||
| + | |0.2 | ||
| + | |align="Left"|[[2020/5.405: Photoraph of the Warrant of St Paul's Lodge No.43 issued at the Bi Centenary of the Lodge/1|Photoraph of the Warrant of St Paul's Lodge No.43 issued at the Bi Centenary of the Lodge]] | ||
| + | |align="Left"|[[2020/5.405: Photoraph of the Warrant of St Paul's Lodge No.43 issued at the Bi Centenary of the Lodge/1|1933]] | ||
| + | |align="Left"|[[2020/5.405: Photoraph of the Warrant of St Paul's Lodge No.43 issued at the Bi Centenary of the Lodge/1|Photograph]] | ||
| + | |align="Left"|[[2020/5.405: Photoraph of the Warrant of St Paul's Lodge No.43 issued at the Bi Centenary of the Lodge/1|2020/5.405]] | ||
| + | |- | ||
| + | |[[File:2020-5.408.1.JPG|center|link=http://catalogue.wmlmt.org.uk/share/Images/2020/2020-5.408.1.JPG|x50px]] | ||
| + | | | ||
| + | |align="Left"|[[2020/5.408.1: Collection of Portraits (1 of 44): Lieut-General Sir Francis Davies/1|Collection of Portraits (1 of 44): Lieut-General Sir Francis Davies]] | ||
| + | | | ||
| + | |align="Left"|[[2020/5.408.1: Collection of Portraits (1 of 44): Lieut-General Sir Francis Davies/1|Print/Plate]] | ||
| + | |align="Left"|[[2020/5.408.1: Collection of Portraits (1 of 44): Lieut-General Sir Francis Davies/1|2020/5.408.1]] | ||
| + | |- | ||
| + | |[[File:2020-5.408.11.JPG|center|link=http://catalogue.wmlmt.org.uk/share/Images/2020/2020-5.408.11.JPG|x50px]] | ||
| + | | | ||
| + | |align="Left"|[[2020/5.408.11: Collection of Portraits (10 of 44): E. Knight Thomas Rowbotham/1|Collection of Portraits (10 of 44): E. Knight Thomas Rowbotham]] | ||
| + | | | ||
| + | |align="Left"|[[2020/5.408.11: Collection of Portraits (10 of 44): E. Knight Thomas Rowbotham/1|Print/Plate]] | ||
| + | |align="Left"|[[2020/5.408.11: Collection of Portraits (10 of 44): E. Knight Thomas Rowbotham/1|2020/5.408.11]] | ||
| + | |- | ||
| + | |[[File:2020-5.408.12.JPG|center|link=http://catalogue.wmlmt.org.uk/share/Images/2020/2020-5.408.12.JPG|x50px]] | ||
| + | | | ||
| + | |align="Left"|[[2020/5.408.12: Collection of Portraits (11 of 44): E.Knight T B Woollen/1|Collection of Portraits (11 of 44): E.Knight T B Woollen]] | ||
| + | | | ||
| + | |align="Left"|[[2020/5.408.12: Collection of Portraits (11 of 44): E.Knight T B Woollen/1|Print/Plate]] | ||
| + | |align="Left"|[[2020/5.408.12: Collection of Portraits (11 of 44): E.Knight T B Woollen/1|2020/5.408.12]] | ||
| + | |- | ||
| + | |[[File:2020-5.408.13.JPG|center|link=http://catalogue.wmlmt.org.uk/share/Images/2020/2020-5.408.13.JPG|x50px]] | ||
| + | | | ||
| + | |align="Left"|[[2020/5.408.13: Collection of Portraits (12 of 44): Knight J Edwin Mitchell/1|Collection of Portraits (12 of 44): Knight J Edwin Mitchell]] | ||
| + | | | ||
| + | |align="Left"|[[2020/5.408.13: Collection of Portraits (12 of 44): Knight J Edwin Mitchell/1|Print/Plate]] | ||
| + | |align="Left"|[[2020/5.408.13: Collection of Portraits (12 of 44): Knight J Edwin Mitchell/1|2020/5.408.13]] | ||
| + | |- | ||
| + | |[[File:2020-5.408.14.JPG|center|link=http://catalogue.wmlmt.org.uk/share/Images/2020/2020-5.408.14.JPG|x50px]] | ||
| + | | | ||
| + | |align="Left"|[[2020/5.408.14: Collection of Portraits (13 of 44): Unidentified/1|Collection of Portraits (13 of 44): Unidentified]] | ||
| + | | | ||
| + | |align="Left"|[[2020/5.408.14: Collection of Portraits (13 of 44): Unidentified/1|Print/Plate]] | ||
| + | |align="Left"|[[2020/5.408.14: Collection of Portraits (13 of 44): Unidentified/1|2020/5.408.14]] | ||
| + | |- | ||
| + | |[[File:2020-5.408.15.JPG|center|link=http://catalogue.wmlmt.org.uk/share/Images/2020/2020-5.408.15.JPG|x50px]] | ||
| + | | | ||
| + | |align="Left"|[[2020/5.408.15: Collection of Portraits (14 of 44): J Farndale/1|Collection of Portraits (14 of 44): J Farndale]] | ||
| + | | | ||
| + | |align="Left"|[[2020/5.408.15: Collection of Portraits (14 of 44): J Farndale/1|Print/Plate]] | ||
| + | |align="Left"|[[2020/5.408.15: Collection of Portraits (14 of 44): J Farndale/1|2020/5.408.15]] | ||
| + | |- | ||
| + | |[[File:2020-5.408.16.JPG|center|link=http://catalogue.wmlmt.org.uk/share/Images/2020/2020-5.408.16.JPG|x50px]] | ||
| + | | | ||
| + | |align="Left"|[[2020/5.408.16: Collection of Portraits (15 of 44): Unidentified/1|Collection of Portraits (15 of 44): Unidentified]] | ||
| + | | | ||
| + | |align="Left"|[[2020/5.408.16: Collection of Portraits (15 of 44): Unidentified/1|Print/Plate]] | ||
| + | |align="Left"|[[2020/5.408.16: Collection of Portraits (15 of 44): Unidentified/1|2020/5.408.16]] | ||
| + | |- | ||
| + | |[[File:2020-5.408.17.JPG|center|link=http://catalogue.wmlmt.org.uk/share/Images/2020/2020-5.408.17.JPG|x50px]] | ||
| + | | | ||
| + | |align="Left"|[[2020/5.408.17: Collection of Portraits (16 of 44): S Abrahams/1|Collection of Portraits (16 of 44): S Abrahams]] | ||
| + | | | ||
| + | |align="Left"|[[2020/5.408.17: Collection of Portraits (16 of 44): S Abrahams/1|Print/Plate]] | ||
| + | |align="Left"|[[2020/5.408.17: Collection of Portraits (16 of 44): S Abrahams/1|2020/5.408.17]] | ||
| + | |- | ||
| + | |[[File:2020-5.408.18.JPG|center|link=http://catalogue.wmlmt.org.uk/share/Images/2020/2020-5.408.18.JPG|x50px]] | ||
| + | | | ||
| + | |align="Left"|[[2020/5.408.18: Collection of Portraits (17 of 44): B Silvester/1|Collection of Portraits (17 of 44): B Silvester]] | ||
| + | | | ||
| + | |align="Left"|[[2020/5.408.18: Collection of Portraits (17 of 44): B Silvester/1|Print/Plate]] | ||
| + | |align="Left"|[[2020/5.408.18: Collection of Portraits (17 of 44): B Silvester/1|2020/5.408.18]] | ||
| + | |- | ||
| + | |[[File:2020-5.408.19.JPG|center|link=http://catalogue.wmlmt.org.uk/share/Images/2020/2020-5.408.19.JPG|x50px]] | ||
| + | | | ||
| + | |align="Left"|[[2020/5.408.19: Collection of Portraits (18 of 44): E.Knight Howard J Collins/1|Collection of Portraits (18 of 44): E.Knight Howard J Collins]] | ||
| + | | | ||
| + | |align="Left"|[[2020/5.408.19: Collection of Portraits (18 of 44): E.Knight Howard J Collins/1|Print/Plate]] | ||
| + | |align="Left"|[[2020/5.408.19: Collection of Portraits (18 of 44): E.Knight Howard J Collins/1|2020/5.408.19]] | ||
| + | |- | ||
| + | |[[File:2020-5.408.2.JPG|center|link=http://catalogue.wmlmt.org.uk/share/Images/2020/2020-5.408.2.JPG|x50px]] | ||
| + | | | ||
| + | |align="Left"|[[2020/5.408.2: Collection of Portraits (2 of 44): J A Dexter/1|Collection of Portraits (2 of 44): J A Dexter]] | ||
| + | | | ||
| + | |align="Left"|[[2020/5.408.2: Collection of Portraits (2 of 44): J A Dexter/1|Print/Plate]] | ||
| + | |align="Left"|[[2020/5.408.2: Collection of Portraits (2 of 44): J A Dexter/1|2020/5.408.2]] | ||
| + | |- | ||
| + | |[[File:2020-5.408.21.JPG|center|link=http://catalogue.wmlmt.org.uk/share/Images/2020/2020-5.408.21.JPG|x50px]] | ||
| + | | | ||
| + | |align="Left"|[[2020/5.408.21: Collection of Portraits (19 of 44): Unidentified/1|Collection of Portraits (19 of 44): Unidentified]] | ||
| + | | | ||
| + | |align="Left"|[[2020/5.408.21: Collection of Portraits (19 of 44): Unidentified/1|Print/Plate]] | ||
| + | |align="Left"|[[2020/5.408.21: Collection of Portraits (19 of 44): Unidentified/1|2020/5.408.21]] | ||
| + | |- | ||
| + | |[[File:2020-5.408.22.JPG|center|link=http://catalogue.wmlmt.org.uk/share/Images/2020/2020-5.408.22.JPG|x50px]] | ||
| + | | | ||
| + | |align="Left"|[[2020/5.408.22: Collection of Portraits (20 of 44): W T Elliott/1|Collection of Portraits (20 of 44): W T Elliott]] | ||
| + | | | ||
| + | |align="Left"|[[2020/5.408.22: Collection of Portraits (20 of 44): W T Elliott/1|Print/Plate]] | ||
| + | |align="Left"|[[2020/5.408.22: Collection of Portraits (20 of 44): W T Elliott/1|2020/5.408.22]] | ||
| + | |- | ||
| + | |[[File:2020-5.408.23.JPG|center|link=http://catalogue.wmlmt.org.uk/share/Images/2020/2020-5.408.23.JPG|x50px]] | ||
| + | | | ||
| + | |align="Left"|[[2020/5.408.23: Collection of Portraits (21 of 44): Past Masters of the Lodge/1|Collection of Portraits (21 of 44): Past Masters of the Lodge]] | ||
| + | | | ||
| + | |align="Left"|[[2020/5.408.23: Collection of Portraits (21 of 44): Past Masters of the Lodge/1|Print/Plate]] | ||
| + | |align="Left"|[[2020/5.408.23: Collection of Portraits (21 of 44): Past Masters of the Lodge/1|2020/5.408.23]] | ||
| + | |- | ||
| + | |[[File:2020-5.408.24.JPG|center|link=http://catalogue.wmlmt.org.uk/share/Images/2020/2020-5.408.24.JPG|x50px]] | ||
| + | | | ||
| + | |align="Left"|[[2020/5.408.24: Collection of Portraits (22 of 44): W B Briggs/1|Collection of Portraits (22 of 44): W B Briggs]] | ||
| + | | | ||
| + | |align="Left"|[[2020/5.408.24: Collection of Portraits (22 of 44): W B Briggs/1|Print/Plate]] | ||
| + | |align="Left"|[[2020/5.408.24: Collection of Portraits (22 of 44): W B Briggs/1|2020/5.408.24]] | ||
| + | |- | ||
| + | |[[File:2020-5.408.25.JPG|center|link=http://catalogue.wmlmt.org.uk/share/Images/2020/2020-5.408.25.JPG|x50px]] | ||
| + | | | ||
| + | |align="Left"|[[2020/5.408.25: Collection of Portraits (23 of 44): Wm Randall/1|Collection of Portraits (23 of 44): Wm Randall]] | ||
| + | | | ||
| + | |align="Left"|[[2020/5.408.25: Collection of Portraits (23 of 44): Wm Randall/1|Print/Plate]] | ||
| + | |align="Left"|[[2020/5.408.25: Collection of Portraits (23 of 44): Wm Randall/1|2020/5.408.25]] | ||
| + | |- | ||
| + | |[[File:2020-5.408.26.JPG|center|link=http://catalogue.wmlmt.org.uk/share/Images/2020/2020-5.408.26.JPG|x50px]] | ||
| + | | | ||
| + | |align="Left"|[[2020/5.408.26: Collection of Portraits (24 of 44): Unidentified/1|Collection of Portraits (24 of 44): Unidentified]] | ||
| + | | | ||
| + | |align="Left"|[[2020/5.408.26: Collection of Portraits (24 of 44): Unidentified/1|Print/Plate]] | ||
| + | |align="Left"|[[2020/5.408.26: Collection of Portraits (24 of 44): Unidentified/1|2020/5.408.26]] | ||
| + | |- | ||
| + | |[[File:2020-5.408.27.JPG|center|link=http://catalogue.wmlmt.org.uk/share/Images/2020/2020-5.408.27.JPG|x50px]] | ||
| + | | | ||
| + | |align="Left"|[[2020/5.408.27: Collection of Portraits (25 of 44): Alderman Hallam/1|Collection of Portraits (25 of 44): Alderman Hallam]] | ||
| + | | | ||
| + | |align="Left"|[[2020/5.408.27: Collection of Portraits (25 of 44): Alderman Hallam/1|Print/Plate]] | ||
| + | |align="Left"|[[2020/5.408.27: Collection of Portraits (25 of 44): Alderman Hallam/1|2020/5.408.27]] | ||
| + | |- | ||
| + | |[[File:2020-5.408.28.JPG|center|link=http://catalogue.wmlmt.org.uk/share/Images/2020/2020-5.408.28.JPG|x50px]] | ||
| + | | | ||
| + | |align="Left"|[[2020/5.408.28: Collection of Portraits (26 of 44): Unidentified/1|Collection of Portraits (26 of 44): Unidentified]] | ||
| + | | | ||
| + | |align="Left"|[[2020/5.408.28: Collection of Portraits (26 of 44): Unidentified/1|Print/Plate]] | ||
| + | |align="Left"|[[2020/5.408.28: Collection of Portraits (26 of 44): Unidentified/1|2020/5.408.28]] | ||
| + | |- | ||
| + | |[[File:2020-5.408.29.JPG|center|link=http://catalogue.wmlmt.org.uk/share/Images/2020/2020-5.408.29.JPG|x50px]] | ||
| + | | | ||
| + | |align="Left"|[[2020/5.408.29: Collection of Portraits (27 of 44): Alderman R H Hume/1|Collection of Portraits (27 of 44): Alderman R H Hume]] | ||
| + | | | ||
| + | |align="Left"|[[2020/5.408.29: Collection of Portraits (27 of 44): Alderman R H Hume/1|Print/Plate]] | ||
| + | |align="Left"|[[2020/5.408.29: Collection of Portraits (27 of 44): Alderman R H Hume/1|2020/5.408.29]] | ||
| + | |- | ||
| + | |[[File:2020-5.408.3.JPG|center|link=http://catalogue.wmlmt.org.uk/share/Images/2020/2020-5.408.3.JPG|x50px]] | ||
| + | | | ||
| + | |align="Left"|[[2020/5.408.3: Collection of Portraits (3 of 44): E H Jones/1|Collection of Portraits (3 of 44): E H Jones]] | ||
| + | | | ||
| + | |align="Left"|[[2020/5.408.3: Collection of Portraits (3 of 44): E H Jones/1|Print/Plate]] | ||
| + | |align="Left"|[[2020/5.408.3: Collection of Portraits (3 of 44): E H Jones/1|2020/5.408.3]] | ||
| + | |- | ||
| + | |[[File:2020-5.408.31.JPG|center|link=http://catalogue.wmlmt.org.uk/share/Images/2020/2020-5.408.31.JPG|x50px]] | ||
| + | | | ||
| + | |align="Left"|[[2020/5.408.31: Collection of Portraits (28 of 44): T R Arter/1|Collection of Portraits (28 of 44): T R Arter]] | ||
| + | | | ||
| + | |align="Left"|[[2020/5.408.31: Collection of Portraits (28 of 44): T R Arter/1|Print/Plate]] | ||
| + | |align="Left"|[[2020/5.408.31: Collection of Portraits (28 of 44): T R Arter/1|2020/5.408.31]] | ||
| + | |- | ||
| + | |[[File:2020-5.408.32.JPG|center|link=http://catalogue.wmlmt.org.uk/share/Images/2020/2020-5.408.32.JPG|x50px]] | ||
| + | | | ||
| + | |align="Left"|[[2020/5.408.32: Collection of Portraits (29 of 44): James Motteram/1|Collection of Portraits (29 of 44): James Motteram]] | ||
| + | | | ||
| + | |align="Left"|[[2020/5.408.32: Collection of Portraits (29 of 44): James Motteram/1|Print/Plate]] | ||
| + | |align="Left"|[[2020/5.408.32: Collection of Portraits (29 of 44): James Motteram/1|2020/5.408.32]] | ||
| + | |- | ||
| + | |[[File:2020-5.408.33.JPG|center|link=http://catalogue.wmlmt.org.uk/share/Images/2020/2020-5.408.33.JPG|x50px]] | ||
| + | | | ||
| + | |align="Left"|[[2020/5.408.33: Collection of Portraits (30 of 44): G P Wragge/1|Collection of Portraits (30 of 44): G P Wragge]] | ||
| + | | | ||
| + | |align="Left"|[[2020/5.408.33: Collection of Portraits (30 of 44): G P Wragge/1|Print/Plate]] | ||
| + | |align="Left"|[[2020/5.408.33: Collection of Portraits (30 of 44): G P Wragge/1|2020/5.408.33]] | ||
| + | |- | ||
| + | |[[File:2020-5.408.34.JPG|center|link=http://catalogue.wmlmt.org.uk/share/Images/2020/2020-5.408.34.JPG|x50px]] | ||
| + | | | ||
| + | |align="Left"|[[2020/5.408.34: Collection of Portraits (31 of 44): Alderman E Yates/1|Collection of Portraits (31 of 44): Alderman E Yates]] | ||
| + | | | ||
| + | |align="Left"|[[2020/5.408.34: Collection of Portraits (31 of 44): Alderman E Yates/1|Print/Plate]] | ||
| + | |align="Left"|[[2020/5.408.34: Collection of Portraits (31 of 44): Alderman E Yates/1|2020/5.408.34]] | ||
| + | |- | ||
| + | |[[File:2020-5.408.35.JPG|center|link=http://catalogue.wmlmt.org.uk/share/Images/2020/2020-5.408.35.JPG|x50px]] | ||
| + | | | ||
| + | |align="Left"|[[2020/5.408.35: Collection of Portraits (32 of 44): A H Hebbert/1|Collection of Portraits (32 of 44): A H Hebbert]] | ||
| + | | | ||
| + | |align="Left"|[[2020/5.408.35: Collection of Portraits (32 of 44): A H Hebbert/1|Print/Plate]] | ||
| + | |align="Left"|[[2020/5.408.35: Collection of Portraits (32 of 44): A H Hebbert/1|2020/5.408.35]] | ||
| + | |- | ||
| + | |[[File:2020-5.408.36.JPG|center|link=http://catalogue.wmlmt.org.uk/share/Images/2020/2020-5.408.36.JPG|x50px]] | ||
| + | | | ||
| + | |align="Left"|[[2020/5.408.36: Collection of Portraits (33 of 44): J G Humphreys/1|Collection of Portraits (33 of 44): J G Humphreys]] | ||
| + | | | ||
| + | |align="Left"|[[2020/5.408.36: Collection of Portraits (33 of 44): J G Humphreys/1|Print/Plate]] | ||
| + | |align="Left"|[[2020/5.408.36: Collection of Portraits (33 of 44): J G Humphreys/1|2020/5.408.36]] | ||
| + | |- | ||
| + | |[[File:2020-5.408.37.JPG|center|link=http://catalogue.wmlmt.org.uk/share/Images/2020/2020-5.408.37.JPG|x50px]] | ||
| + | | | ||
| + | |align="Left"|[[2020/5.408.37: Collection of Portraits (34 of 44):A F Godson/1|Collection of Portraits (34 of 44):A F Godson]] | ||
| + | | | ||
| + | |align="Left"|[[2020/5.408.37: Collection of Portraits (34 of 44):A F Godson/1|Print/Plate]] | ||
| + | |align="Left"|[[2020/5.408.37: Collection of Portraits (34 of 44):A F Godson/1|2020/5.408.37]] | ||
| + | |- | ||
| + | |[[File:2020-5.408.38.JPG|center|link=http://catalogue.wmlmt.org.uk/share/Images/2020/2020-5.408.38.JPG|x50px]] | ||
| + | | | ||
| + | |align="Left"|[[2020/5.408.38: Collection of Portraits (35 of 44): Knight William Salt/1|Collection of Portraits (35 of 44): Knight William Salt]] | ||
| + | | | ||
| + | |align="Left"|[[2020/5.408.38: Collection of Portraits (35 of 44): Knight William Salt/1|Print/Plate]] | ||
| + | |align="Left"|[[2020/5.408.38: Collection of Portraits (35 of 44): Knight William Salt/1|2020/5.408.38]] | ||
| + | |- | ||
| + | |[[File:2020-5.408.39.JPG|center|link=http://catalogue.wmlmt.org.uk/share/Images/2020/2020-5.408.39.JPG|x50px]] | ||
| + | | | ||
| + | |align="Left"|[[2020/5.408.39: Collection of Portraits (36 of 44): Unidentified/1|Collection of Portraits (36 of 44): Unidentified]] | ||
| + | | | ||
| + | |align="Left"|[[2020/5.408.39: Collection of Portraits (36 of 44): Unidentified/1|Print/Plate]] | ||
| + | |align="Left"|[[2020/5.408.39: Collection of Portraits (36 of 44): Unidentified/1|2020/5.408.39]] | ||
| + | |- | ||
| + | |[[File:2020-5.408.4.JPG|center|link=http://catalogue.wmlmt.org.uk/share/Images/2020/2020-5.408.4.JPG|x50px]] | ||
| + | | | ||
| + | |align="Left"|[[2020/5.408.4: Collection of Portraits (4 of 44):E. Knight T A Bayliss/1|Collection of Portraits (4 of 44):E. Knight T A Bayliss]] | ||
| + | | | ||
| + | |align="Left"|[[2020/5.408.4: Collection of Portraits (4 of 44):E. Knight T A Bayliss/1|Print/Plate]] | ||
| + | |align="Left"|[[2020/5.408.4: Collection of Portraits (4 of 44):E. Knight T A Bayliss/1|2020/5.408.4]] | ||
| + | |- | ||
| + | |[[File:2020-5.408.41.JPG|center|link=http://catalogue.wmlmt.org.uk/share/Images/2020/2020-5.408.41.JPG|x50px]] | ||
| + | | | ||
| + | |align="Left"|[[2020/5.408.41: Collection of Portraits (37 of 44): Chas Rainsford/1|Collection of Portraits (37 of 44): Chas Rainsford]] | ||
| + | | | ||
| + | |align="Left"|[[2020/5.408.41: Collection of Portraits (37 of 44): Chas Rainsford/1|Print/Plate]] | ||
| + | |align="Left"|[[2020/5.408.41: Collection of Portraits (37 of 44): Chas Rainsford/1|2020/5.408.41]] | ||
| + | |- | ||
| + | |[[File:2020-5.408.42.JPG|center|link=http://catalogue.wmlmt.org.uk/share/Images/2020/2020-5.408.42.JPG|x50px]] | ||
| + | | | ||
| + | |align="Left"|[[2020/5.408.42: Collection of Portraits (38 of 44): Alderman Hallam/1|Collection of Portraits (38 of 44): Alderman Hallam]] | ||
| + | | | ||
| + | |align="Left"|[[2020/5.408.42: Collection of Portraits (38 of 44): Alderman Hallam/1|Print/Plate]] | ||
| + | |align="Left"|[[2020/5.408.42: Collection of Portraits (38 of 44): Alderman Hallam/1|2020/5.408.42]] | ||
| + | |- | ||
| + | |[[File:2020-5.408.43.JPG|center|link=http://catalogue.wmlmt.org.uk/share/Images/2020/2020-5.408.43.JPG|x50px]] | ||
| + | | | ||
| + | |align="Left"|[[2020/5.408.43: Collection of Portraits (39 of 44): Captain J Rodgers/1|Collection of Portraits (39 of 44): Captain J Rodgers]] | ||
| + | | | ||
| + | |align="Left"|[[2020/5.408.43: Collection of Portraits (39 of 44): Captain J Rodgers/1|Print/Plate]] | ||
| + | |align="Left"|[[2020/5.408.43: Collection of Portraits (39 of 44): Captain J Rodgers/1|2020/5.408.43]] | ||
| + | |- | ||
| + | |[[File:2020-5.408.44.JPG|center|link=http://catalogue.wmlmt.org.uk/share/Images/2020/2020-5.408.44.JPG|x50px]] | ||
| + | | | ||
| + | |align="Left"|[[2020/5.408.44: Collection of Portraits (40 of 44): T H Glenn/1|Collection of Portraits (40 of 44): T H Glenn]] | ||
| + | | | ||
| + | |align="Left"|[[2020/5.408.44: Collection of Portraits (40 of 44): T H Glenn/1|Print/Plate]] | ||
| + | |align="Left"|[[2020/5.408.44: Collection of Portraits (40 of 44): T H Glenn/1|2020/5.408.44]] | ||
| + | |- | ||
| + | |[[File:2020-5.408.45.JPG|center|link=http://catalogue.wmlmt.org.uk/share/Images/2020/2020-5.408.45.JPG|x50px]] | ||
| + | | | ||
| + | |align="Left"|[[2020/5.408.45: Collection of Portraits (41 of 44): Charles Ratcliff/1|Collection of Portraits (41 of 44): Charles Ratcliff]] | ||
| + | | | ||
| + | |align="Left"|[[2020/5.408.45: Collection of Portraits (41 of 44): Charles Ratcliff/1|Print/Plate]] | ||
| + | |align="Left"|[[2020/5.408.45: Collection of Portraits (41 of 44): Charles Ratcliff/1|2020/5.408.45]] | ||
| + | |- | ||
| + | |[[File:2020-5.408.46.JPG|center|link=http://catalogue.wmlmt.org.uk/share/Images/2020/2020-5.408.46.JPG|x50px]] | ||
| + | | | ||
| + | |align="Left"|[[2020/5.408.46: Collection of Portraits (42 of 44): Lieut-Colonel Charles Ratcliff/1|Collection of Portraits (42 of 44): Lieut-Colonel Charles Ratcliff]] | ||
| + | | | ||
| + | |align="Left"|[[2020/5.408.46: Collection of Portraits (42 of 44): Lieut-Colonel Charles Ratcliff/1|Print/Plate]] | ||
| + | |align="Left"|[[2020/5.408.46: Collection of Portraits (42 of 44): Lieut-Colonel Charles Ratcliff/1|2020/5.408.46]] | ||
| + | |- | ||
| + | |[[File:2020-5.408.47.JPG|center|link=http://catalogue.wmlmt.org.uk/share/Images/2020/2020-5.408.47.JPG|x50px]] | ||
| + | | | ||
| + | |align="Left"|[[2020/5.408.47: Collection of Portraits (43 of 44): Charles Ratcliff/1|Collection of Portraits (43 of 44): Charles Ratcliff]] | ||
| + | | | ||
| + | |align="Left"|[[2020/5.408.47: Collection of Portraits (43 of 44): Charles Ratcliff/1|Print/Plate]] | ||
| + | |align="Left"|[[2020/5.408.47: Collection of Portraits (43 of 44): Charles Ratcliff/1|2020/5.408.47]] | ||
| + | |- | ||
| + | |[[File:2020-5.408.48.JPG|center|link=http://catalogue.wmlmt.org.uk/share/Images/2020/2020-5.408.48.JPG|x50px]] | ||
| + | | | ||
| + | |align="Left"|[[2020/5.408.48: Collection of Portraits (44 of 44): Mr Farndale/1|Collection of Portraits (44 of 44): Mr Farndale]] | ||
| + | | | ||
| + | |align="Left"|[[2020/5.408.48: Collection of Portraits (44 of 44): Mr Farndale/1|Print/Plate]] | ||
| + | |align="Left"|[[2020/5.408.48: Collection of Portraits (44 of 44): Mr Farndale/1|2020/5.408.48]] | ||
| + | |- | ||
| + | |[[File:2020-5.408.5.JPG|center|link=http://catalogue.wmlmt.org.uk/share/Images/2020/2020-5.408.5.JPG|x50px]] | ||
| + | | | ||
| + | |align="Left"|[[2020/5.408.5: Collection of Portraits (5 of 44): E.Knight J Suckling Pritchett/1|Collection of Portraits (5 of 44): E.Knight J Suckling Pritchett]] | ||
| + | | | ||
| + | |align="Left"|[[2020/5.408.5: Collection of Portraits (5 of 44): E.Knight J Suckling Pritchett/1|Print/Plate]] | ||
| + | |align="Left"|[[2020/5.408.5: Collection of Portraits (5 of 44): E.Knight J Suckling Pritchett/1|2020/5.408.5]] | ||
| + | |- | ||
| + | |[[File:2020-5.408.6.JPG|center|link=http://catalogue.wmlmt.org.uk/share/Images/2020/2020-5.408.6.JPG|x50px]] | ||
| + | | | ||
| + | |align="Left"|[[2020/5.408.6: Collection of Portraits (6 of 44): Unidentified/1|Collection of Portraits (6 of 44): Unidentified]] | ||
| + | | | ||
| + | |align="Left"|[[2020/5.408.6: Collection of Portraits (6 of 44): Unidentified/1|Print/Plate]] | ||
| + | |align="Left"|[[2020/5.408.6: Collection of Portraits (6 of 44): Unidentified/1|2020/5.408.6]] | ||
| + | |- | ||
| + | |[[File:2020-5.408.7.JPG|center|link=http://catalogue.wmlmt.org.uk/share/Images/2020/2020-5.408.7.JPG|x50px]] | ||
| + | | | ||
| + | |align="Left"|[[2020/5.408.7: Collection of Portraits (7 of 44): Frater Arthur Dalley/1|Collection of Portraits (7 of 44): Frater Arthur Dalley]] | ||
| + | | | ||
| + | |align="Left"|[[2020/5.408.7: Collection of Portraits (7 of 44): Frater Arthur Dalley/1|Print/Plate]] | ||
| + | |align="Left"|[[2020/5.408.7: Collection of Portraits (7 of 44): Frater Arthur Dalley/1|2020/5.408.7]] | ||
| + | |- | ||
| + | |[[File:2020-5.408.8.JPG|center|link=http://catalogue.wmlmt.org.uk/share/Images/2020/2020-5.408.8.JPG|x50px]] | ||
| + | | | ||
| + | |align="Left"|[[2020/5.408.8: Collection of Portraits (8 of 44): Knight F B Finney/1|Collection of Portraits (8 of 44): Knight F B Finney]] | ||
| + | | | ||
| + | |align="Left"|[[2020/5.408.8: Collection of Portraits (8 of 44): Knight F B Finney/1|Print/Plate]] | ||
| + | |align="Left"|[[2020/5.408.8: Collection of Portraits (8 of 44): Knight F B Finney/1|2020/5.408.8]] | ||
| + | |- | ||
| + | |[[File:2020-5.408.9.JPG|center|link=http://catalogue.wmlmt.org.uk/share/Images/2020/2020-5.408.9.JPG|x50px]] | ||
| + | | | ||
| + | |align="Left"|[[2020/5.408.9: Collection of Portraits (9 of 44): Knight Harry Richardson/1|Collection of Portraits (9 of 44): Knight Harry Richardson]] | ||
| + | | | ||
| + | |align="Left"|[[2020/5.408.9: Collection of Portraits (9 of 44): Knight Harry Richardson/1|Print/Plate]] | ||
| + | |align="Left"|[[2020/5.408.9: Collection of Portraits (9 of 44): Knight Harry Richardson/1|2020/5.408.9]] | ||
| + | |- | ||
| + | |[[File:2020-5.415.1.JPG|center|link=http://catalogue.wmlmt.org.uk/share/Images/2020/2020-5.415.1.JPG|x50px]] | ||
| + | | | ||
| + | |align="Left"|[[2020/5.415.1: Postcard of the Auditorium at San Francisco Masonic Hall|Postcard of the Auditorium at San Francisco Masonic Hall]] | ||
| + | | | ||
| + | |align="Left"|[[2020/5.415.1: Postcard of the Auditorium at San Francisco Masonic Hall|Photograph]] | ||
| + | |align="Left"|[[2020/5.415.1: Postcard of the Auditorium at San Francisco Masonic Hall|2020/5.415.1]] | ||
| + | |- | ||
| + | |[[File:2020-5.415.2.JPG|center|link=http://catalogue.wmlmt.org.uk/share/Images/2020/2020-5.415.2.JPG|x50px]] | ||
| + | | | ||
| + | |align="Left"|[[2020/5.415.2: Postcard of the Auditorium at San Francisco Masonic Hall|Postcard of the Auditorium at San Francisco Masonic Hall]] | ||
| + | | | ||
| + | |align="Left"|[[2020/5.415.2: Postcard of the Auditorium at San Francisco Masonic Hall|Photograph]] | ||
| + | |align="Left"|[[2020/5.415.2: Postcard of the Auditorium at San Francisco Masonic Hall|2020/5.415.2]] | ||
| + | |- | ||
| + | |[[File:2020-5.42.JPG|center|link=http://catalogue.wmlmt.org.uk/share/Images/2020/2020-5.42.JPG|x50px]] | ||
| + | | | ||
| + | |align="Left"|[[2020/5.42: Drawing of the New Masonic Temple at Dubuque, Iowa commemorating the Cornerstone Laying on 28/3/1931|Drawing of the New Masonic Temple at Dubuque, Iowa commemorating the Cornerstone Laying on 28/3/1931]] | ||
| + | |align="Left"|[[2020/5.42: Drawing of the New Masonic Temple at Dubuque, Iowa commemorating the Cornerstone Laying on 28/3/1931|1931]] | ||
| + | |align="Left"|[[2020/5.42: Drawing of the New Masonic Temple at Dubuque, Iowa commemorating the Cornerstone Laying on 28/3/1931|Drawing/Sketch]] | ||
| + | |align="Left"|[[2020/5.42: Drawing of the New Masonic Temple at Dubuque, Iowa commemorating the Cornerstone Laying on 28/3/1931|2020/5.42]] | ||
| + | |- | ||
| + | |[[File:2020-5.434.pdf|center|page=1|link=http://catalogue.wmlmt.org.uk/share/Files/2020\2020-5.434.pdf|x50px]] | ||
| + | |0.4 | ||
| + | |align="Left"|[[2020/5.434: Photograph of Godson Chapter No.2385 Jubilee Meeting with list of Names taken on 17/10/1947|Photograph of Godson Chapter No.2385 Jubilee Meeting with list of Names taken on 17/10/1947]] | ||
| + | |align="Left"|[[2020/5.434: Photograph of Godson Chapter No.2385 Jubilee Meeting with list of Names taken on 17/10/1947|1947]] | ||
| + | |align="Left"|[[2020/5.434: Photograph of Godson Chapter No.2385 Jubilee Meeting with list of Names taken on 17/10/1947|Photograph]] | ||
| + | |align="Left"|[[2020/5.434: Photograph of Godson Chapter No.2385 Jubilee Meeting with list of Names taken on 17/10/1947|2020/5.434]] | ||
| + | |- | ||
| + | |[[File:2020-5.492.pdf|center|page=1|link=http://catalogue.wmlmt.org.uk/share/Files/2020\2020-5.492.pdf|x50px]] | ||
| + | |0.2 | ||
| + | |align="Left"|[[2020/5.492: Etching of Altar in a Rose Croix Chapter|Etching of Altar in a Rose Croix Chapter]] | ||
| + | | | ||
| + | |align="Left"|[[2020/5.492: Etching of Altar in a Rose Croix Chapter|Engraving]] | ||
| + | |align="Left"|[[2020/5.492: Etching of Altar in a Rose Croix Chapter|2020/5.492]] | ||
| + | |- | ||
| + | |[[File:2020-5.502.JPG|center|link=http://catalogue.wmlmt.org.uk/share/Images/2020/2020-5.502.JPG|x50px]] | ||
| + | | | ||
| + | |align="Left"|[[2020/5.502: Photograph of unidentified officer of the Provincial Grand Lodge of Worcestershire of Mark Master Masons|Photograph of unidentified officer of the Provincial Grand Lodge of Worcestershire of Mark Master Masons]] | ||
| + | | | ||
| + | |align="Left"|[[2020/5.502: Photograph of unidentified officer of the Provincial Grand Lodge of Worcestershire of Mark Master Masons|Photograph]] | ||
| + | |align="Left"|[[2020/5.502: Photograph of unidentified officer of the Provincial Grand Lodge of Worcestershire of Mark Master Masons|2020/5.502]] | ||
| + | |- | ||
| + | |[[File:2020-5.504.JPG|center|link=http://catalogue.wmlmt.org.uk/share/Images/2020/2020-5.504.JPG|x50px]] | ||
| + | | | ||
| + | |align="Left"|[[2020/5.504: Print of a Knight Templar Tracing Board|Print of a Knight Templar Tracing Board]] | ||
| + | | | ||
| + | |align="Left"|[[2020/5.504: Print of a Knight Templar Tracing Board|Print/Plate]] | ||
| + | |align="Left"|[[2020/5.504: Print of a Knight Templar Tracing Board|2020/5.504]] | ||
| + | |- | ||
| + | |[[File:2020-5.53.JPG|center|link=http://catalogue.wmlmt.org.uk/share/Images/Copyright.JPG|x50px]] | ||
| + | |© | ||
| + | |align="Left"|[[2020/5.53: Photograph of J Grand Deacon of the Grand Lodge of Alberta June 1985|Photograph of J Grand Deacon of the Grand Lodge of Alberta June 1985]] | ||
| + | |align="Left"|[[2020/5.53: Photograph of J Grand Deacon of the Grand Lodge of Alberta June 1985|1985]] | ||
| + | |align="Left"|[[2020/5.53: Photograph of J Grand Deacon of the Grand Lodge of Alberta June 1985|Photograph]] | ||
| + | |align="Left"|[[2020/5.53: Photograph of J Grand Deacon of the Grand Lodge of Alberta June 1985|2020/5.53]] | ||
| + | |- | ||
| + | |[[File:2020-5.54.JPG|center|link=http://catalogue.wmlmt.org.uk/share/Images/Copyright.JPG|x50px]] | ||
| + | |© | ||
| + | |align="Left"|[[2020/5.54: Postcard drawing of The Warwickshire Masonic Temple, Edgbaston|Postcard drawing of The Warwickshire Masonic Temple, Edgbaston]] | ||
| + | | | ||
| + | |align="Left"|[[2020/5.54: Postcard drawing of The Warwickshire Masonic Temple, Edgbaston|Post Card]] | ||
| + | |align="Left"|[[2020/5.54: Postcard drawing of The Warwickshire Masonic Temple, Edgbaston|2020/5.54]] | ||
| + | |- | ||
| + | |[[File:2020-5.55.JPG|center|link=http://catalogue.wmlmt.org.uk/share/Images/Copyright.JPG|x50px]] | ||
| + | |© | ||
| + | |align="Left"|[[2020/5.55: Postcard of the Masonic Hall, Dubuque, Iowa 1982|Postcard of the Masonic Hall, Dubuque, Iowa 1982]] | ||
| + | |align="Left"|[[2020/5.55: Postcard of the Masonic Hall, Dubuque, Iowa 1982|1982]] | ||
| + | |align="Left"|[[2020/5.55: Postcard of the Masonic Hall, Dubuque, Iowa 1982|Post Card]] | ||
| + | |align="Left"|[[2020/5.55: Postcard of the Masonic Hall, Dubuque, Iowa 1982|2020/5.55]] | ||
|- | |- | ||
| − | |[[File: | + | |[[File:2020-5.56.JPG|center|link=http://catalogue.wmlmt.org.uk/share/Images/2020/2020-5.56.JPG|x50px]] |
| − | |||
| − | |||
| | | | ||
| − | |align="Left"|[[ | + | |align="Left"|[[2020/5.56: Photograph of the Officers of Umkomaas Lodge No.2990 taken on 8/9/1956|Photograph of the Officers of Umkomaas Lodge No.2990 taken on 8/9/1956]] |
| − | |align="Left"|[[ | + | |align="Left"|[[2020/5.56: Photograph of the Officers of Umkomaas Lodge No.2990 taken on 8/9/1956|1956]] |
| + | |align="Left"|[[2020/5.56: Photograph of the Officers of Umkomaas Lodge No.2990 taken on 8/9/1956|Photograph]] | ||
| + | |align="Left"|[[2020/5.56: Photograph of the Officers of Umkomaas Lodge No.2990 taken on 8/9/1956|2020/5.56]] | ||
|- | |- | ||
| − | |[[File: | + | |[[File:2020-5.57.JPG|center|link=http://catalogue.wmlmt.org.uk/share/Images/2020/2020-5.57.JPG|x50px]] |
| | | | ||
| − | |align="Left"|[[ | + | |align="Left"|[[2020/5.57: Photograph of the members of Umkomaas Lodge No.2990 taken on 8/9/1956|Photograph of the members of Umkomaas Lodge No.2990 taken on 8/9/1956]] |
| − | | | + | |align="Left"|[[2020/5.57: Photograph of the members of Umkomaas Lodge No.2990 taken on 8/9/1956|1956]] |
| − | |align="Left"|[[ | + | |align="Left"|[[2020/5.57: Photograph of the members of Umkomaas Lodge No.2990 taken on 8/9/1956|Photograph]] |
| − | |align="Left"|[[ | + | |align="Left"|[[2020/5.57: Photograph of the members of Umkomaas Lodge No.2990 taken on 8/9/1956|2020/5.57]] |
|- | |- | ||
| − | |[[File: | + | |[[File:2020-6.11.1.JPG|center|link=http://catalogue.wmlmt.org.uk/share/Images/2020/2020-6.11.1.JPG|x50px]] |
| | | | ||
| − | |align="Left"|[[ | + | |align="Left"|[[2020/6.11.1: CD with photographs taken at the re-opening of the Museum of Freemasonry at Rainbow Hill, Worcester 2006; Image 1 of 18/1|CD with photographs taken at the re-opening of the Museum of Freemasonry at Rainbow Hill, Worcester 2006; Image 1 of 18]] |
| | | | ||
| − | |align="Left"|[[ | + | |align="Left"|[[2020/6.11.1: CD with photographs taken at the re-opening of the Museum of Freemasonry at Rainbow Hill, Worcester 2006; Image 1 of 18/1|Photograph]] |
| − | |align="Left"|[[ | + | |align="Left"|[[2020/6.11.1: CD with photographs taken at the re-opening of the Museum of Freemasonry at Rainbow Hill, Worcester 2006; Image 1 of 18/1|2020/6.11.1]] |
|- | |- | ||
| − | |[[File: | + | |[[File:2020-6.11.11.JPG|center|link=http://catalogue.wmlmt.org.uk/share/Images/2020/2020-6.11.11.JPG|x50px]] |
| | | | ||
| − | |align="Left"|[[ | + | |align="Left"|[[2020/6.11.11: CD with photographs taken at the re-opening of the Museum of Freemasonry at Rainbow Hill, Worcester 2006; Image 10 of 18|CD with photographs taken at the re-opening of the Museum of Freemasonry at Rainbow Hill, Worcester 2006; Image 10 of 18]] |
| | | | ||
| − | |align="Left"|[[ | + | |align="Left"|[[2020/6.11.11: CD with photographs taken at the re-opening of the Museum of Freemasonry at Rainbow Hill, Worcester 2006; Image 10 of 18|Photograph]] |
| − | |align="Left"|[[ | + | |align="Left"|[[2020/6.11.11: CD with photographs taken at the re-opening of the Museum of Freemasonry at Rainbow Hill, Worcester 2006; Image 10 of 18|2020/6.11.11]] |
|- | |- | ||
| − | |[[File: | + | |[[File:2020-6.11.12.JPG|center|link=http://catalogue.wmlmt.org.uk/share/Images/2020/2020-6.11.12.JPG|x50px]] |
| | | | ||
| − | |align="Left"|[[ | + | |align="Left"|[[2020/6.11.12: CD with photographs taken at the re-opening of the Museum of Freemasonry at Rainbow Hill, Worcester 2006; Image 11 of 18|CD with photographs taken at the re-opening of the Museum of Freemasonry at Rainbow Hill, Worcester 2006; Image 11 of 18]] |
| | | | ||
| − | |align="Left"|[[ | + | |align="Left"|[[2020/6.11.12: CD with photographs taken at the re-opening of the Museum of Freemasonry at Rainbow Hill, Worcester 2006; Image 11 of 18|Photograph]] |
| − | |align="Left"|[[ | + | |align="Left"|[[2020/6.11.12: CD with photographs taken at the re-opening of the Museum of Freemasonry at Rainbow Hill, Worcester 2006; Image 11 of 18|2020/6.11.12]] |
|- | |- | ||
| − | |[[File: | + | |[[File:2020-6.11.13.JPG|center|link=http://catalogue.wmlmt.org.uk/share/Images/2020/2020-6.11.13.JPG|x50px]] |
| | | | ||
| − | |align="Left"|[[ | + | |align="Left"|[[2020/6.11.13: CD with photographs taken at the re-opening of the Museum of Freemasonry at Rainbow Hill, Worcester 2006; Image 12 of 18|CD with photographs taken at the re-opening of the Museum of Freemasonry at Rainbow Hill, Worcester 2006; Image 12 of 18]] |
| | | | ||
| − | |align="Left"|[[ | + | |align="Left"|[[2020/6.11.13: CD with photographs taken at the re-opening of the Museum of Freemasonry at Rainbow Hill, Worcester 2006; Image 12 of 18|Photograph]] |
| − | |align="Left"|[[ | + | |align="Left"|[[2020/6.11.13: CD with photographs taken at the re-opening of the Museum of Freemasonry at Rainbow Hill, Worcester 2006; Image 12 of 18|2020/6.11.13]] |
|- | |- | ||
| − | |[[File: | + | |[[File:2020-6.11.15.JPG|center|link=http://catalogue.wmlmt.org.uk/share/Images/2020/2020-6.11.15.JPG|x50px]] |
| | | | ||
| − | |align="Left"|[[ | + | |align="Left"|[[2020/6.11.15: CD with photographs taken at the re-opening of the Museum of Freemasonry at Rainbow Hill, Worcester 2006; Image 14 of 18|CD with photographs taken at the re-opening of the Museum of Freemasonry at Rainbow Hill, Worcester 2006; Image 14 of 18]] |
| | | | ||
| − | |align="Left"|[[ | + | |align="Left"|[[2020/6.11.15: CD with photographs taken at the re-opening of the Museum of Freemasonry at Rainbow Hill, Worcester 2006; Image 14 of 18|Photograph]] |
| − | |align="Left"|[[ | + | |align="Left"|[[2020/6.11.15: CD with photographs taken at the re-opening of the Museum of Freemasonry at Rainbow Hill, Worcester 2006; Image 14 of 18|2020/6.11.15]] |
|- | |- | ||
| − | |[[File: | + | |[[File:2020-6.11.16.JPG|center|link=http://catalogue.wmlmt.org.uk/share/Images/2020/2020-6.11.16.JPG|x50px]] |
| | | | ||
| − | |align="Left"|[[ | + | |align="Left"|[[2020/6.11.16: CD with photographs taken at the re-opening of the Museum of Freemasonry at Rainbow Hill, Worcester 2006; Image 15 of 18|CD with photographs taken at the re-opening of the Museum of Freemasonry at Rainbow Hill, Worcester 2006; Image 15 of 18]] |
| | | | ||
| − | |align="Left"|[[ | + | |align="Left"|[[2020/6.11.16: CD with photographs taken at the re-opening of the Museum of Freemasonry at Rainbow Hill, Worcester 2006; Image 15 of 18|Photograph]] |
| − | |align="Left"|[[ | + | |align="Left"|[[2020/6.11.16: CD with photographs taken at the re-opening of the Museum of Freemasonry at Rainbow Hill, Worcester 2006; Image 15 of 18|2020/6.11.16]] |
|- | |- | ||
| − | |[[File: | + | |[[File:2020-6.11.17.JPG|center|link=http://catalogue.wmlmt.org.uk/share/Images/2020/2020-6.11.17.JPG|x50px]] |
| | | | ||
| − | |align="Left"|[[ | + | |align="Left"|[[2020/6.11.17: CD with photographs taken at the re-opening of the Museum of Freemasonry at Rainbow Hill, Worcester 2006; Image 16 of 18|CD with photographs taken at the re-opening of the Museum of Freemasonry at Rainbow Hill, Worcester 2006; Image 16 of 18]] |
| | | | ||
| − | |align="Left"|[[ | + | |align="Left"|[[2020/6.11.17: CD with photographs taken at the re-opening of the Museum of Freemasonry at Rainbow Hill, Worcester 2006; Image 16 of 18|Photograph]] |
| − | |align="Left"|[[ | + | |align="Left"|[[2020/6.11.17: CD with photographs taken at the re-opening of the Museum of Freemasonry at Rainbow Hill, Worcester 2006; Image 16 of 18|2020/6.11.17]] |
|- | |- | ||
| − | |[[File: | + | |[[File:2020-6.11.18.JPG|center|link=http://catalogue.wmlmt.org.uk/share/Images/2020/2020-6.11.18.JPG|x50px]] |
| | | | ||
| − | |align="Left"|[[ | + | |align="Left"|[[2020/6.11.18: CD with photographs taken at the re-opening of the Museum of Freemasonry at Rainbow Hill, Worcester 2006; Image 17 of 18|CD with photographs taken at the re-opening of the Museum of Freemasonry at Rainbow Hill, Worcester 2006; Image 17 of 18]] |
| | | | ||
| − | |align="Left"|[[ | + | |align="Left"|[[2020/6.11.18: CD with photographs taken at the re-opening of the Museum of Freemasonry at Rainbow Hill, Worcester 2006; Image 17 of 18|Photograph]] |
| − | |align="Left"|[[ | + | |align="Left"|[[2020/6.11.18: CD with photographs taken at the re-opening of the Museum of Freemasonry at Rainbow Hill, Worcester 2006; Image 17 of 18|2020/6.11.18]] |
|- | |- | ||
| − | |[[File: | + | |[[File:2020-6.11.19.JPG|center|link=http://catalogue.wmlmt.org.uk/share/Images/2020/2020-6.11.19.JPG|x50px]] |
| | | | ||
| − | |align="Left"|[[ | + | |align="Left"|[[2020/6.11.19: CD with photographs taken at the re-opening of the Museum of Freemasonry at Rainbow Hill, Worcester 2006; Image 18 of 18|CD with photographs taken at the re-opening of the Museum of Freemasonry at Rainbow Hill, Worcester 2006; Image 18 of 18]] |
| | | | ||
| − | |align="Left"|[[ | + | |align="Left"|[[2020/6.11.19: CD with photographs taken at the re-opening of the Museum of Freemasonry at Rainbow Hill, Worcester 2006; Image 18 of 18|Photograph]] |
| − | |align="Left"|[[ | + | |align="Left"|[[2020/6.11.19: CD with photographs taken at the re-opening of the Museum of Freemasonry at Rainbow Hill, Worcester 2006; Image 18 of 18|2020/6.11.19]] |
|- | |- | ||
| − | |[[File: | + | |[[File:2020-6.11.2.JPG|center|link=http://catalogue.wmlmt.org.uk/share/Images/2020/2020-6.11.2.JPG|x50px]] |
| | | | ||
| − | |align="Left"|[[ | + | |align="Left"|[[2020/6.11.2: CD with photographs taken at the re-opening of the Museum of Freemasonry at Rainbow Hill, Worcester 2006; Image 2 of 18|CD with photographs taken at the re-opening of the Museum of Freemasonry at Rainbow Hill, Worcester 2006; Image 2 of 18]] |
| | | | ||
| − | |align="Left"|[[ | + | |align="Left"|[[2020/6.11.2: CD with photographs taken at the re-opening of the Museum of Freemasonry at Rainbow Hill, Worcester 2006; Image 2 of 18|Photograph]] |
| − | |align="Left"|[[ | + | |align="Left"|[[2020/6.11.2: CD with photographs taken at the re-opening of the Museum of Freemasonry at Rainbow Hill, Worcester 2006; Image 2 of 18|2020/6.11.2]] |
|- | |- | ||
| − | |[[File: | + | |[[File:2020-6.11.3.JPG|center|link=http://catalogue.wmlmt.org.uk/share/Images/2020/2020-6.11.3.JPG|x50px]] |
| | | | ||
| − | |align="Left"|[[ | + | |align="Left"|[[2020/6.11.3: CD with photographs taken at the re-opening of the Museum of Freemasonry at Rainbow Hill, Worcester 2006; Image 3 of 18|CD with photographs taken at the re-opening of the Museum of Freemasonry at Rainbow Hill, Worcester 2006; Image 3 of 18]] |
| | | | ||
| − | |align="Left"|[[ | + | |align="Left"|[[2020/6.11.3: CD with photographs taken at the re-opening of the Museum of Freemasonry at Rainbow Hill, Worcester 2006; Image 3 of 18|Photograph]] |
| − | |align="Left"|[[ | + | |align="Left"|[[2020/6.11.3: CD with photographs taken at the re-opening of the Museum of Freemasonry at Rainbow Hill, Worcester 2006; Image 3 of 18|2020/6.11.3]] |
|- | |- | ||
| − | |[[File: | + | |[[File:2020-6.11.4.JPG|center|link=http://catalogue.wmlmt.org.uk/share/Images/2020/2020-6.11.4.JPG|x50px]] |
| | | | ||
| − | |align="Left"|[[ | + | |align="Left"|[[2020/6.11.4: CD with photographs taken at the re-opening of the Museum of Freemasonry at Rainbow Hill, Worcester 2006; Image 4 of 18|CD with photographs taken at the re-opening of the Museum of Freemasonry at Rainbow Hill, Worcester 2006; Image 4 of 18]] |
| | | | ||
| − | |align="Left"|[[ | + | |align="Left"|[[2020/6.11.4: CD with photographs taken at the re-opening of the Museum of Freemasonry at Rainbow Hill, Worcester 2006; Image 4 of 18|Photograph]] |
| − | |align="Left"|[[ | + | |align="Left"|[[2020/6.11.4: CD with photographs taken at the re-opening of the Museum of Freemasonry at Rainbow Hill, Worcester 2006; Image 4 of 18|2020/6.11.4]] |
|- | |- | ||
| − | |[[File: | + | |[[File:2020-6.11.5.JPG|center|link=http://catalogue.wmlmt.org.uk/share/Images/2020/2020-6.11.5.JPG|x50px]] |
| | | | ||
| − | |align="Left"|[[ | + | |align="Left"|[[2020/6.11.5: CD with photographs taken at the re-opening of the Museum of Freemasonry at Rainbow Hill, Worcester 2006; Image 5 of 18|CD with photographs taken at the re-opening of the Museum of Freemasonry at Rainbow Hill, Worcester 2006; Image 5 of 18]] |
| | | | ||
| − | |align="Left"|[[ | + | |align="Left"|[[2020/6.11.5: CD with photographs taken at the re-opening of the Museum of Freemasonry at Rainbow Hill, Worcester 2006; Image 5 of 18|Photograph]] |
| − | |align="Left"|[[ | + | |align="Left"|[[2020/6.11.5: CD with photographs taken at the re-opening of the Museum of Freemasonry at Rainbow Hill, Worcester 2006; Image 5 of 18|2020/6.11.5]] |
|- | |- | ||
| − | |[[File: | + | |[[File:2020-6.11.6.JPG|center|link=http://catalogue.wmlmt.org.uk/share/Images/2020/2020-6.11.6.JPG|x50px]] |
| | | | ||
| − | |align="Left"|[[ | + | |align="Left"|[[2020/6.11.6: CD with photographs taken at the re-opening of the Museum of Freemasonry at Rainbow Hill, Worcester 2006; Image 6 of 18|CD with photographs taken at the re-opening of the Museum of Freemasonry at Rainbow Hill, Worcester 2006; Image 6 of 18]] |
| | | | ||
| − | |align="Left"|[[ | + | |align="Left"|[[2020/6.11.6: CD with photographs taken at the re-opening of the Museum of Freemasonry at Rainbow Hill, Worcester 2006; Image 6 of 18|Photograph]] |
| − | |align="Left"|[[ | + | |align="Left"|[[2020/6.11.6: CD with photographs taken at the re-opening of the Museum of Freemasonry at Rainbow Hill, Worcester 2006; Image 6 of 18|2020/6.11.6]] |
|- | |- | ||
| − | |[[File: | + | |[[File:2020-6.11.7.JPG|center|link=http://catalogue.wmlmt.org.uk/share/Images/2020/2020-6.11.7.JPG|x50px]] |
| | | | ||
| − | |align="Left"|[[ | + | |align="Left"|[[2020/6.11.7: CD with photographs taken at the re-opening of the Museum of Freemasonry at Rainbow Hill, Worcester 2006; Image 7 of 18|CD with photographs taken at the re-opening of the Museum of Freemasonry at Rainbow Hill, Worcester 2006; Image 7 of 18]] |
| | | | ||
| − | |align="Left"|[[ | + | |align="Left"|[[2020/6.11.7: CD with photographs taken at the re-opening of the Museum of Freemasonry at Rainbow Hill, Worcester 2006; Image 7 of 18|Photograph]] |
| − | |align="Left"|[[ | + | |align="Left"|[[2020/6.11.7: CD with photographs taken at the re-opening of the Museum of Freemasonry at Rainbow Hill, Worcester 2006; Image 7 of 18|2020/6.11.7]] |
|- | |- | ||
| − | |[[File: | + | |[[File:2020-6.11.8.JPG|center|link=http://catalogue.wmlmt.org.uk/share/Images/2020/2020-6.11.8.JPG|x50px]] |
| − | |||
| − | |||
| | | | ||
| − | |align="Left"|[[ | + | |align="Left"|[[2020/6.11.8: CD with photographs taken at the re-opening of the Museum of Freemasonry at Rainbow Hill, Worcester 2006; Image 8 of 18|CD with photographs taken at the re-opening of the Museum of Freemasonry at Rainbow Hill, Worcester 2006; Image 8 of 18]] |
| − | |||
| − | |||
| − | |||
| | | | ||
| − | |align="Left"|[[ | + | |align="Left"|[[2020/6.11.8: CD with photographs taken at the re-opening of the Museum of Freemasonry at Rainbow Hill, Worcester 2006; Image 8 of 18|Photograph]] |
| − | |align="Left"|[[ | + | |align="Left"|[[2020/6.11.8: CD with photographs taken at the re-opening of the Museum of Freemasonry at Rainbow Hill, Worcester 2006; Image 8 of 18|2020/6.11.8]] |
| − | |||
| − | |||
|- | |- | ||
| − | |[[File: | + | |[[File:2020-6.11.9.JPG|center|link=http://catalogue.wmlmt.org.uk/share/Images/2020/2020-6.11.9.JPG|x50px]] |
| | | | ||
| − | |align="Left"|[[ | + | |align="Left"|[[2020/6.11.9: CD with photographs taken at the re-opening of the Museum of Freemasonry at Rainbow Hill, Worcester 2006; Image 9 of 18|CD with photographs taken at the re-opening of the Museum of Freemasonry at Rainbow Hill, Worcester 2006; Image 9 of 18]] |
| | | | ||
| − | |align="Left"|[[ | + | |align="Left"|[[2020/6.11.9: CD with photographs taken at the re-opening of the Museum of Freemasonry at Rainbow Hill, Worcester 2006; Image 9 of 18|Photograph]] |
| − | |align="Left"|[[ | + | |align="Left"|[[2020/6.11.9: CD with photographs taken at the re-opening of the Museum of Freemasonry at Rainbow Hill, Worcester 2006; Image 9 of 18|2020/6.11.9]] |
|- | |- | ||
| − | |[[File: | + | |[[File:2020-6.12.JPG|center|link=http://catalogue.wmlmt.org.uk/share/Images/2020/2020-6.12.JPG|x50px]] |
| | | | ||
| − | |align="Left"|[[ | + | |align="Left"|[[2020/6.12: Etching of Bordesley Abbey, Redditch|Etching of Bordesley Abbey, Redditch]] |
| | | | ||
| − | |align="Left"|[[ | + | |align="Left"|[[2020/6.12: Etching of Bordesley Abbey, Redditch|Engraving]] |
| − | |align="Left"|[[ | + | |align="Left"|[[2020/6.12: Etching of Bordesley Abbey, Redditch|2020/6.12]] |
|- | |- | ||
| − | |[[File: | + | |[[File:2020-6.28.JPG|center|link=http://catalogue.wmlmt.org.uk/share/Images/2020/2020-6.28.JPG|x50px]] |
| | | | ||
| − | |align="Left"|[[ | + | |align="Left"|[[2020/6.28: Photograph of Reopening of Museum as published in Worcester News on 15/5/2007|Photograph of Reopening of Museum as published in Worcester News on 15/5/2007]] |
| | | | ||
| − | |align="Left"|[[ | + | |align="Left"|[[2020/6.28: Photograph of Reopening of Museum as published in Worcester News on 15/5/2007|Photograph]] |
| − | |align="Left"|[[ | + | |align="Left"|[[2020/6.28: Photograph of Reopening of Museum as published in Worcester News on 15/5/2007|2020/6.28]] |
|- | |- | ||
| − | |[[File: | + | |[[File:2020-6.31.JPG|center|link=http://catalogue.wmlmt.org.uk/share/Images/2020/2020-6.31.JPG|x50px]] |
| | | | ||
| − | |align="Left"|[[ | + | |align="Left"|[[2020/6.31: Photograph of Senior masons of the Provincial Grand Lodge of Worcestershire 2003|Photograph of Senior masons of the Provincial Grand Lodge of Worcestershire 2003]] |
| − | | | + | |align="Left"|[[2020/6.31: Photograph of Senior masons of the Provincial Grand Lodge of Worcestershire 2003|2003]] |
| − | |align="Left"|[[ | + | |align="Left"|[[2020/6.31: Photograph of Senior masons of the Provincial Grand Lodge of Worcestershire 2003|Photograph]] |
| − | |align="Left"|[[ | + | |align="Left"|[[2020/6.31: Photograph of Senior masons of the Provincial Grand Lodge of Worcestershire 2003|2020/6.31]] |
|- | |- | ||
| − | |[[File: | + | |[[File:2020-6.9.JPG|center|link=http://catalogue.wmlmt.org.uk/share/Images/2020/2020-6.9.JPG|x50px]] |
| | | | ||
| − | |align="Left"|[[ | + | |align="Left"|[[2020/6.9: Photograph of painting of the Reindeer Inn in Malcheapen Street, Worcester circa 1842. On display in foyer of Worcester Masonic Hall, Rainbow Hill/1|Photograph of painting of the Reindeer Inn in Malcheapen Street, Worcester circa 1842. On display in foyer of Worcester Masonic Hall, Rainbow Hill]] |
| | | | ||
| − | |align="Left"|[[ | + | |align="Left"|[[2020/6.9: Photograph of painting of the Reindeer Inn in Malcheapen Street, Worcester circa 1842. On display in foyer of Worcester Masonic Hall, Rainbow Hill/1|Photograph]] |
| − | |align="Left"|[[ | + | |align="Left"|[[2020/6.9: Photograph of painting of the Reindeer Inn in Malcheapen Street, Worcester circa 1842. On display in foyer of Worcester Masonic Hall, Rainbow Hill/1|2020/6.9]] |
|- | |- | ||
Revision as of 15:11, 3 December 2020
Click on Text to display further details Or click Image to enlarge
Click the sort buttons in the column header to re-order the list by that column.
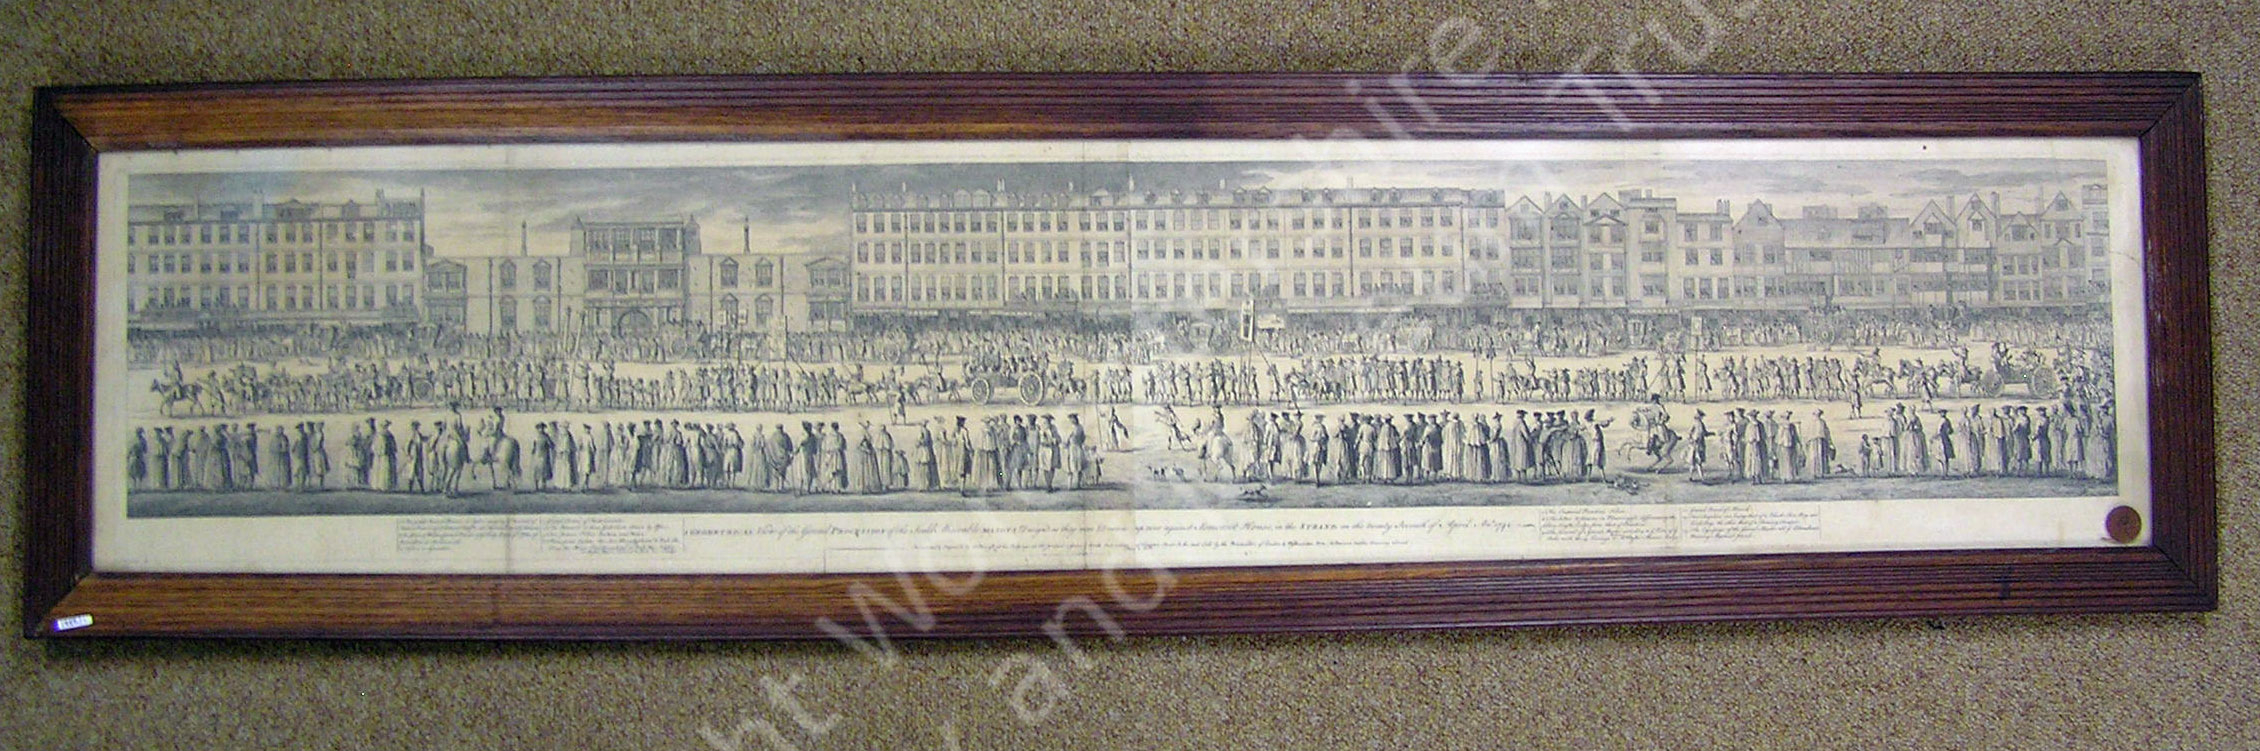
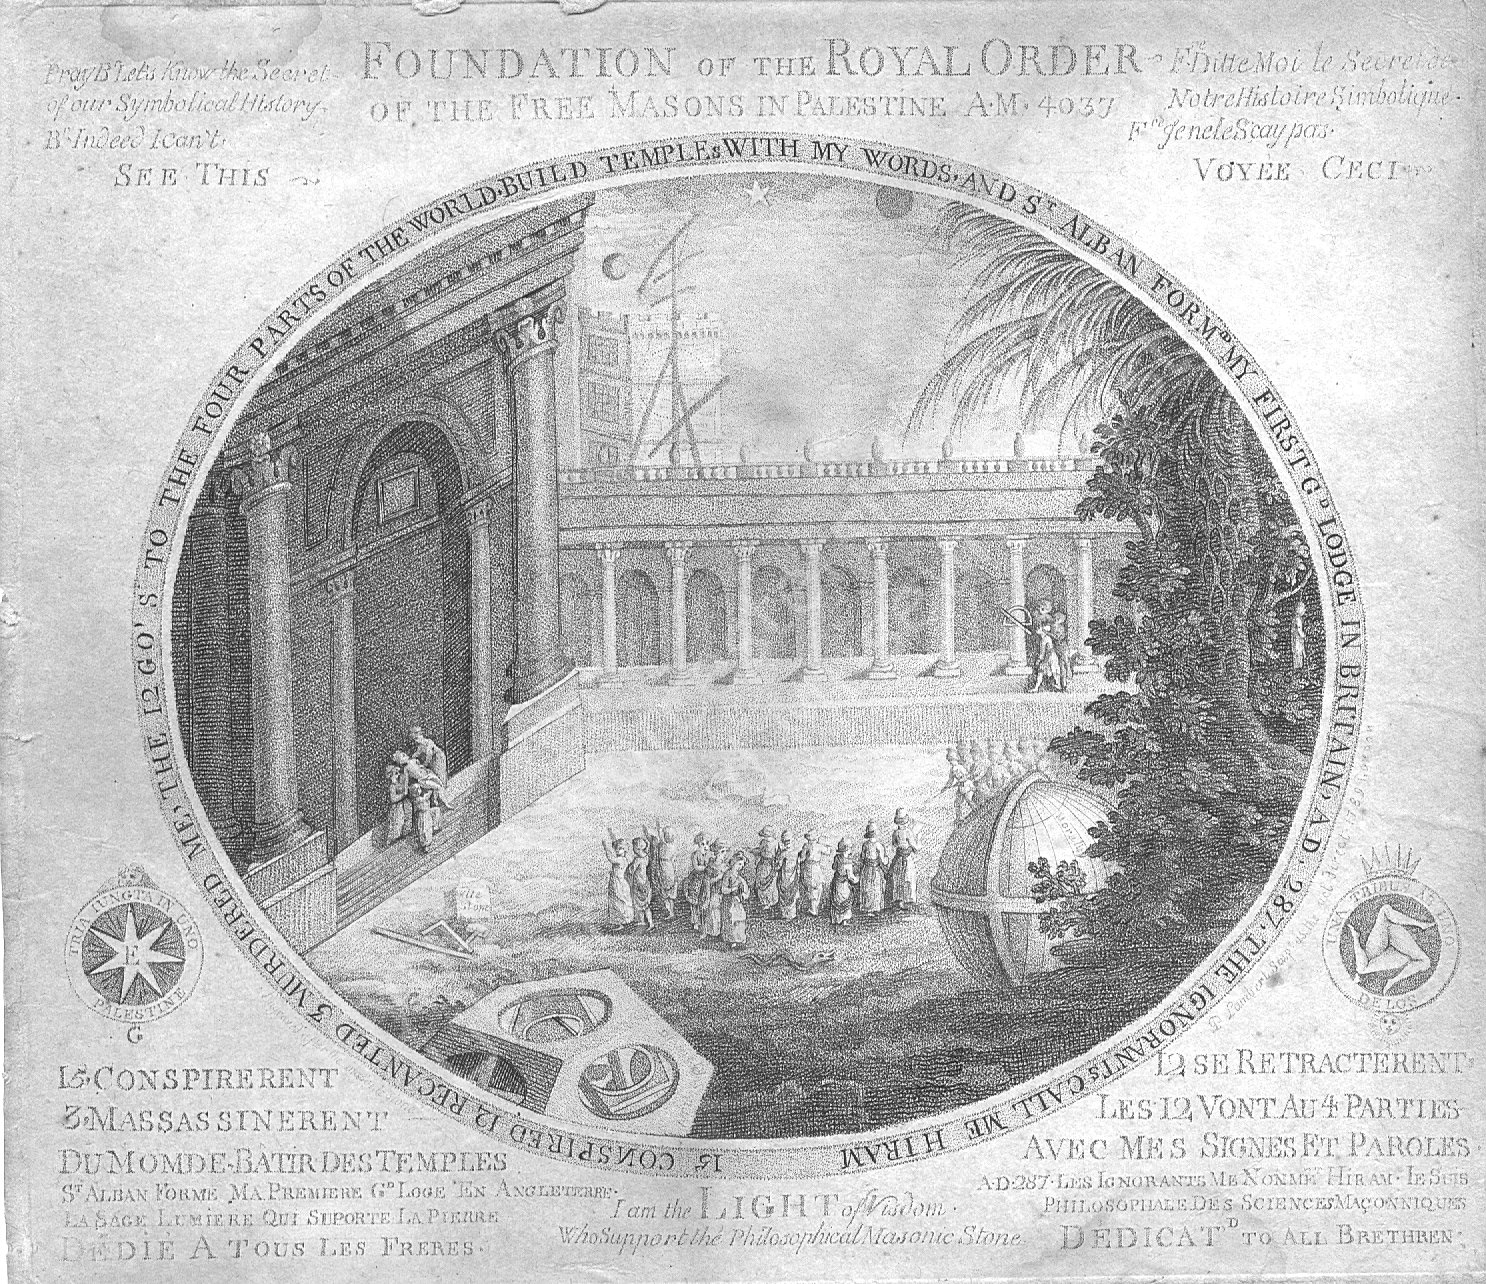
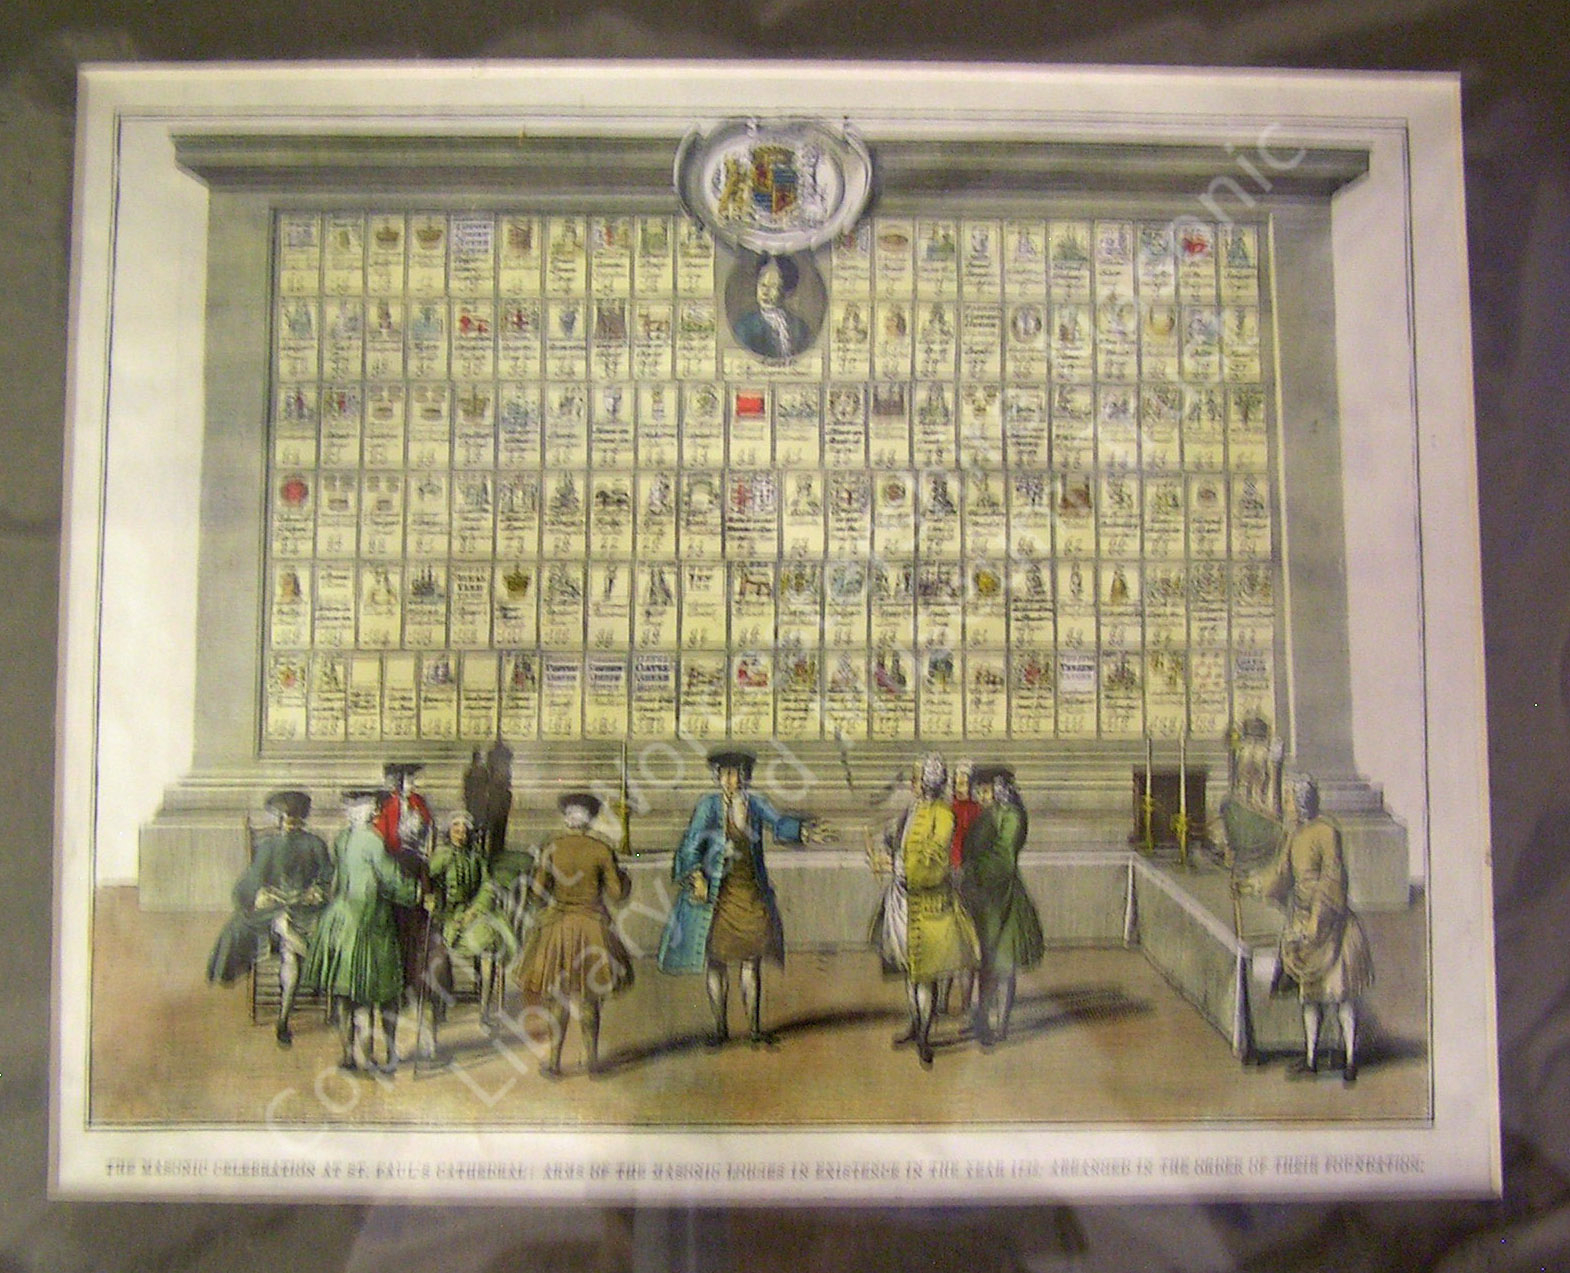
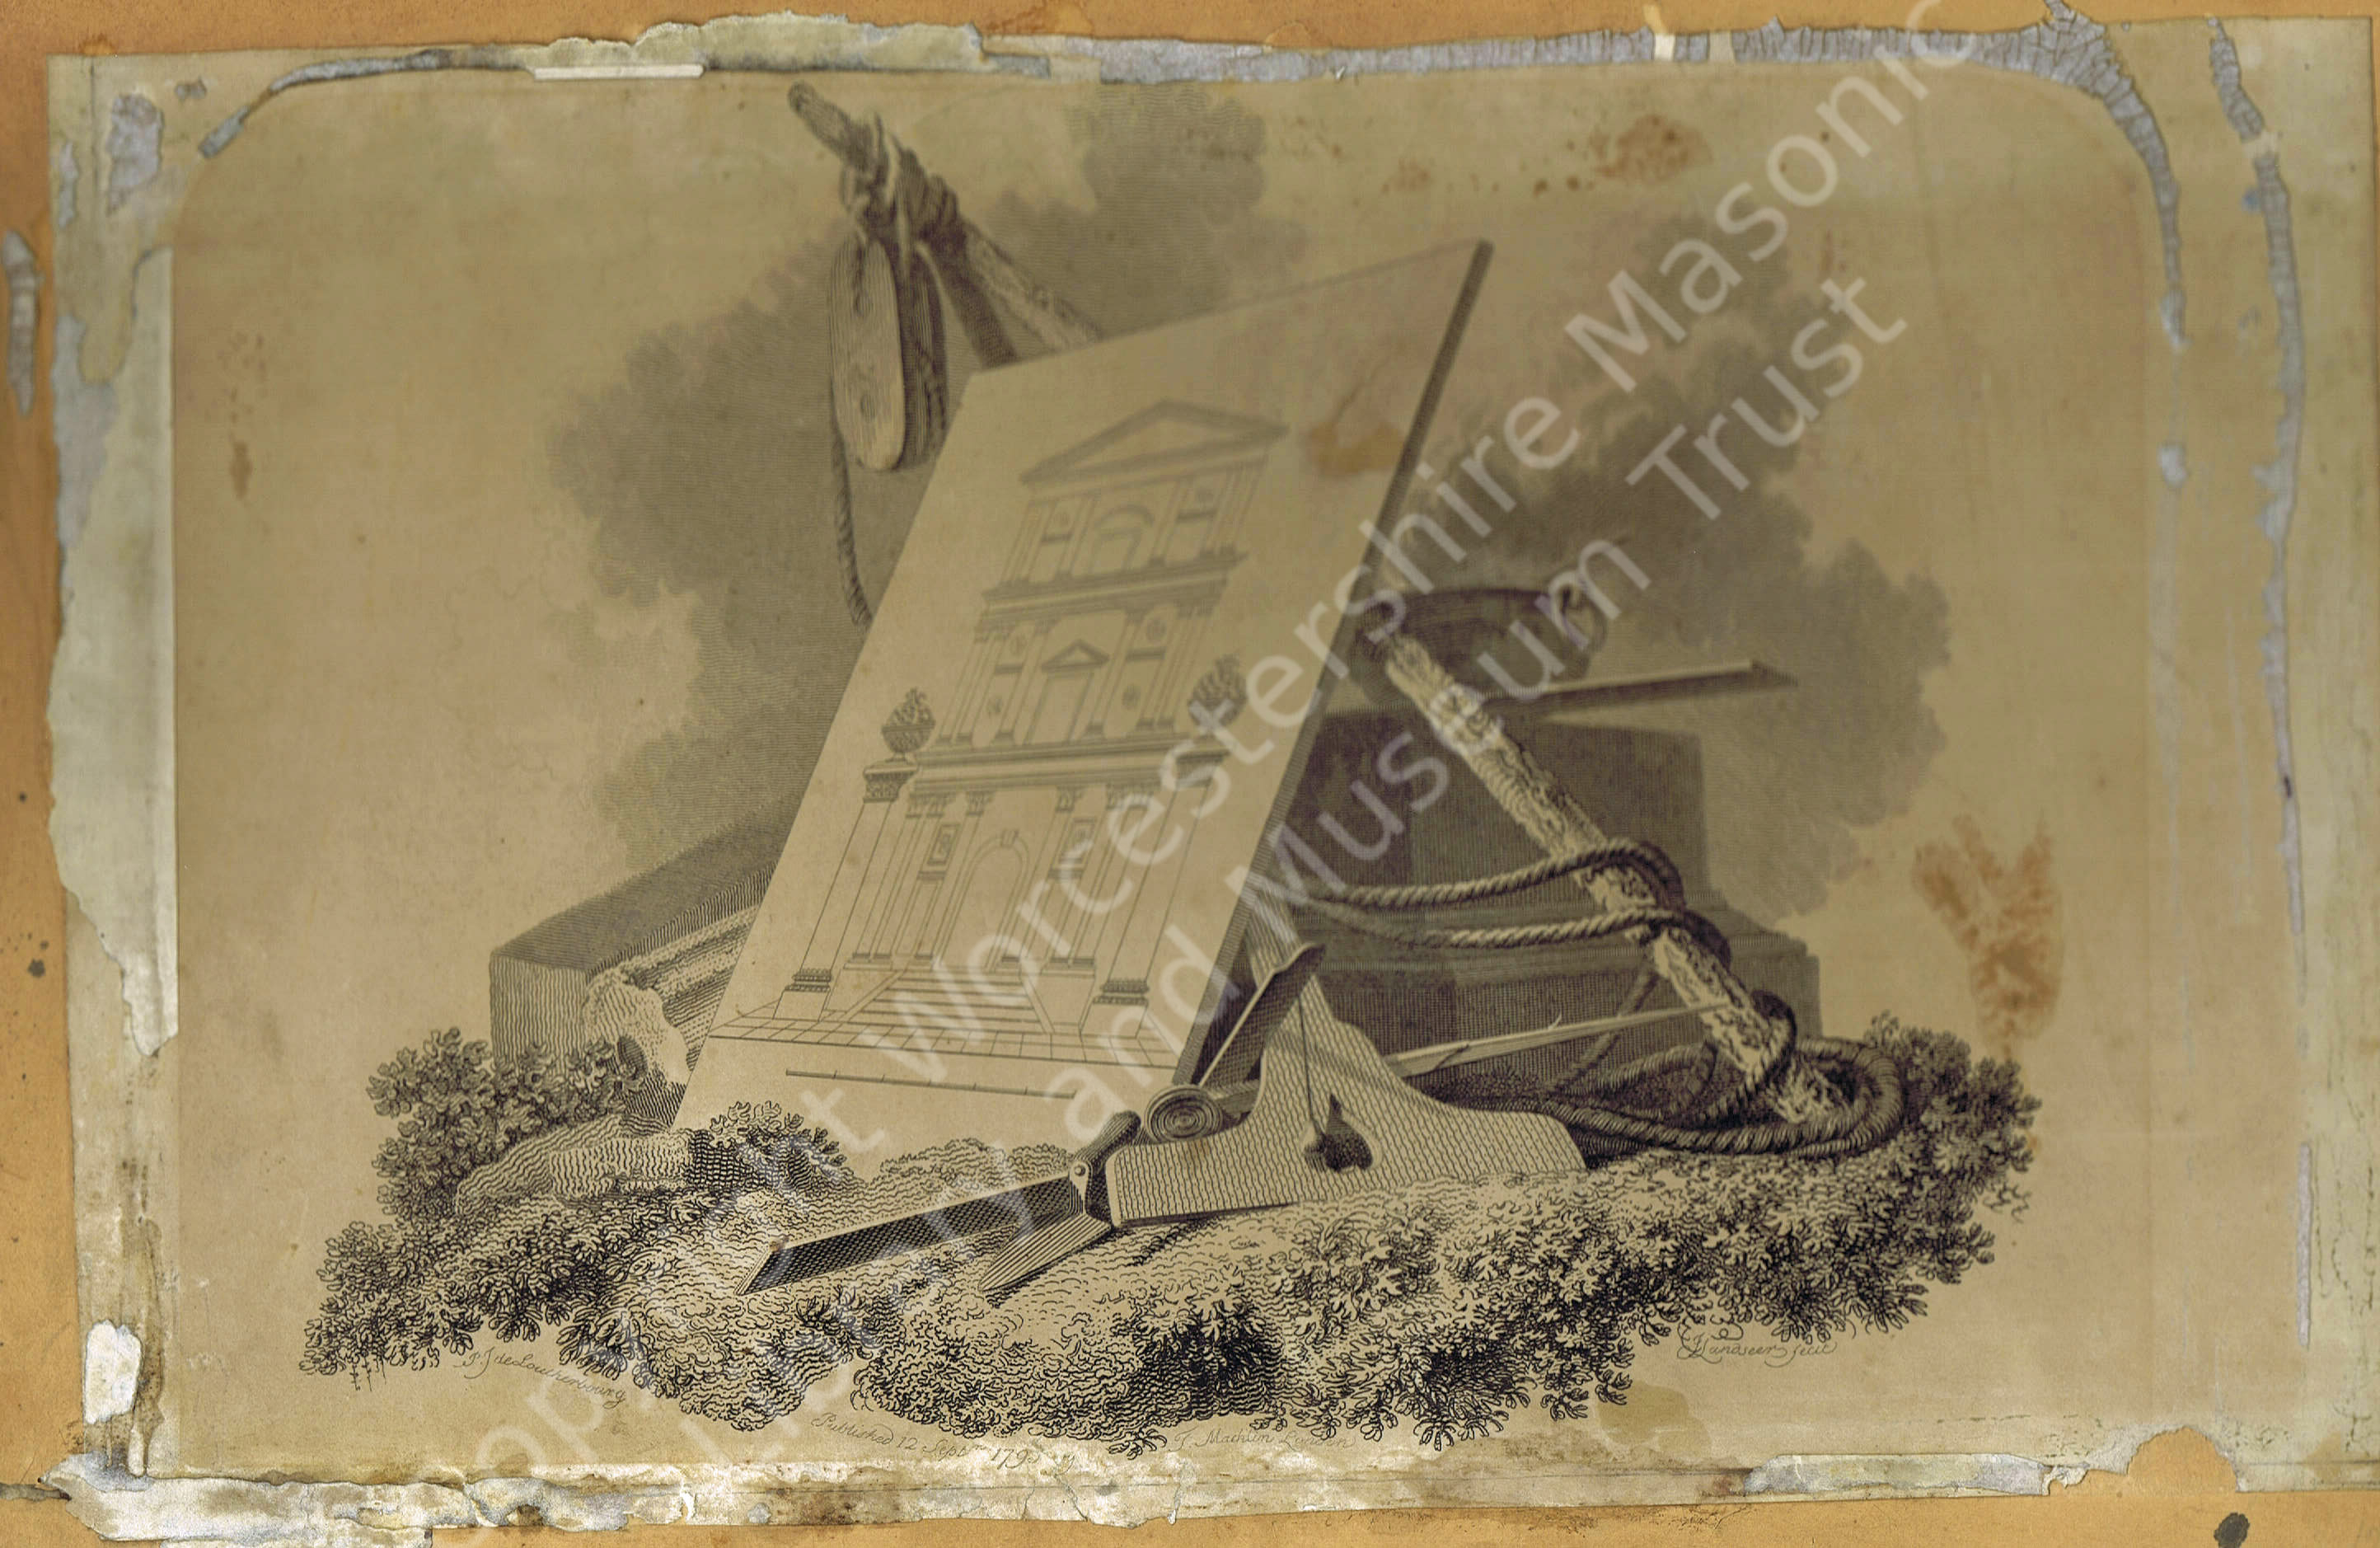

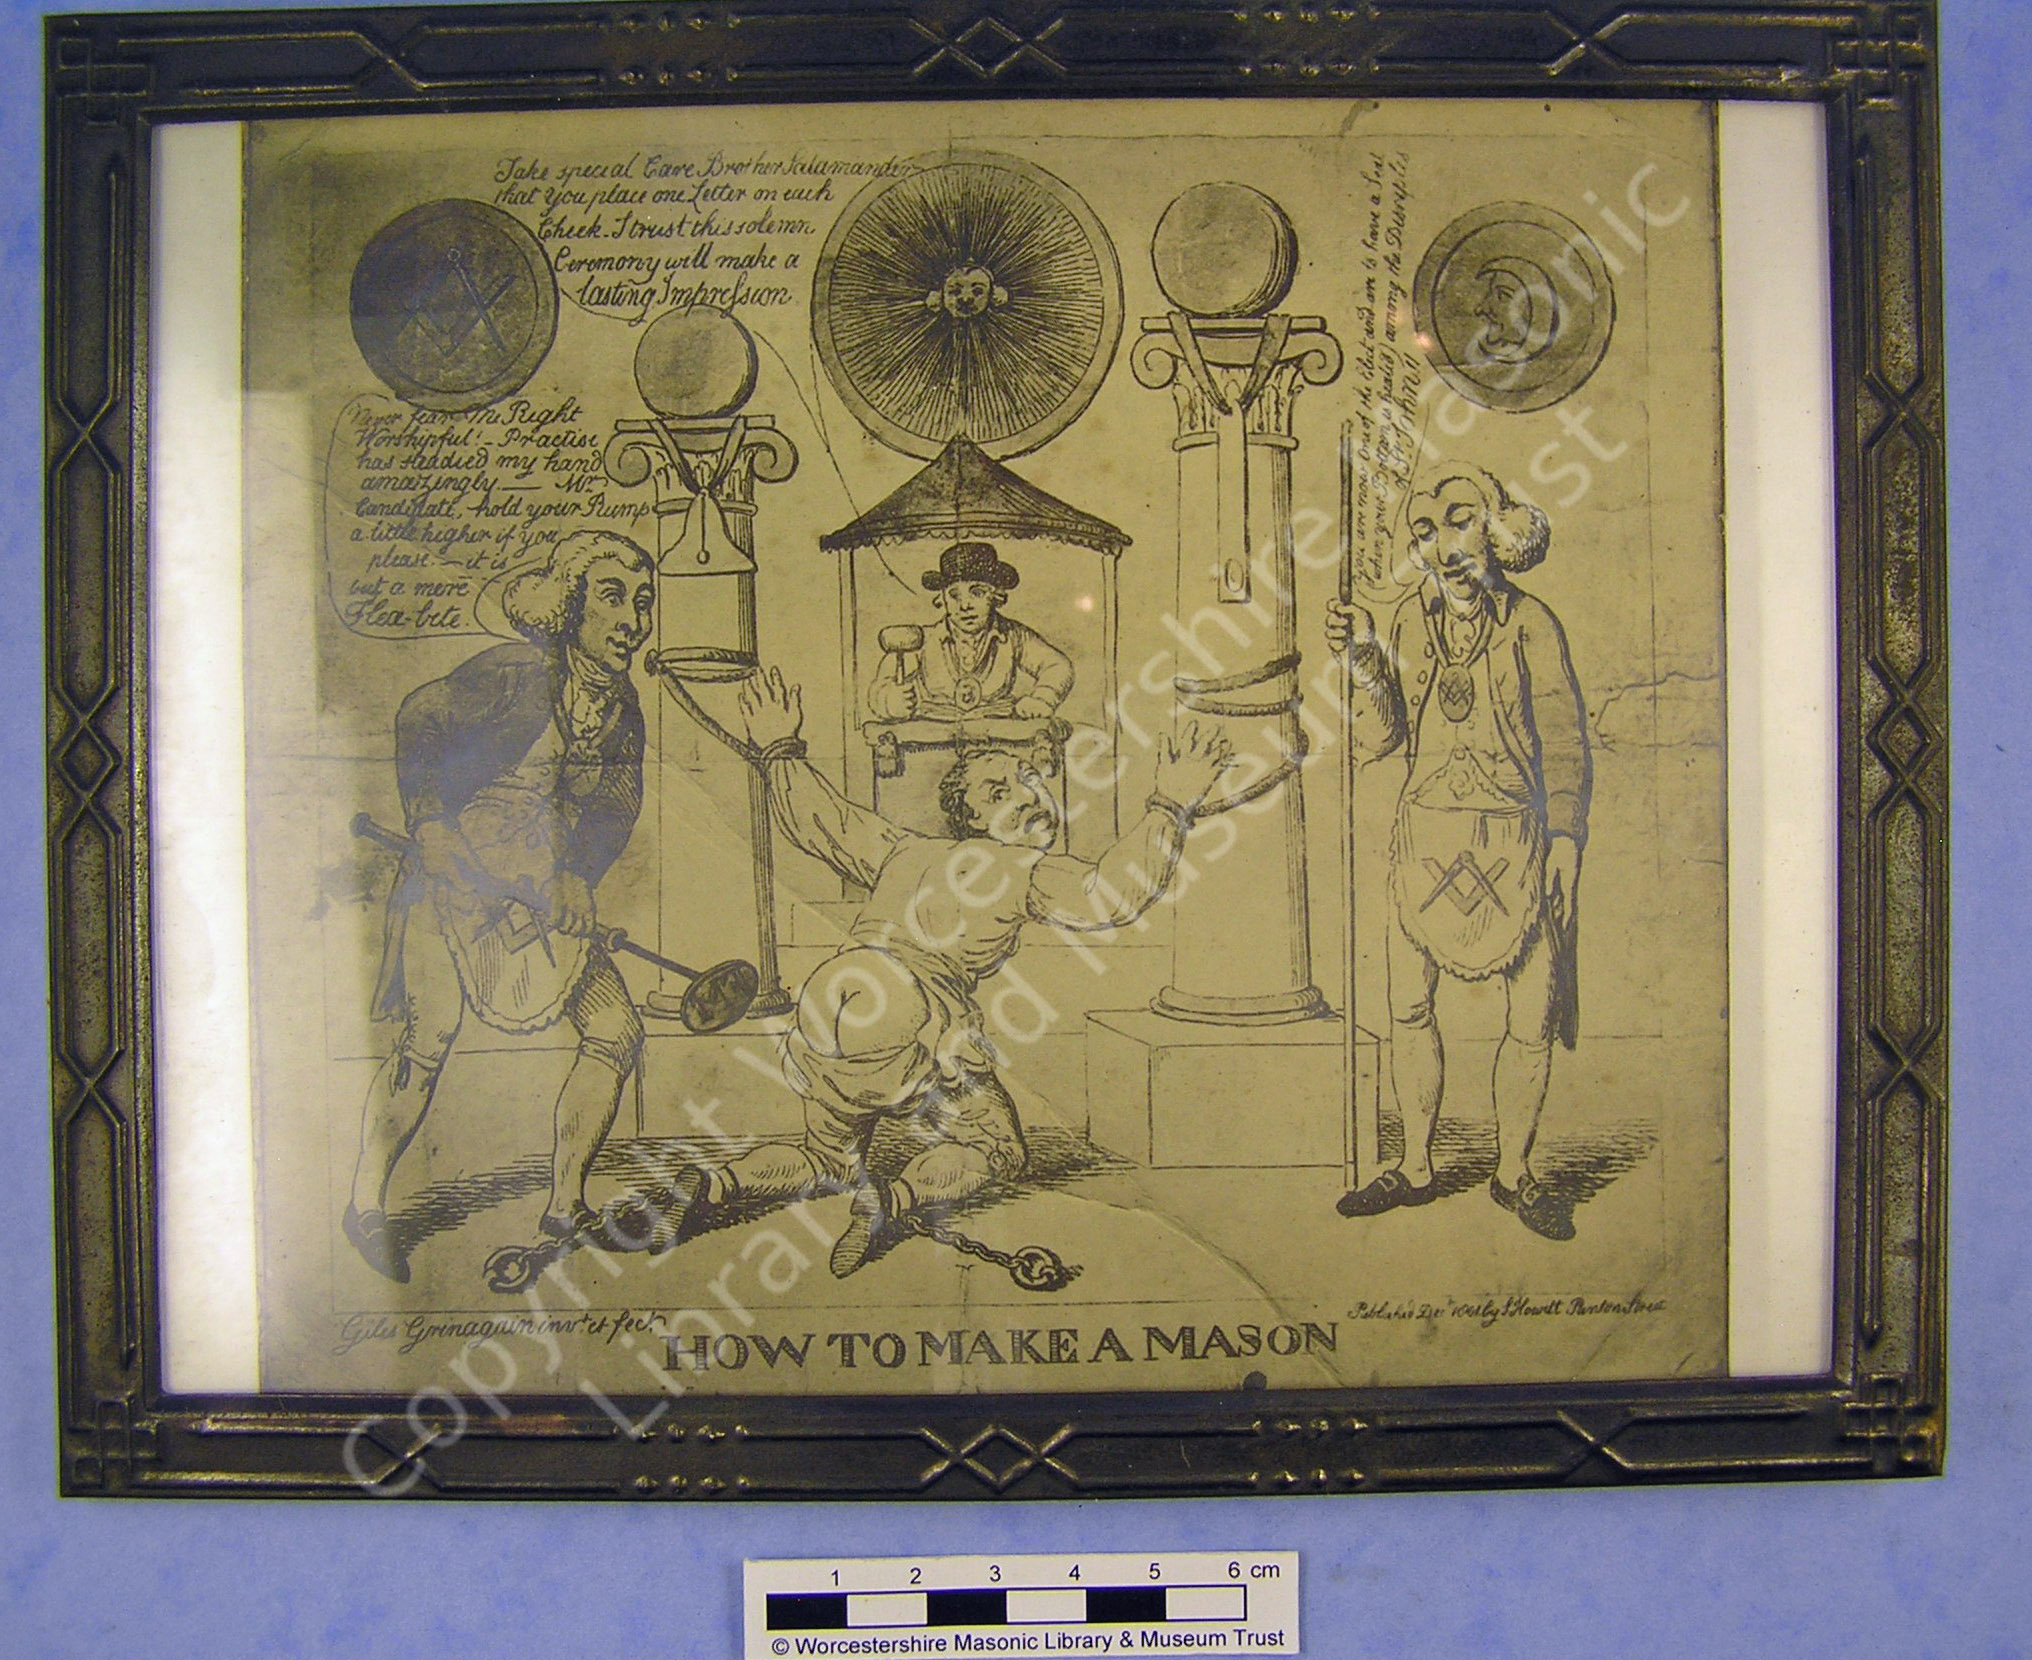


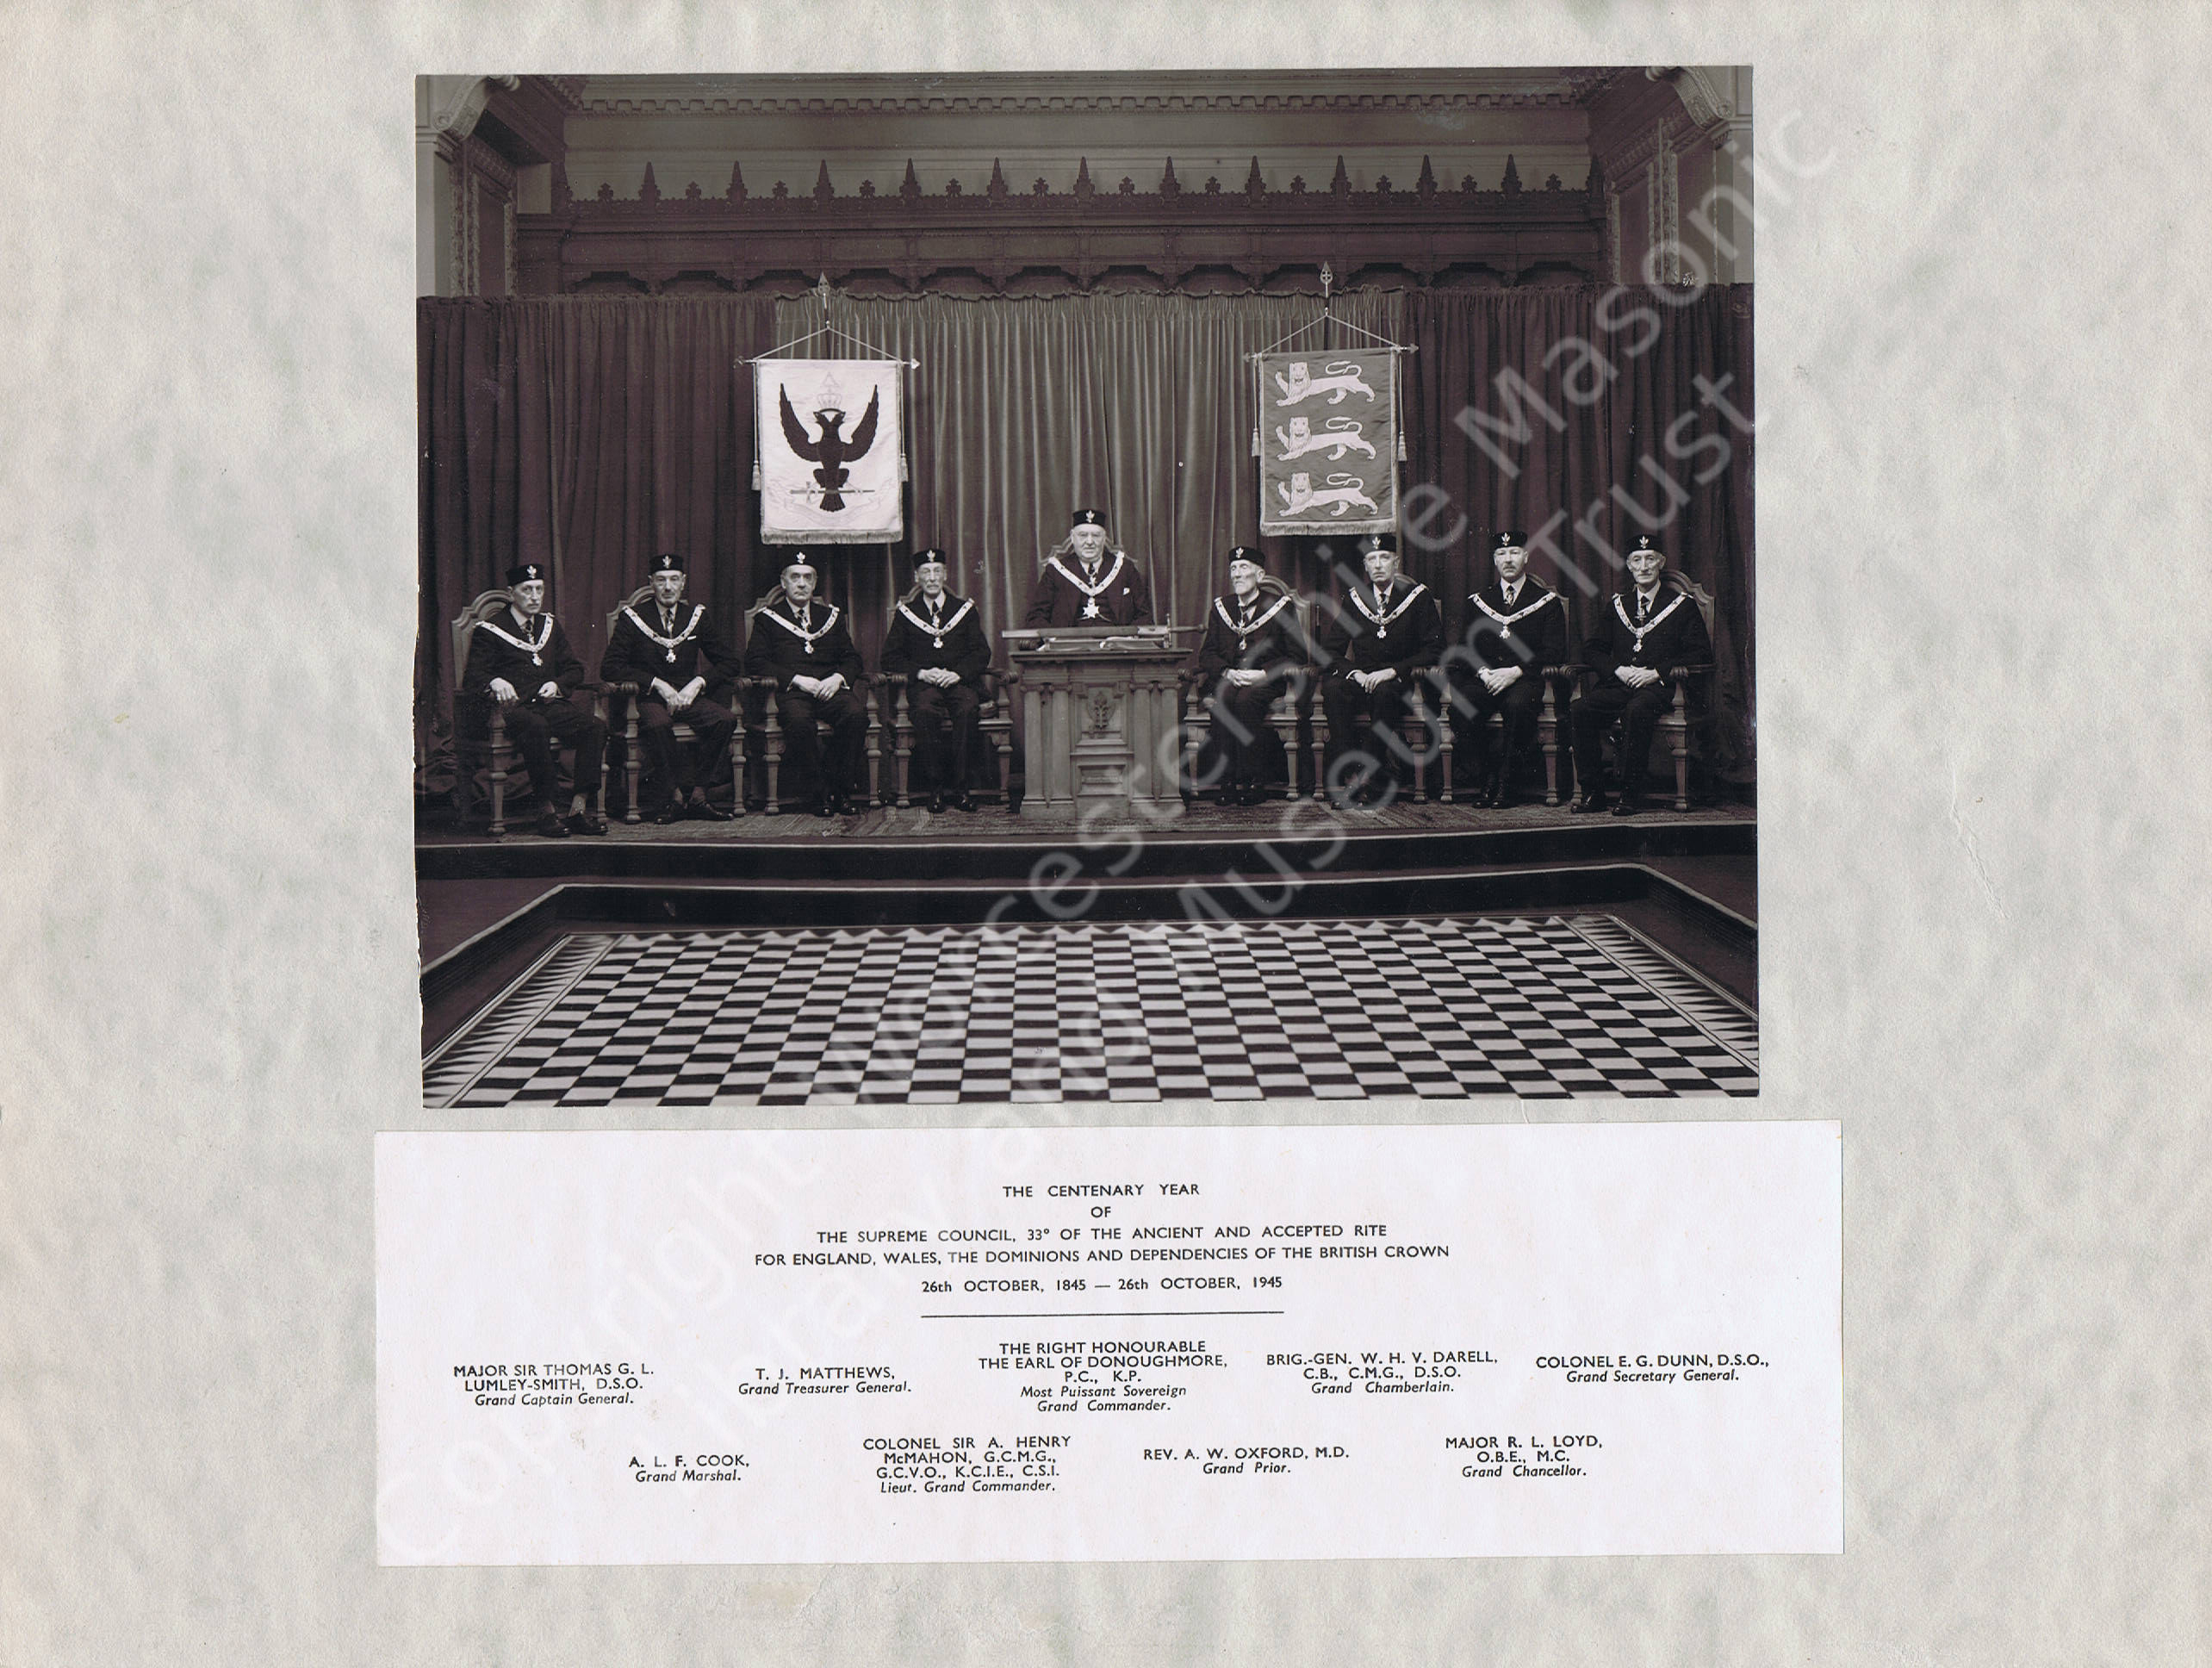
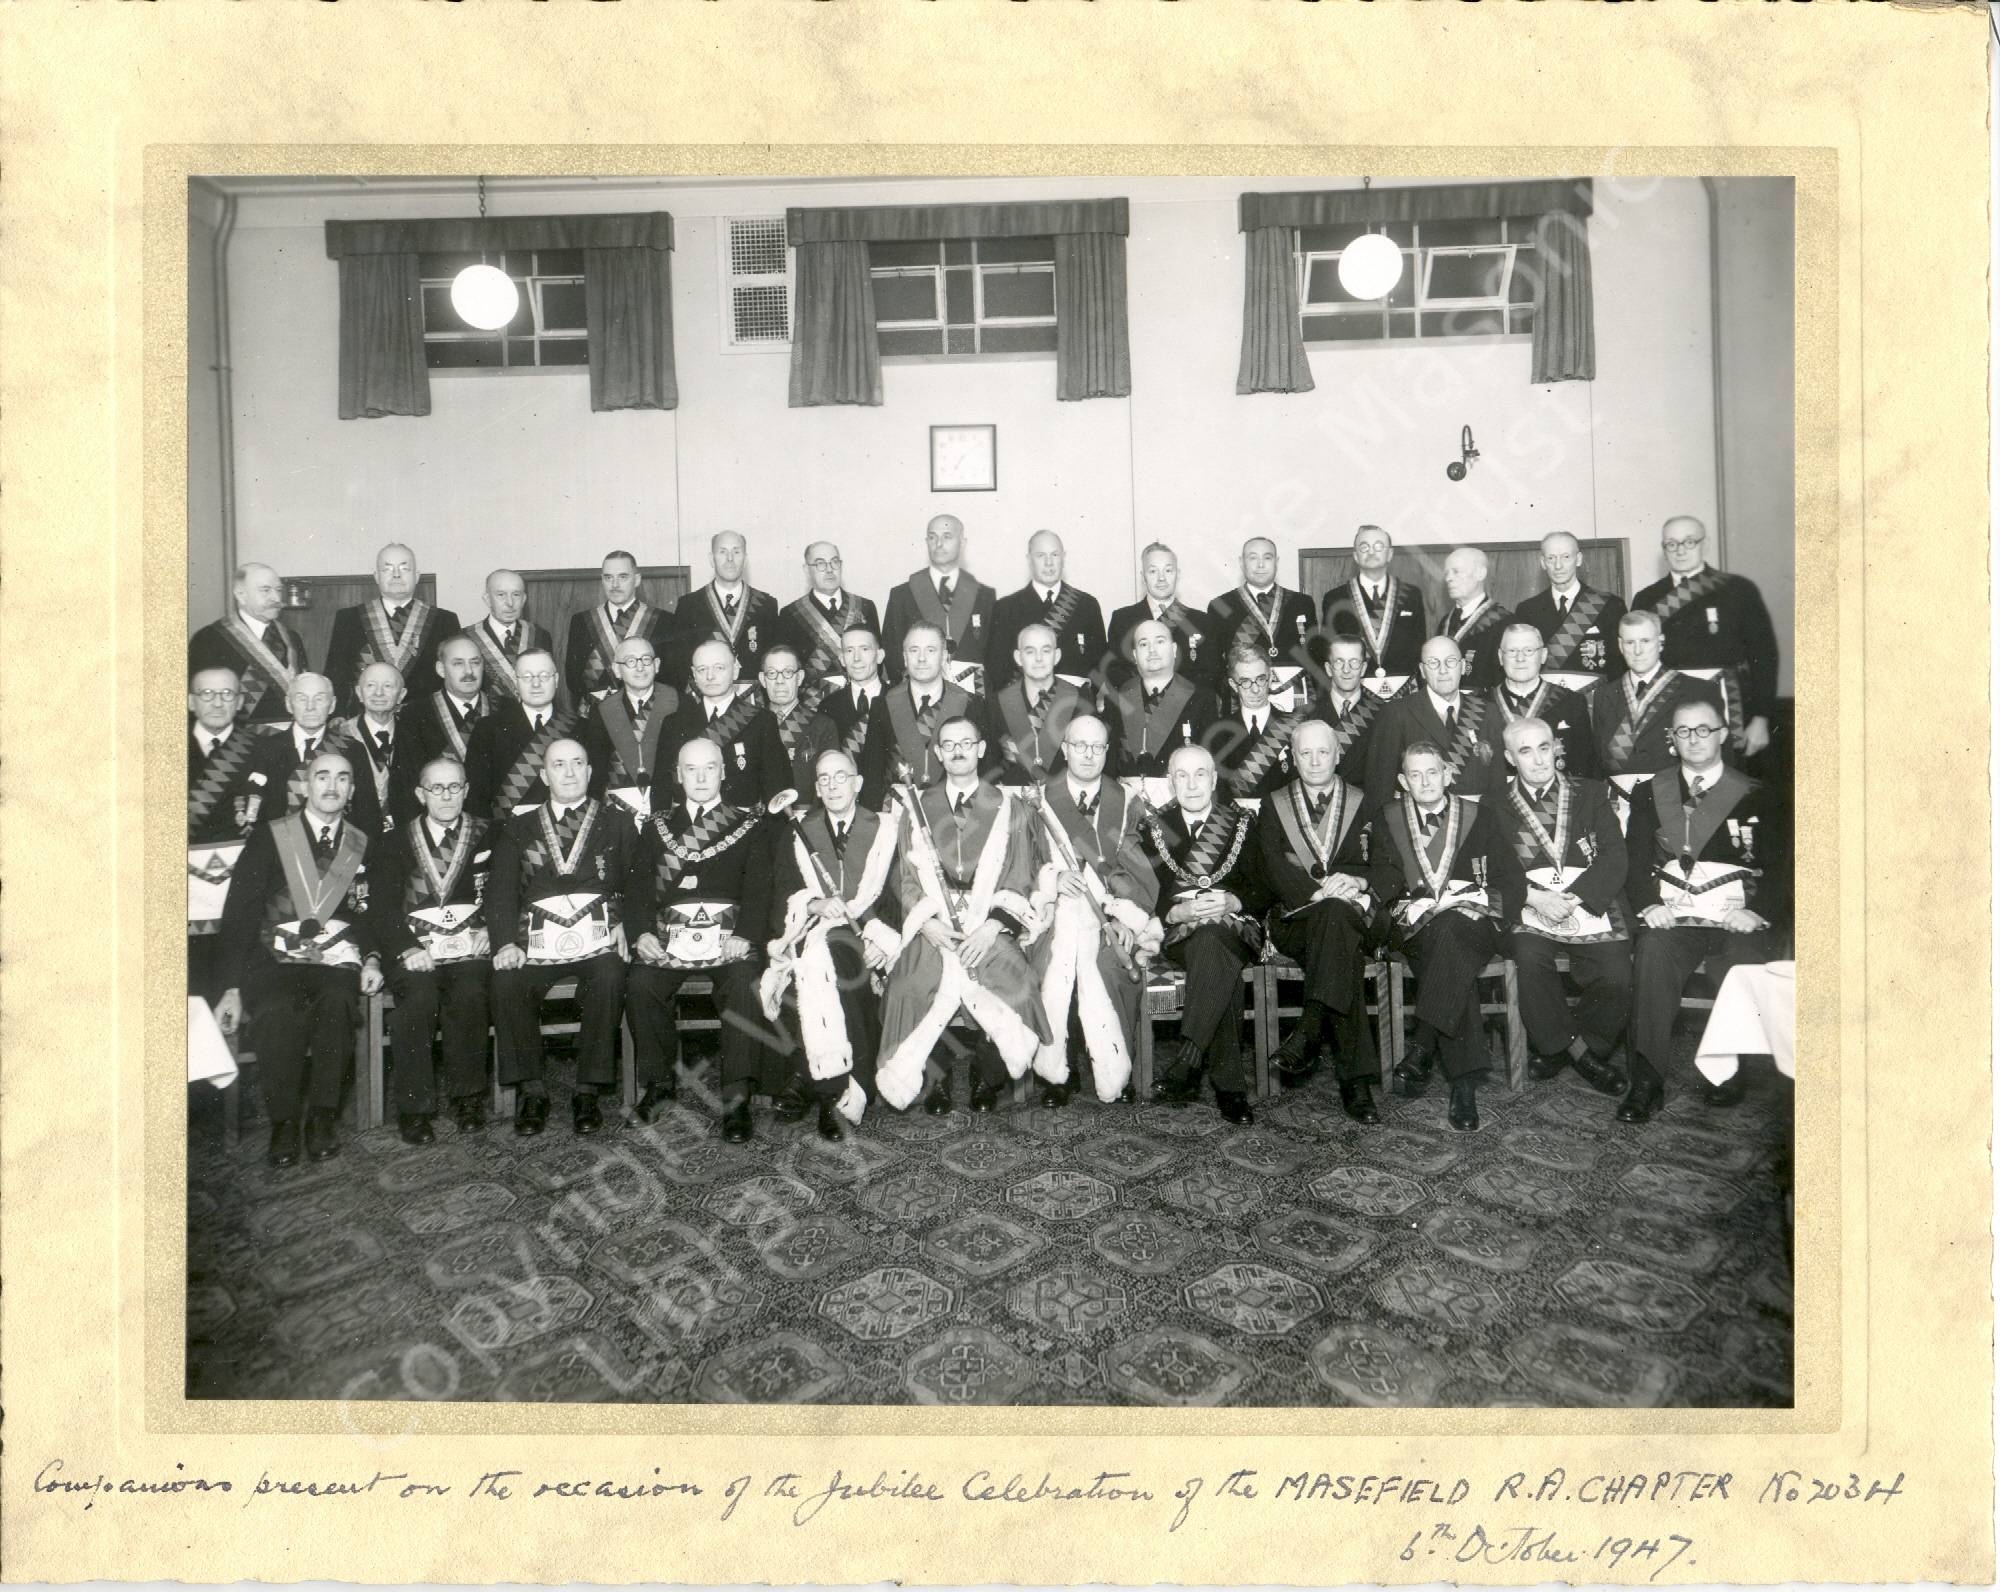
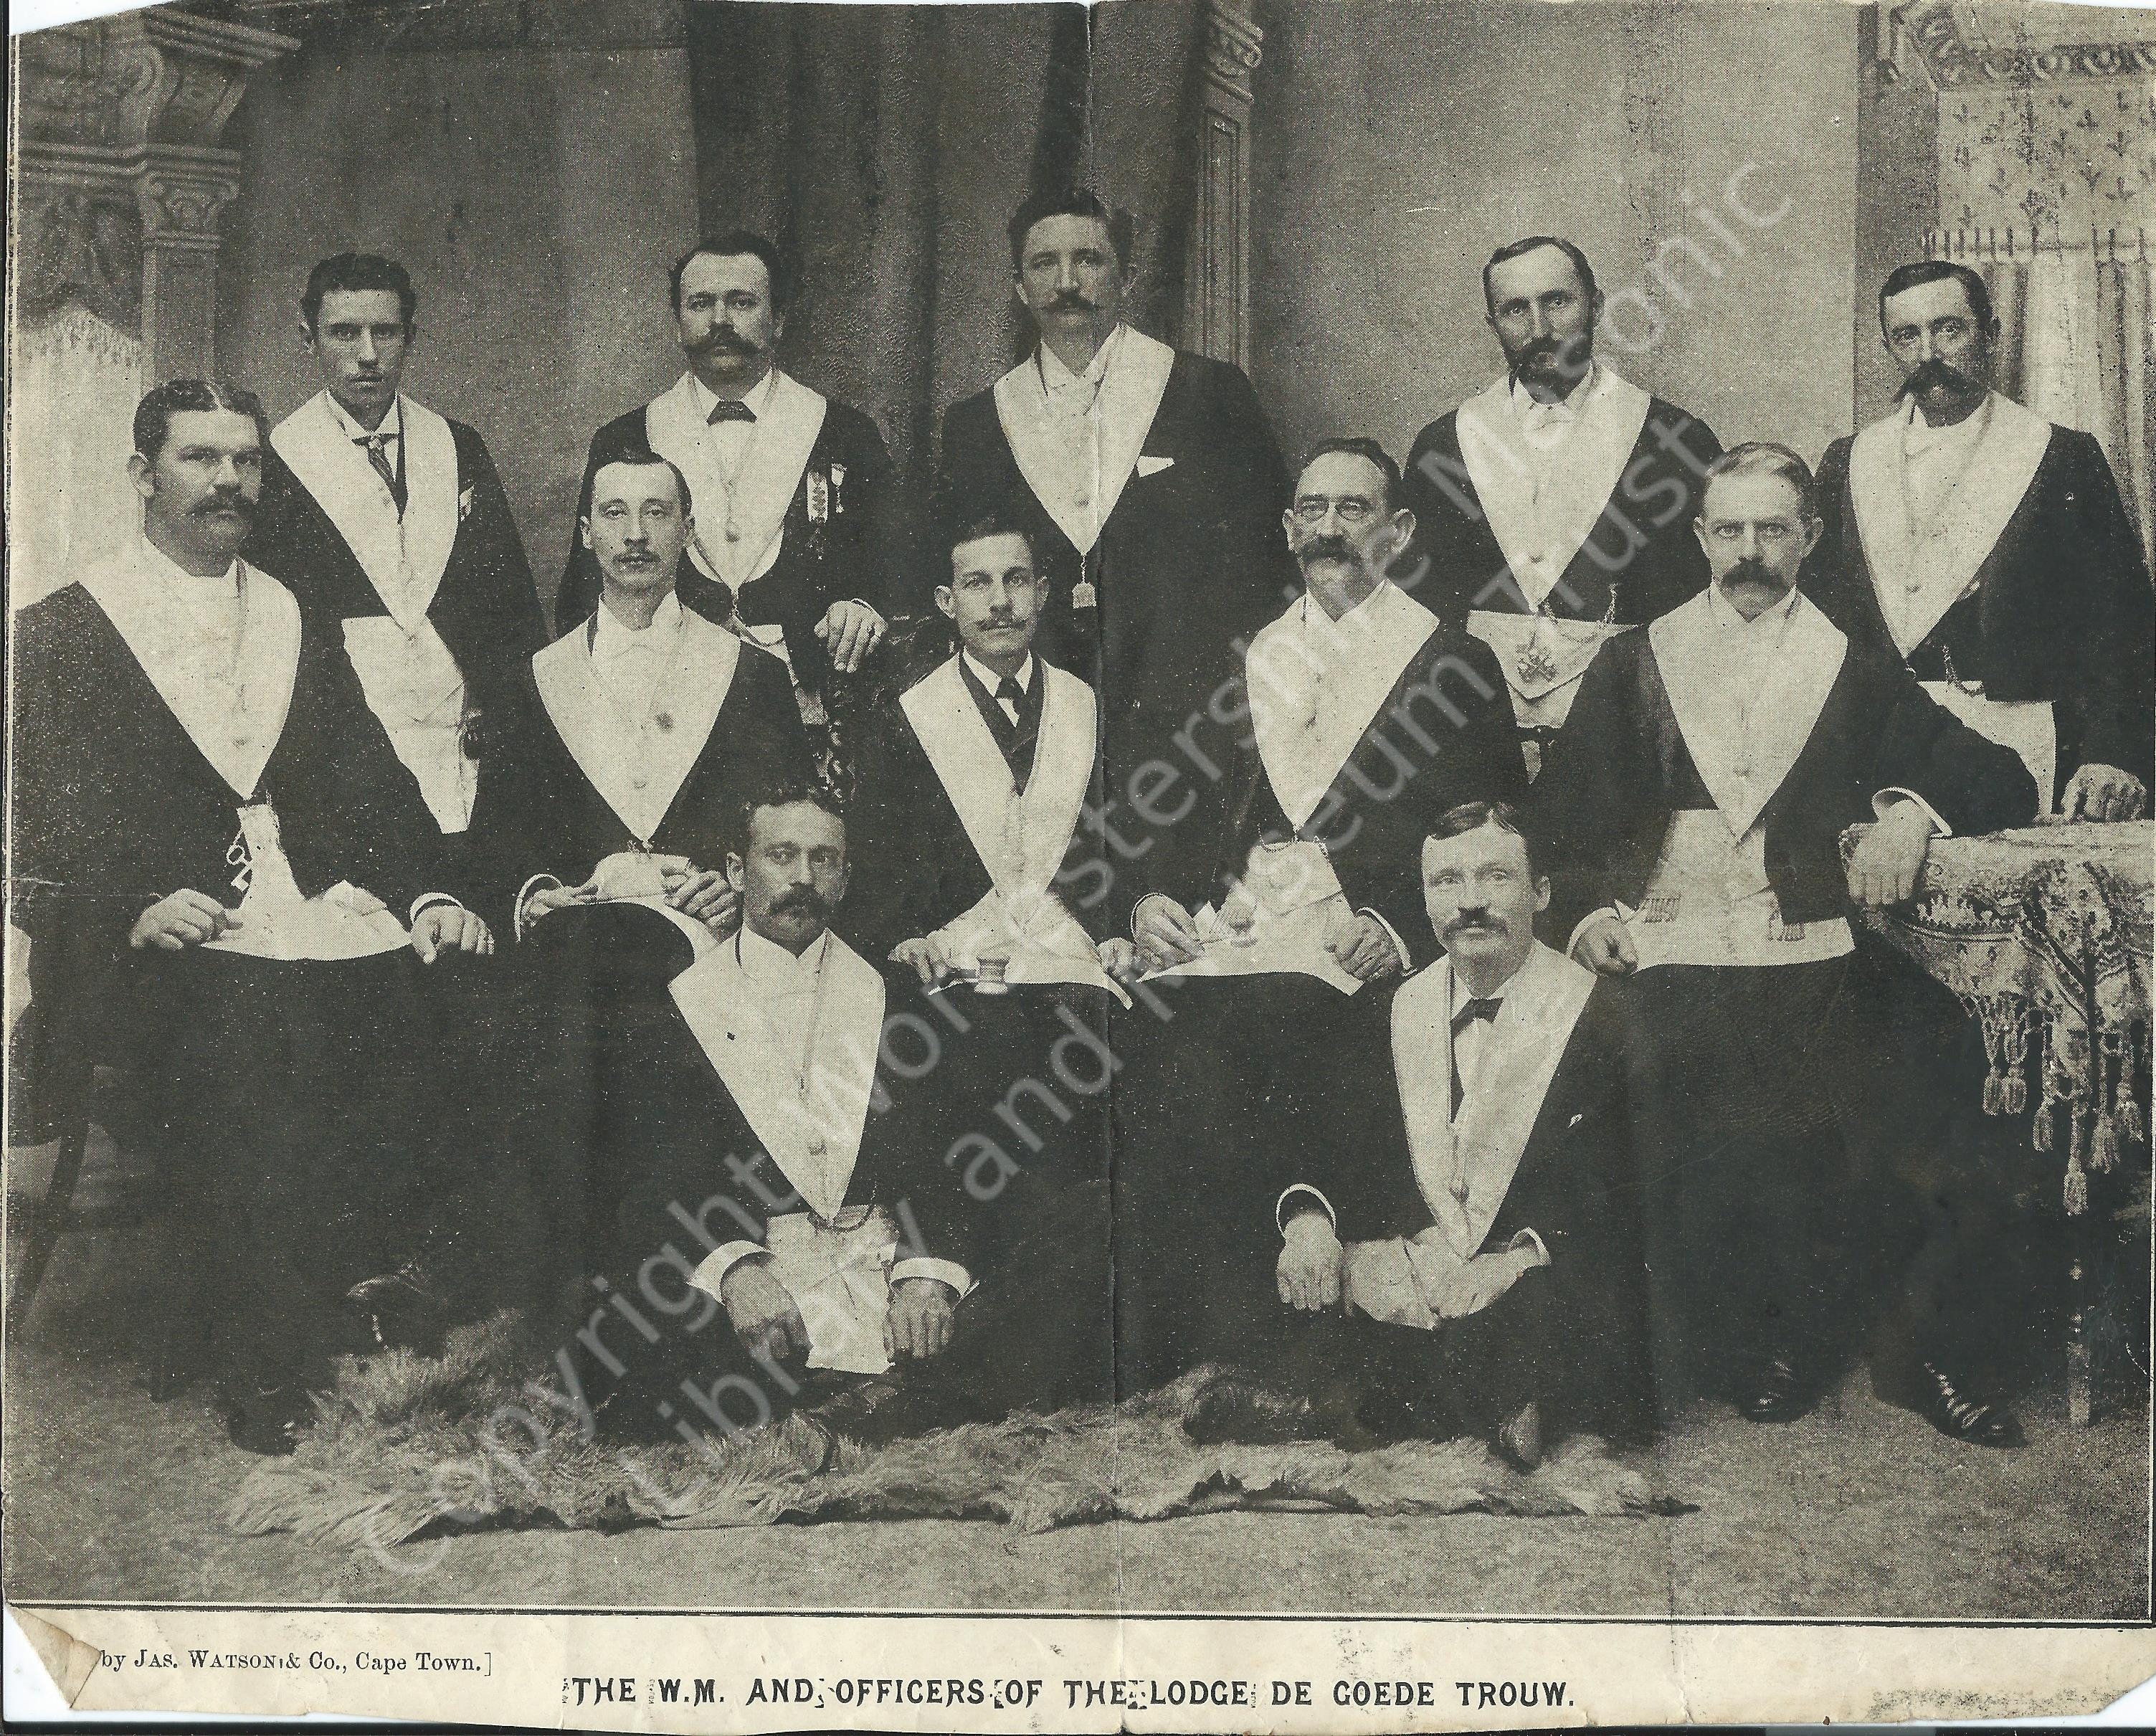
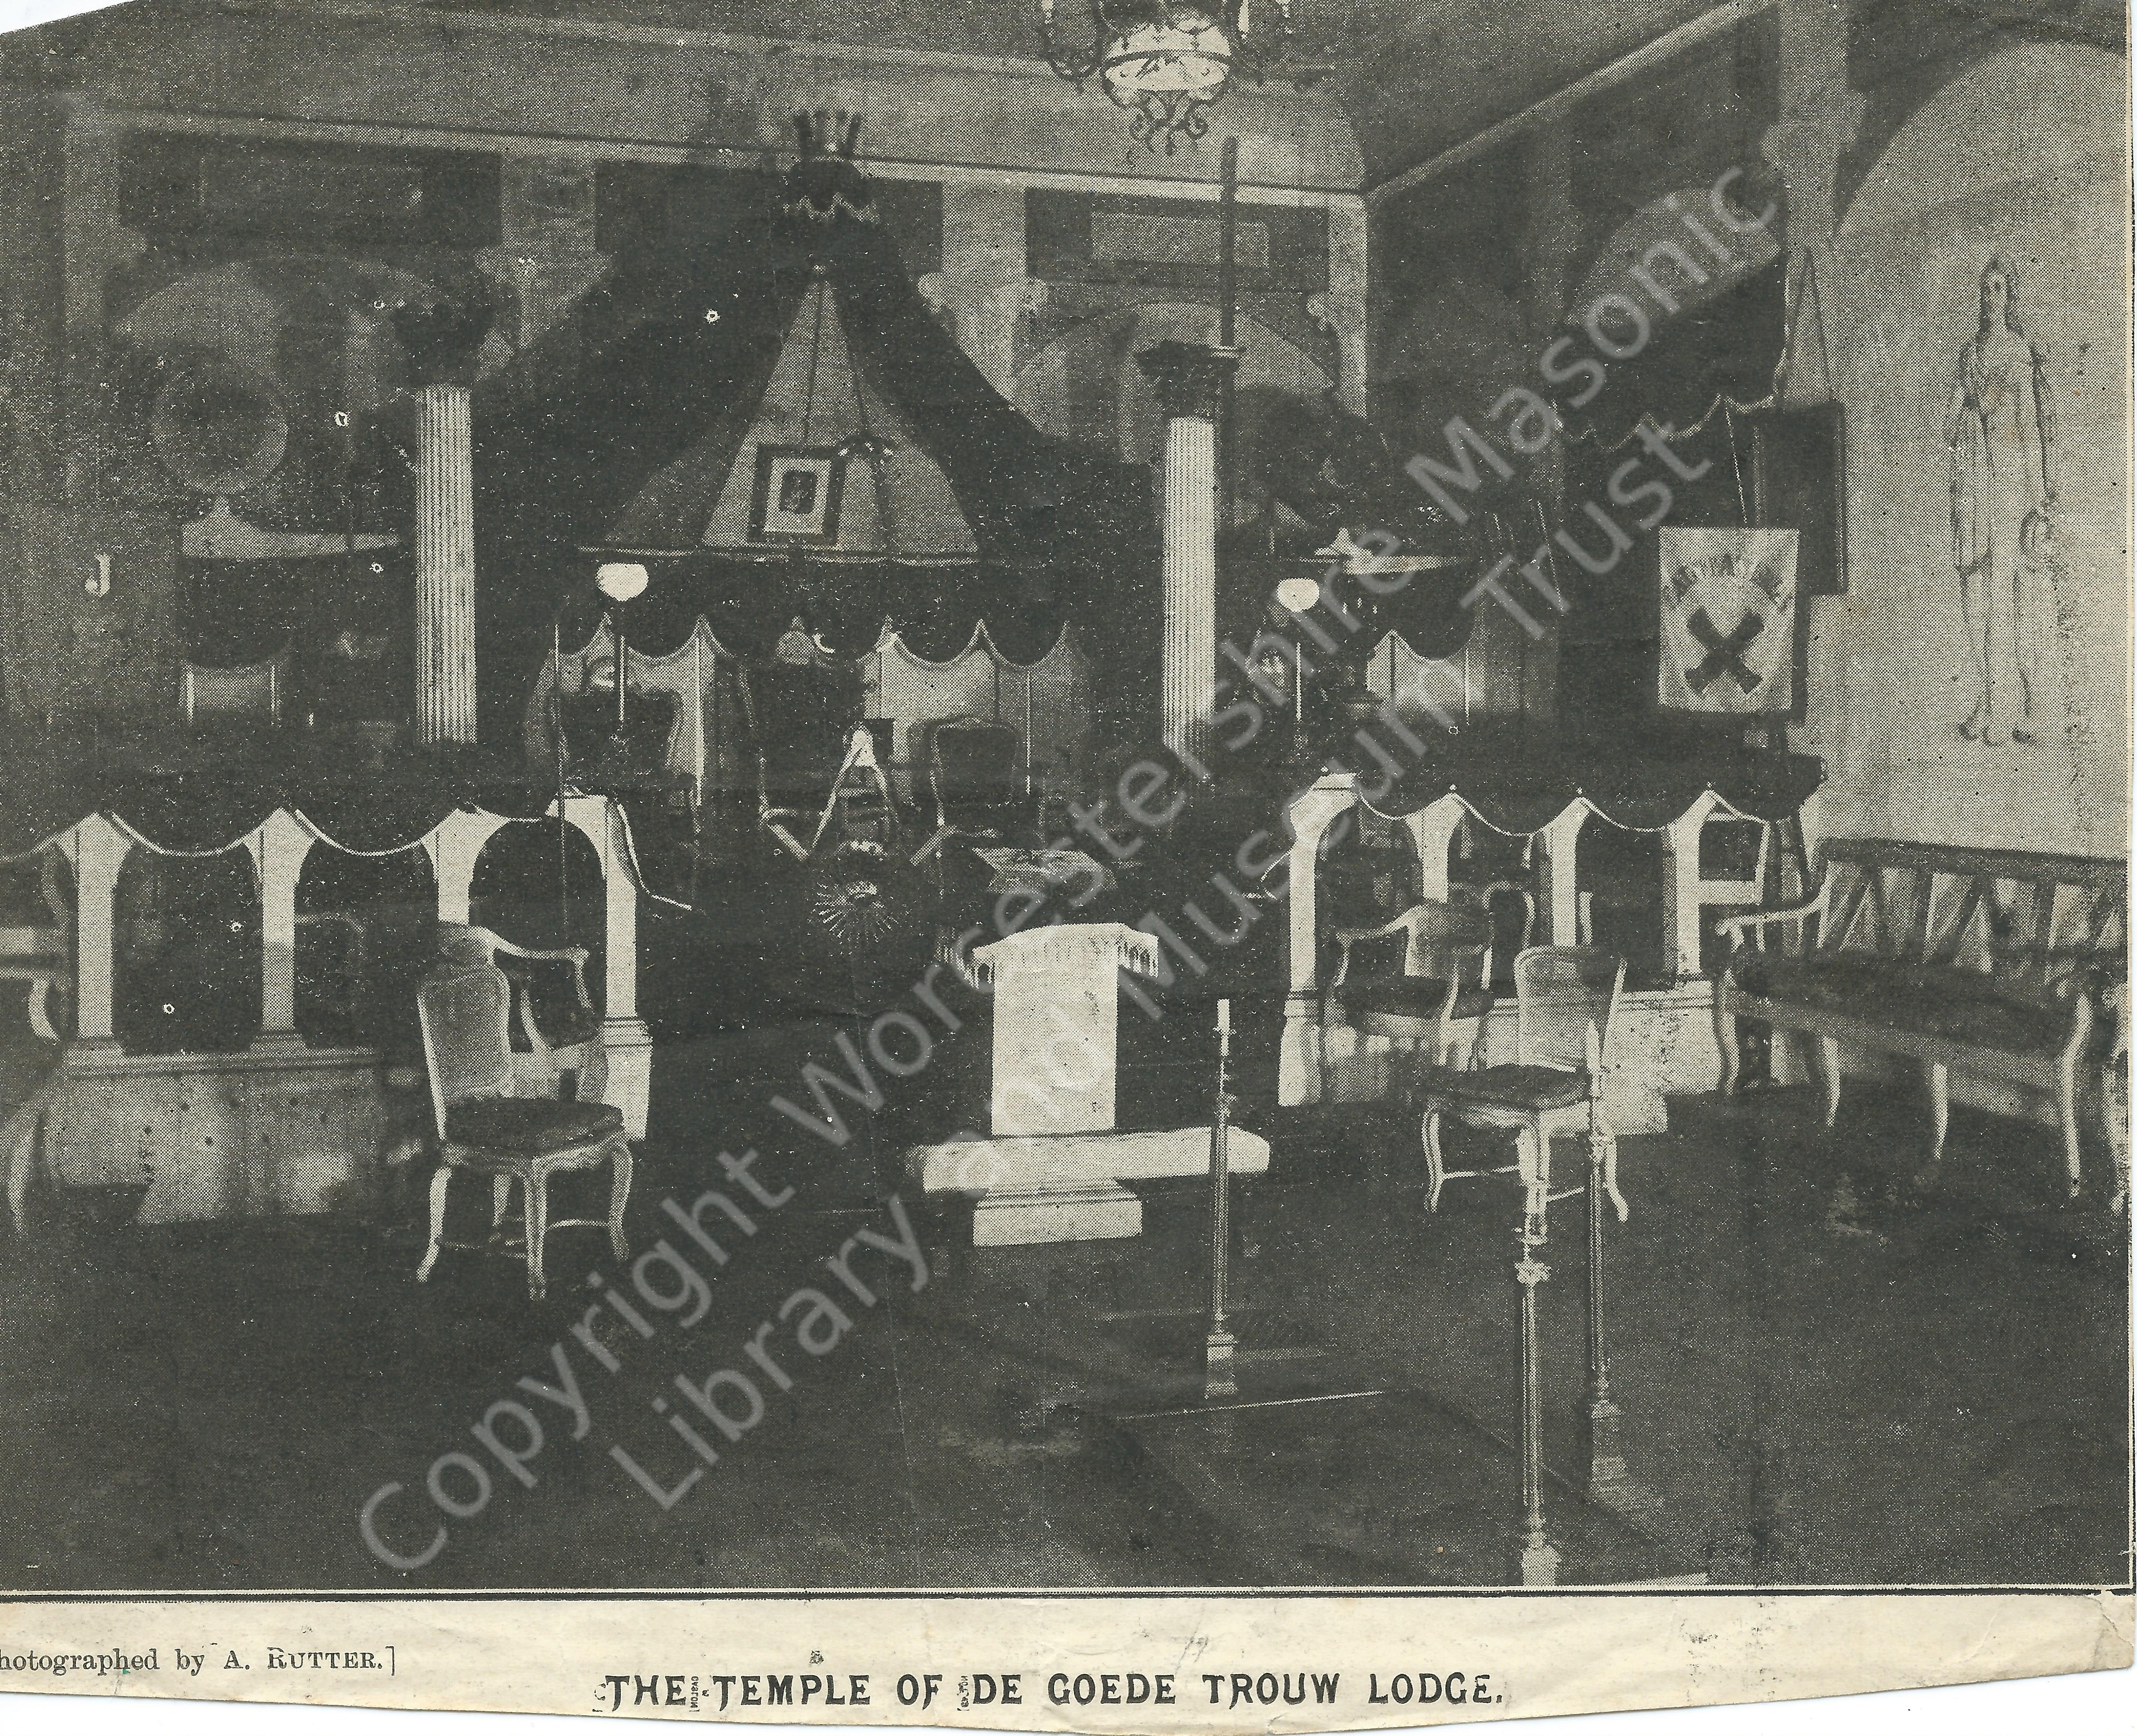
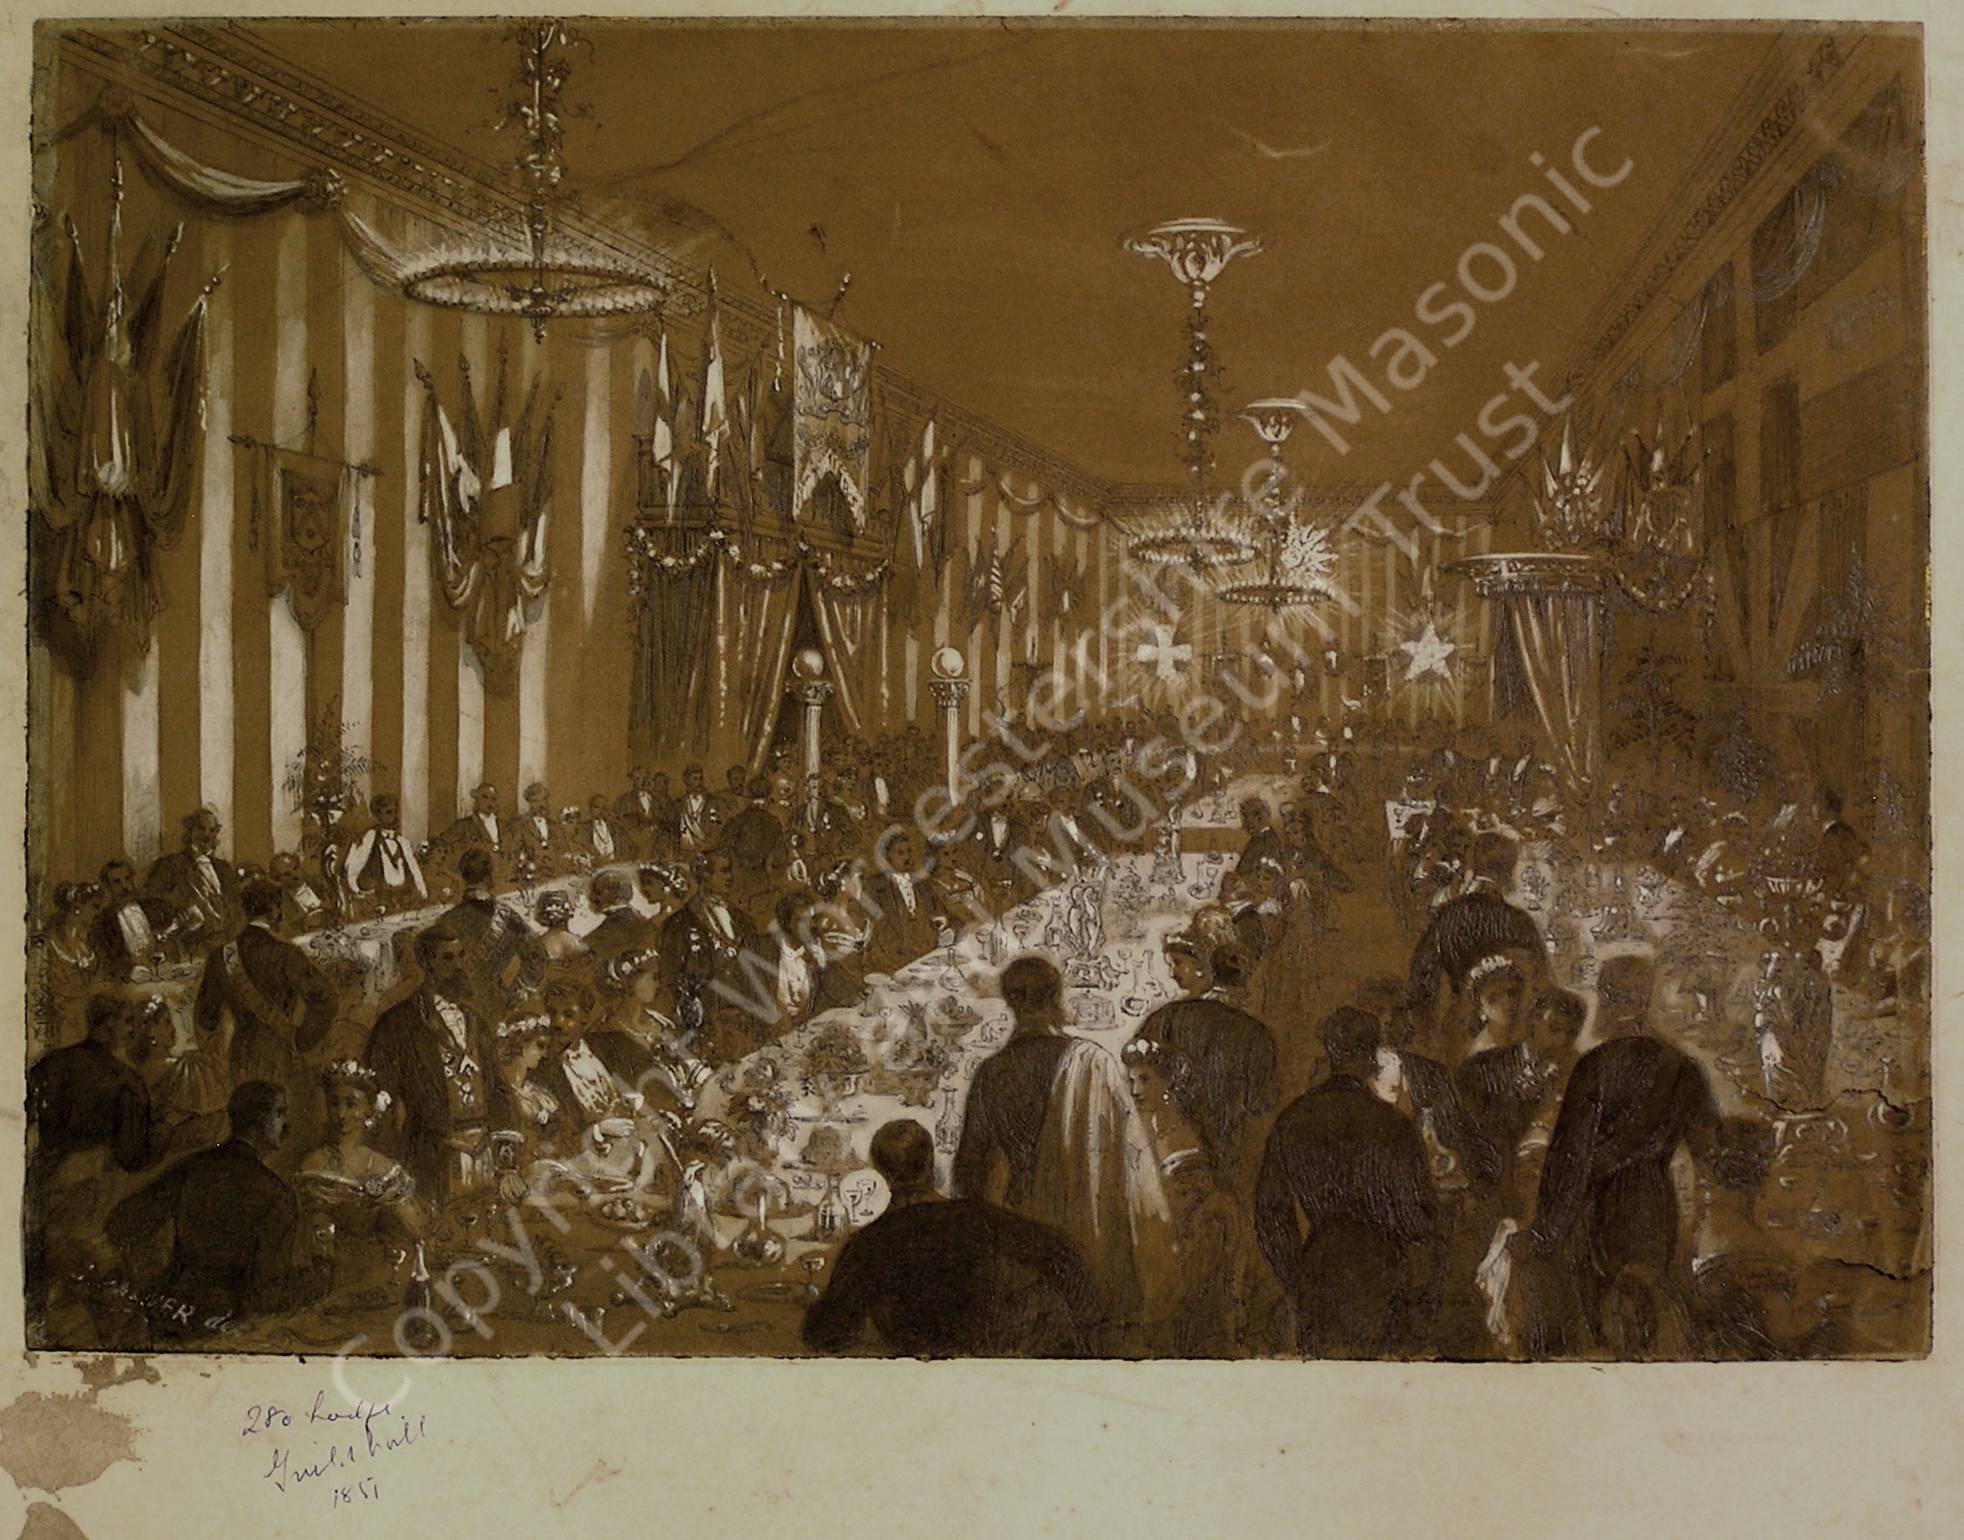
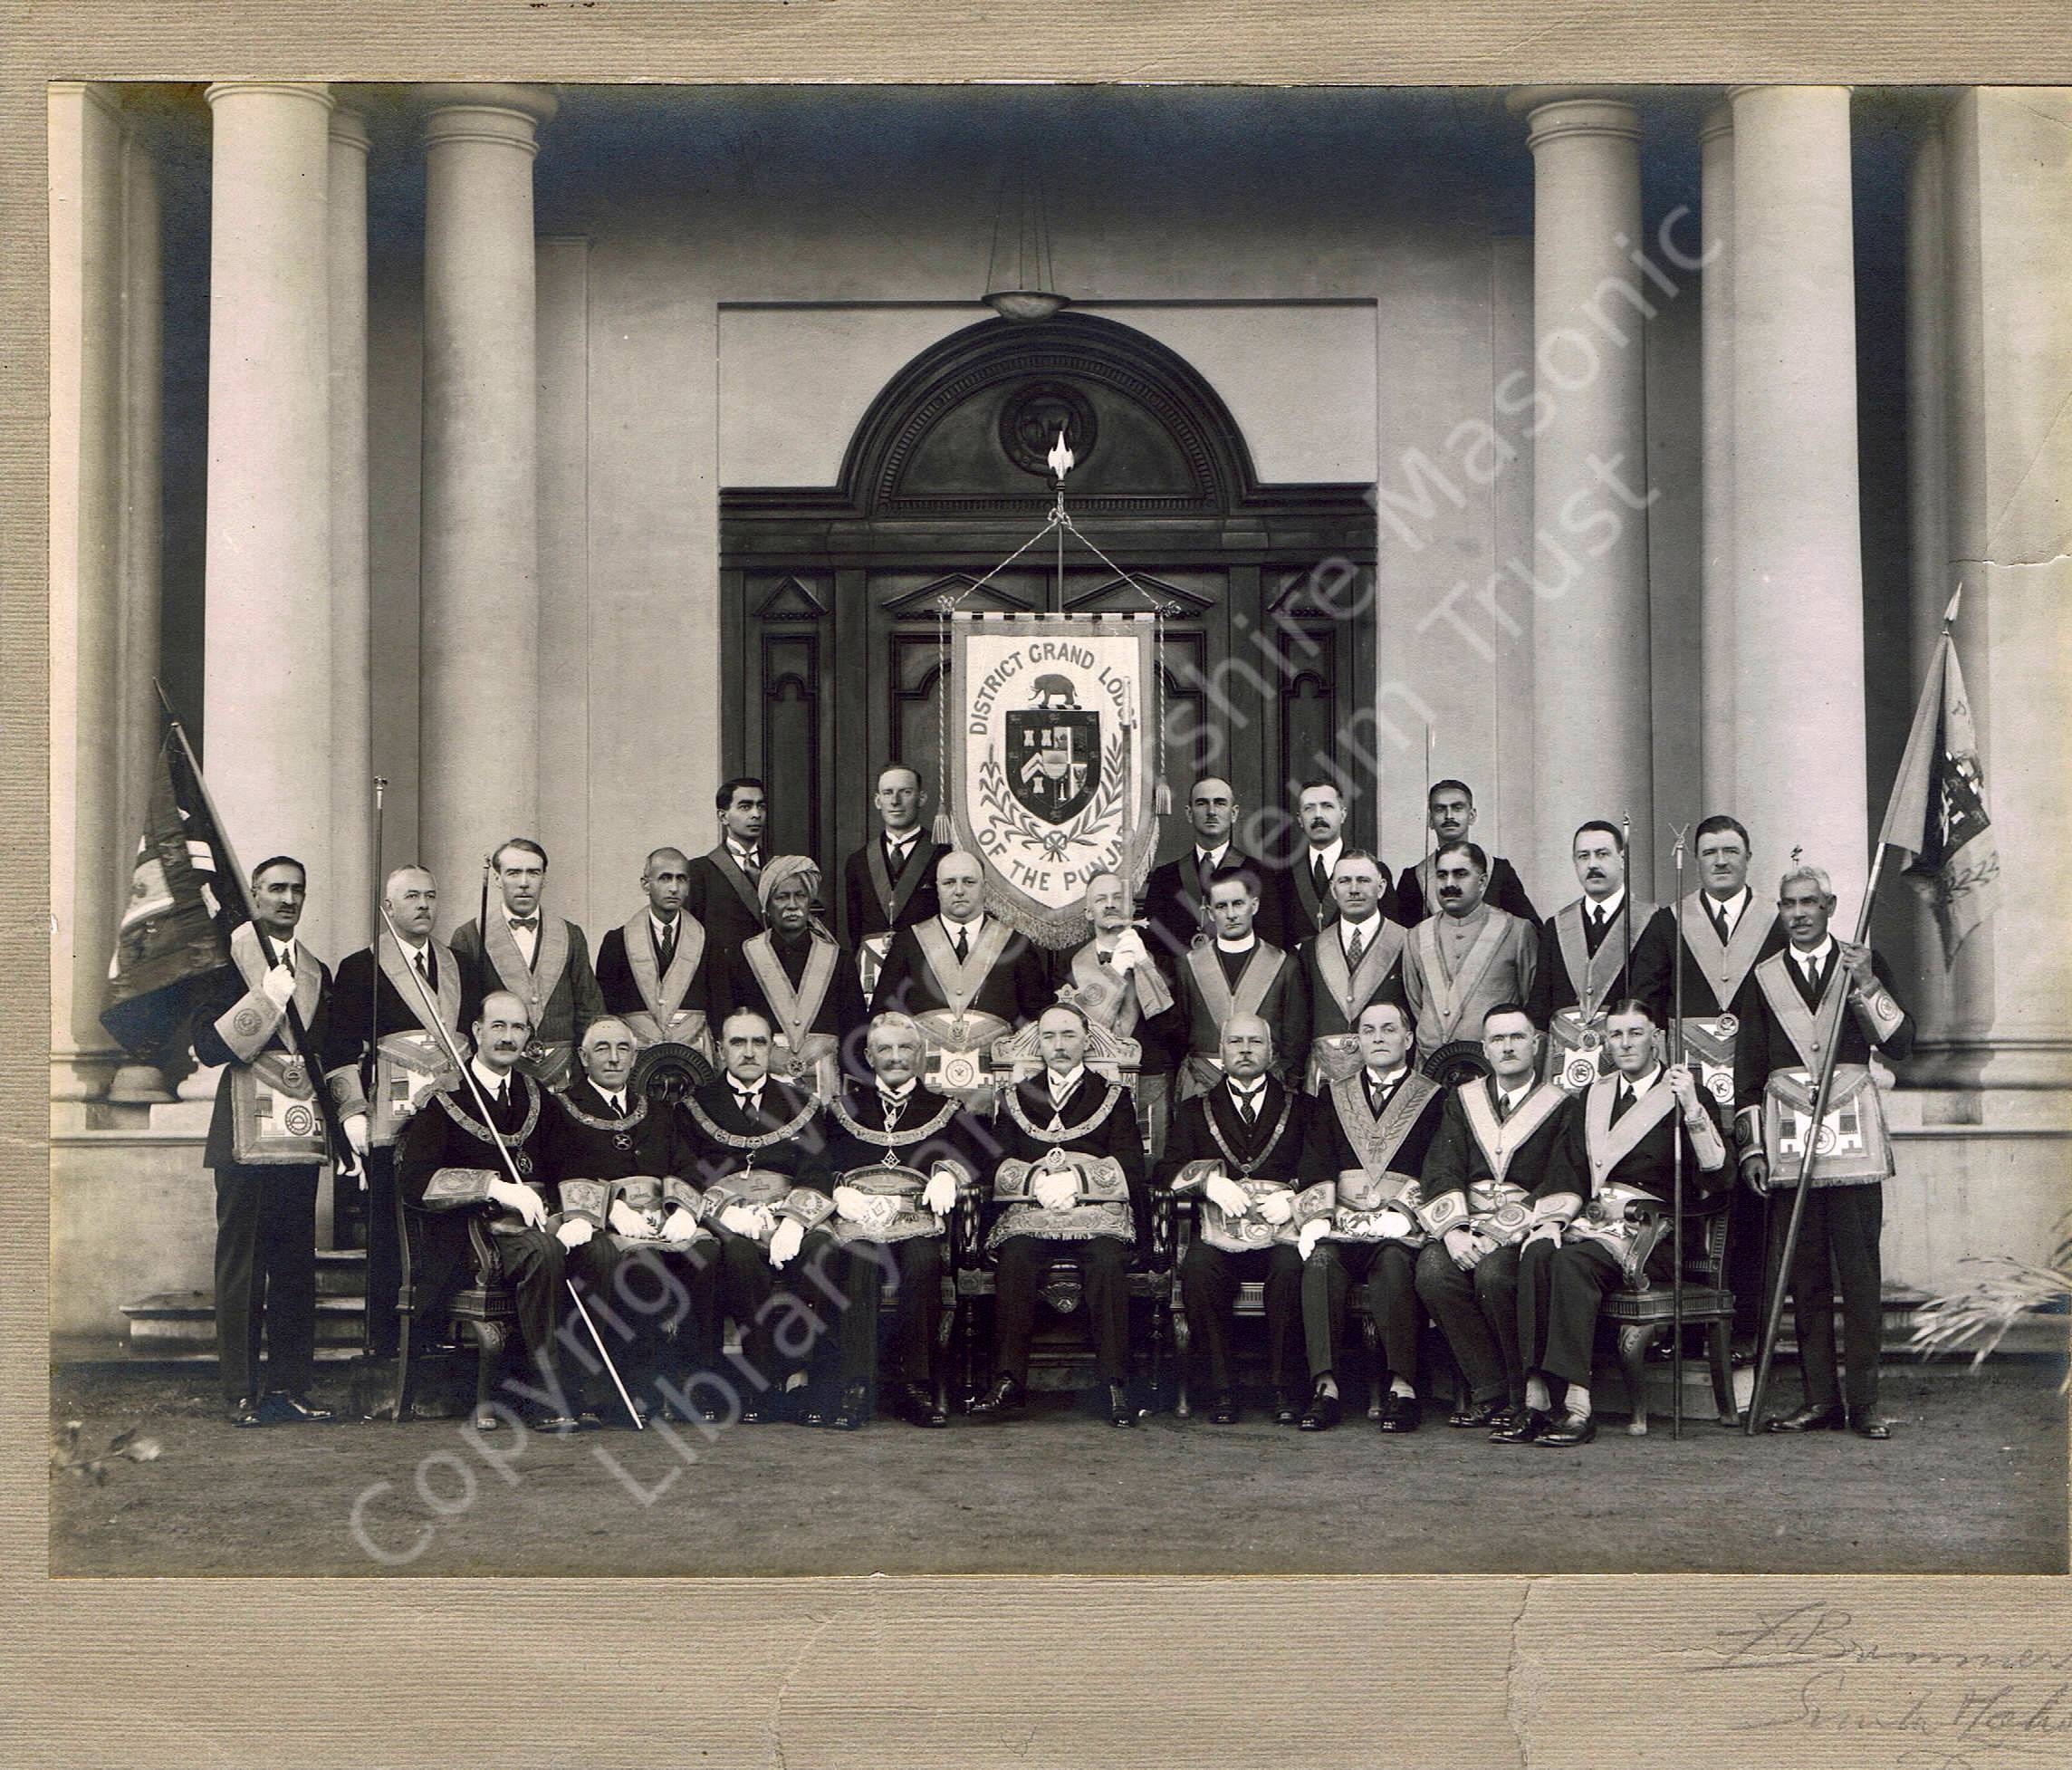


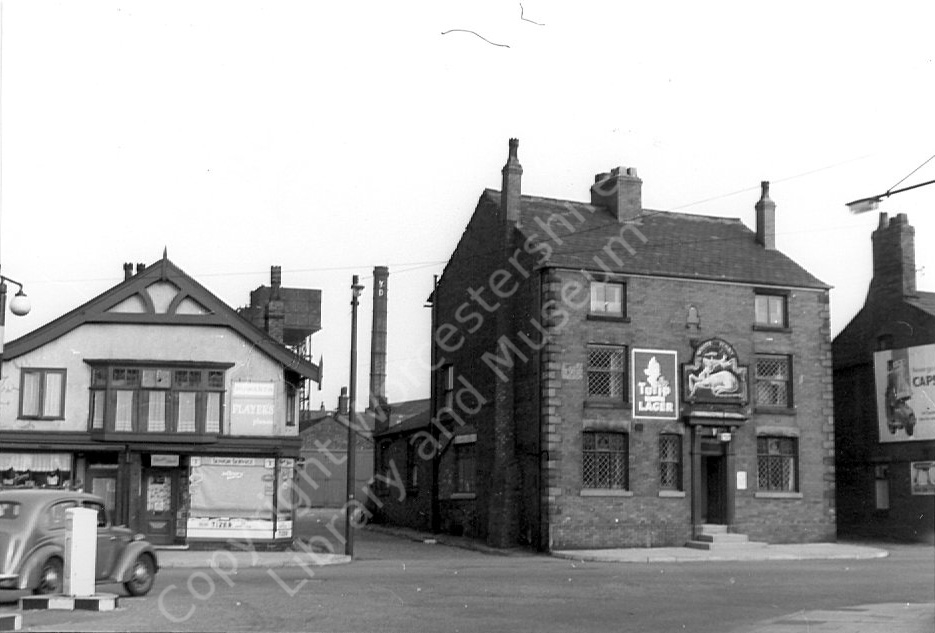

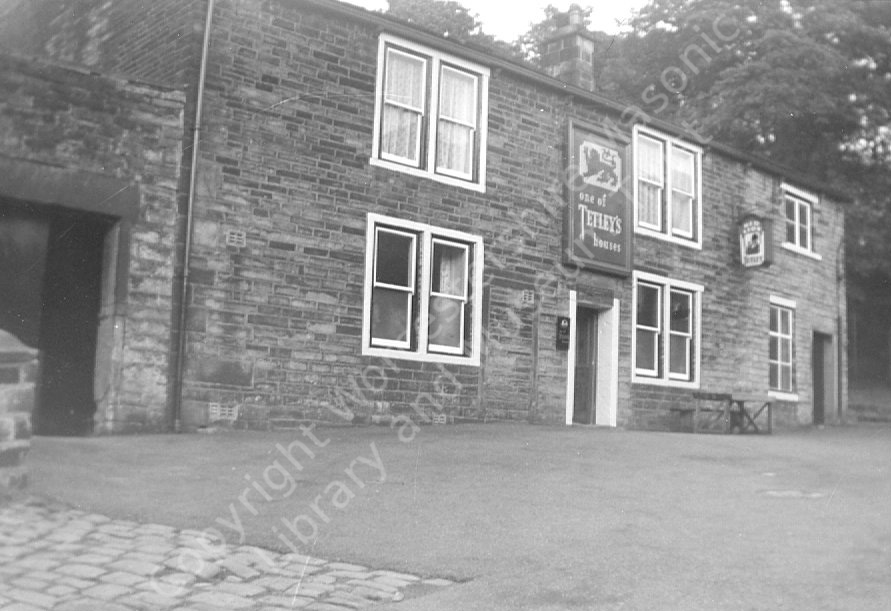
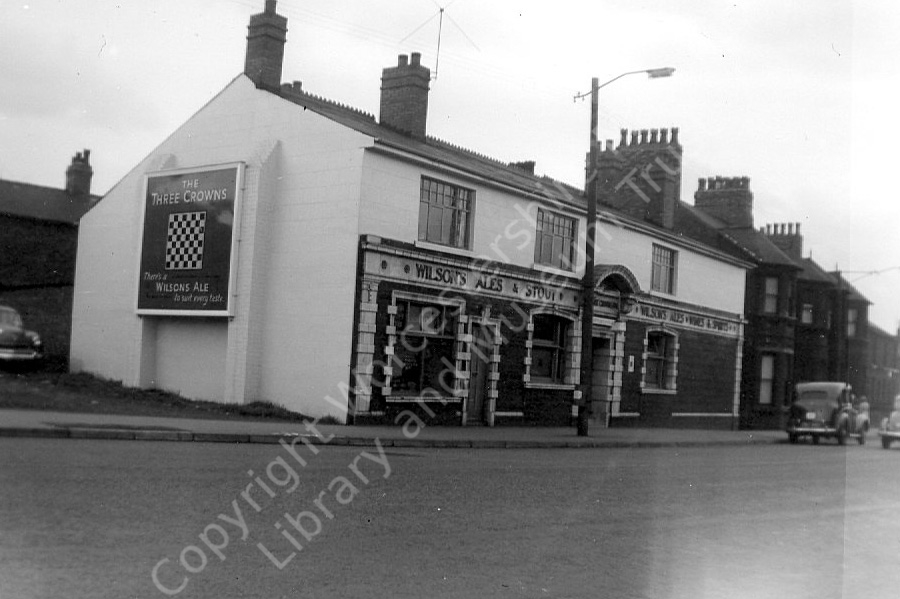
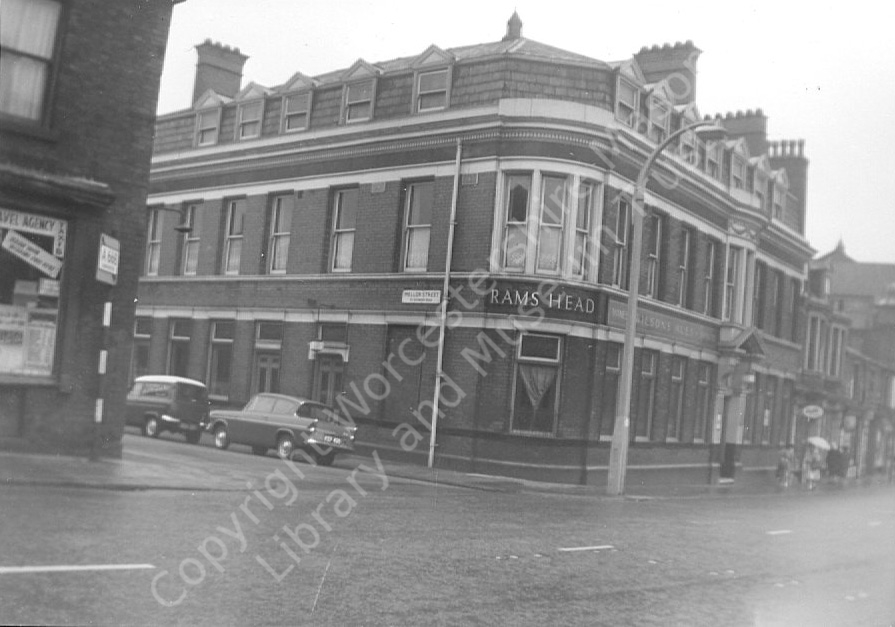

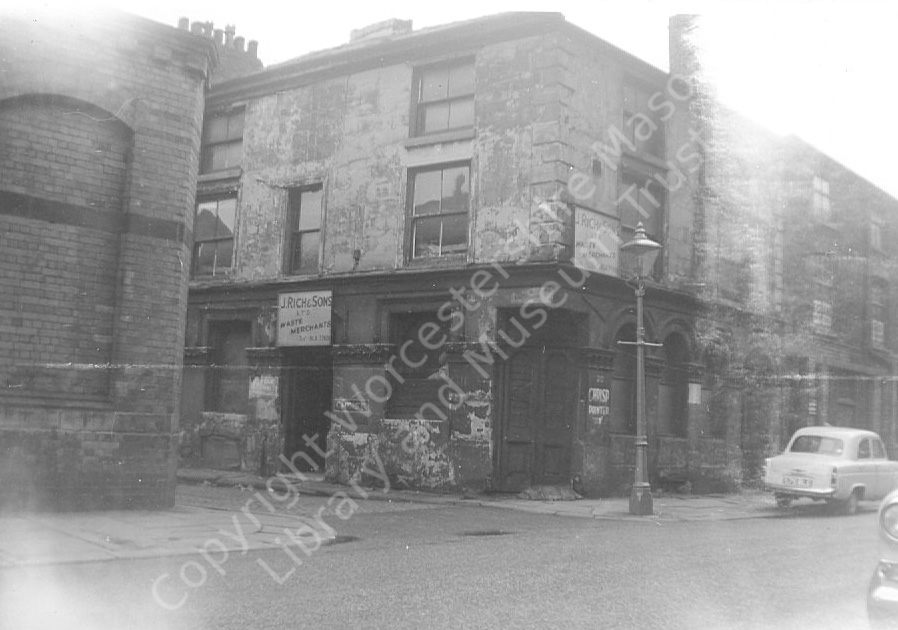

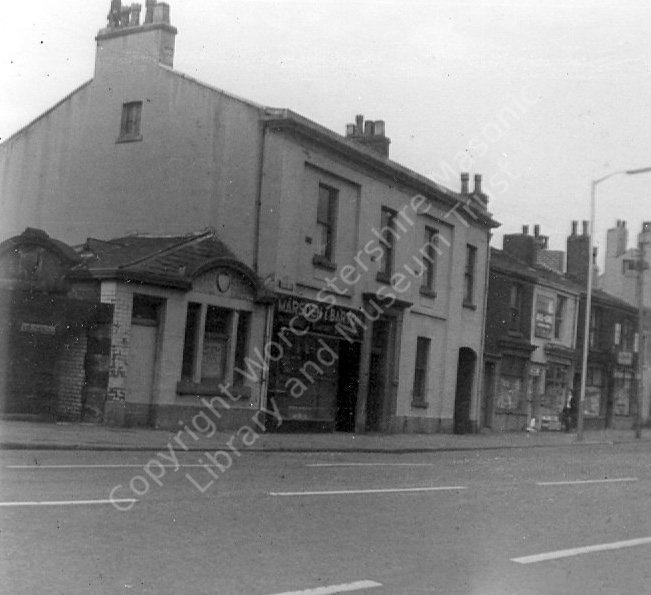


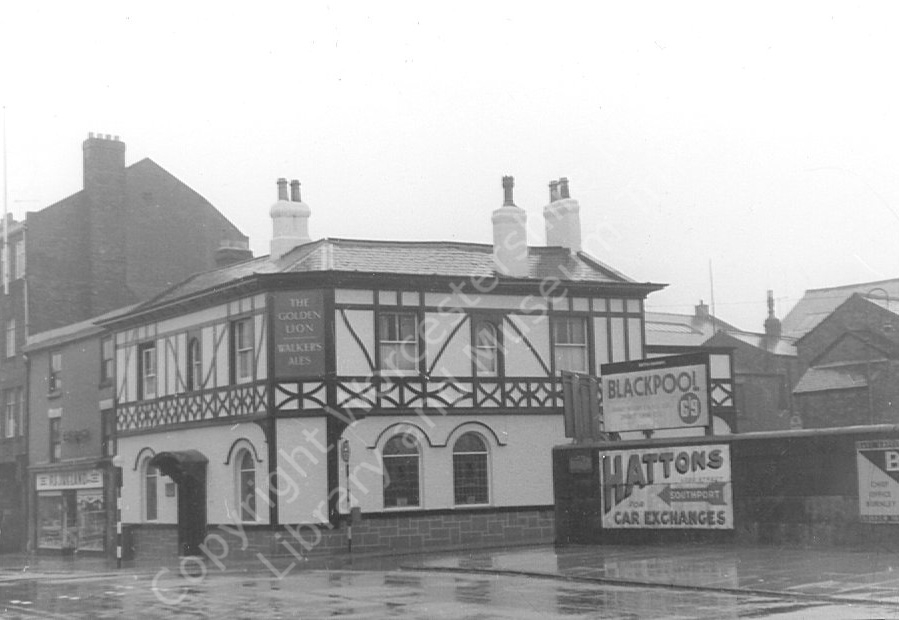
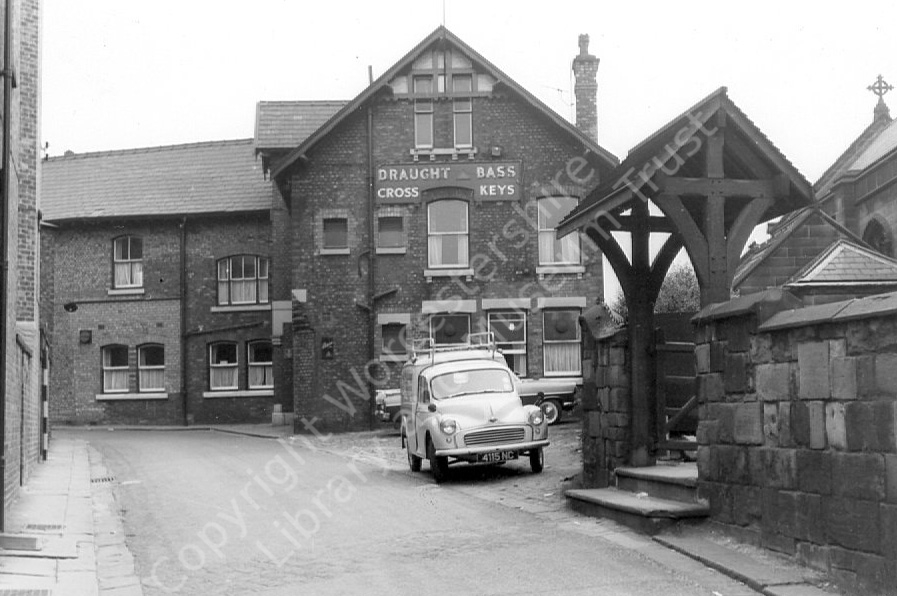
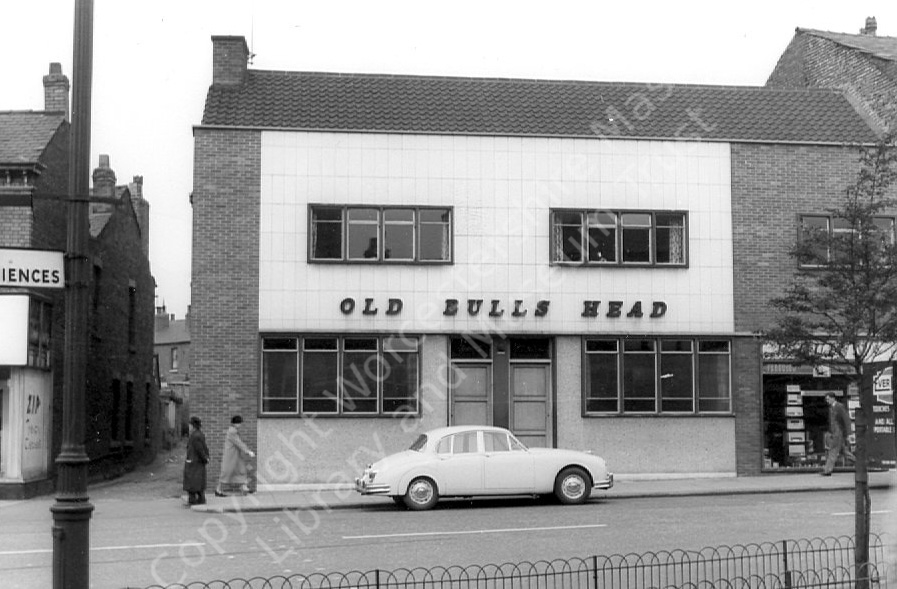
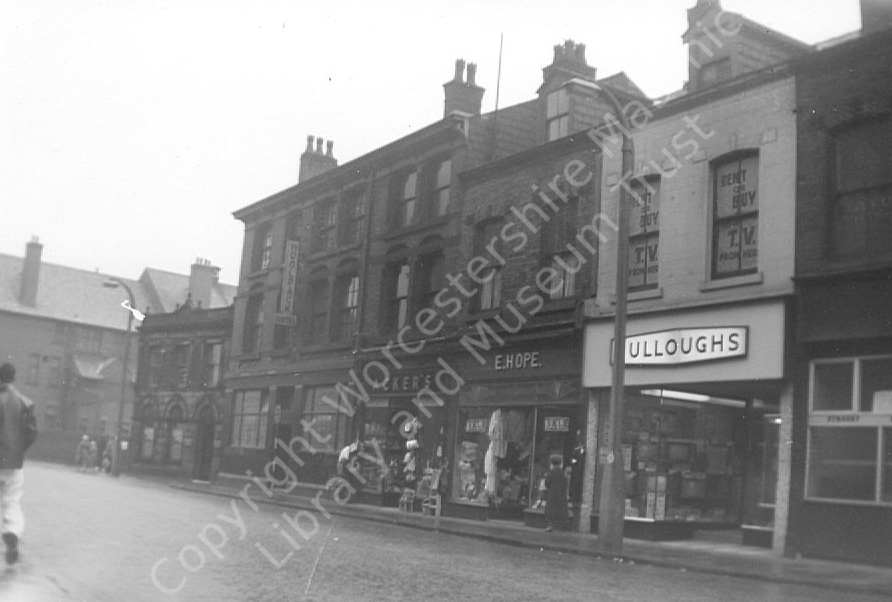

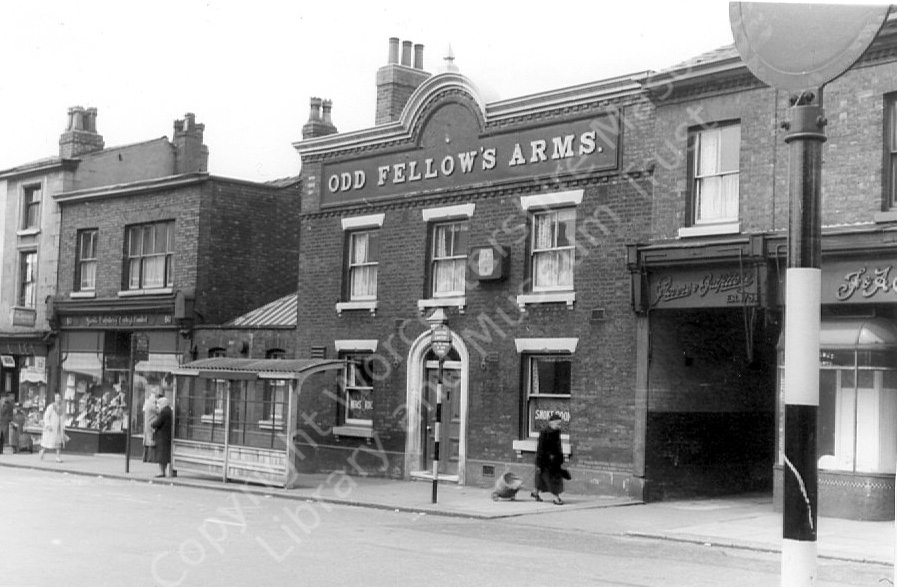

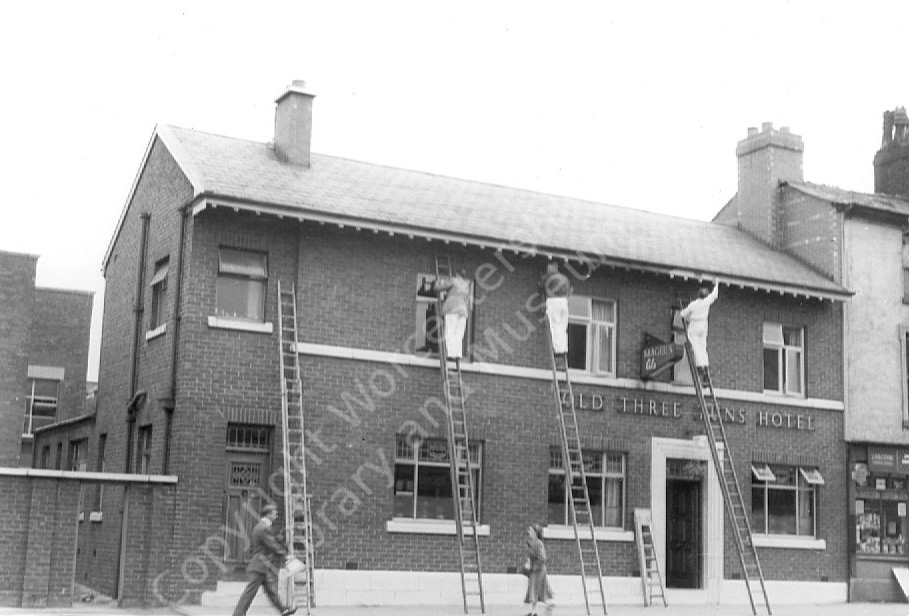
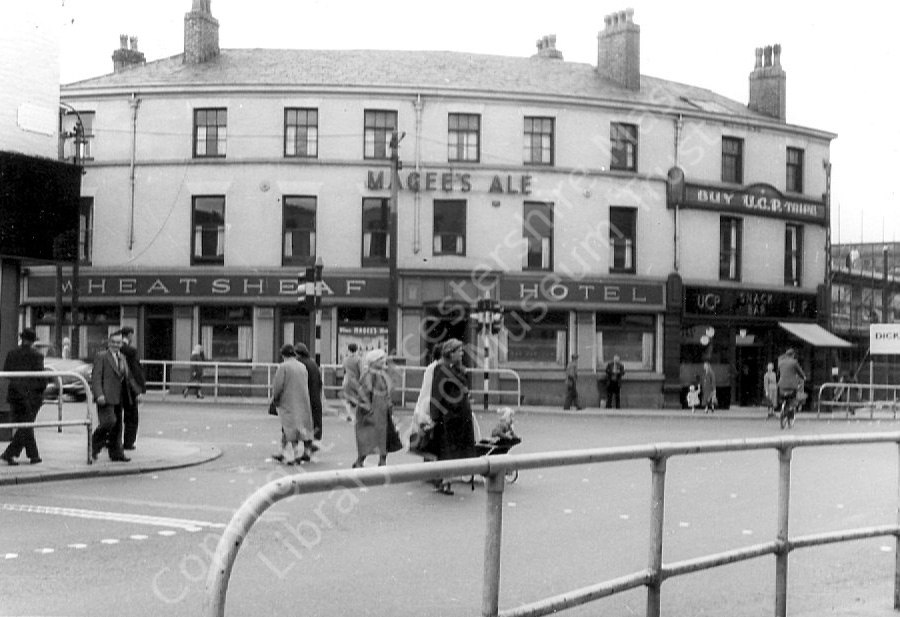
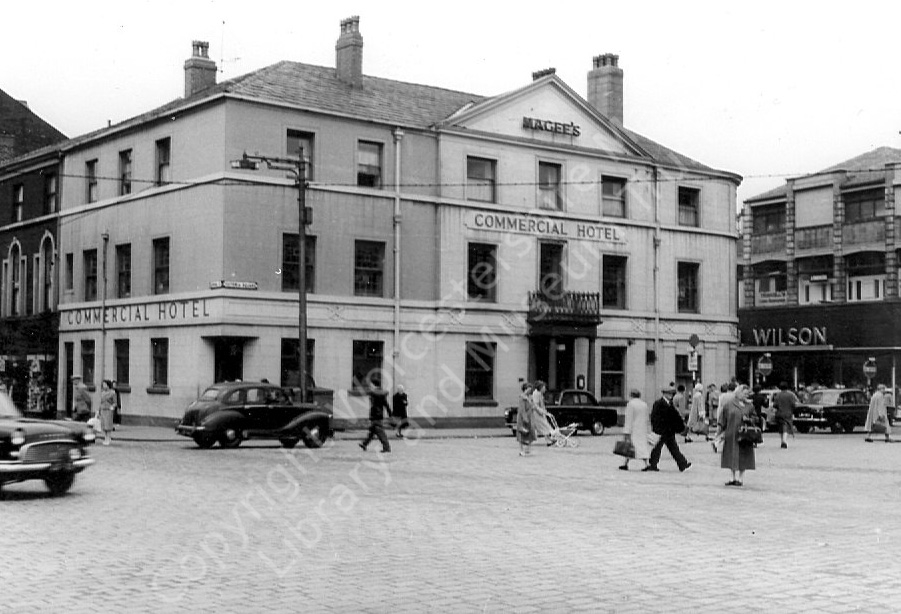
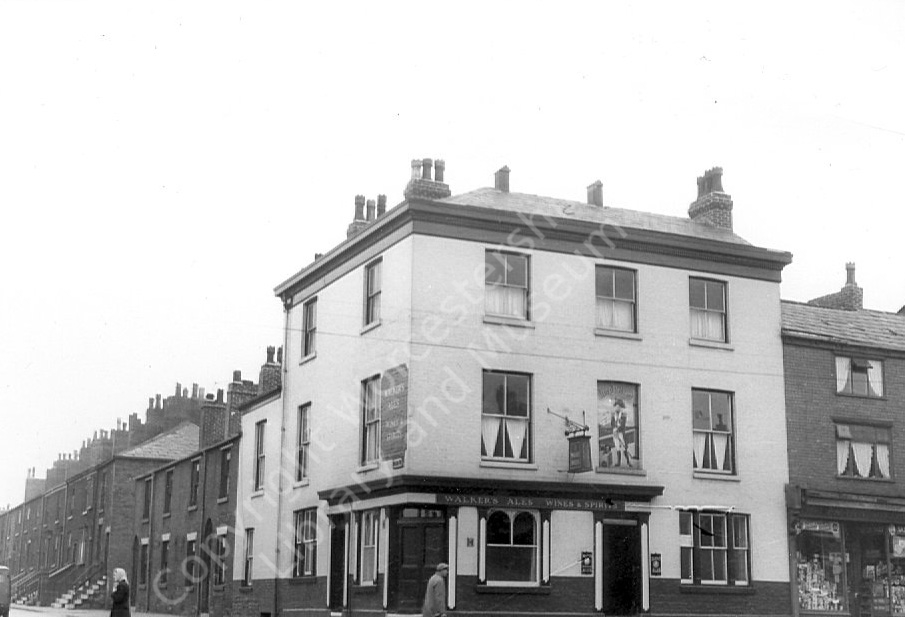


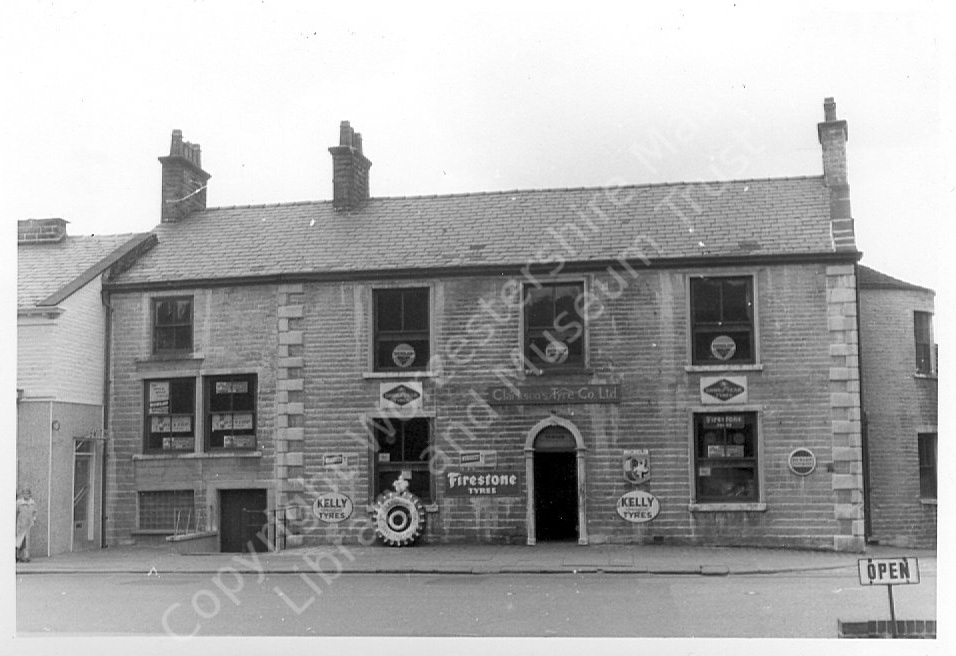
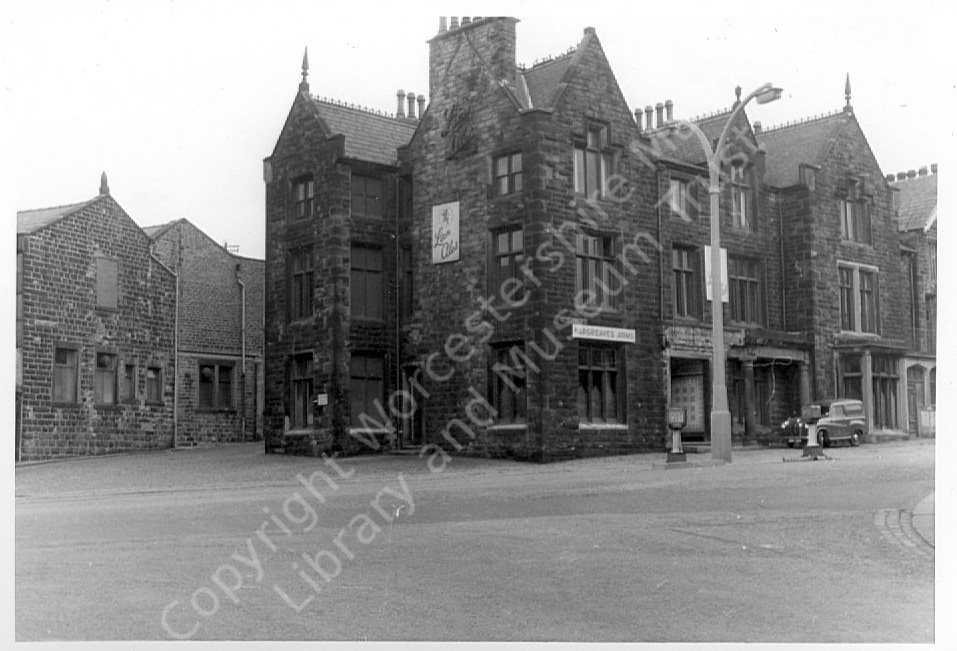
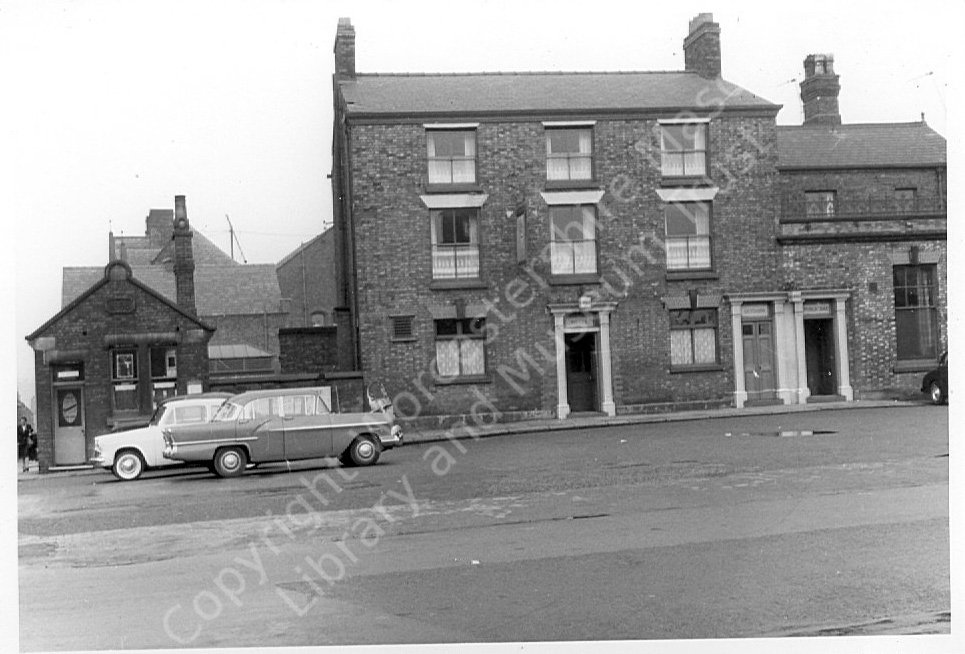
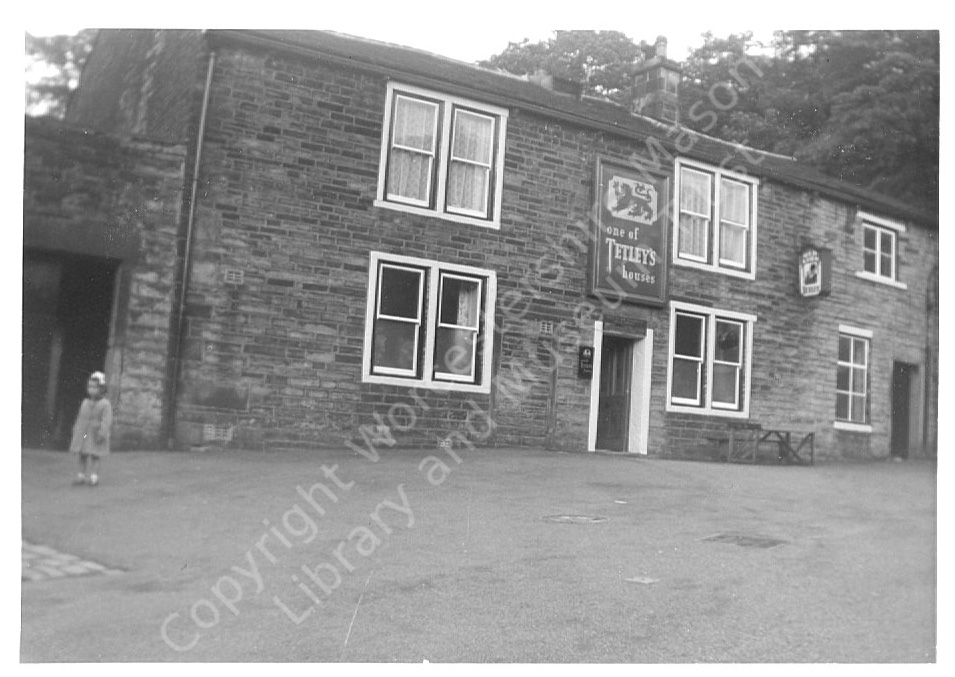
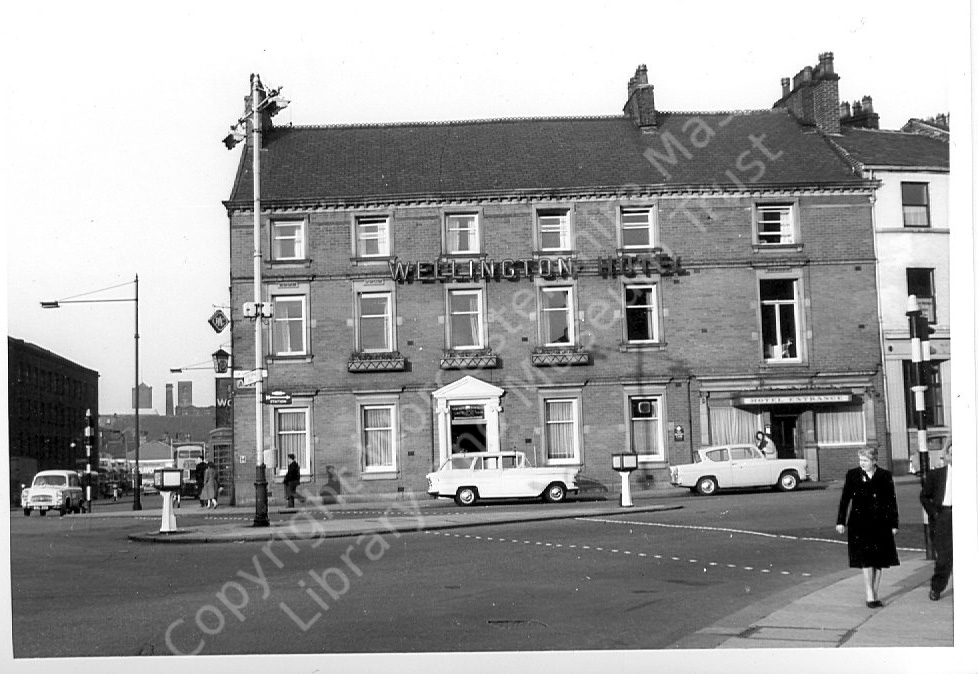
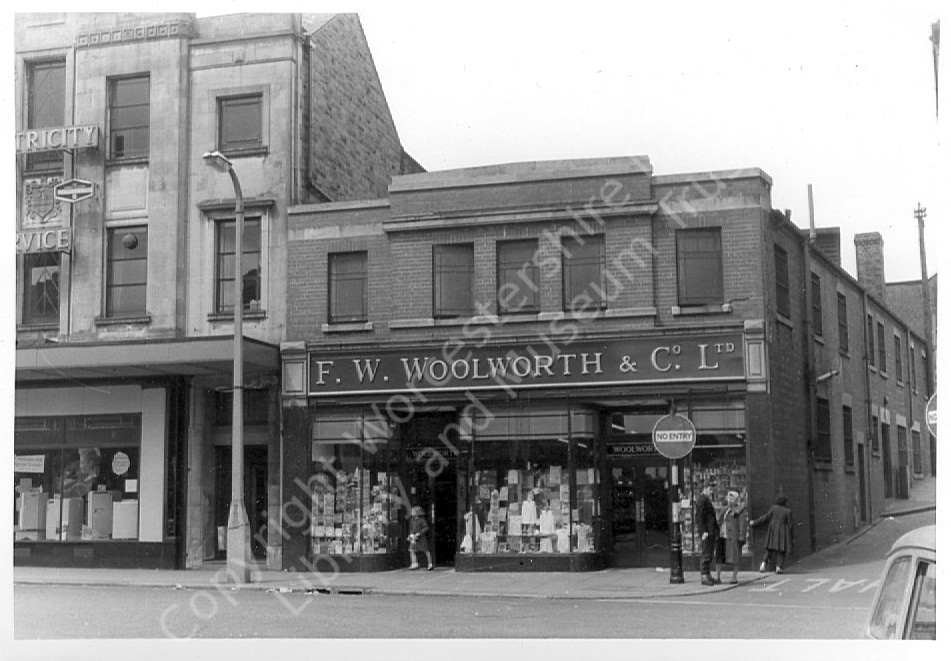
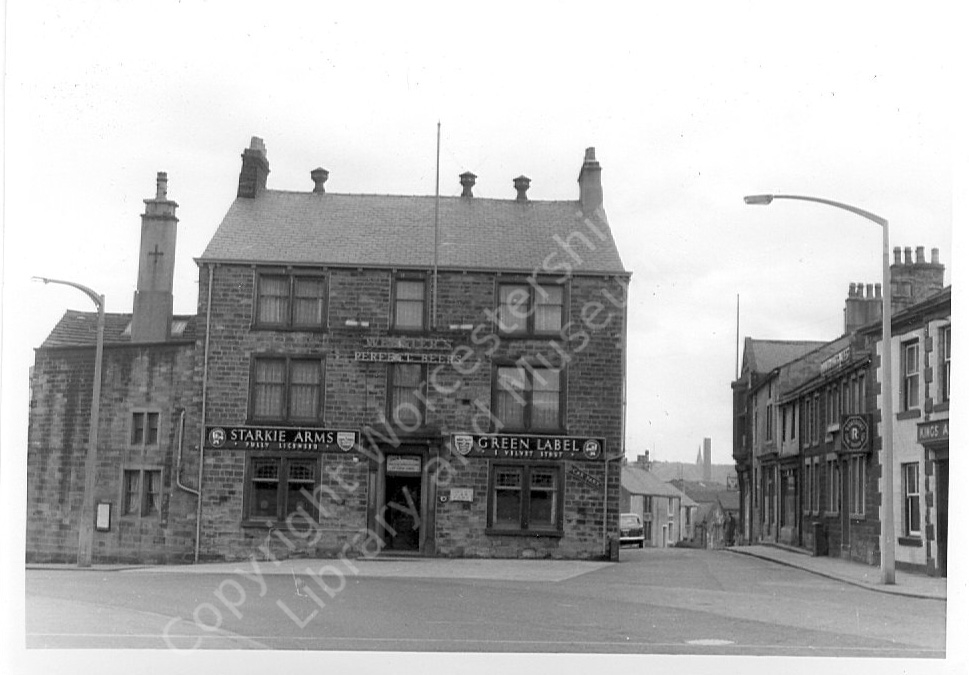
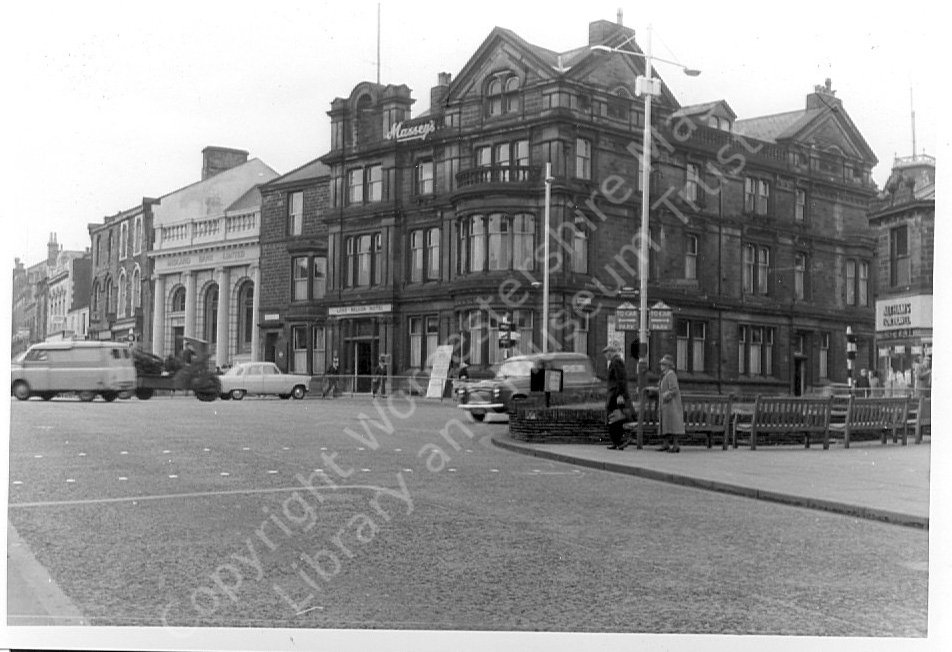

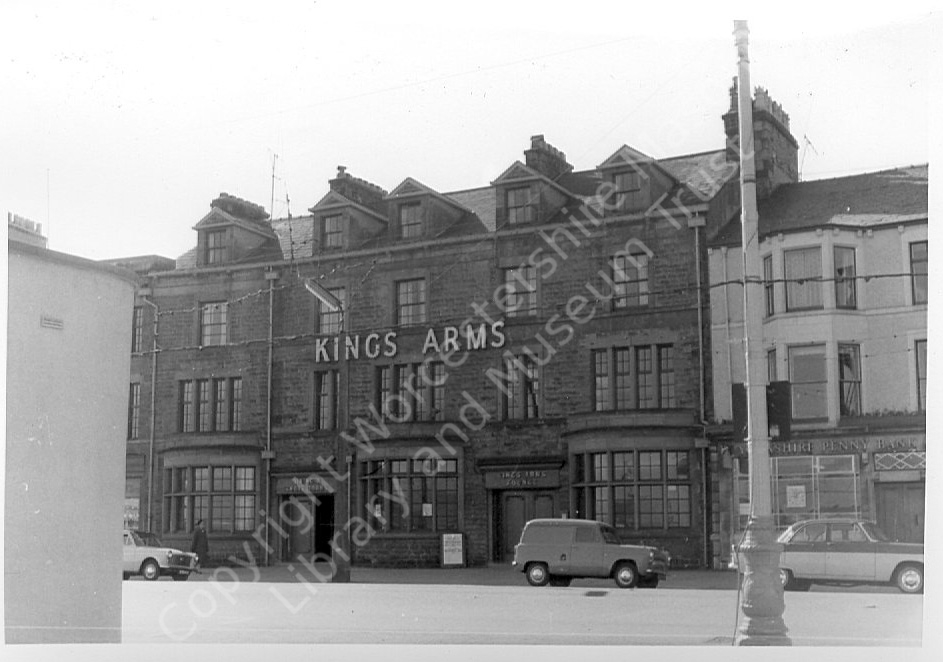
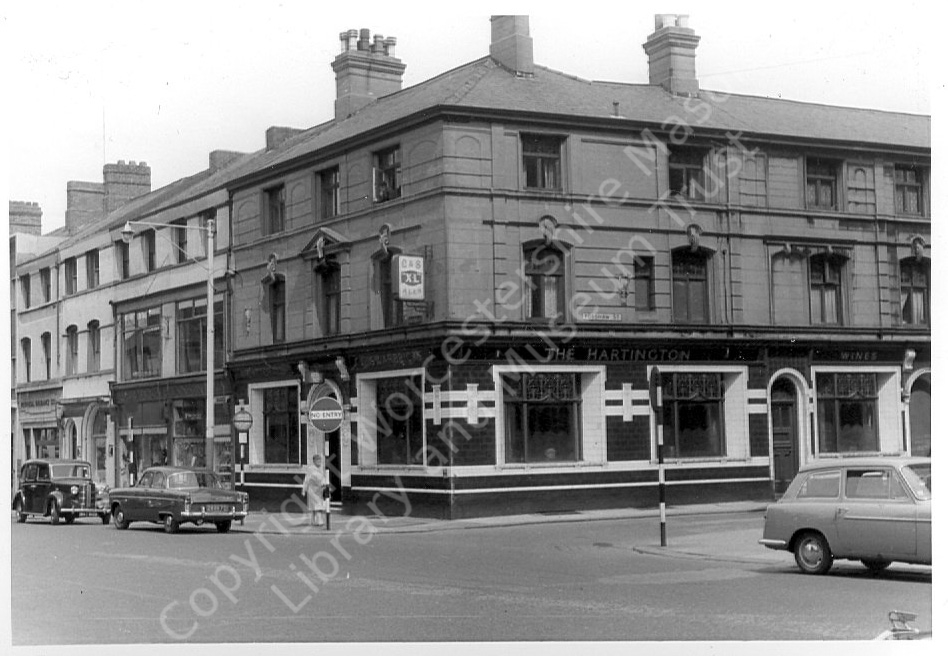
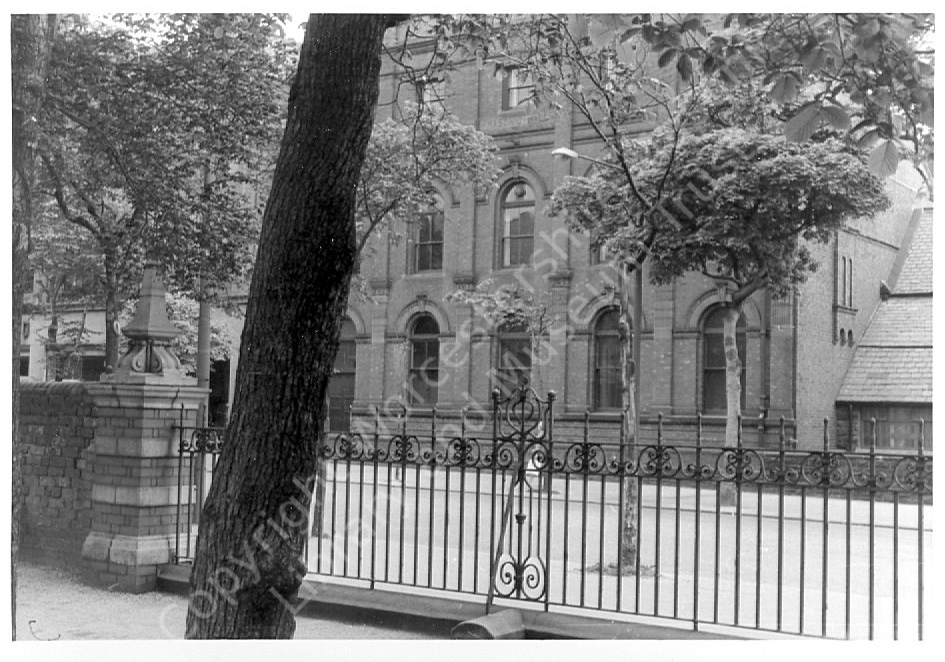
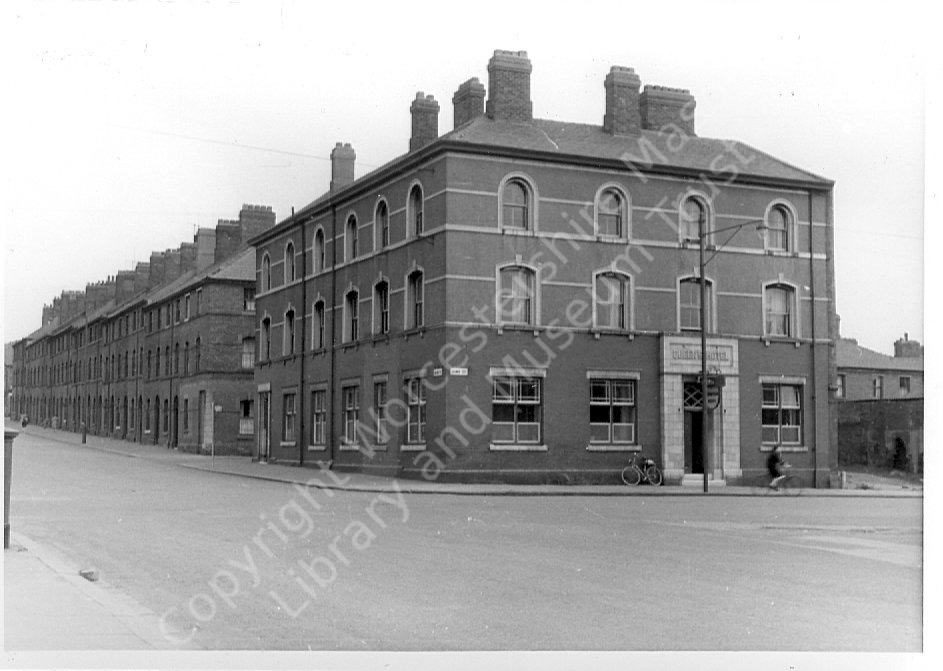

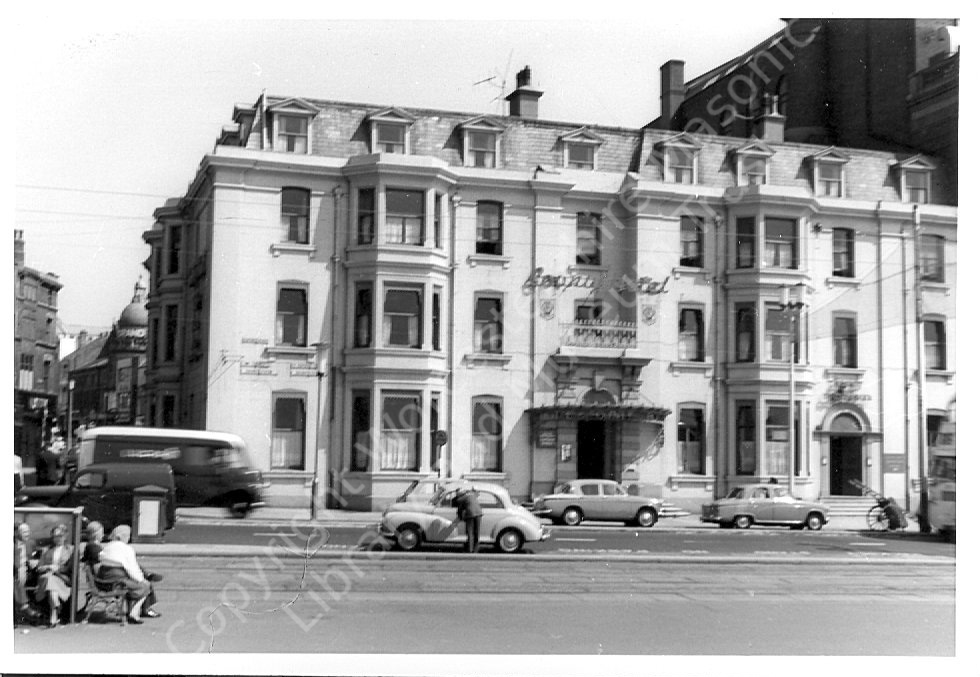
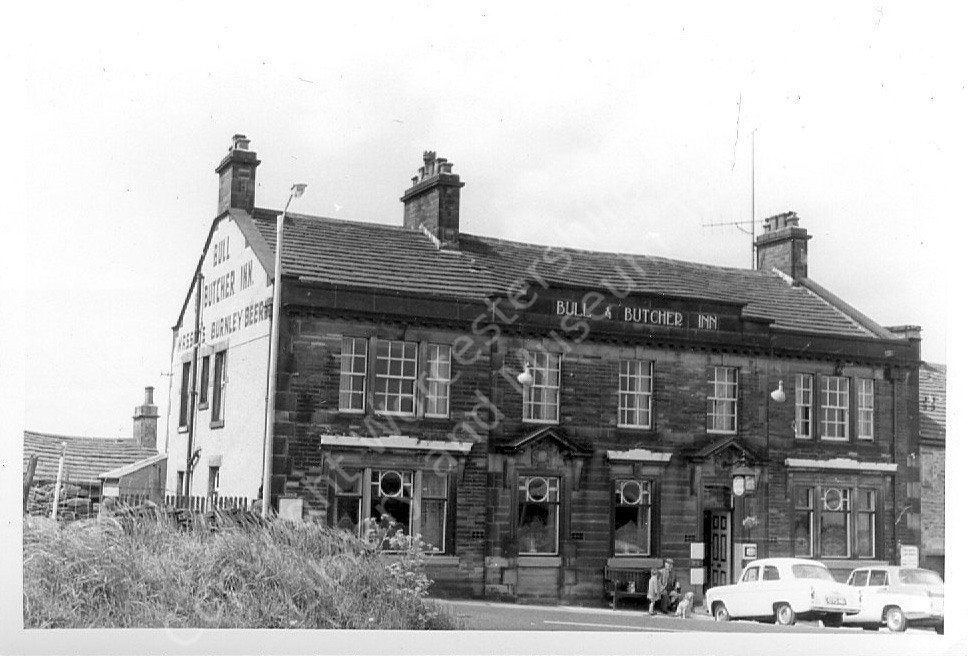

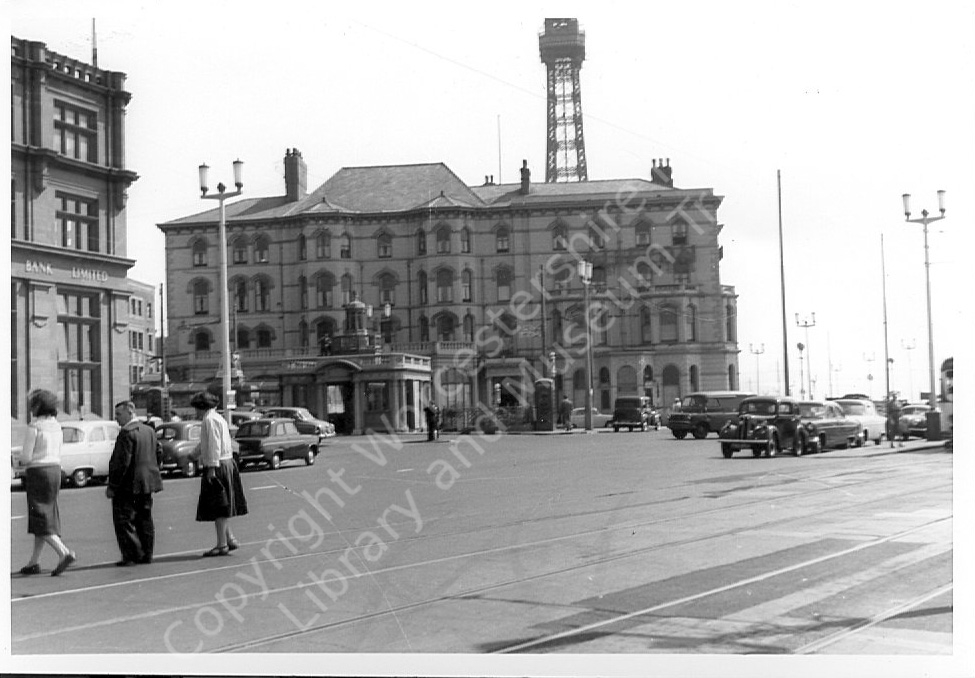
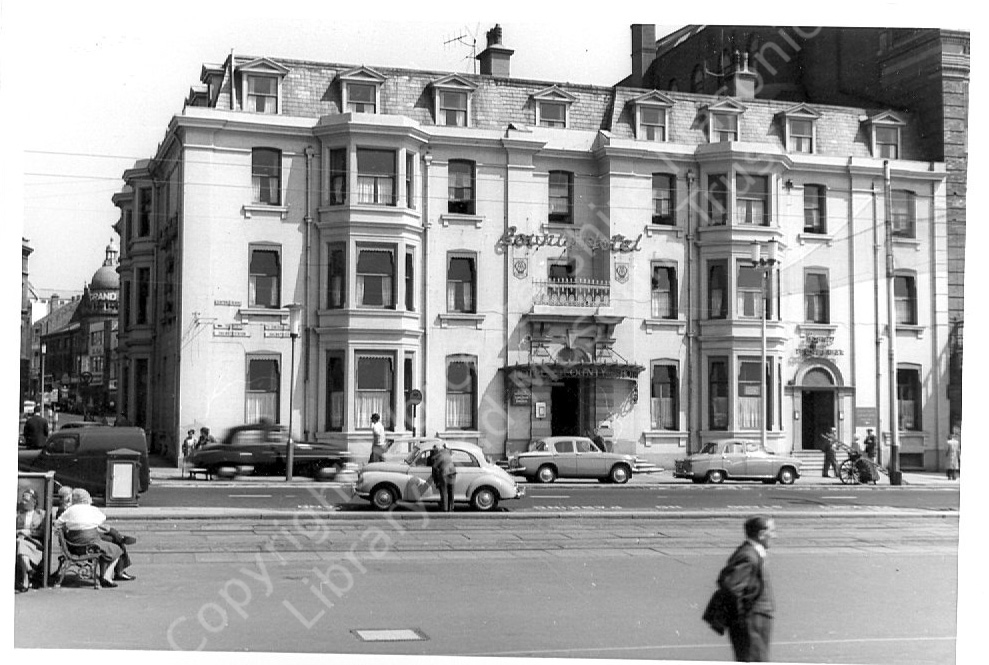
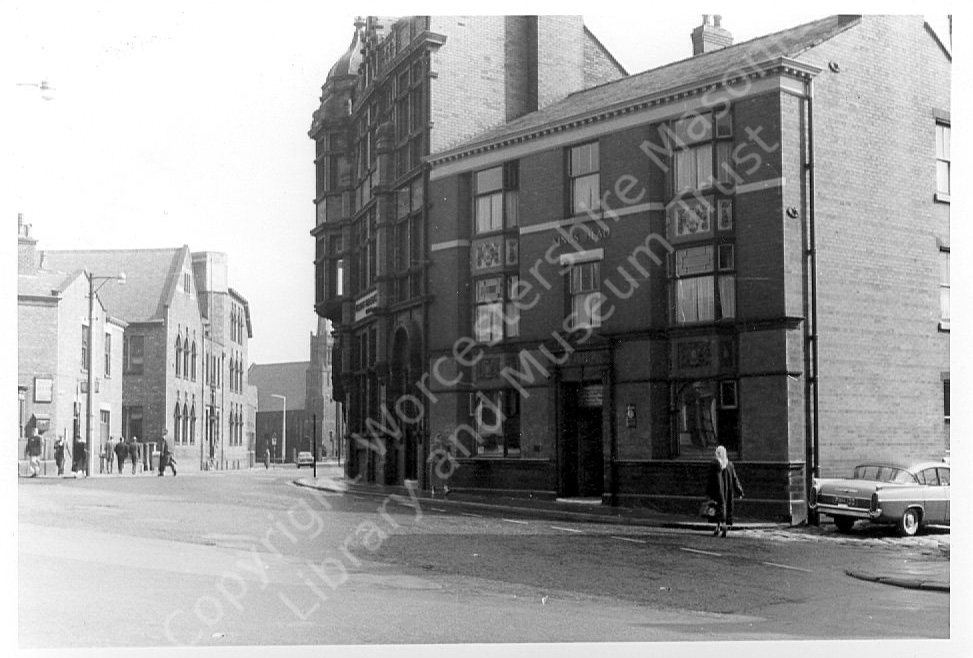
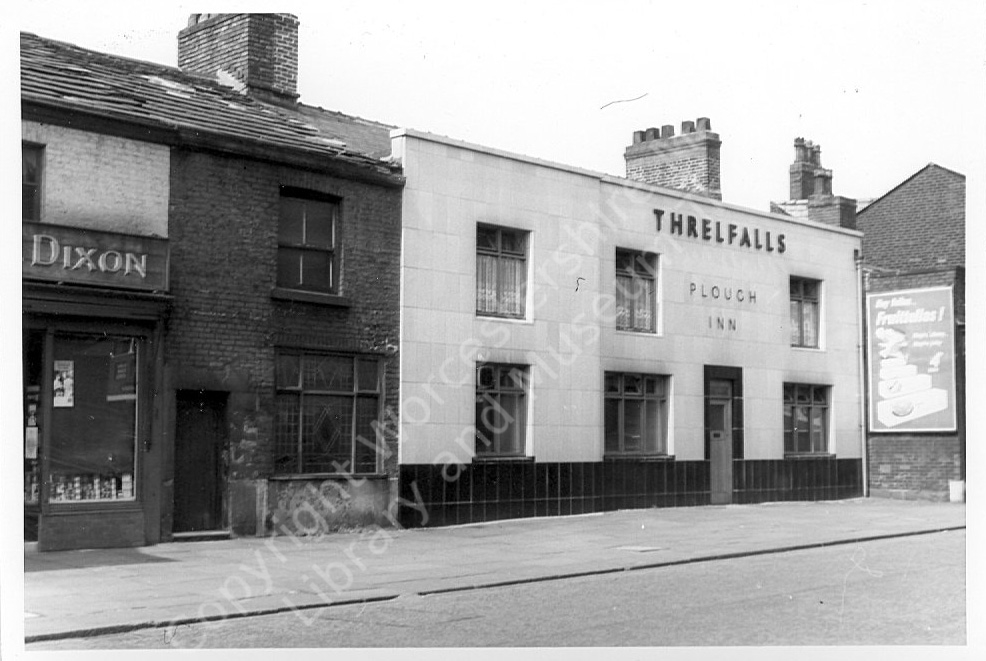
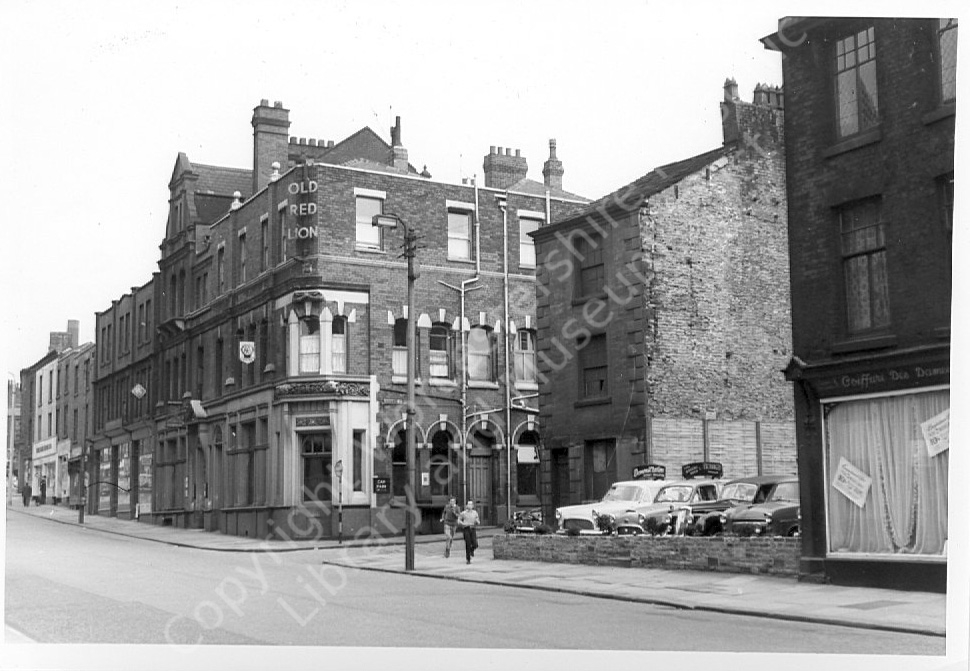
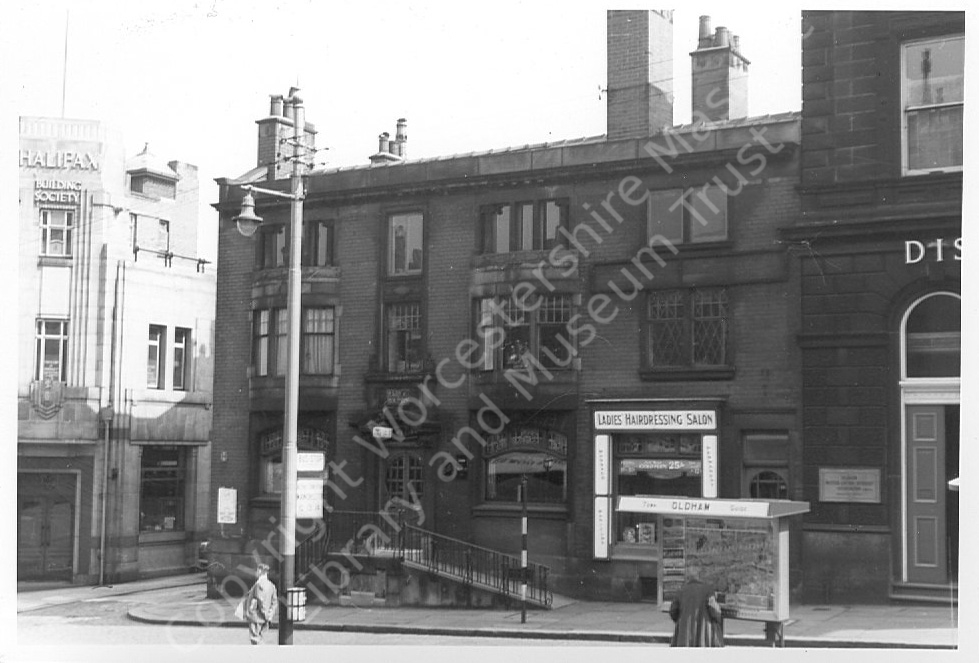
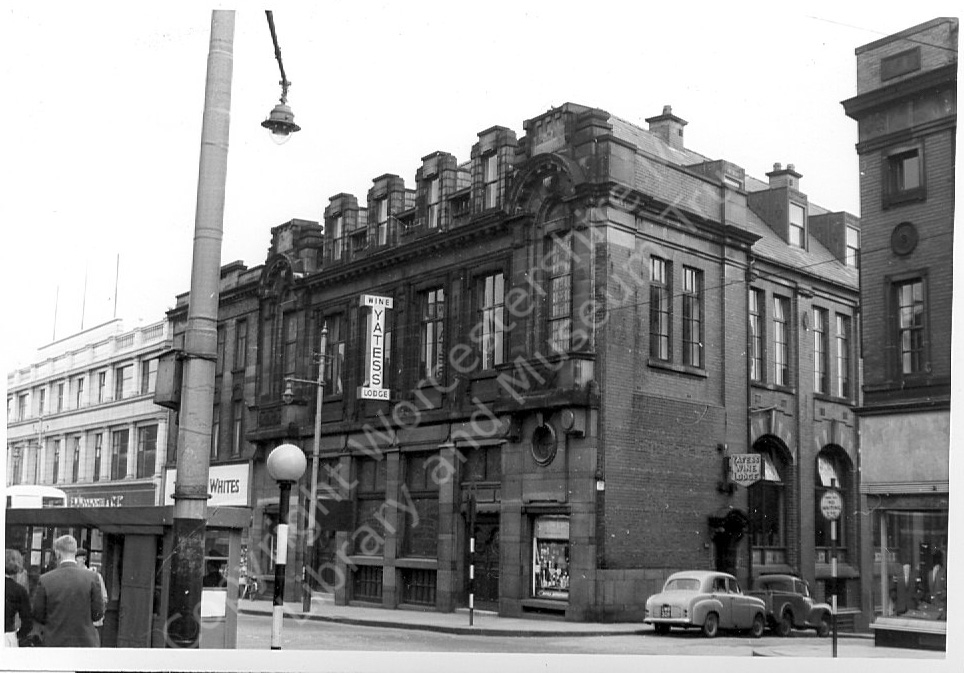

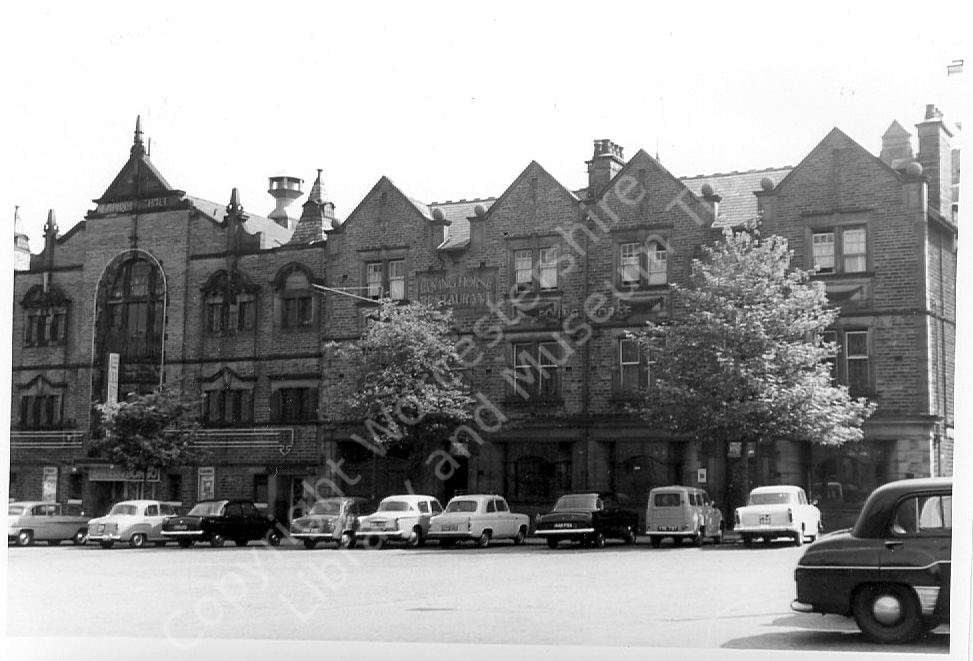
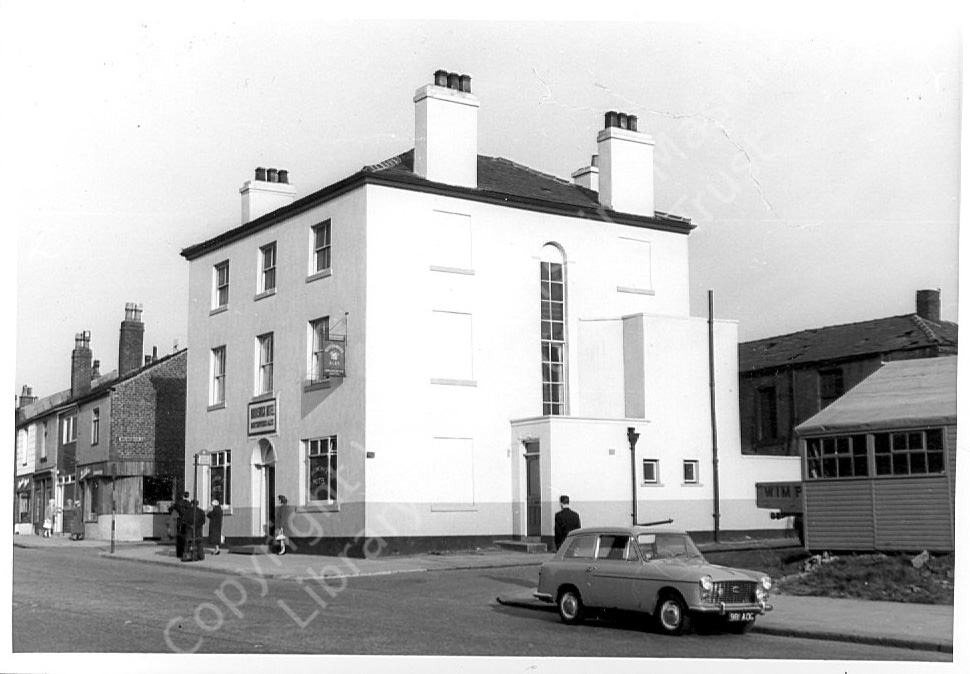
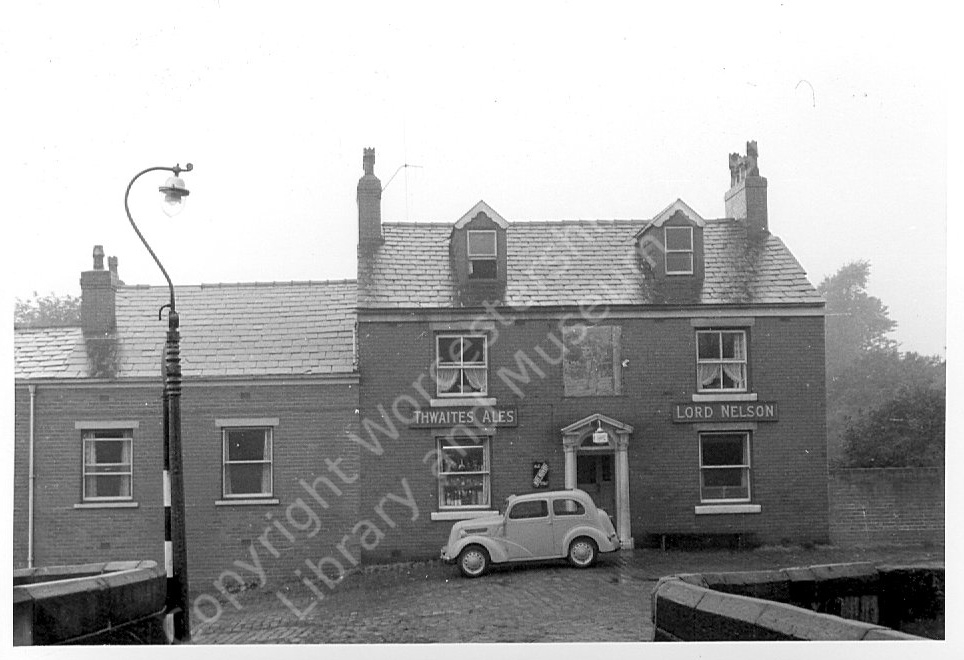
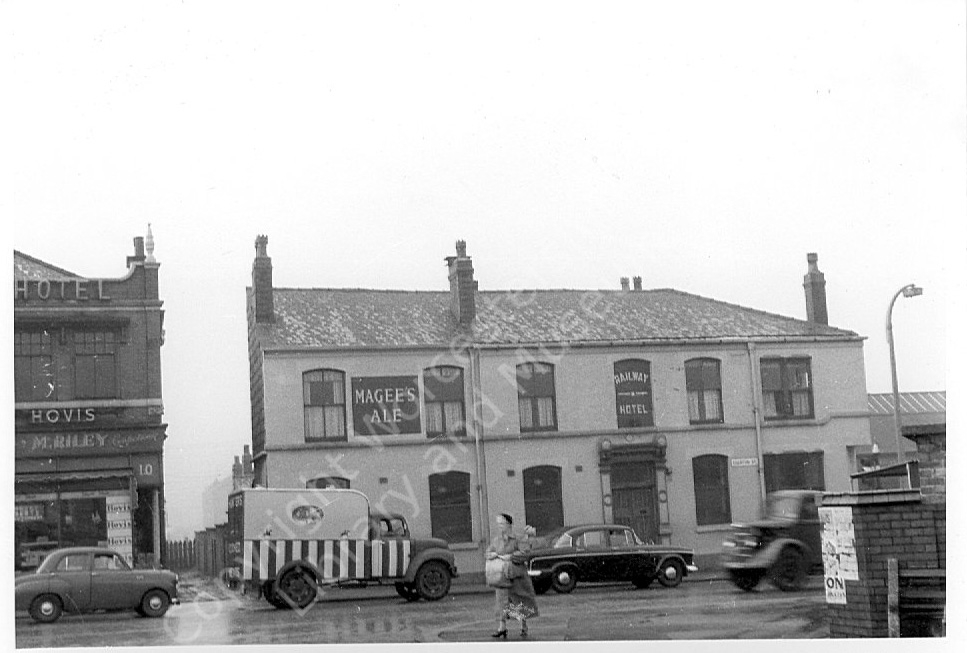
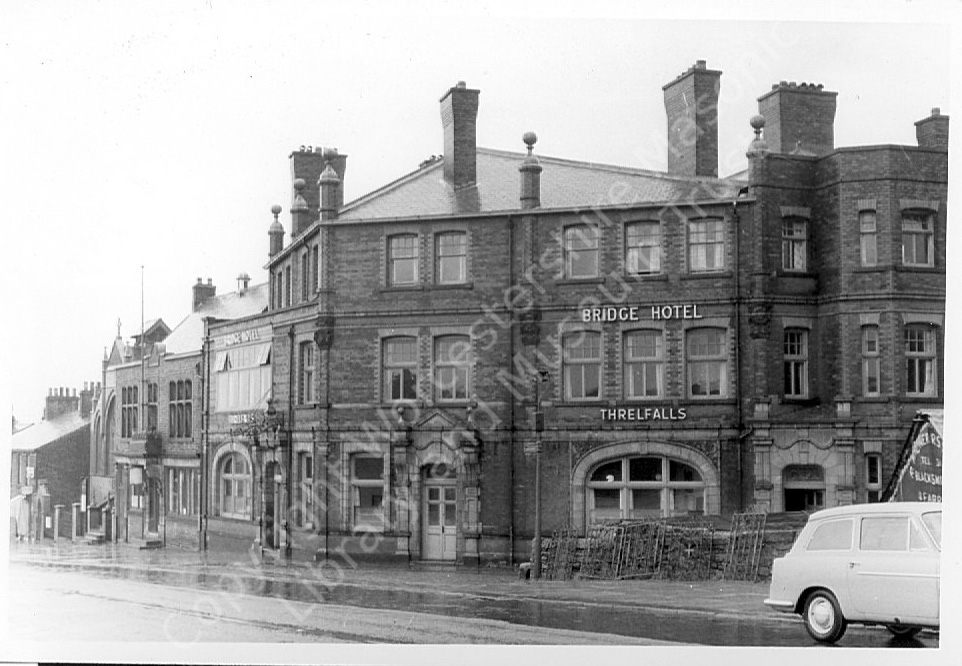
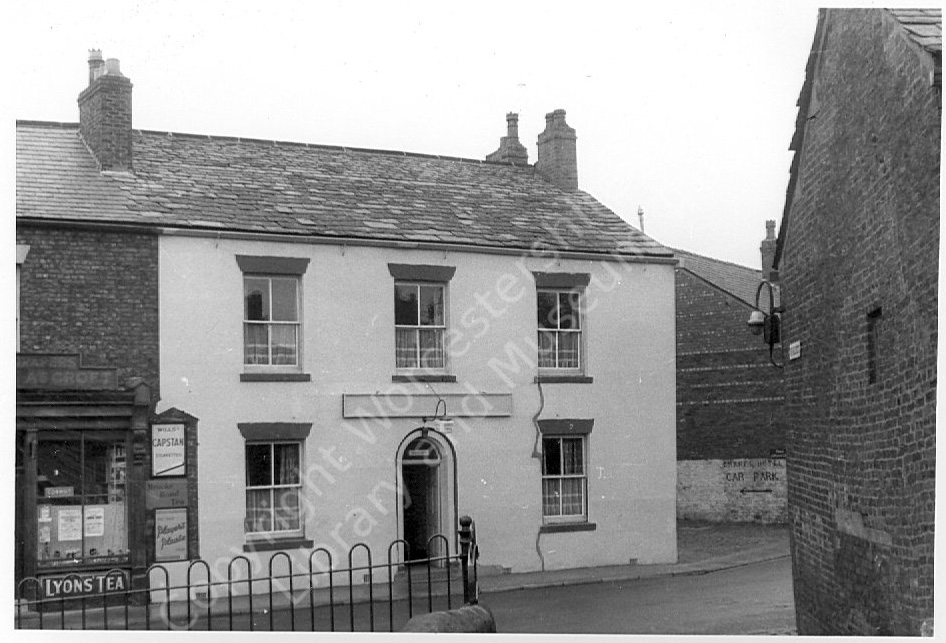

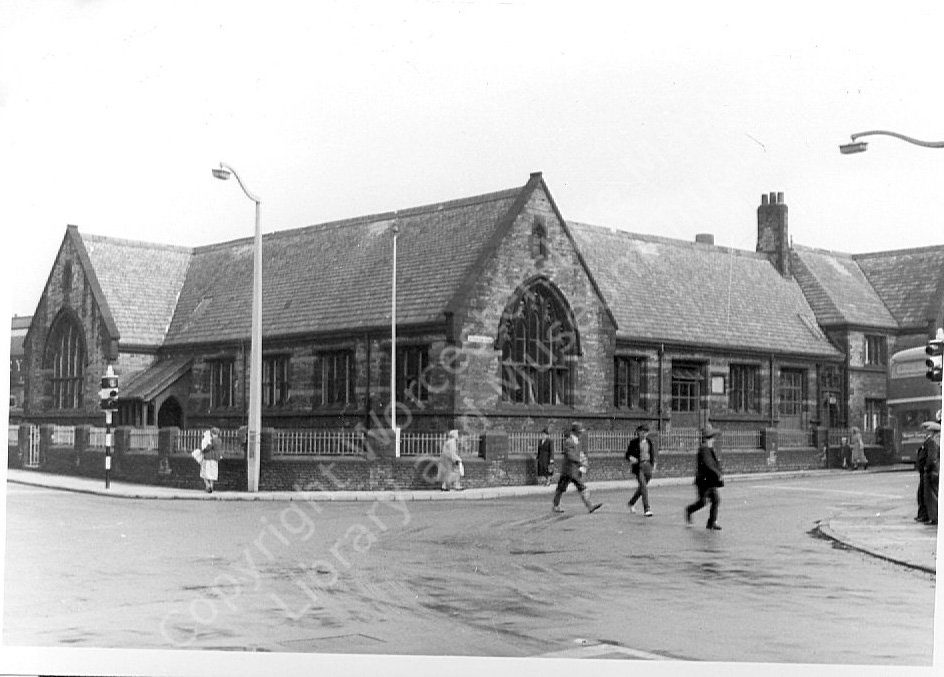
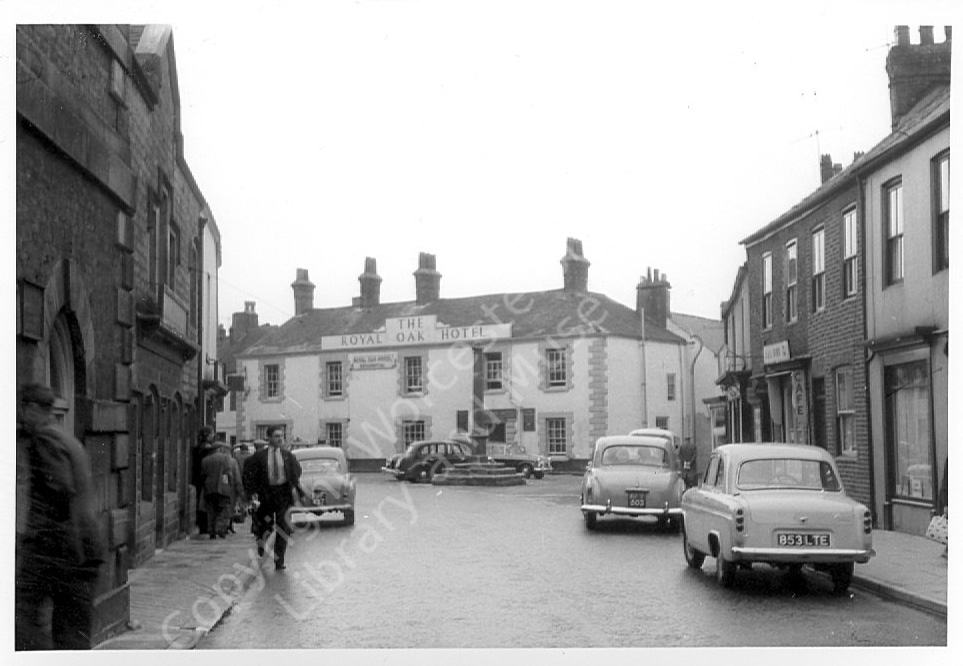
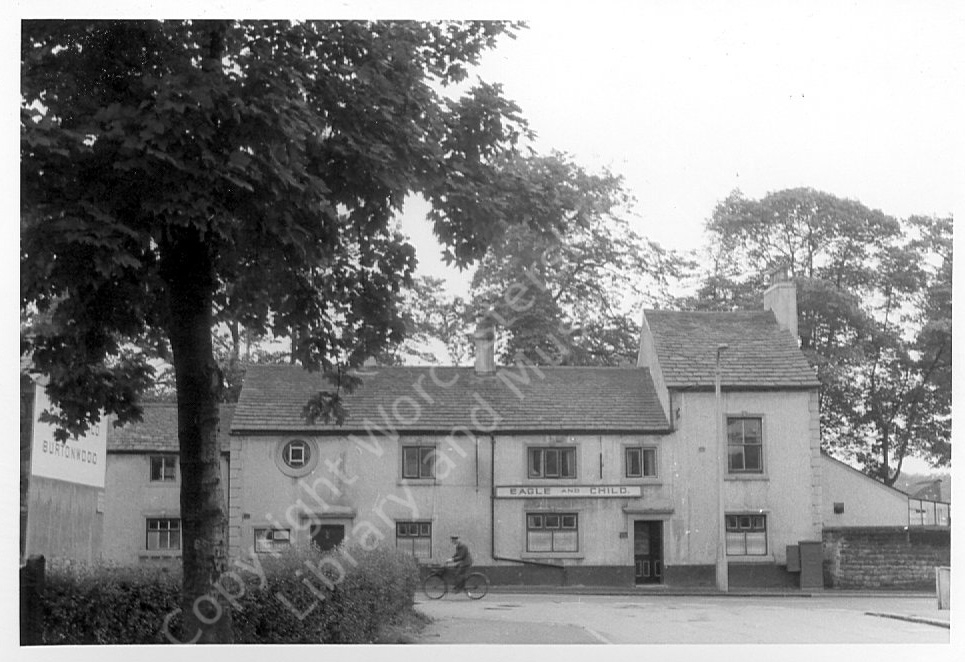
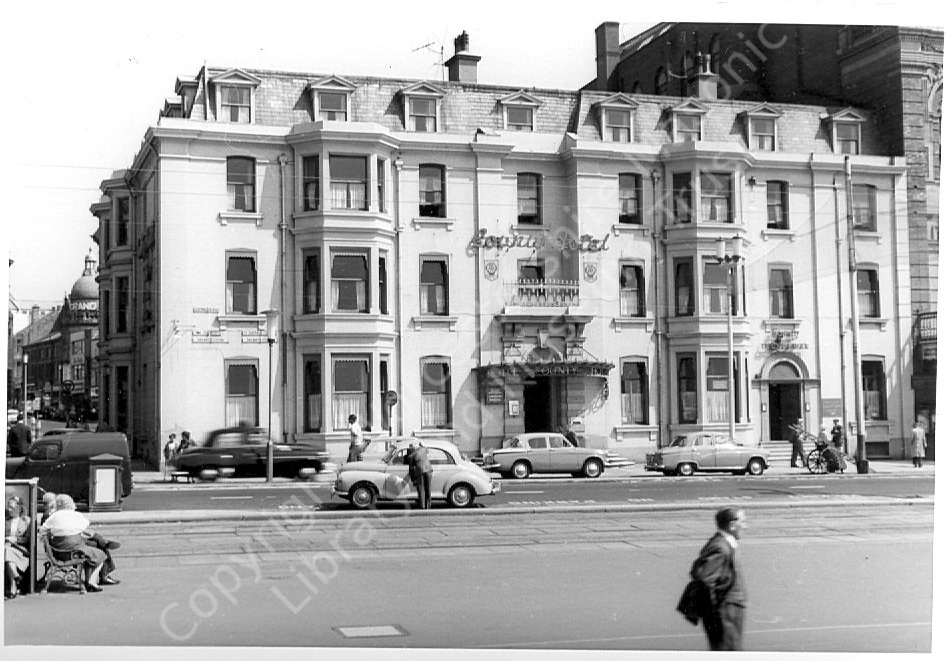
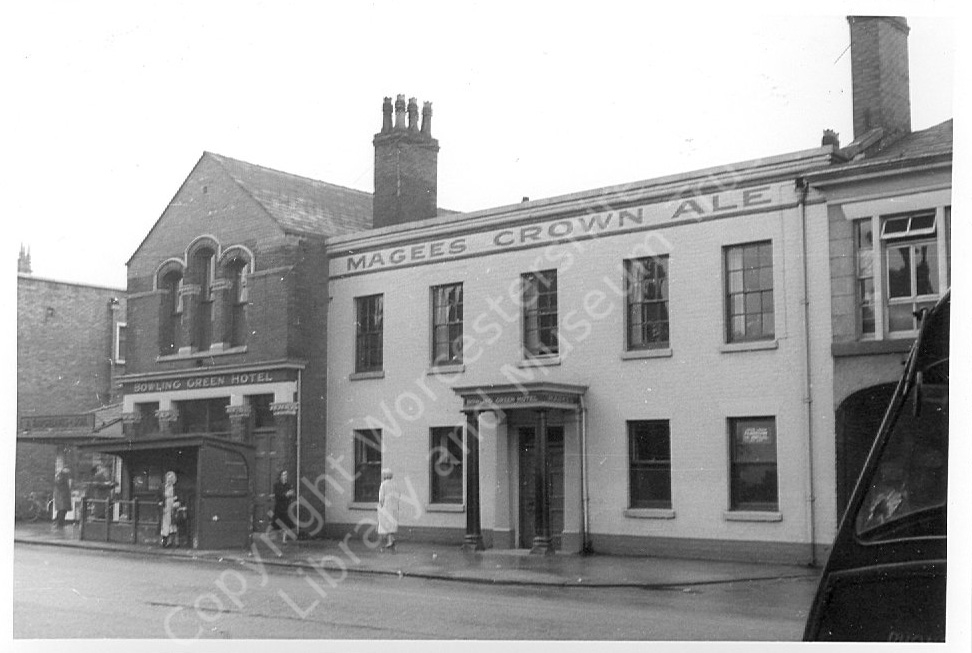

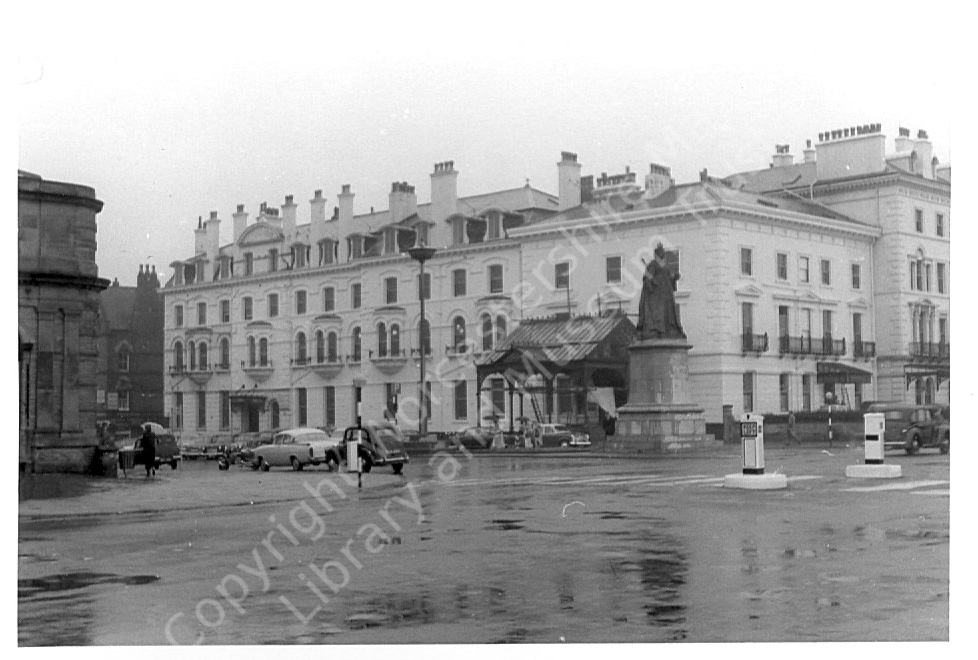
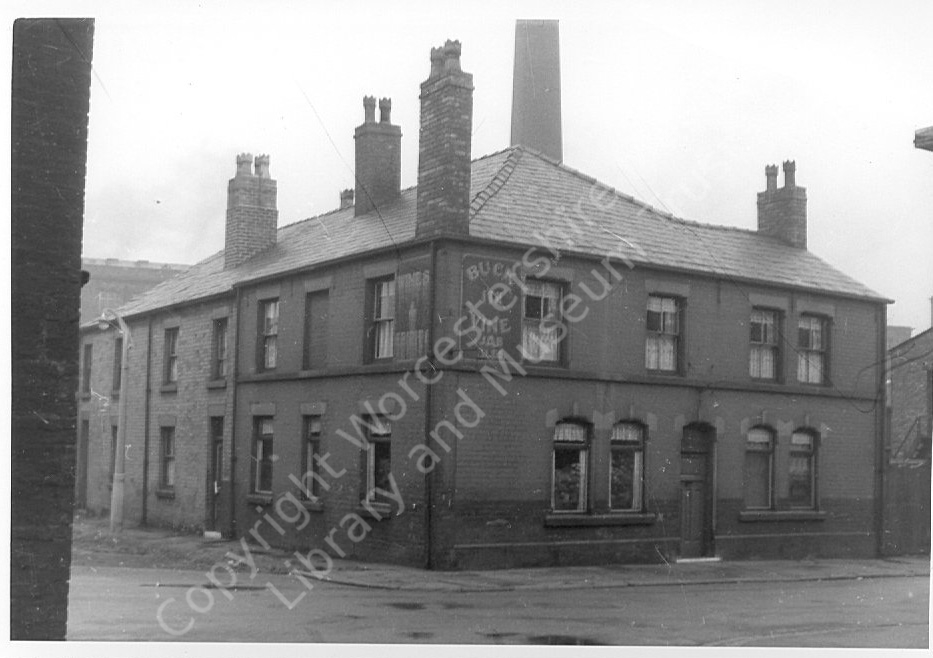
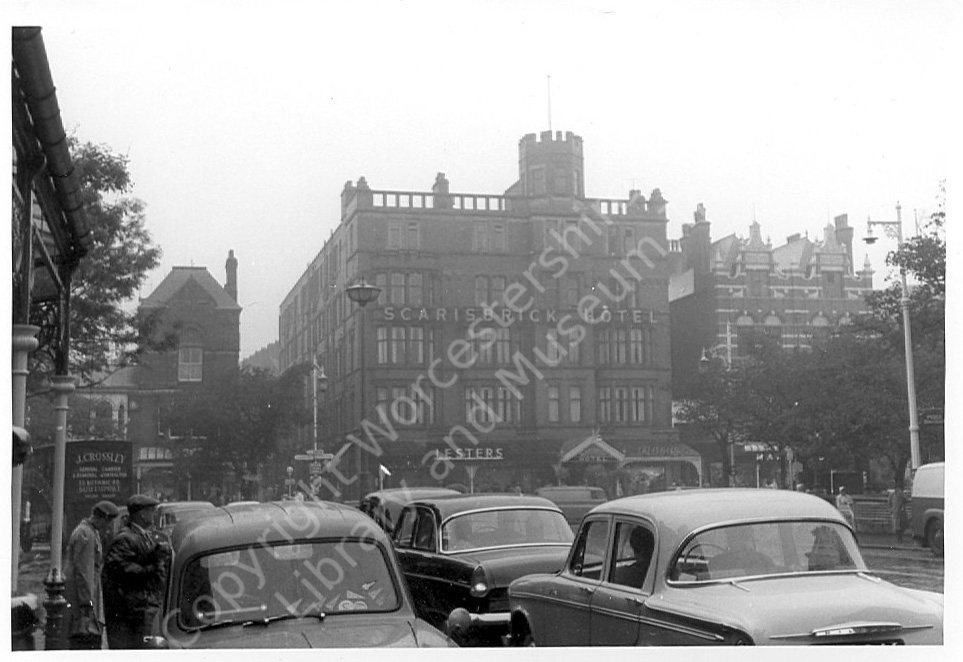
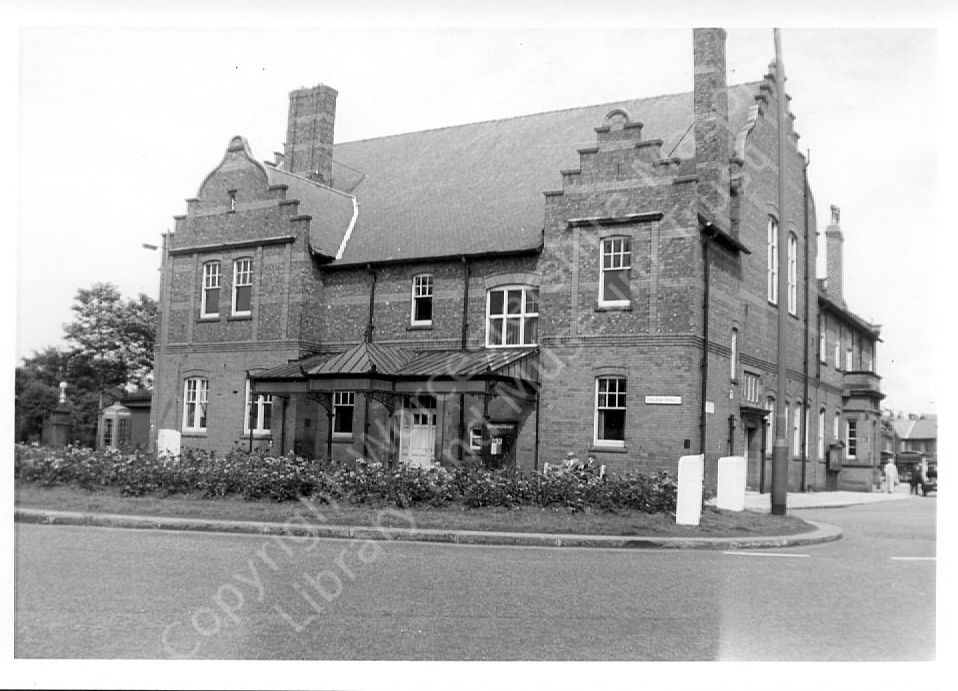
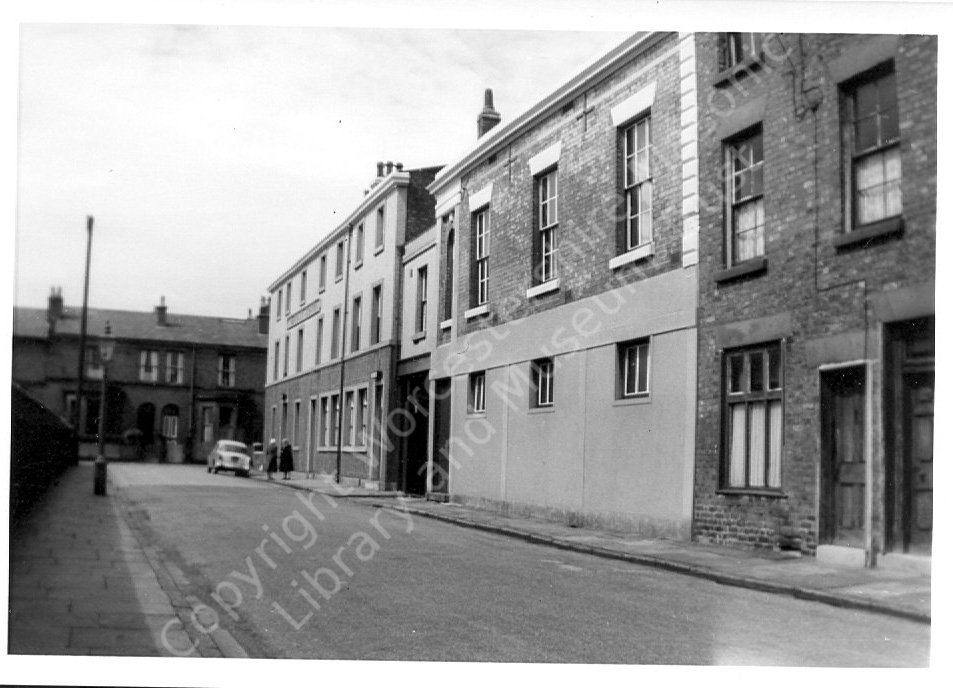
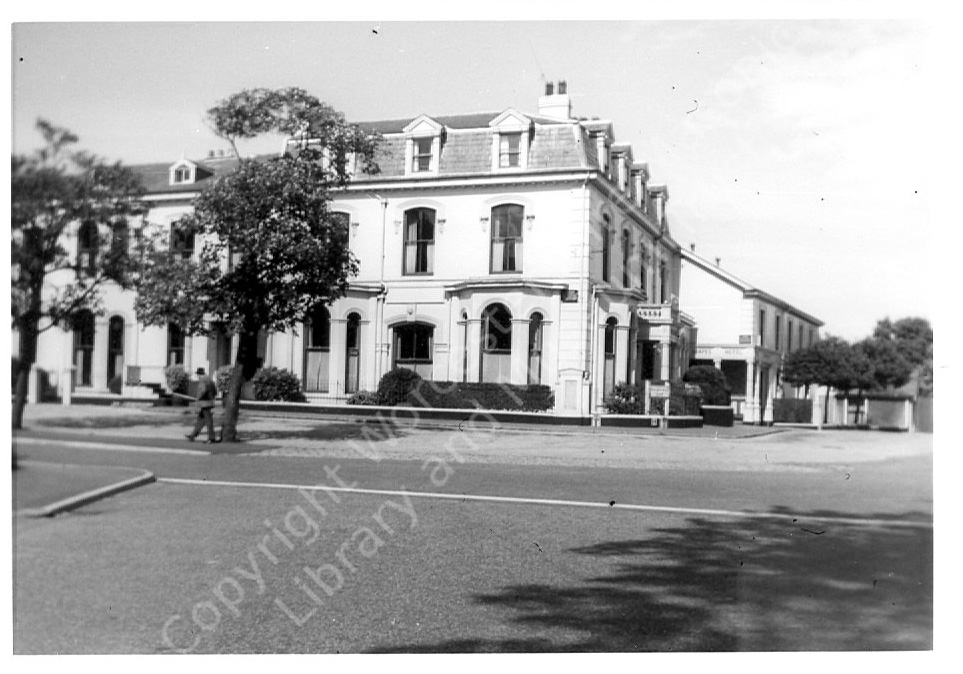


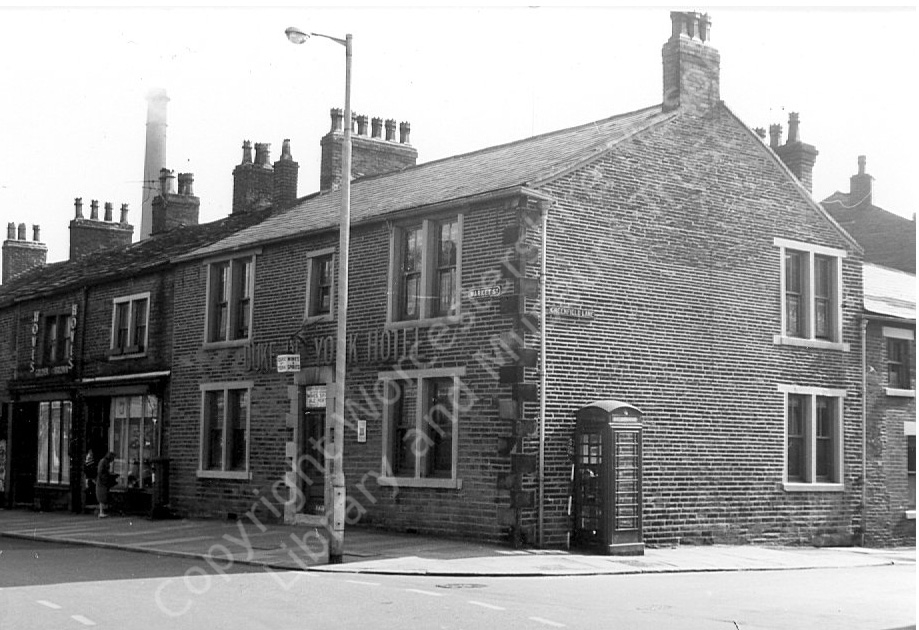

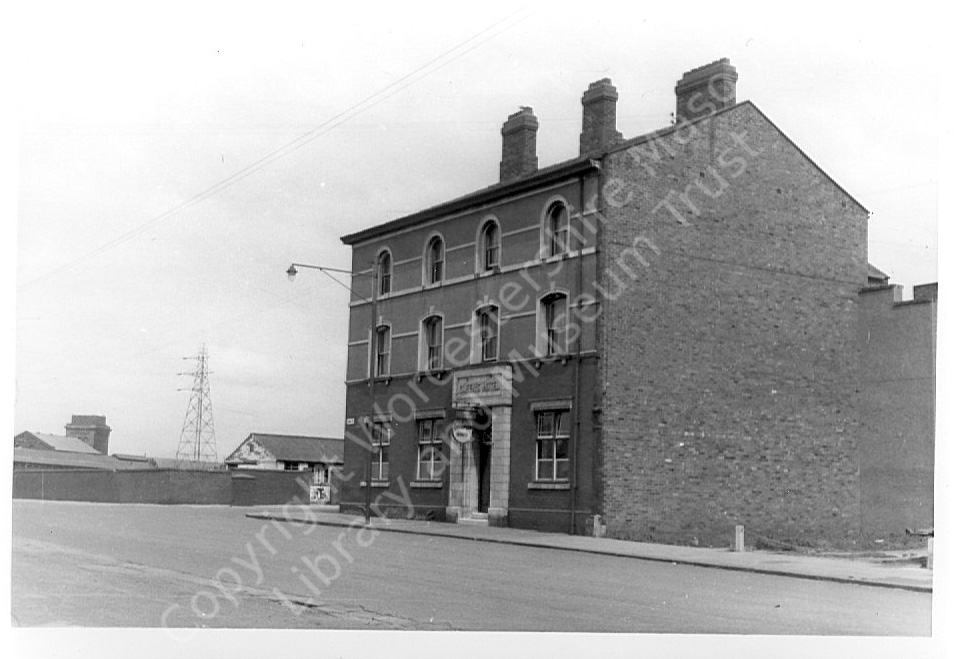

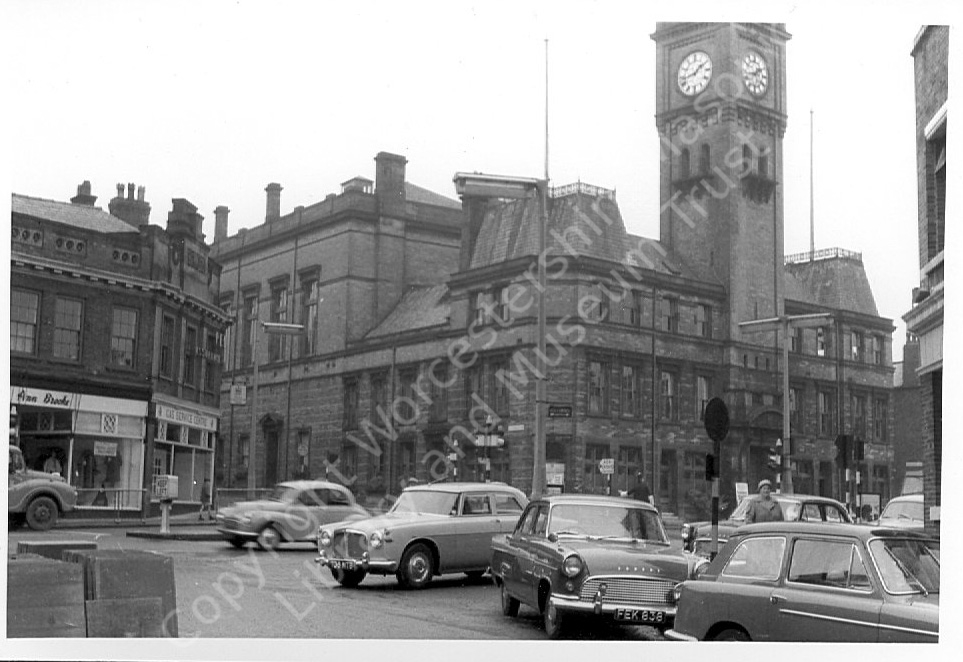
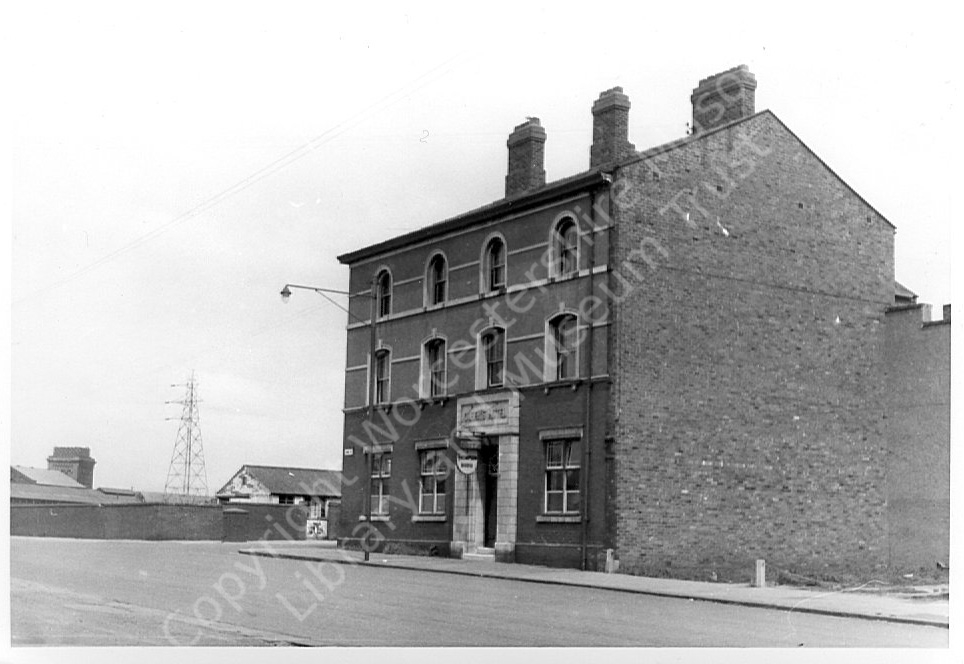

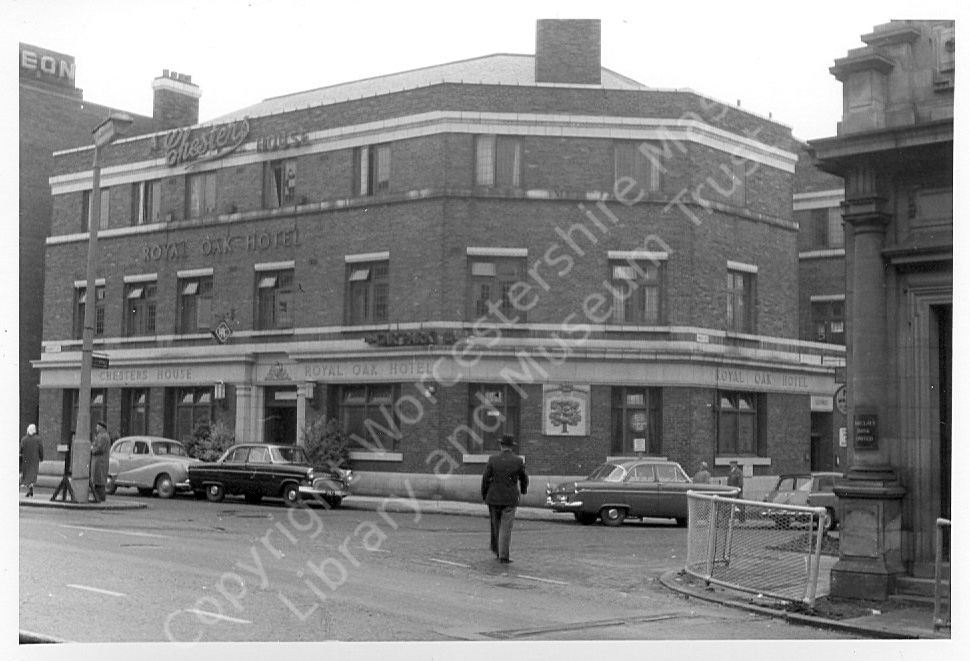
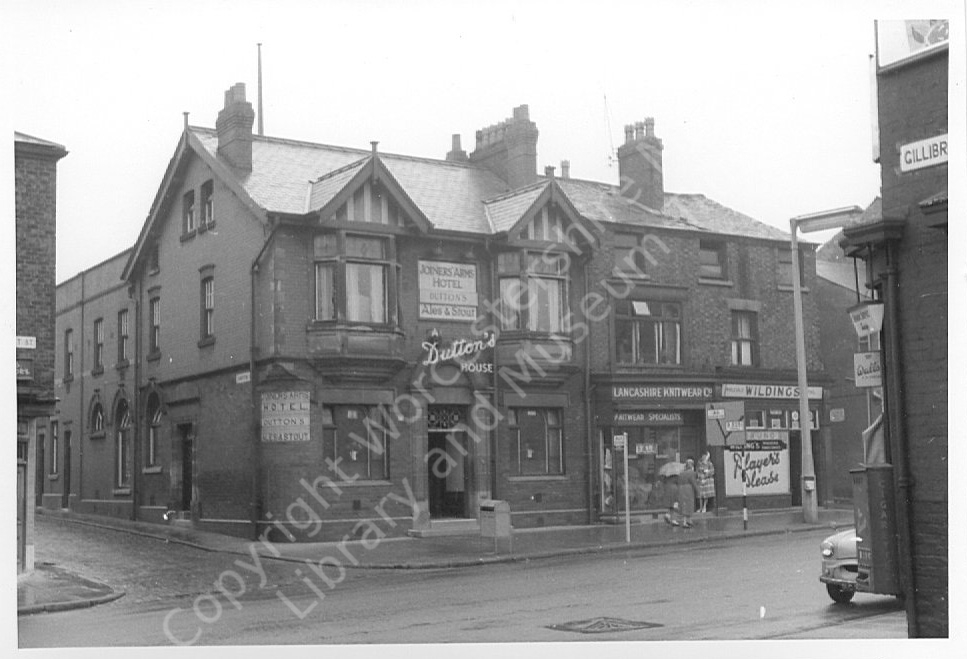

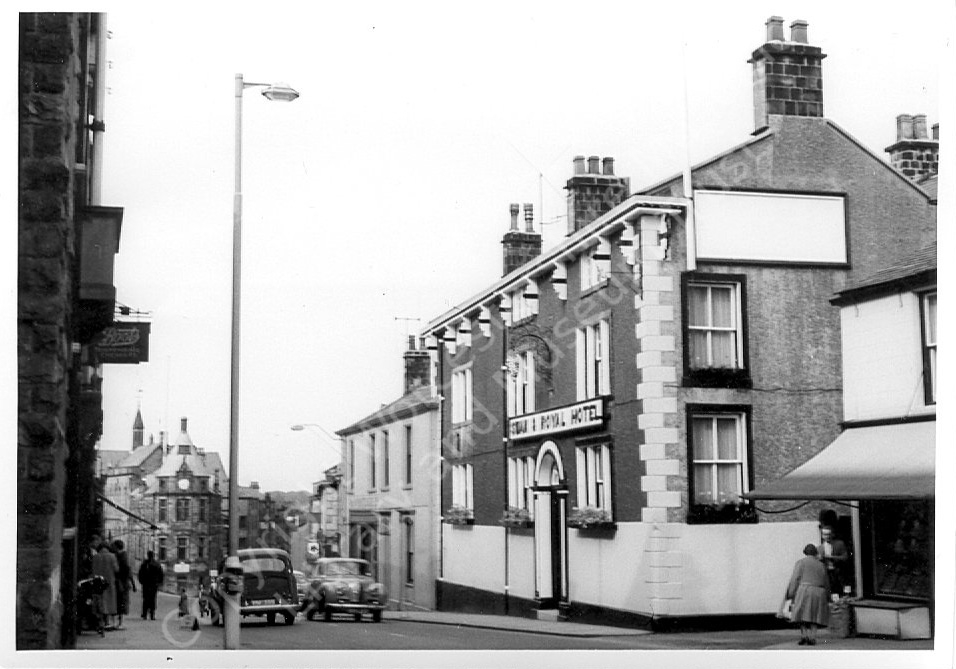

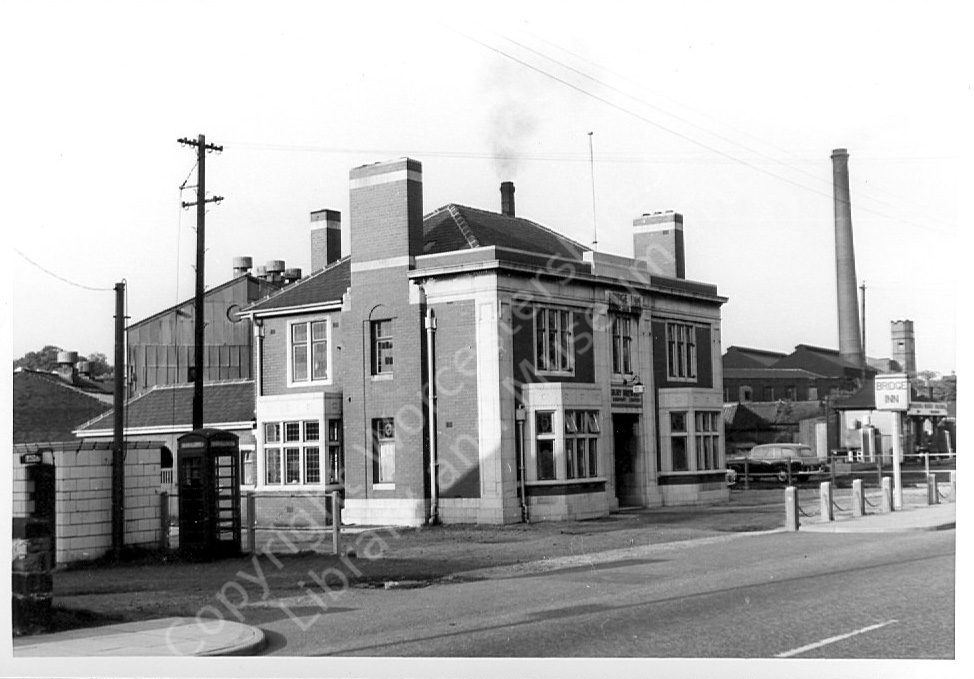
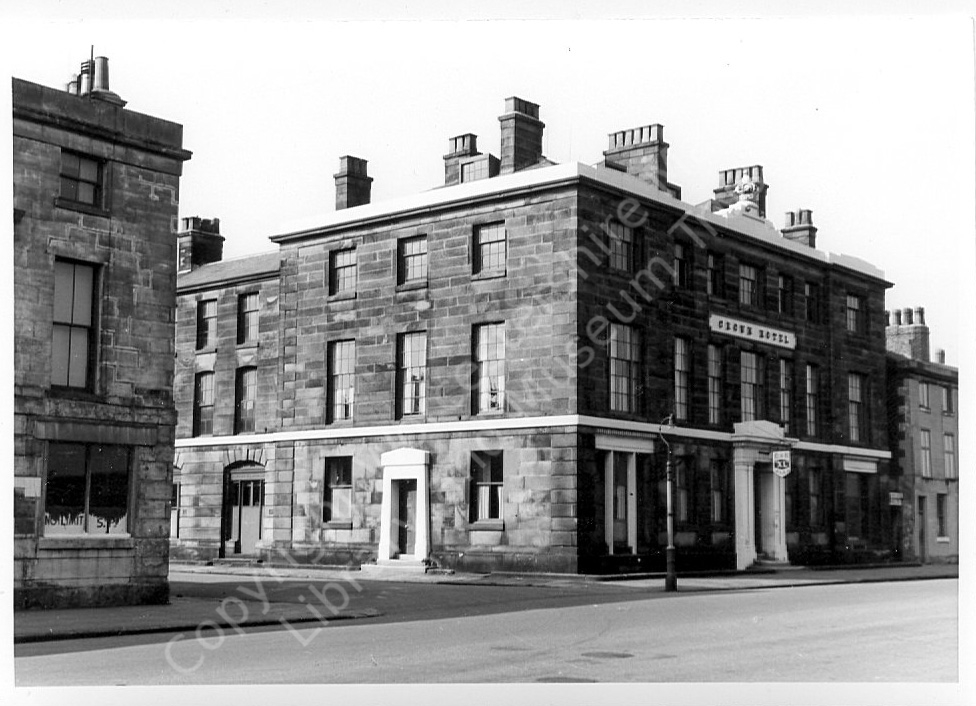

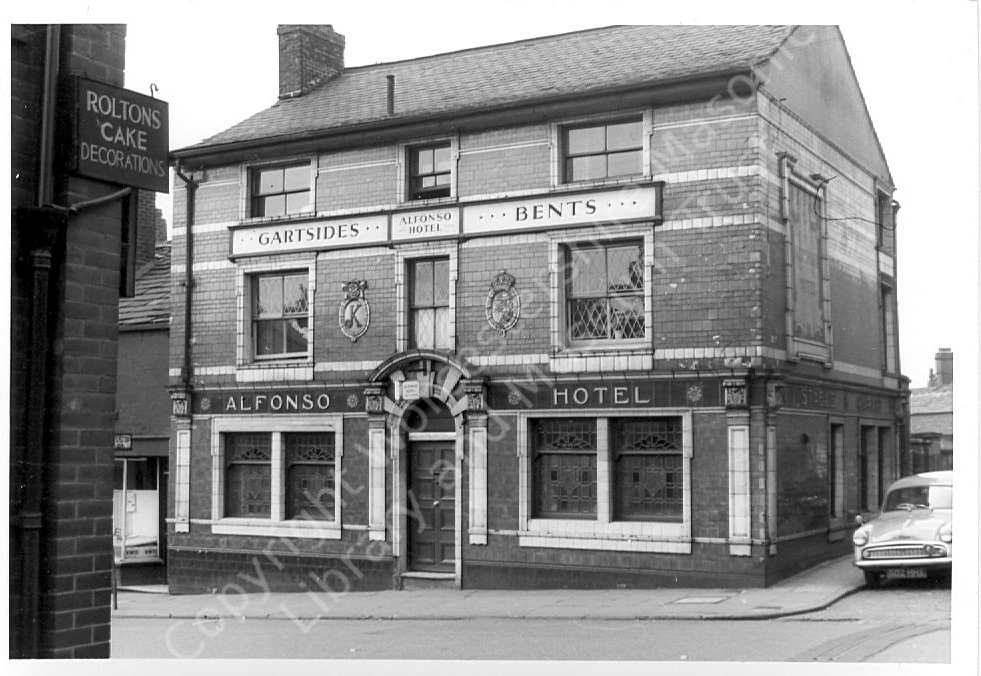
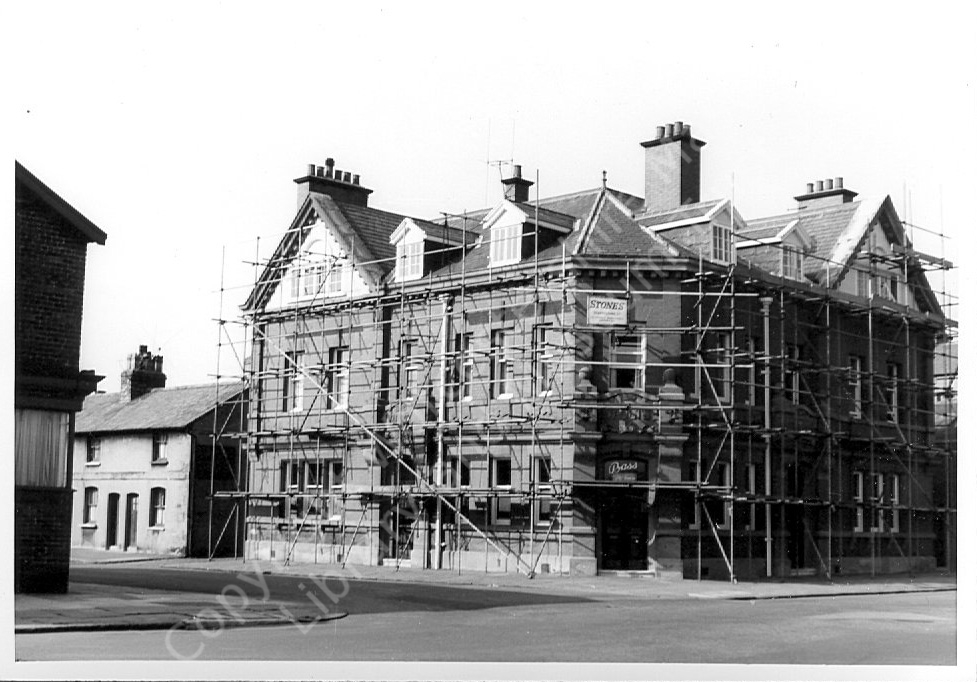
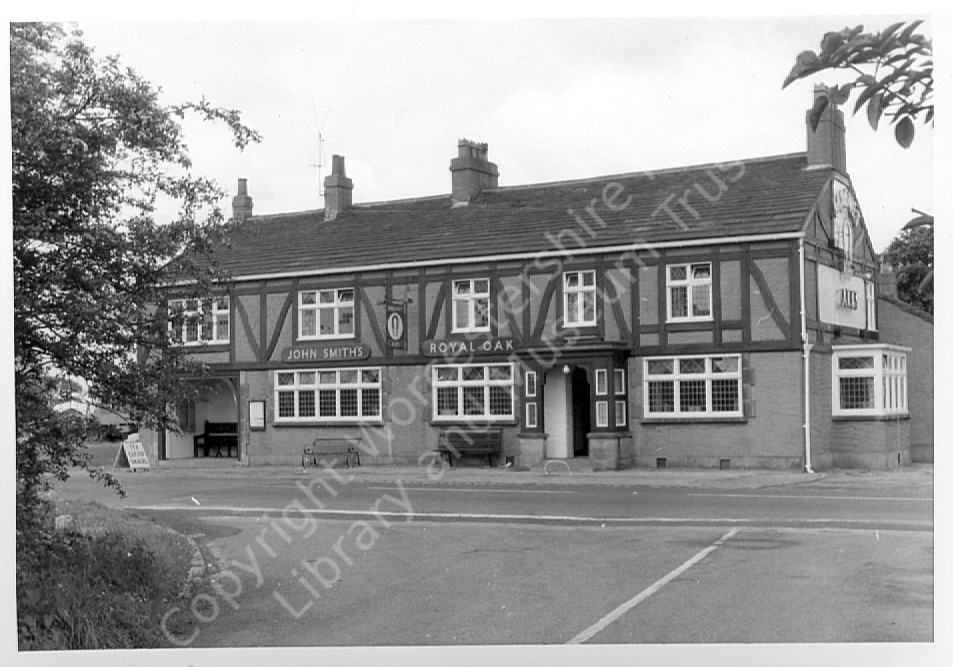
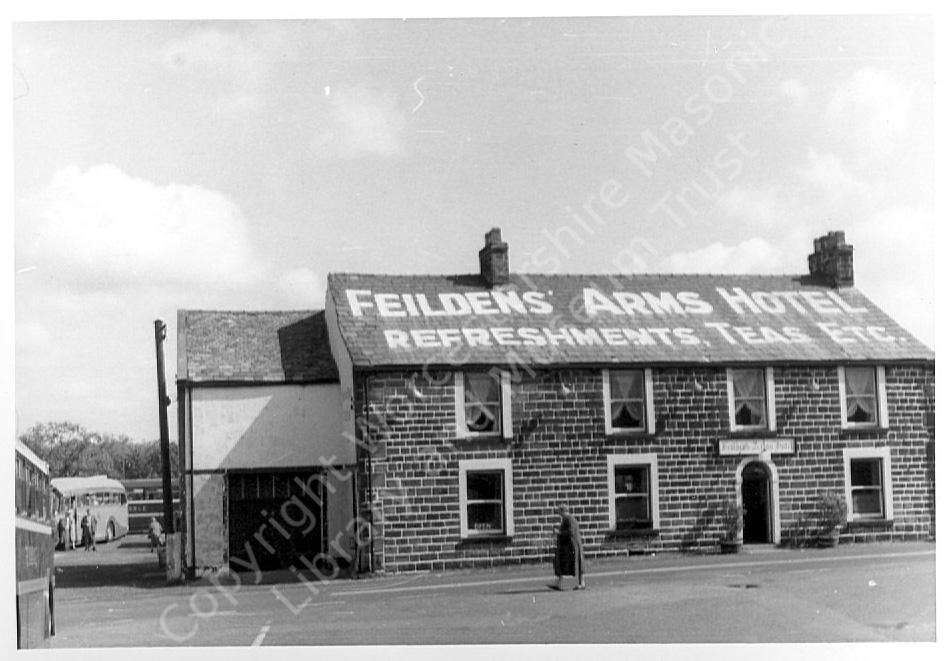
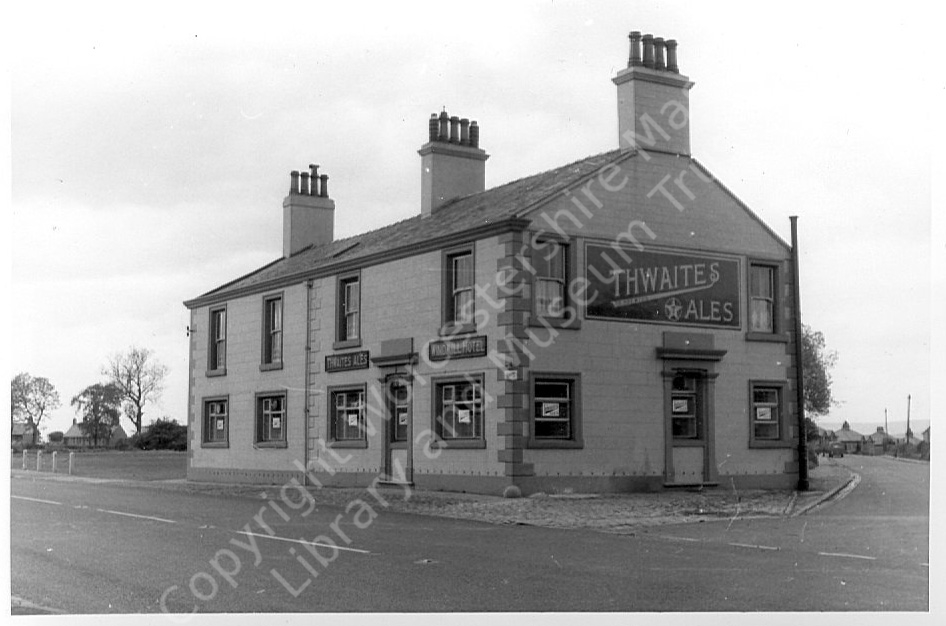
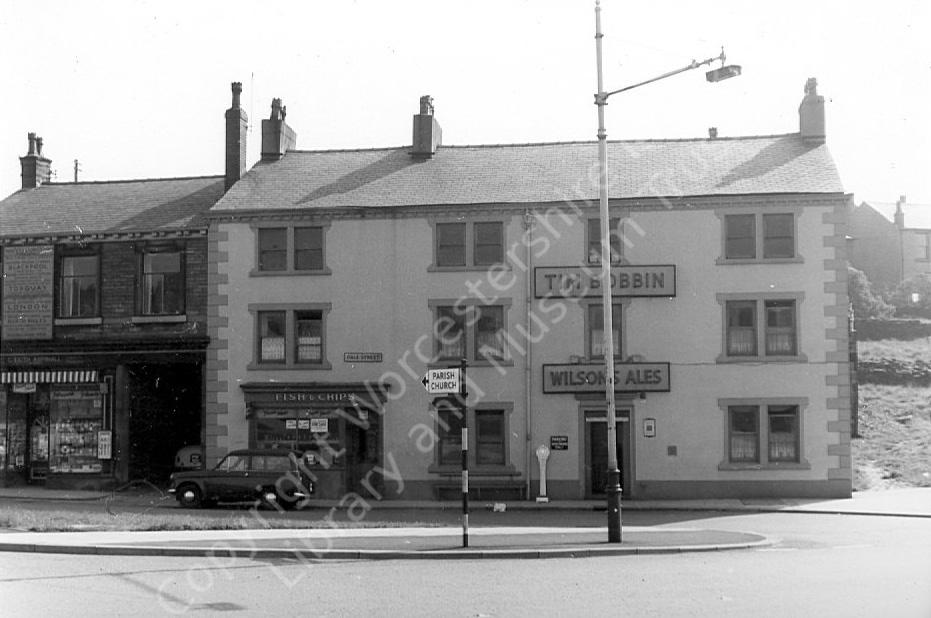

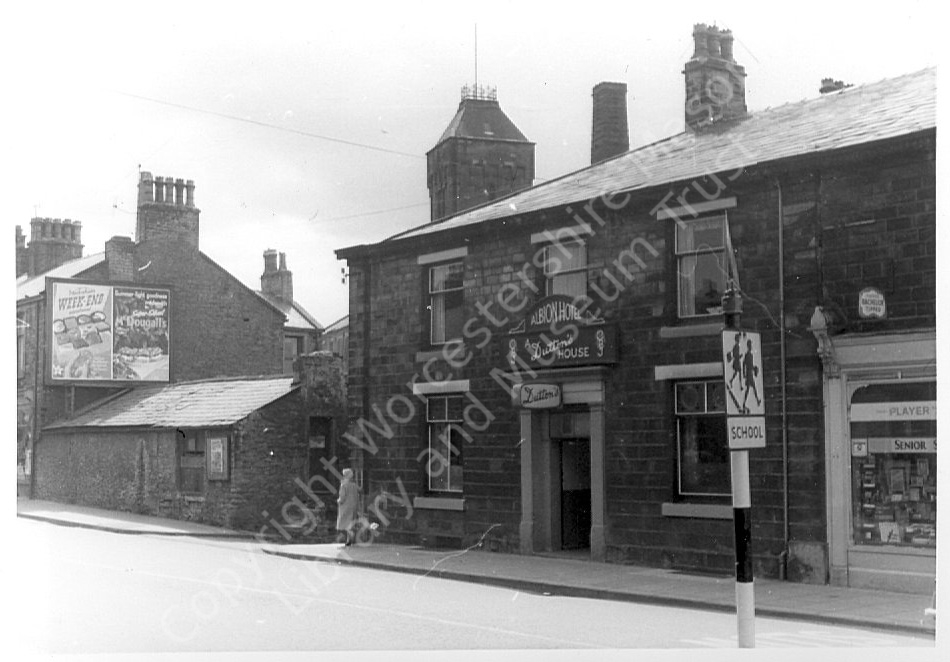
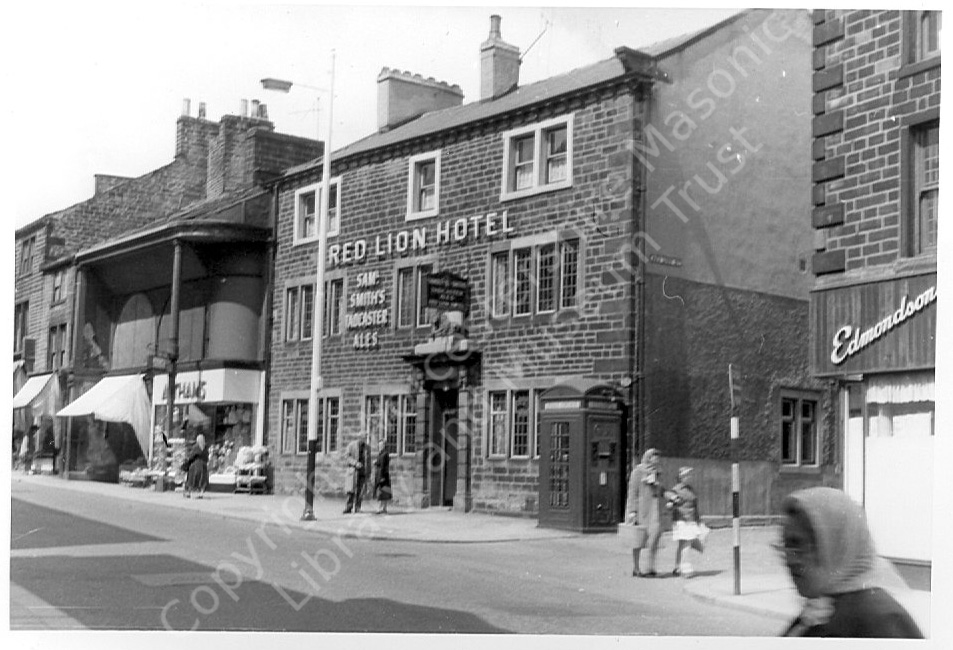
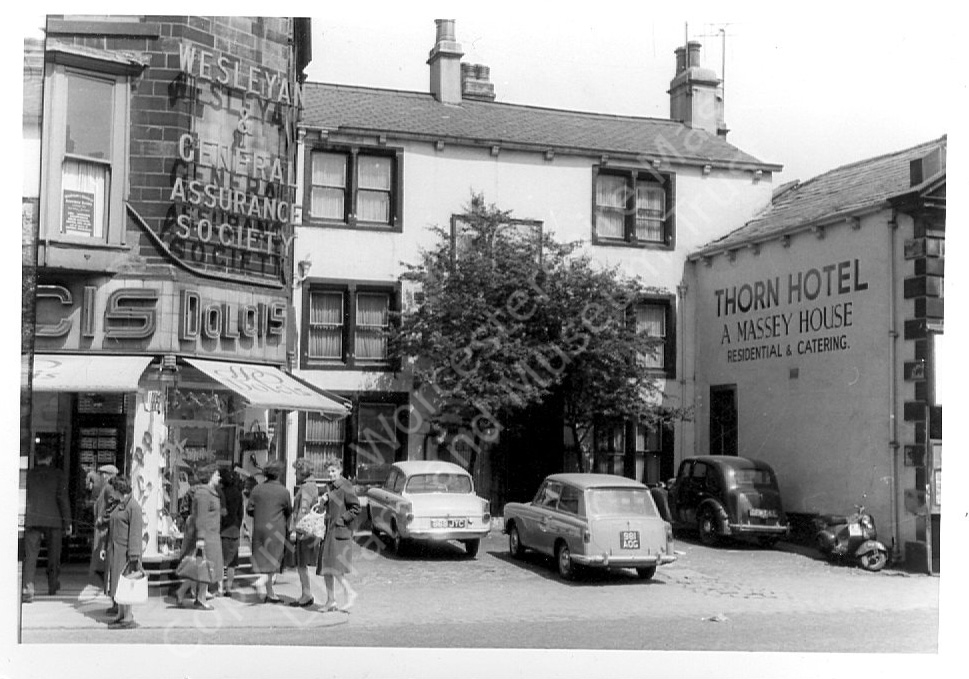
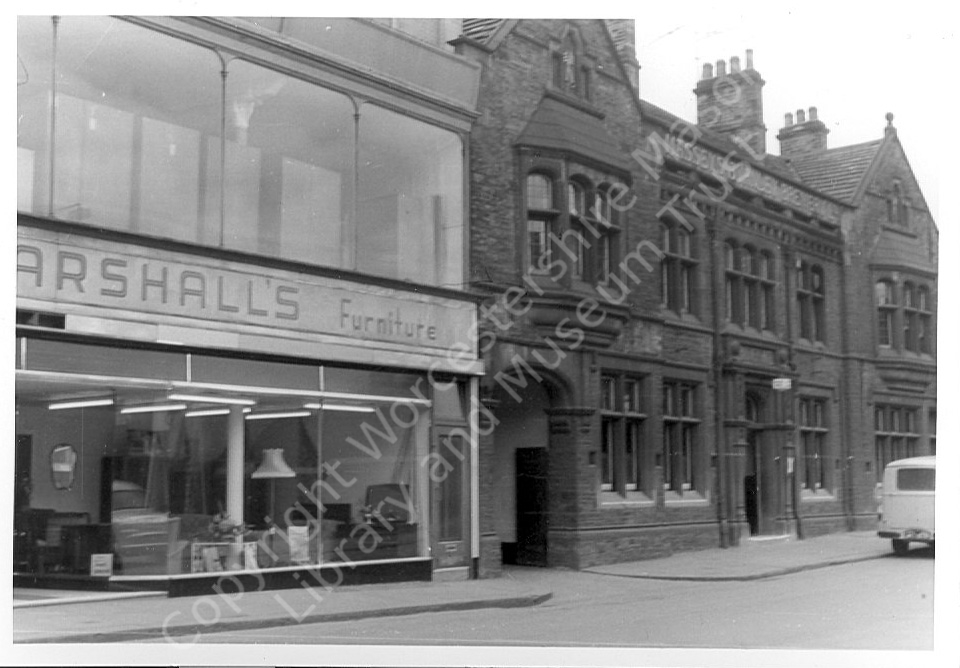
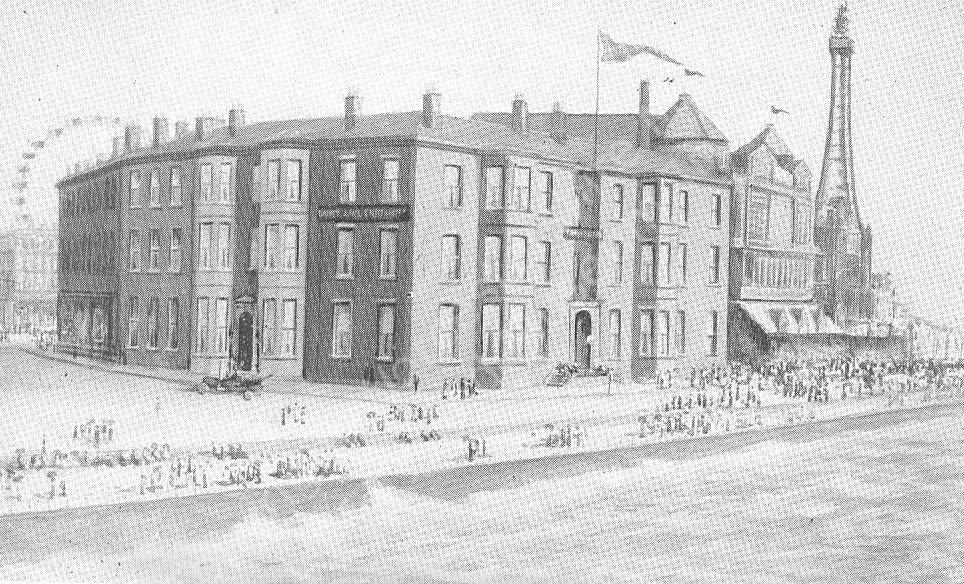

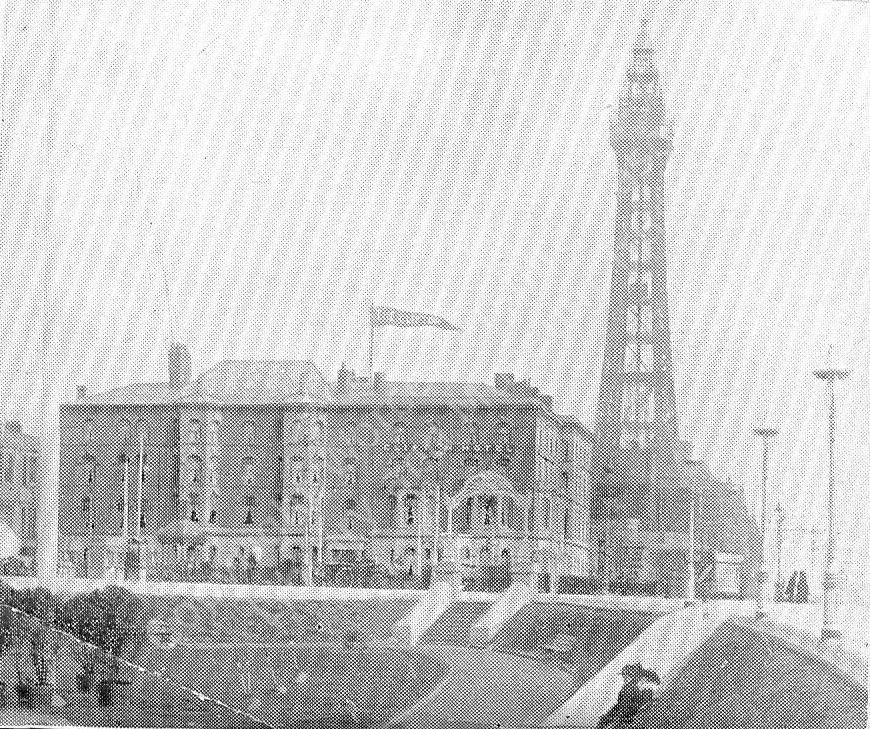
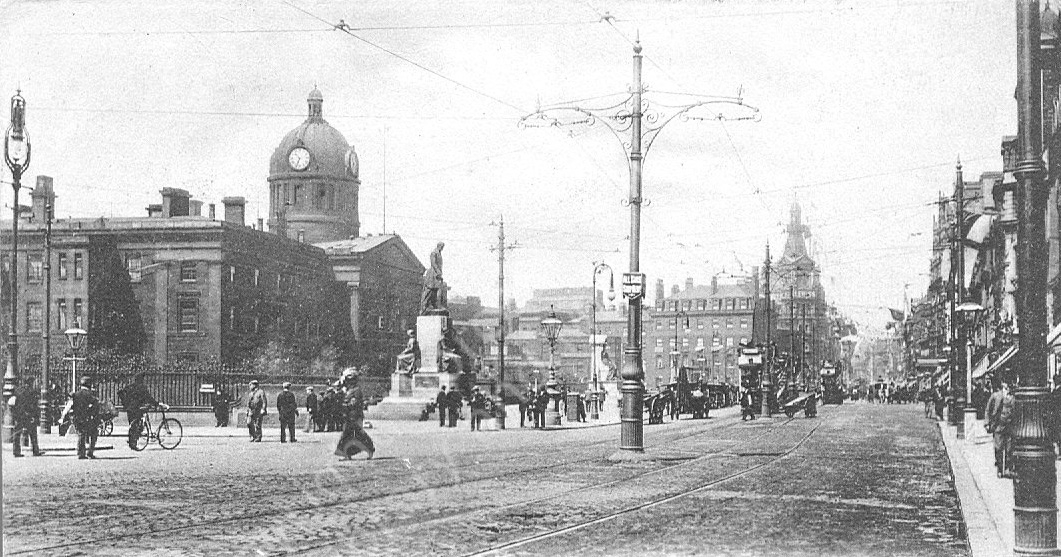
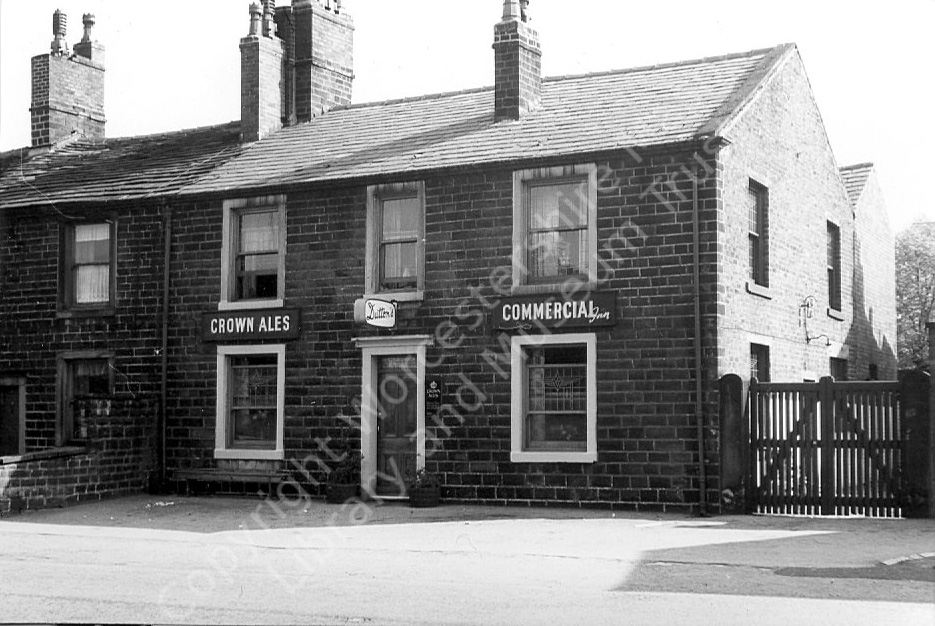

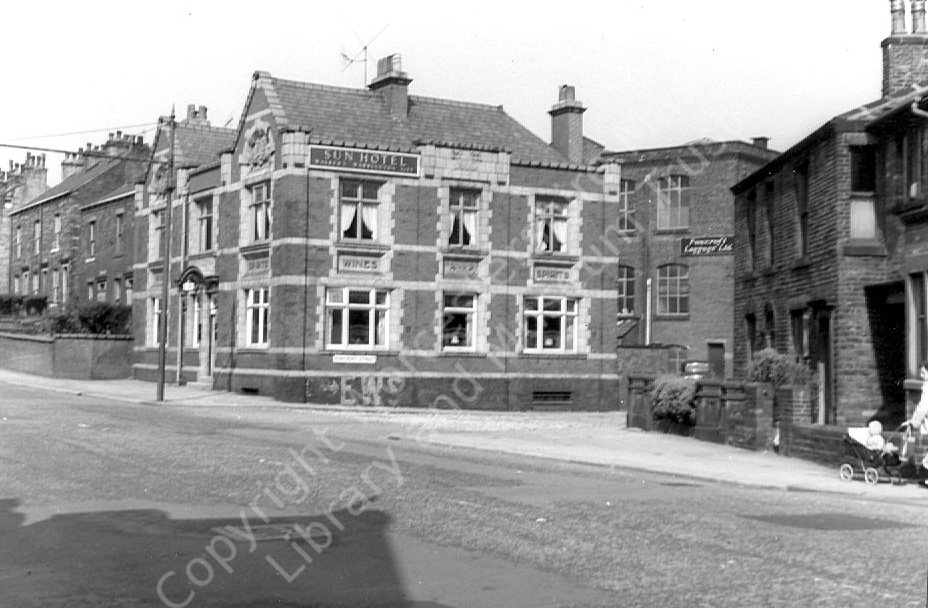
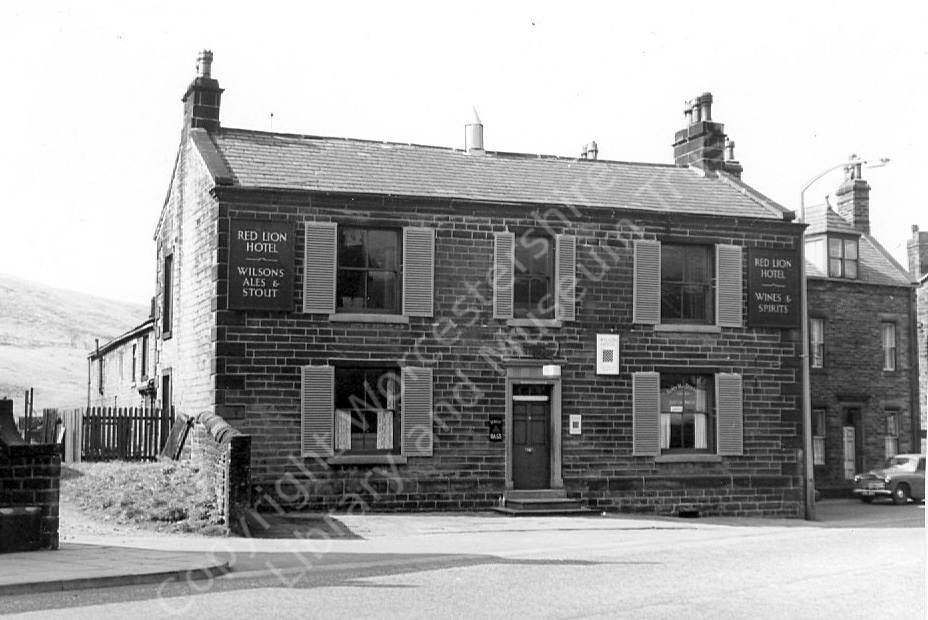
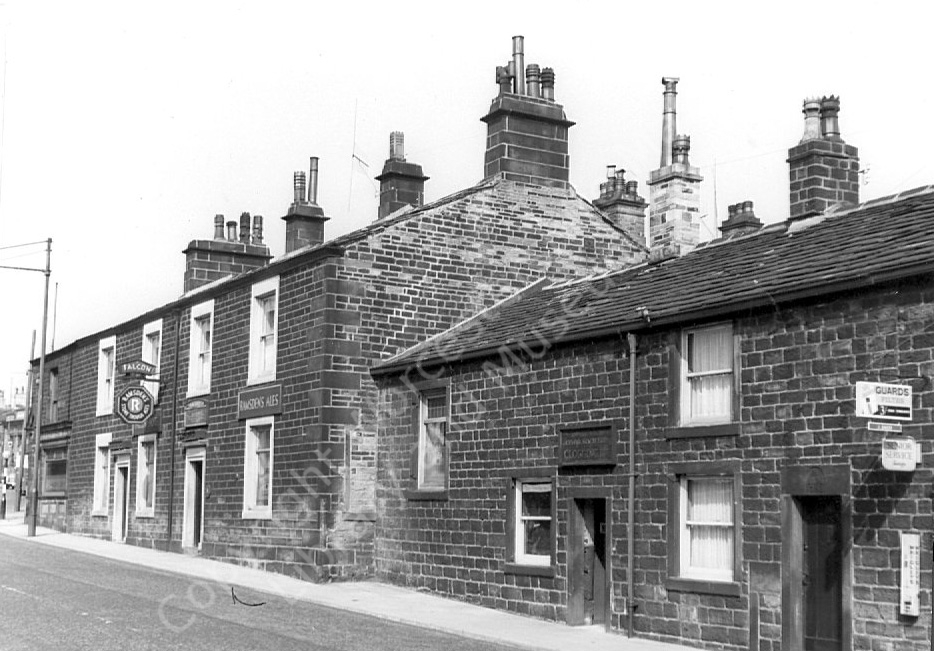
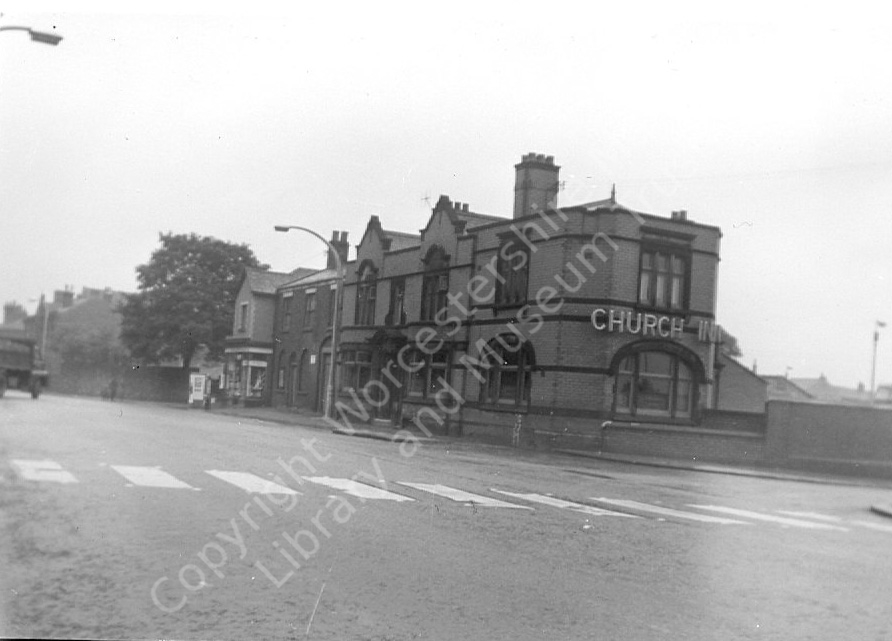
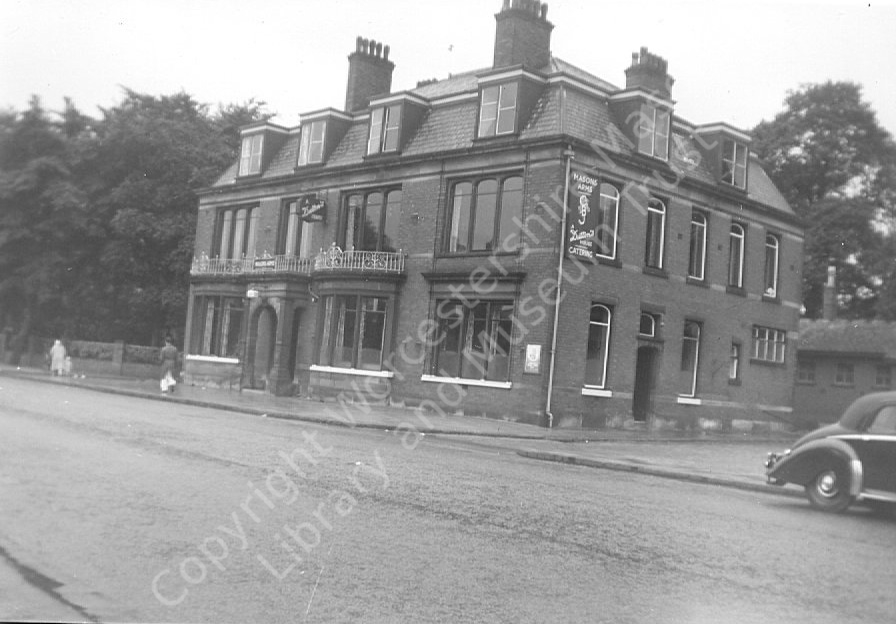

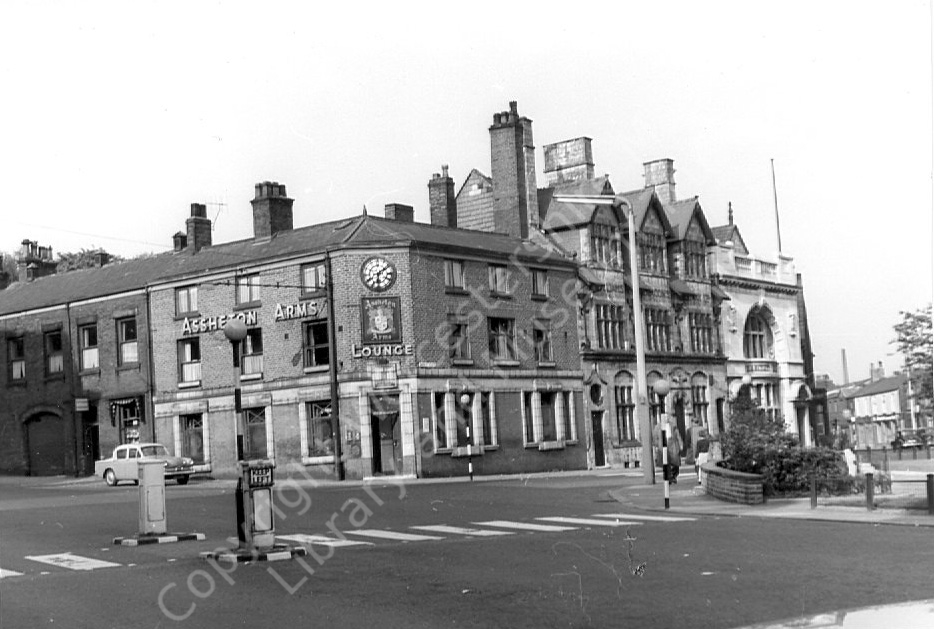
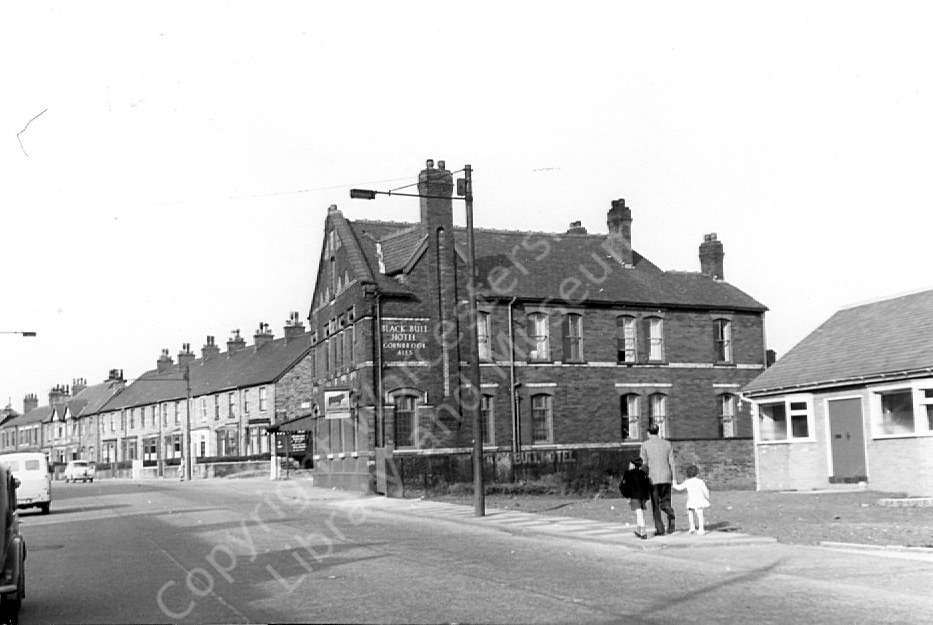
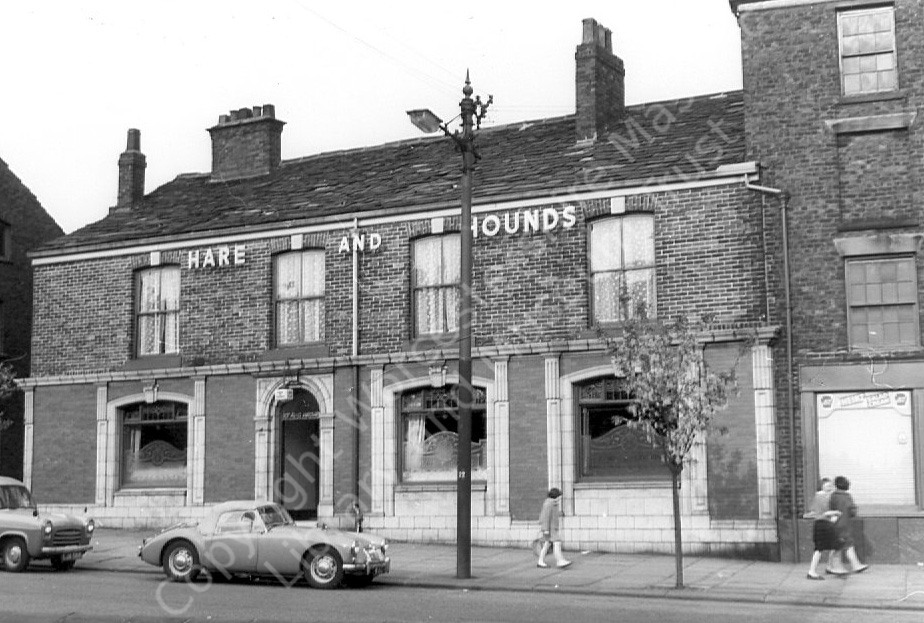
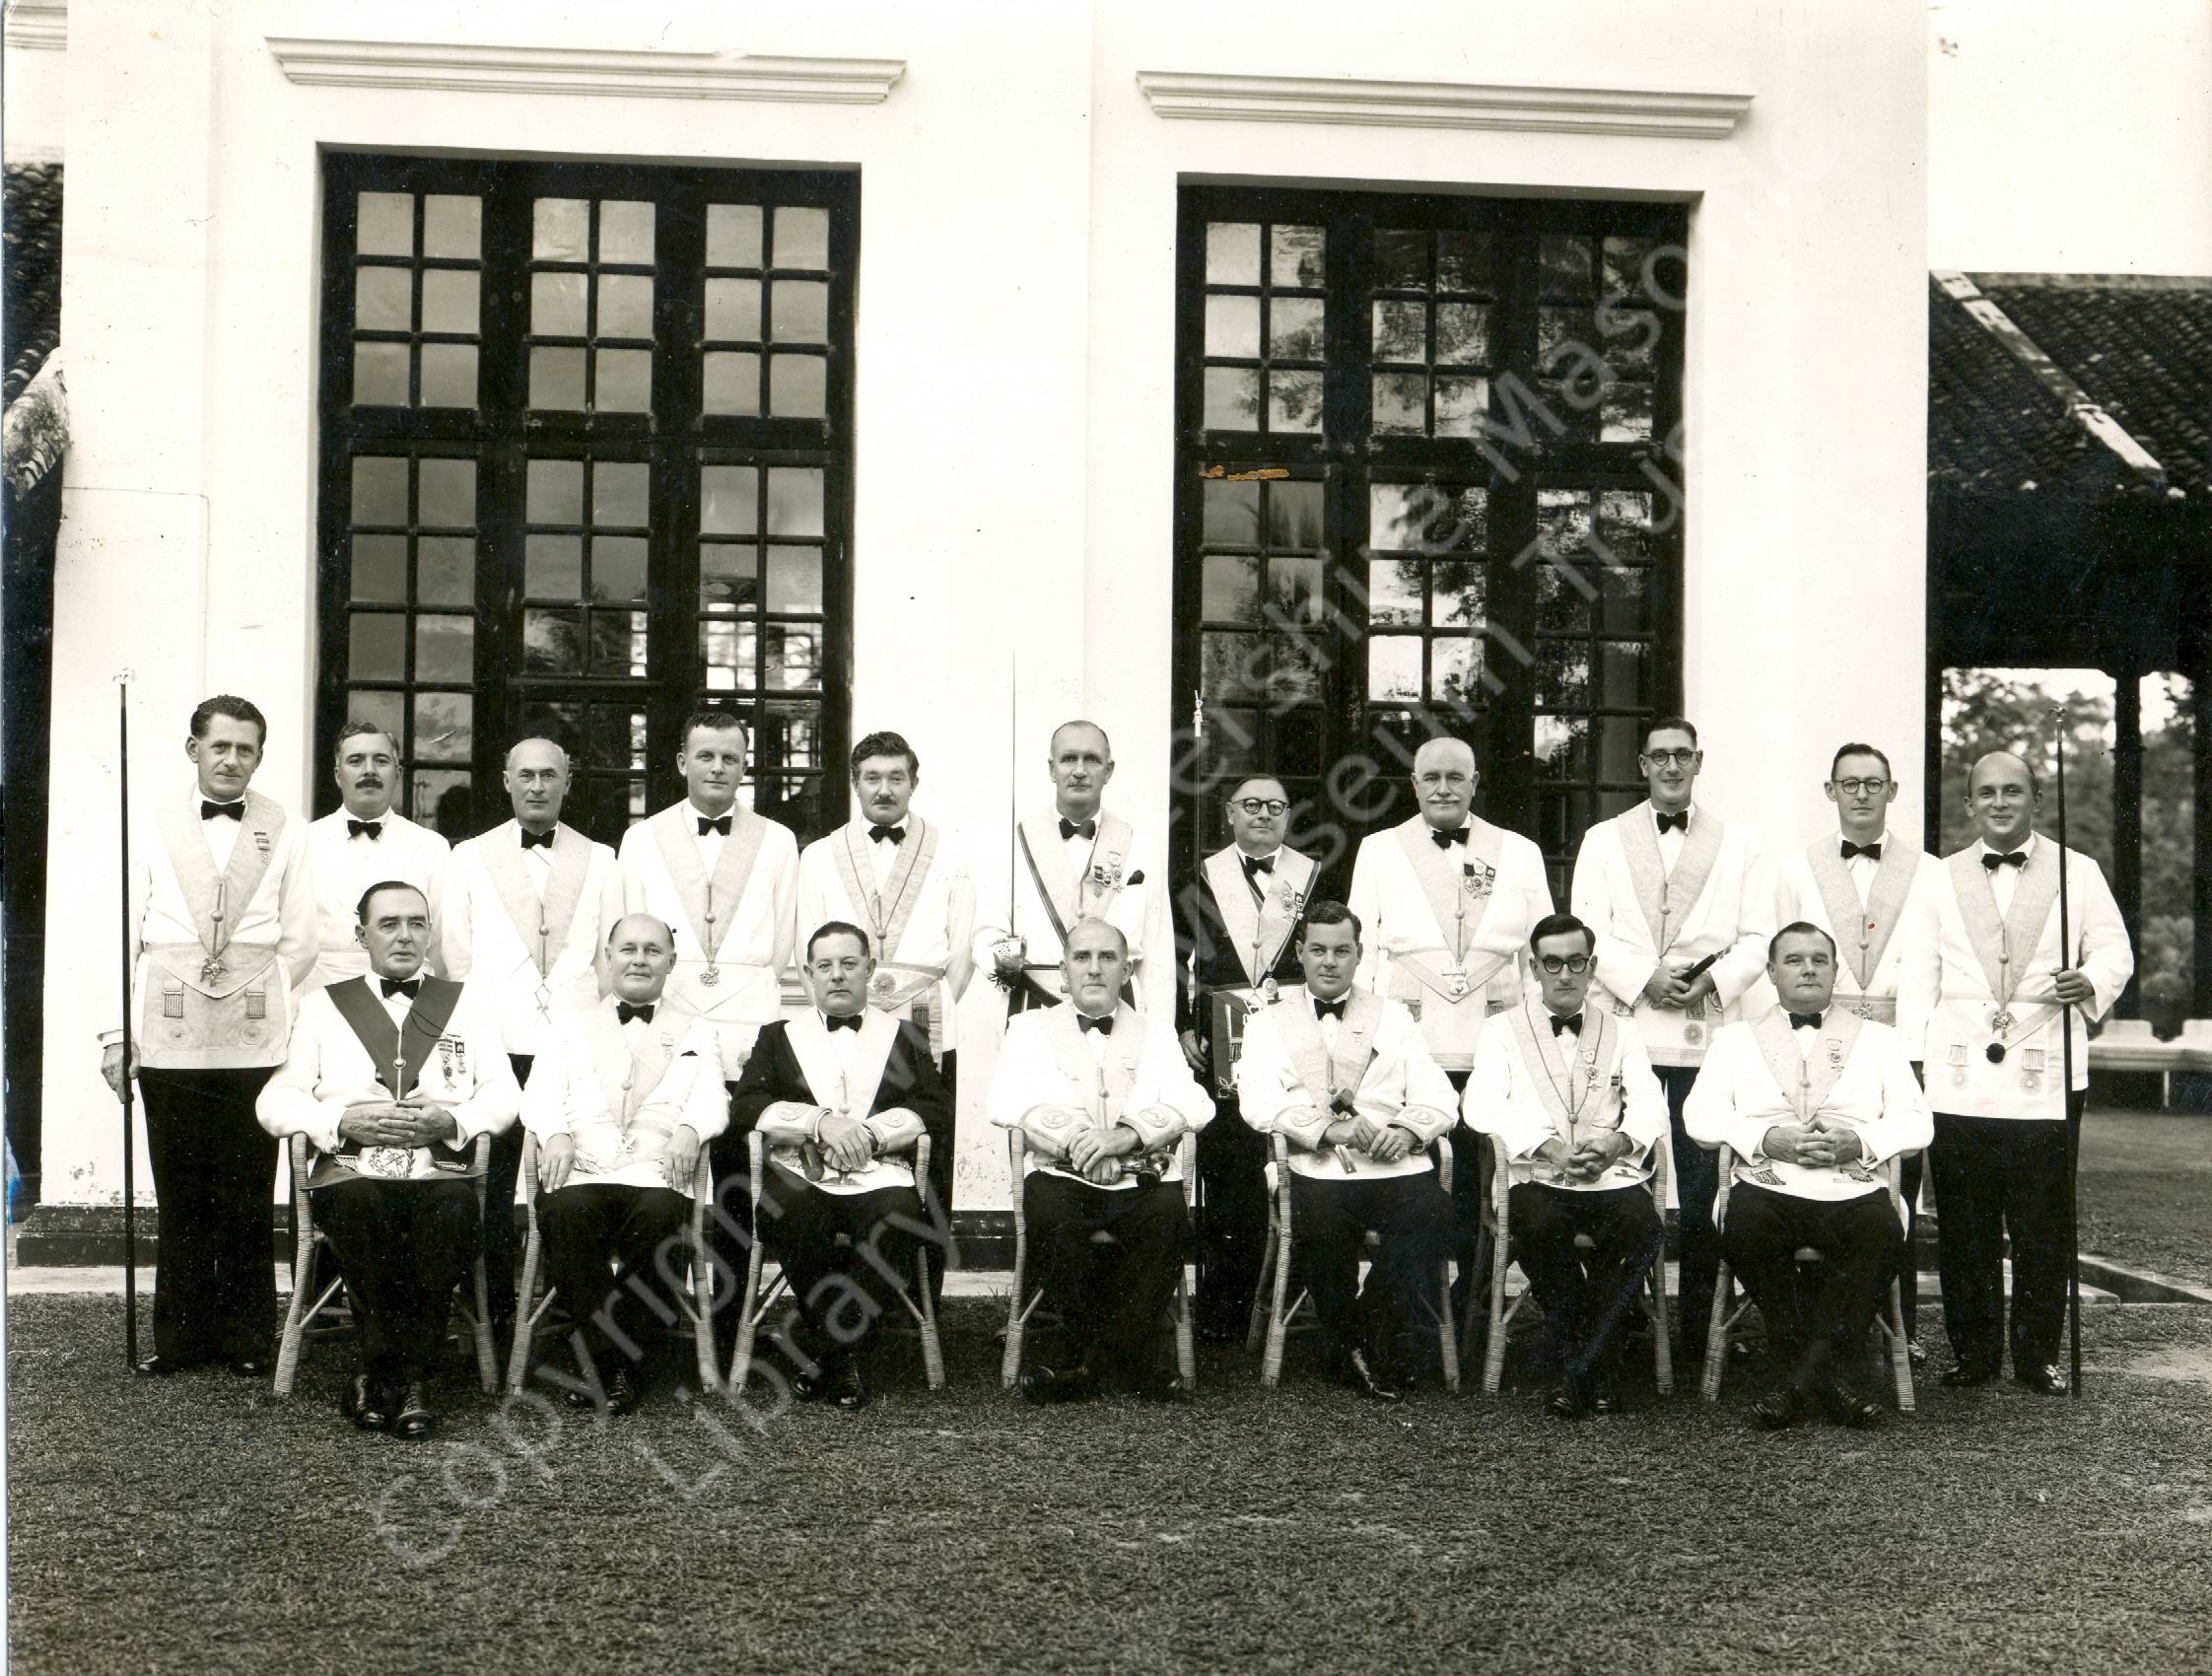
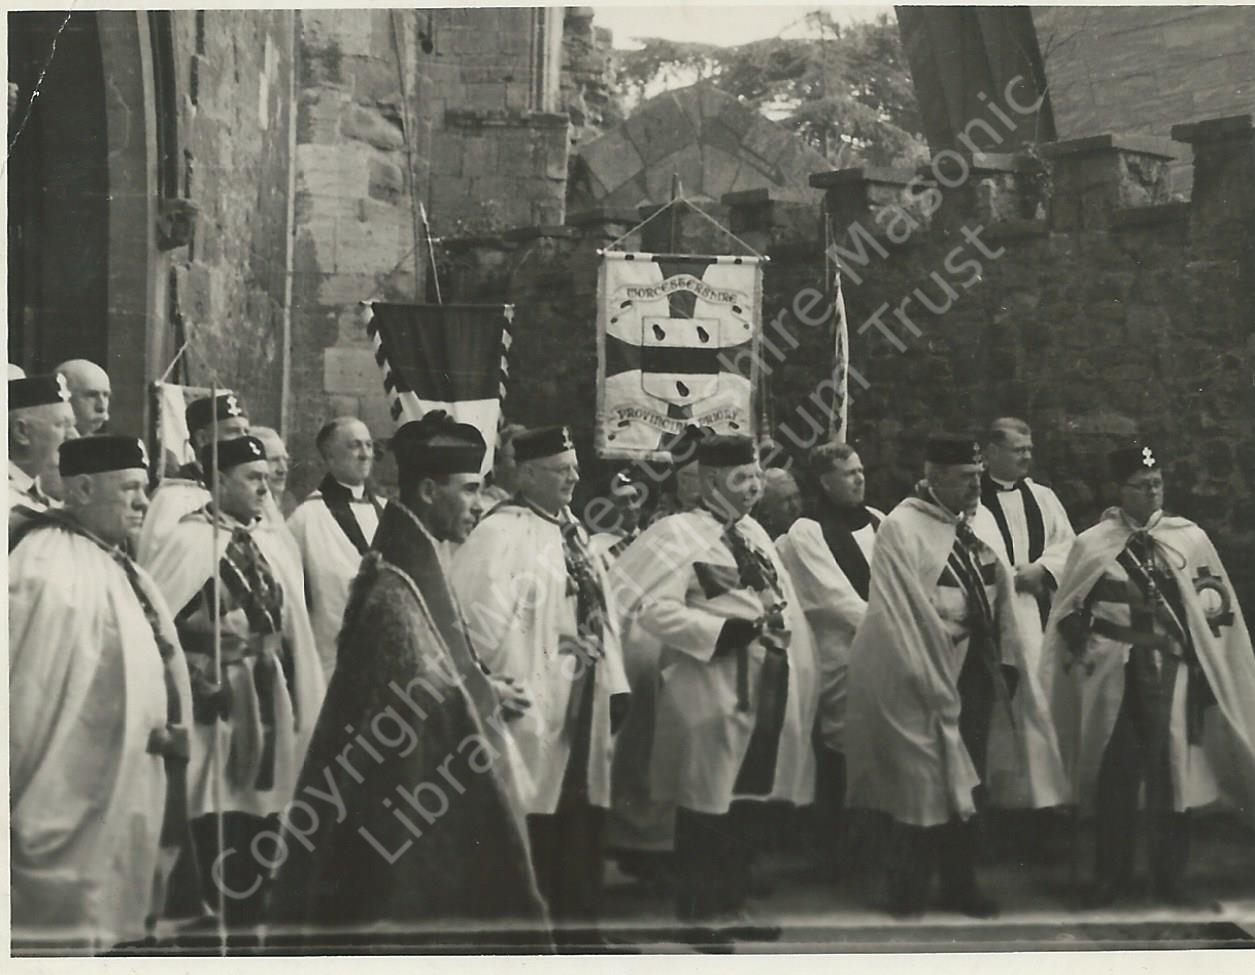
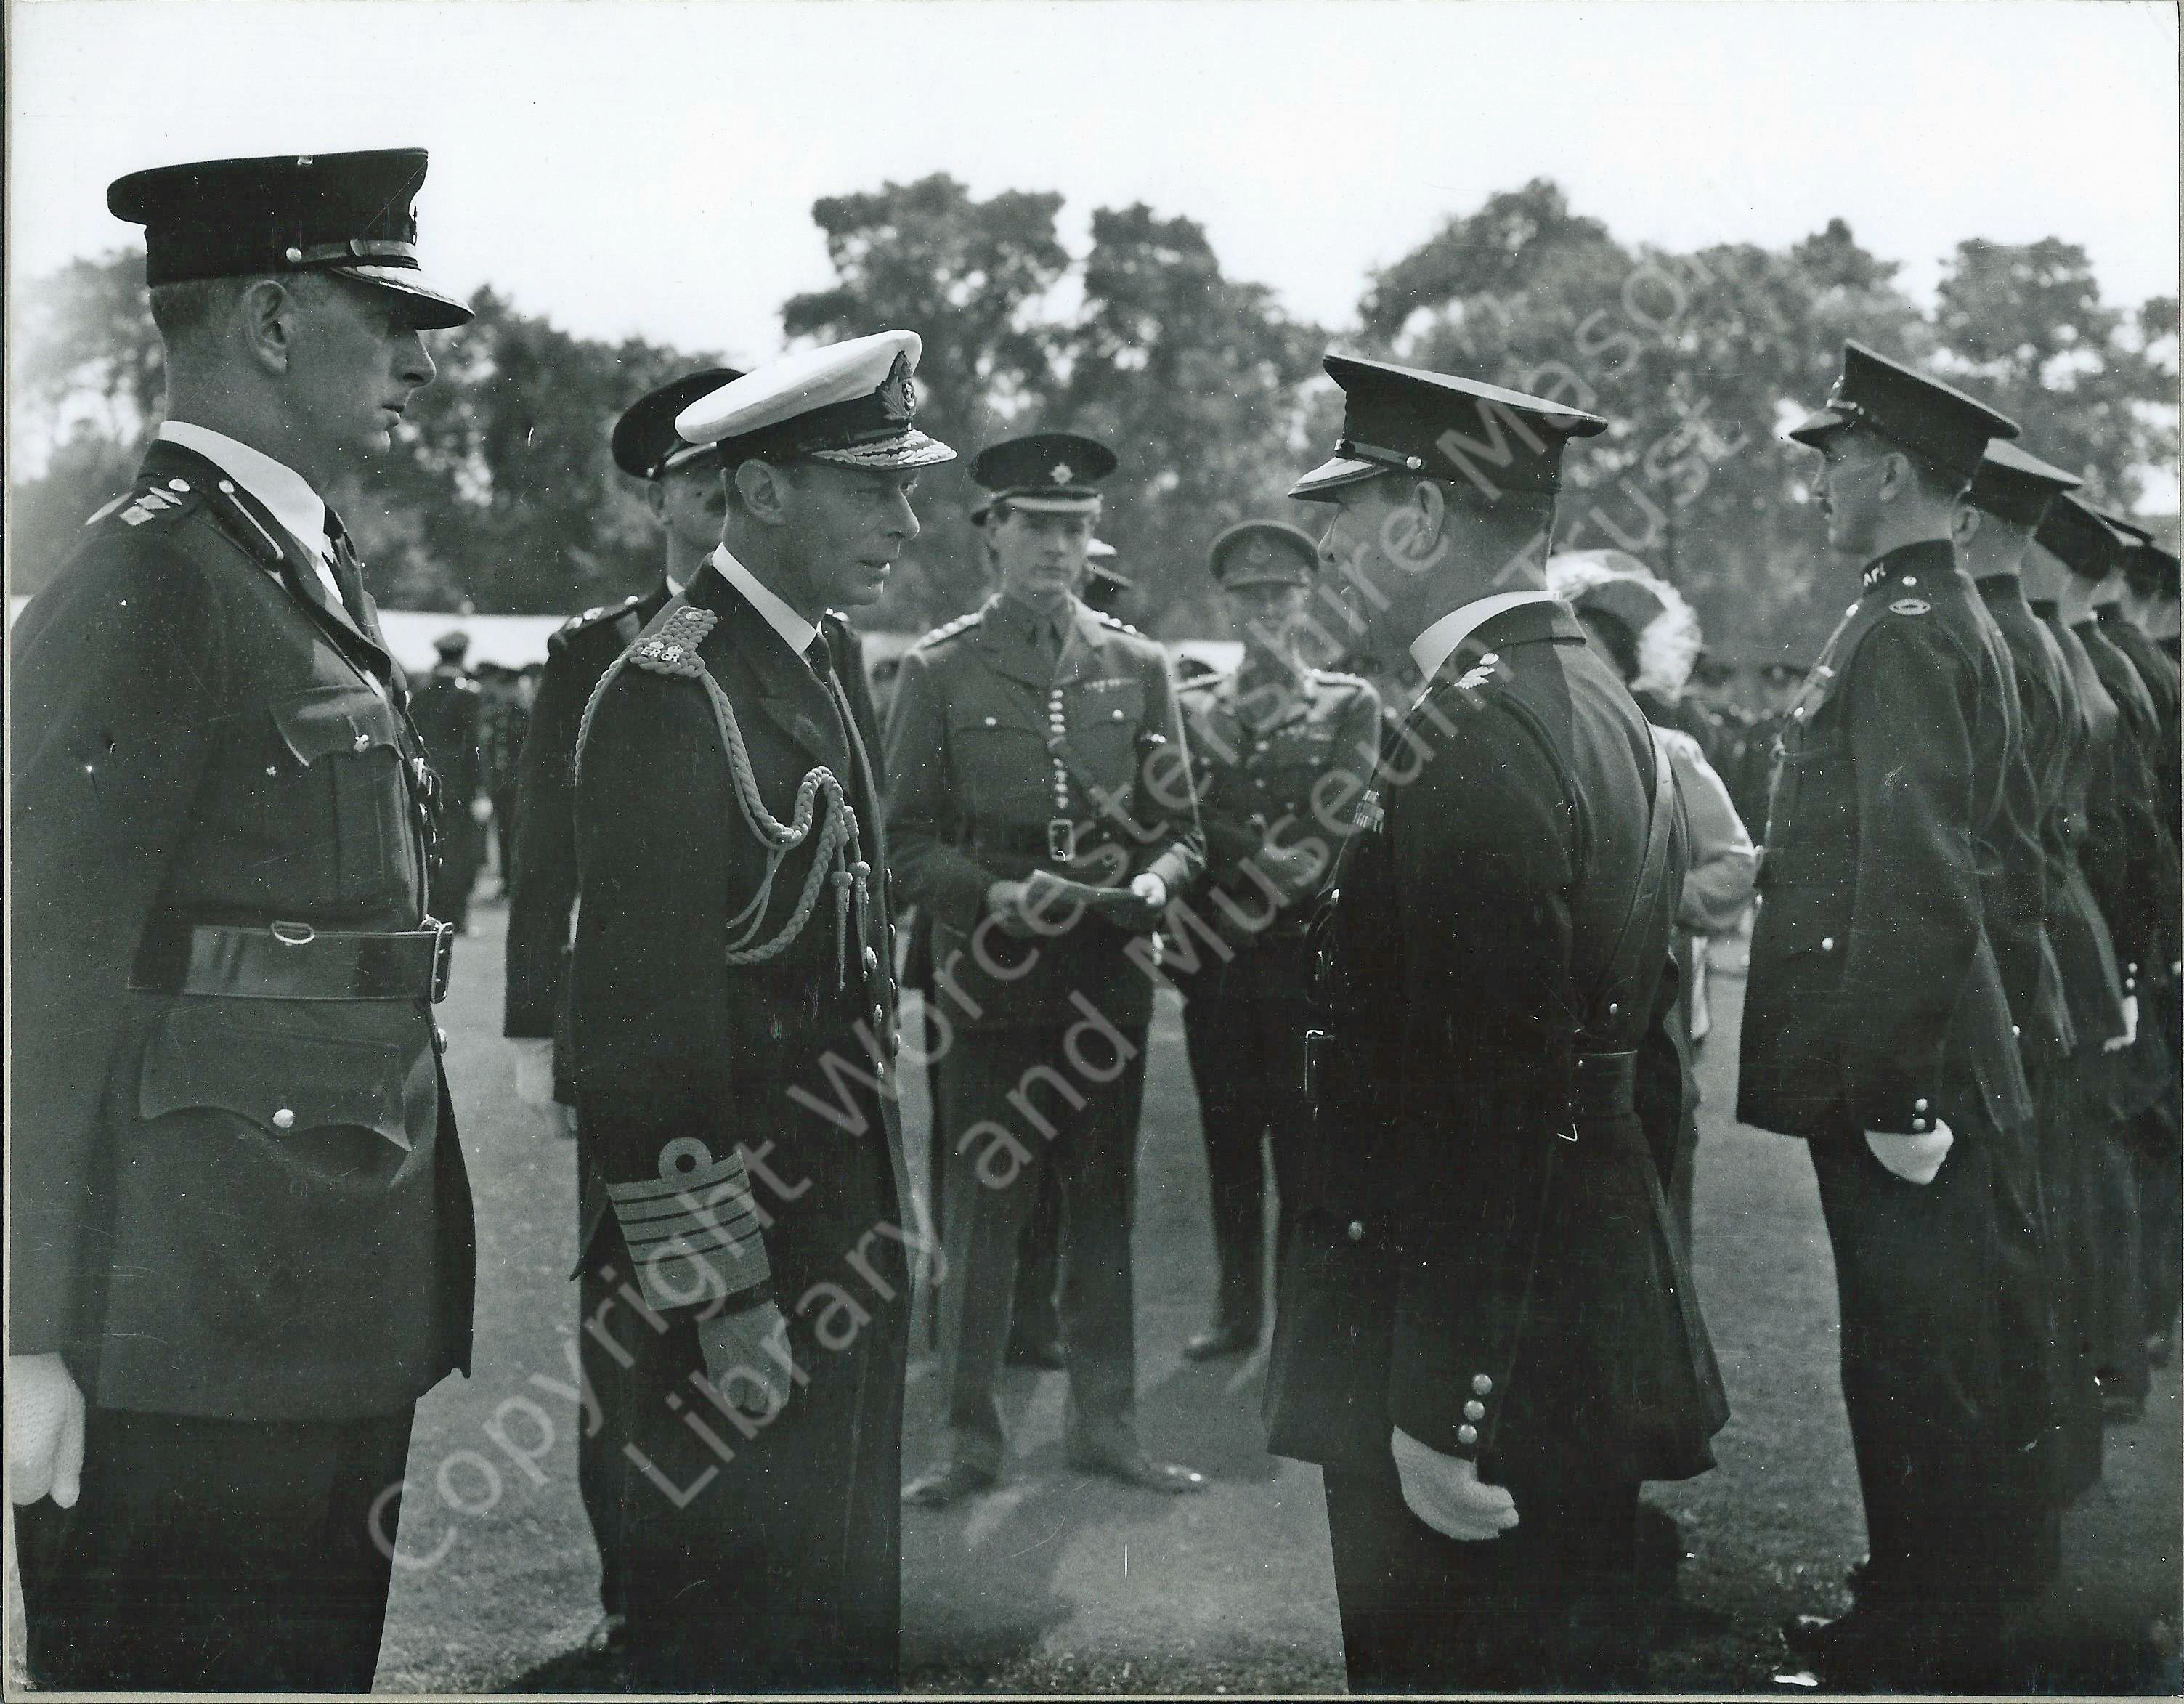
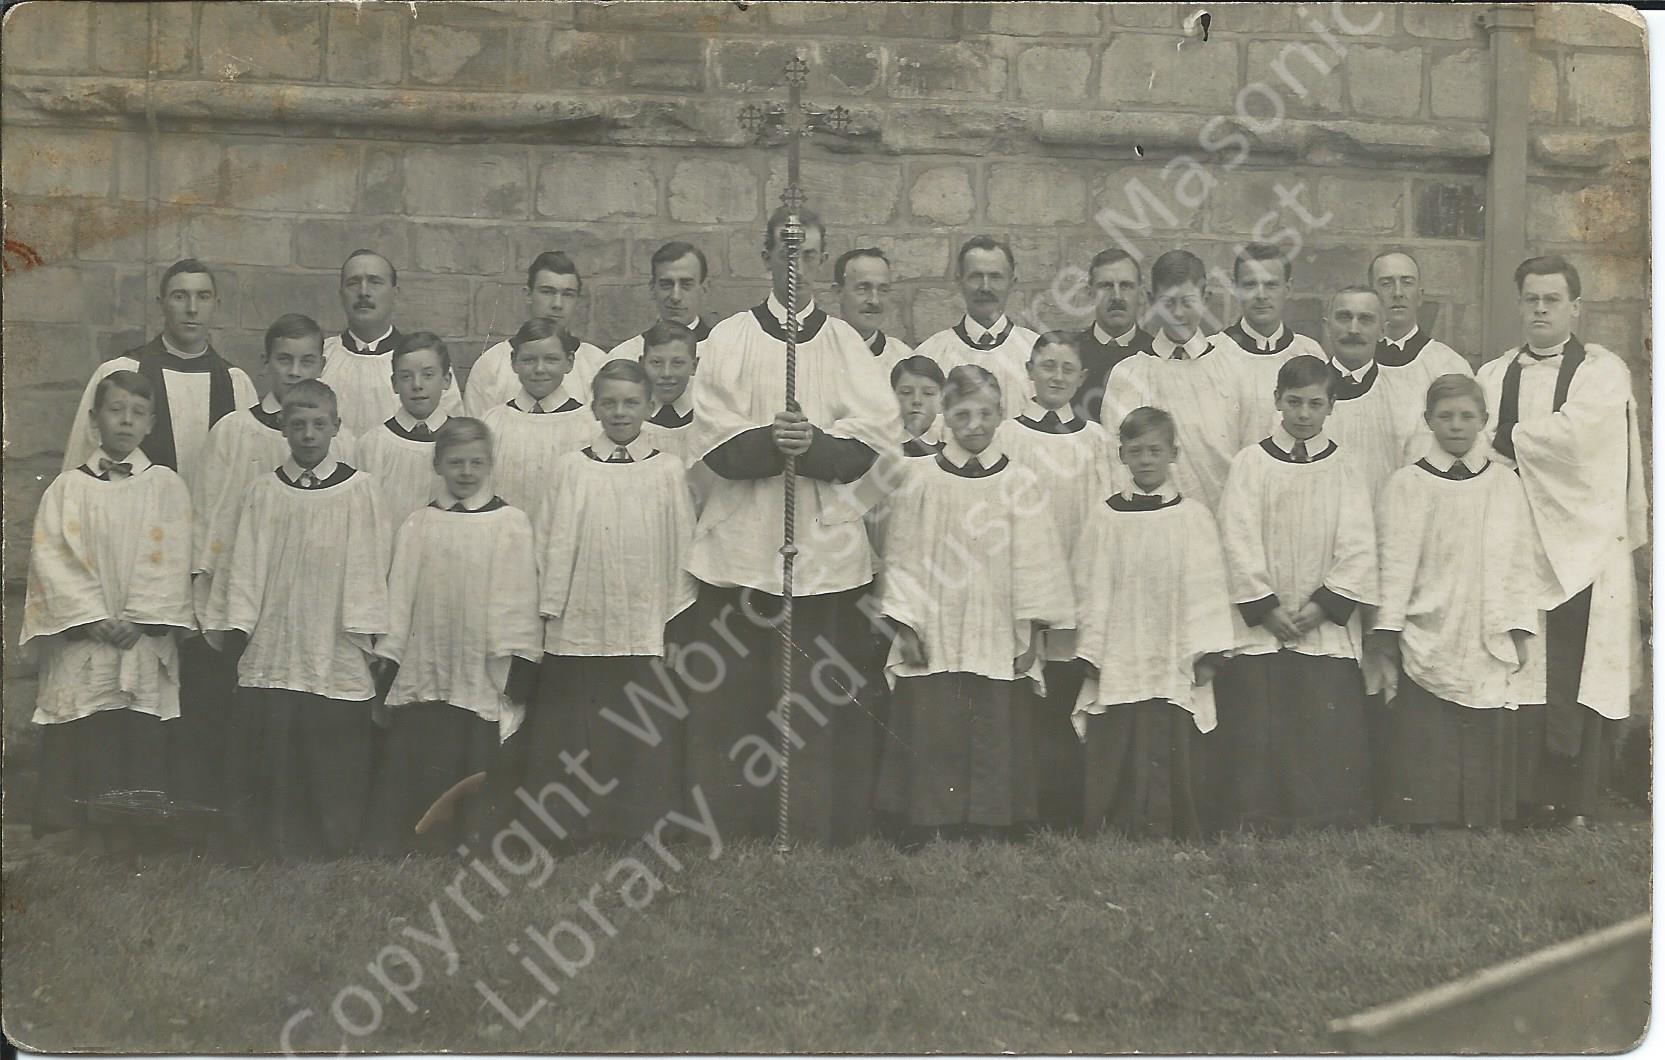
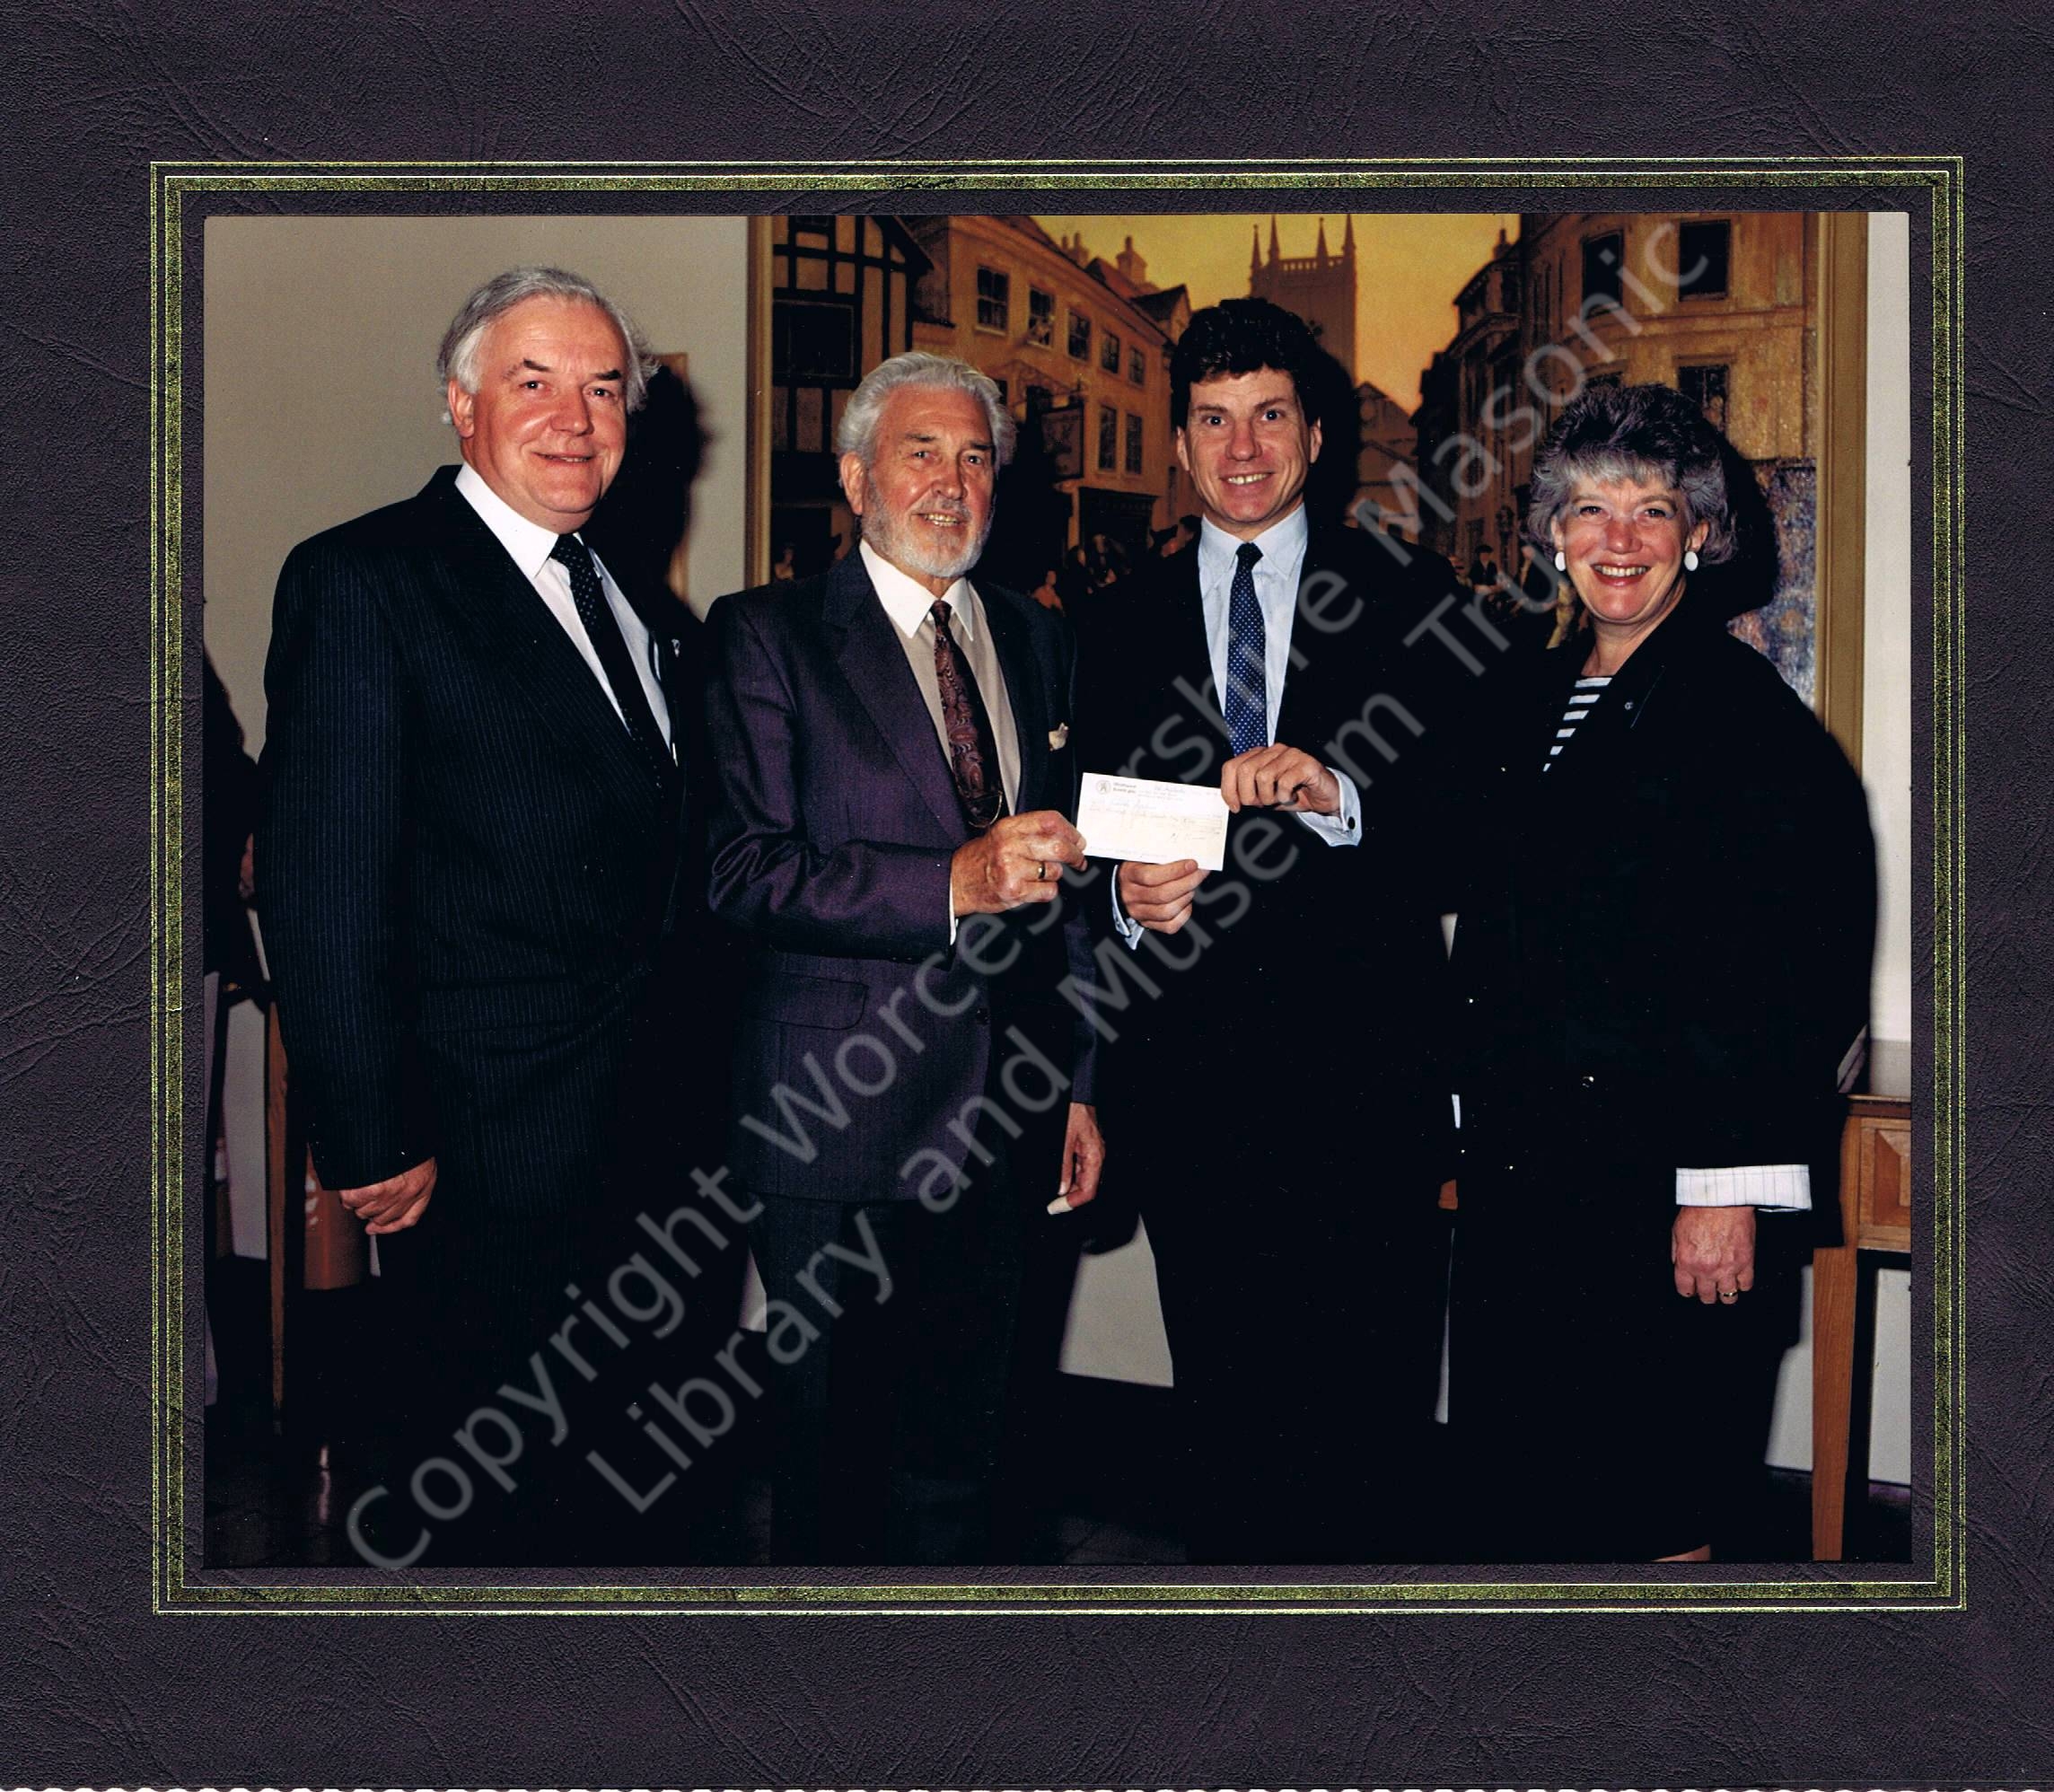

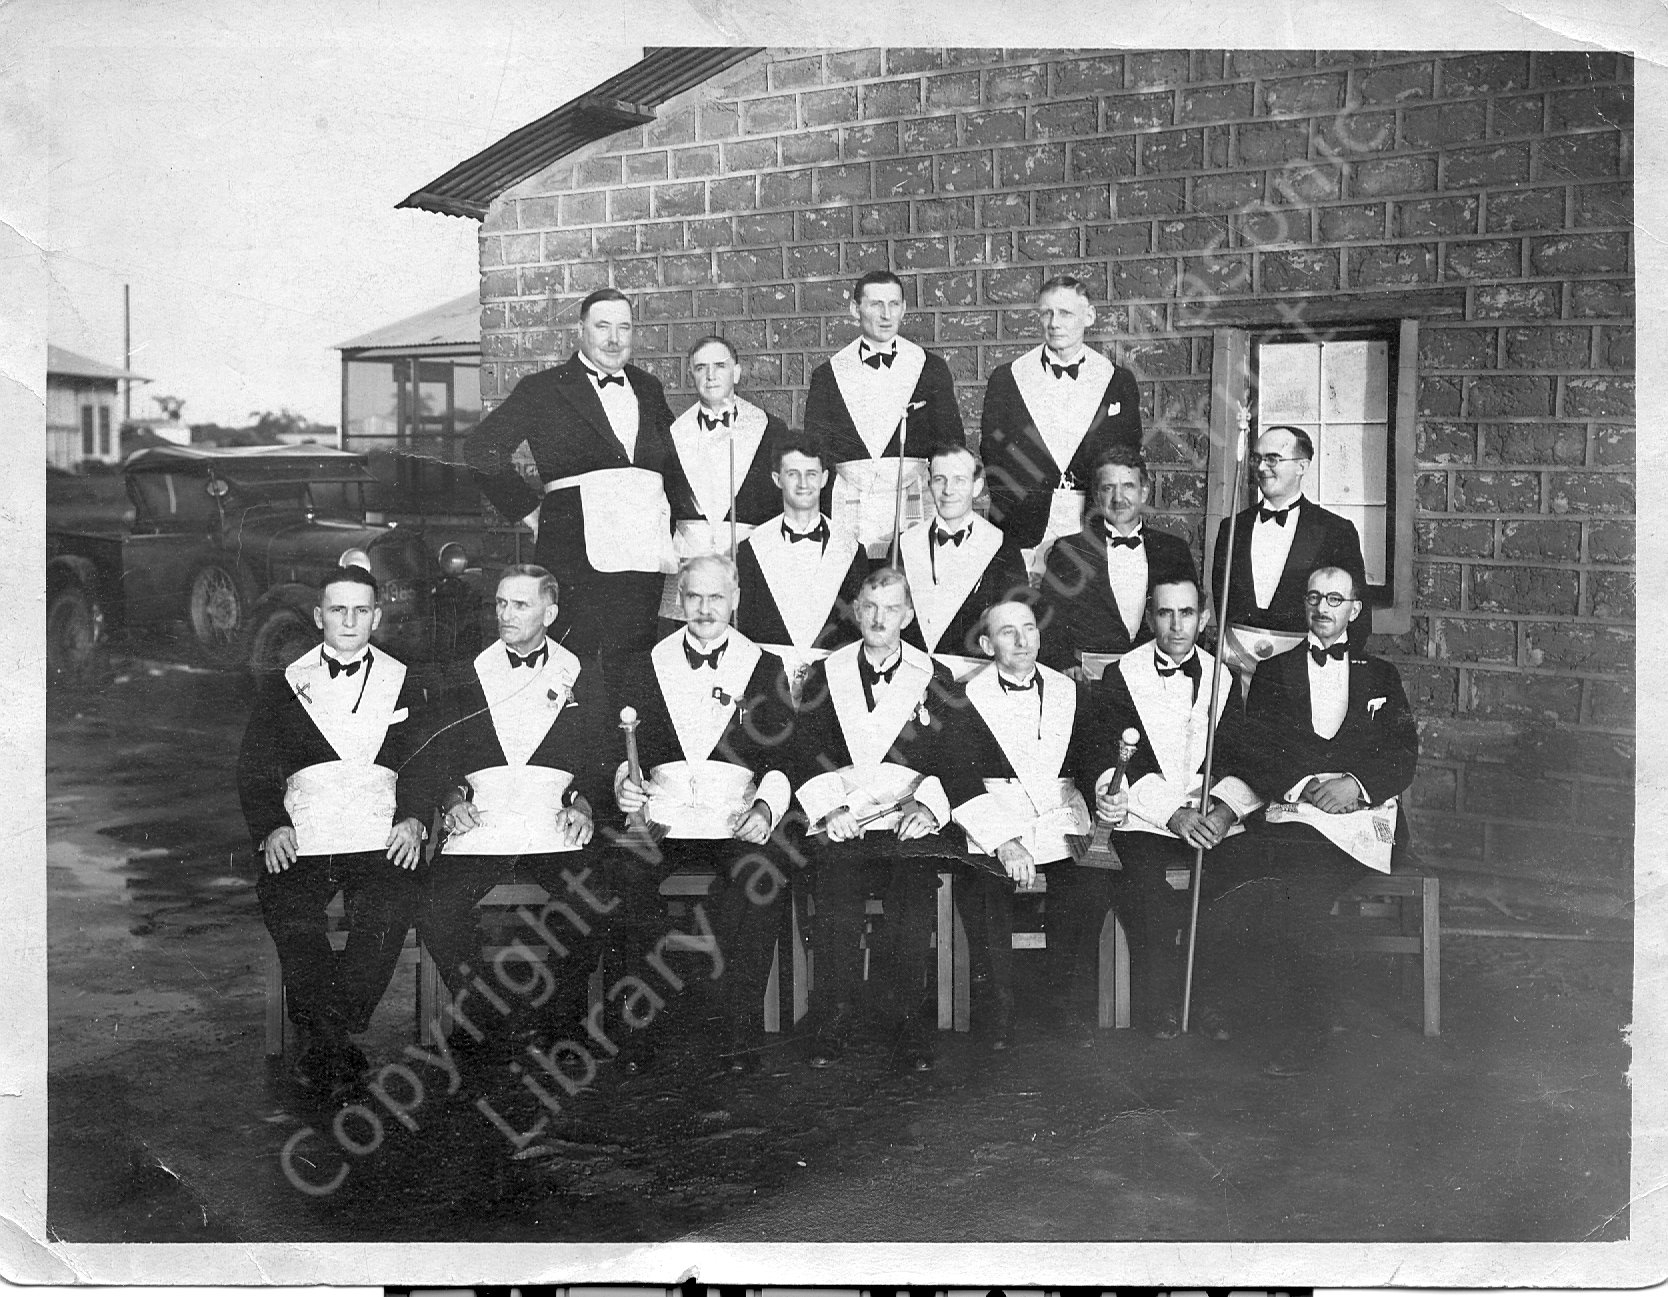
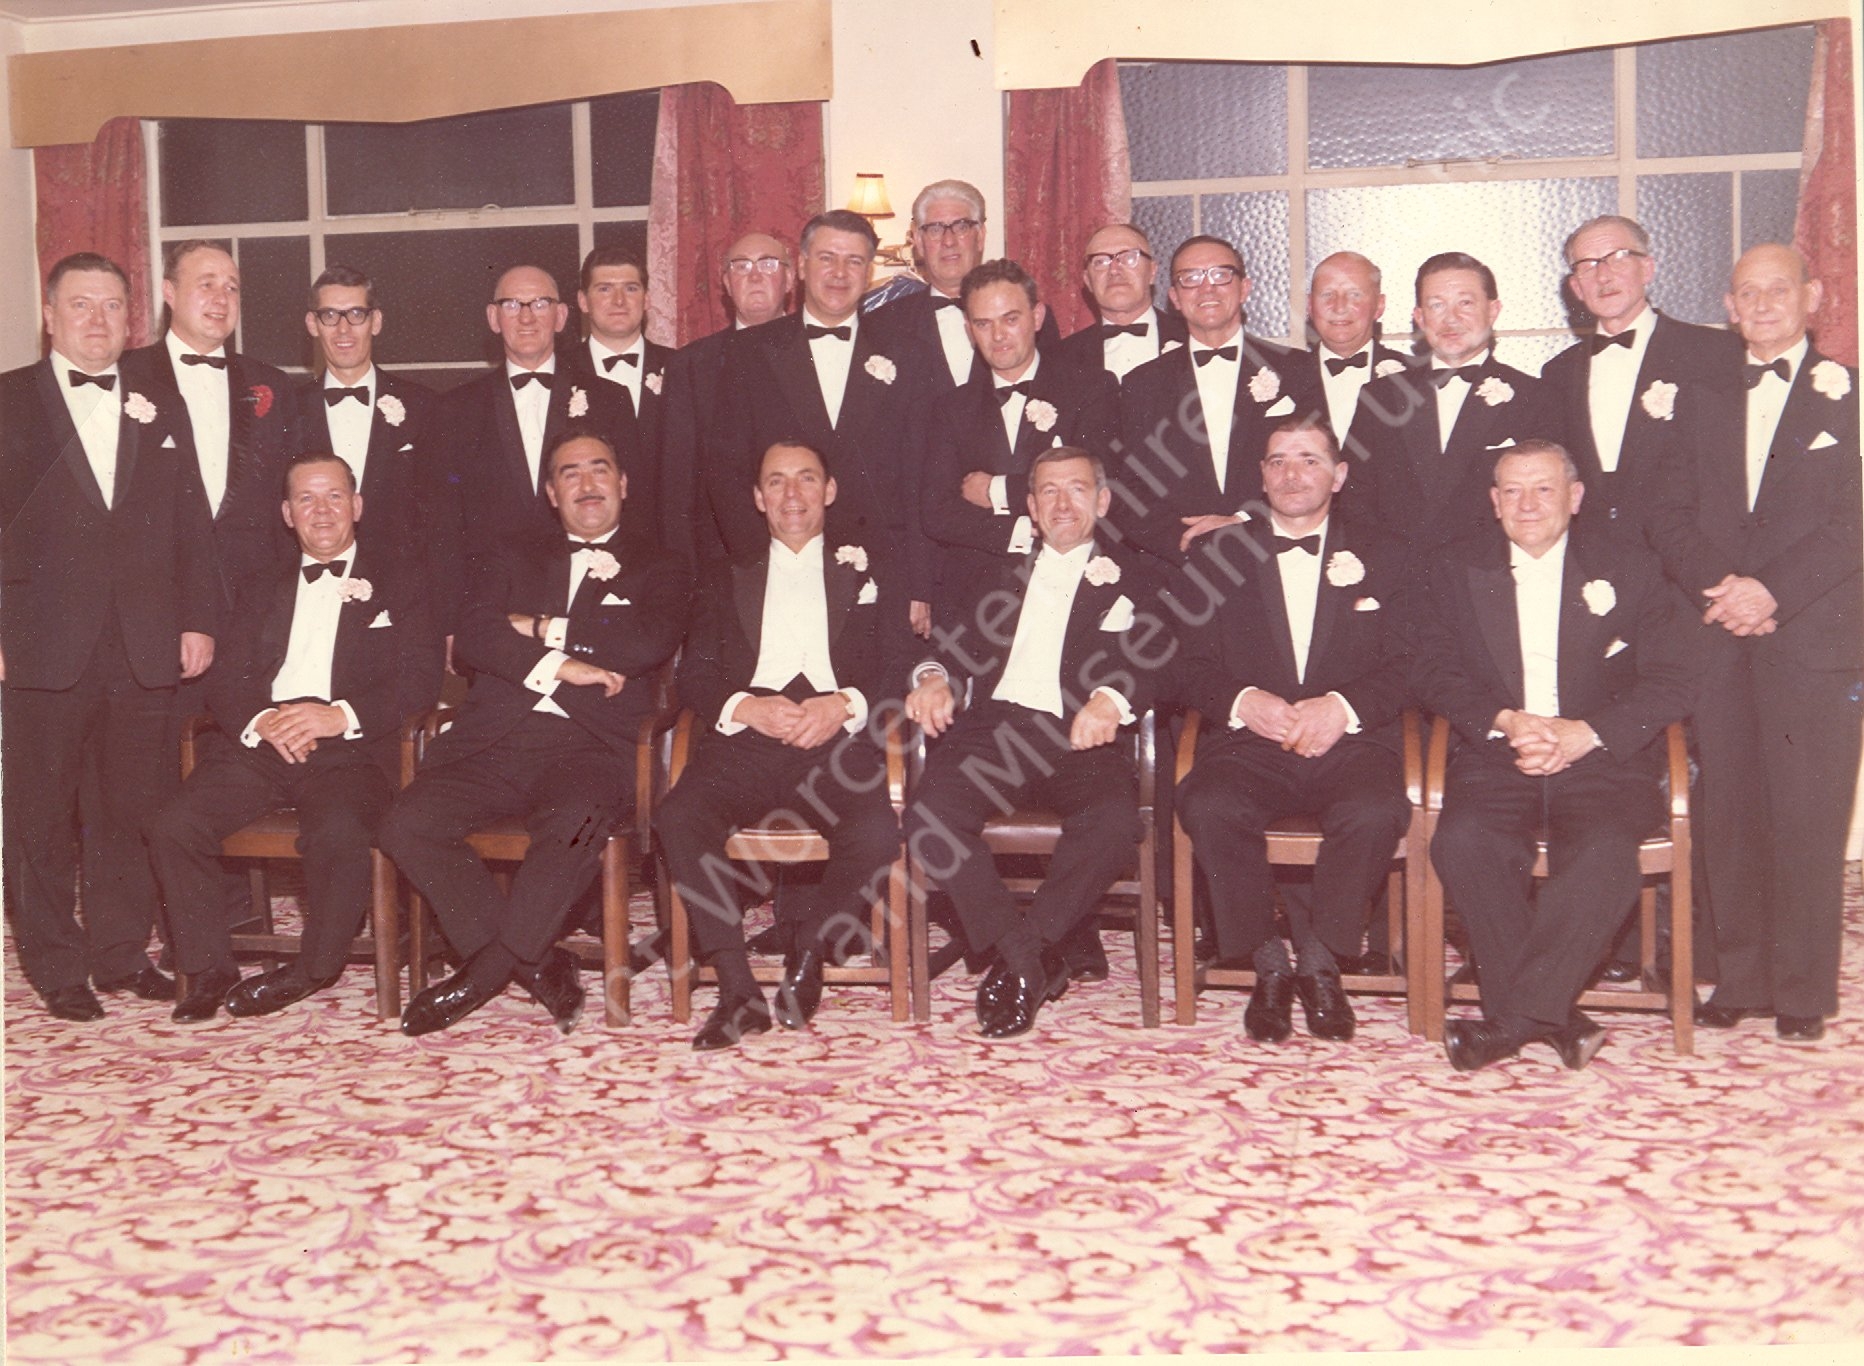

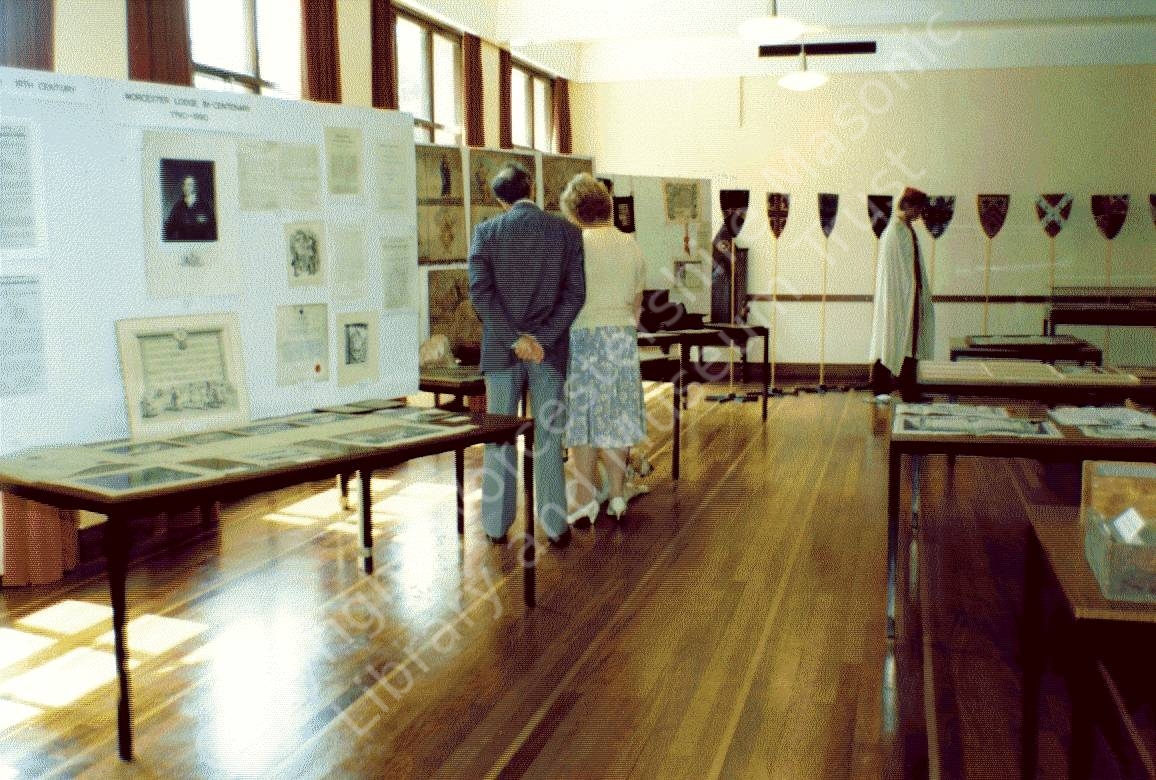
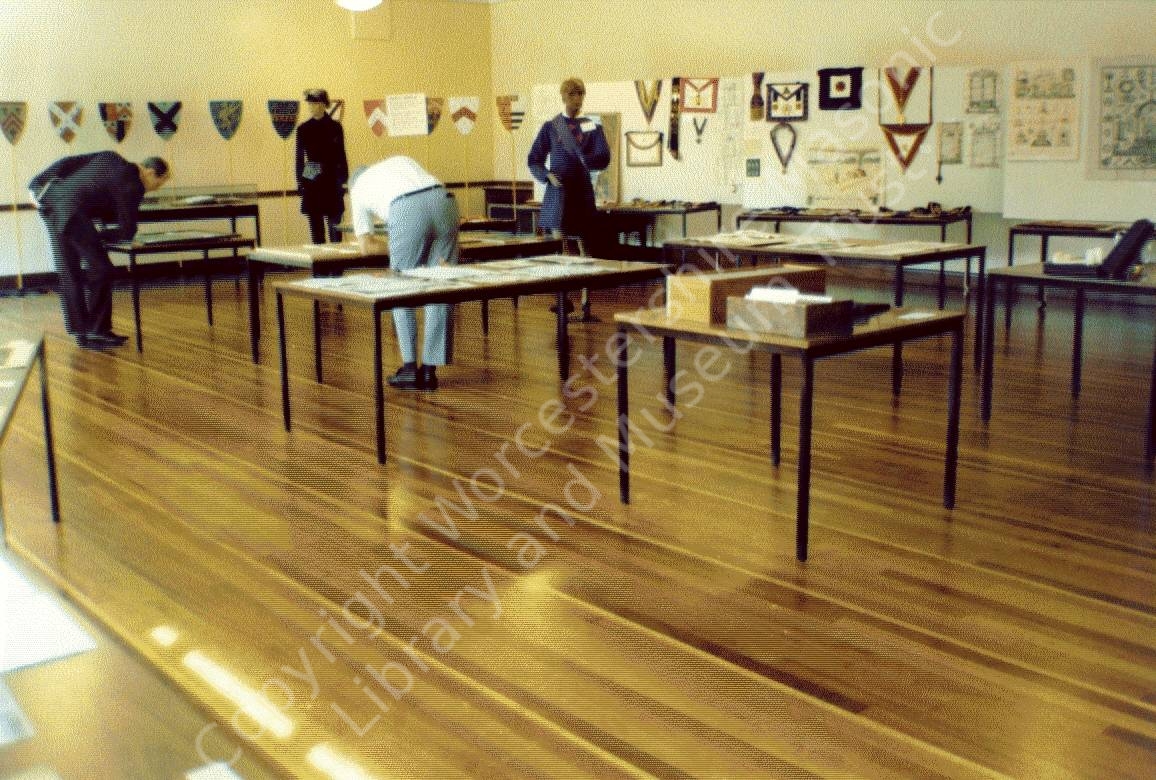
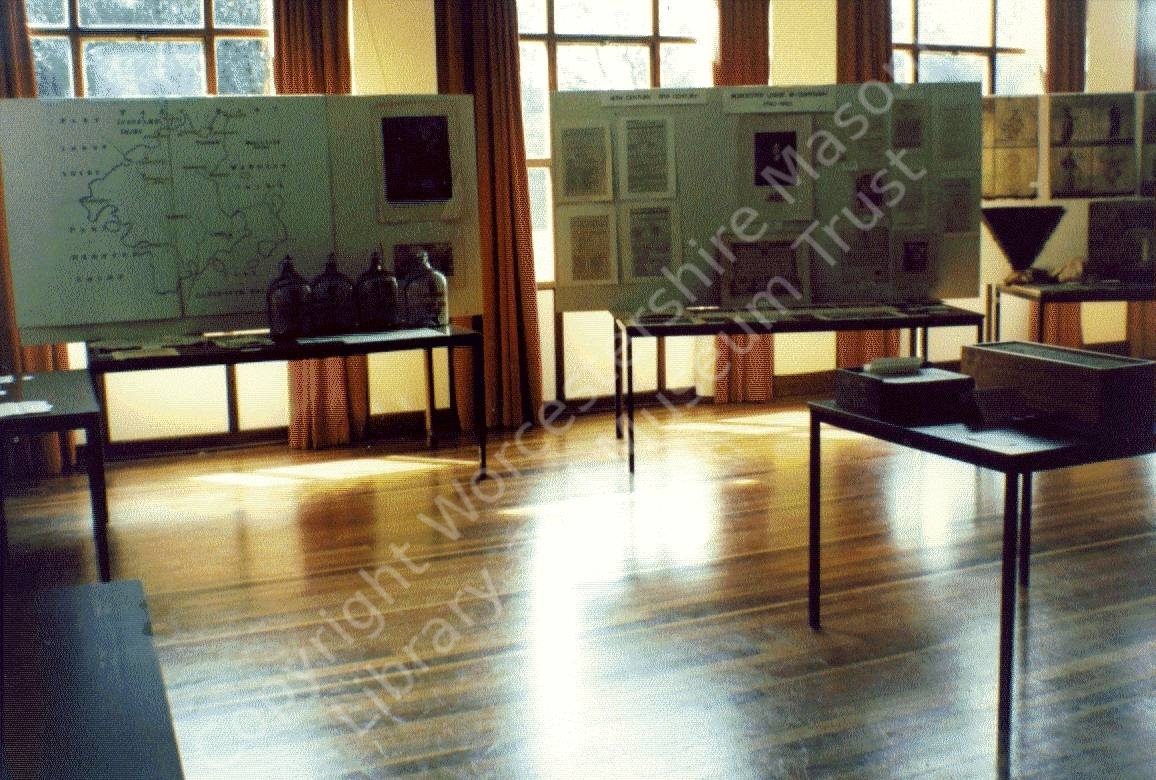
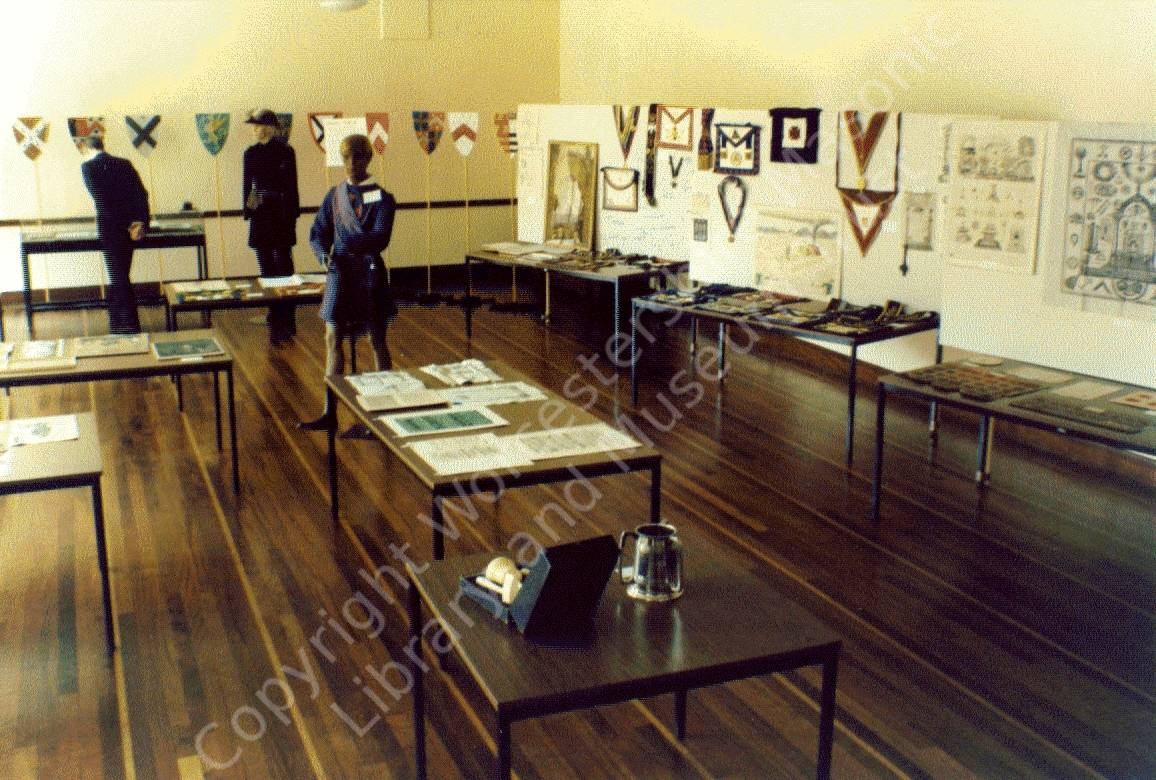
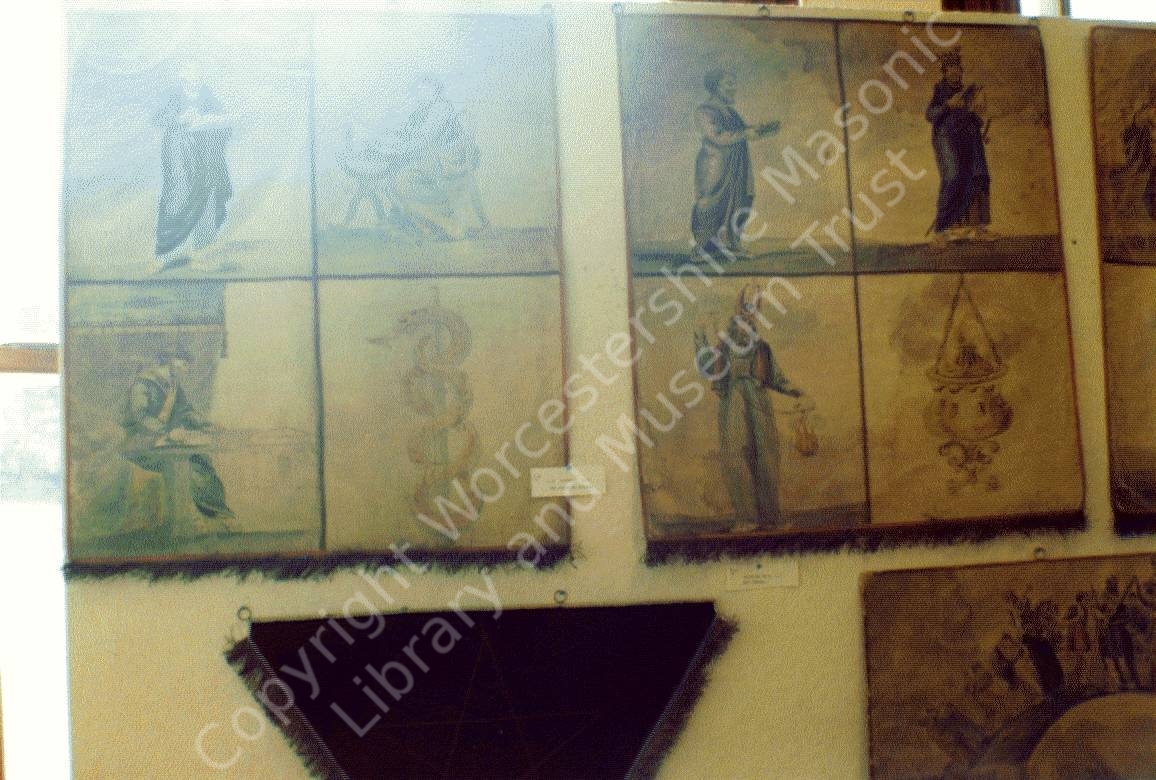
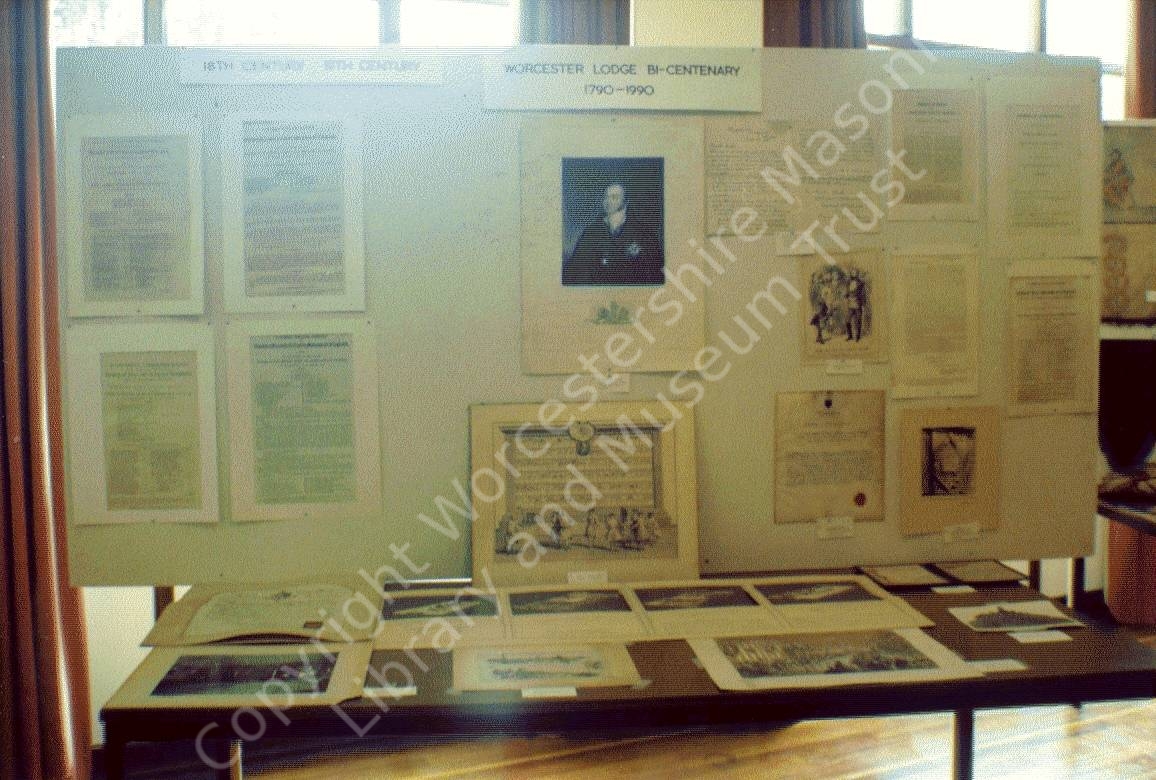

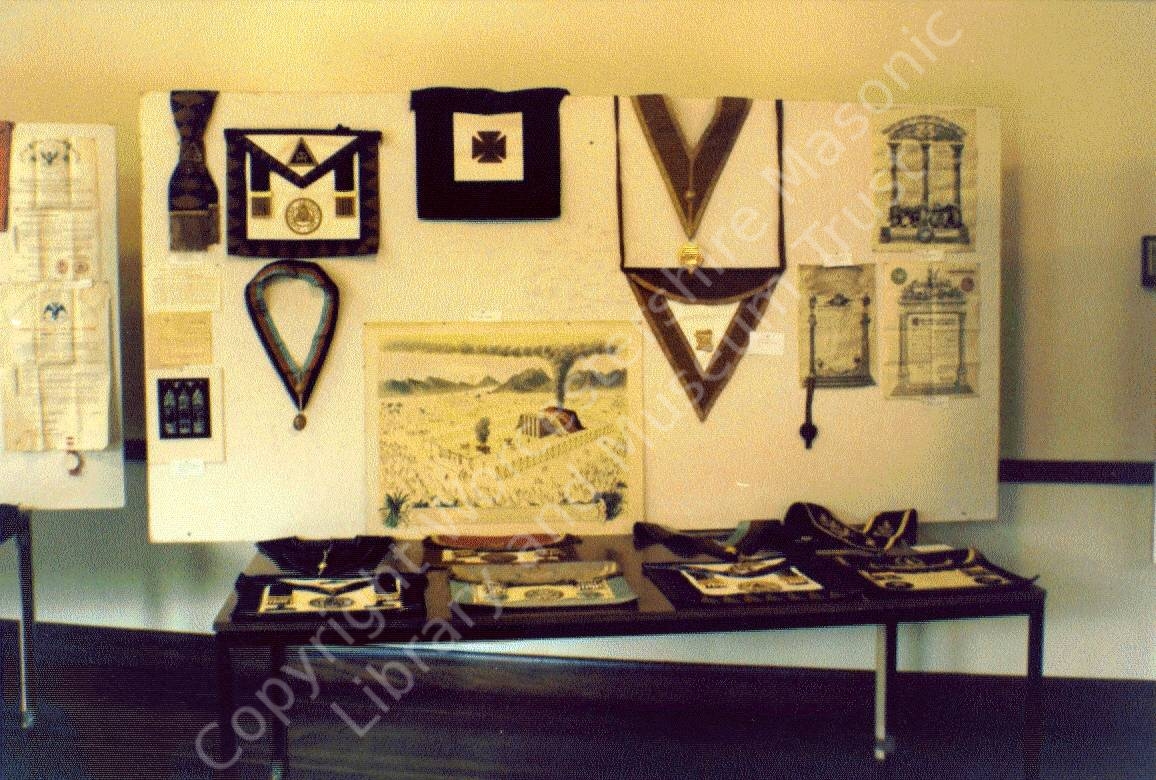
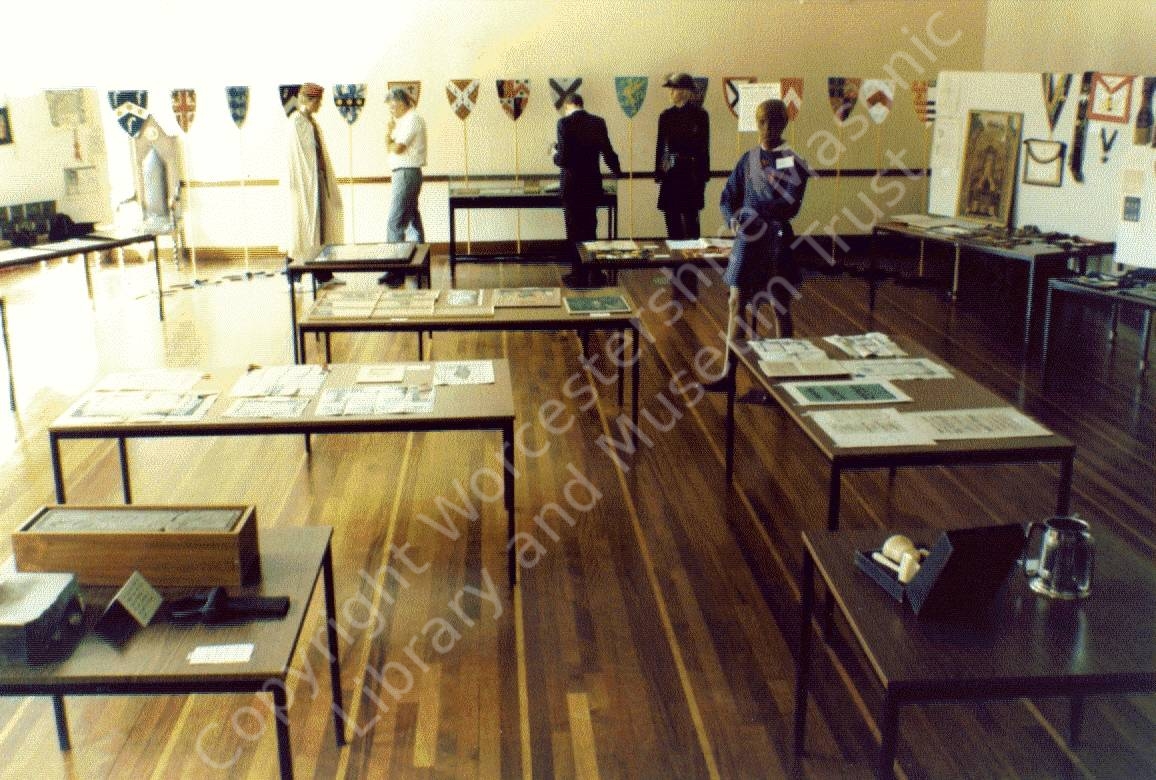
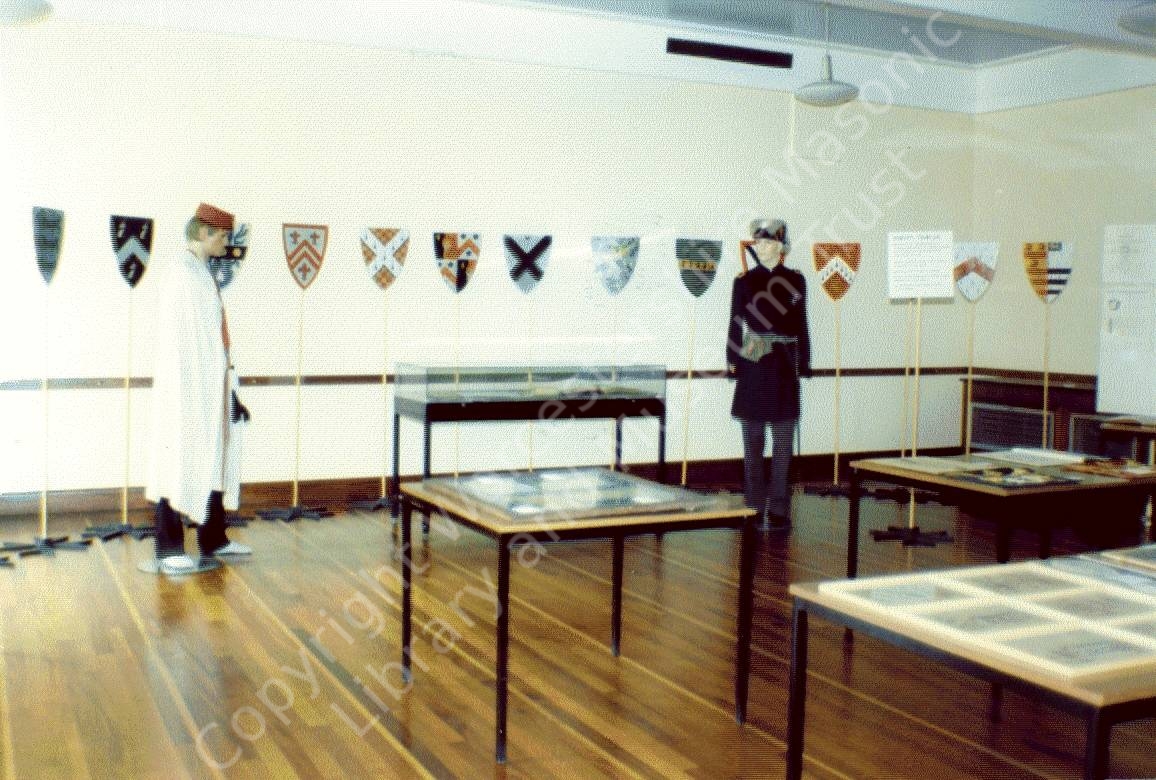
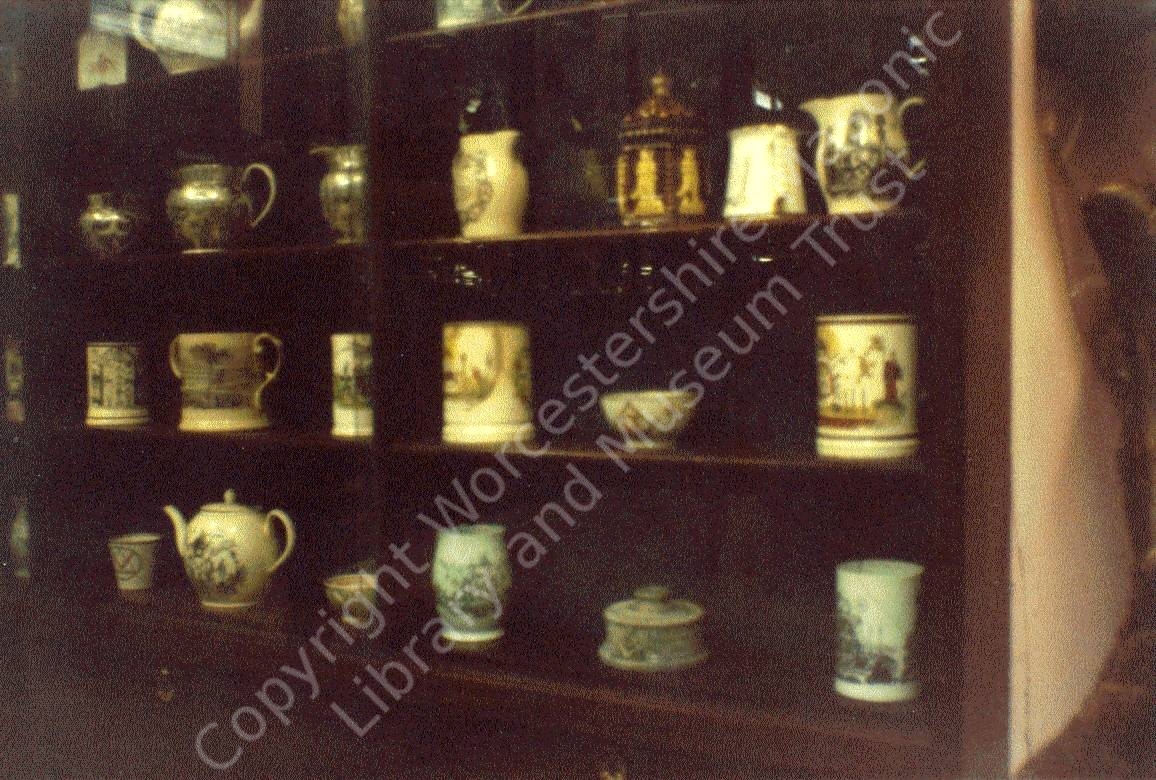

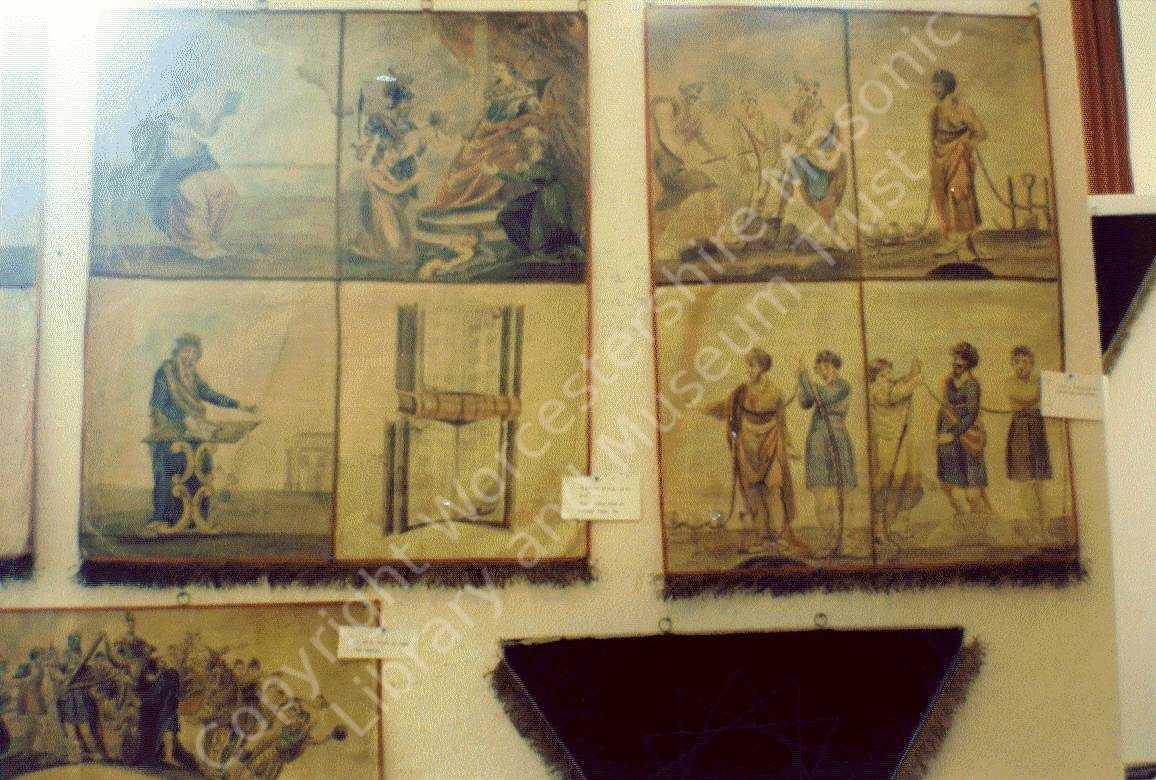

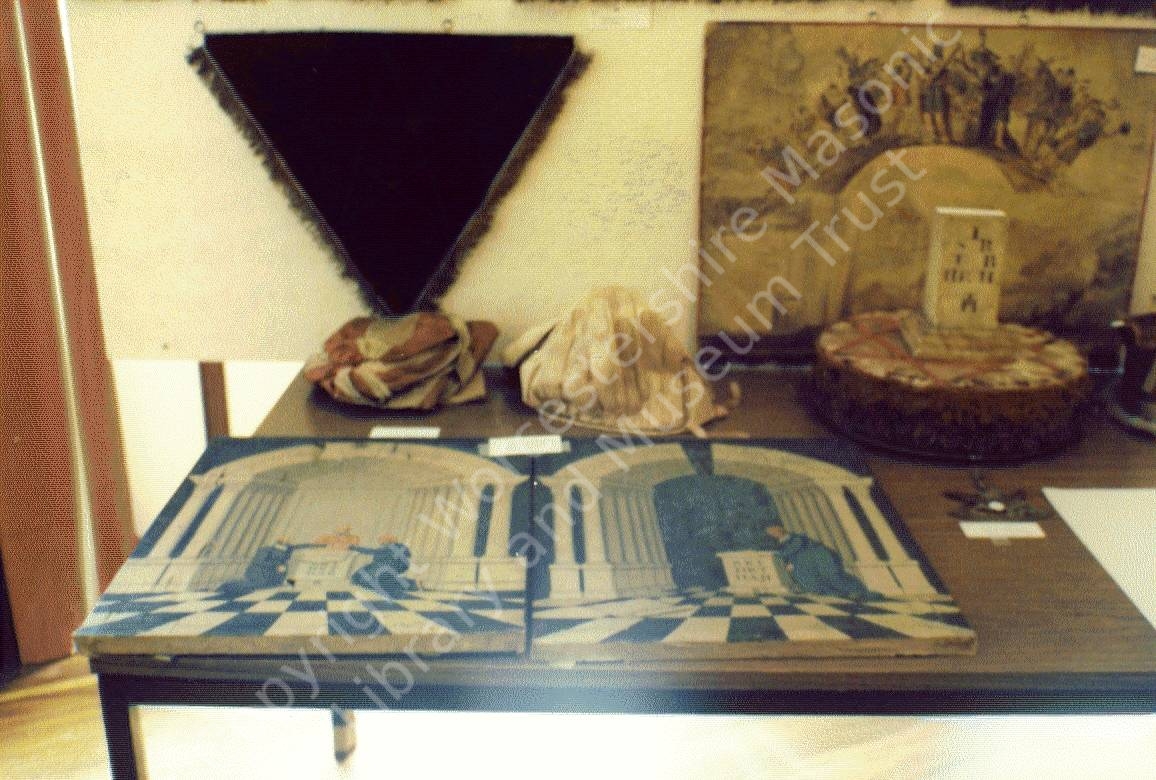
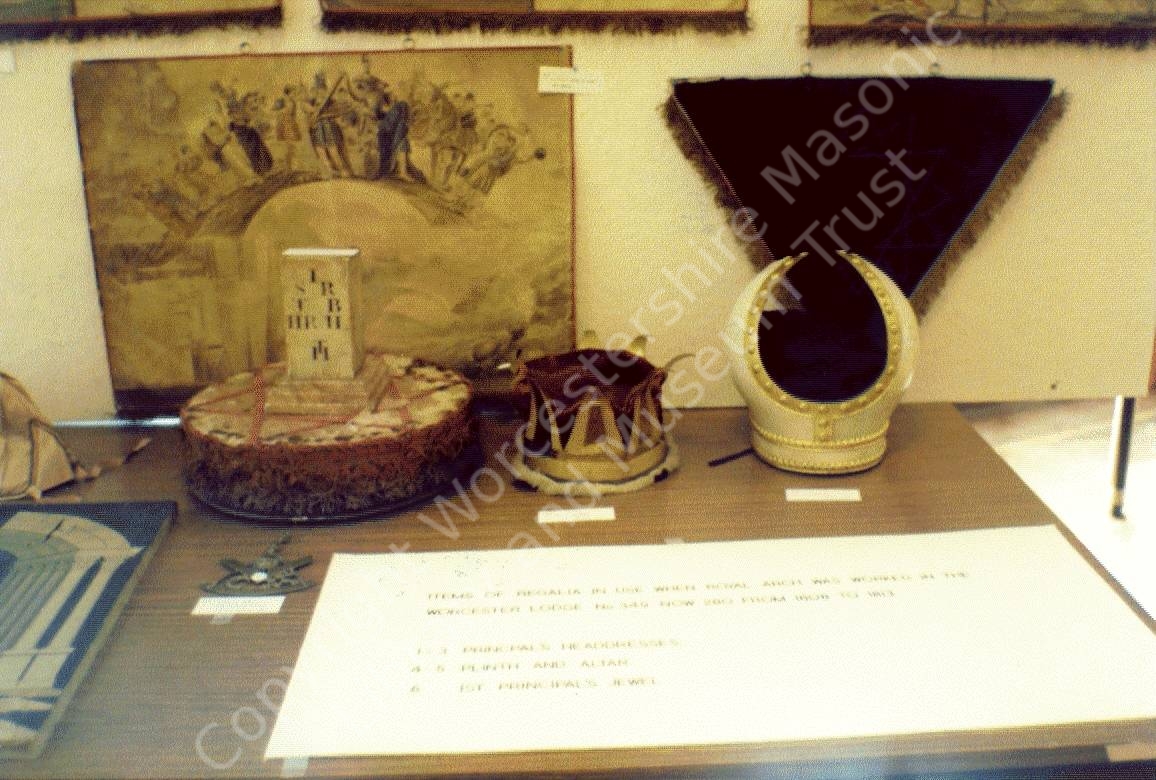
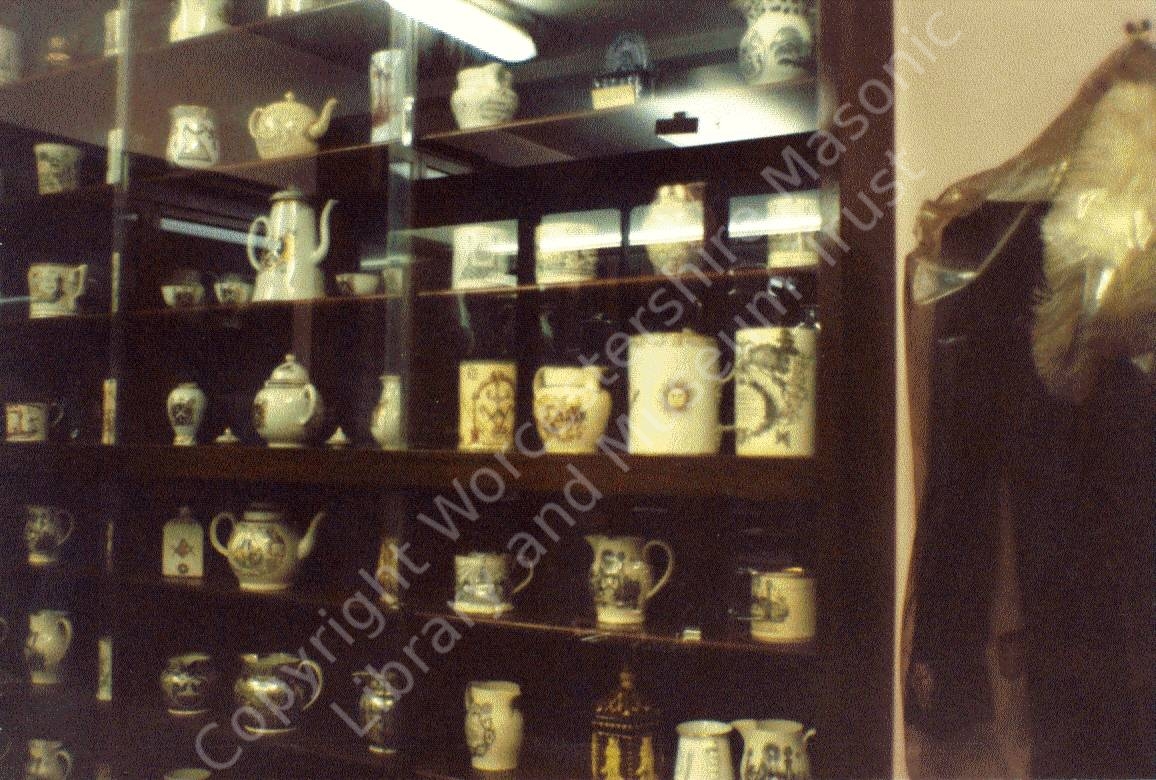
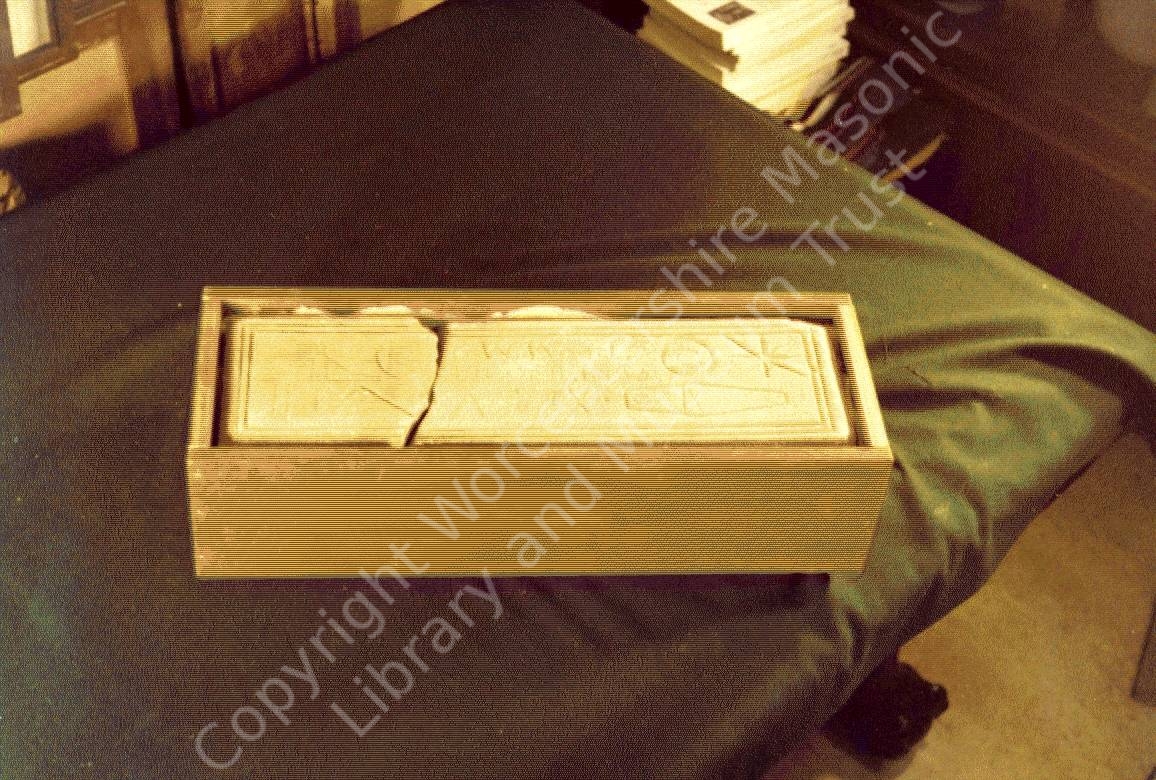
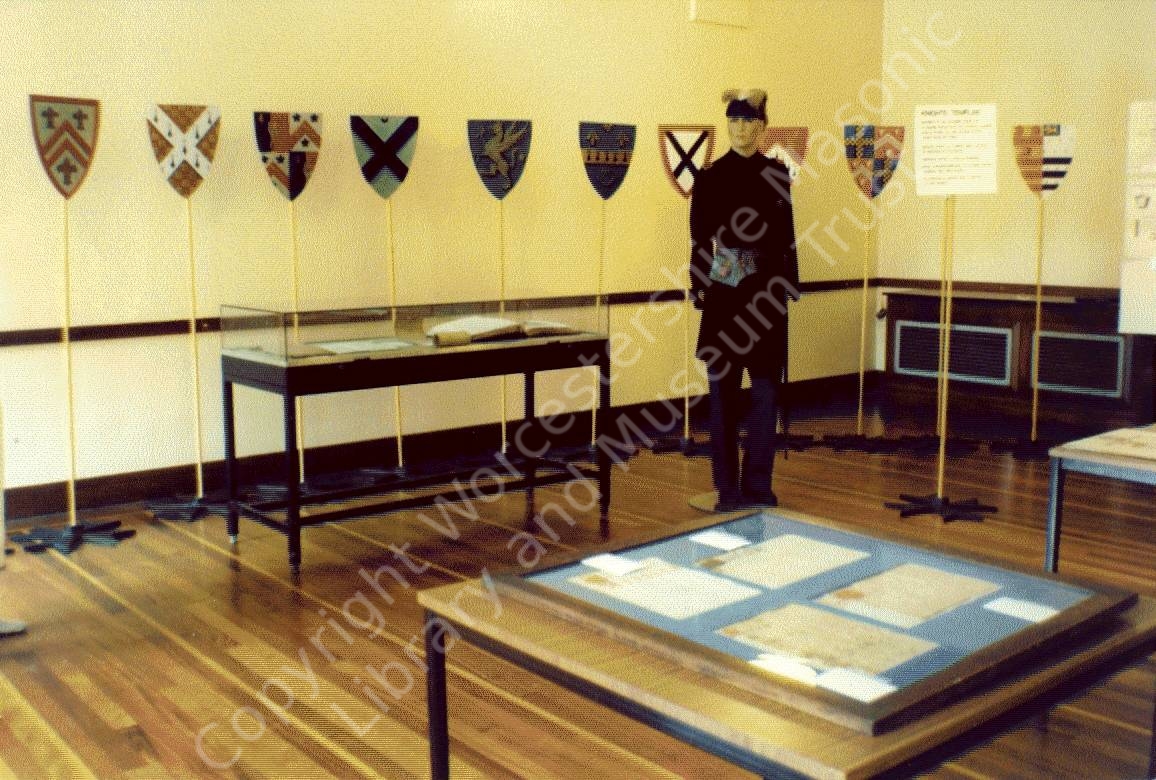
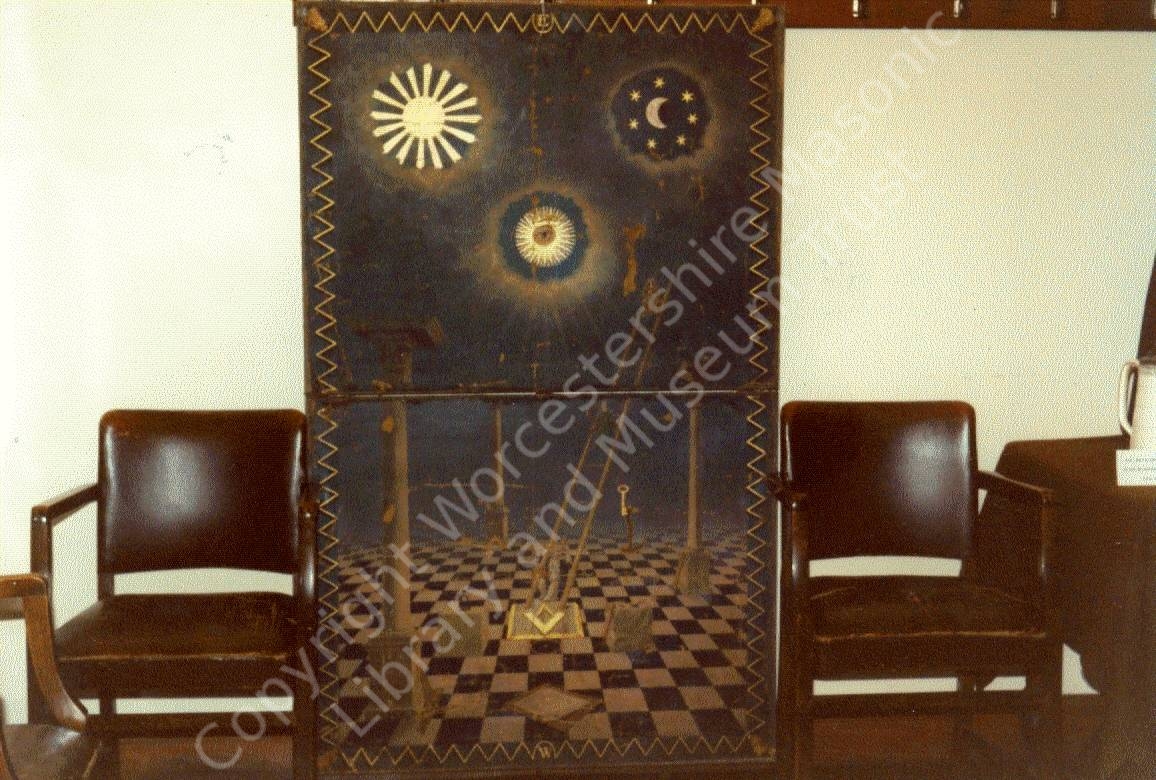
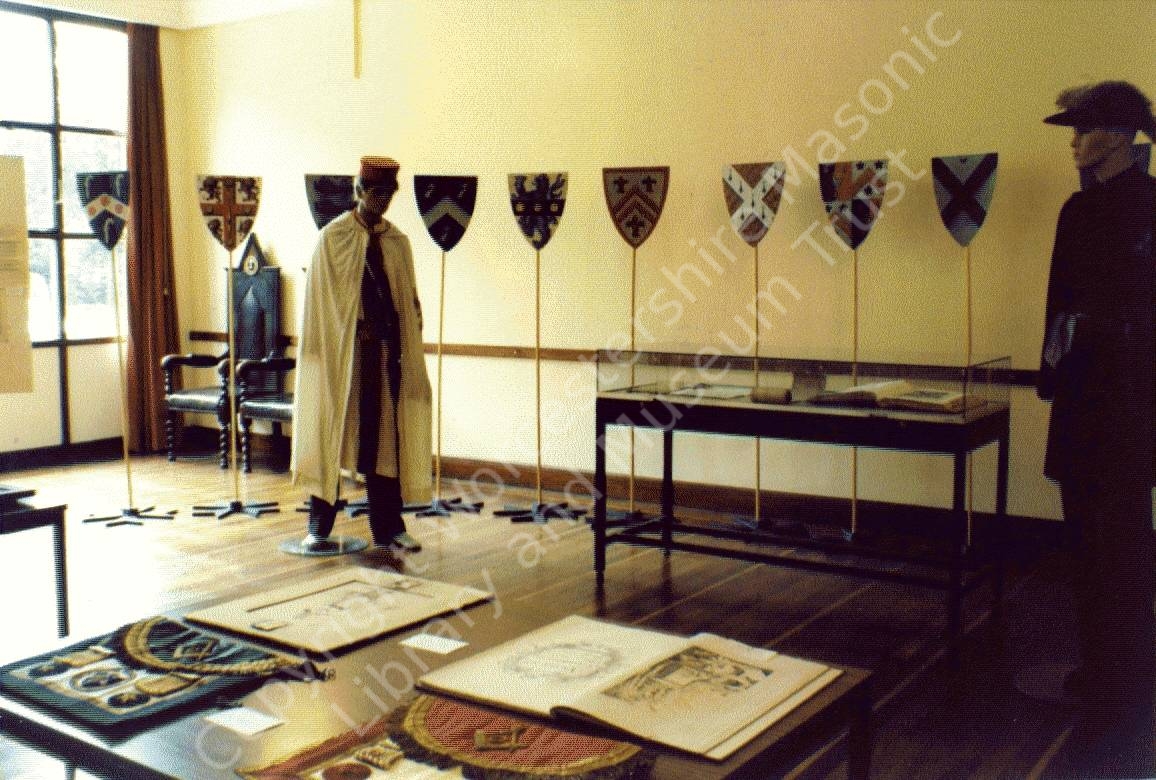
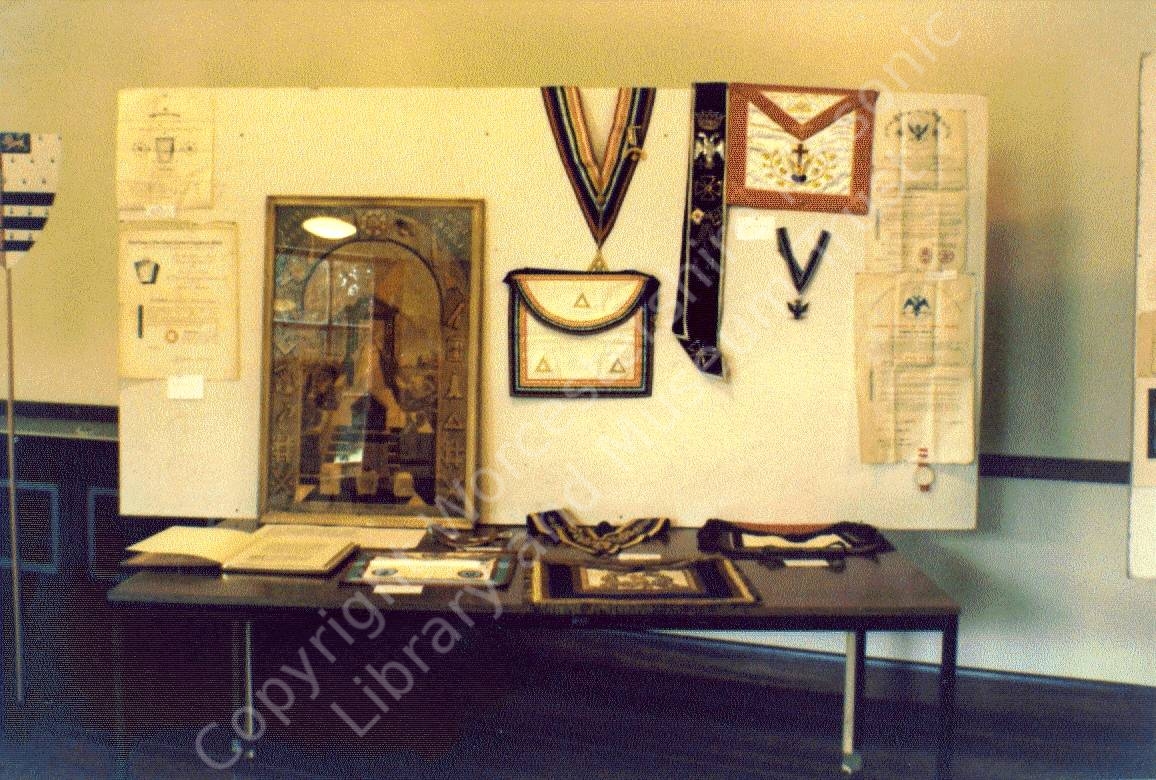
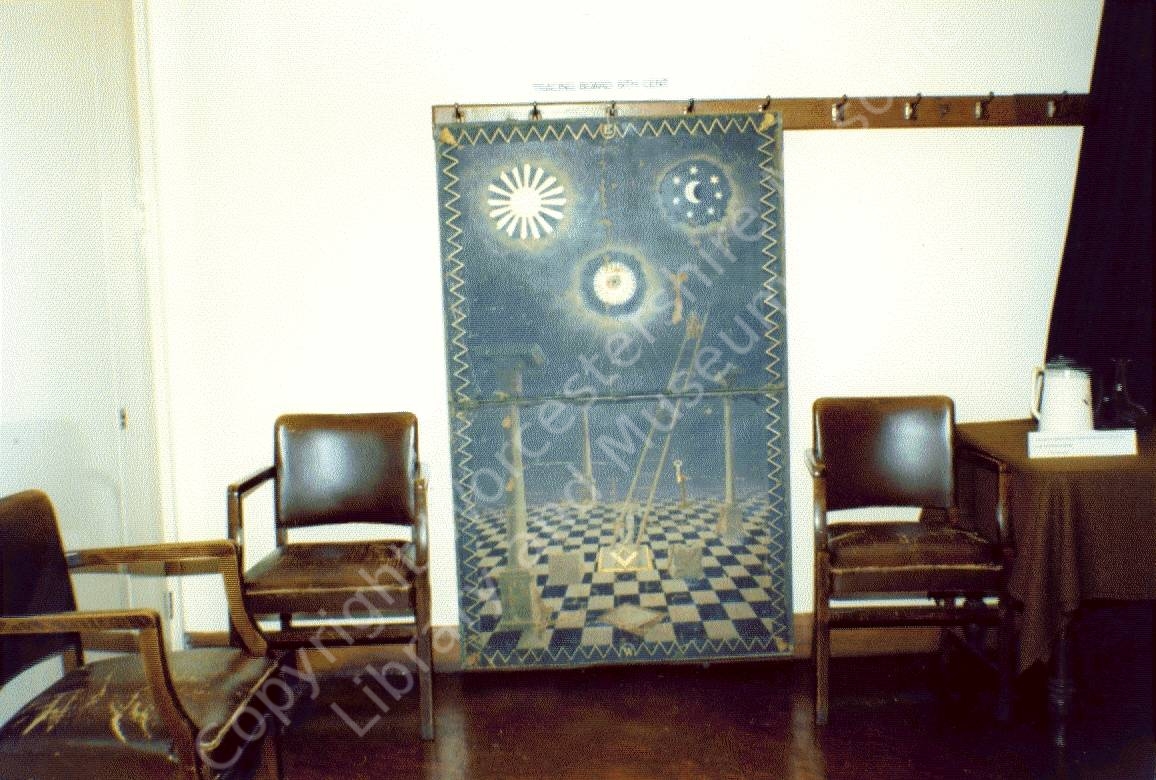
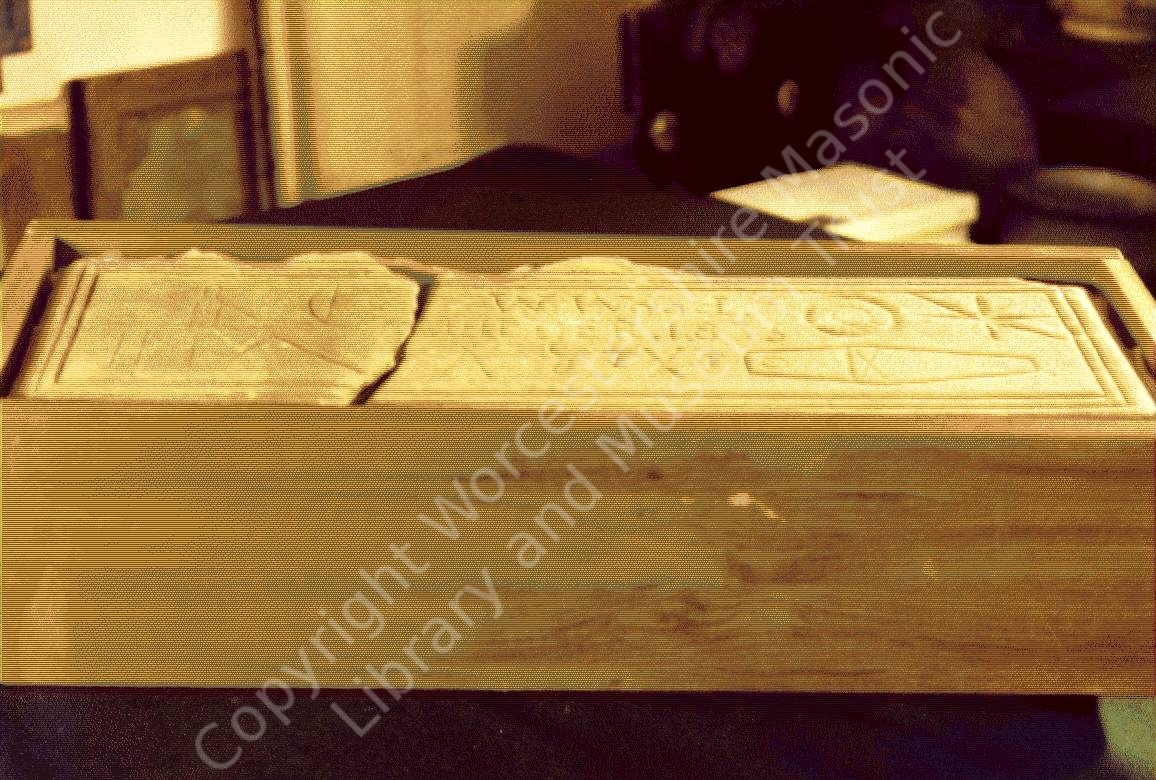

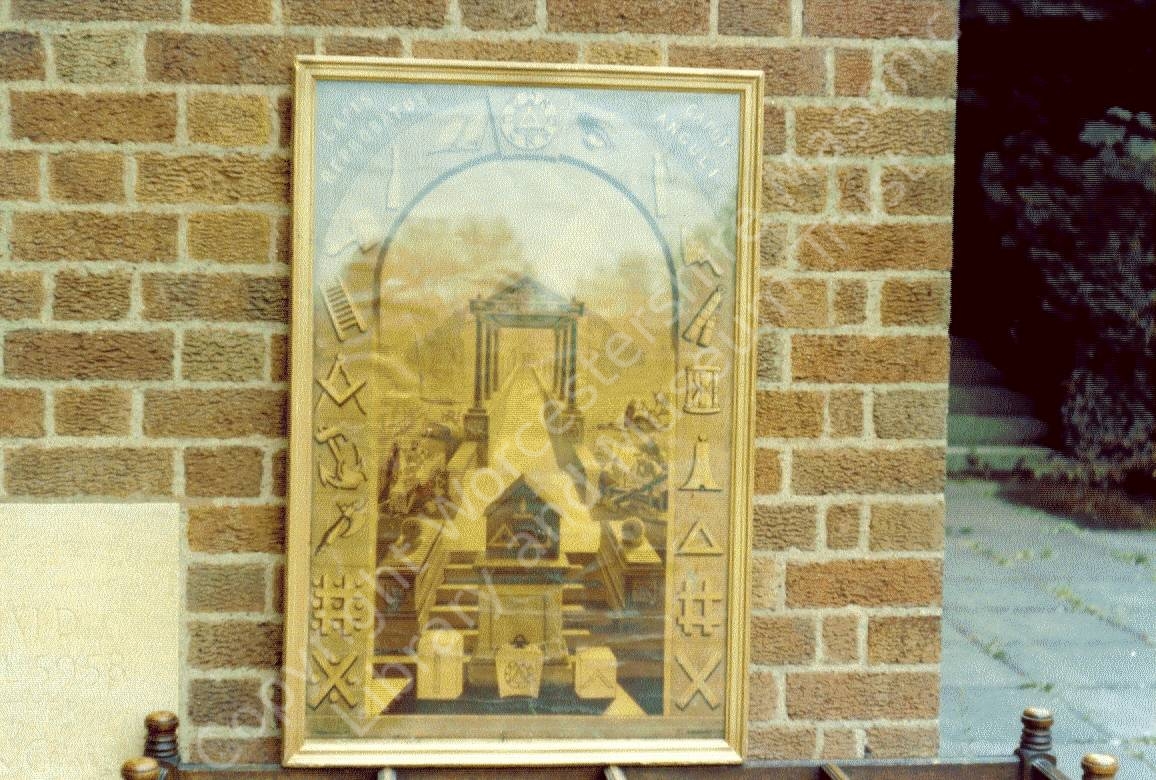
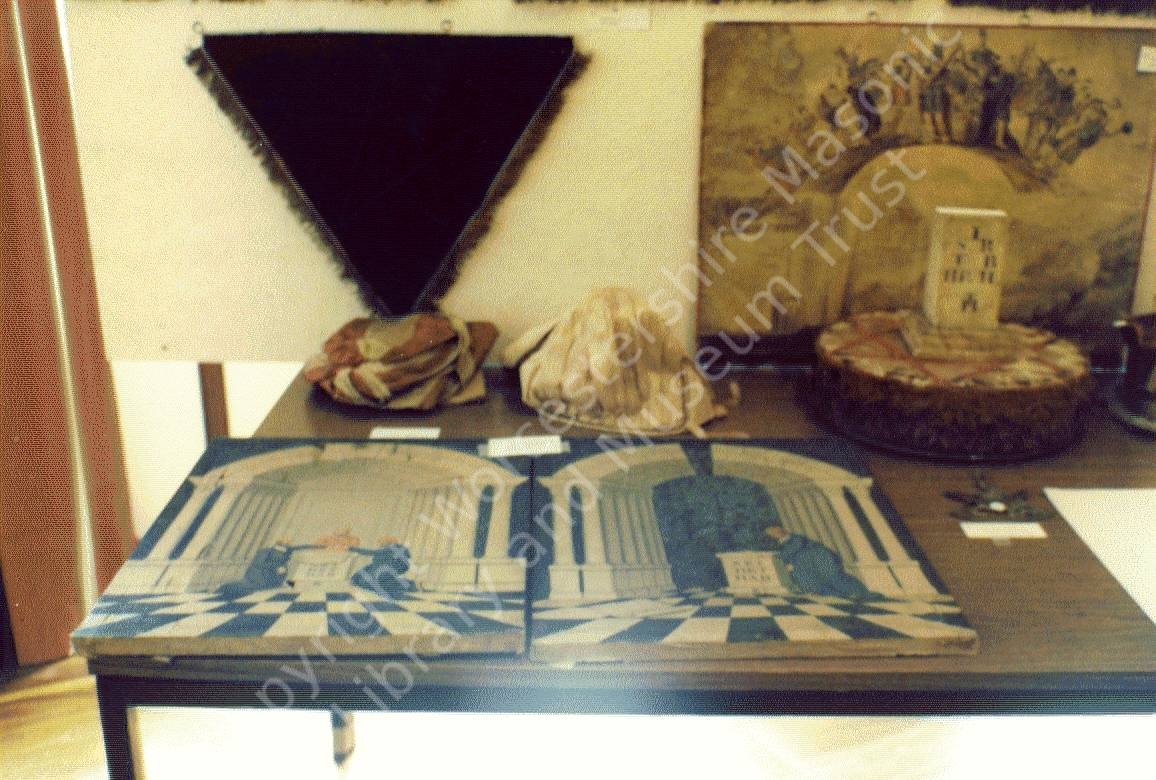

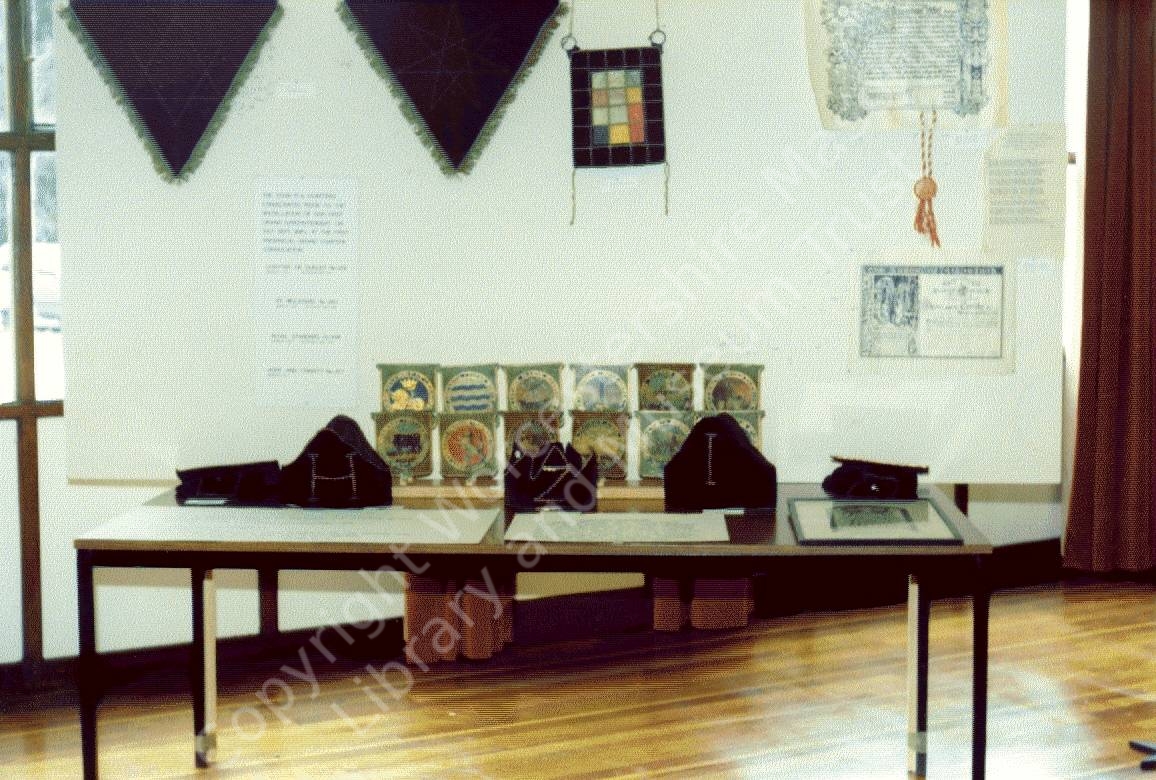
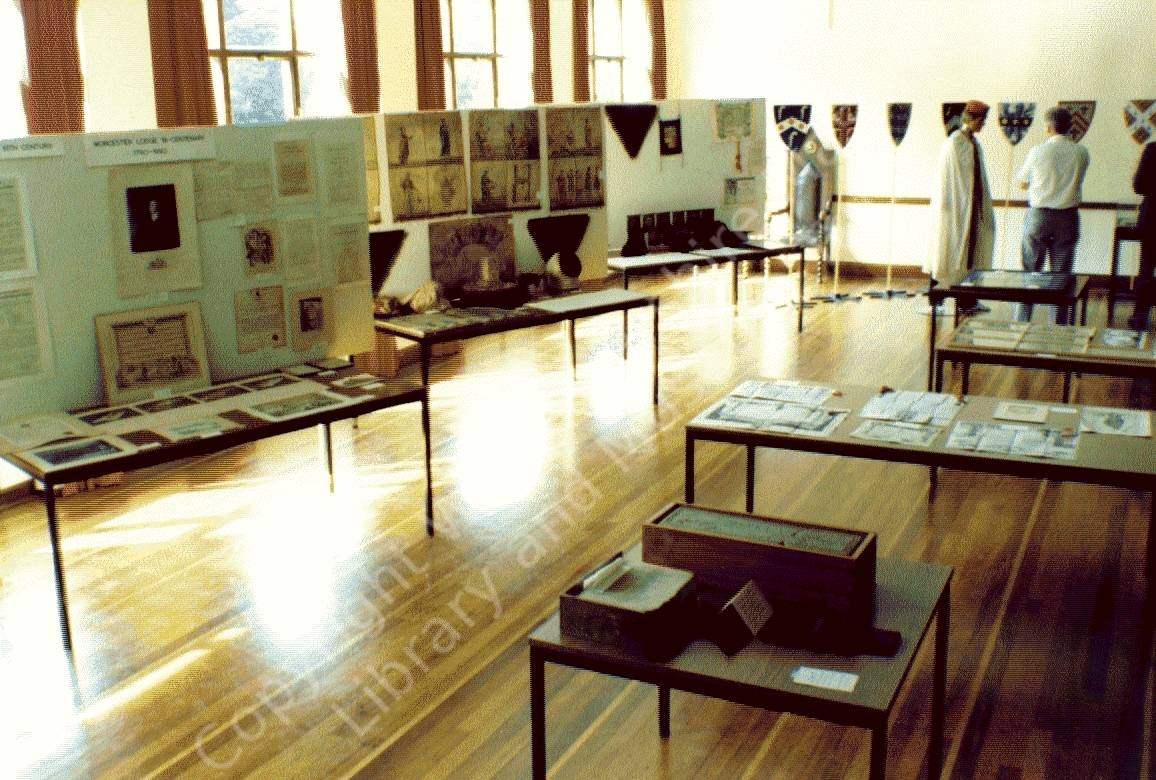
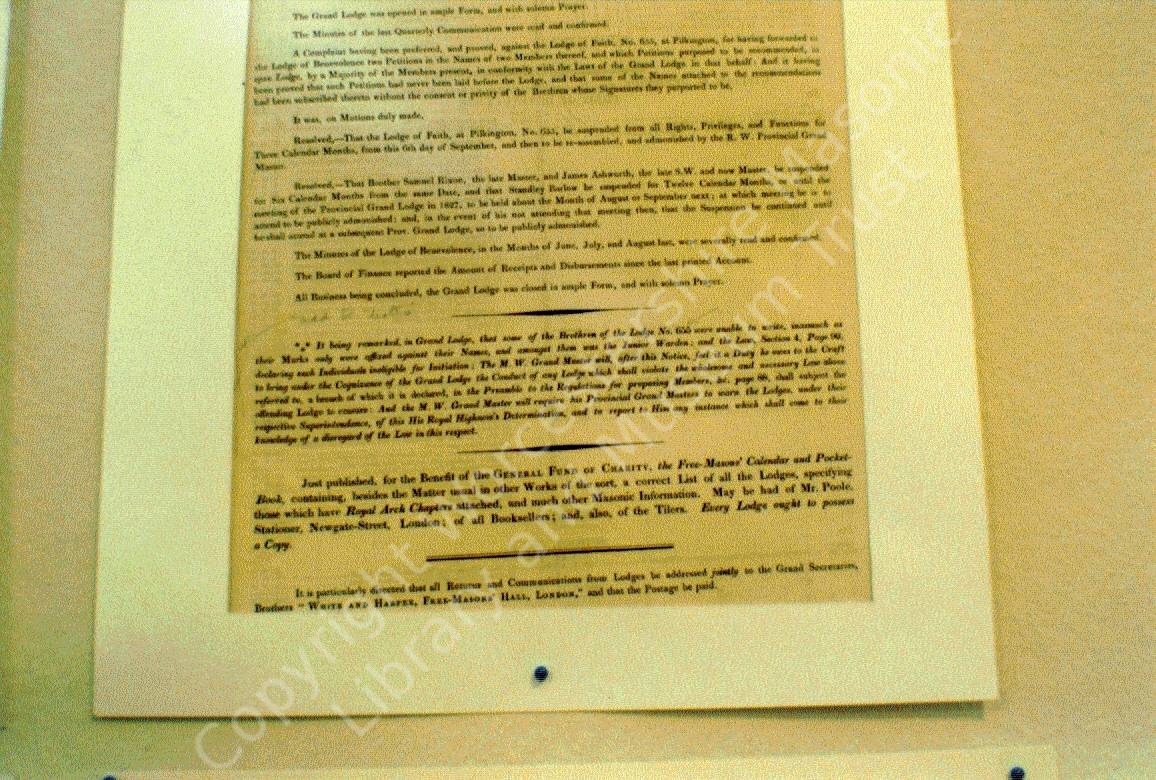


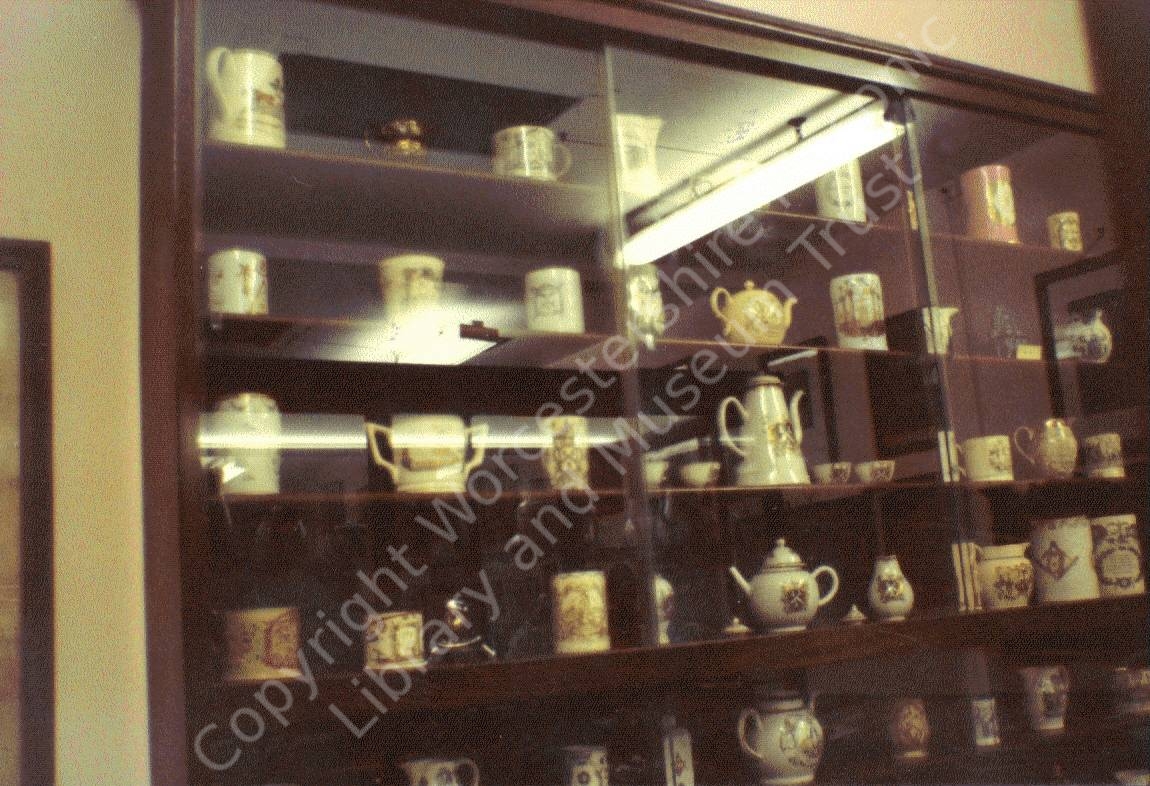
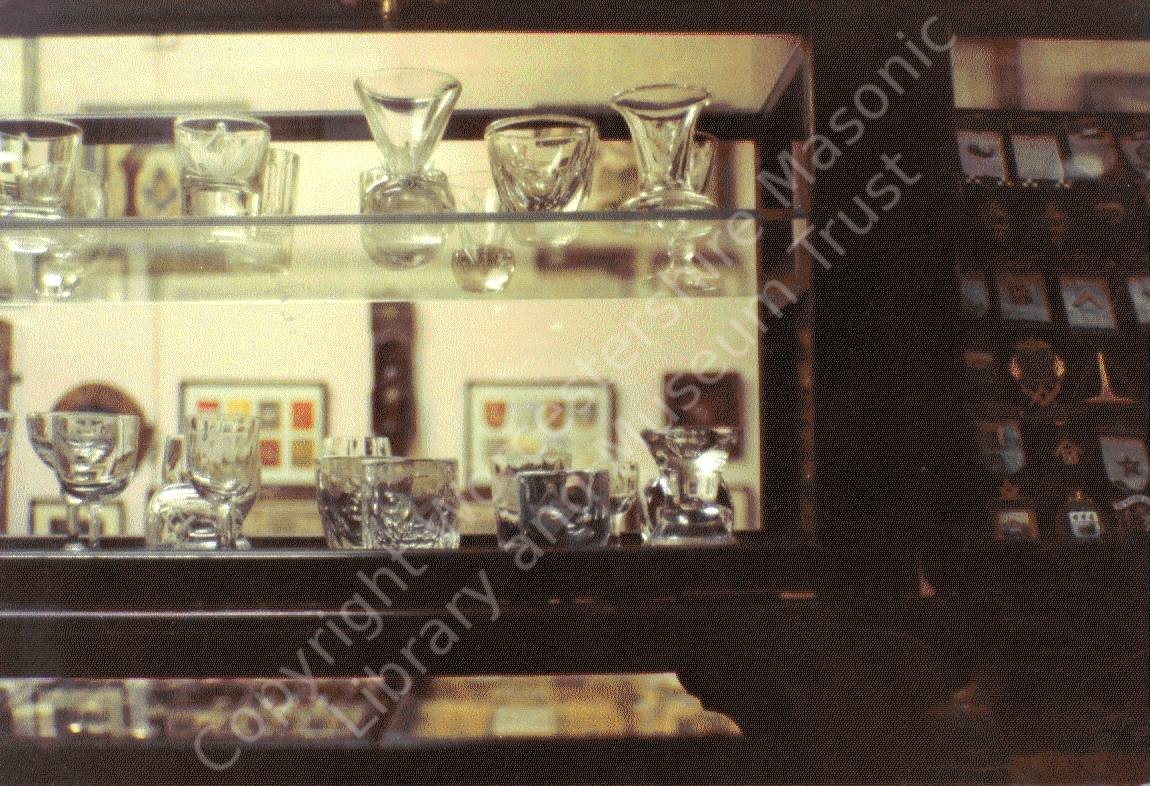


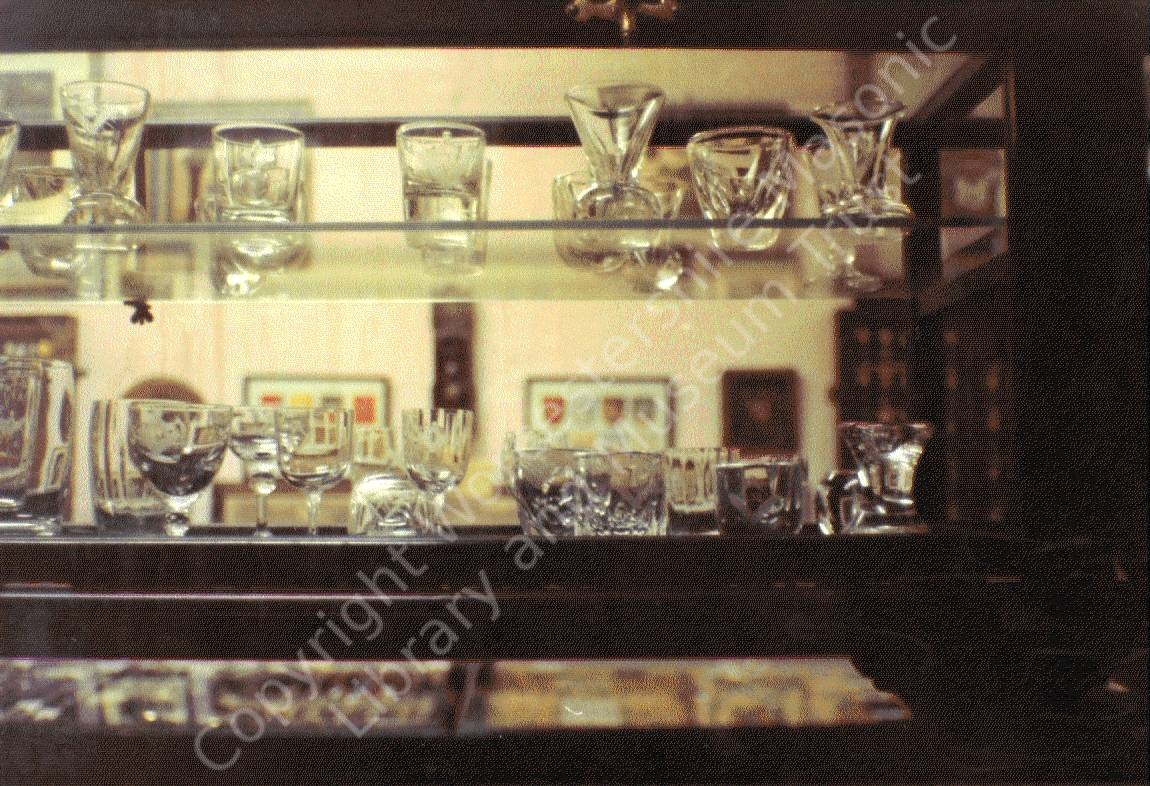
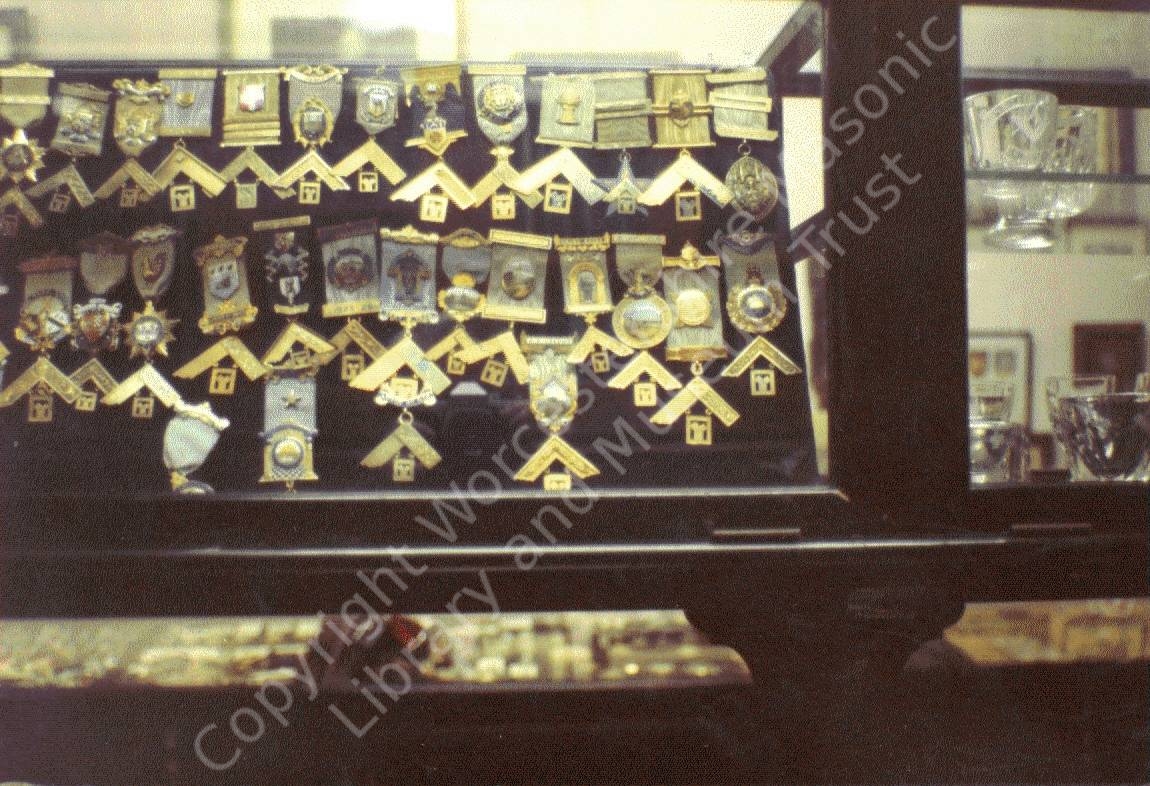
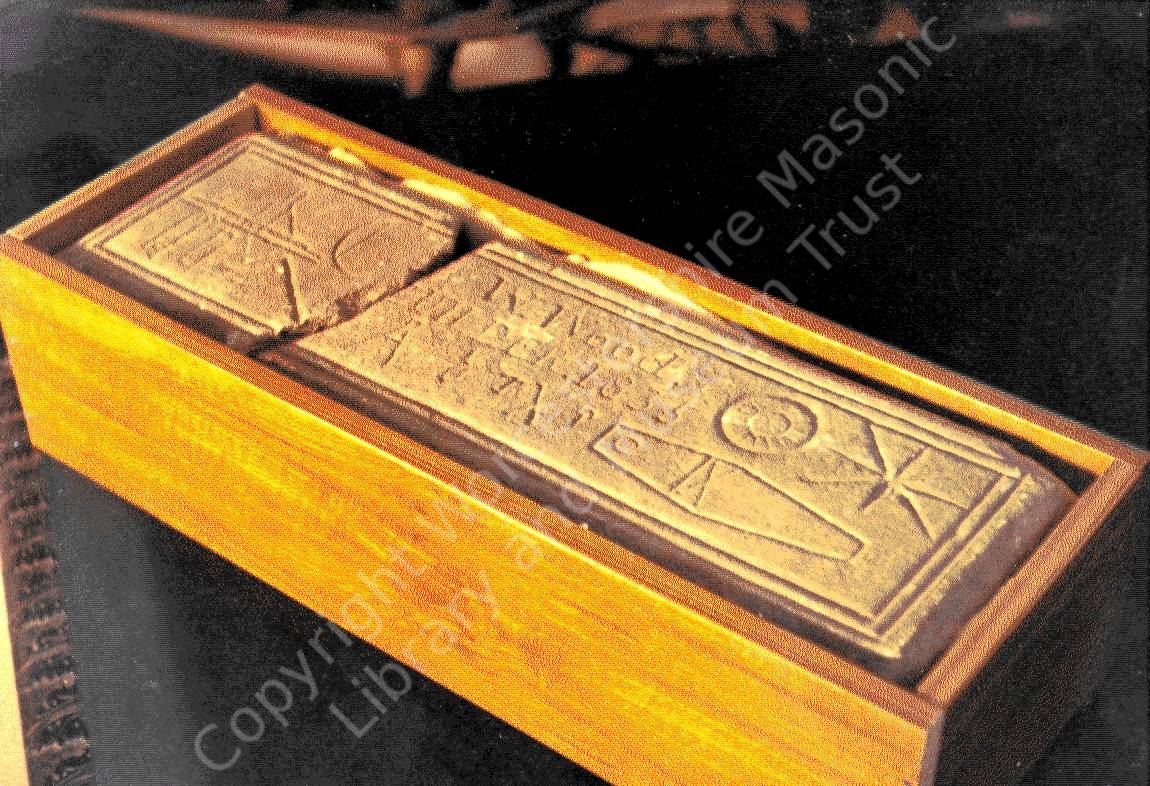
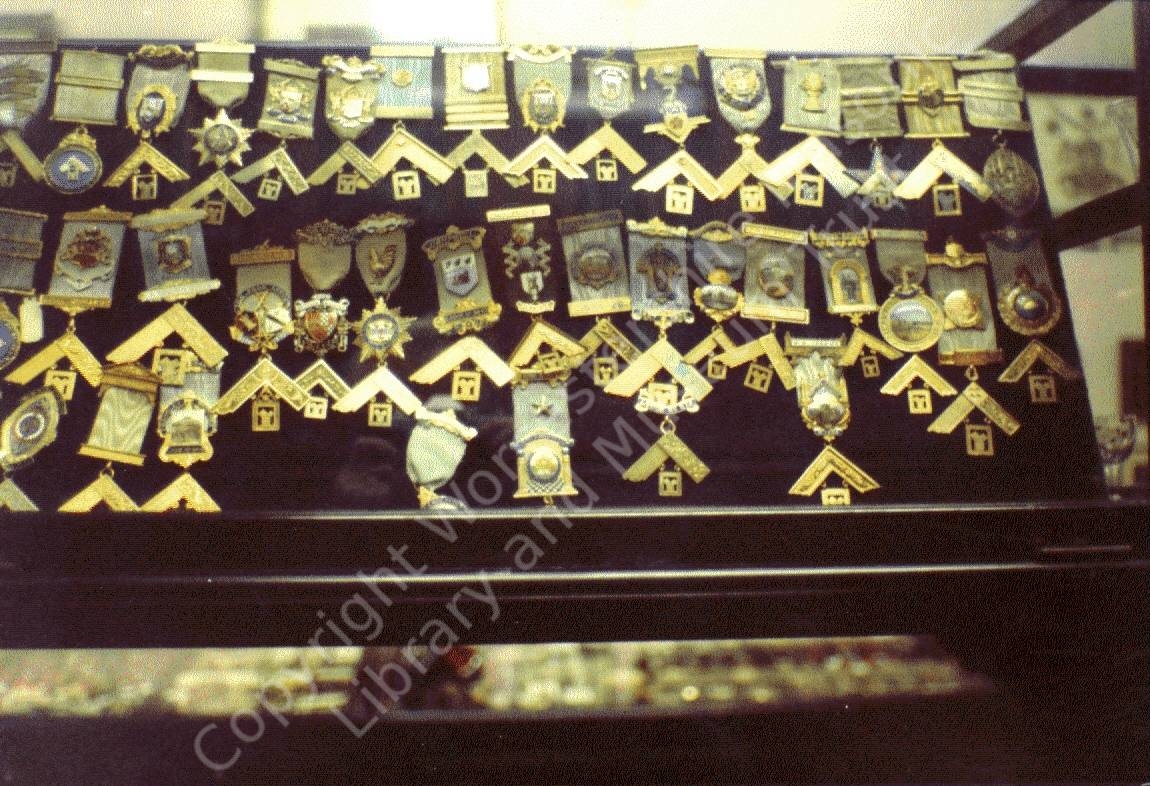
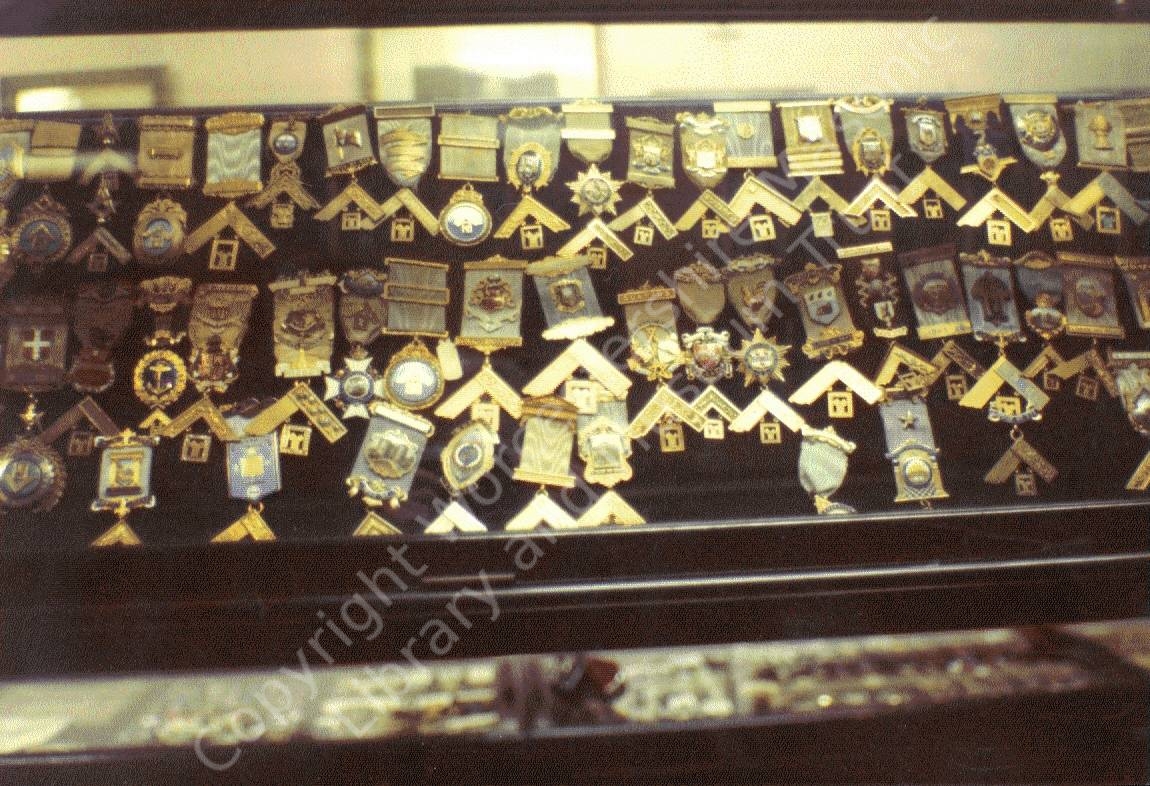
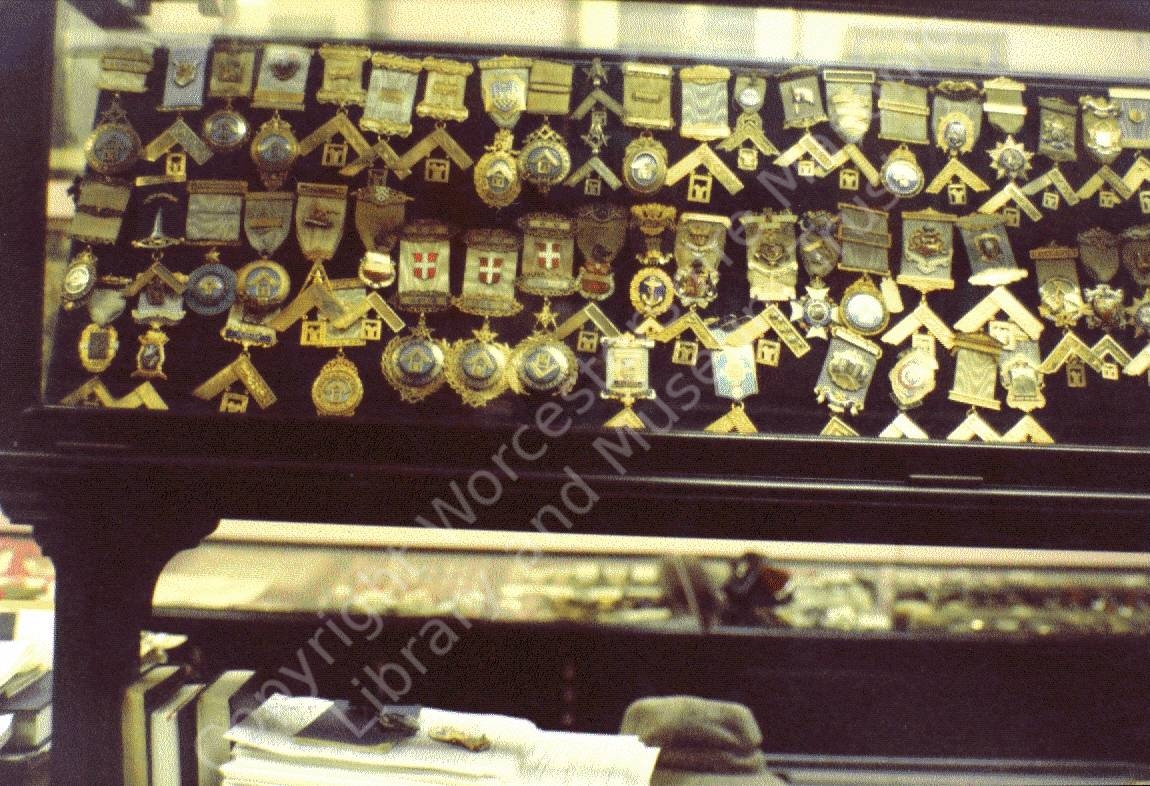
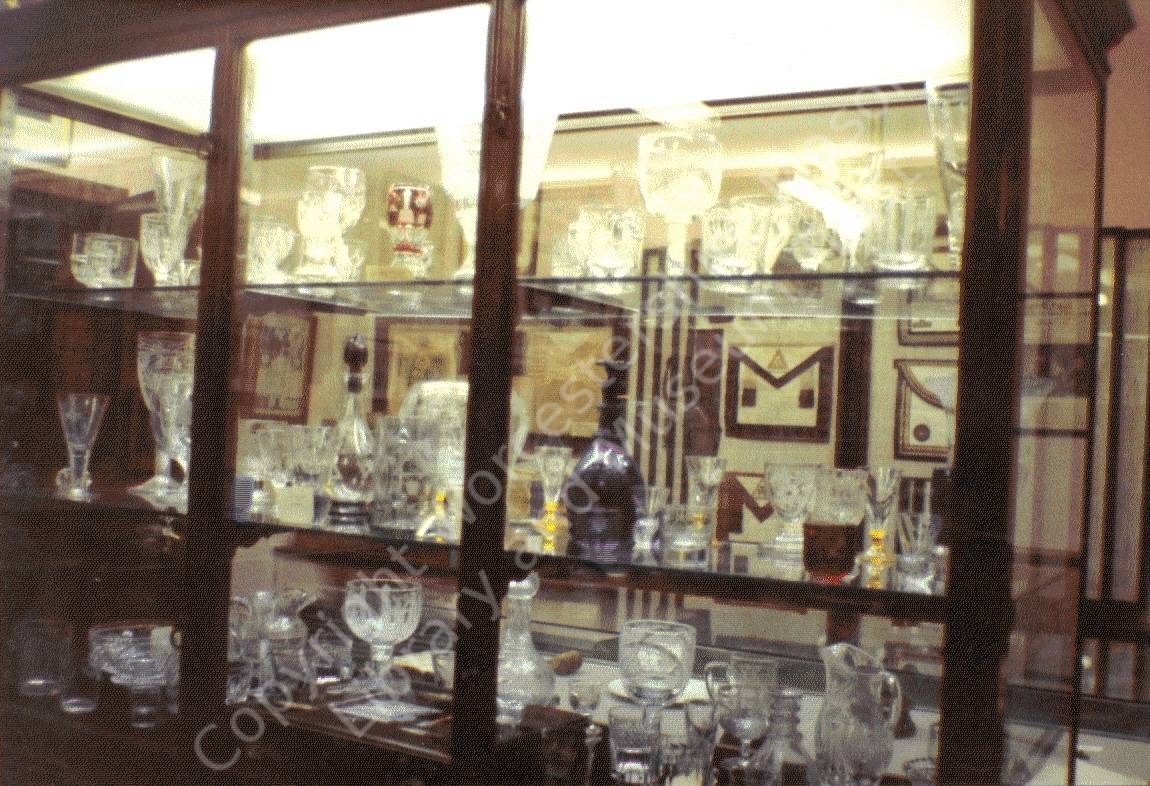
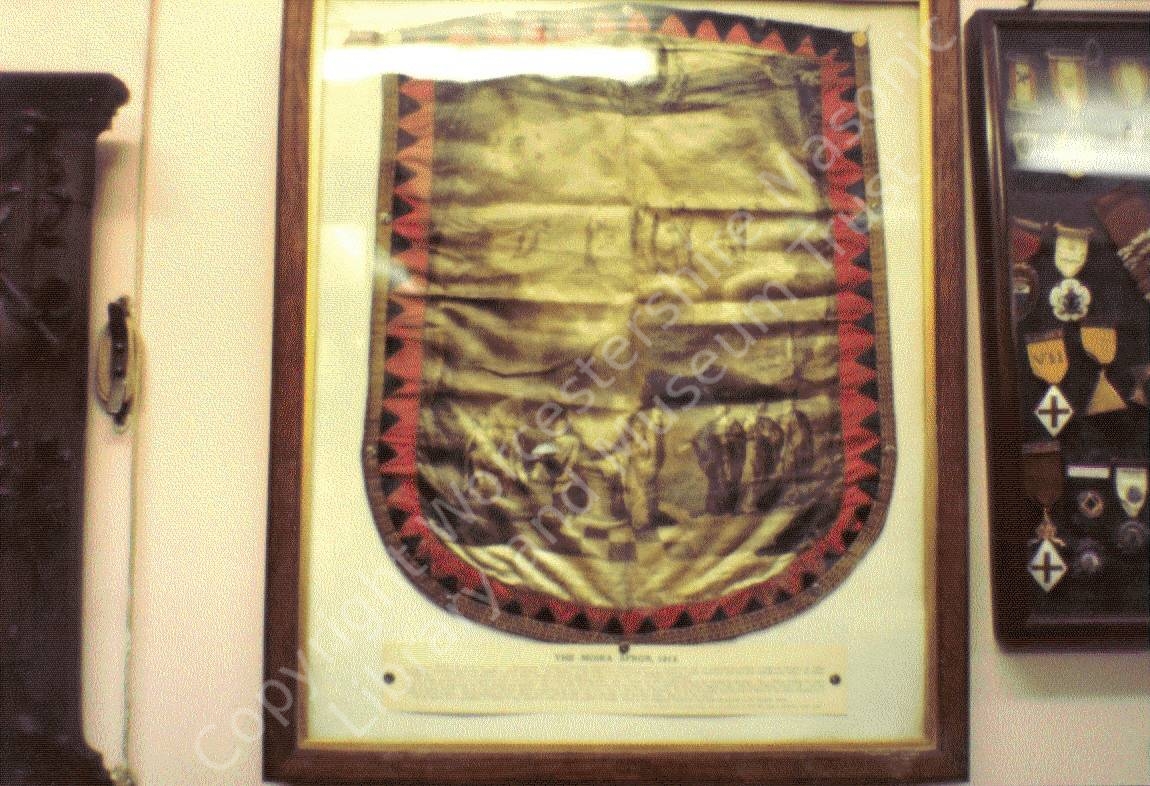
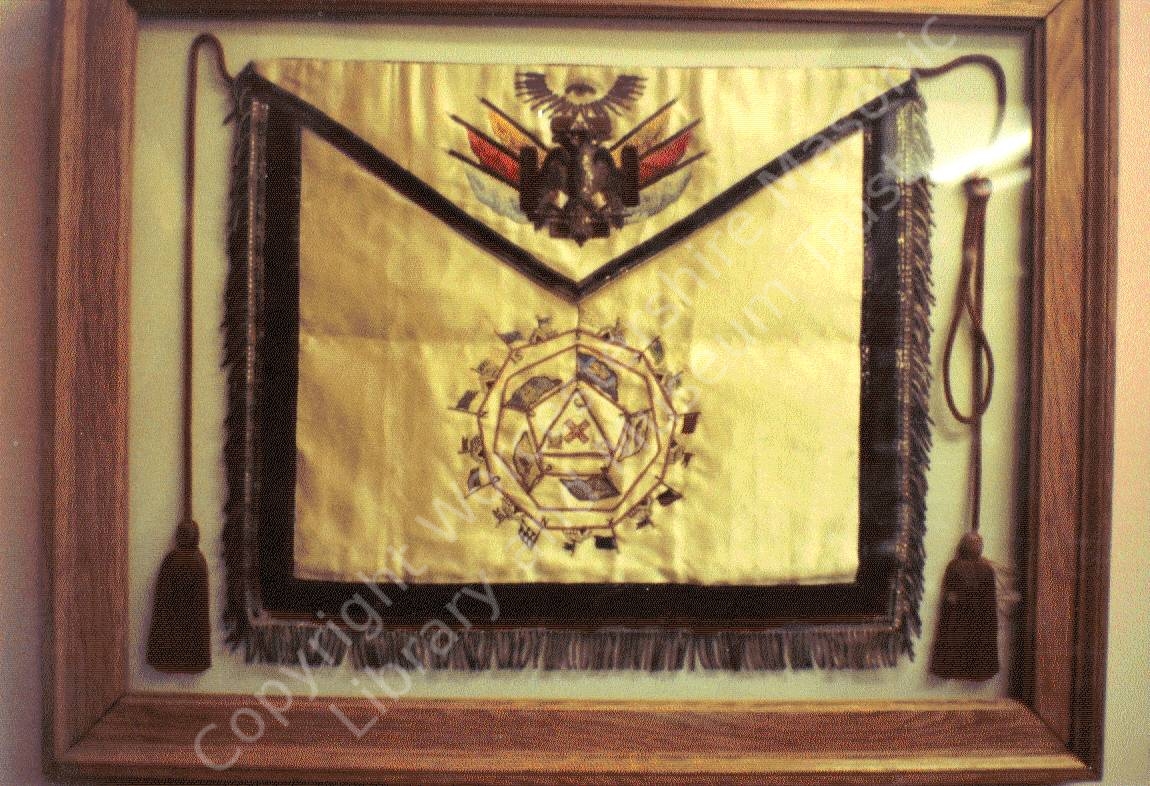


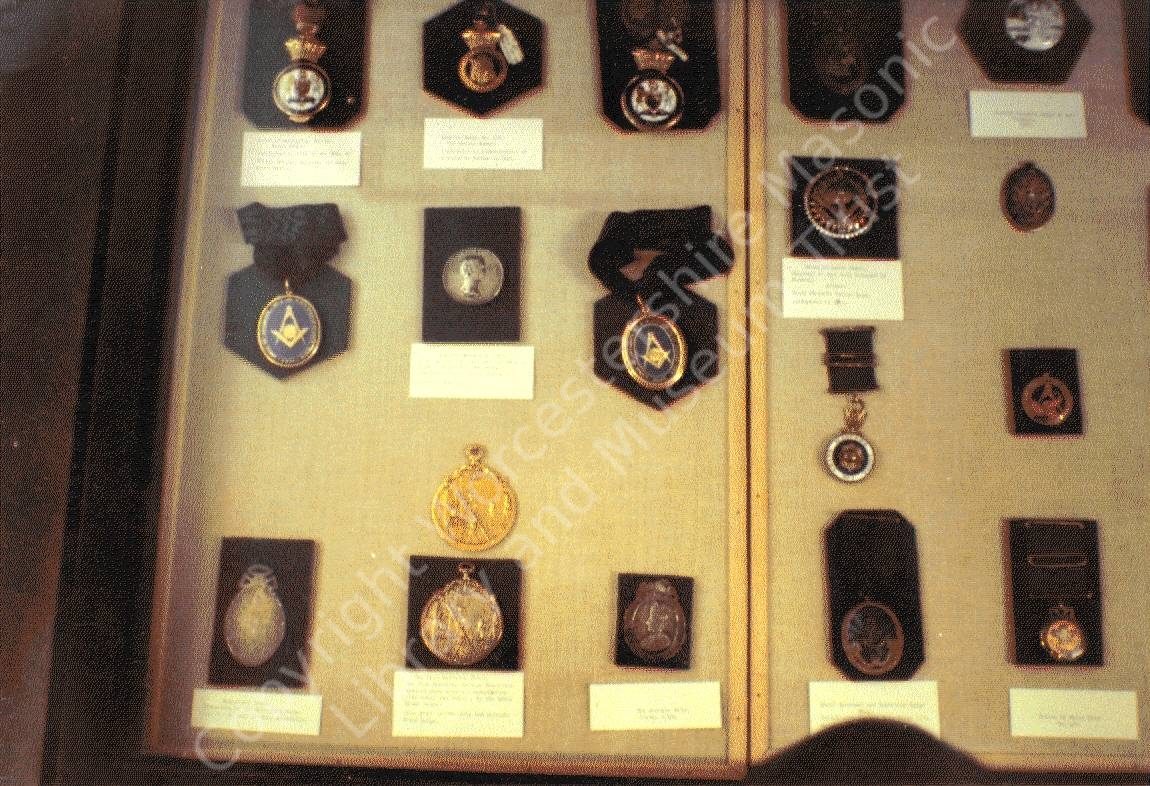

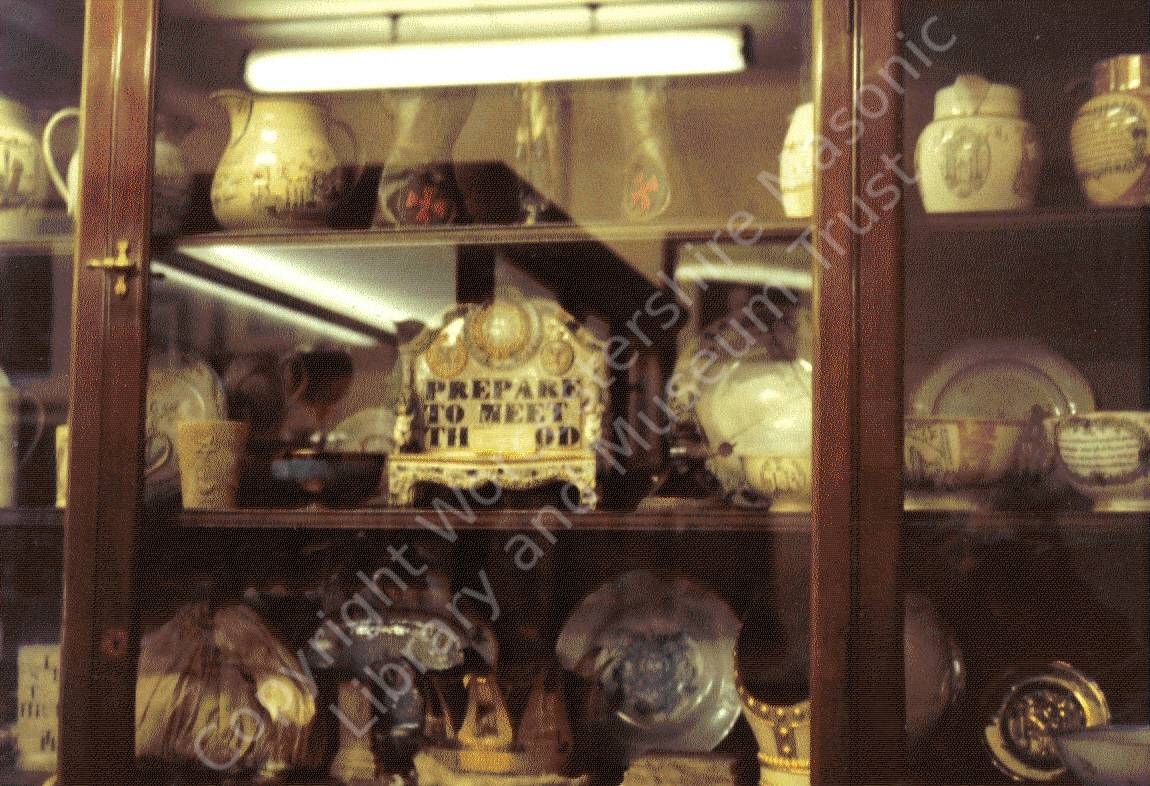

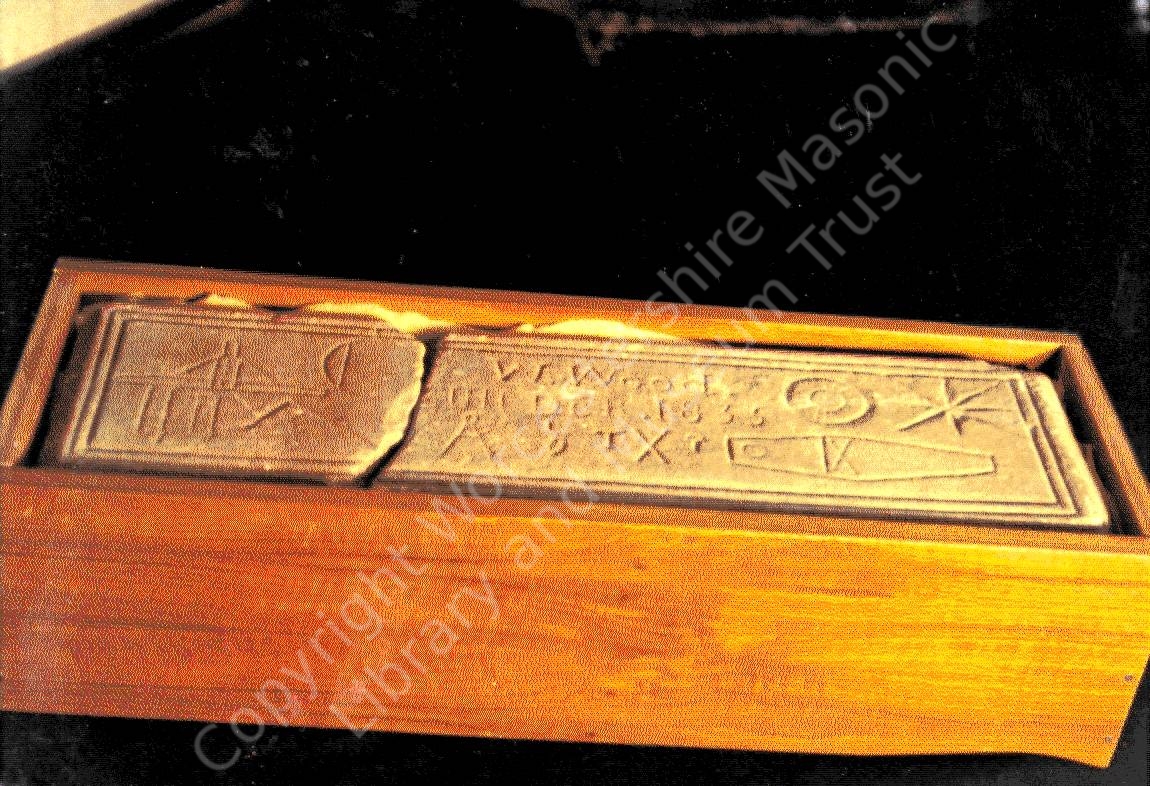
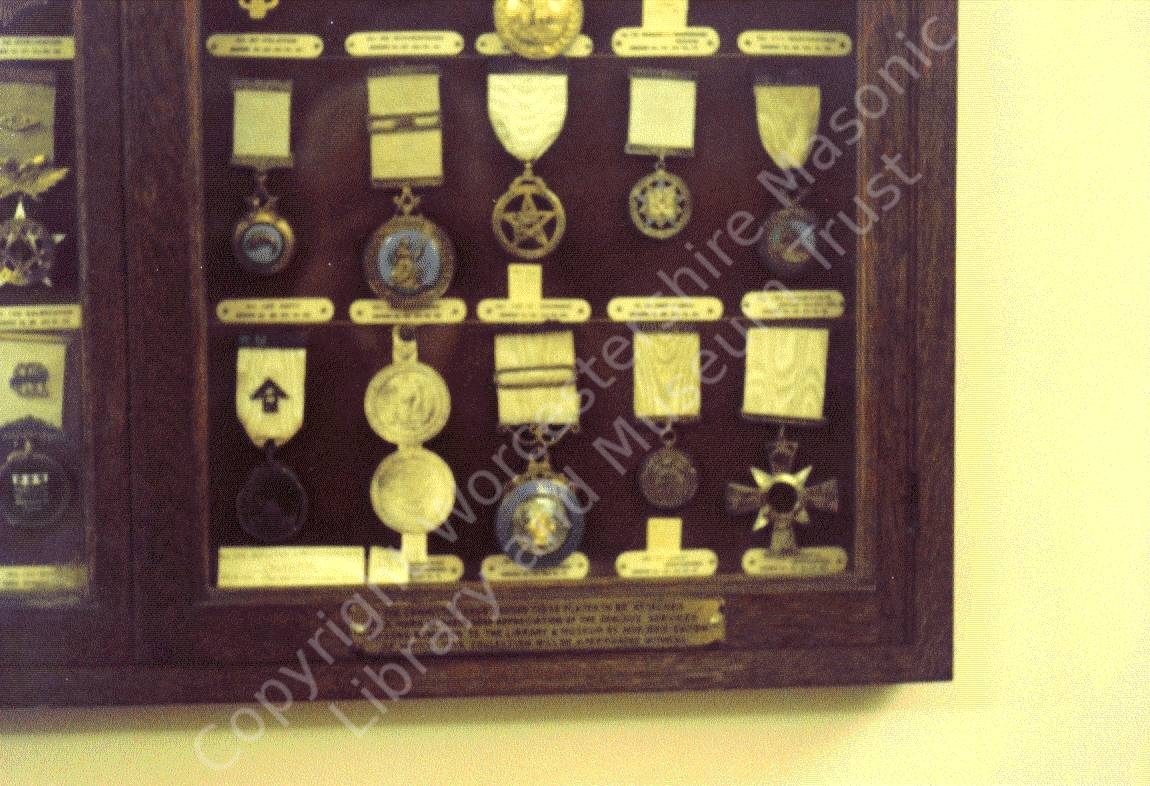
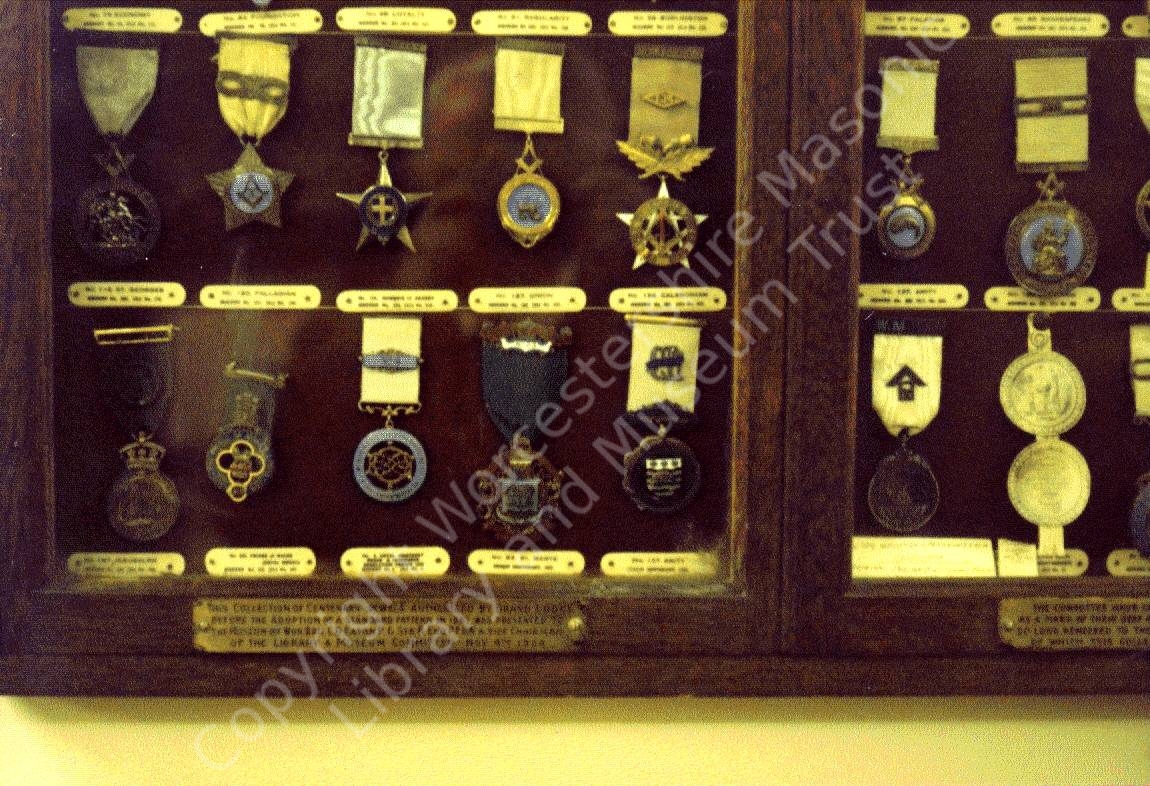

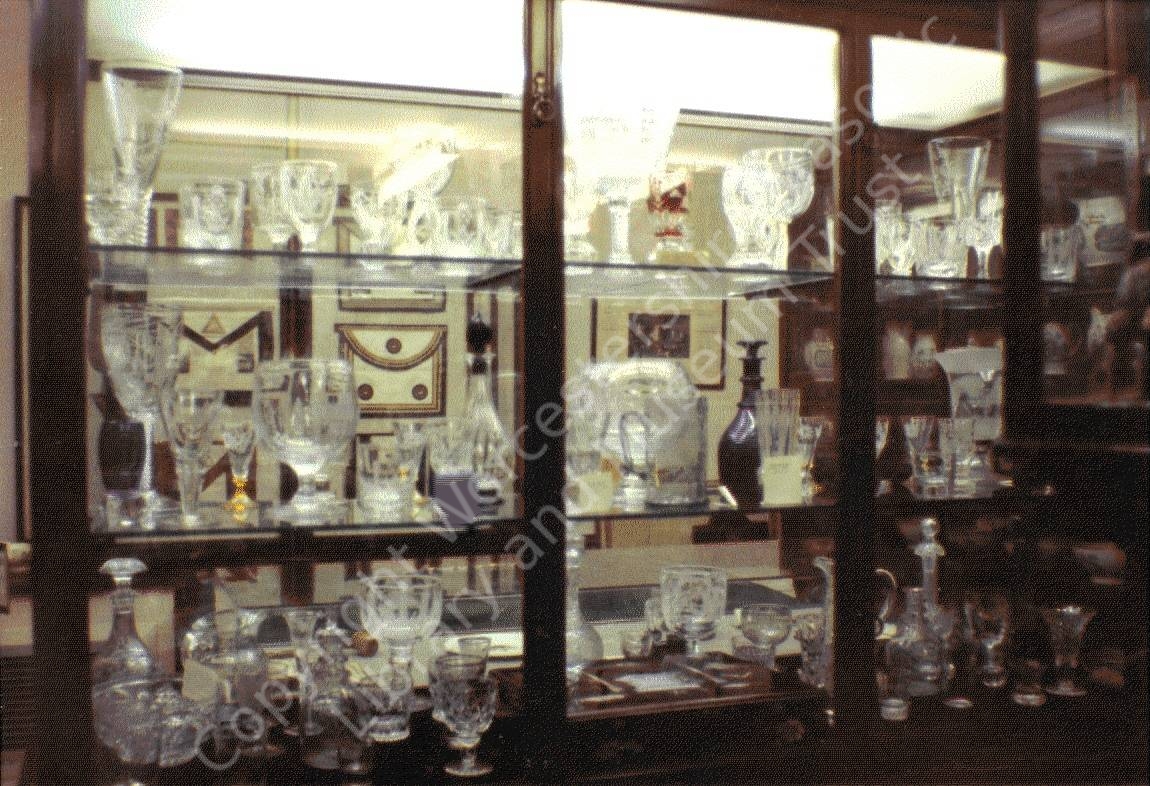
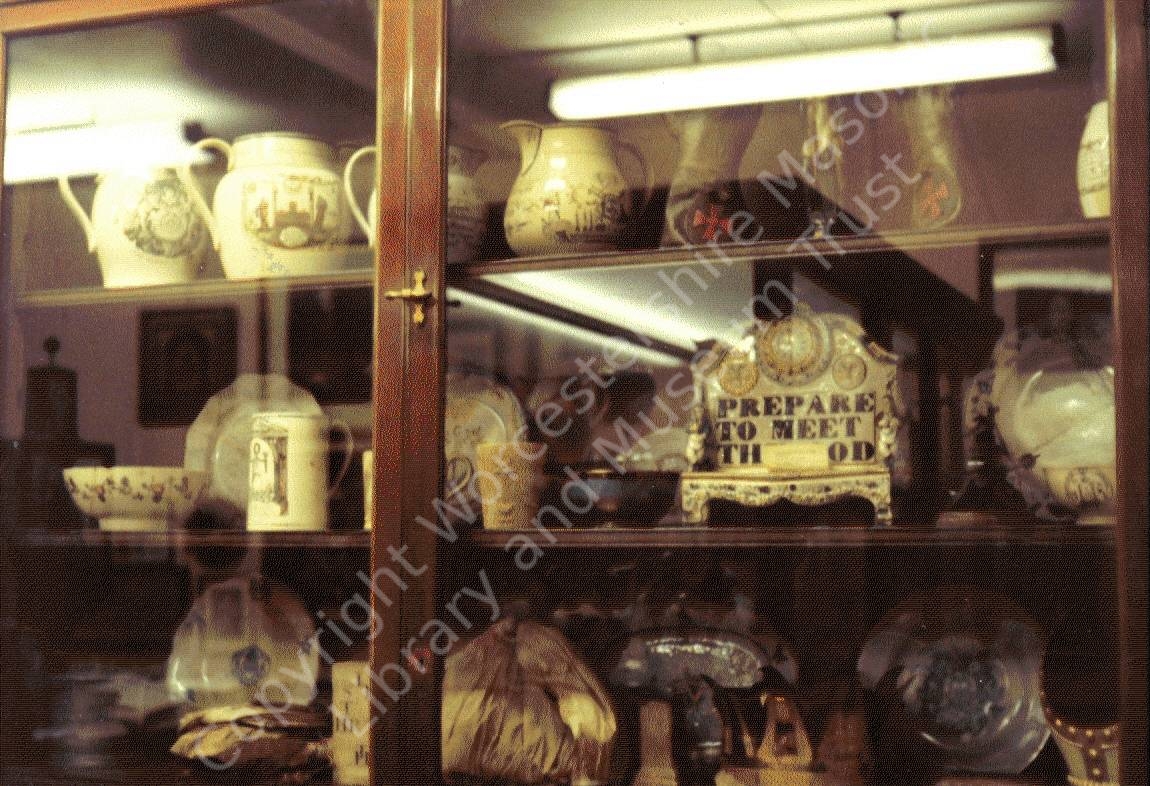
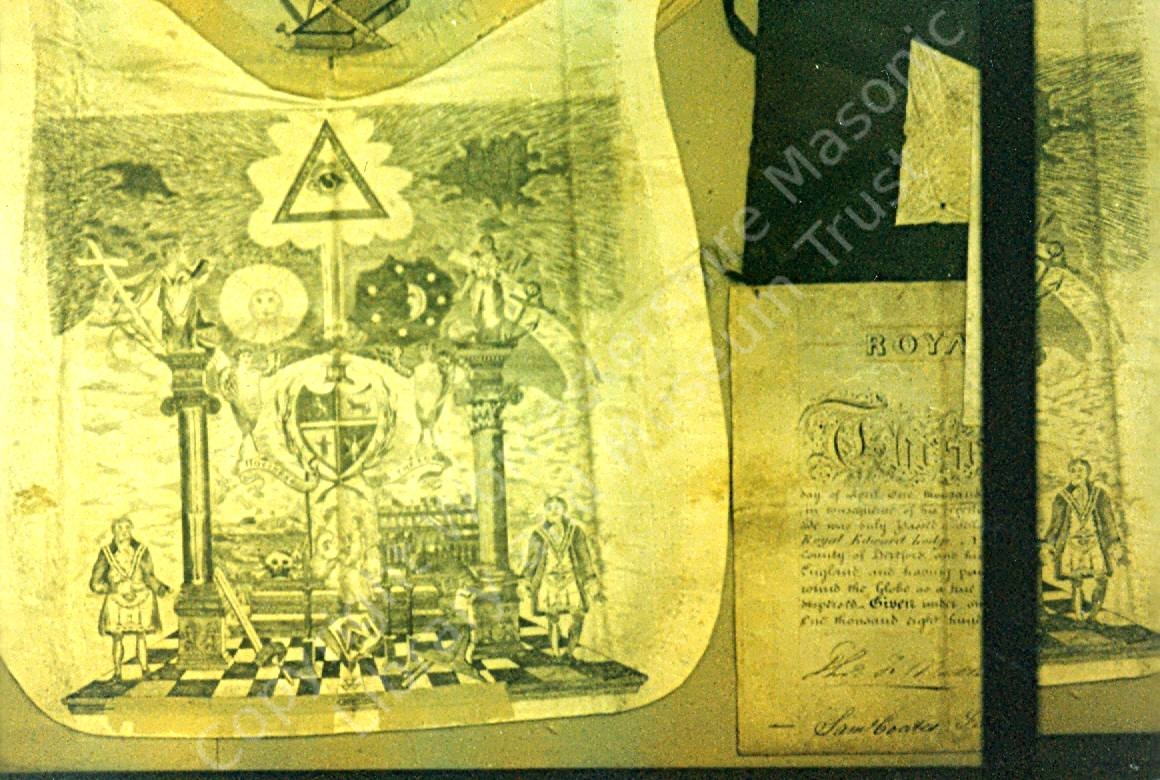
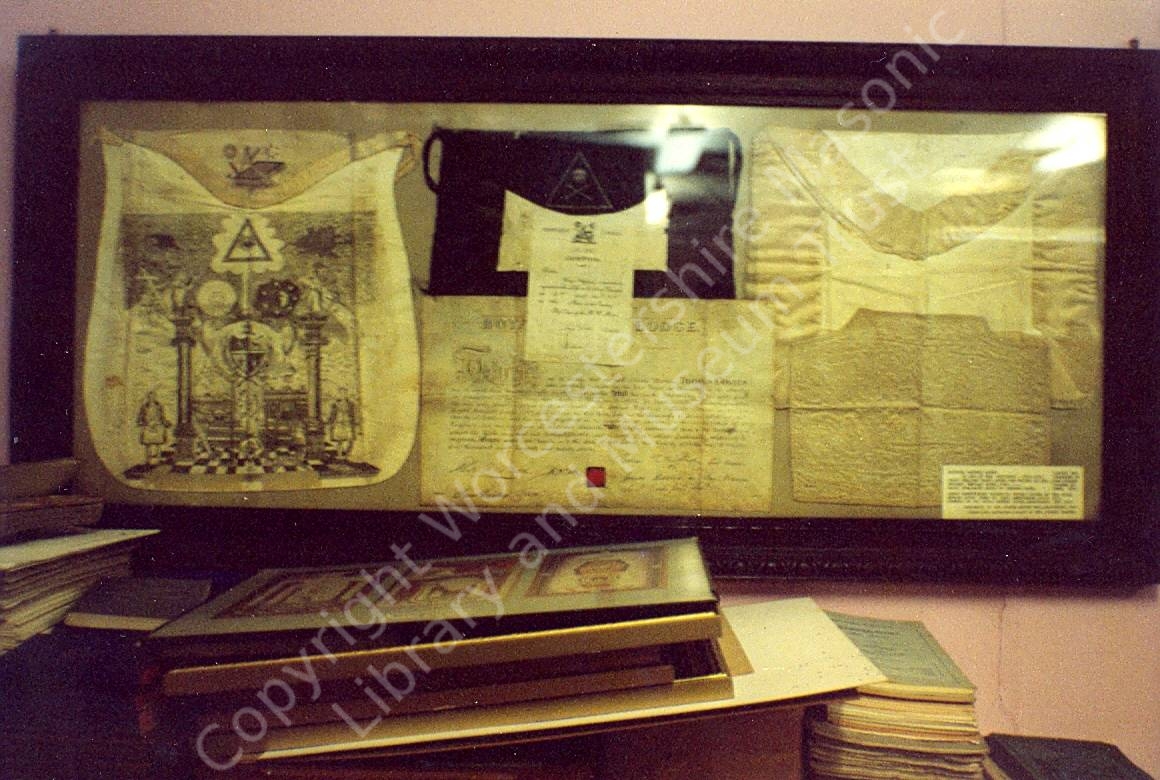


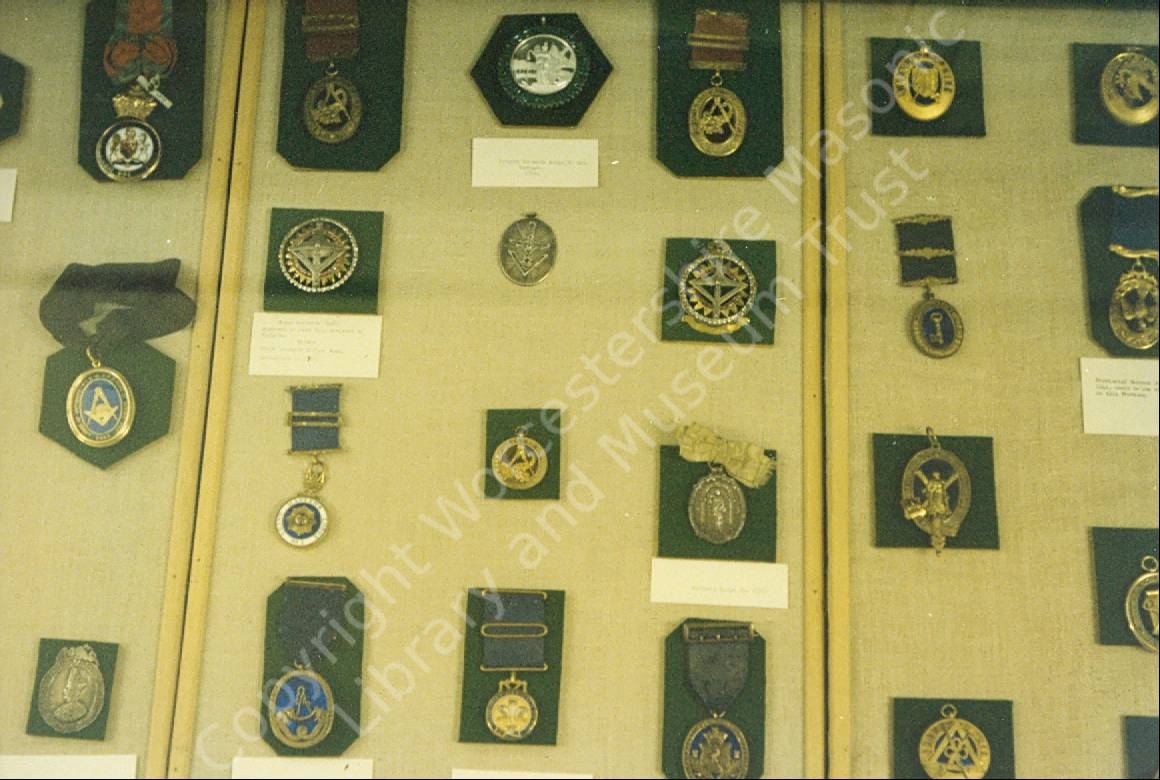
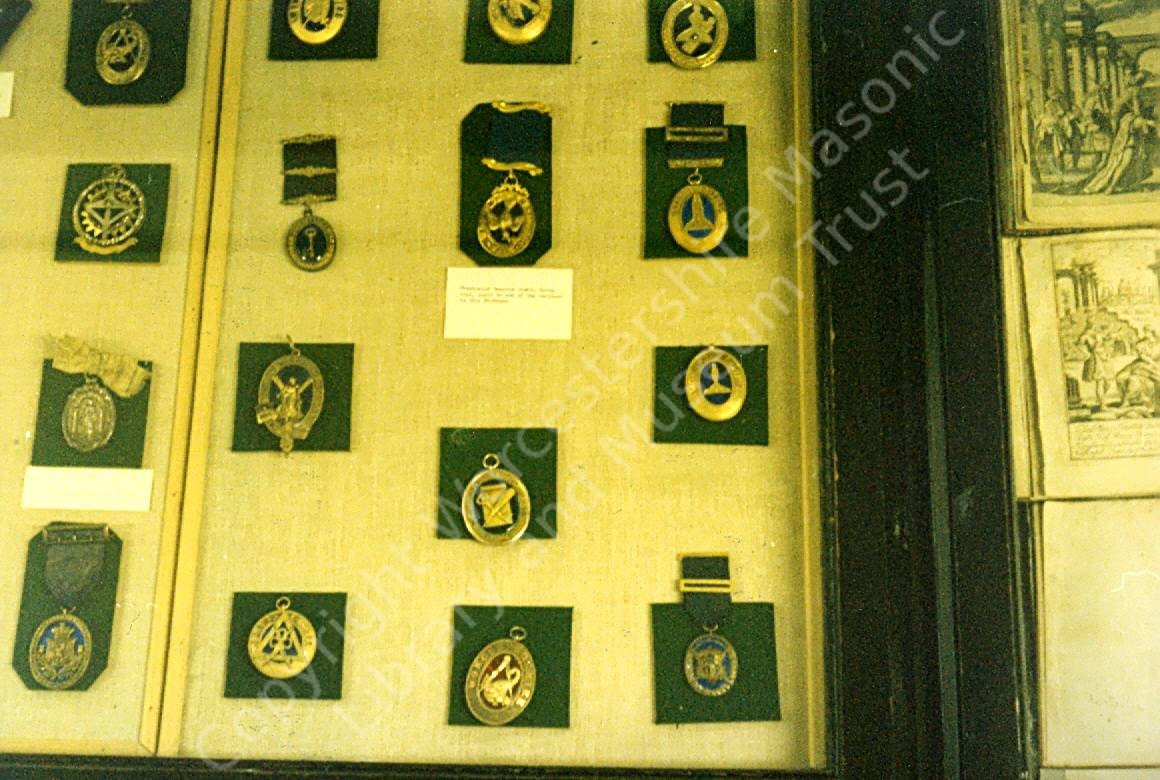
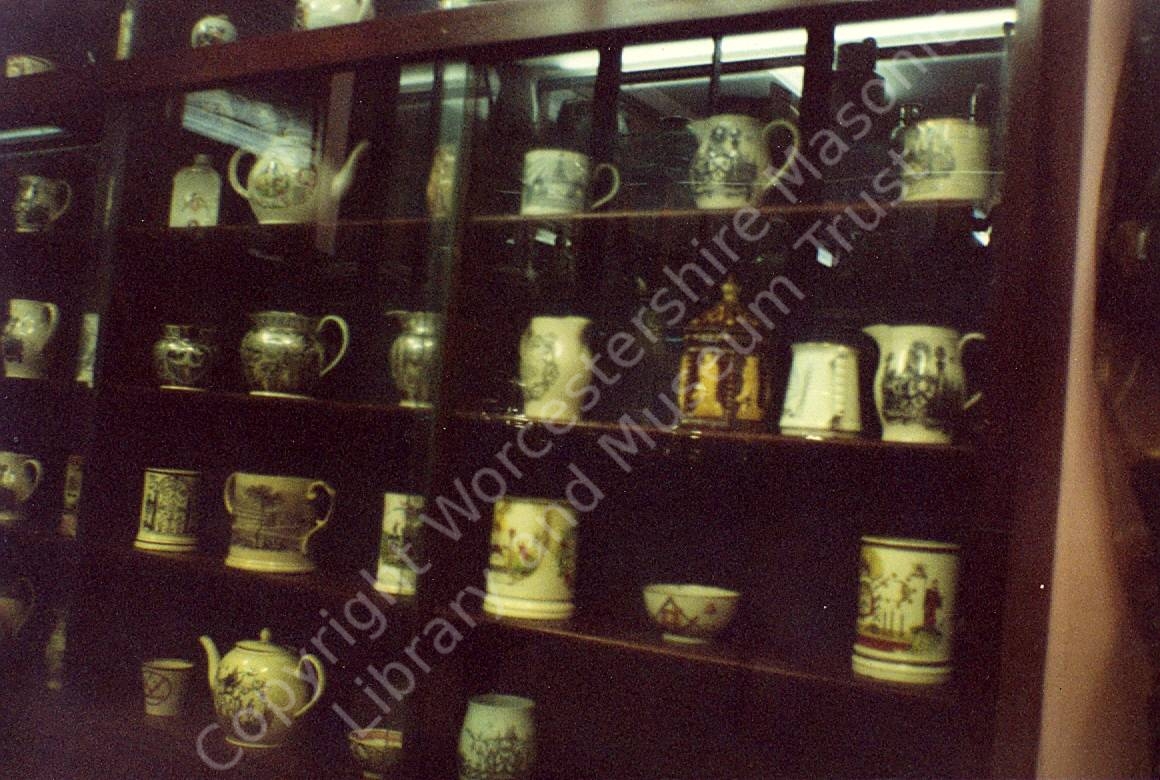


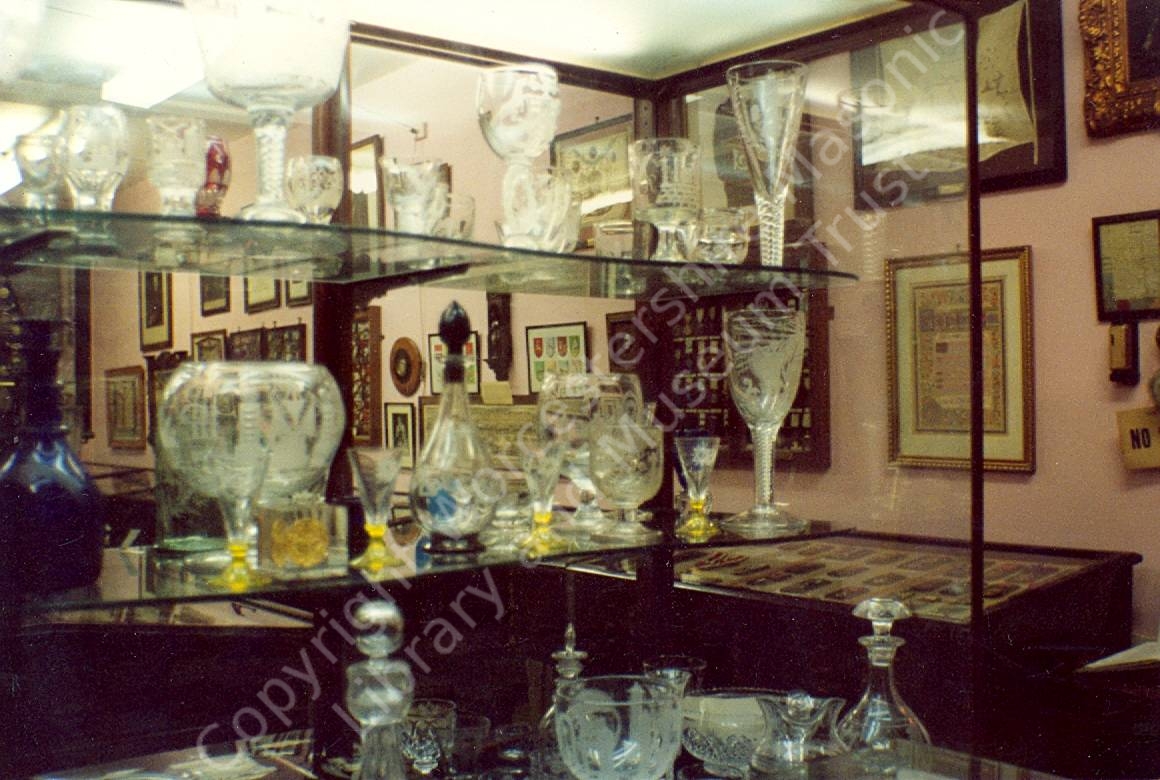
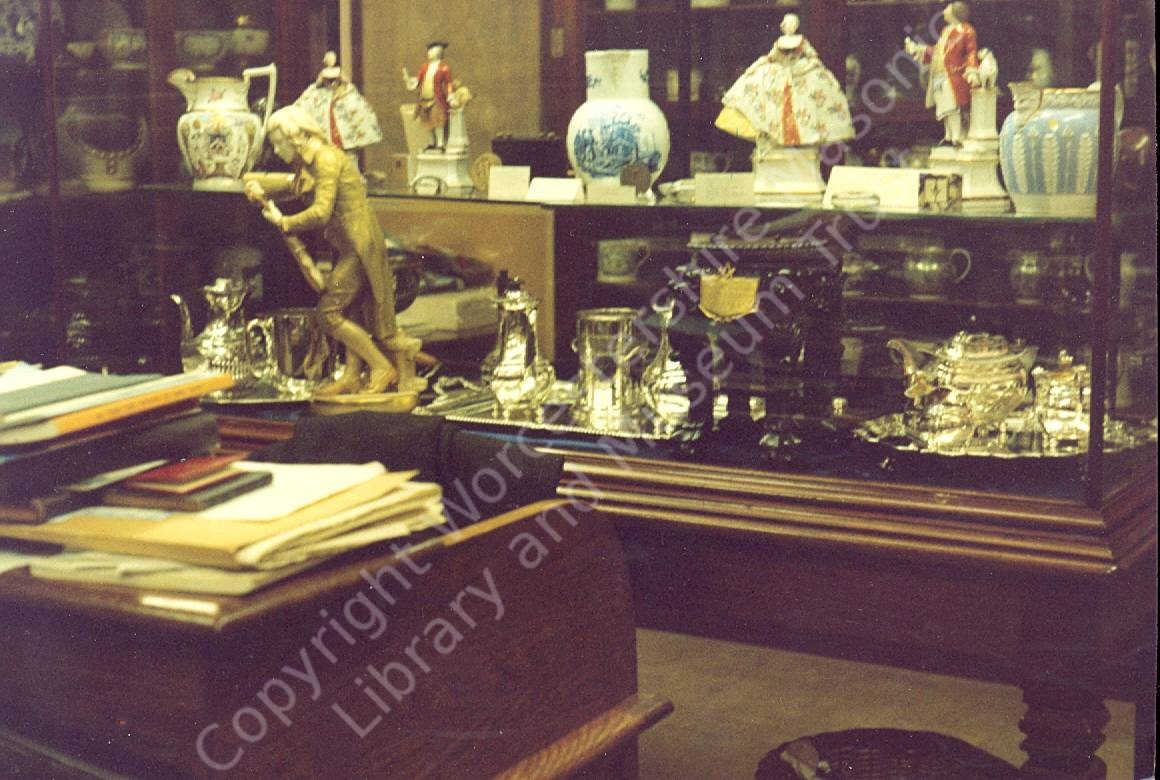


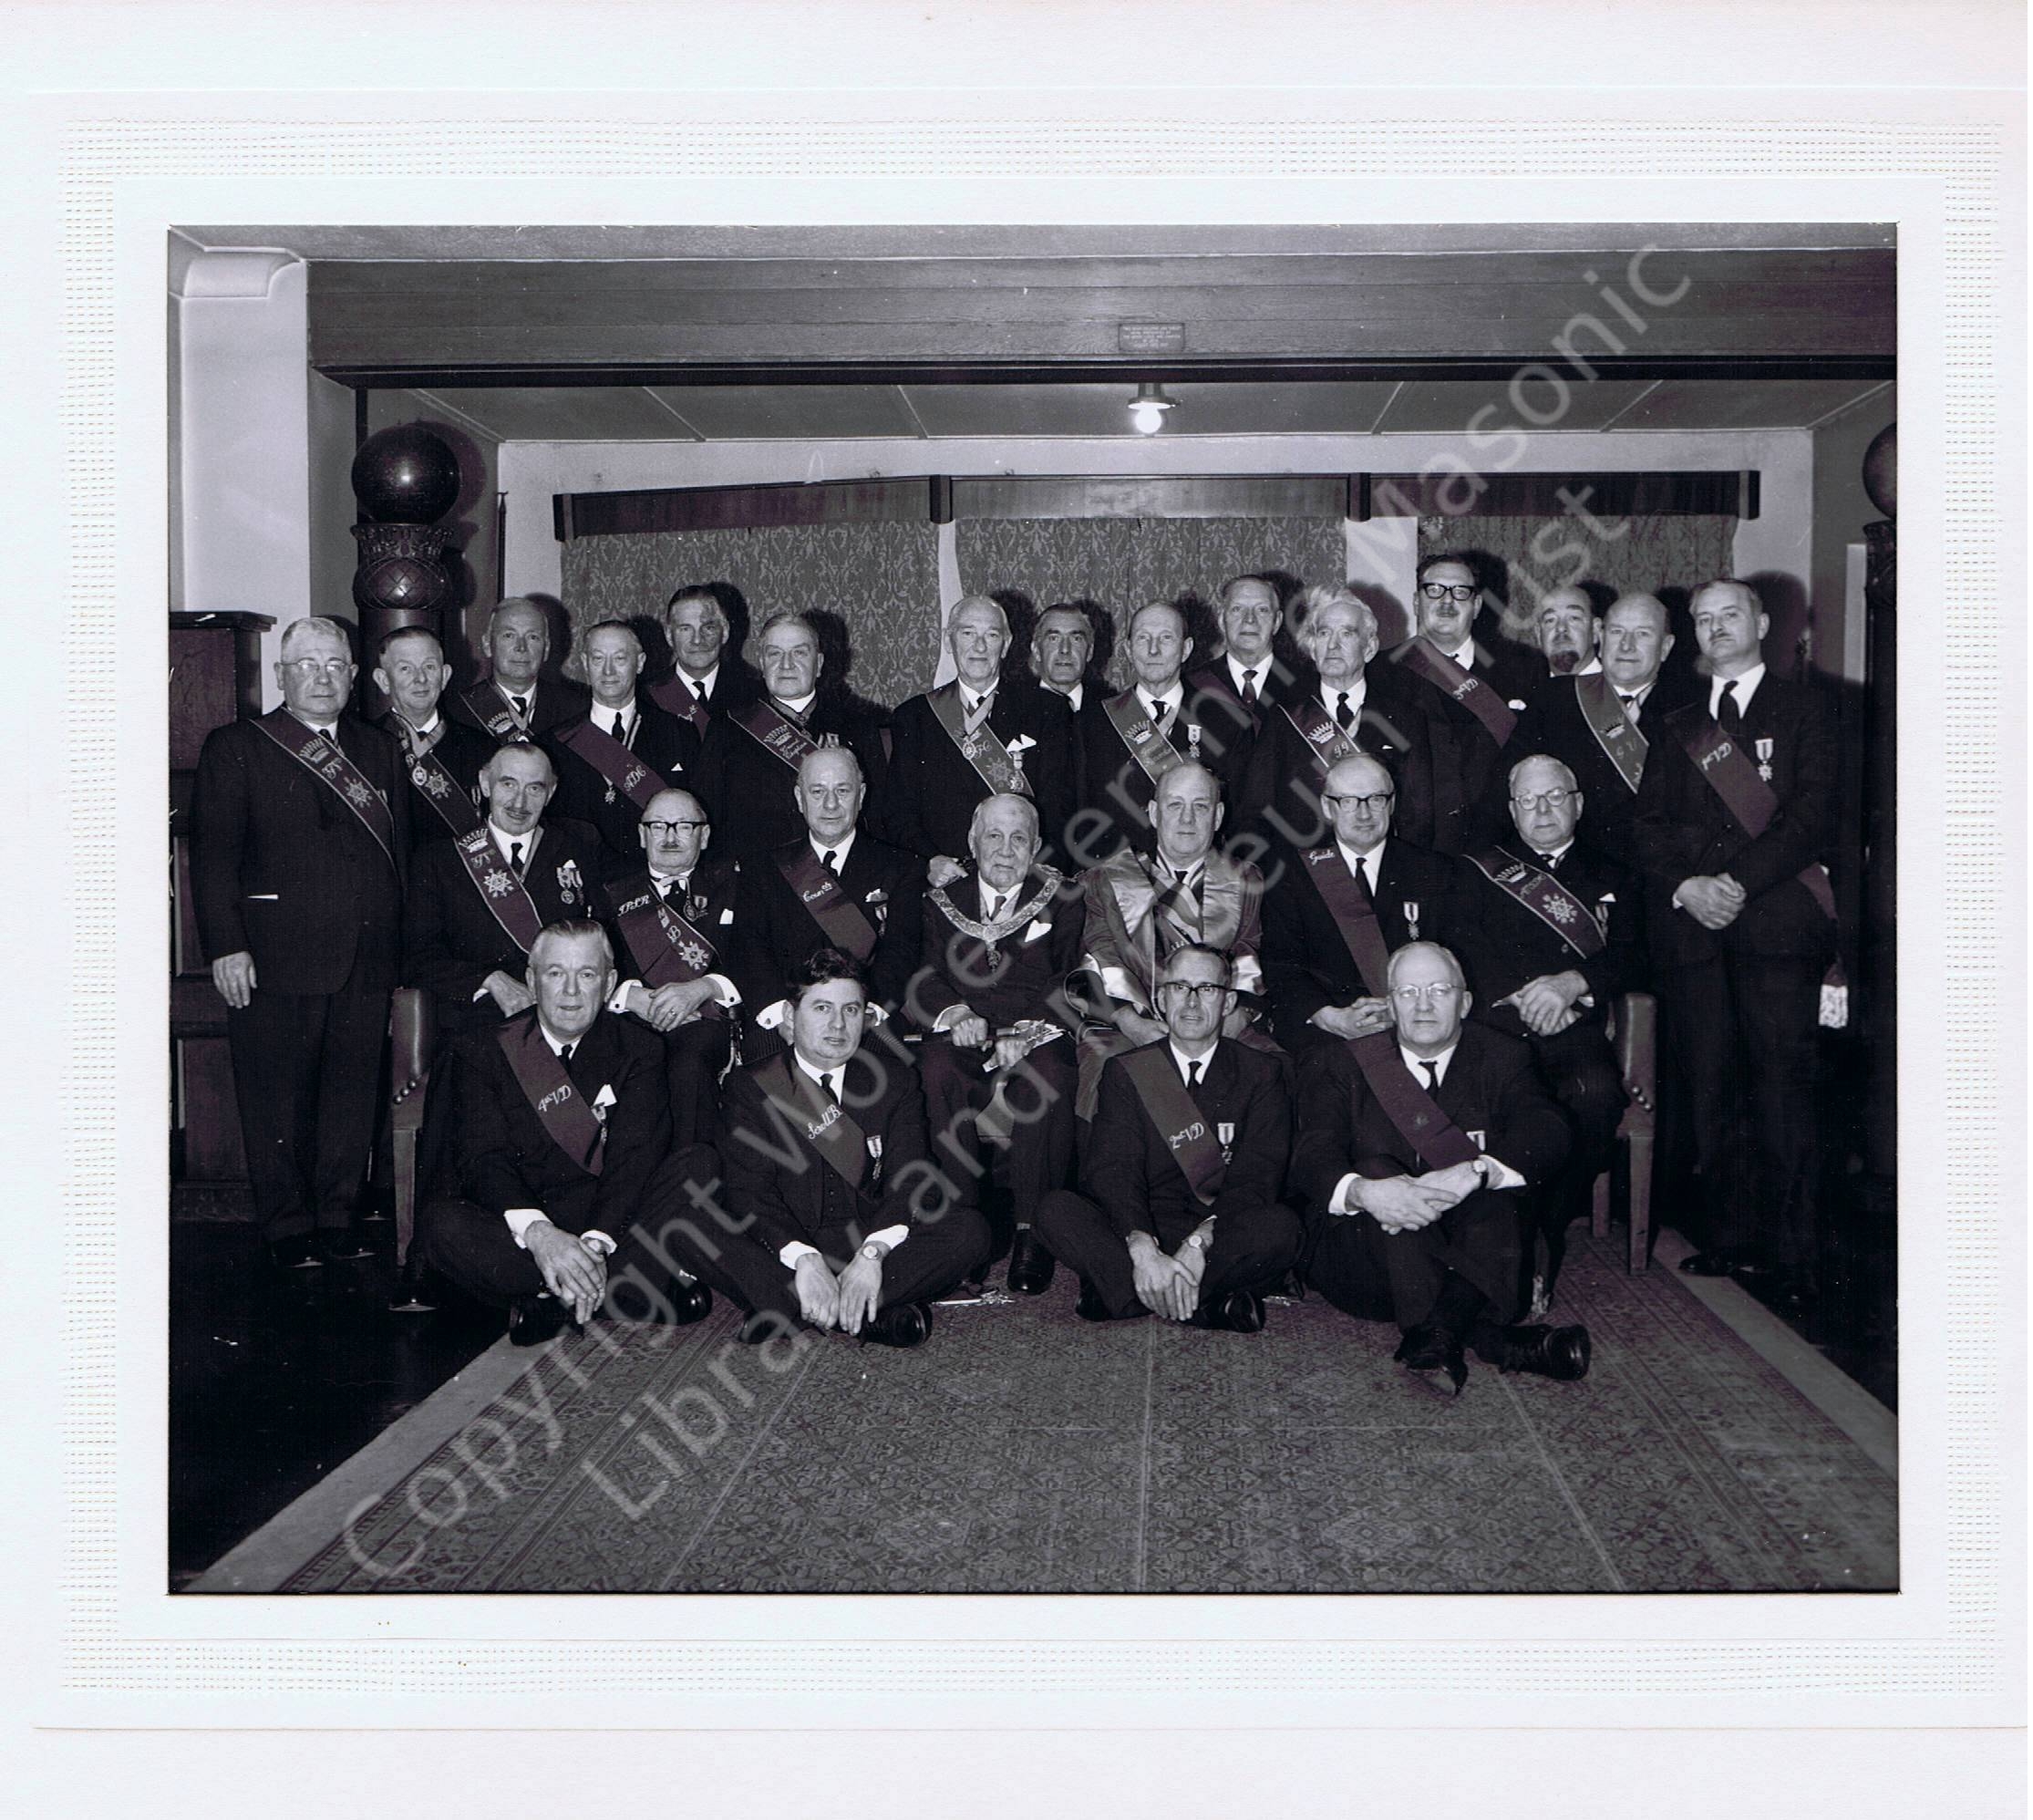
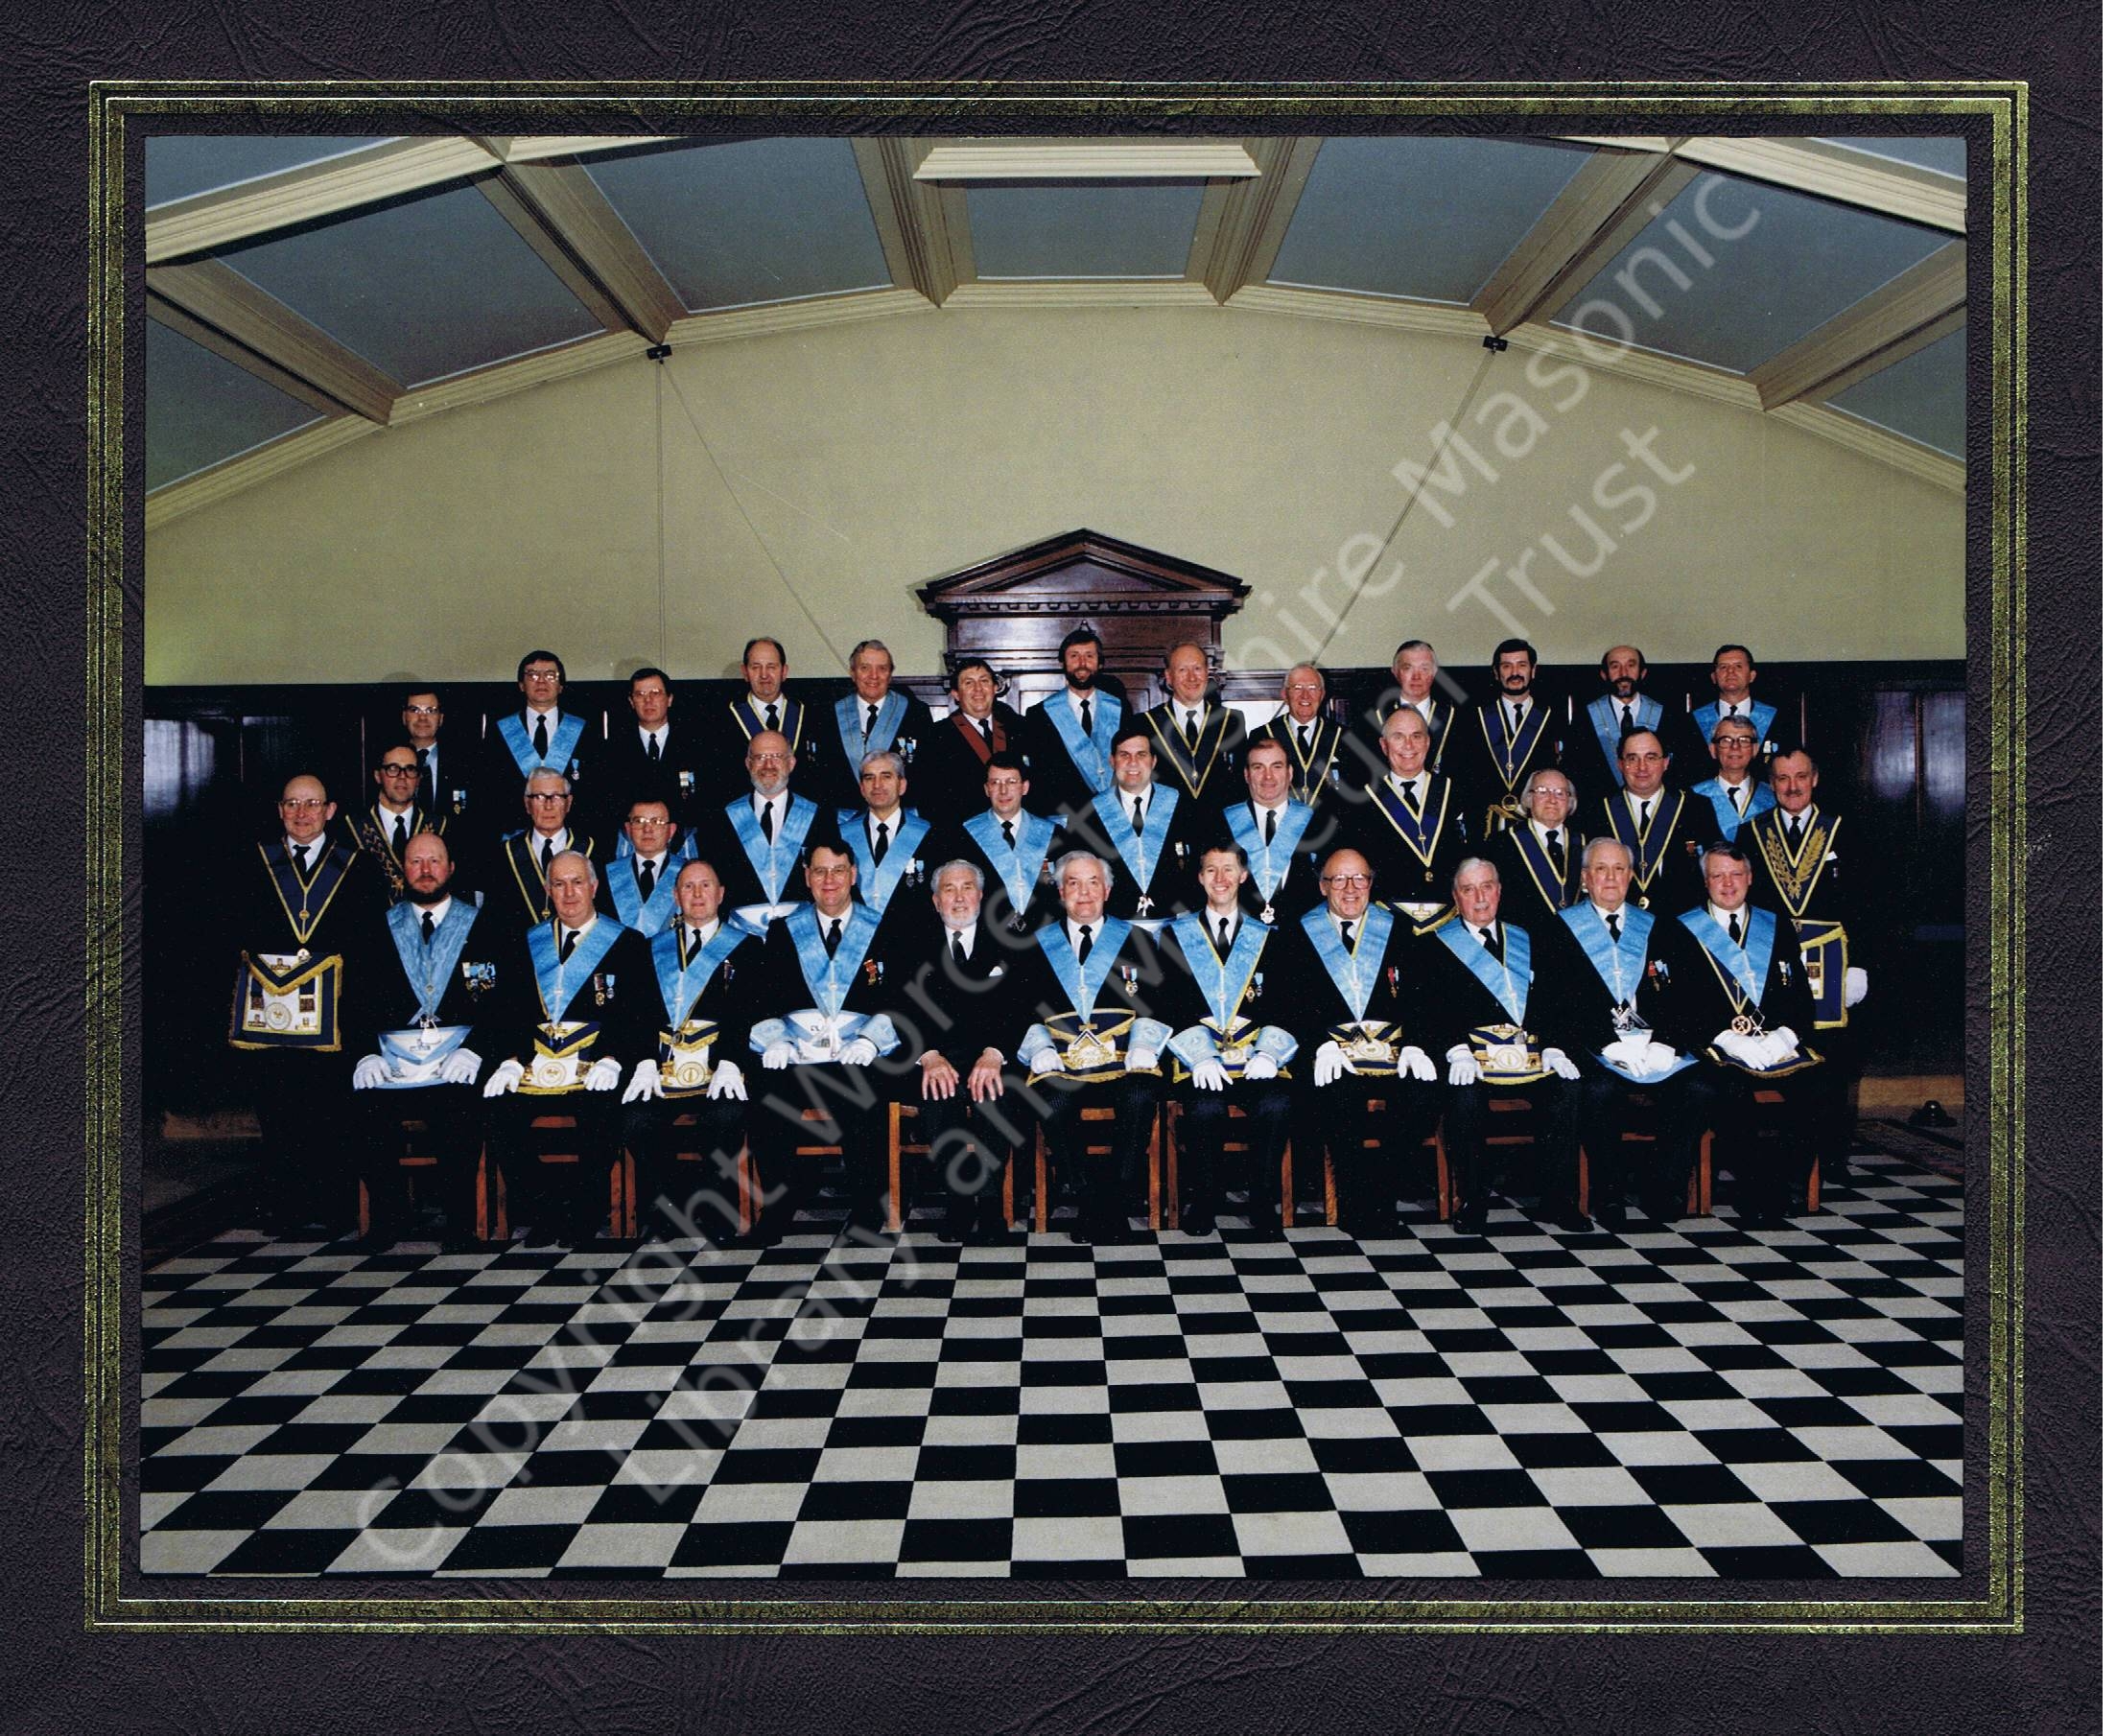
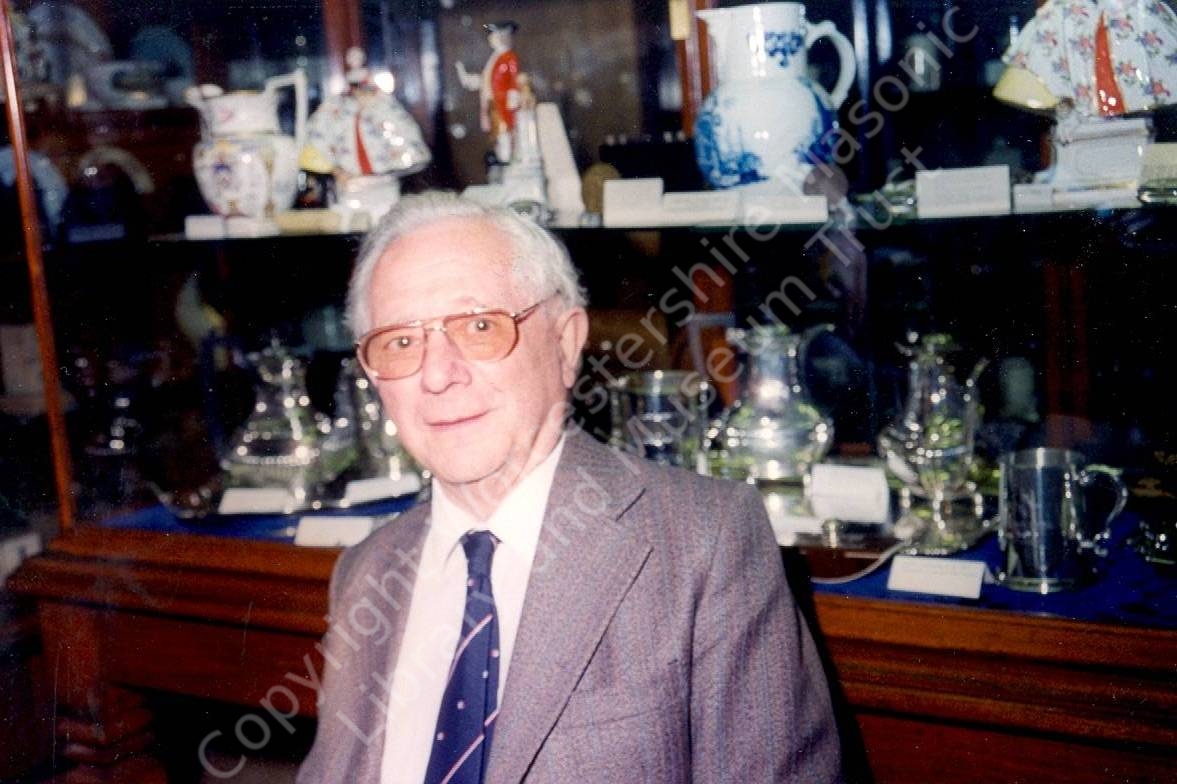


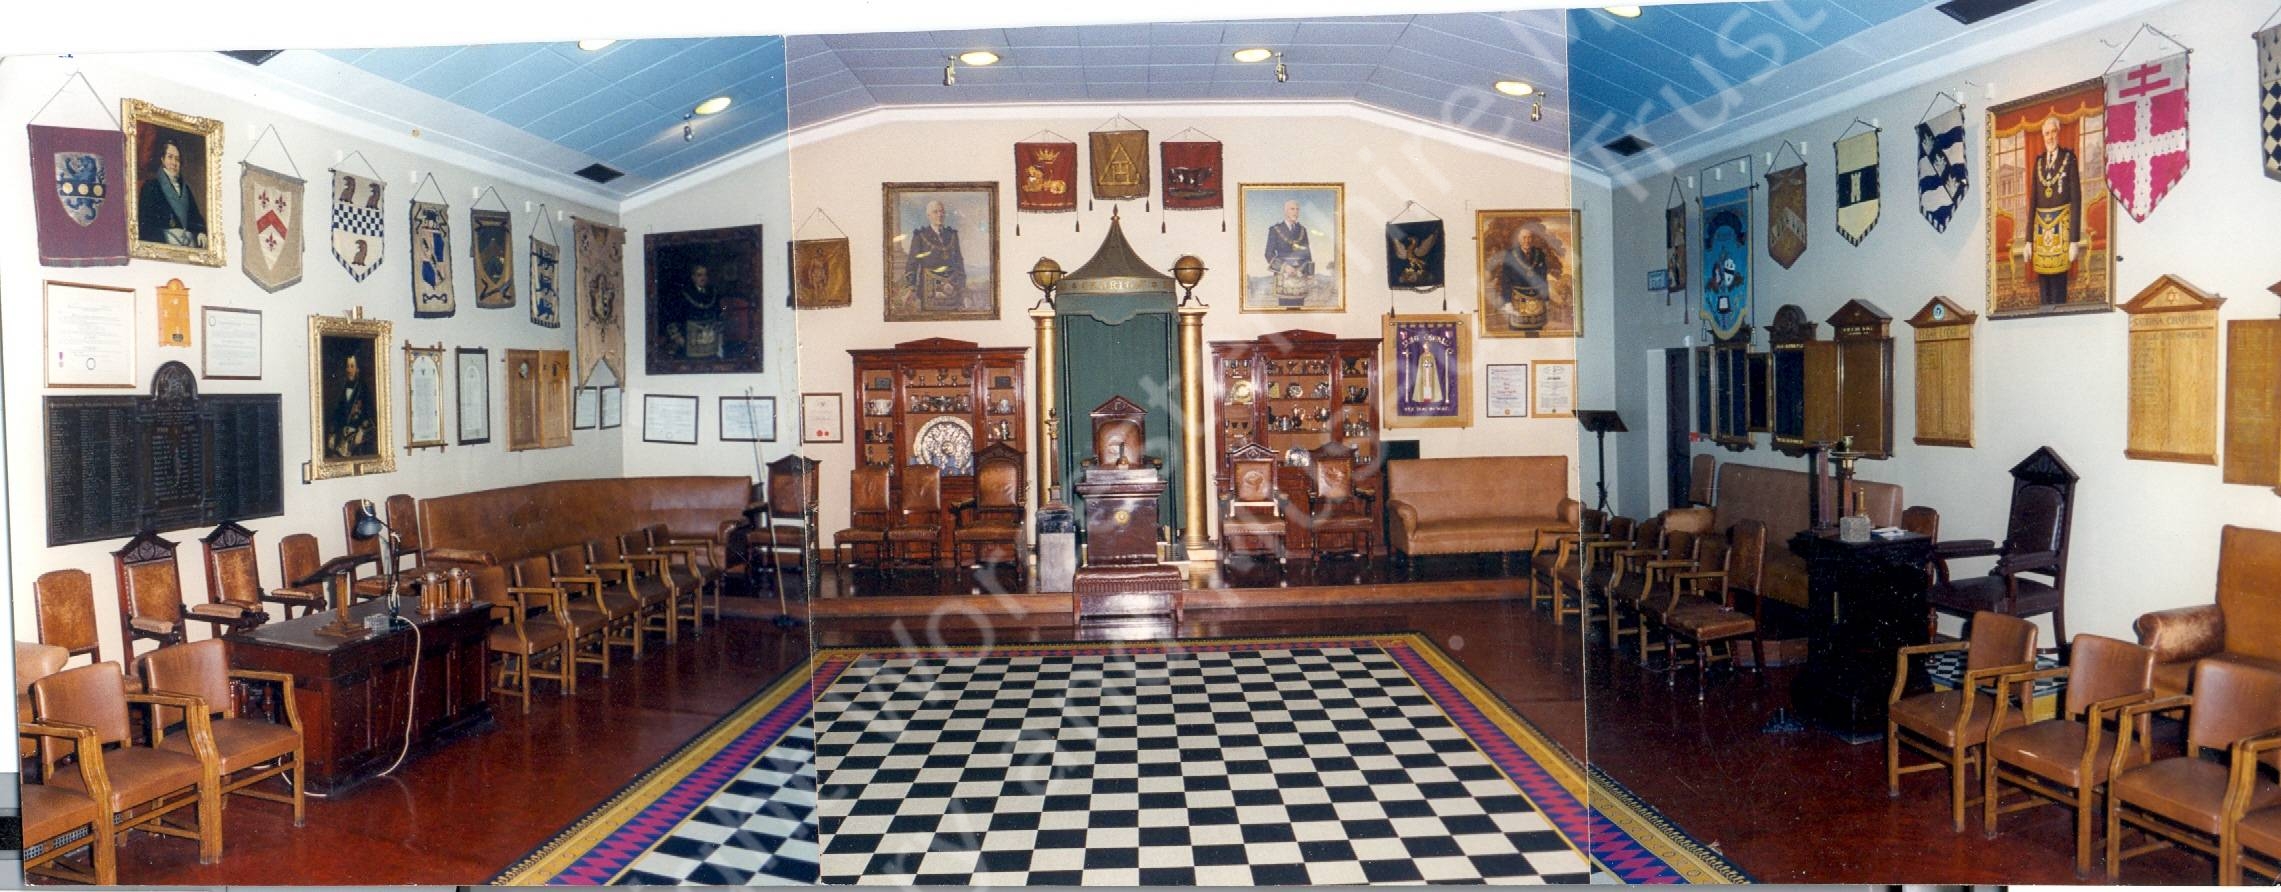
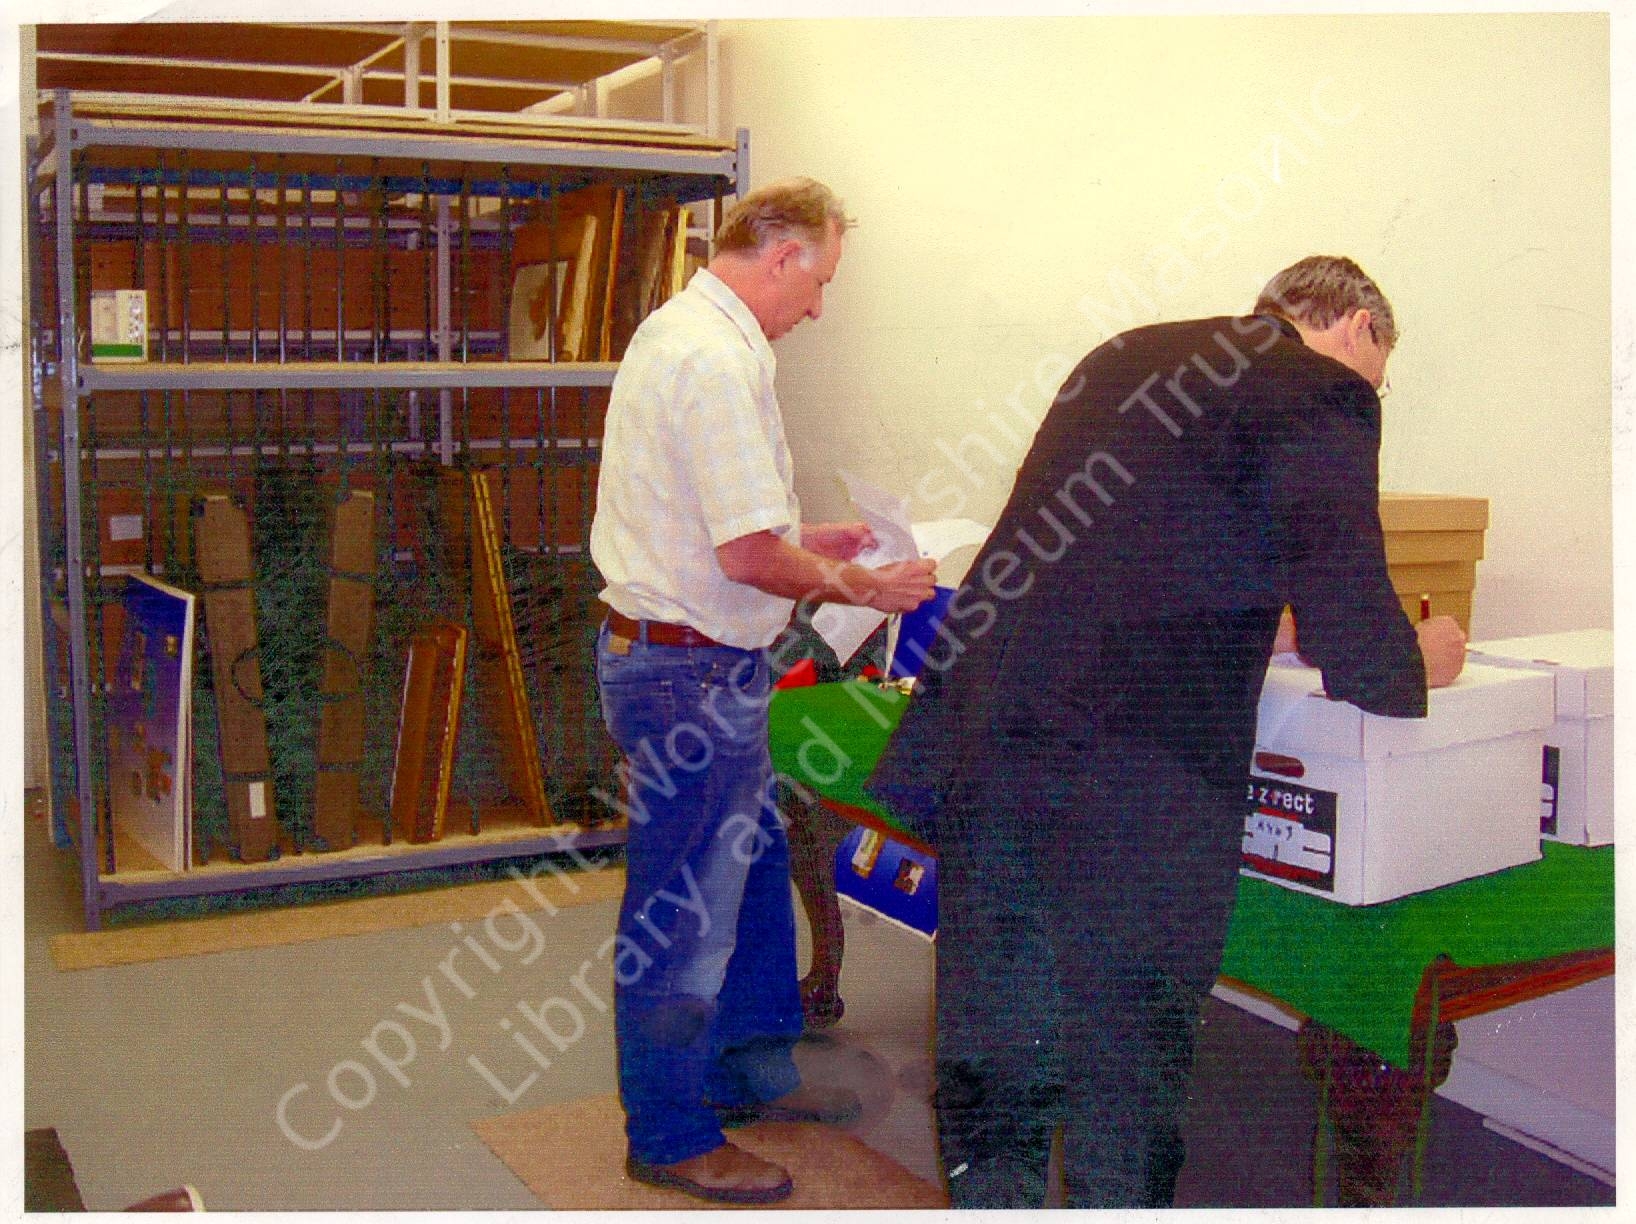

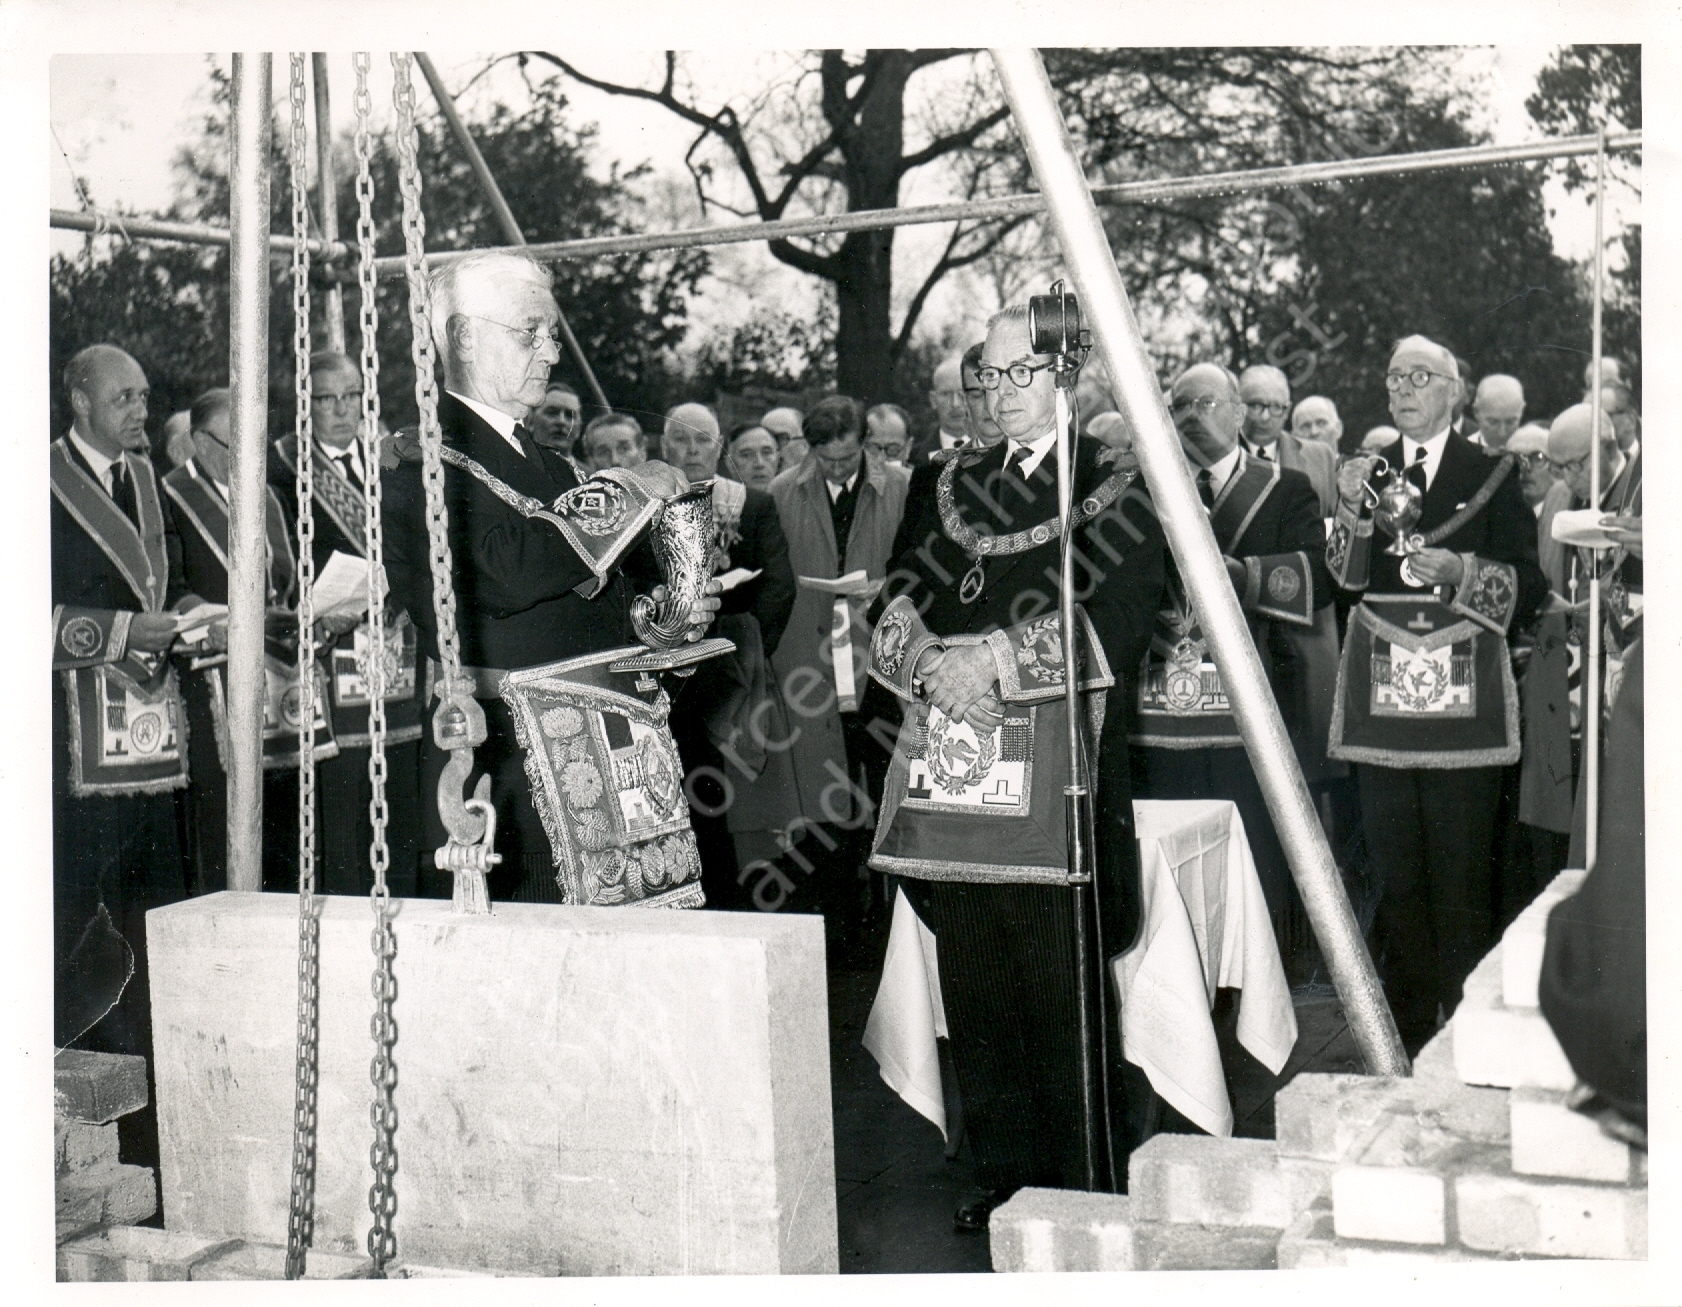

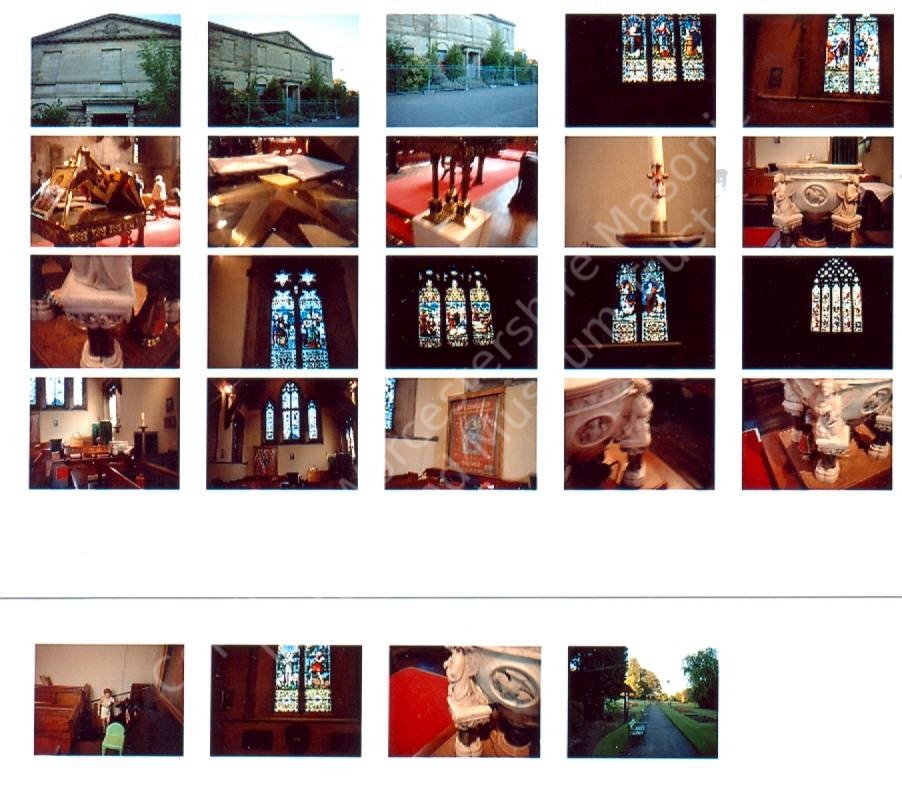

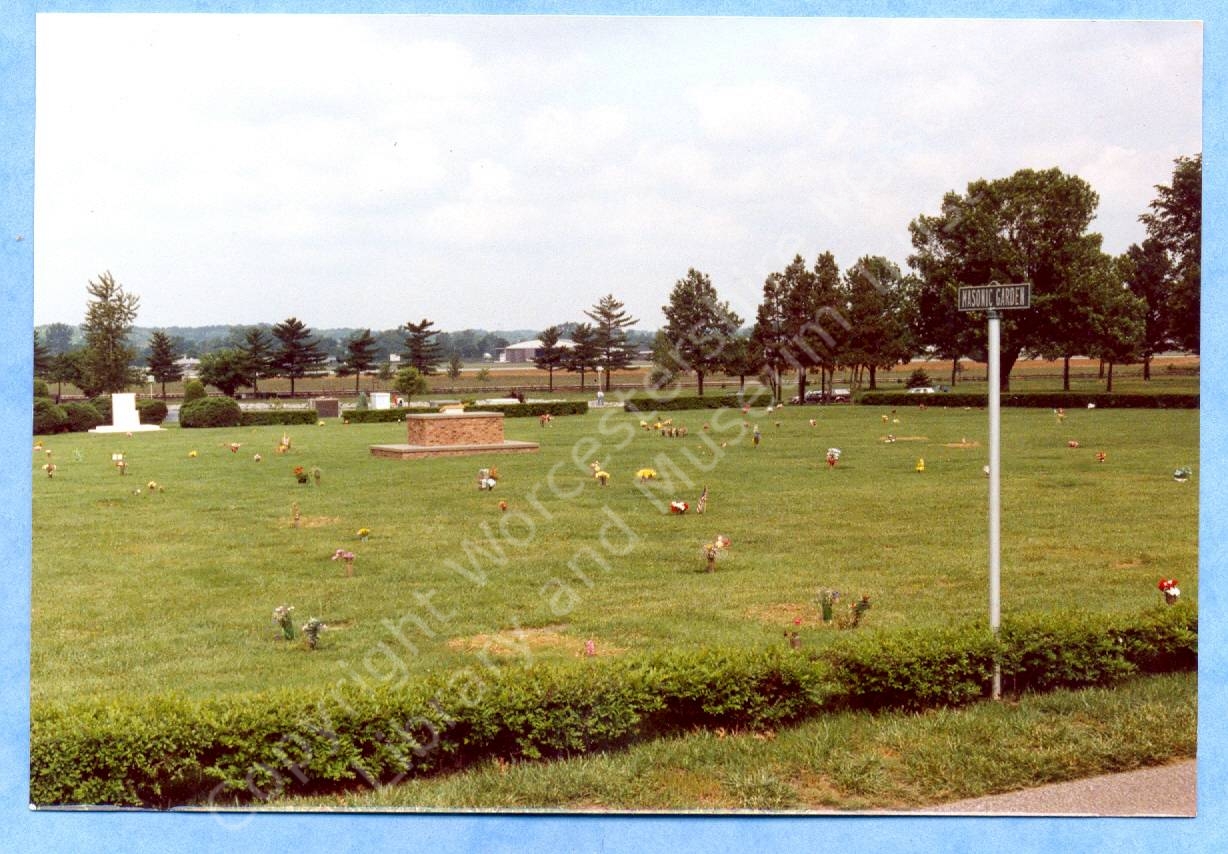
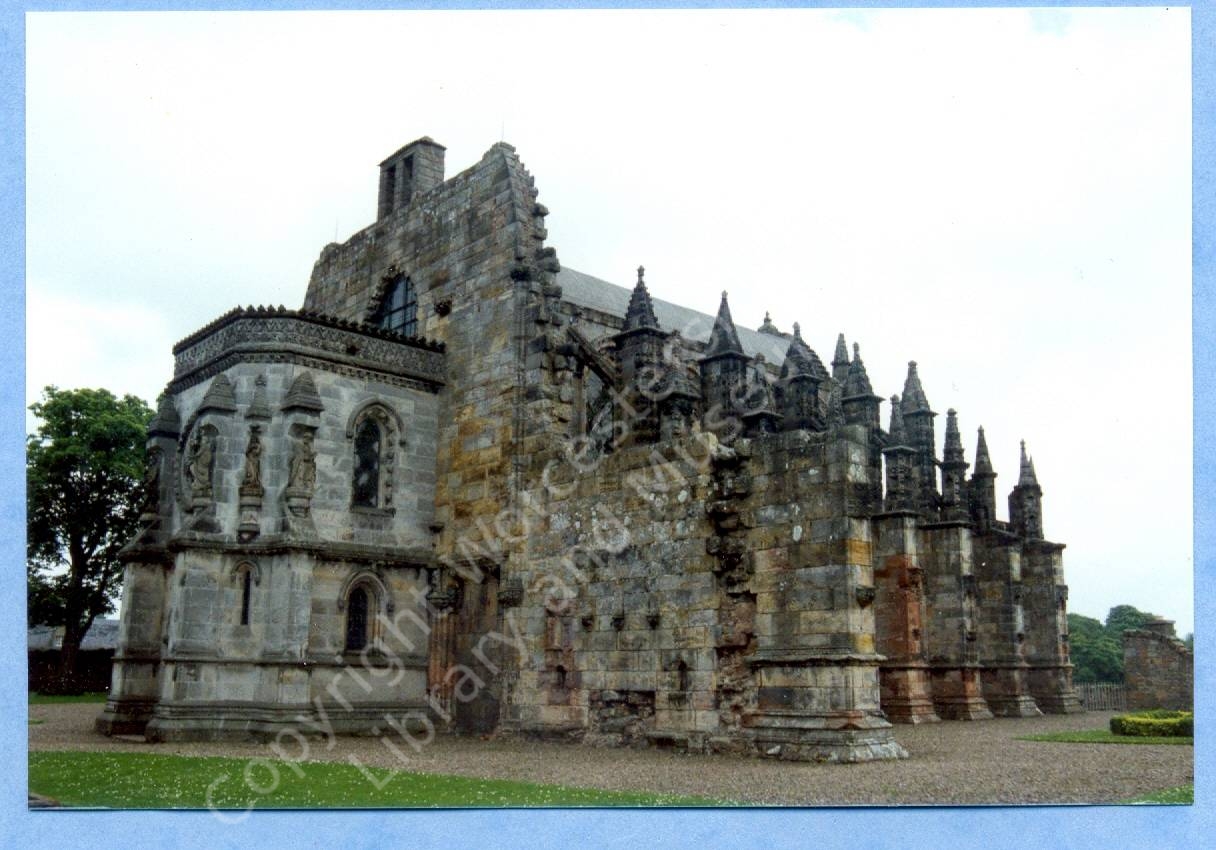

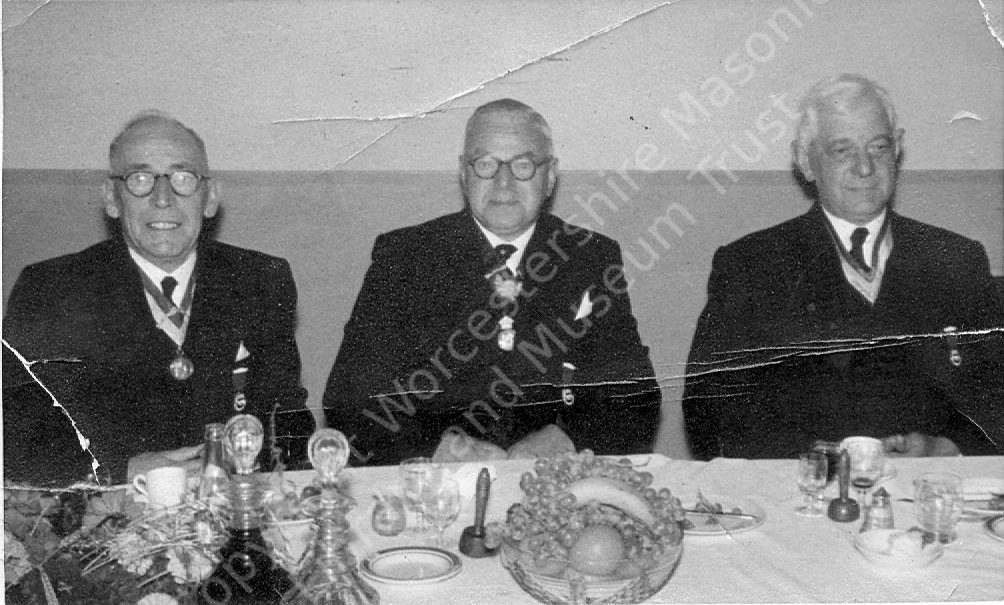
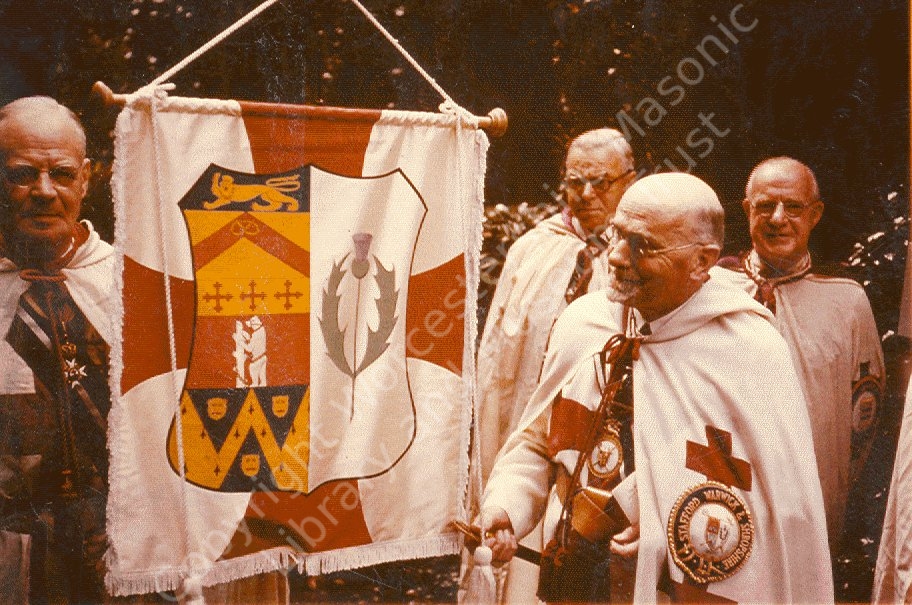
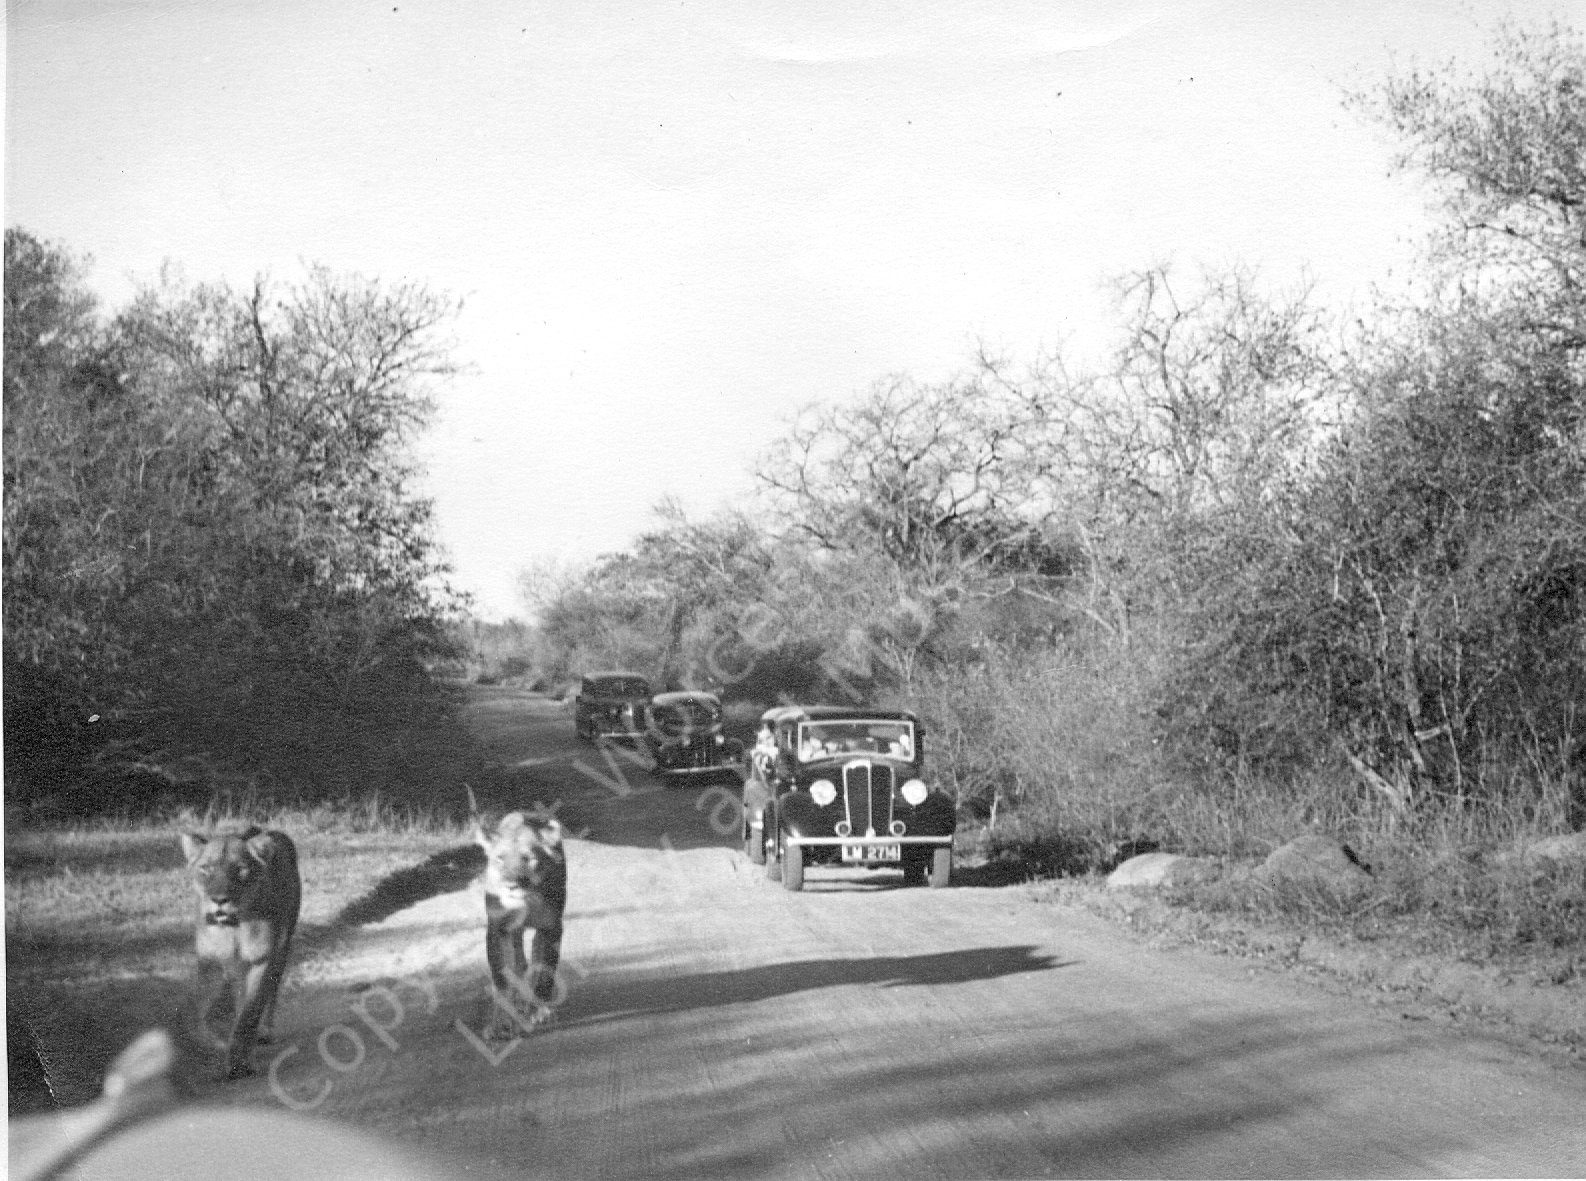
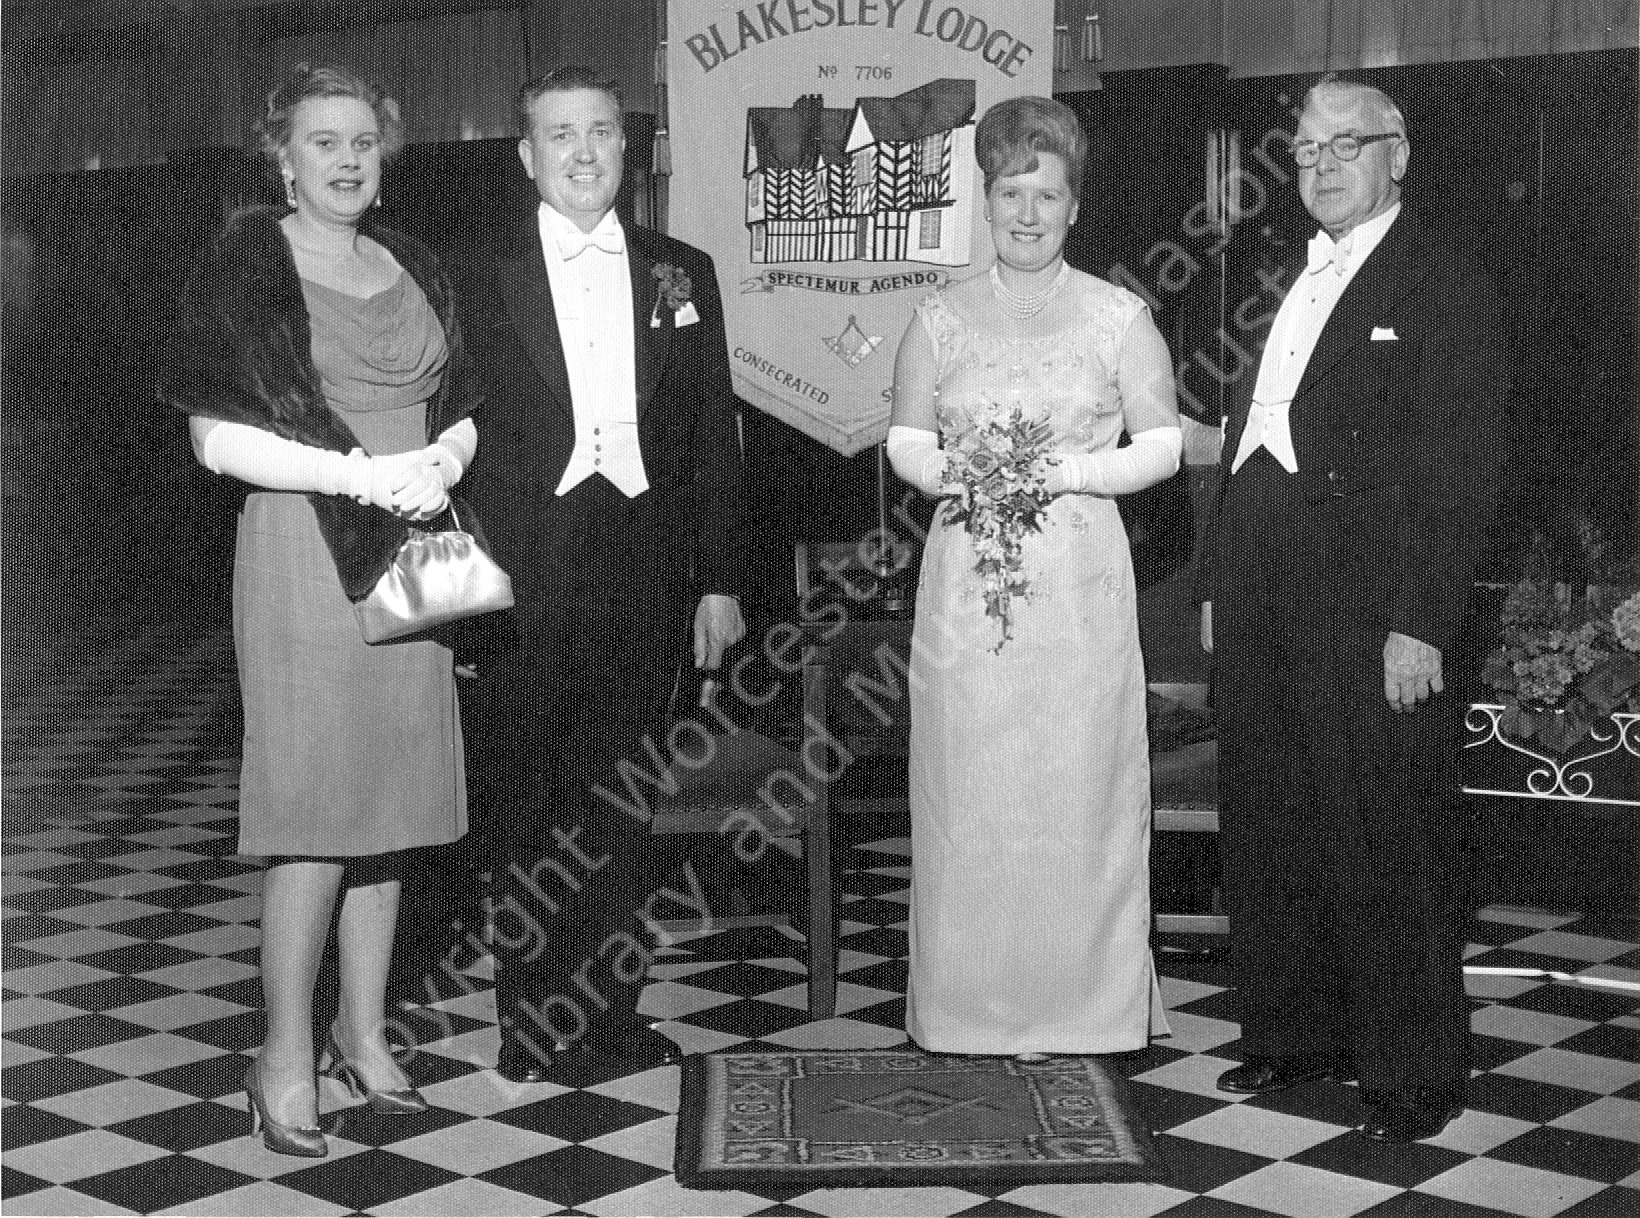


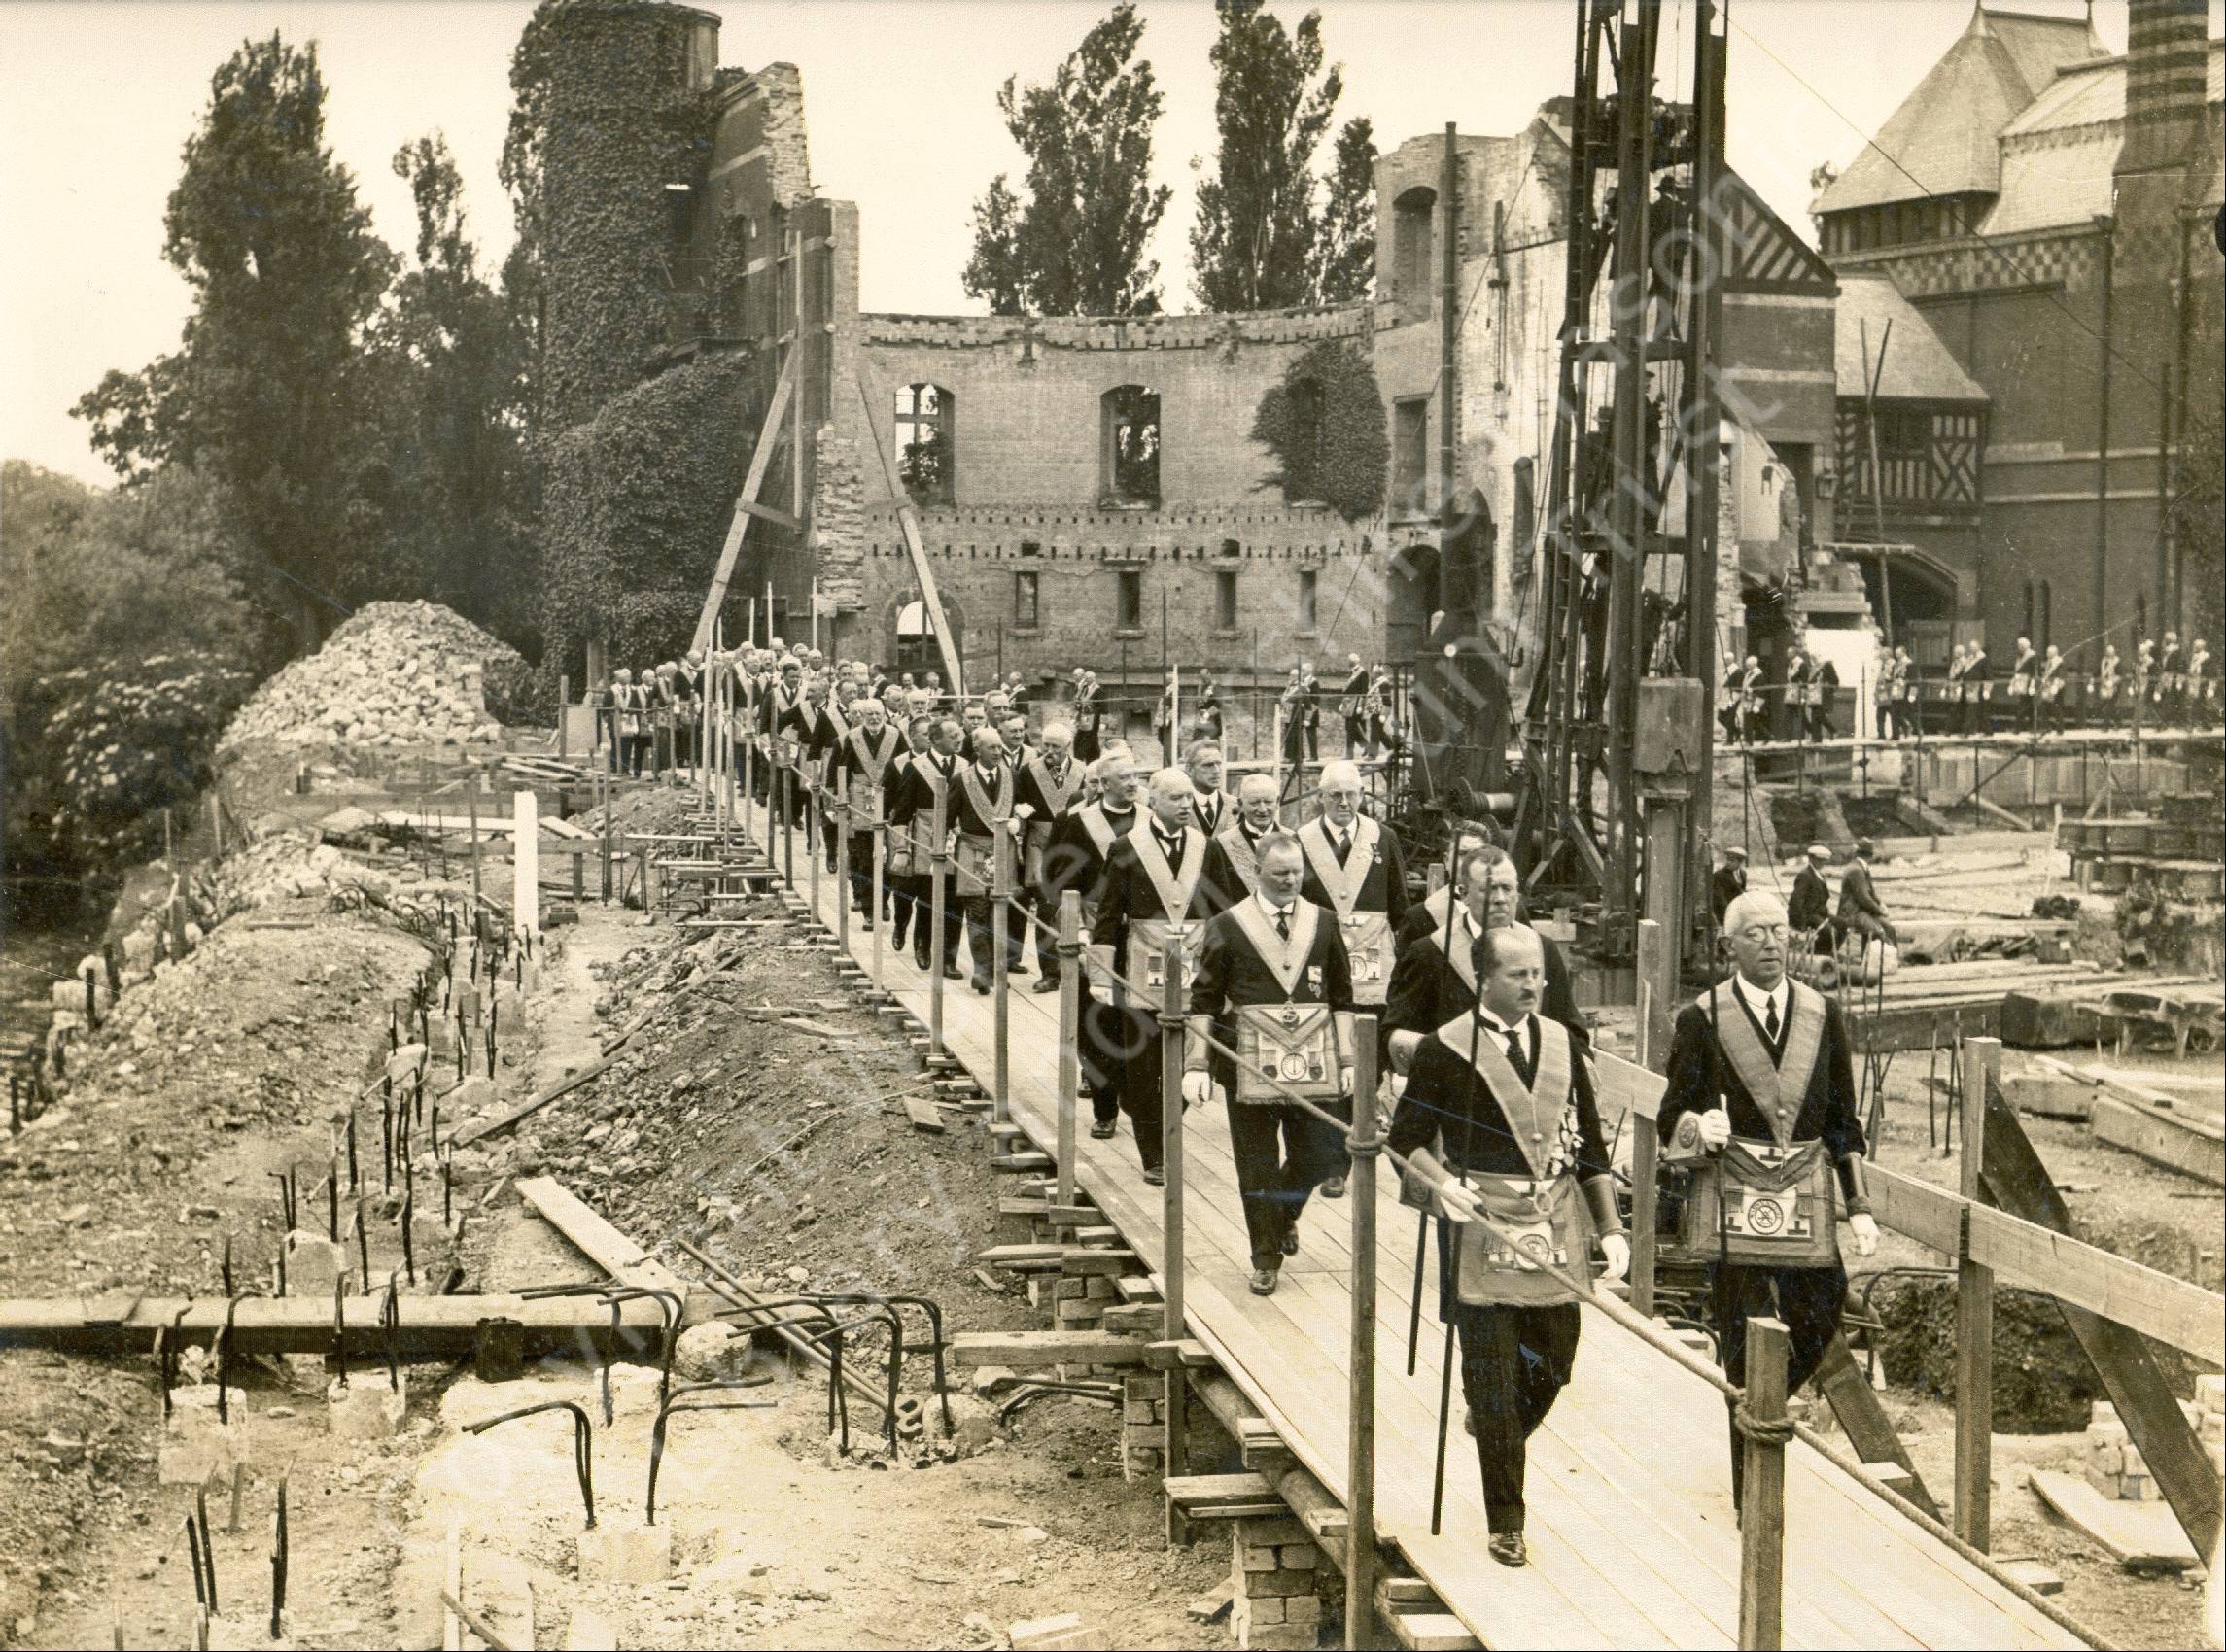
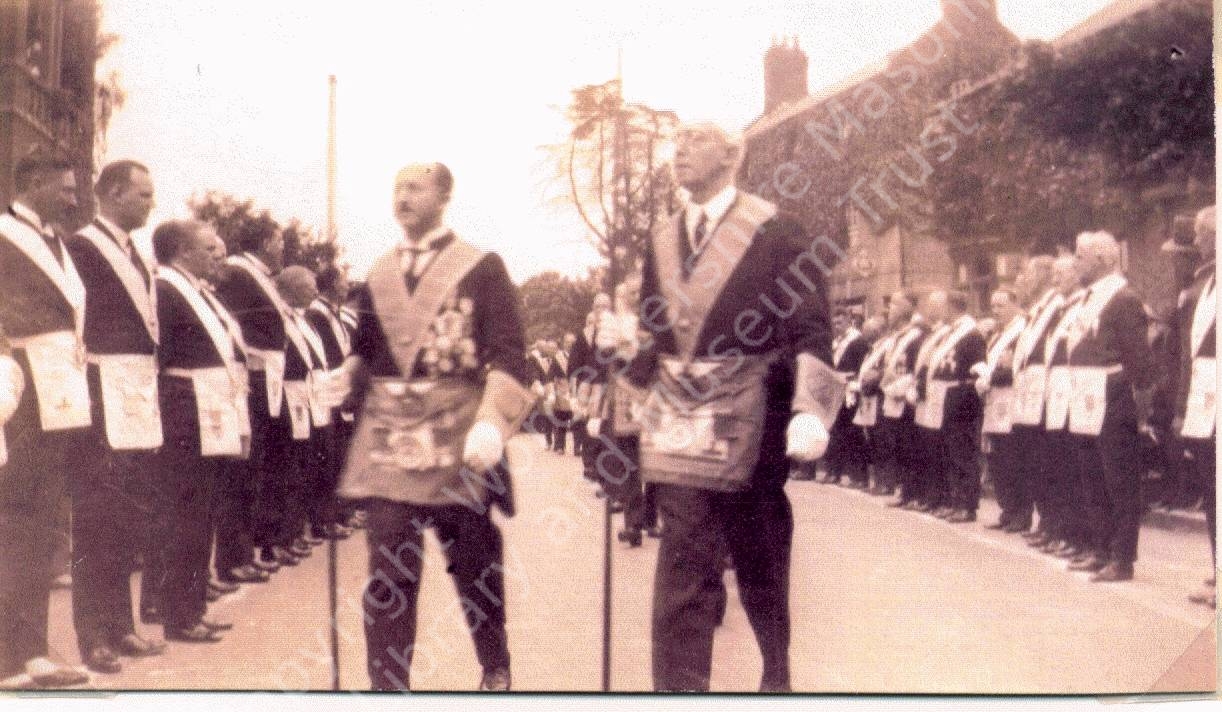
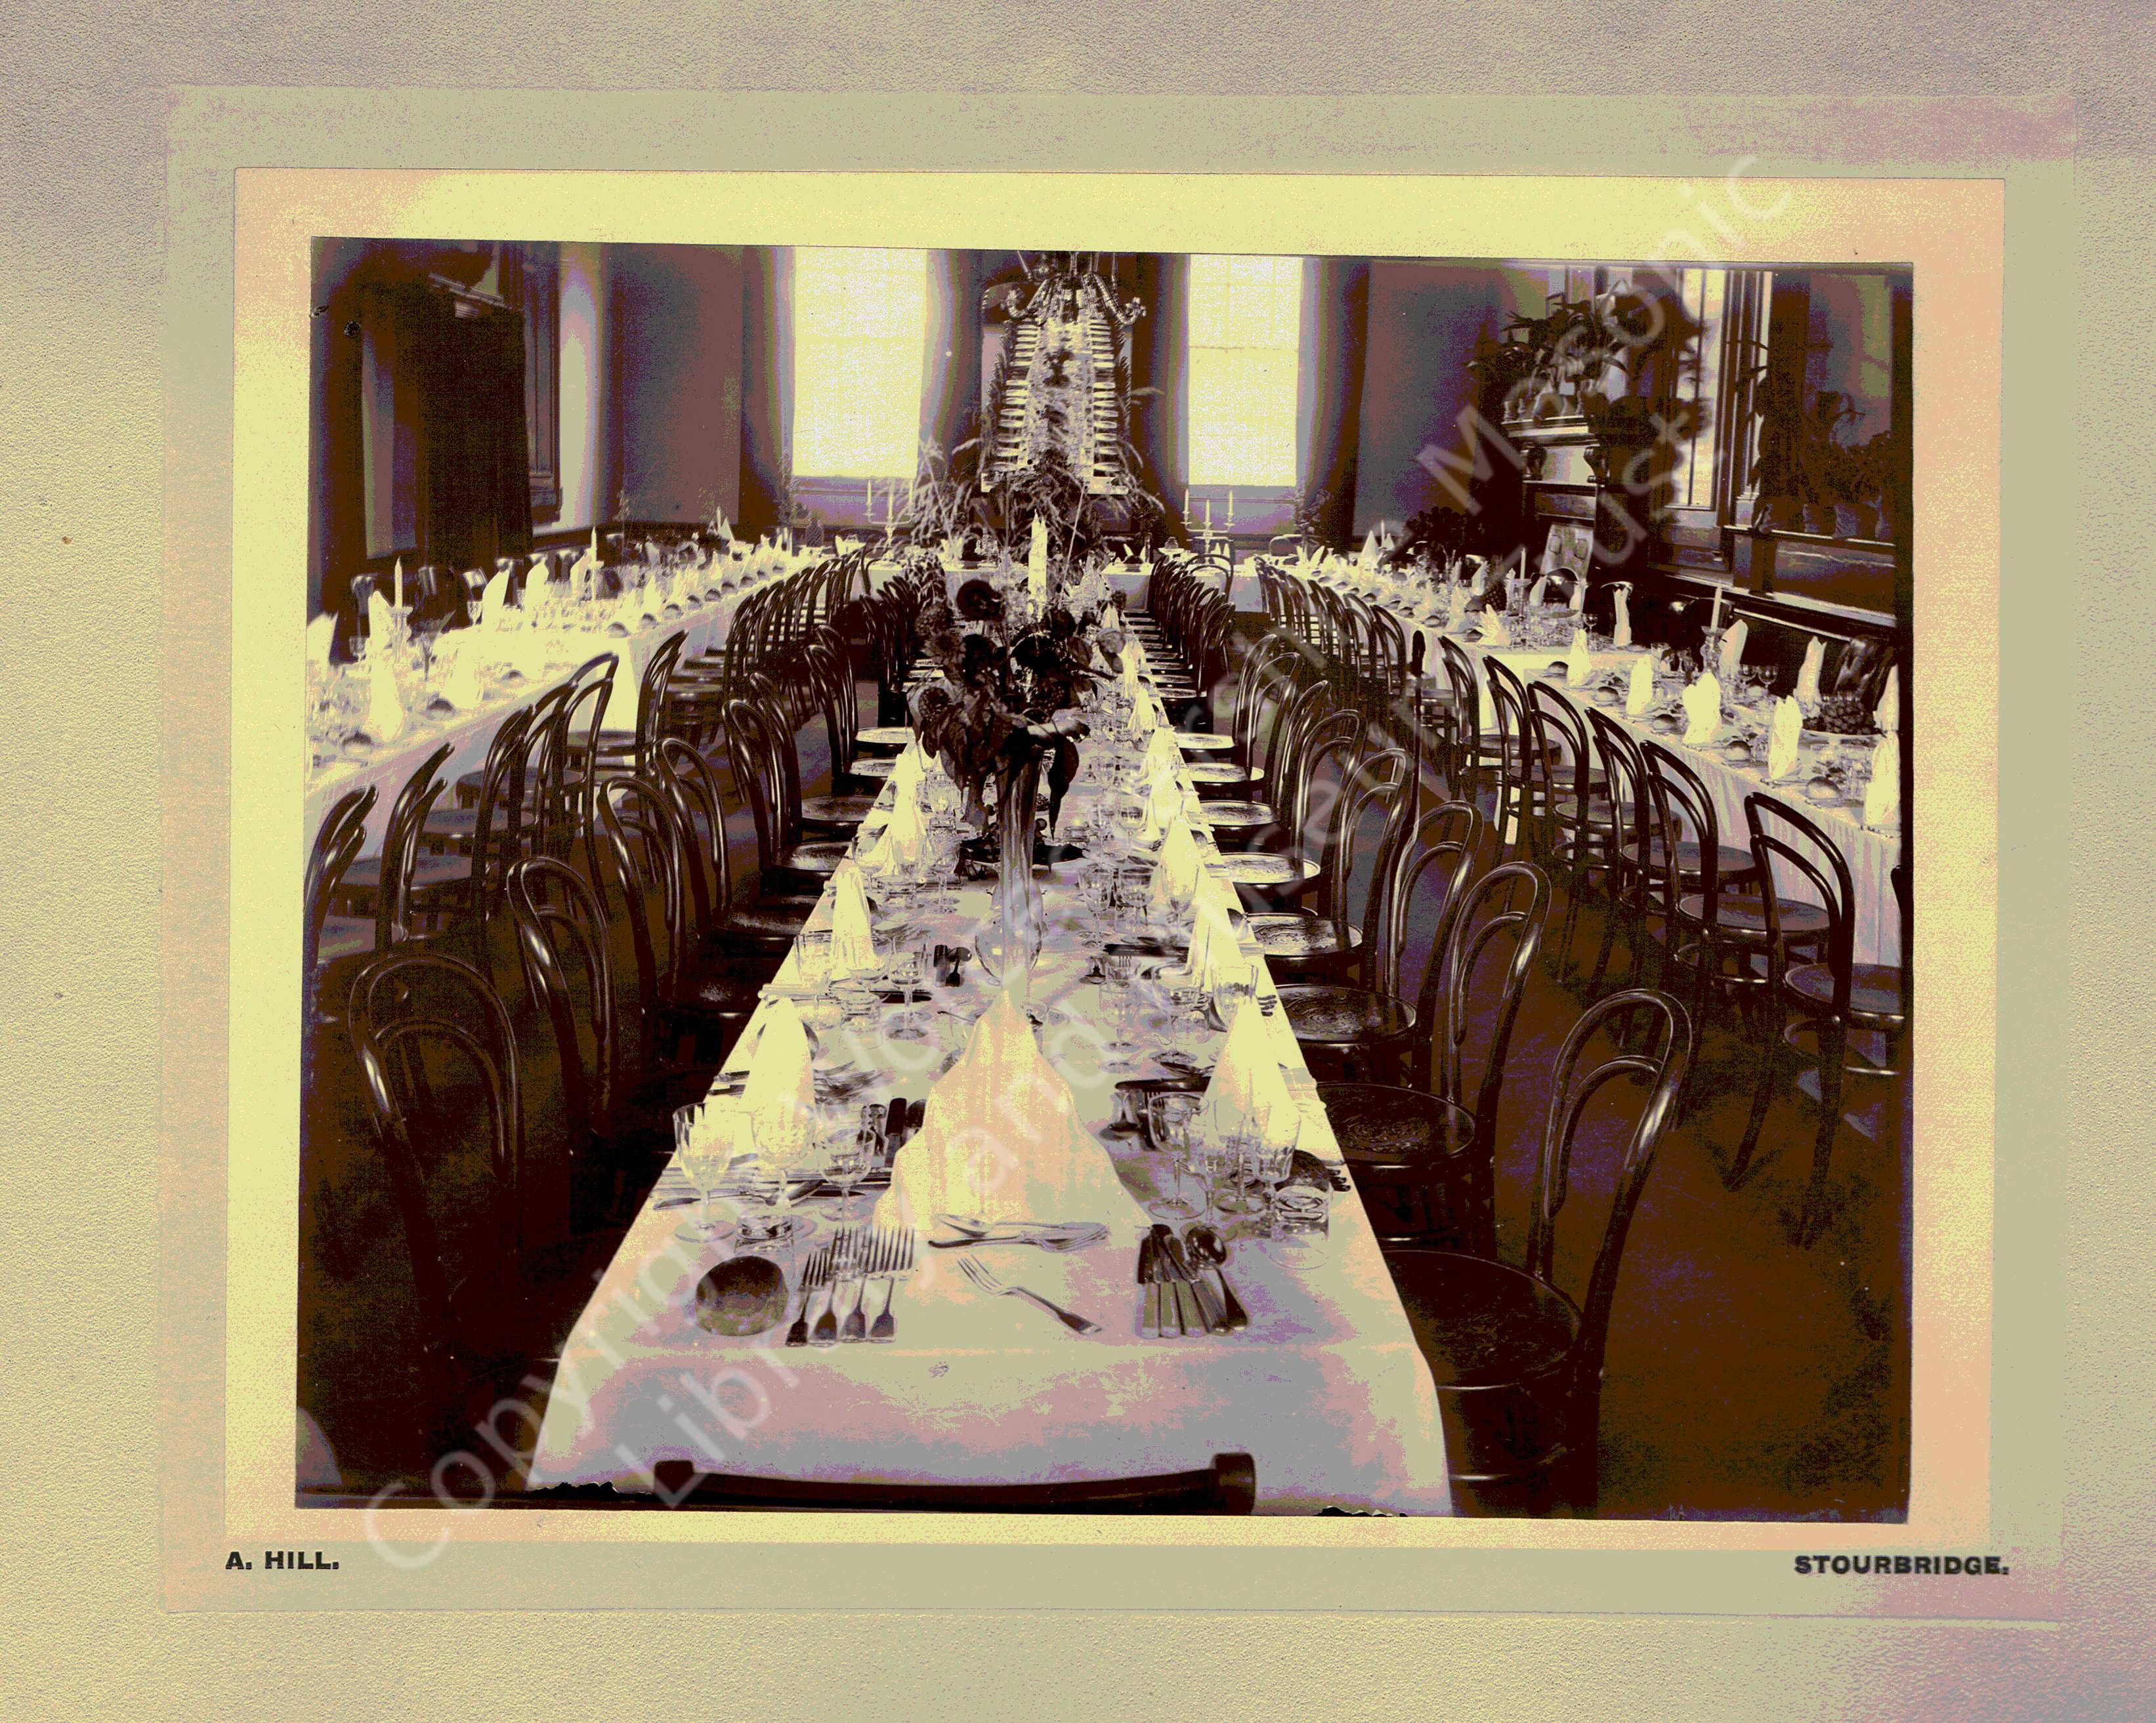
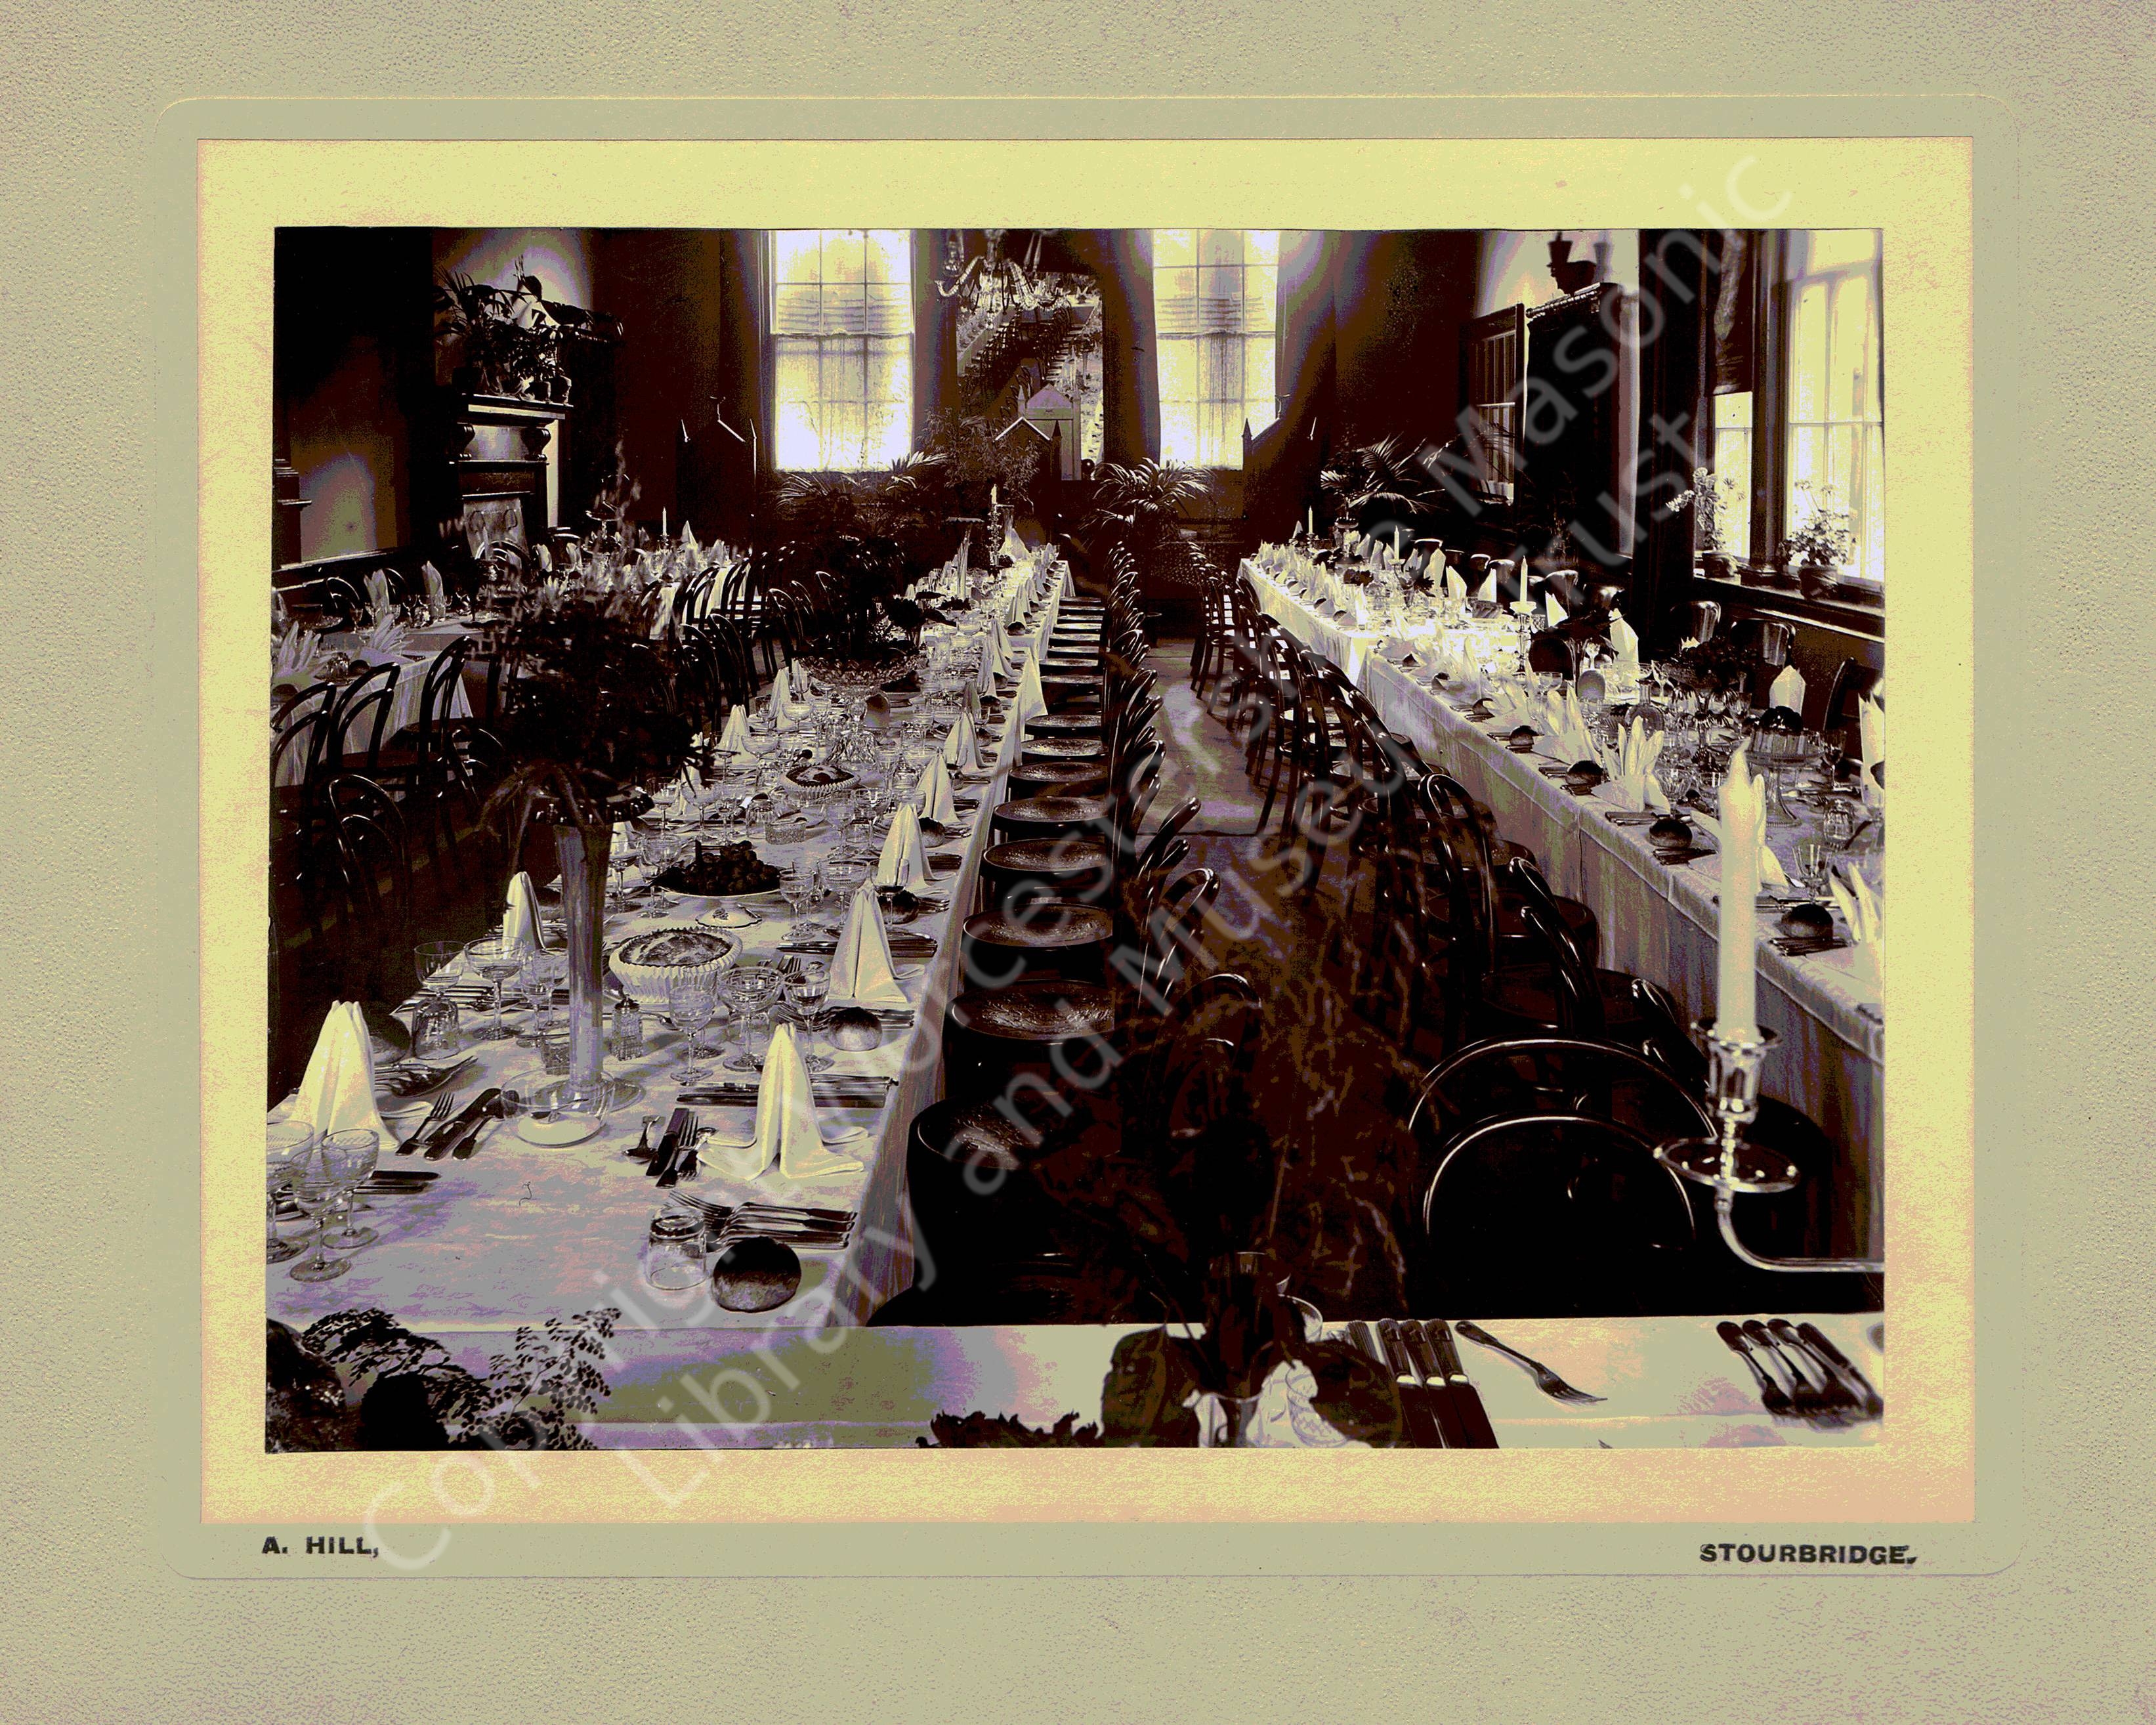

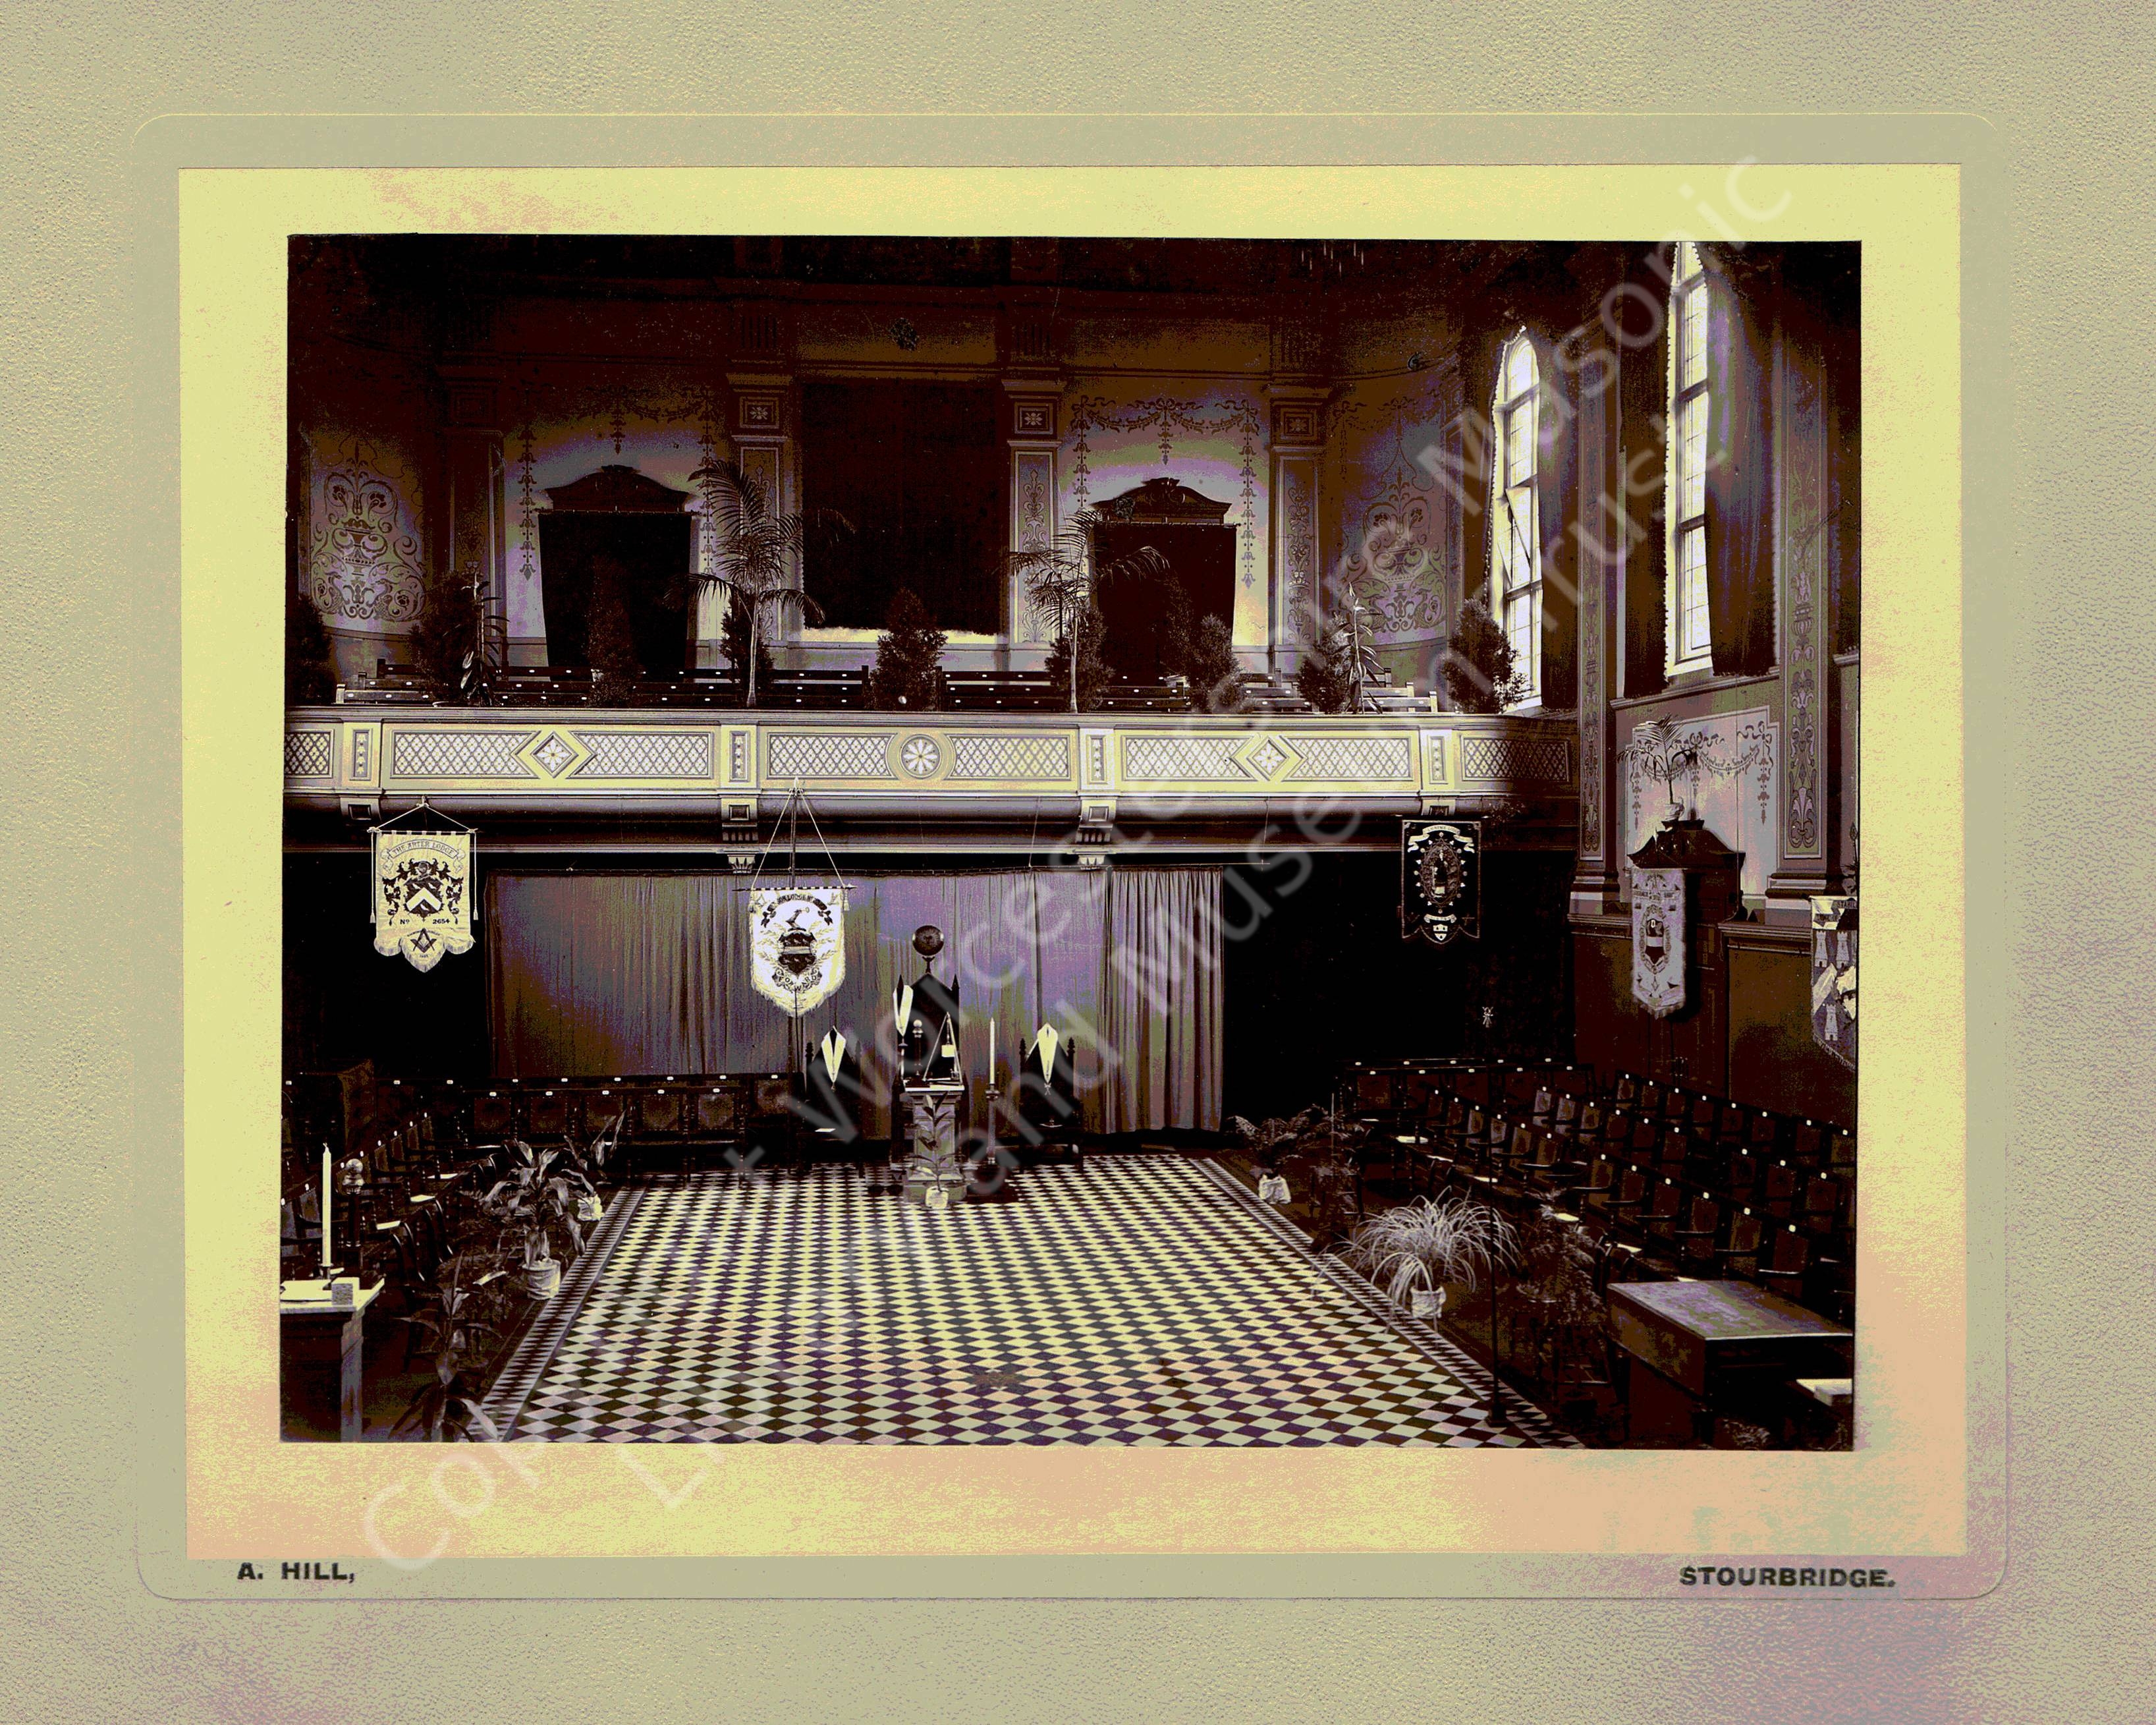
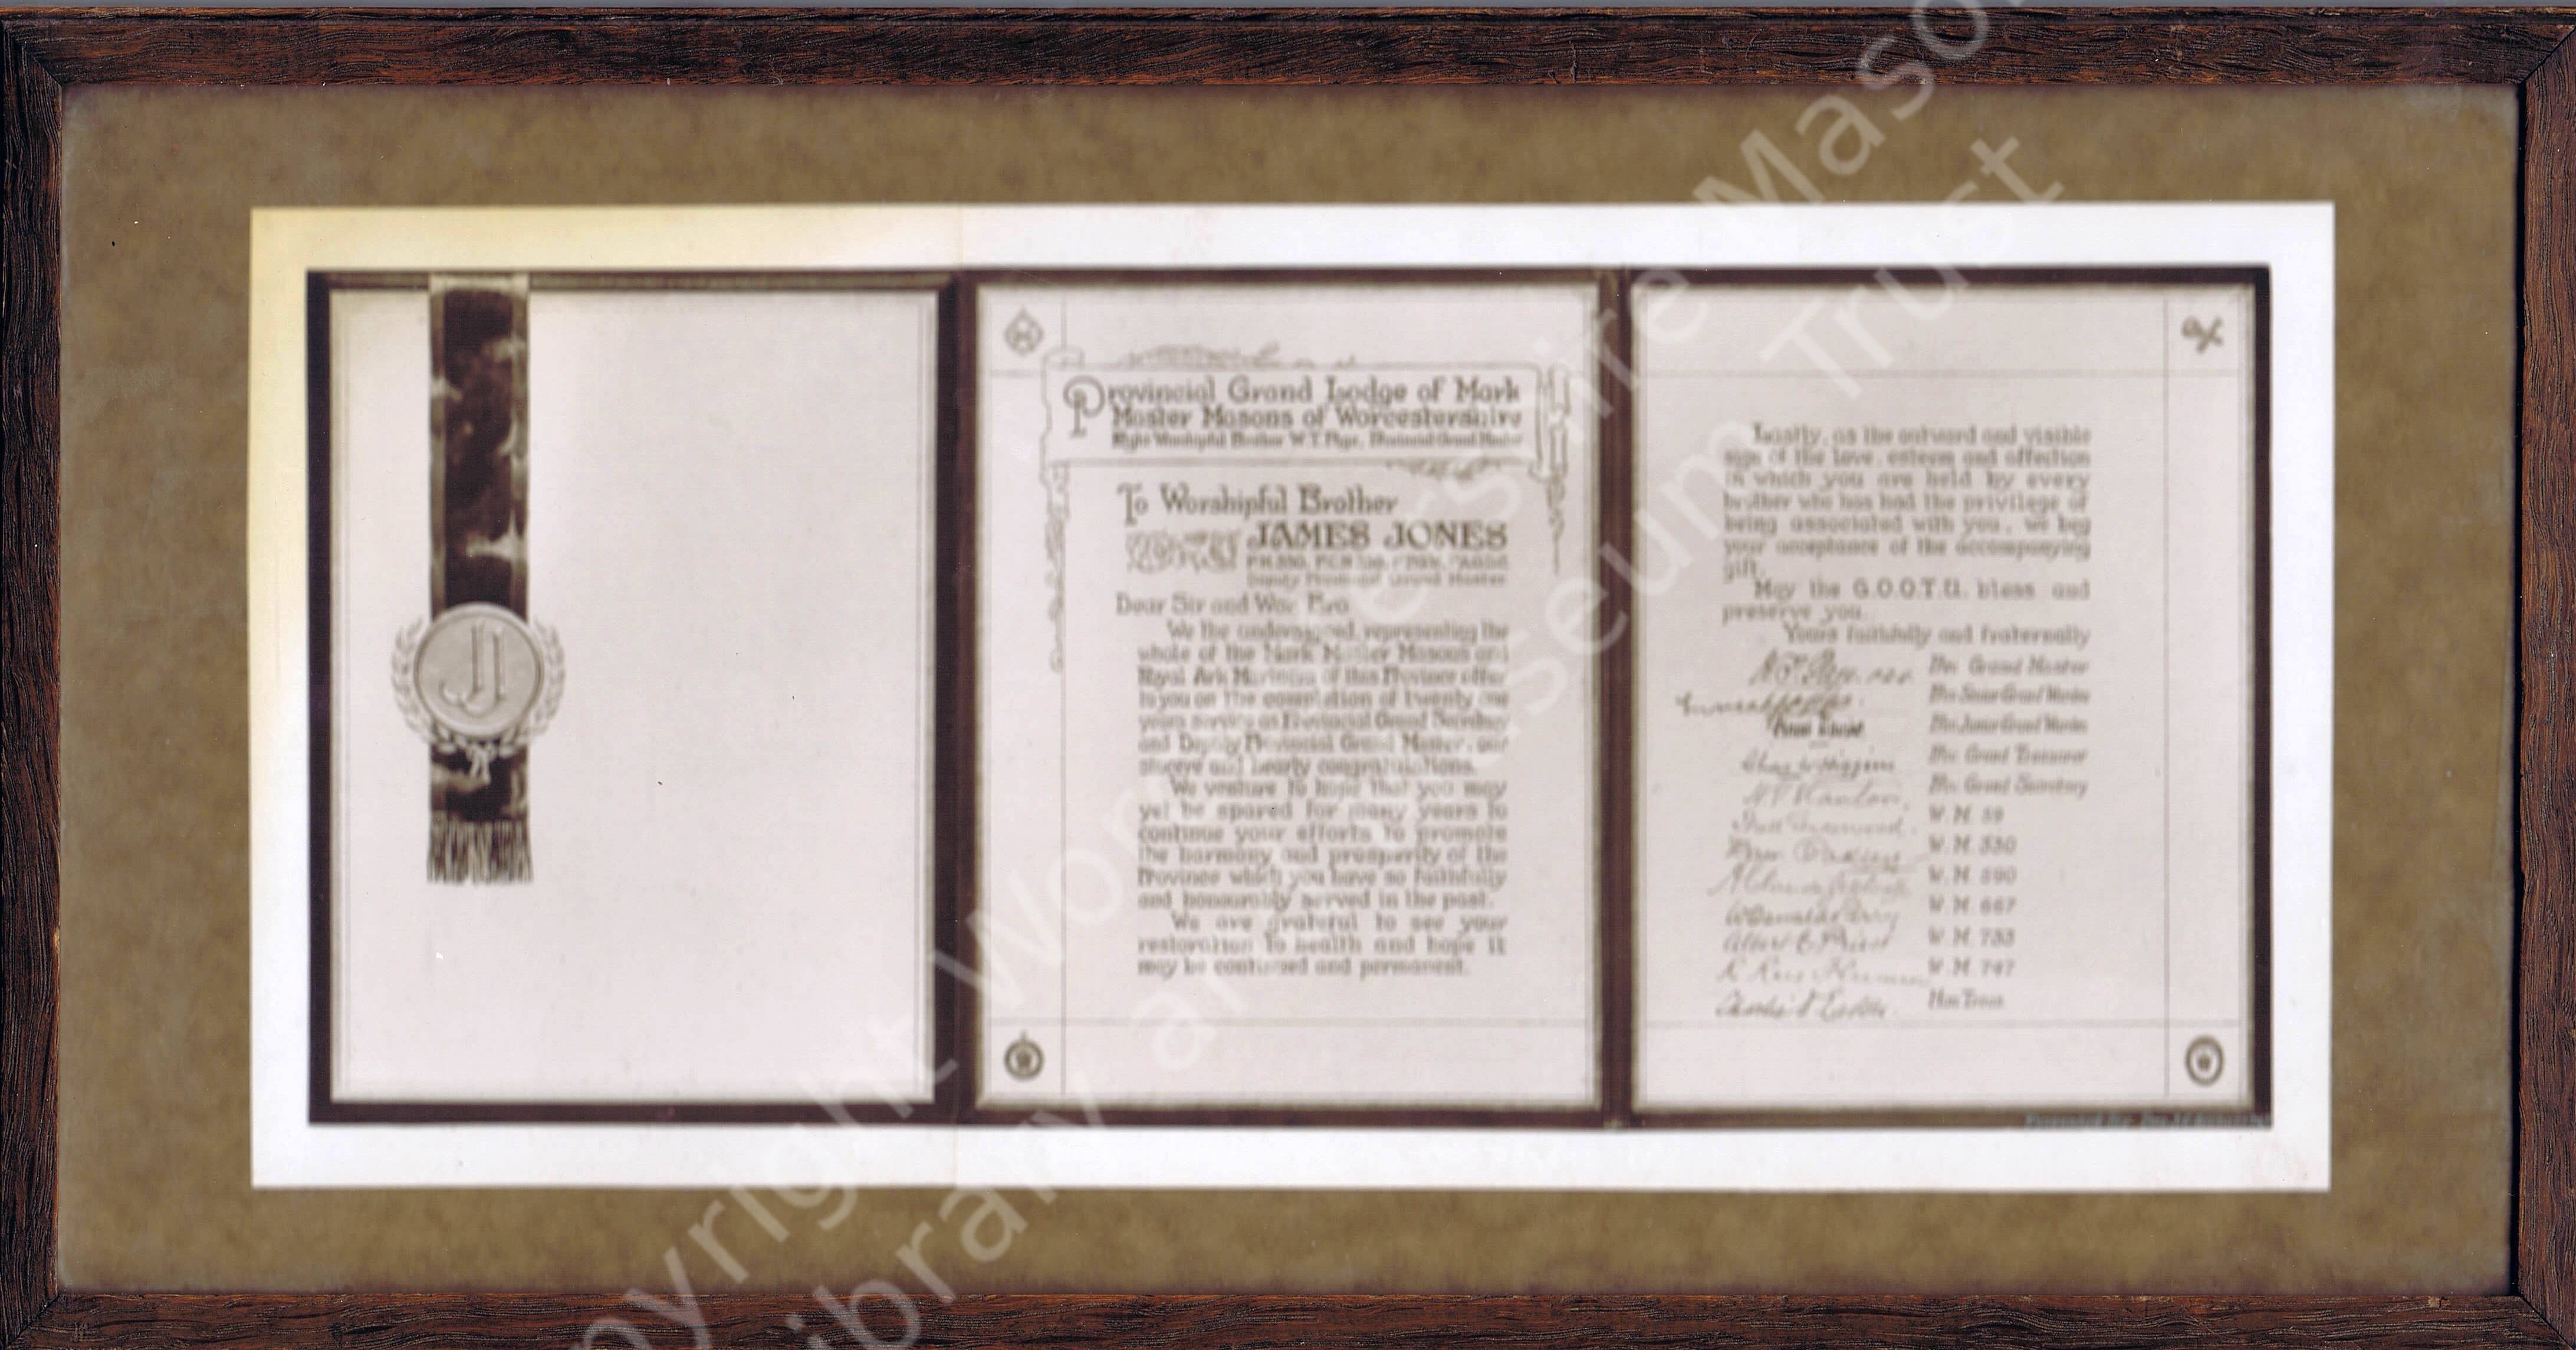
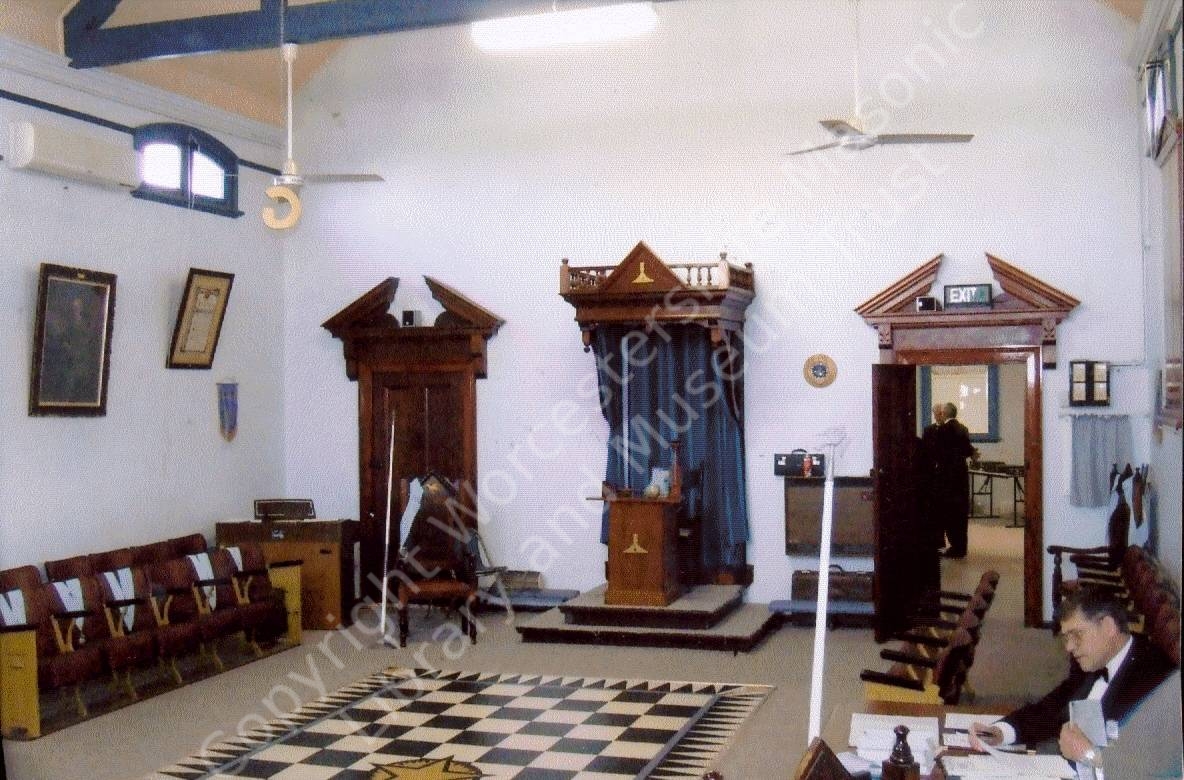
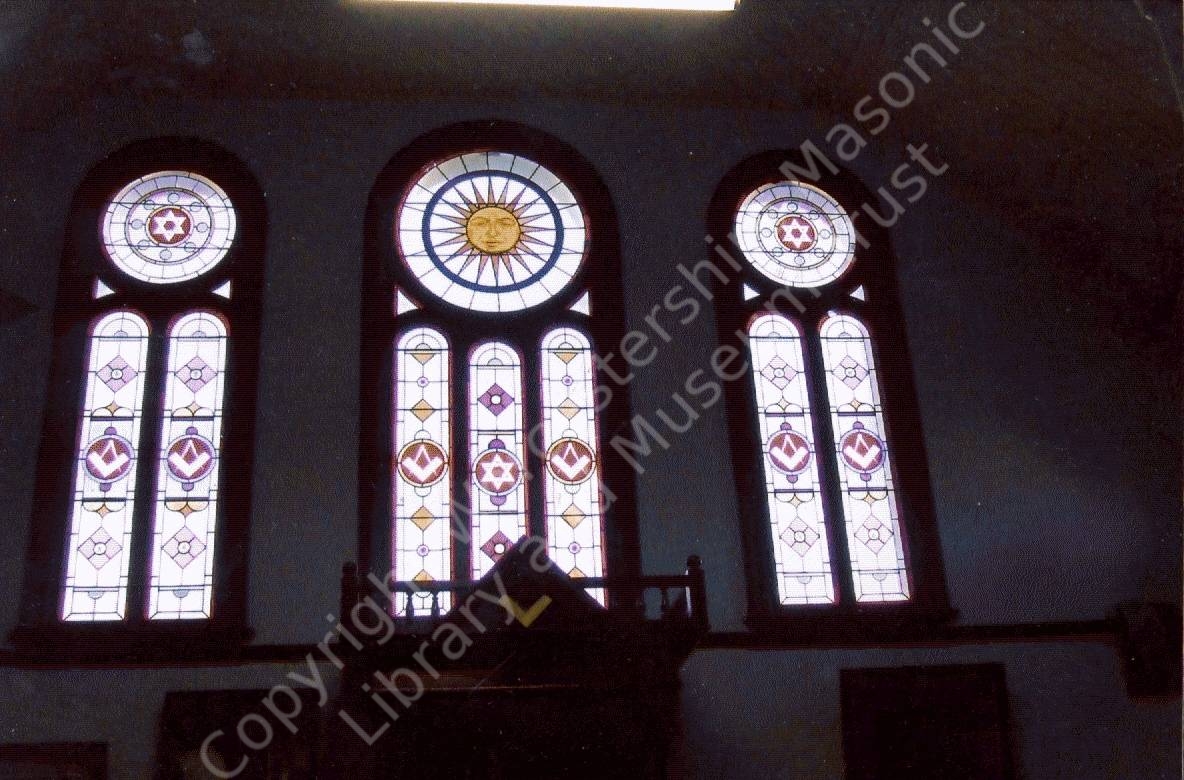
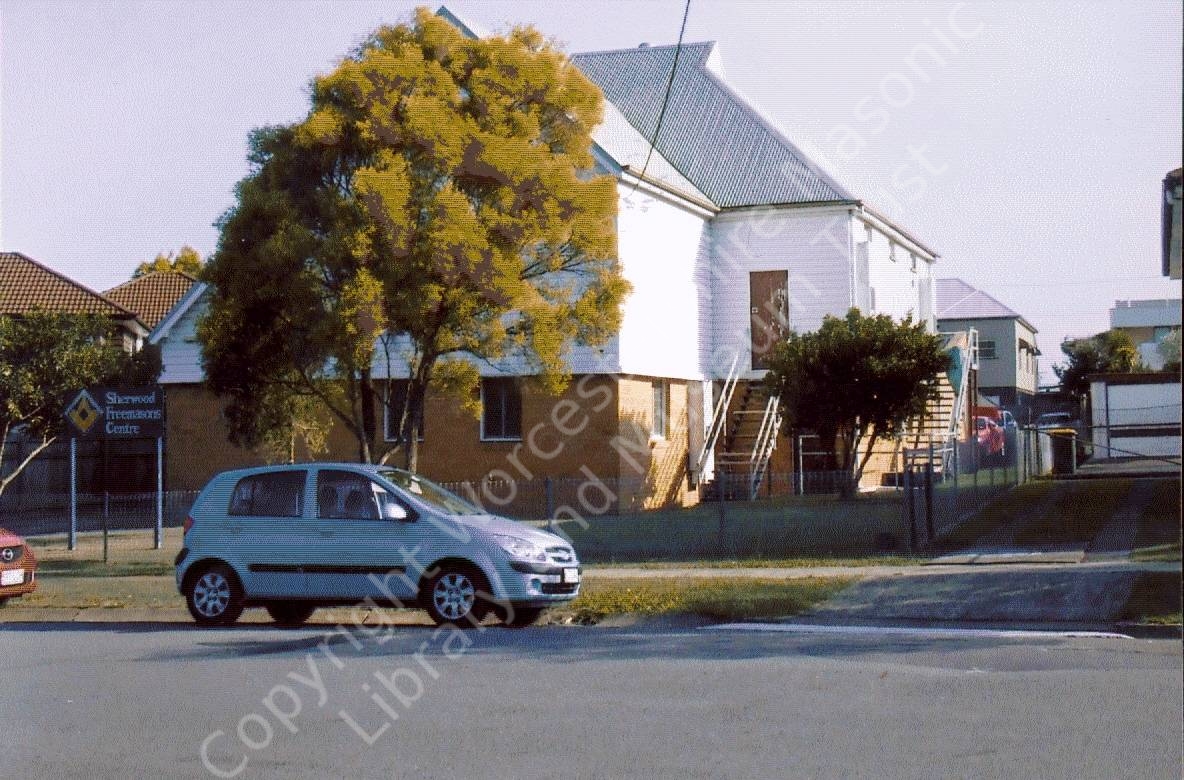
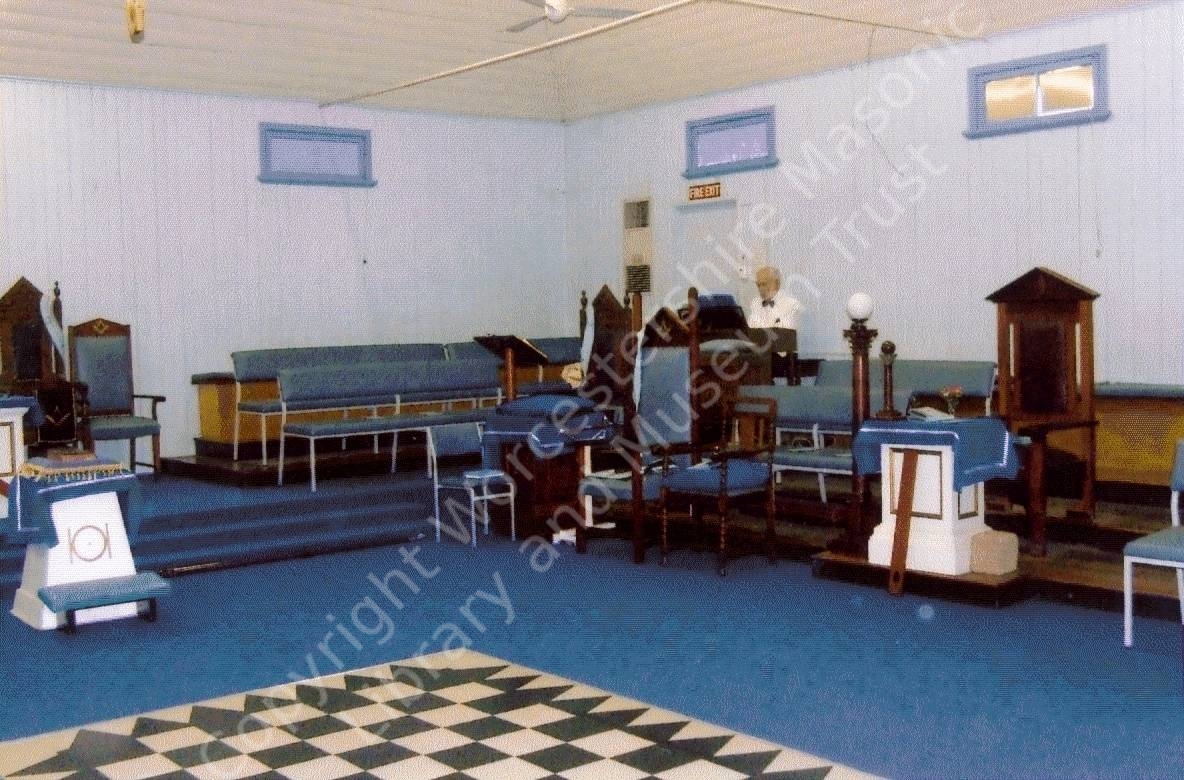

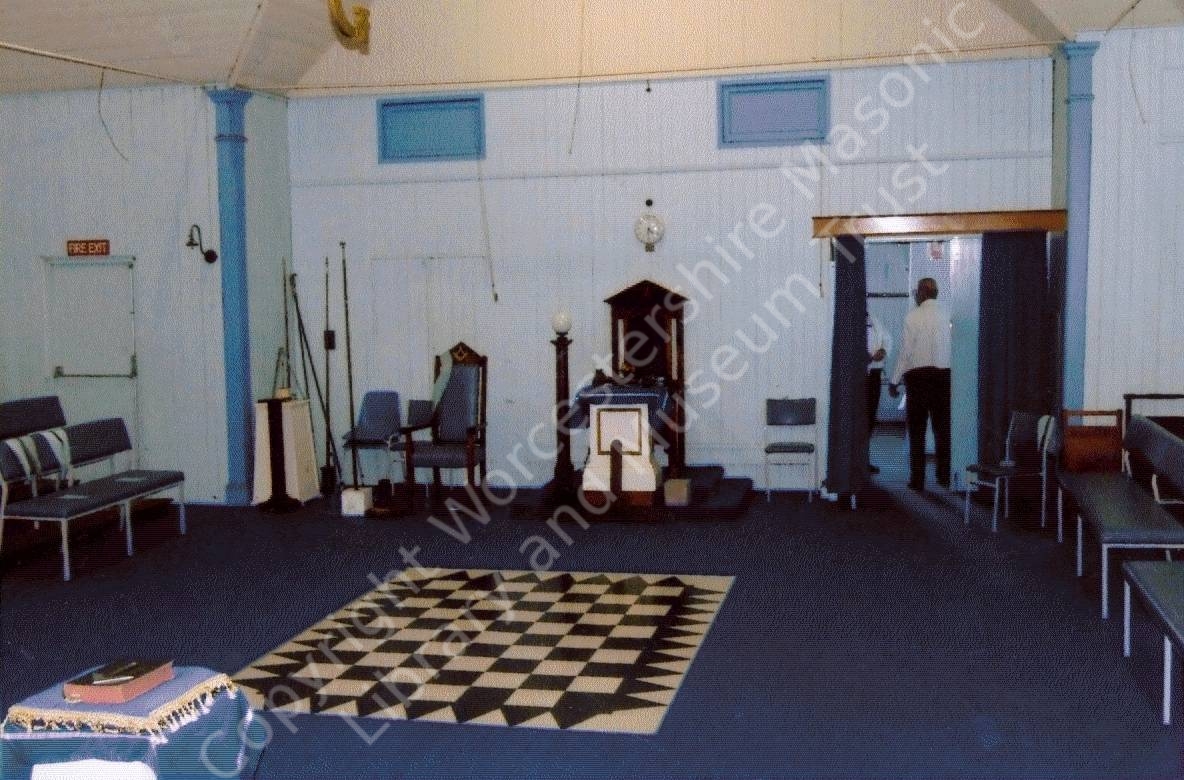

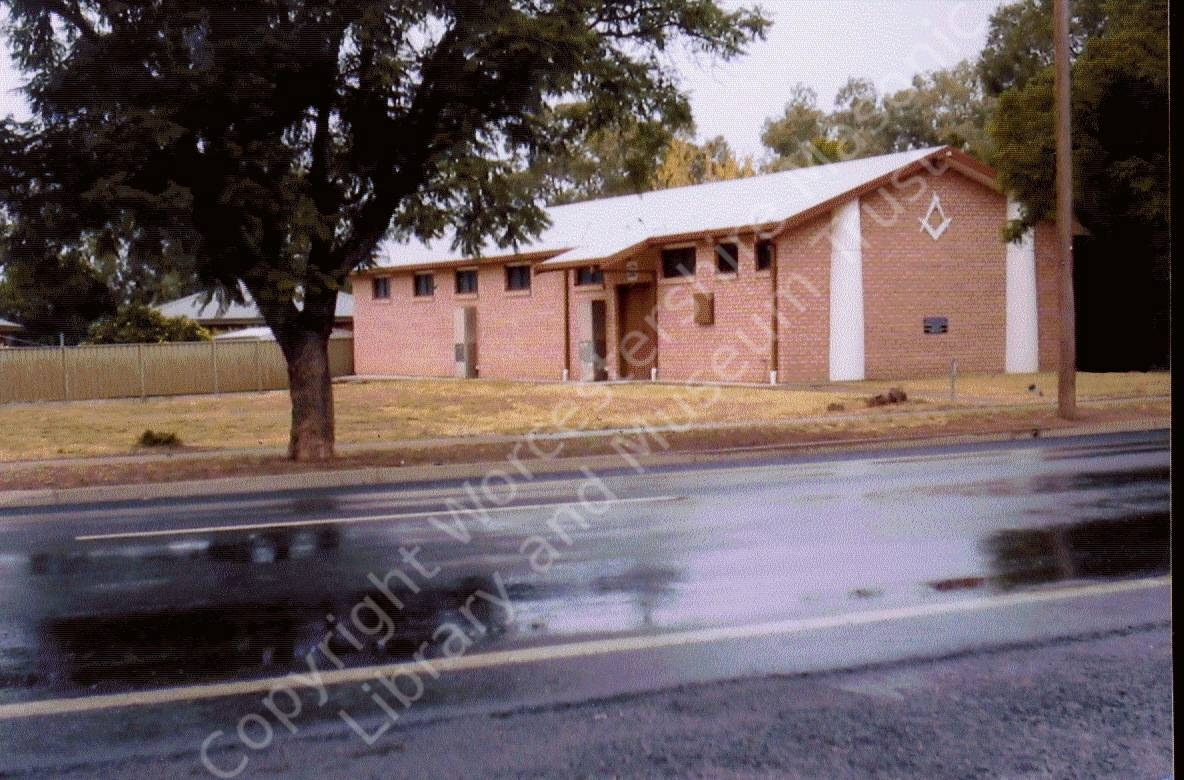
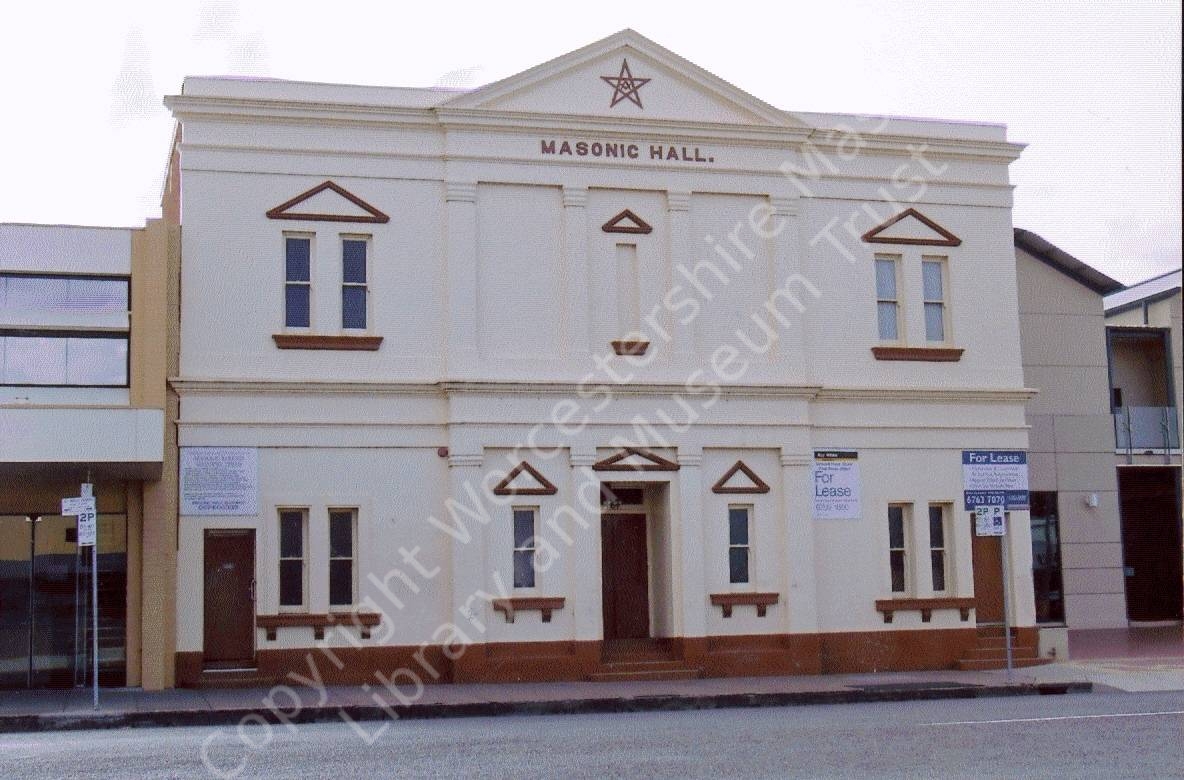
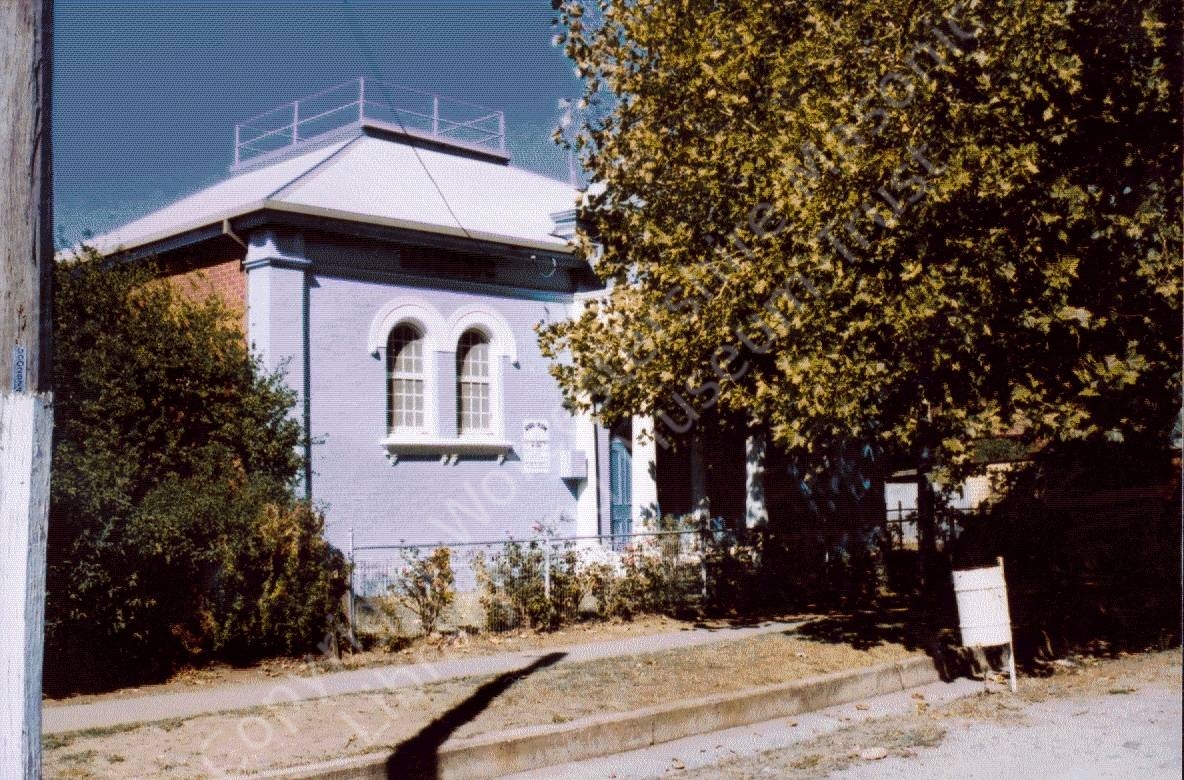
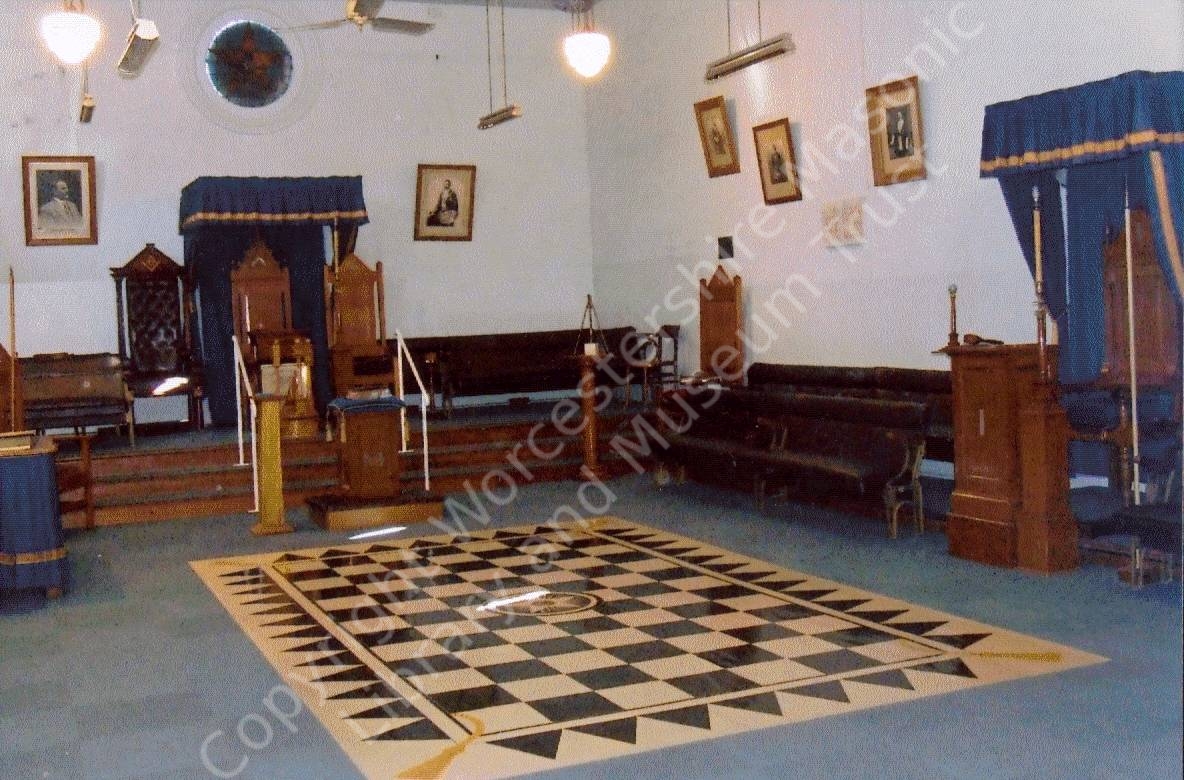
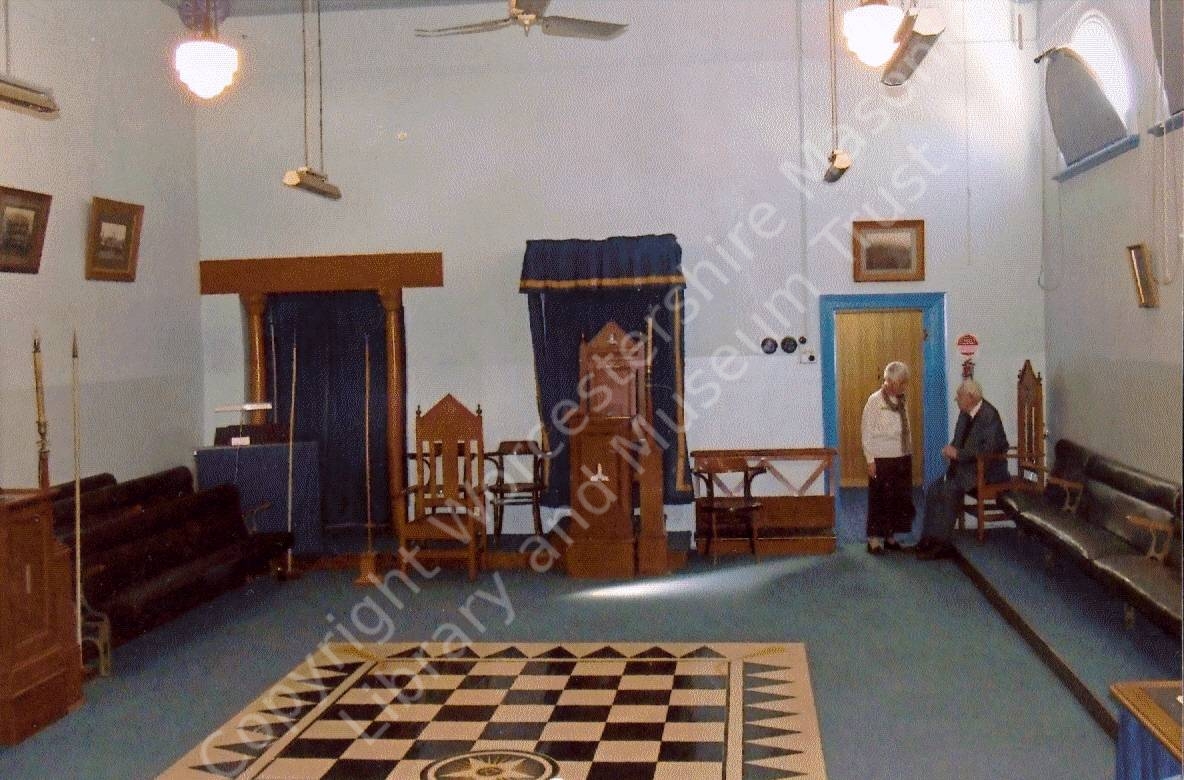
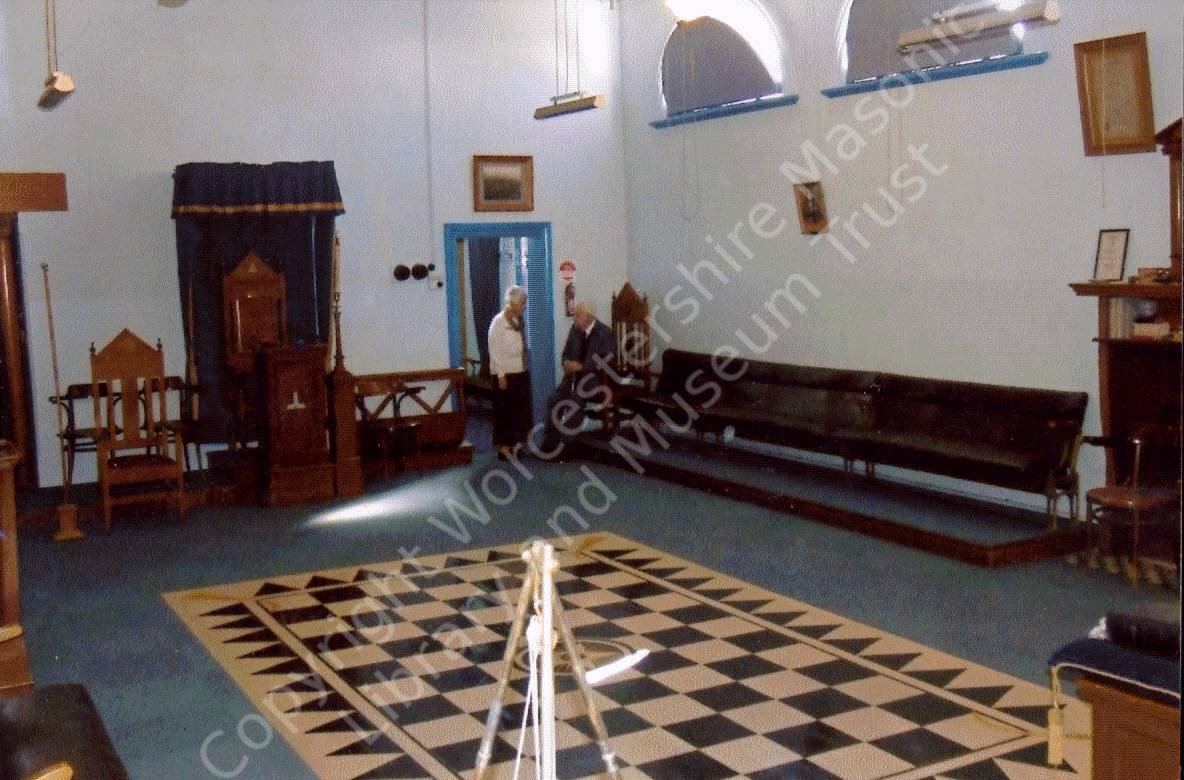
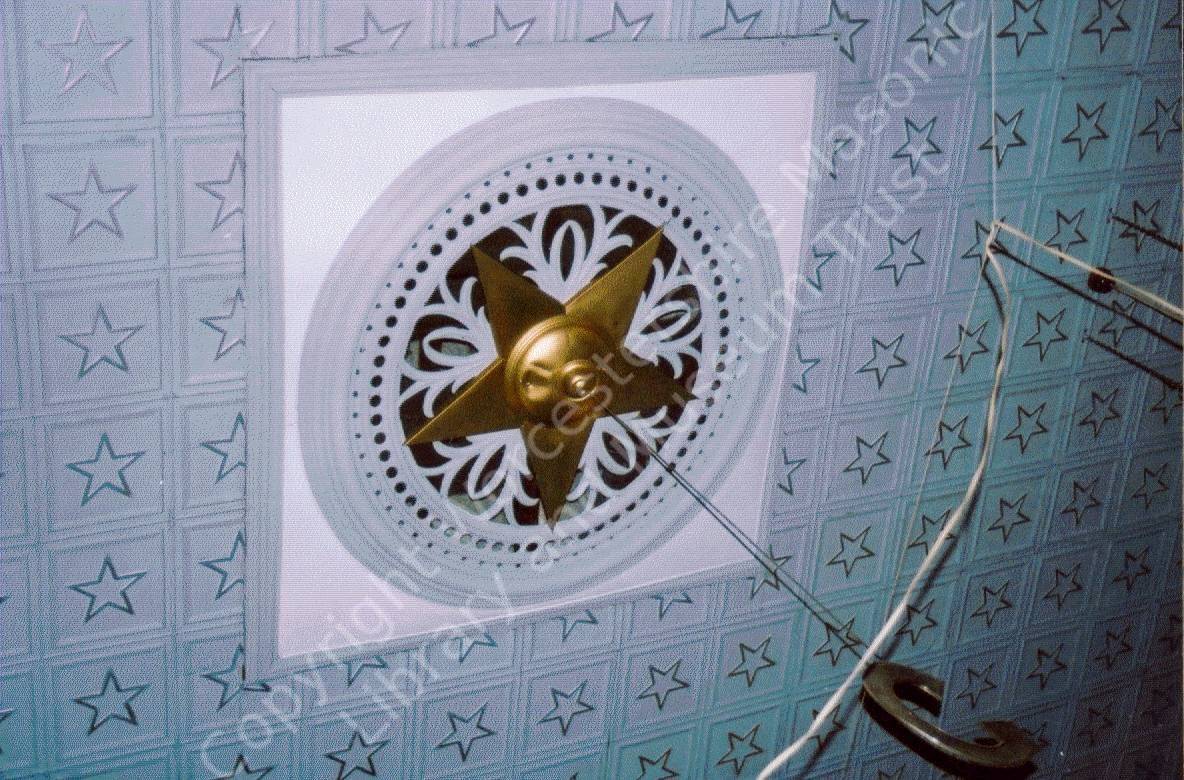
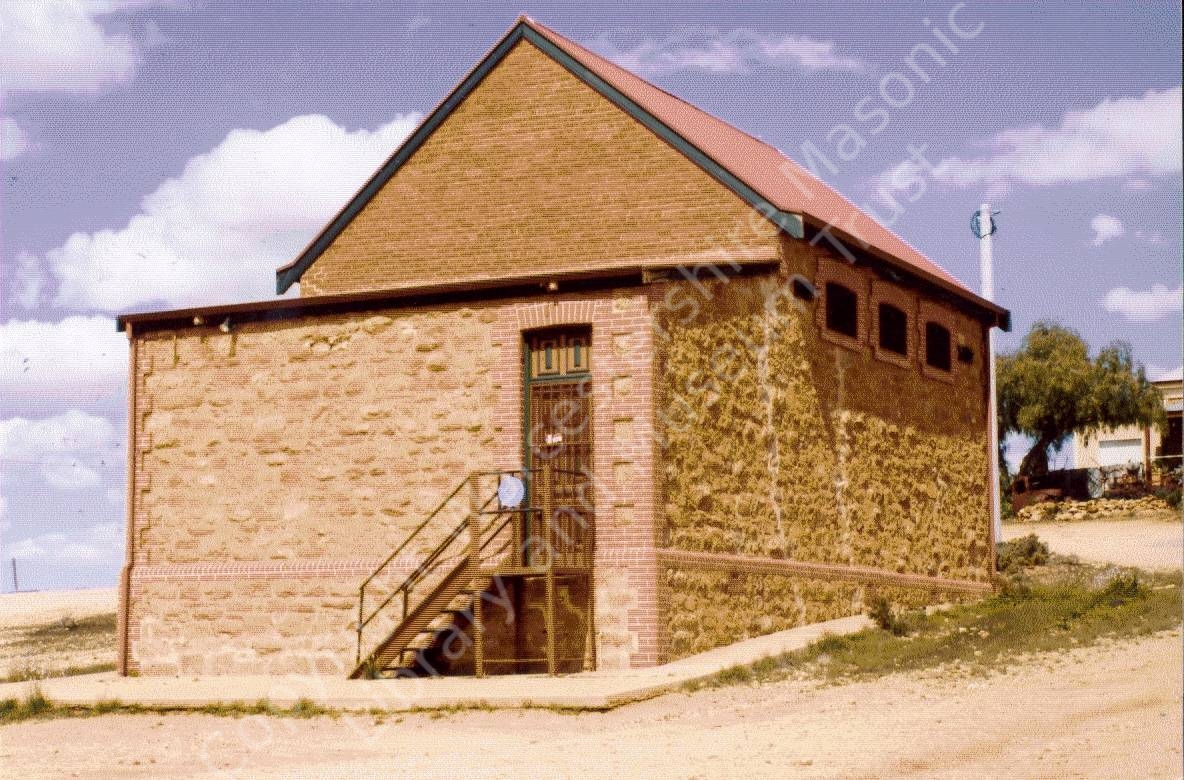

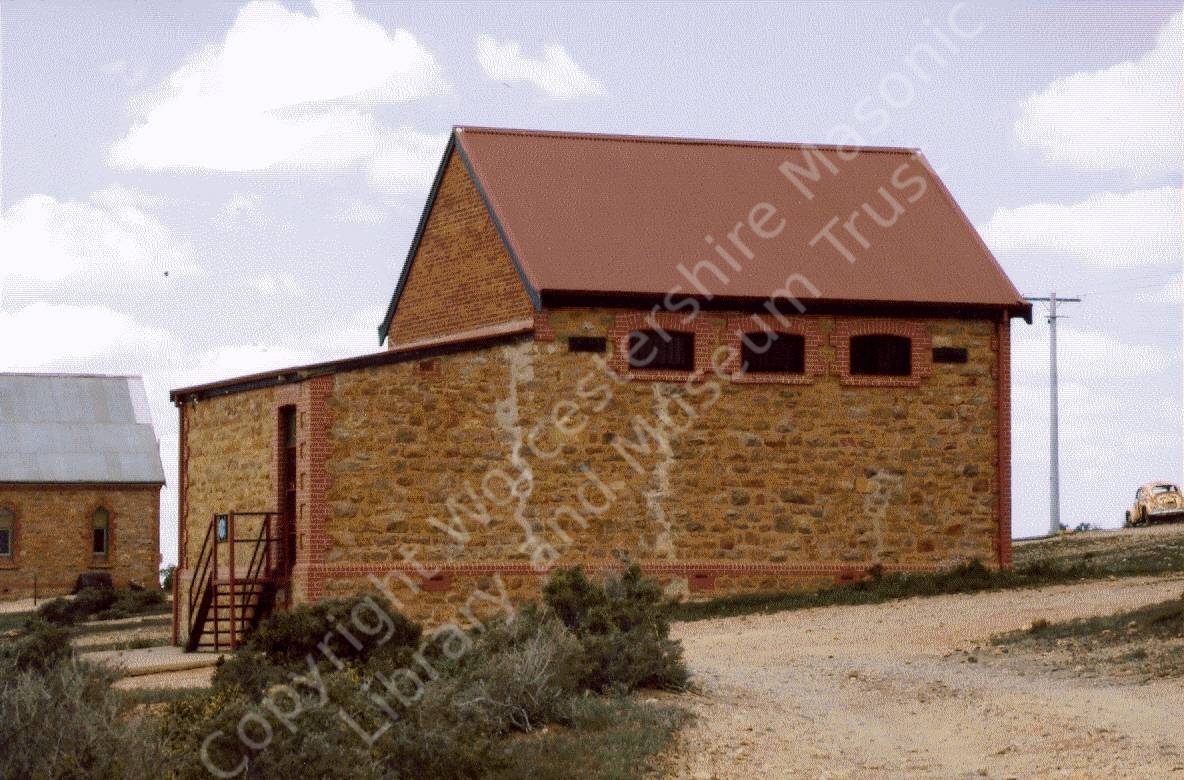


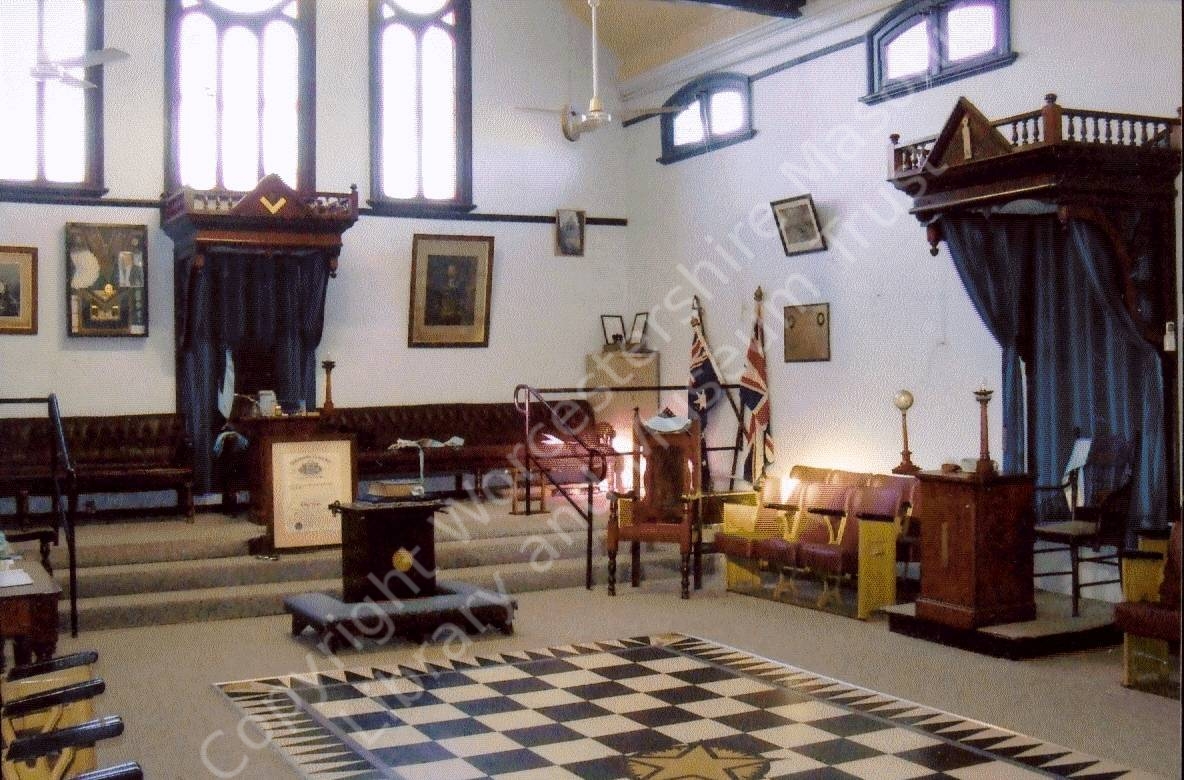
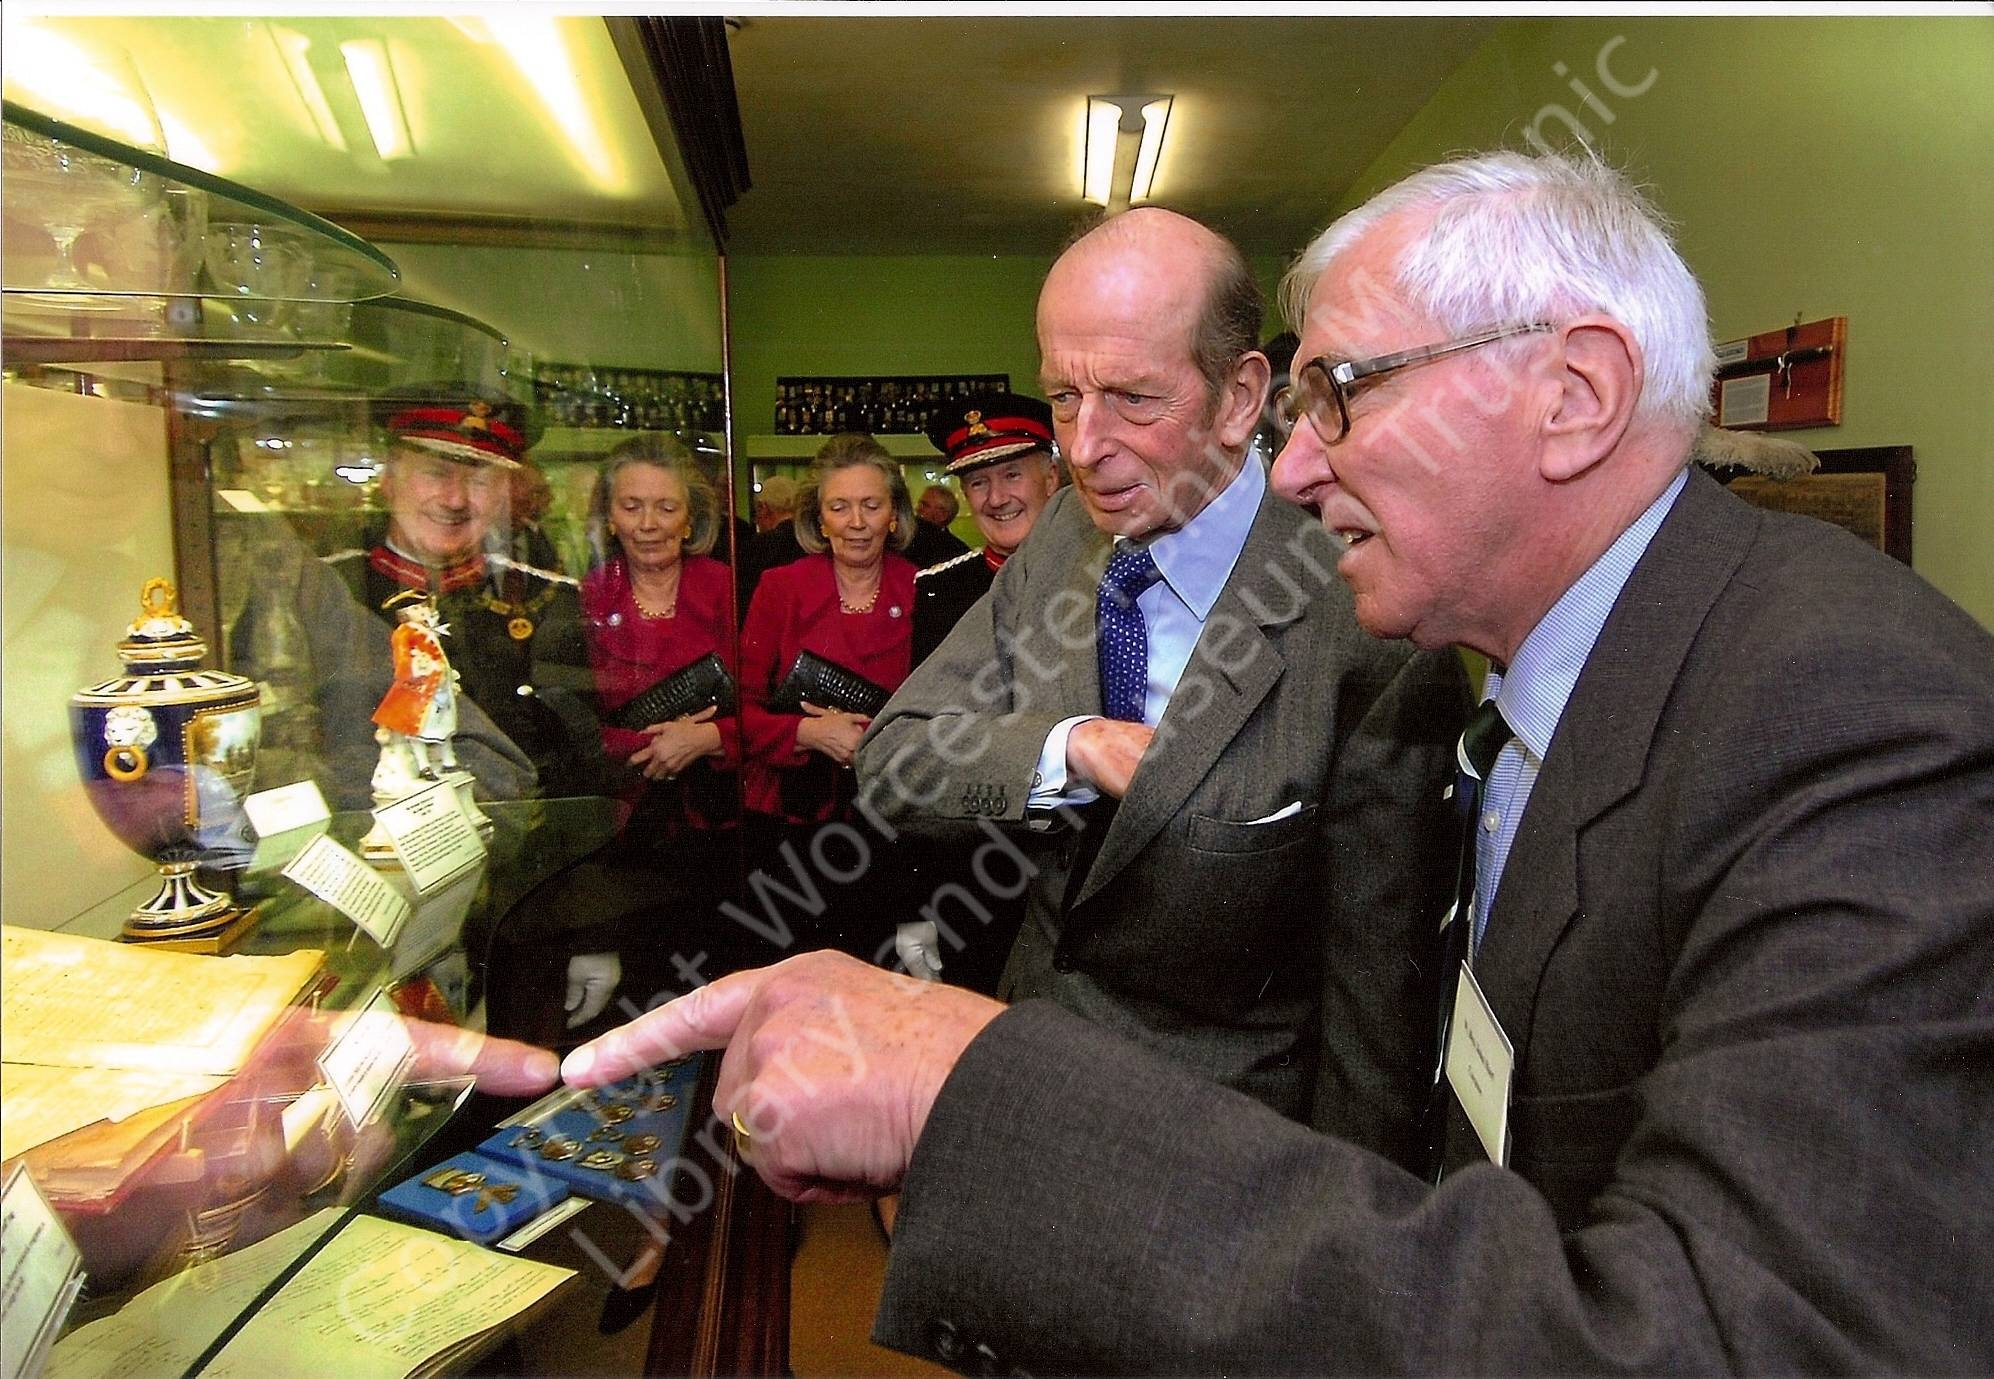
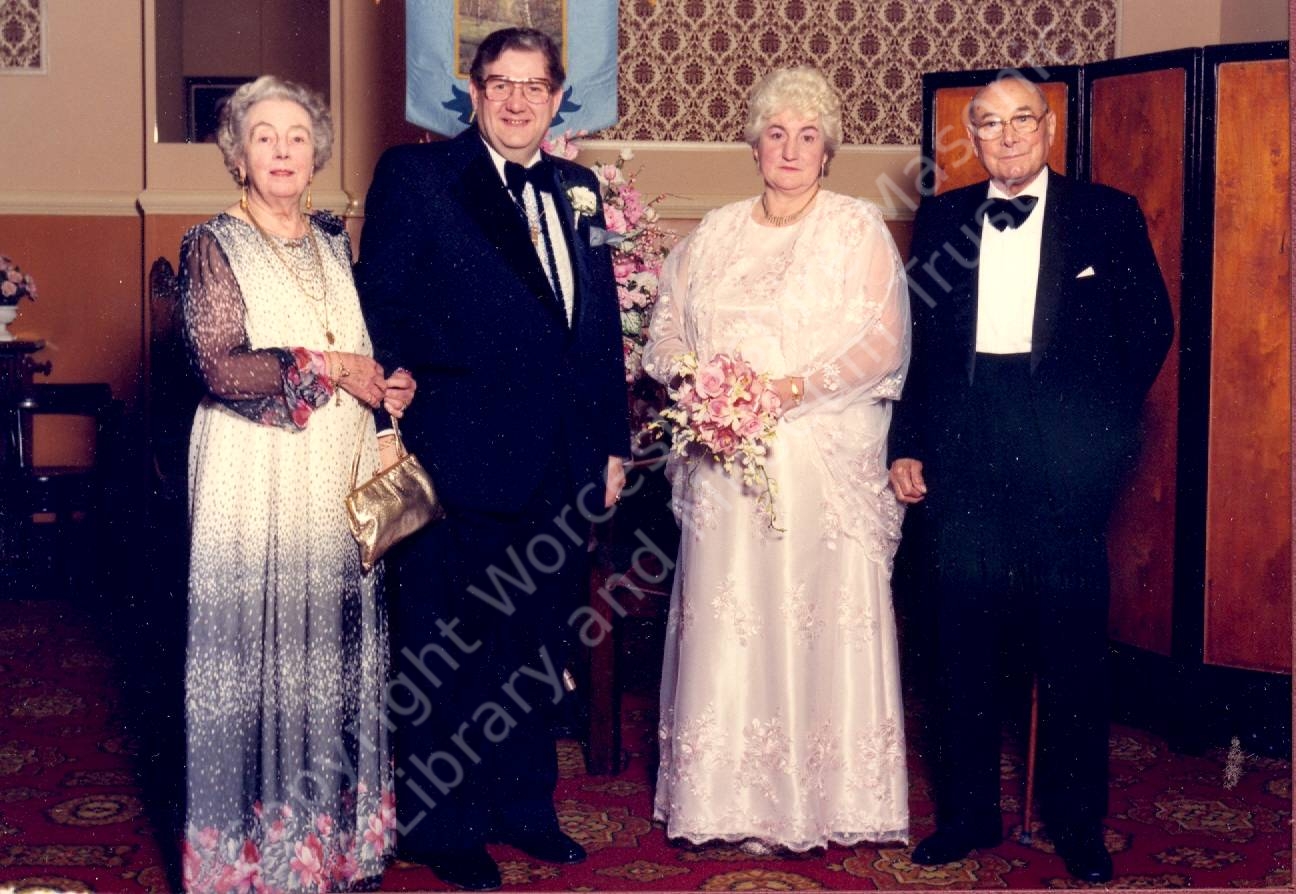
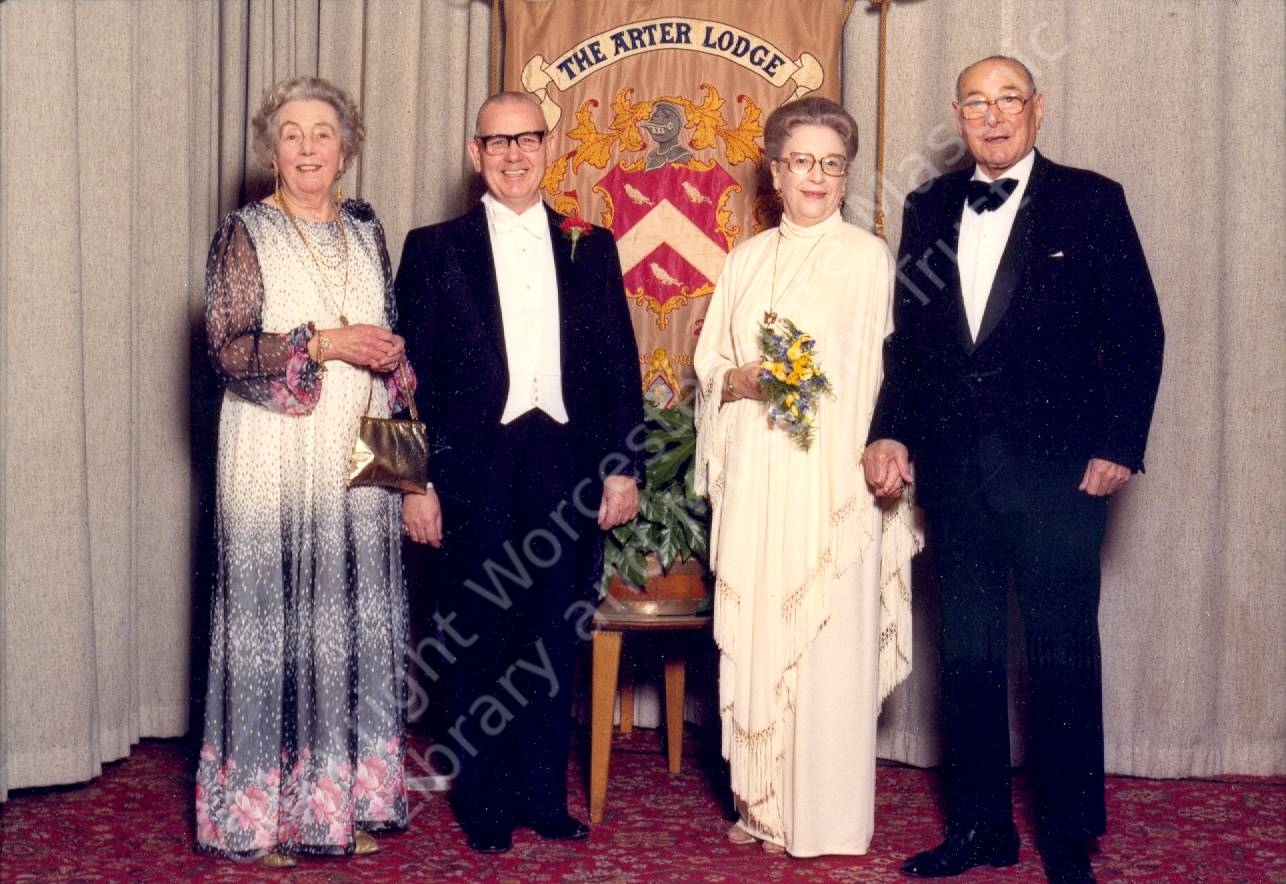
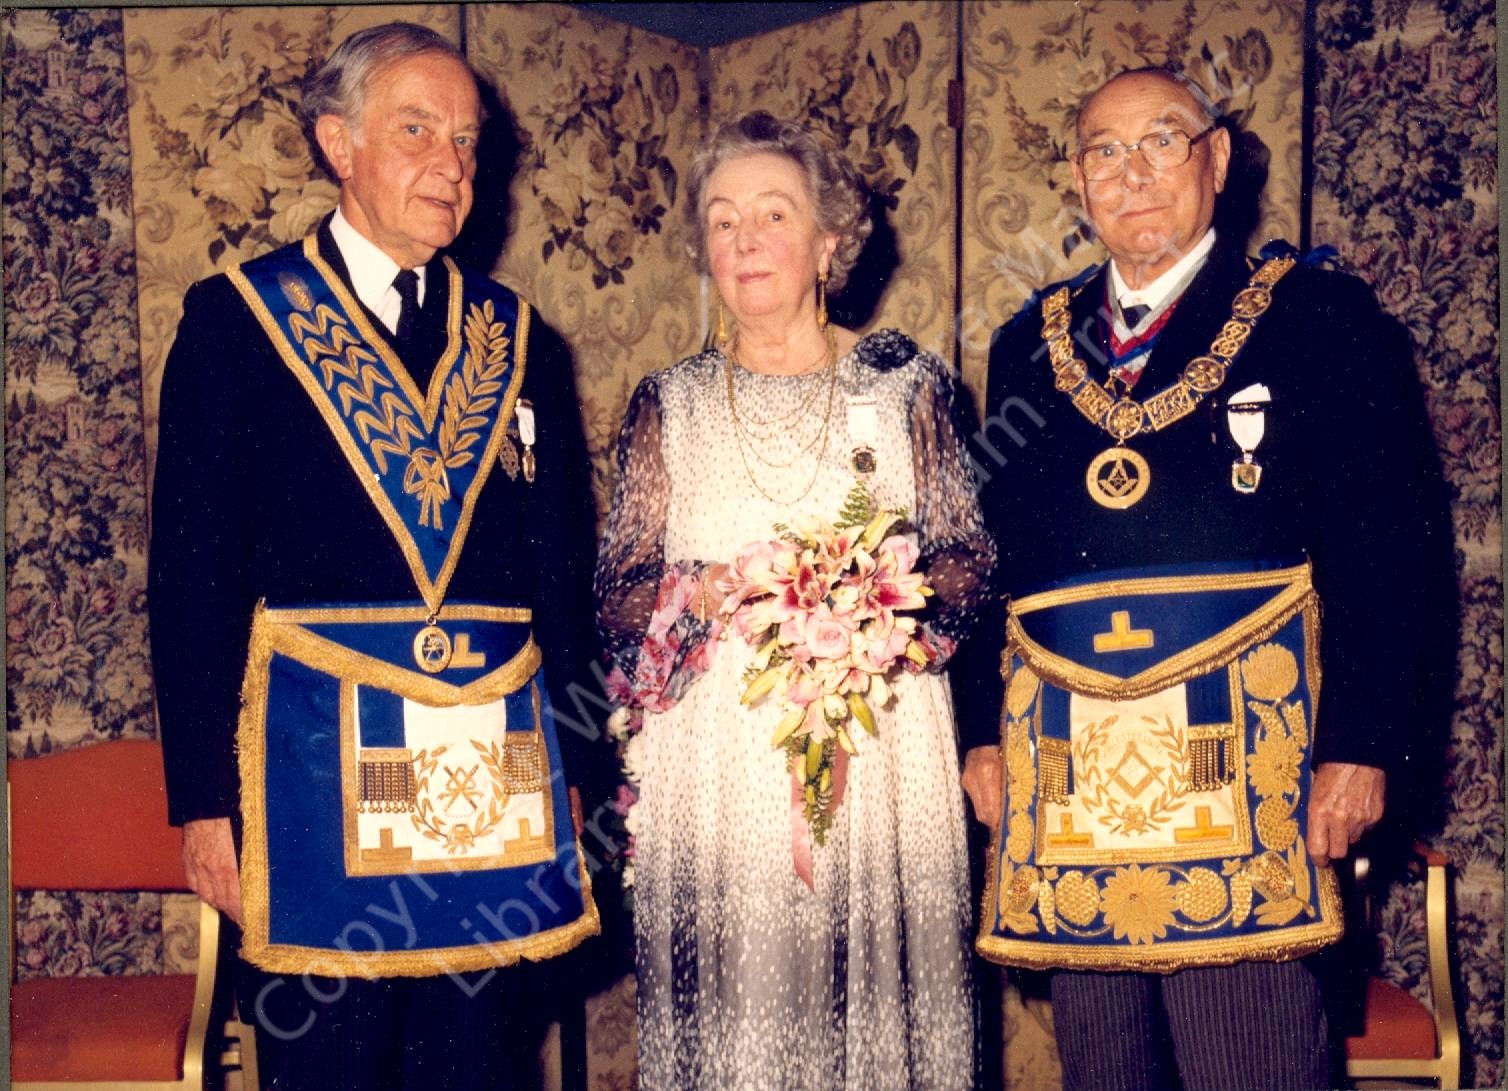
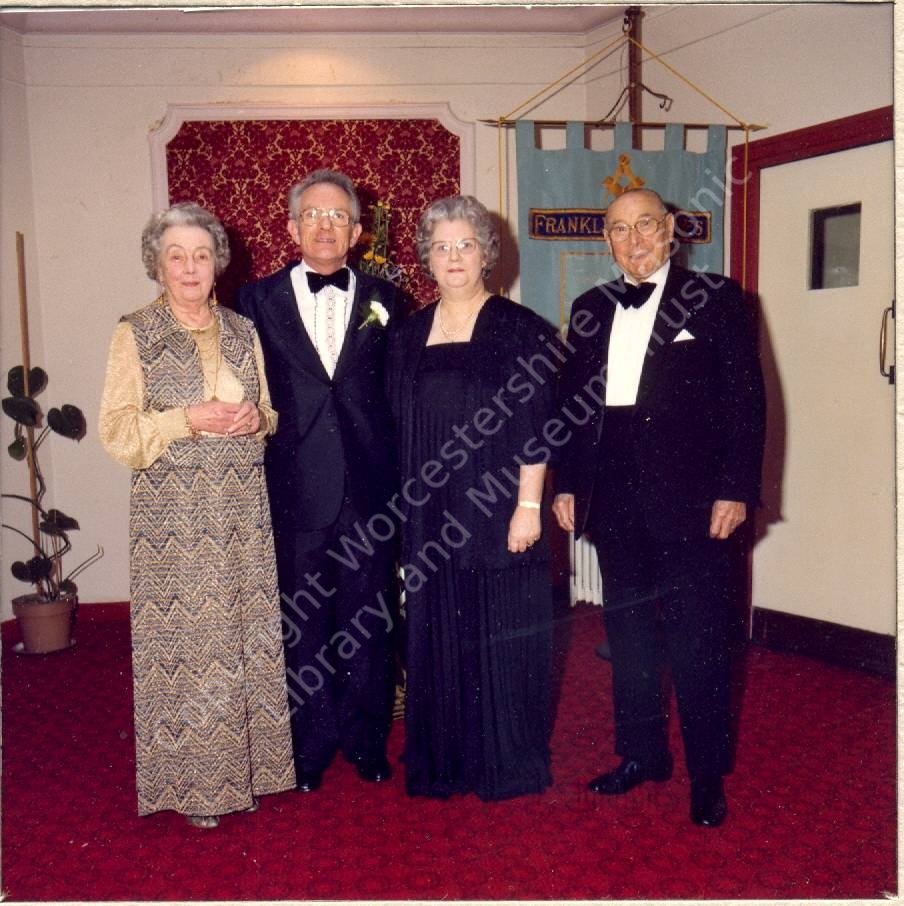
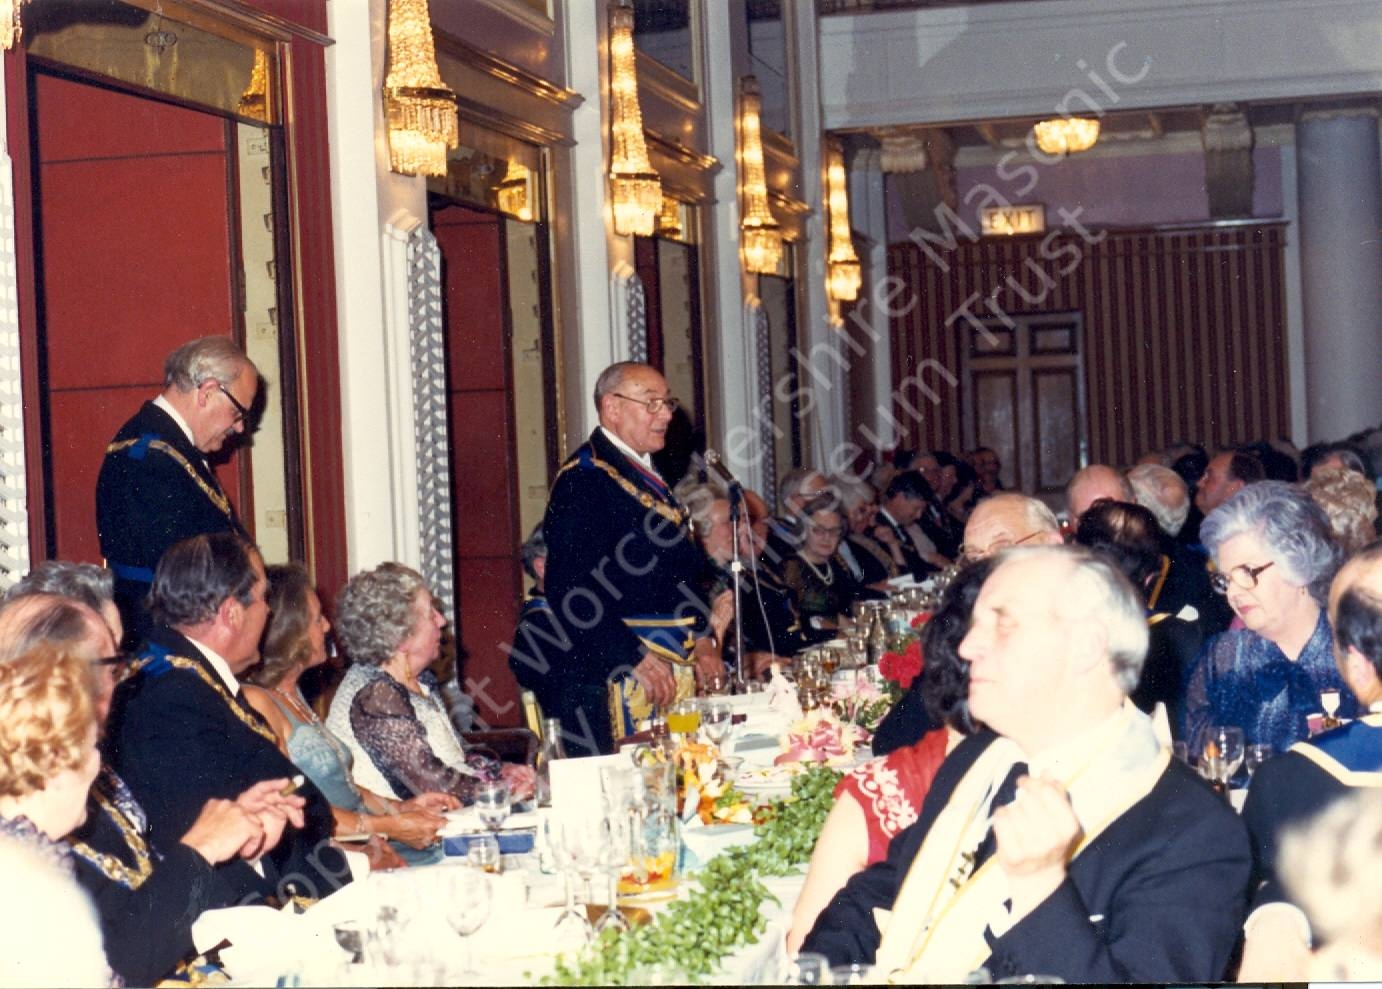
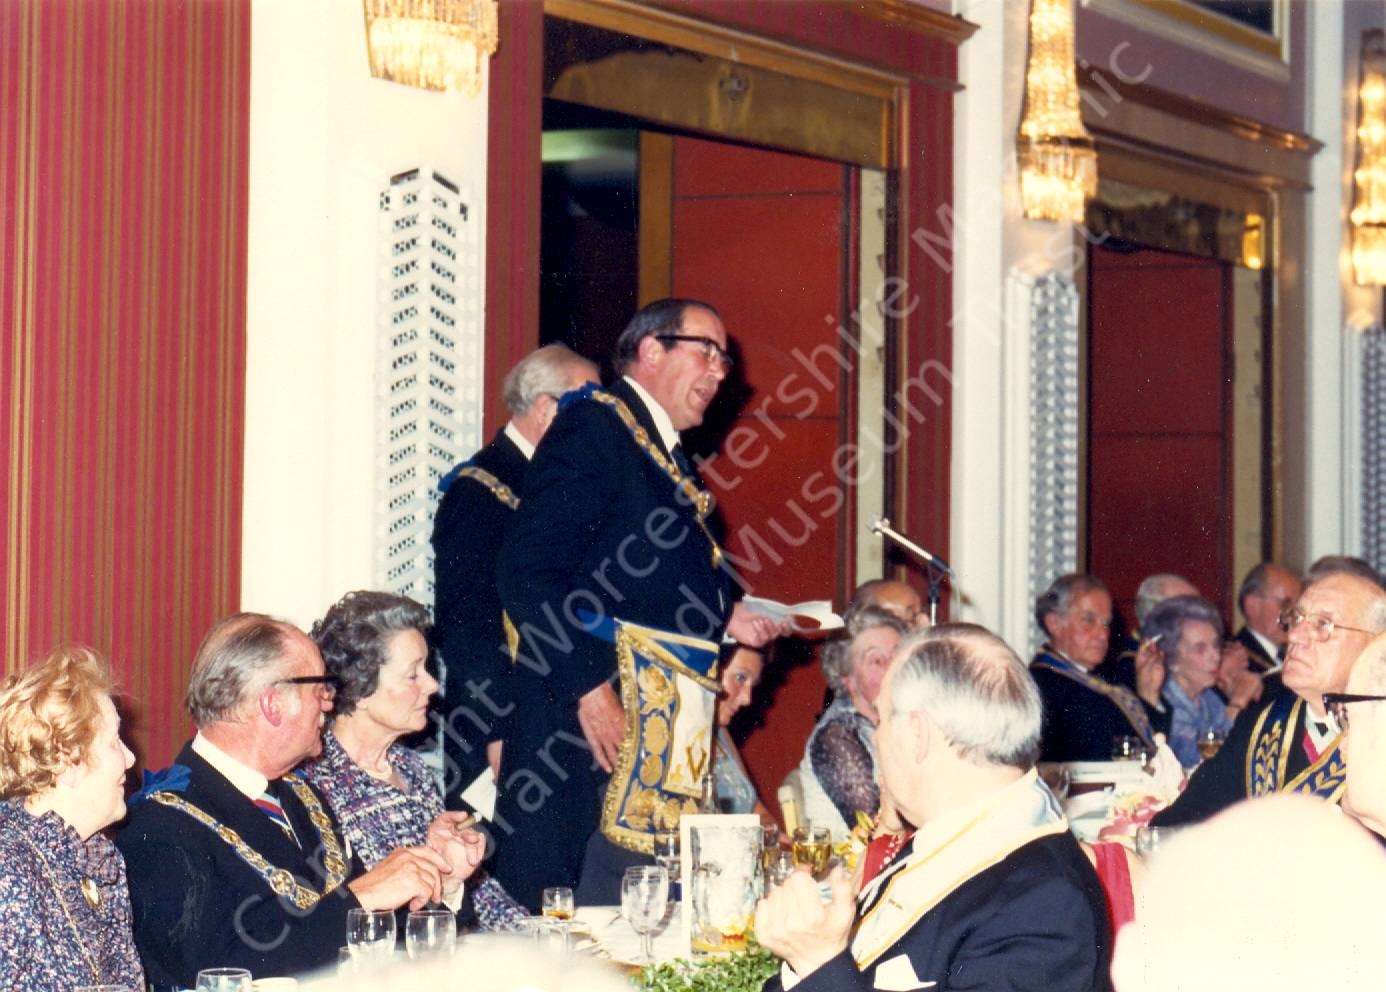
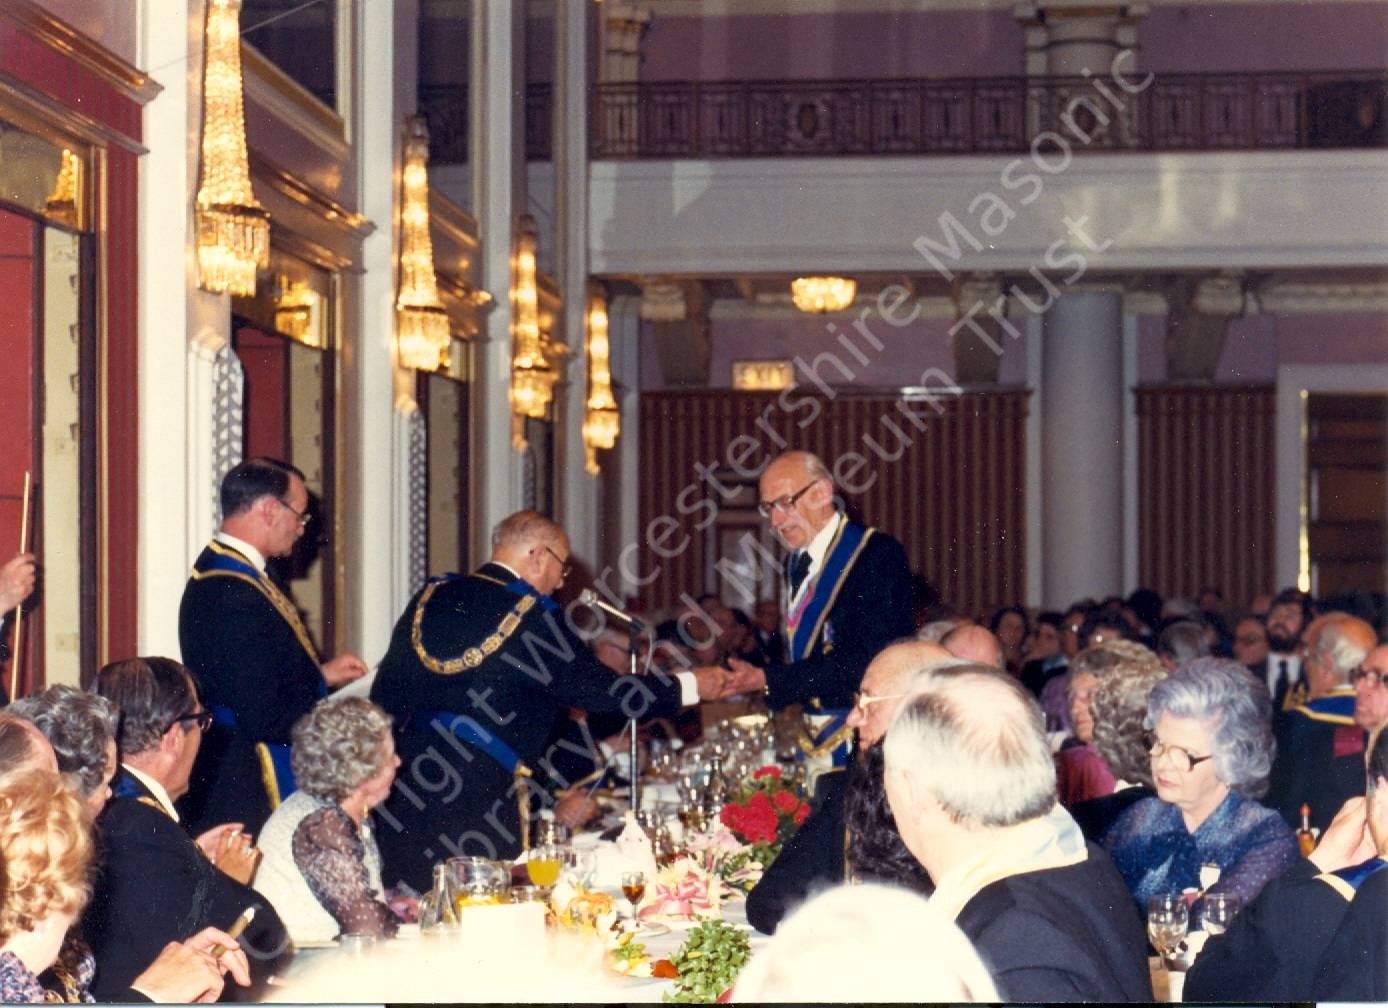


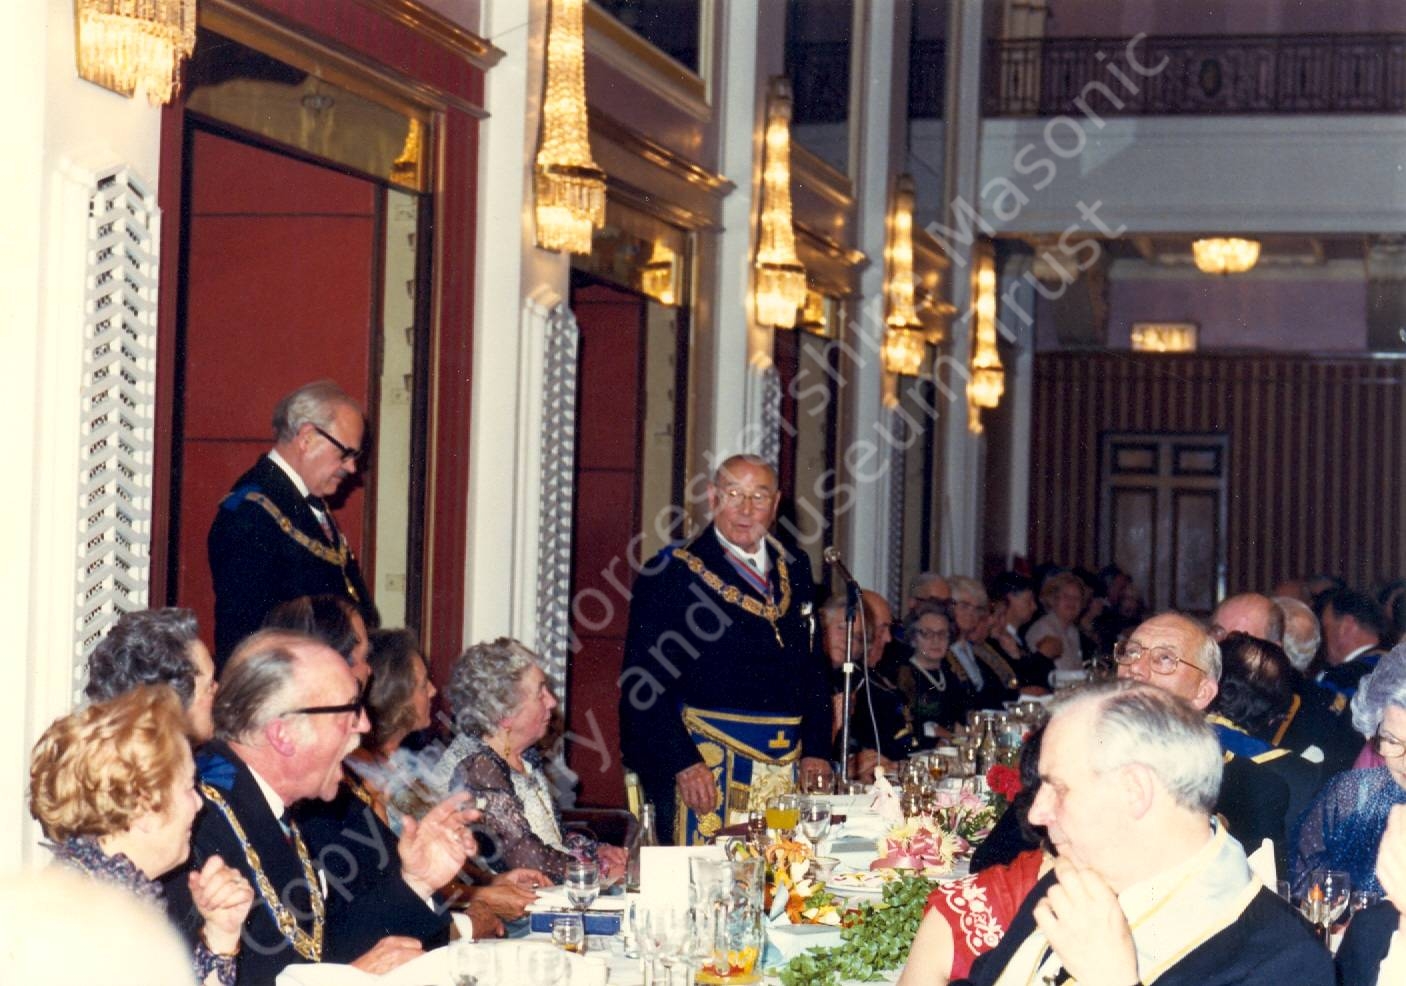
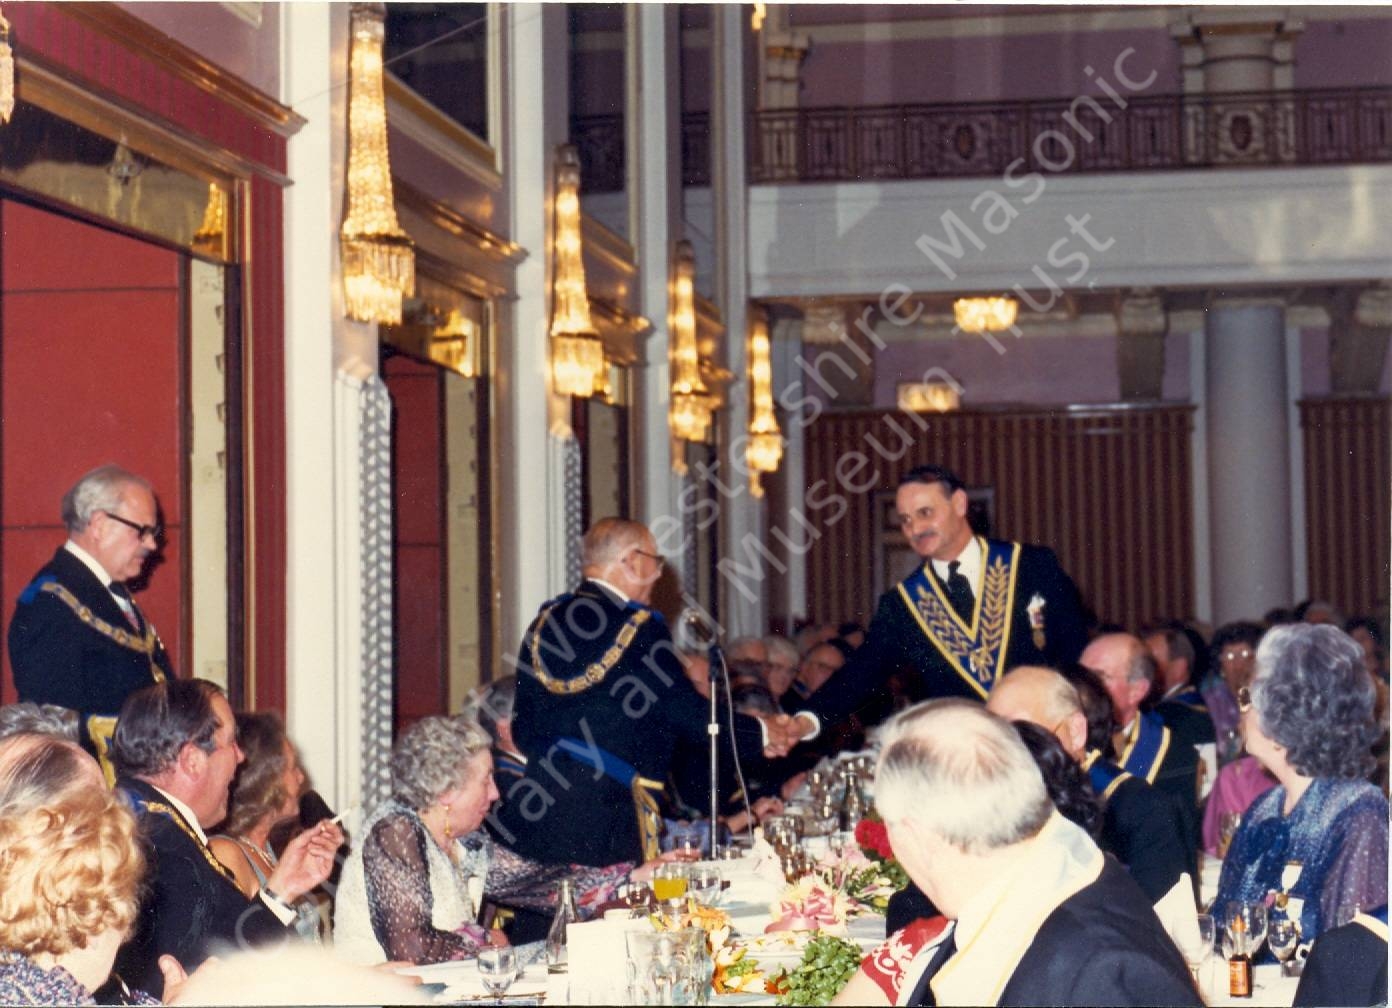

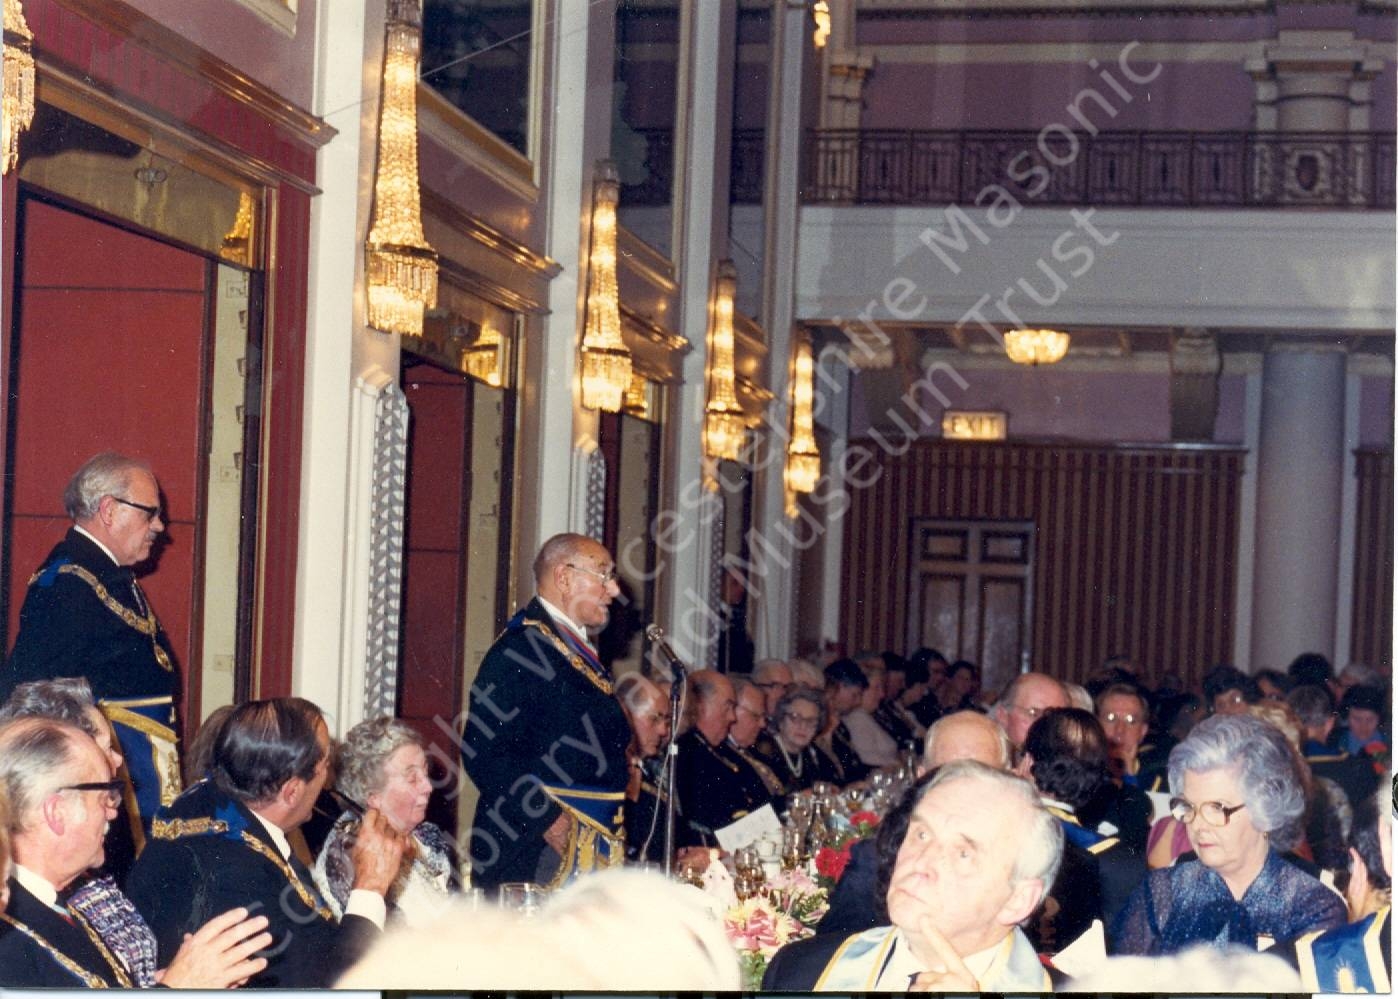

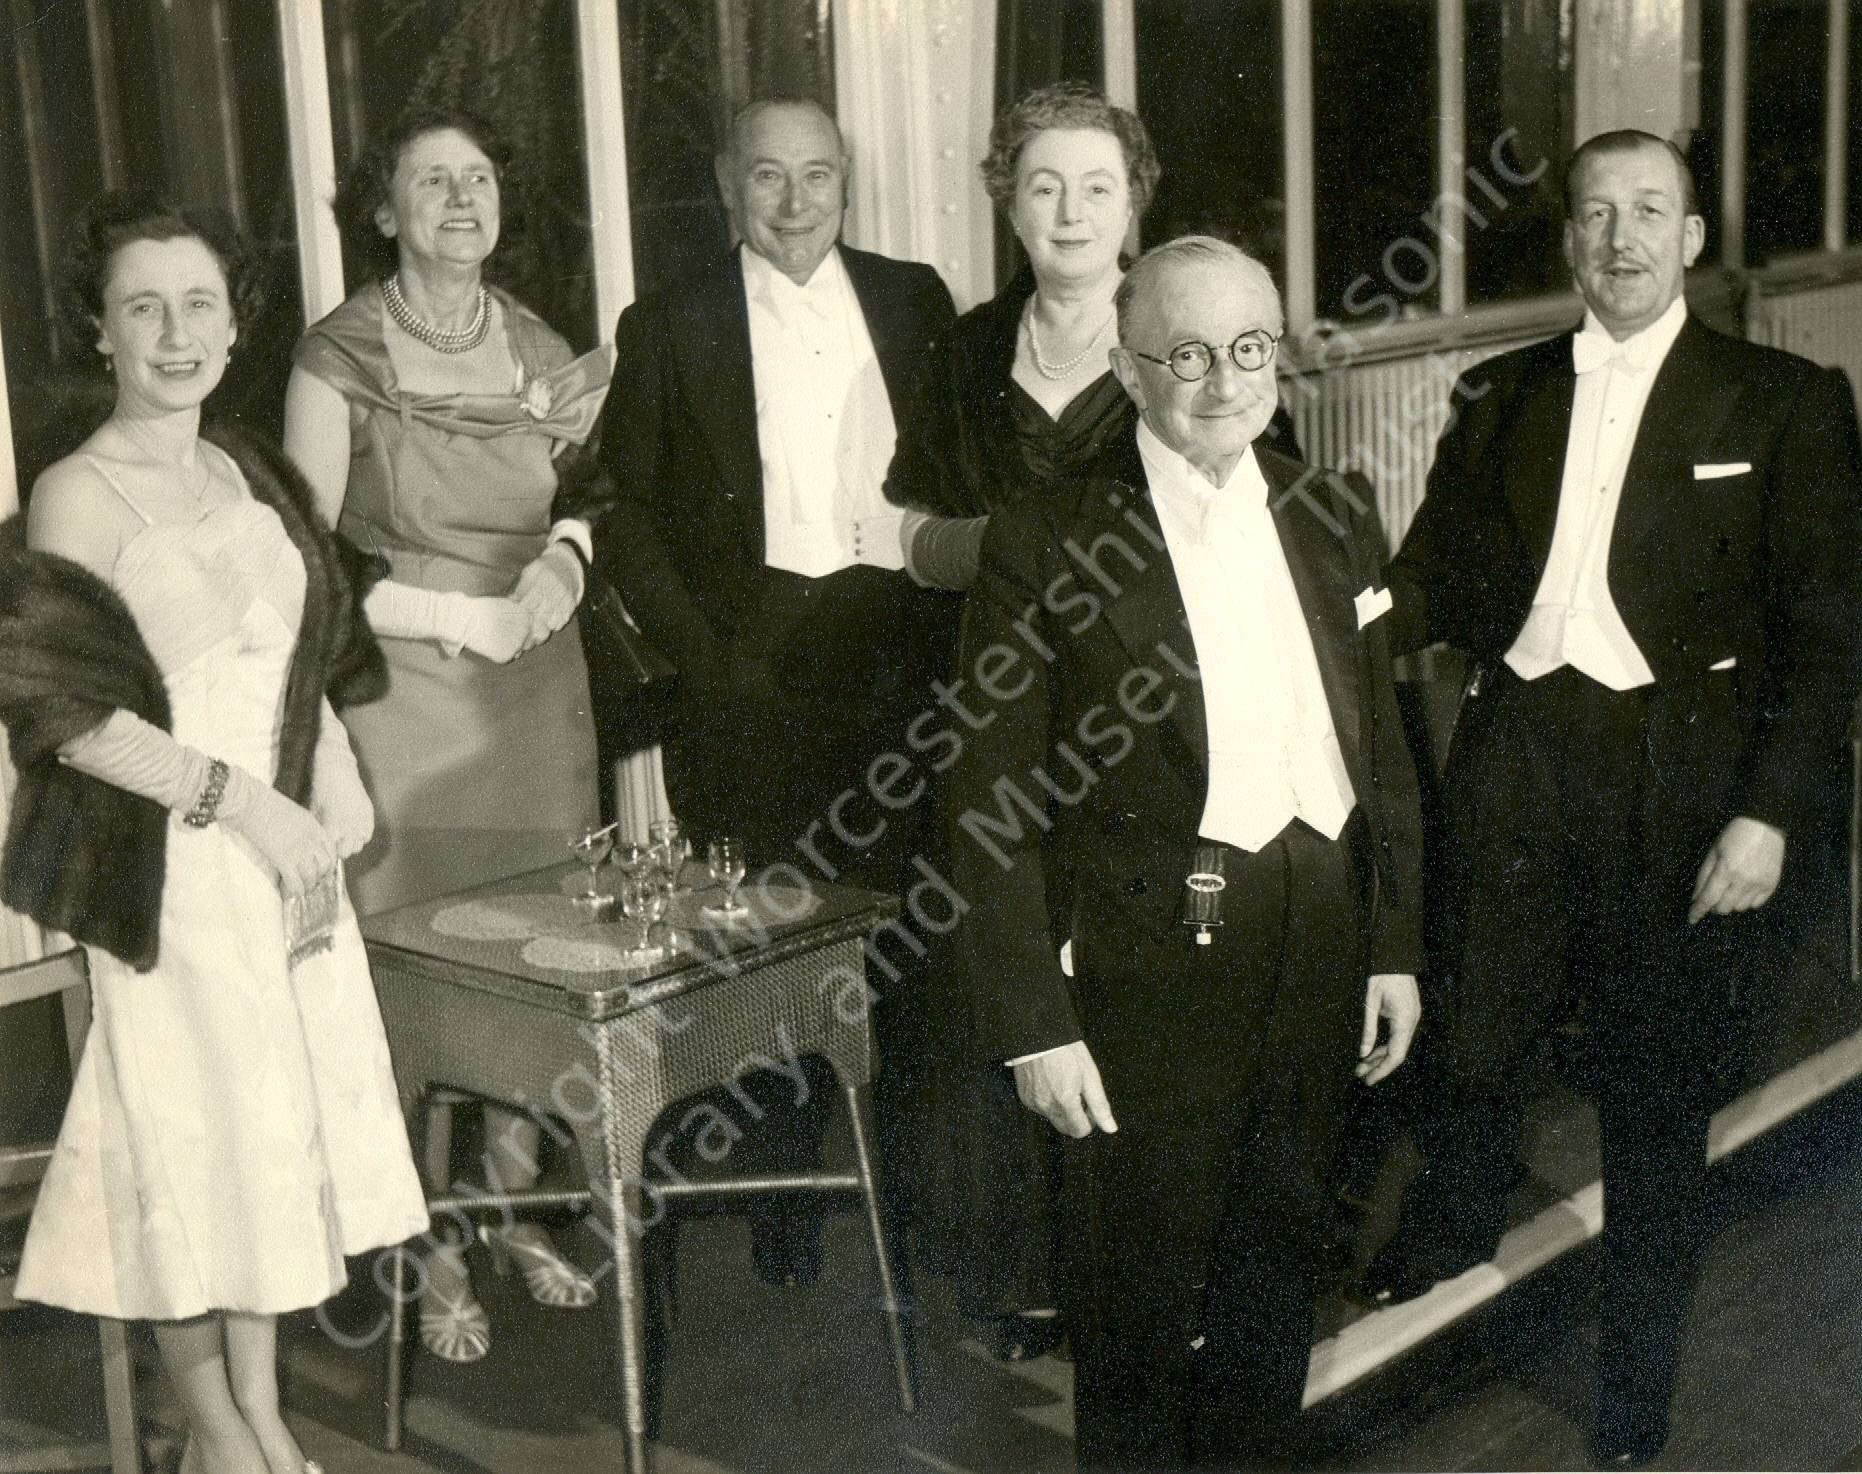
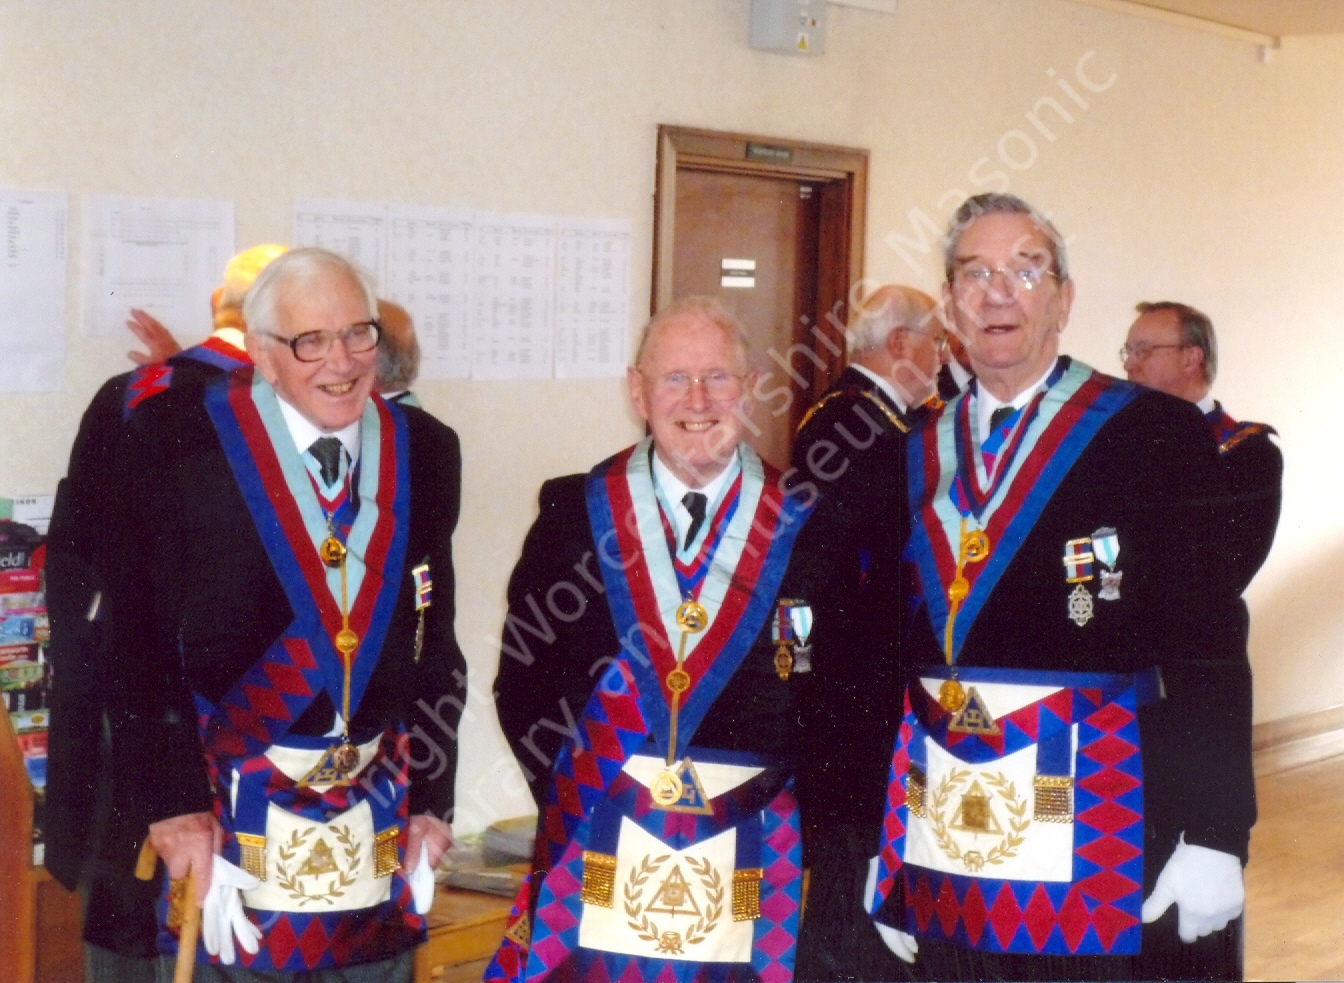
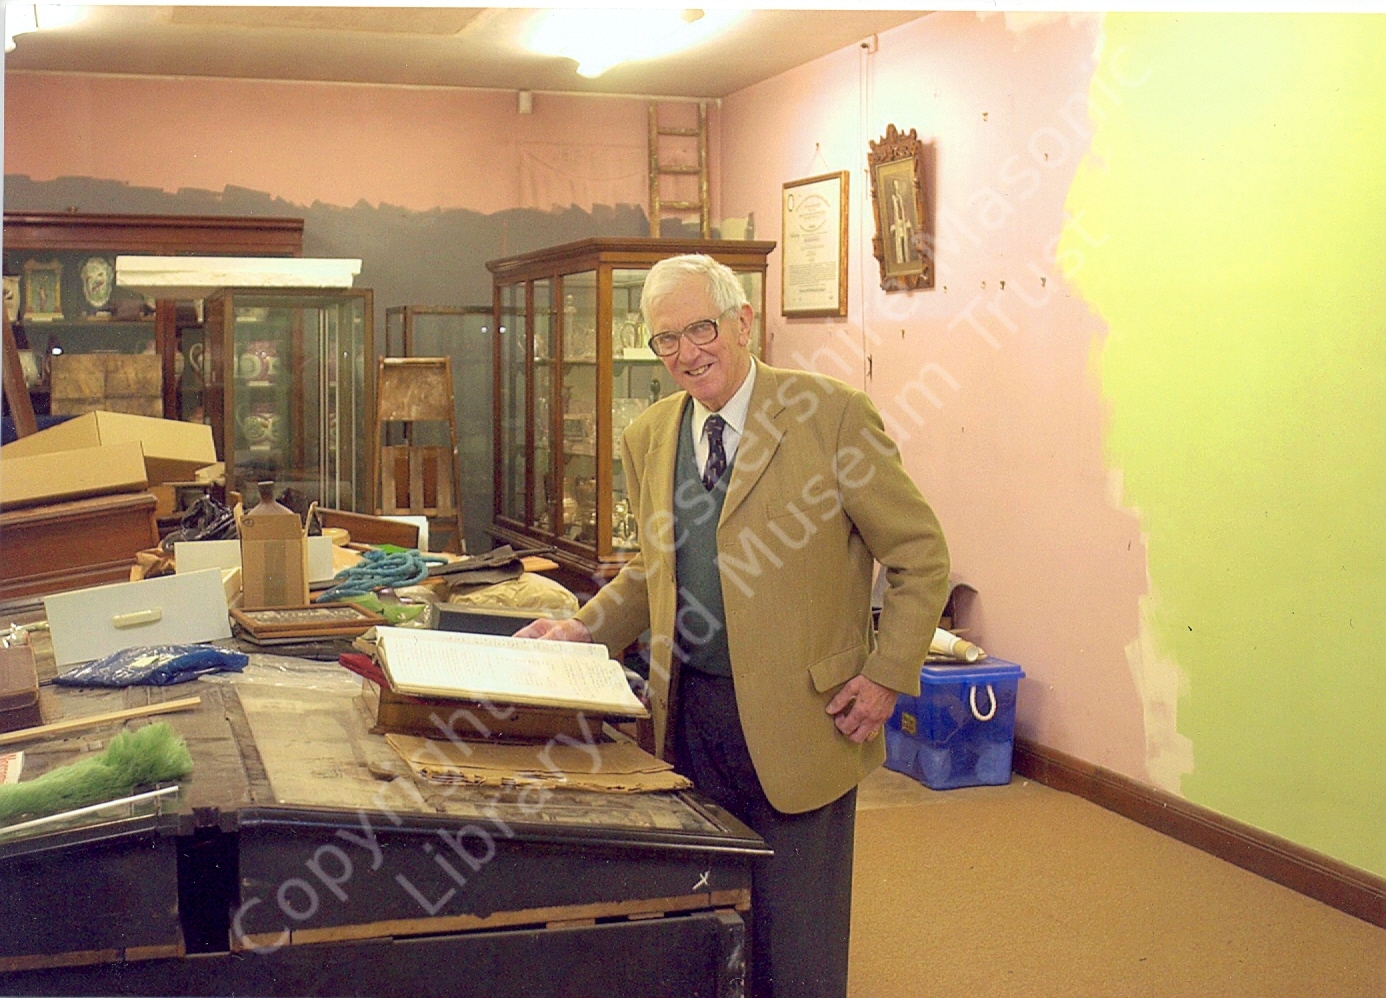
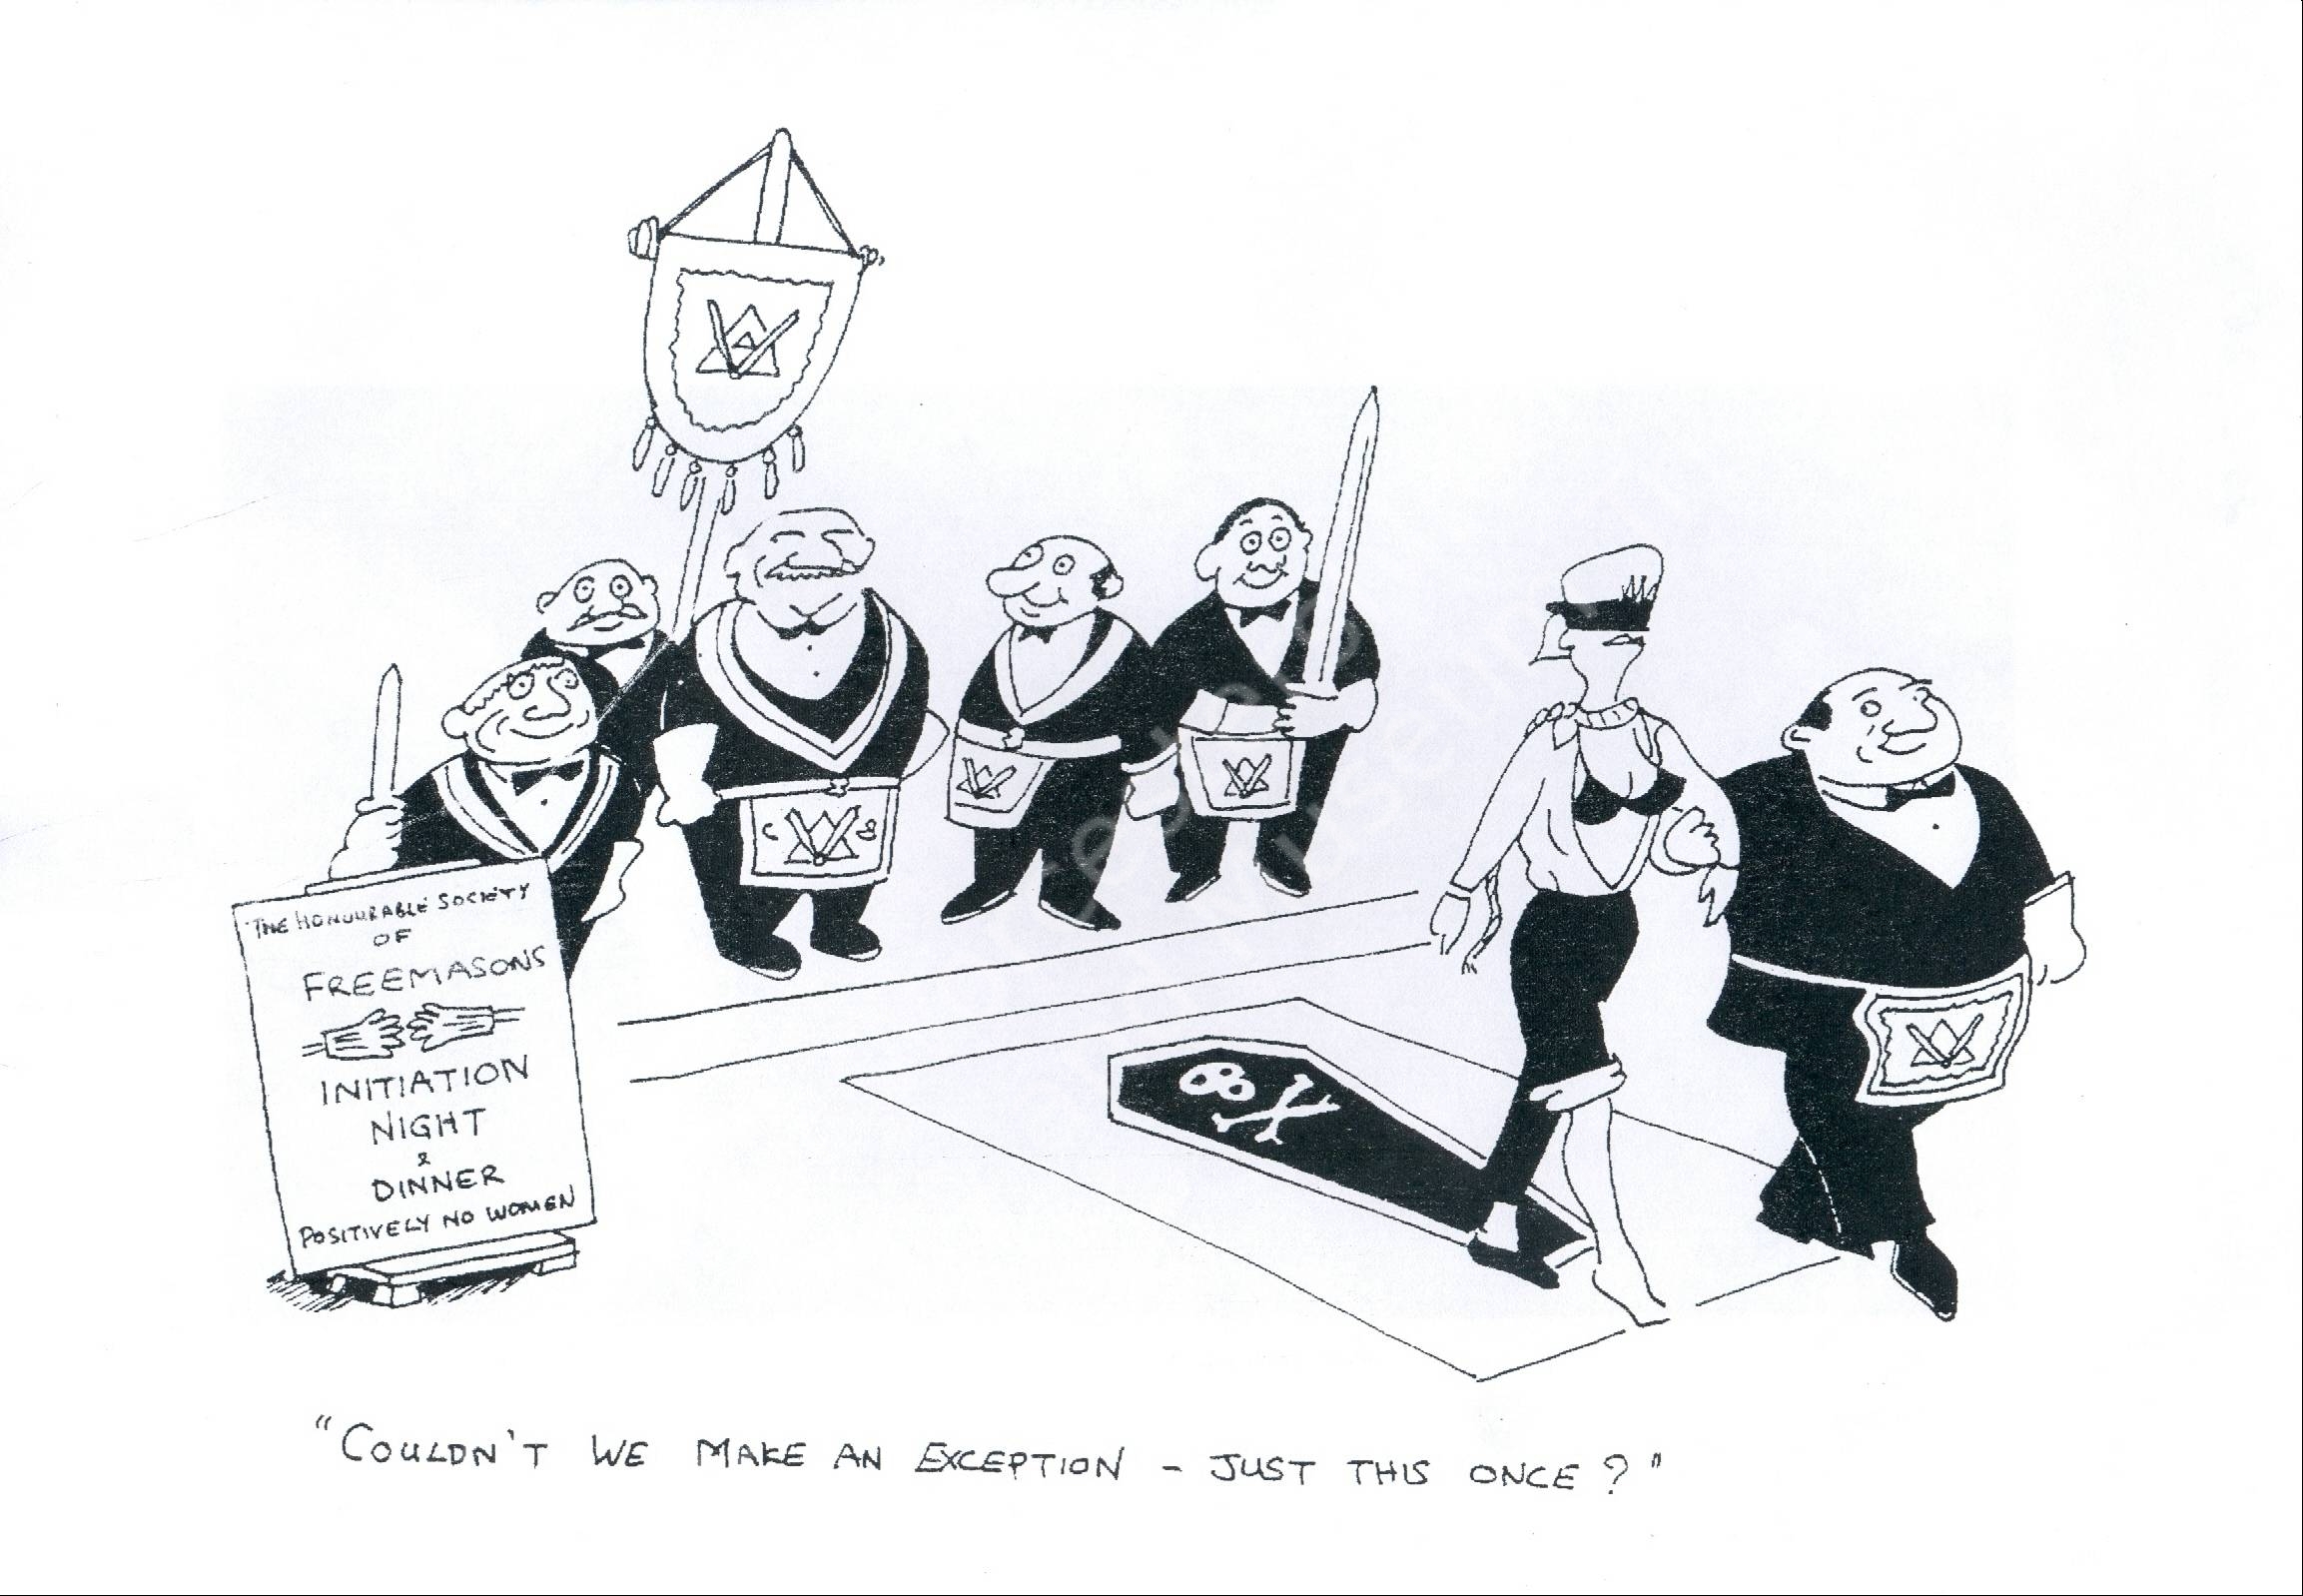
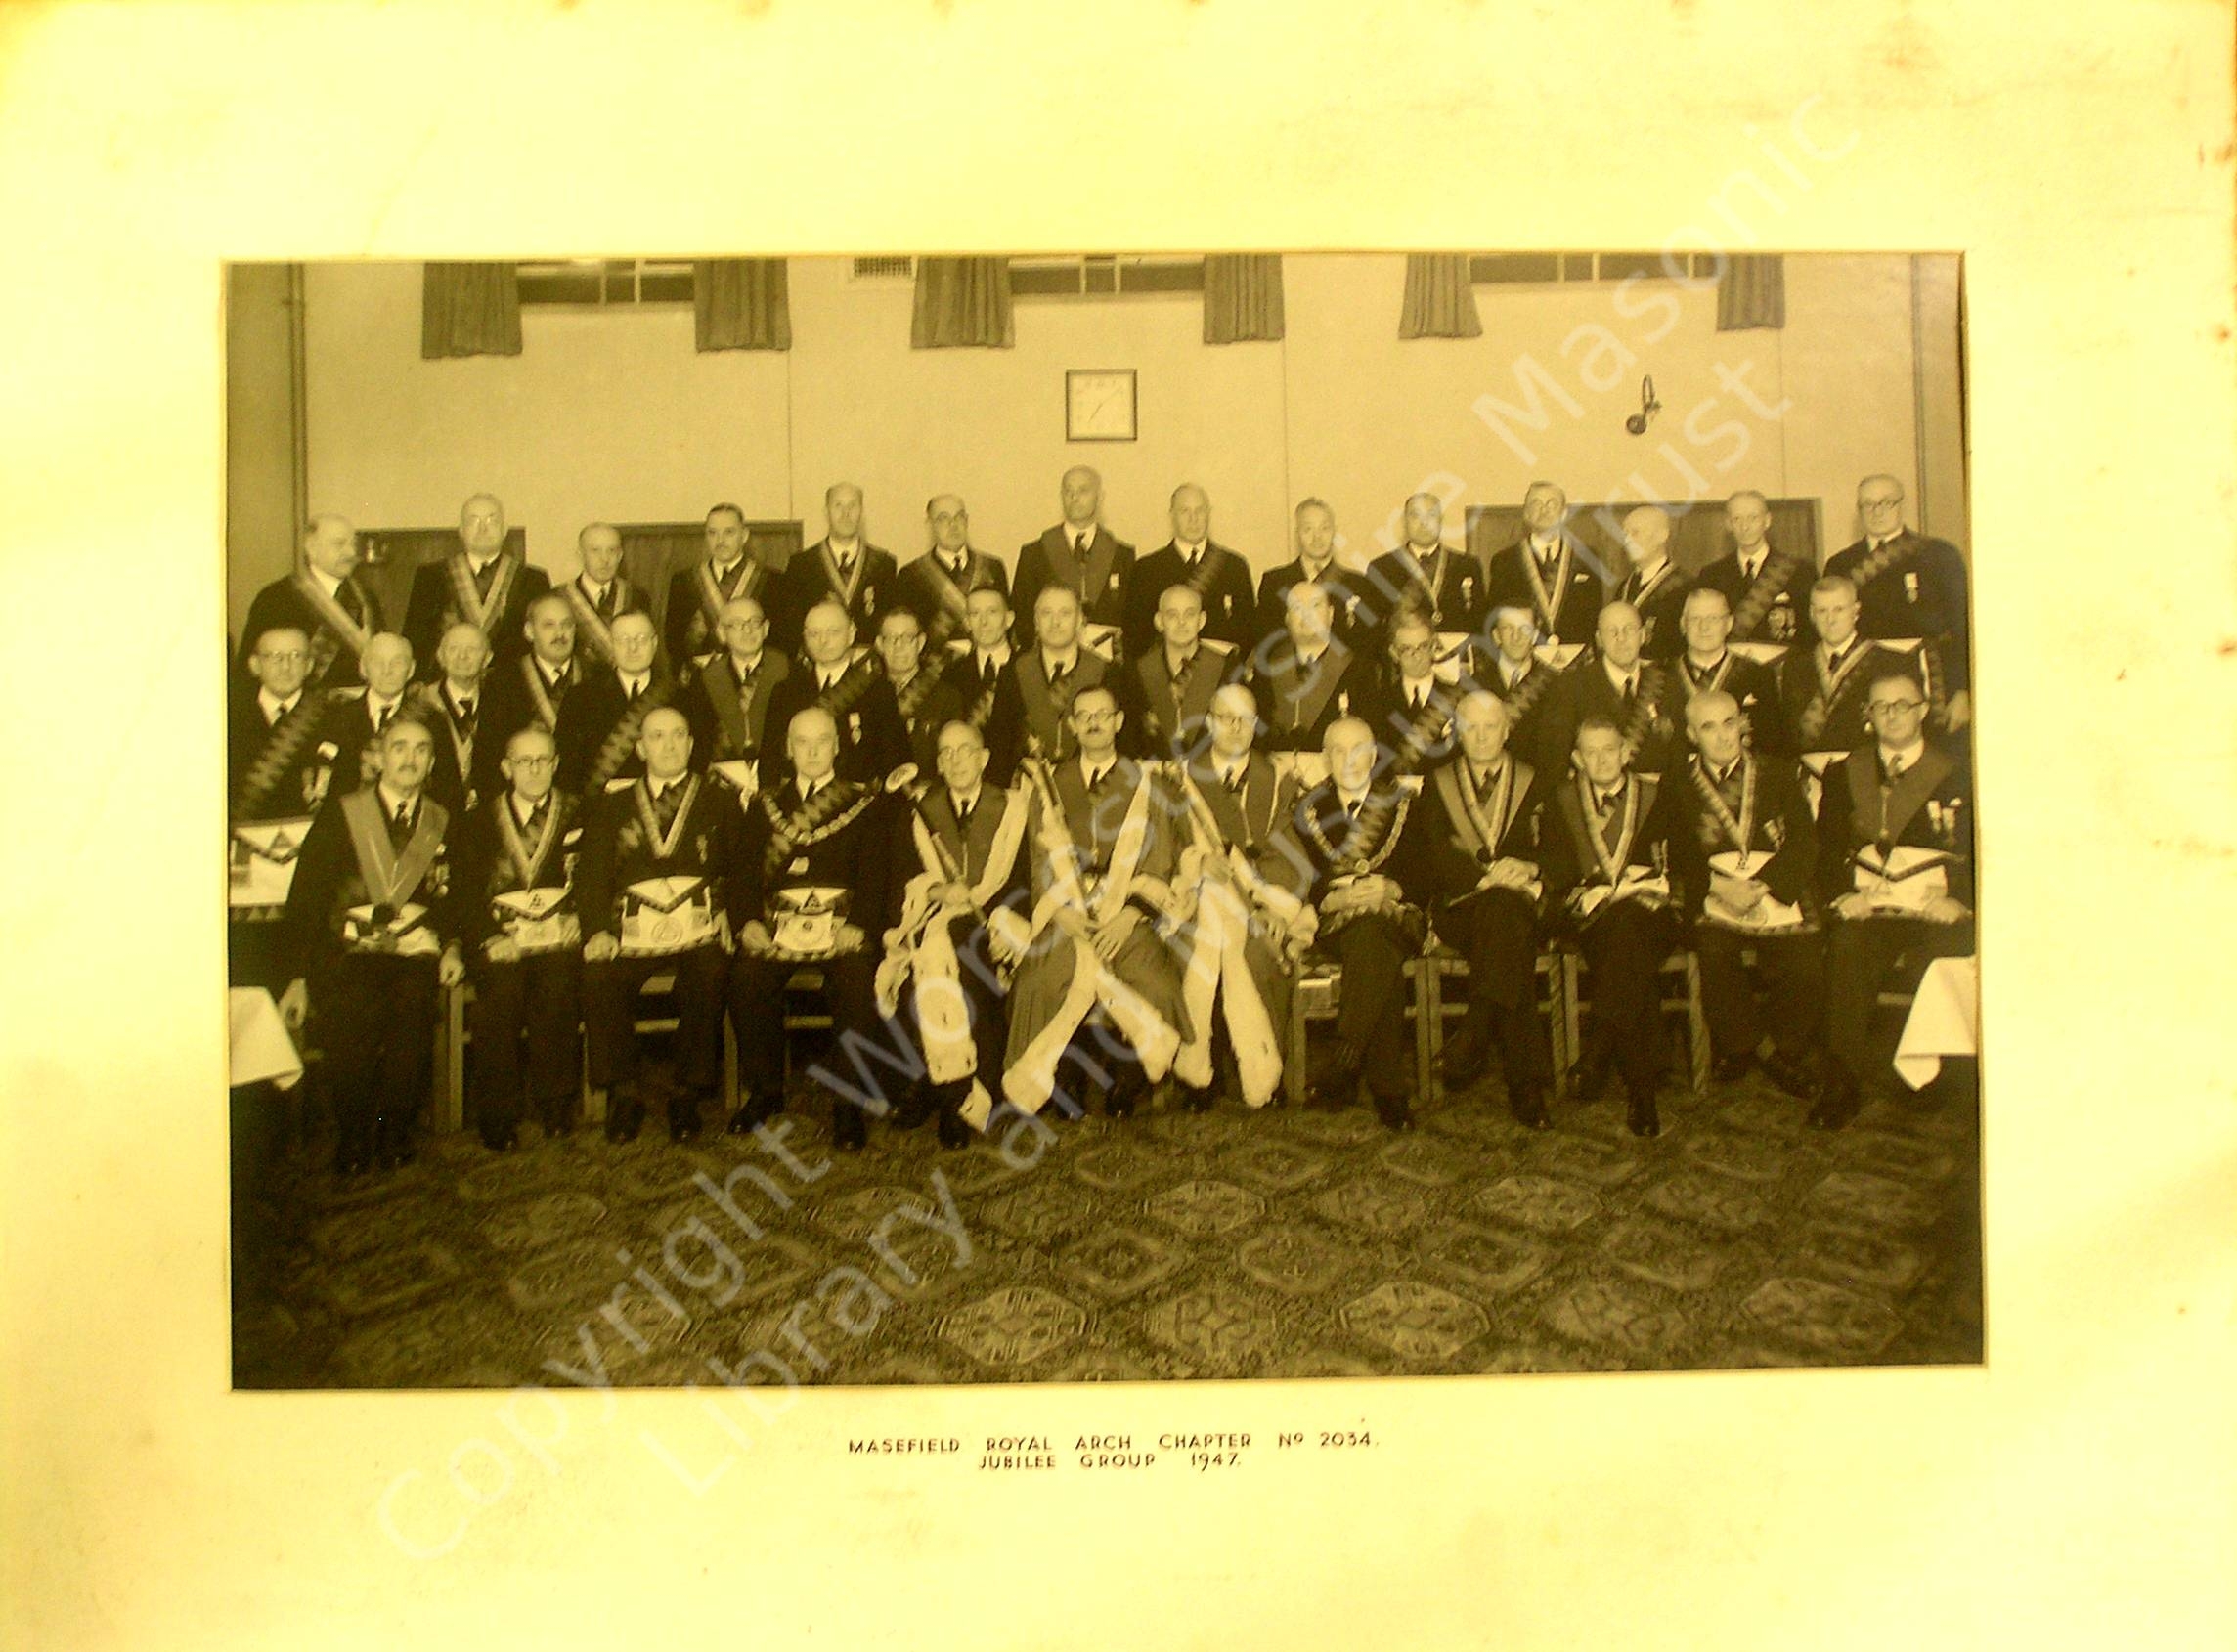
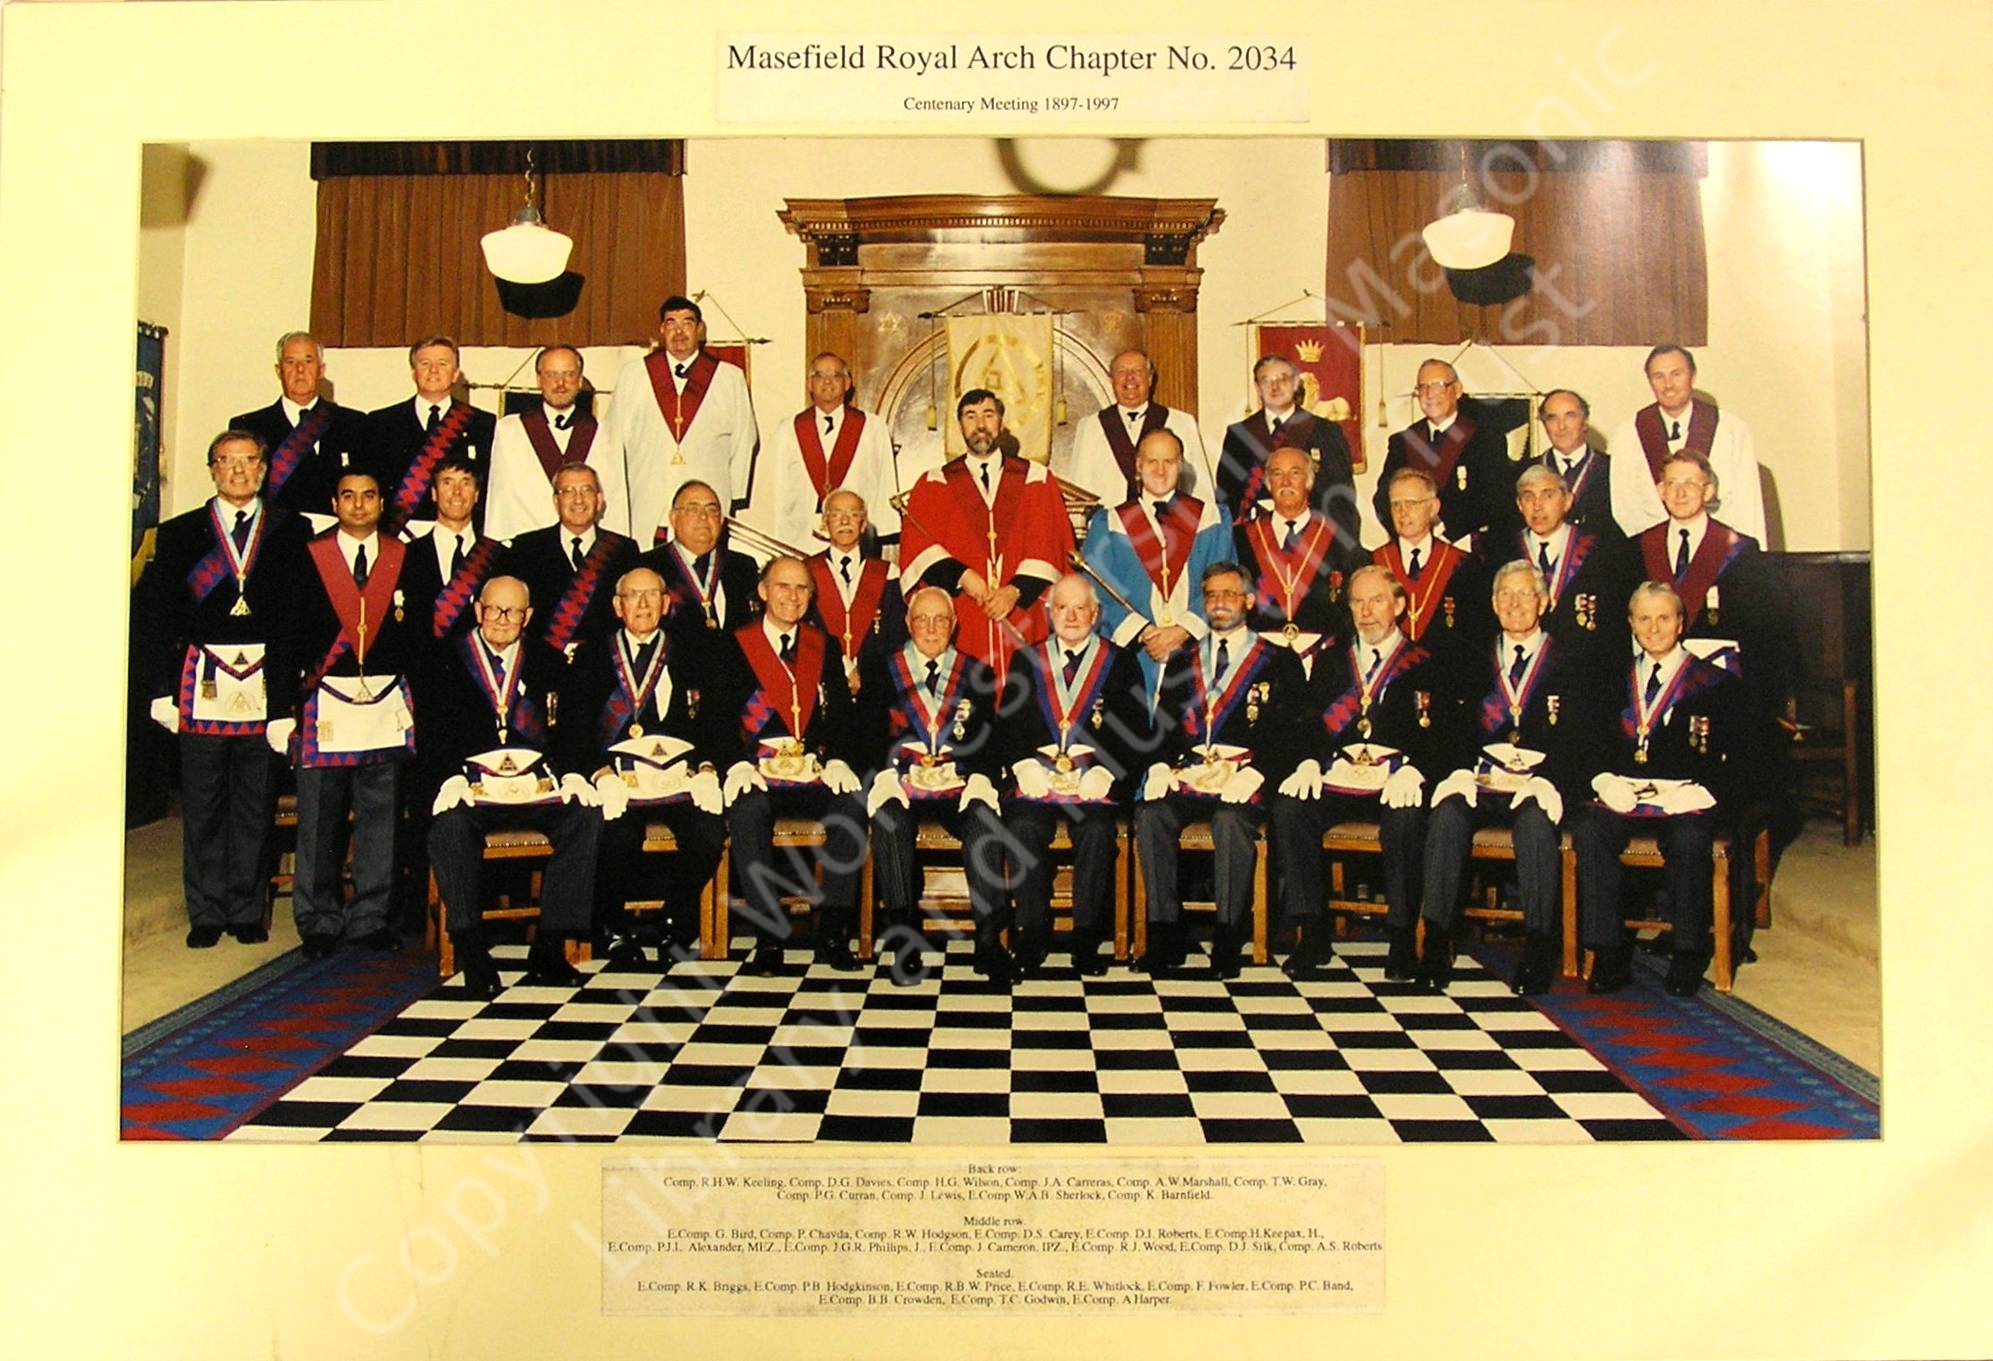
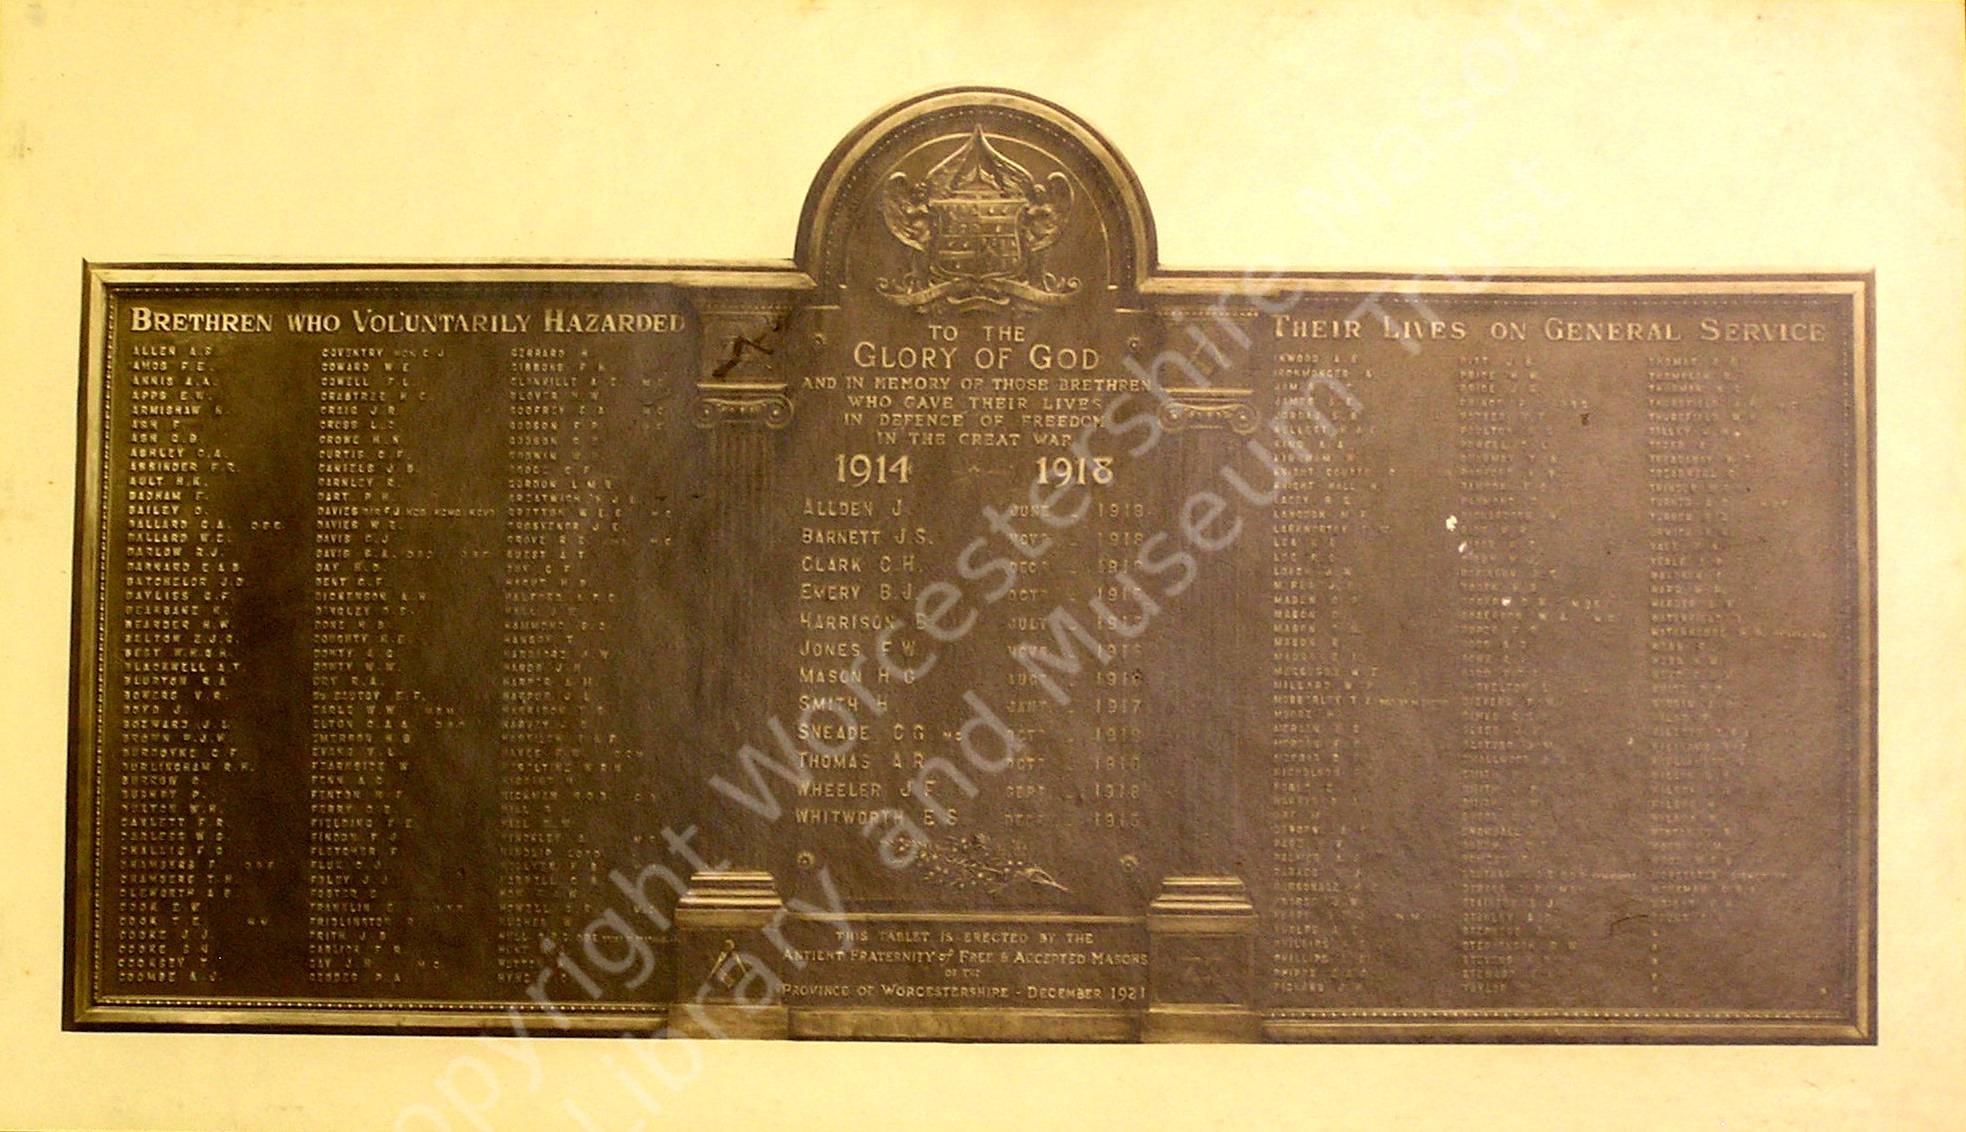
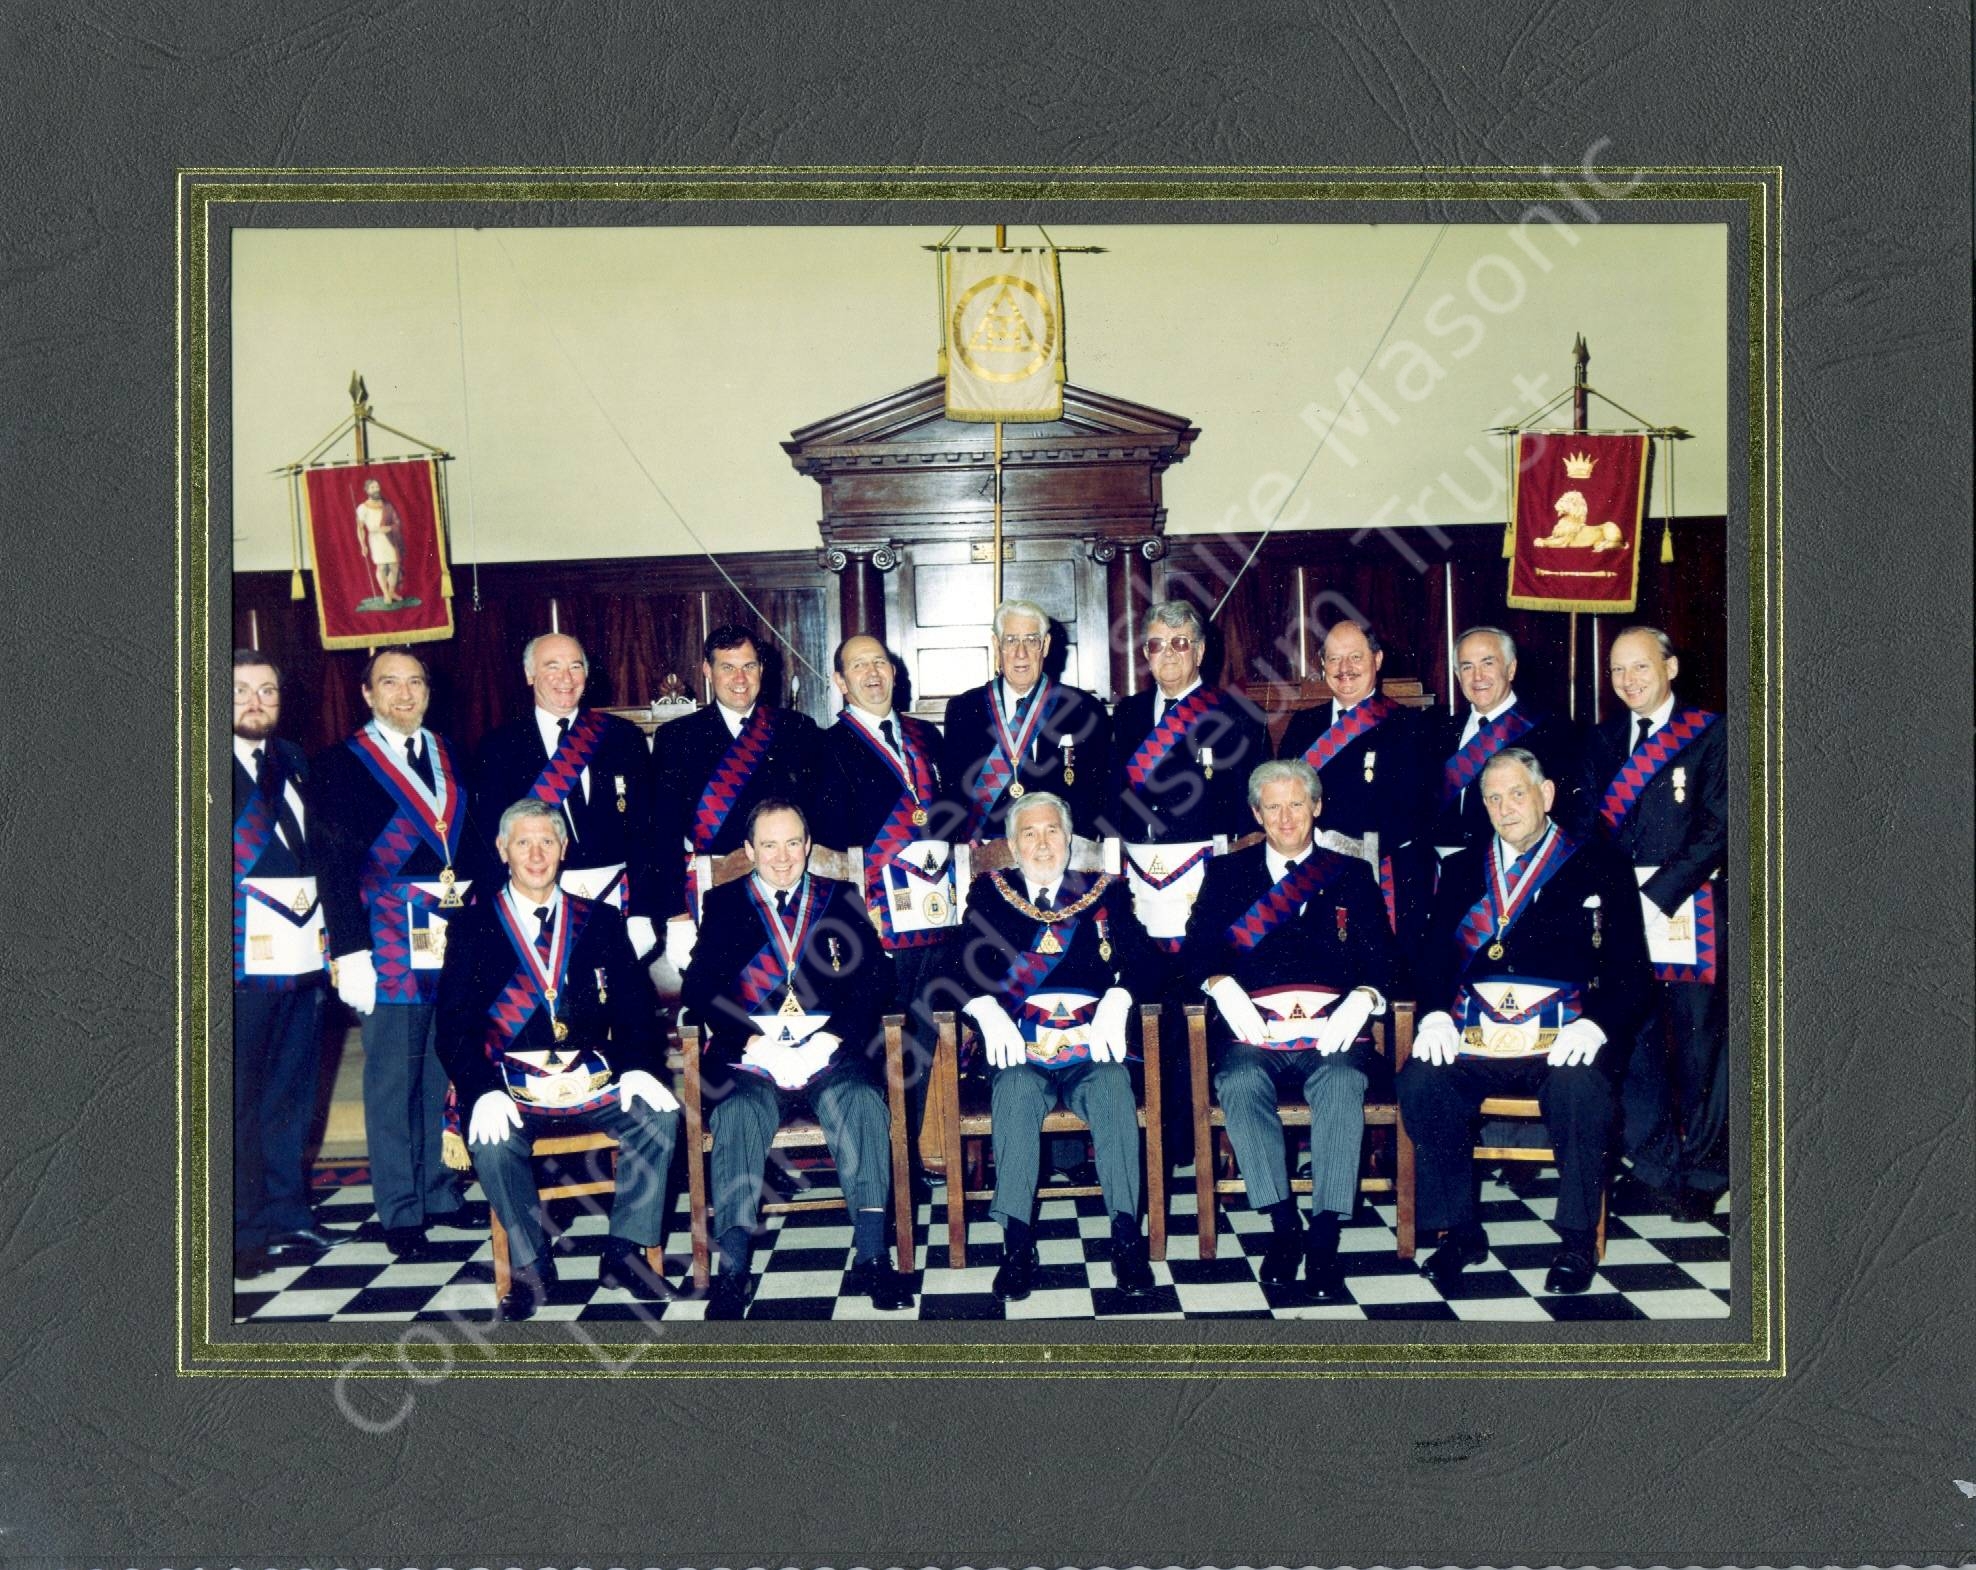
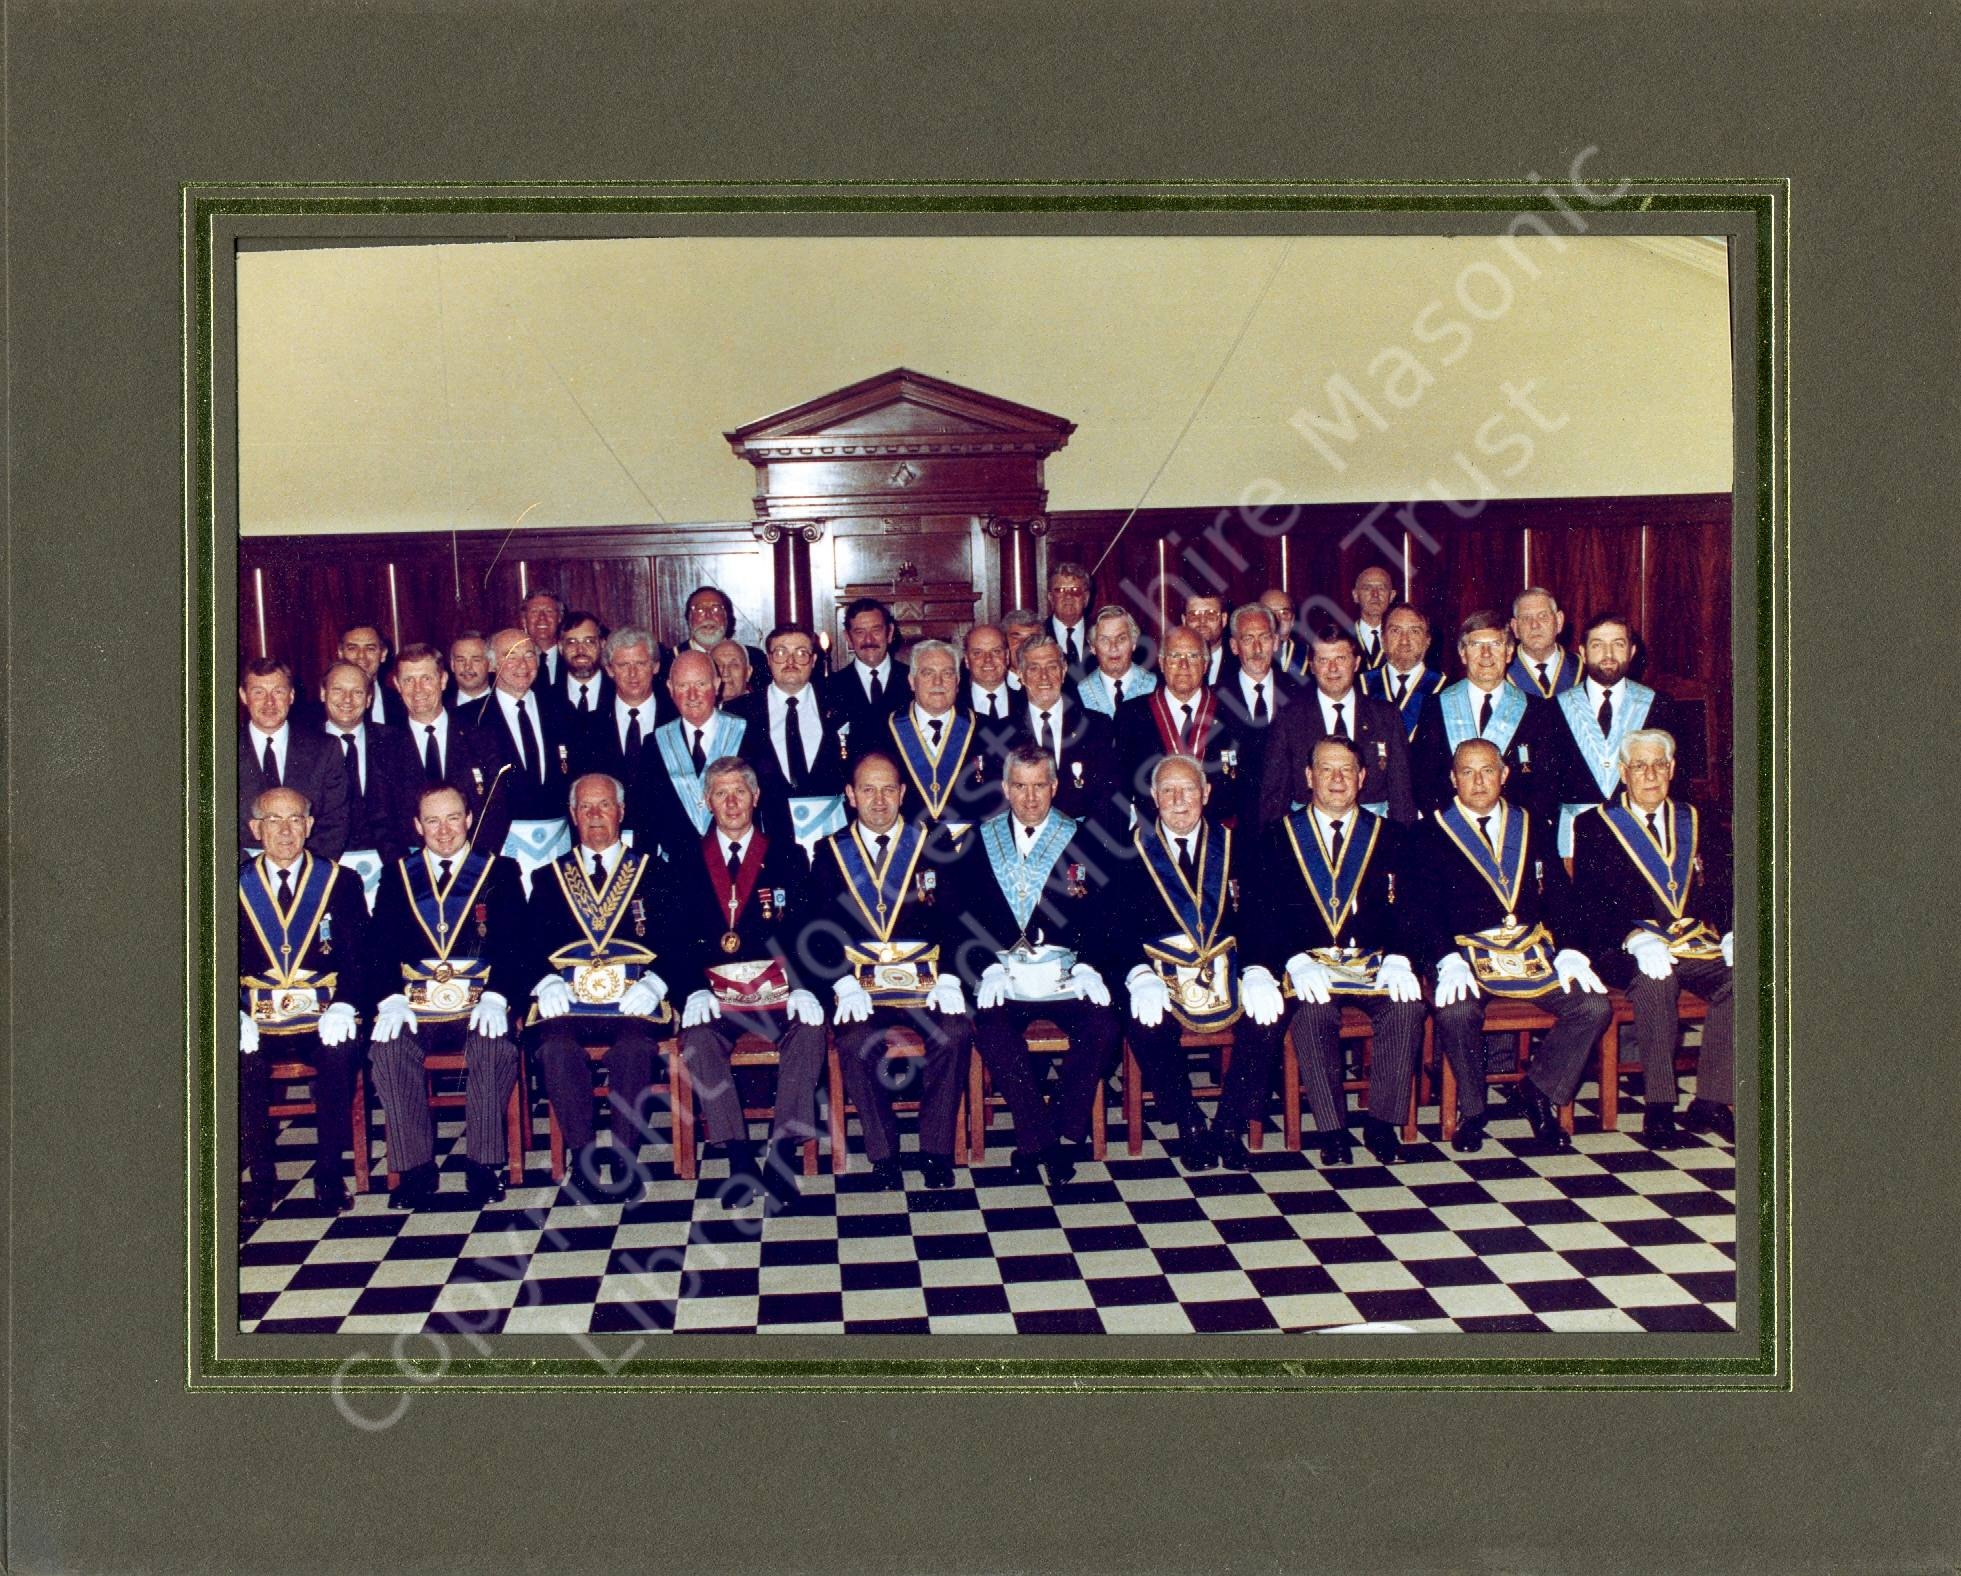


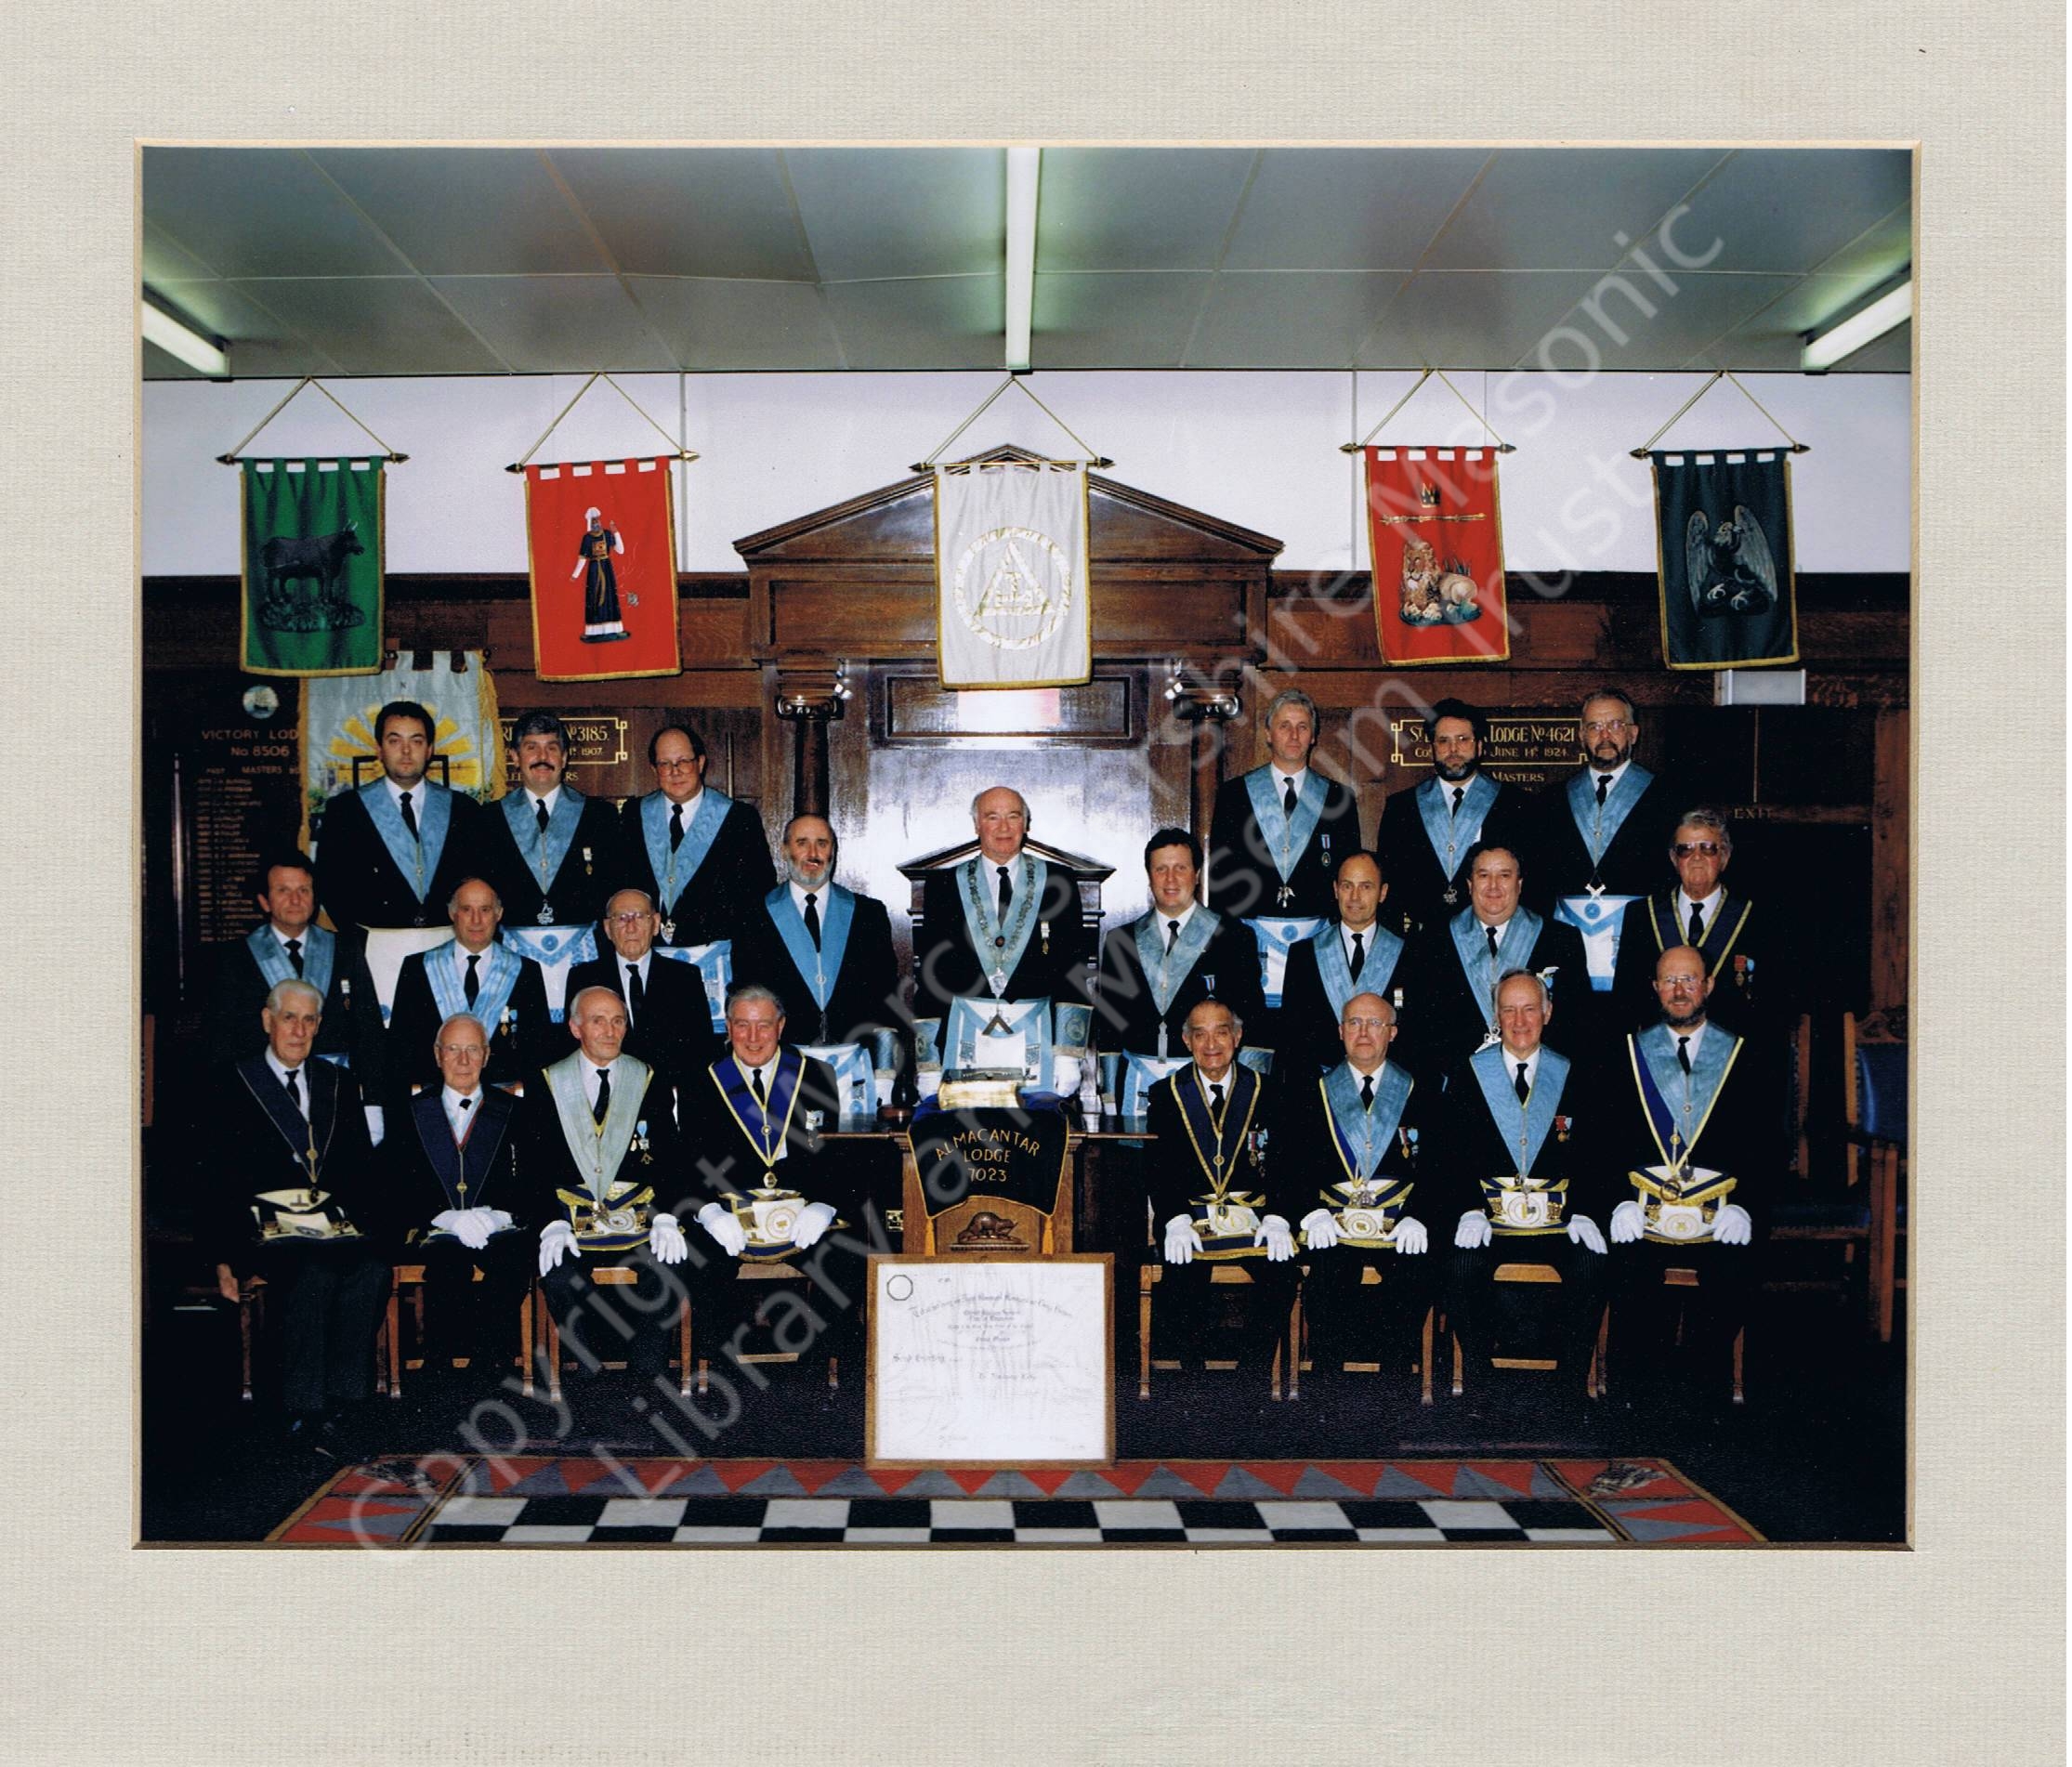

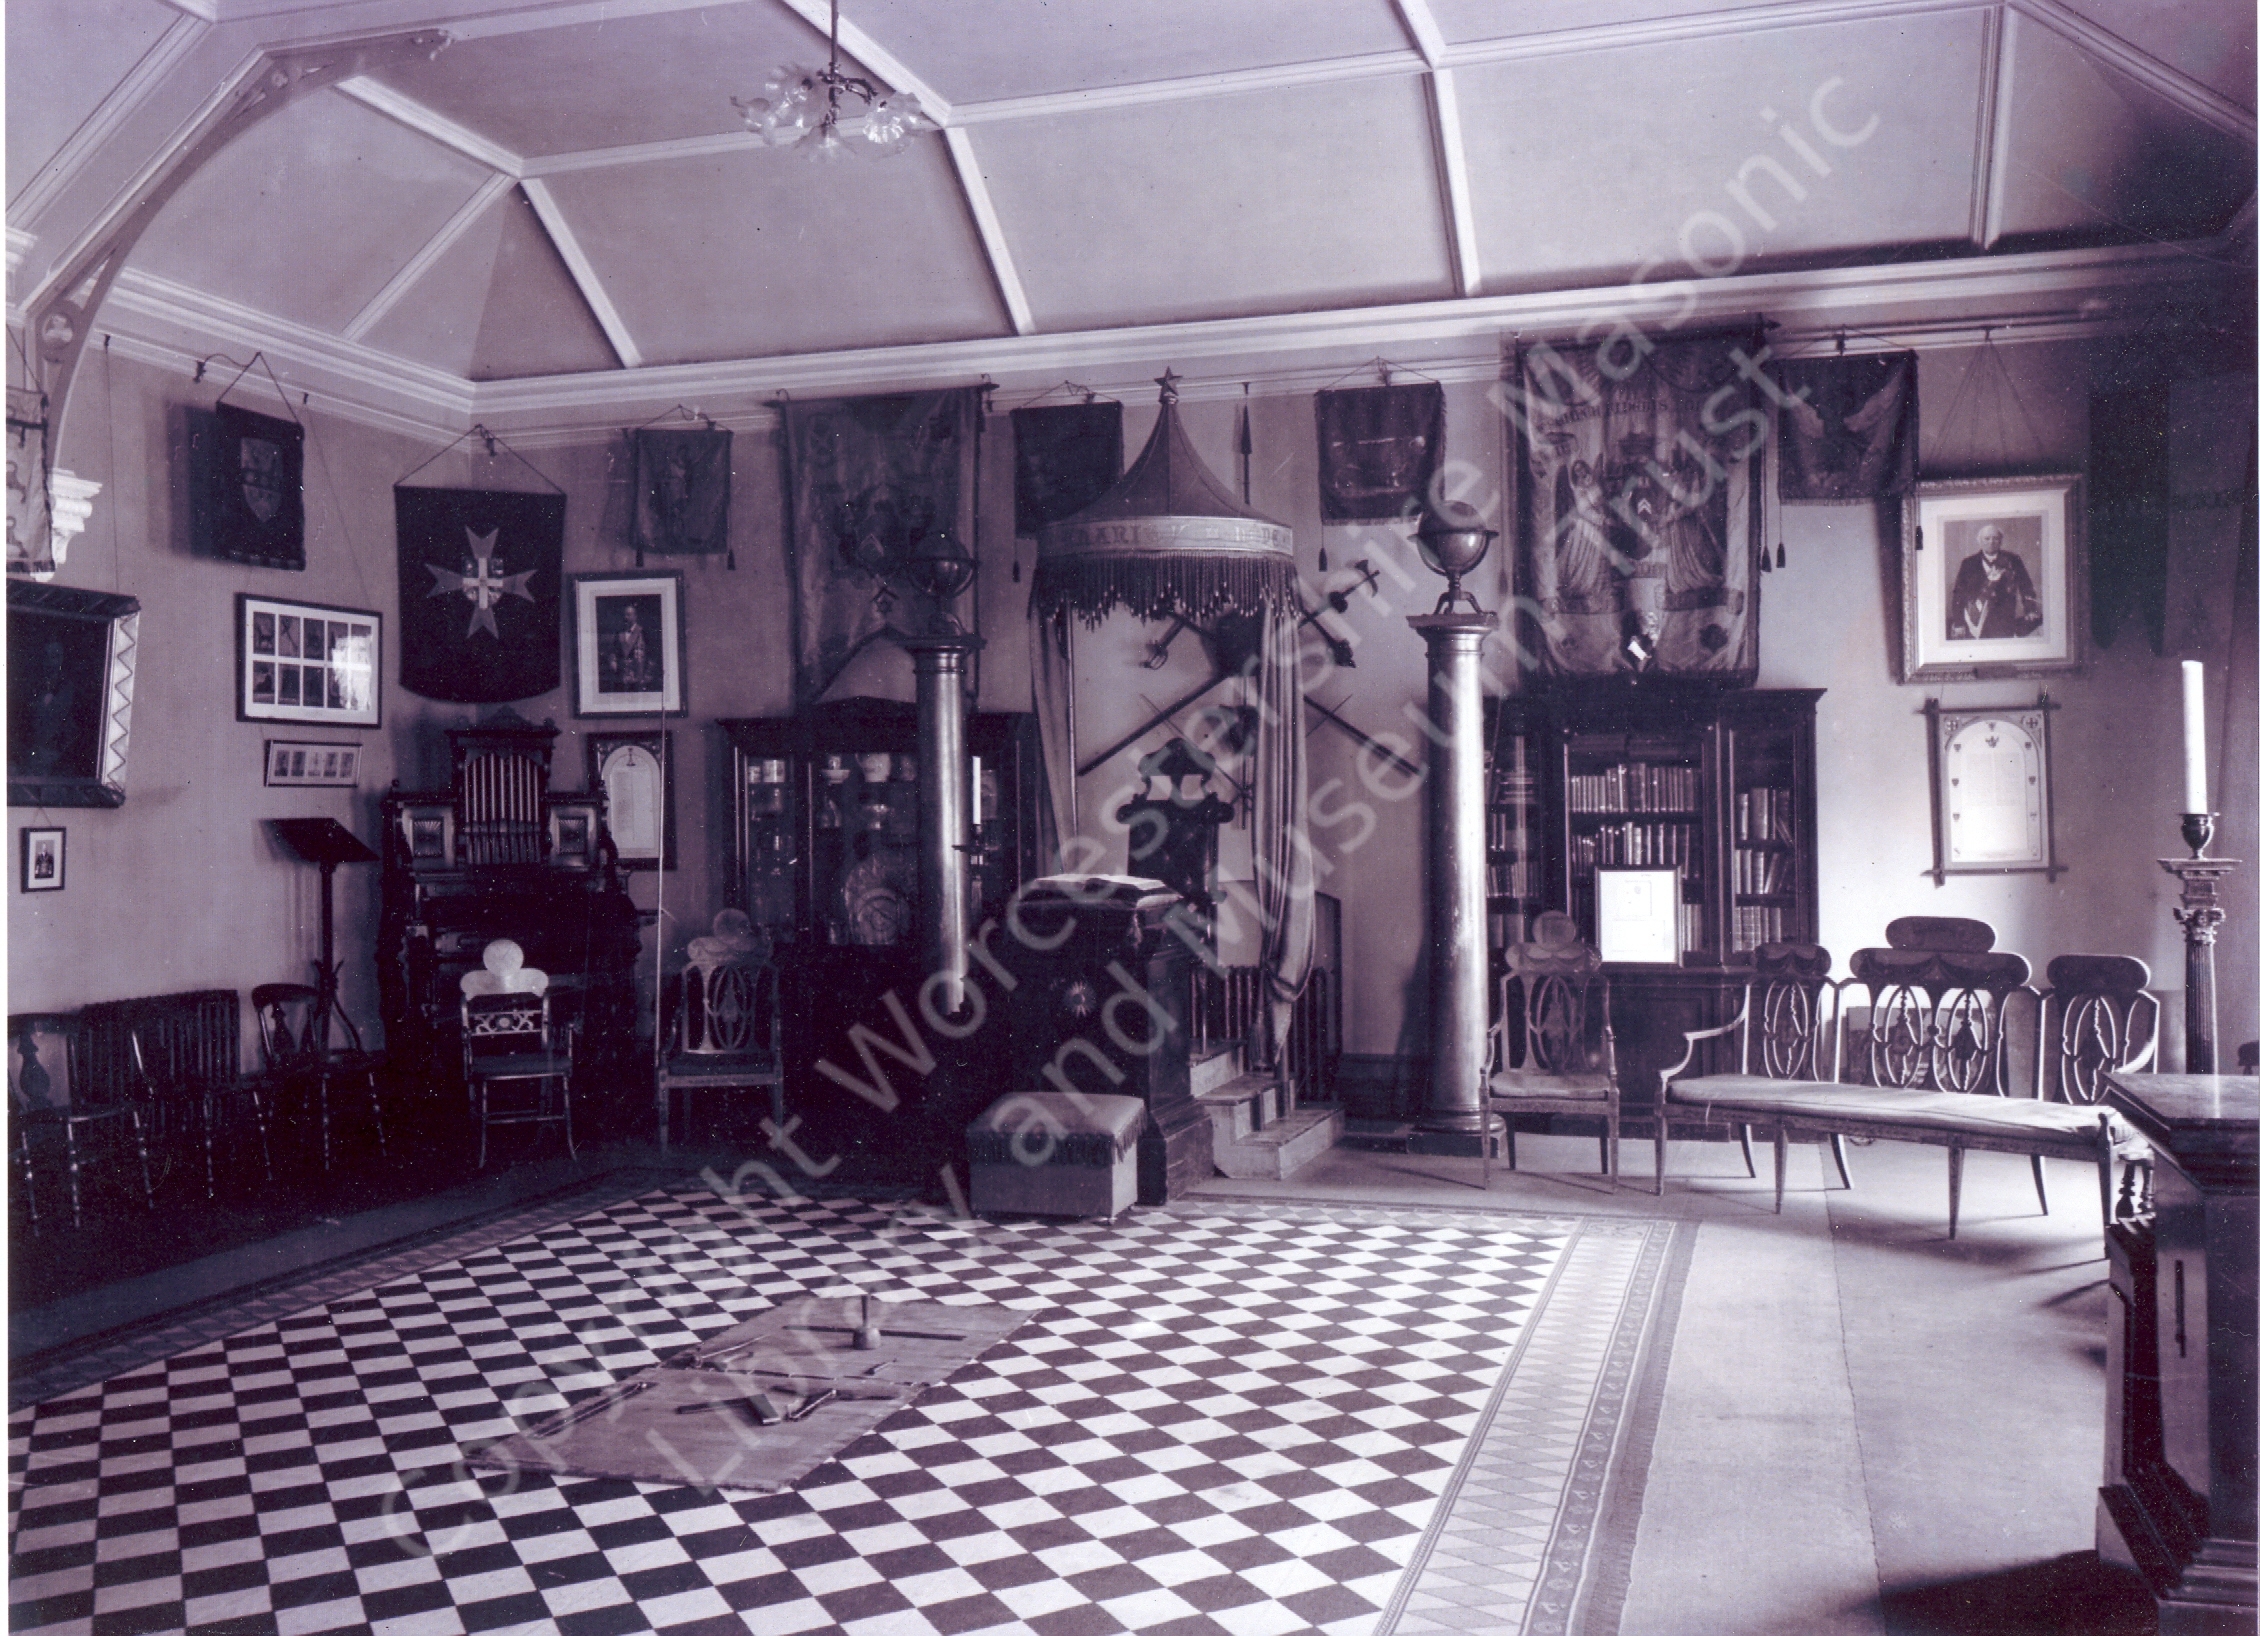
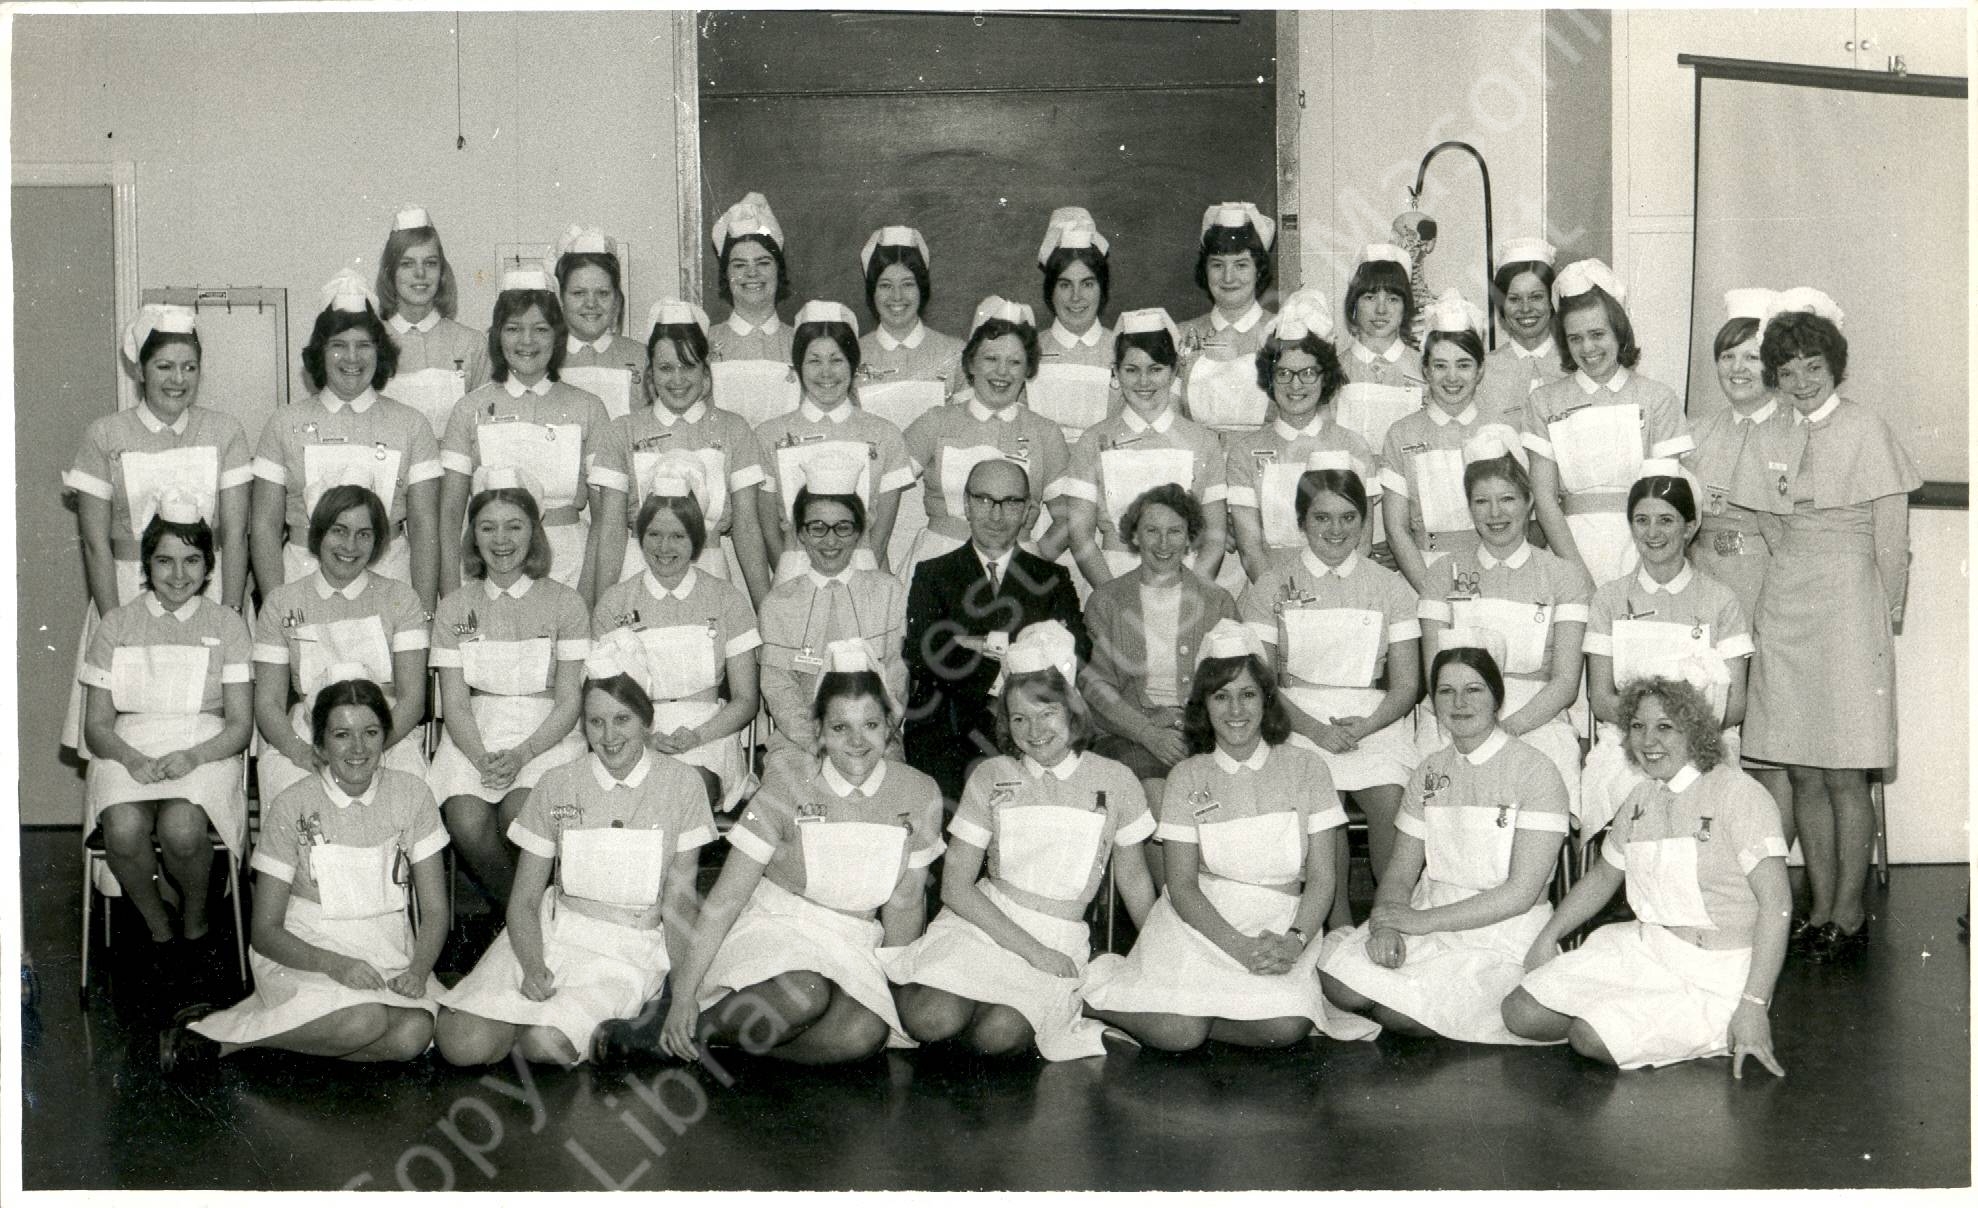
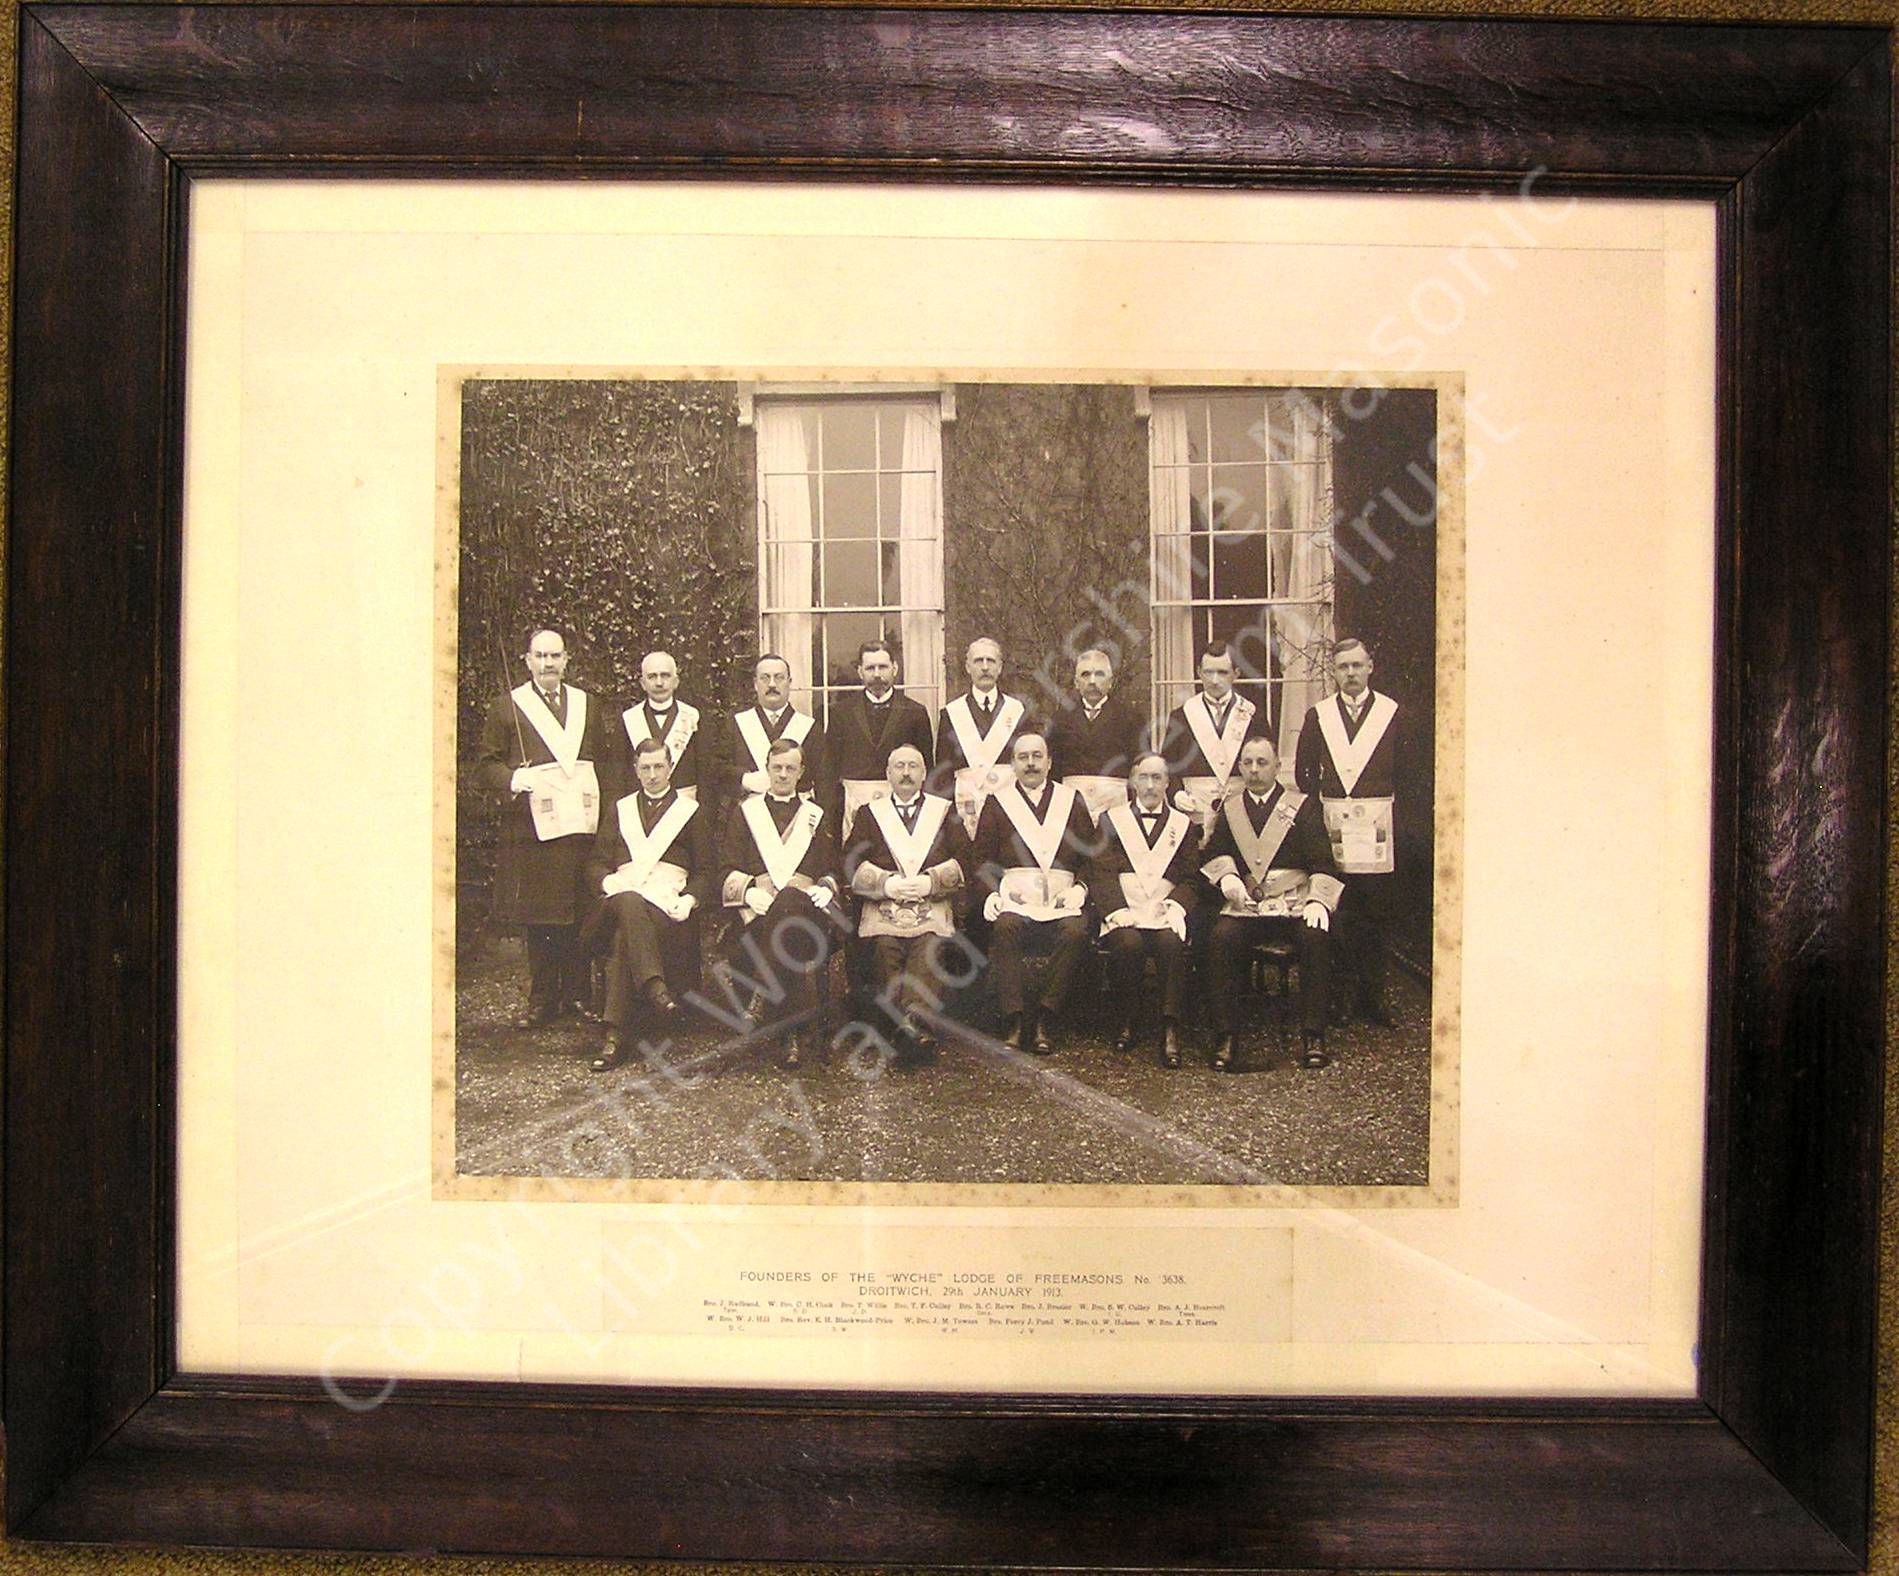
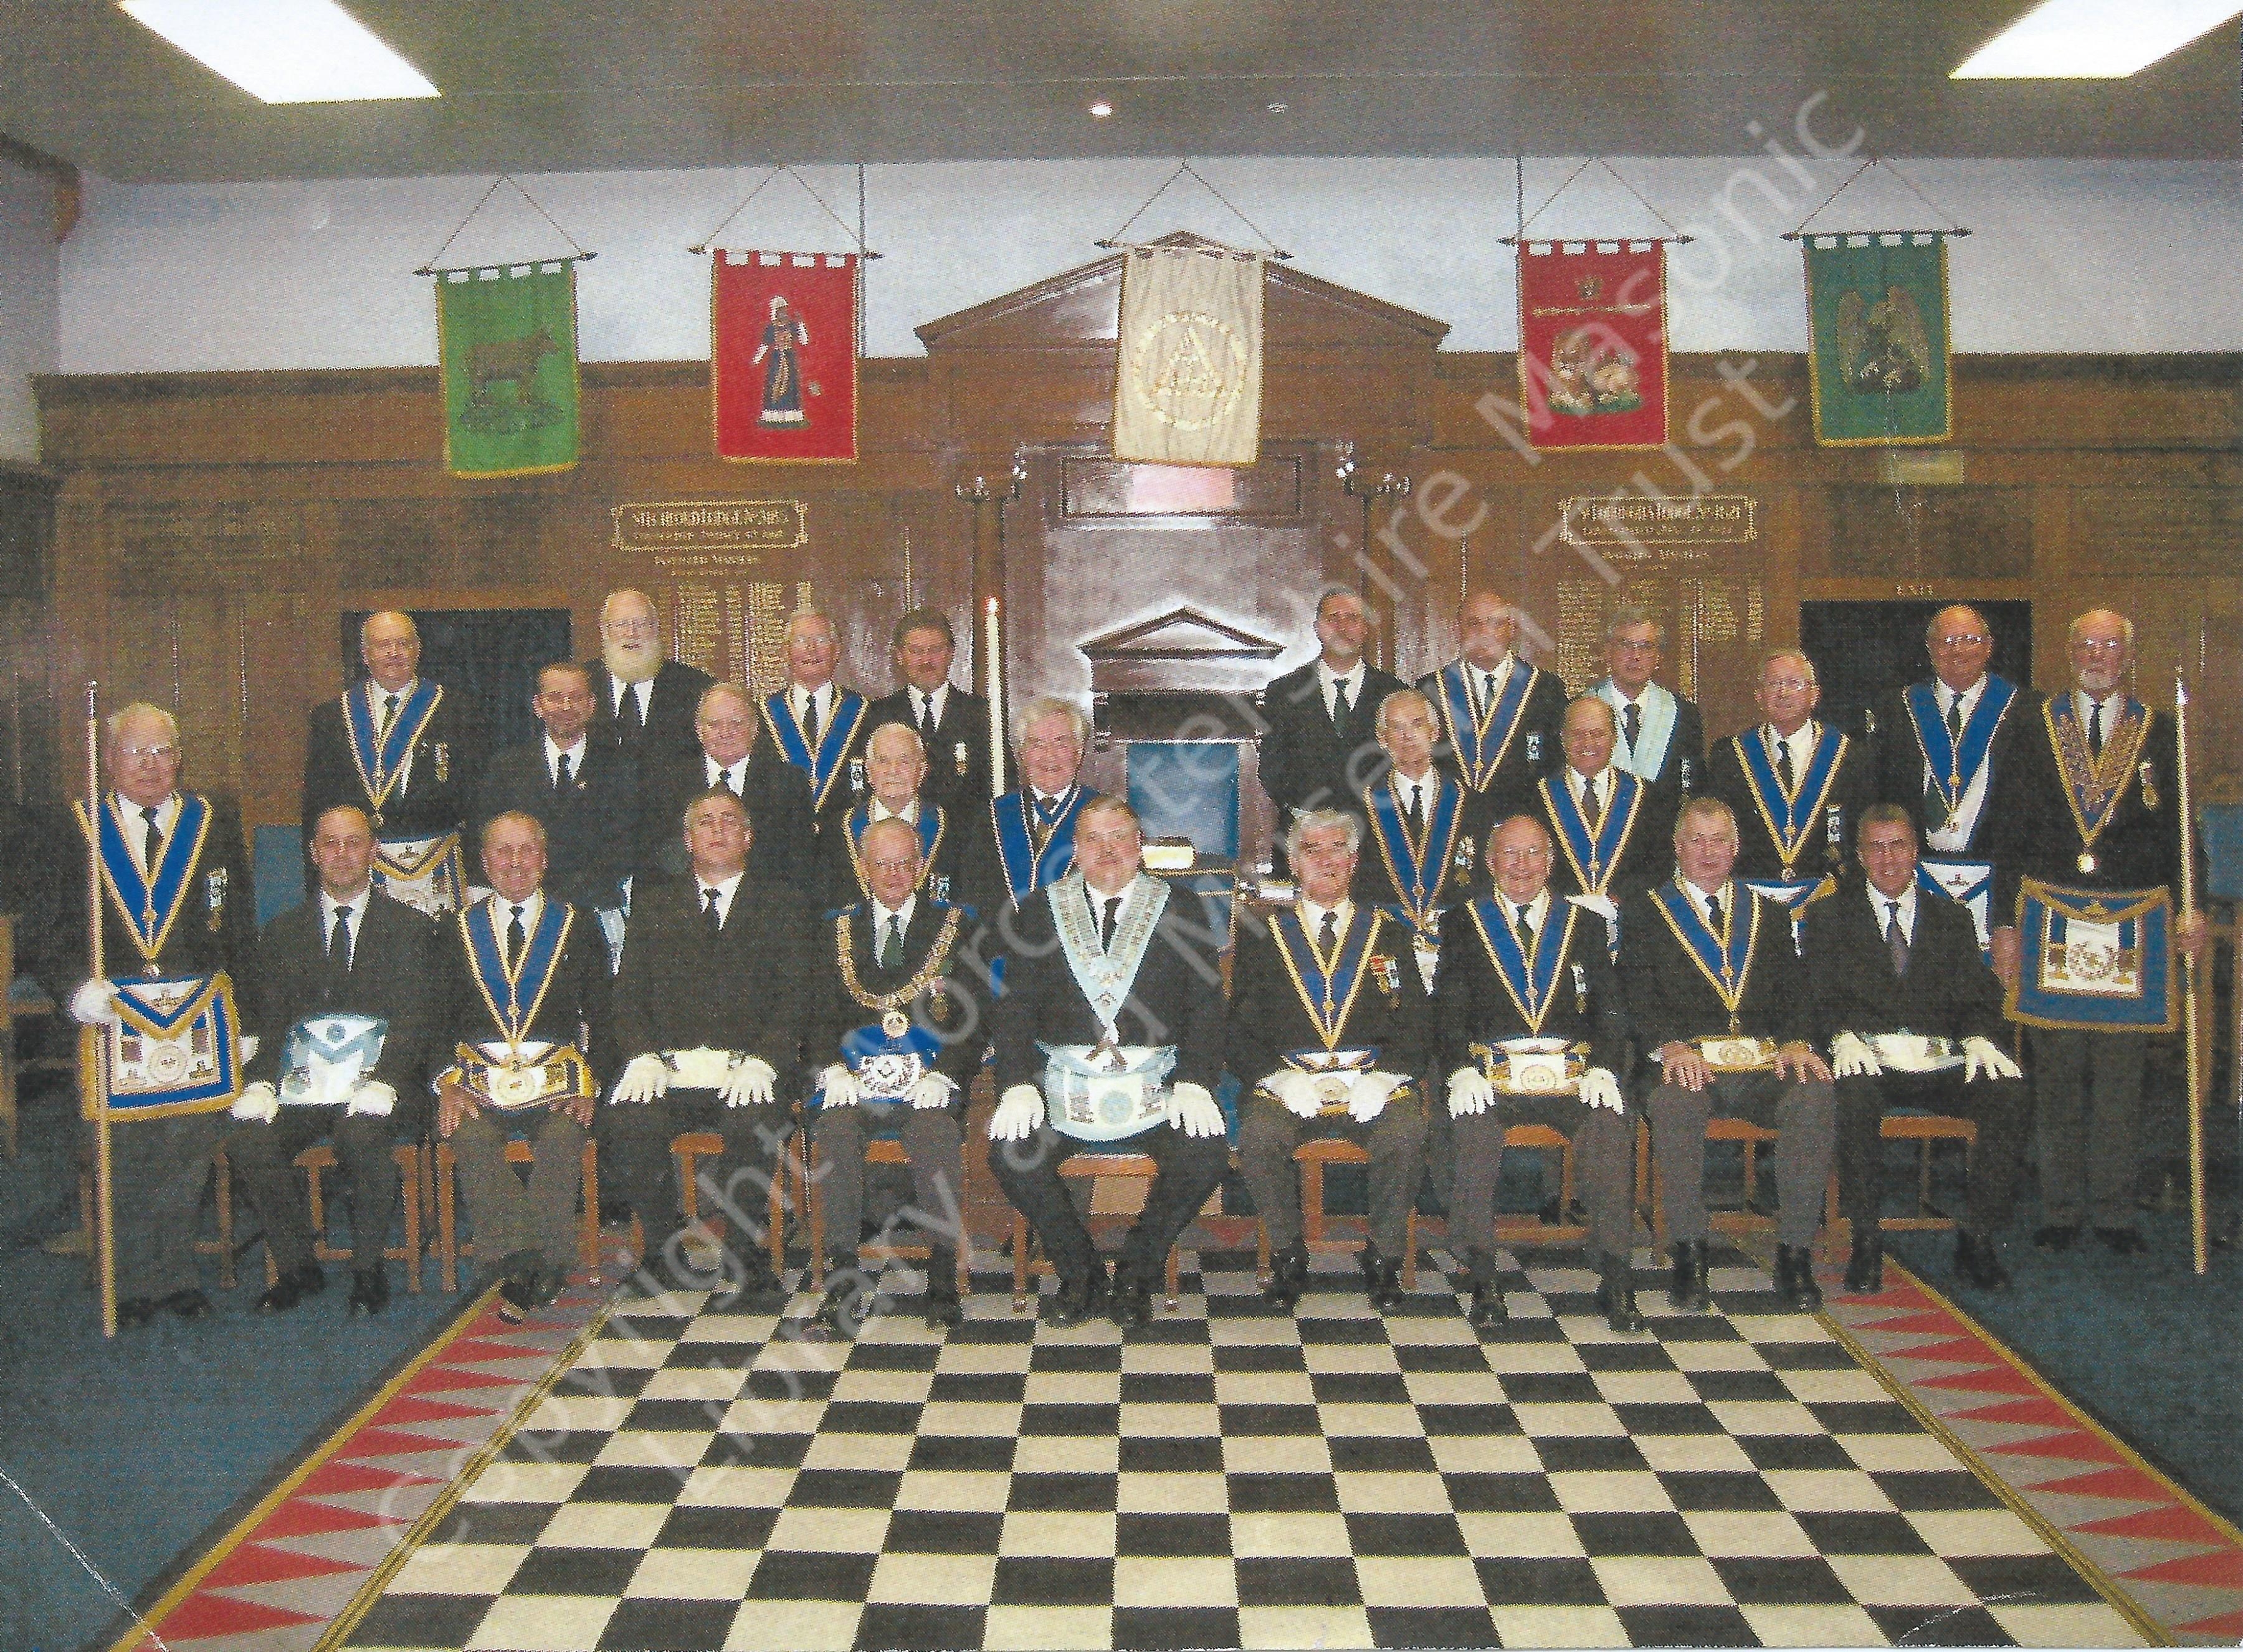
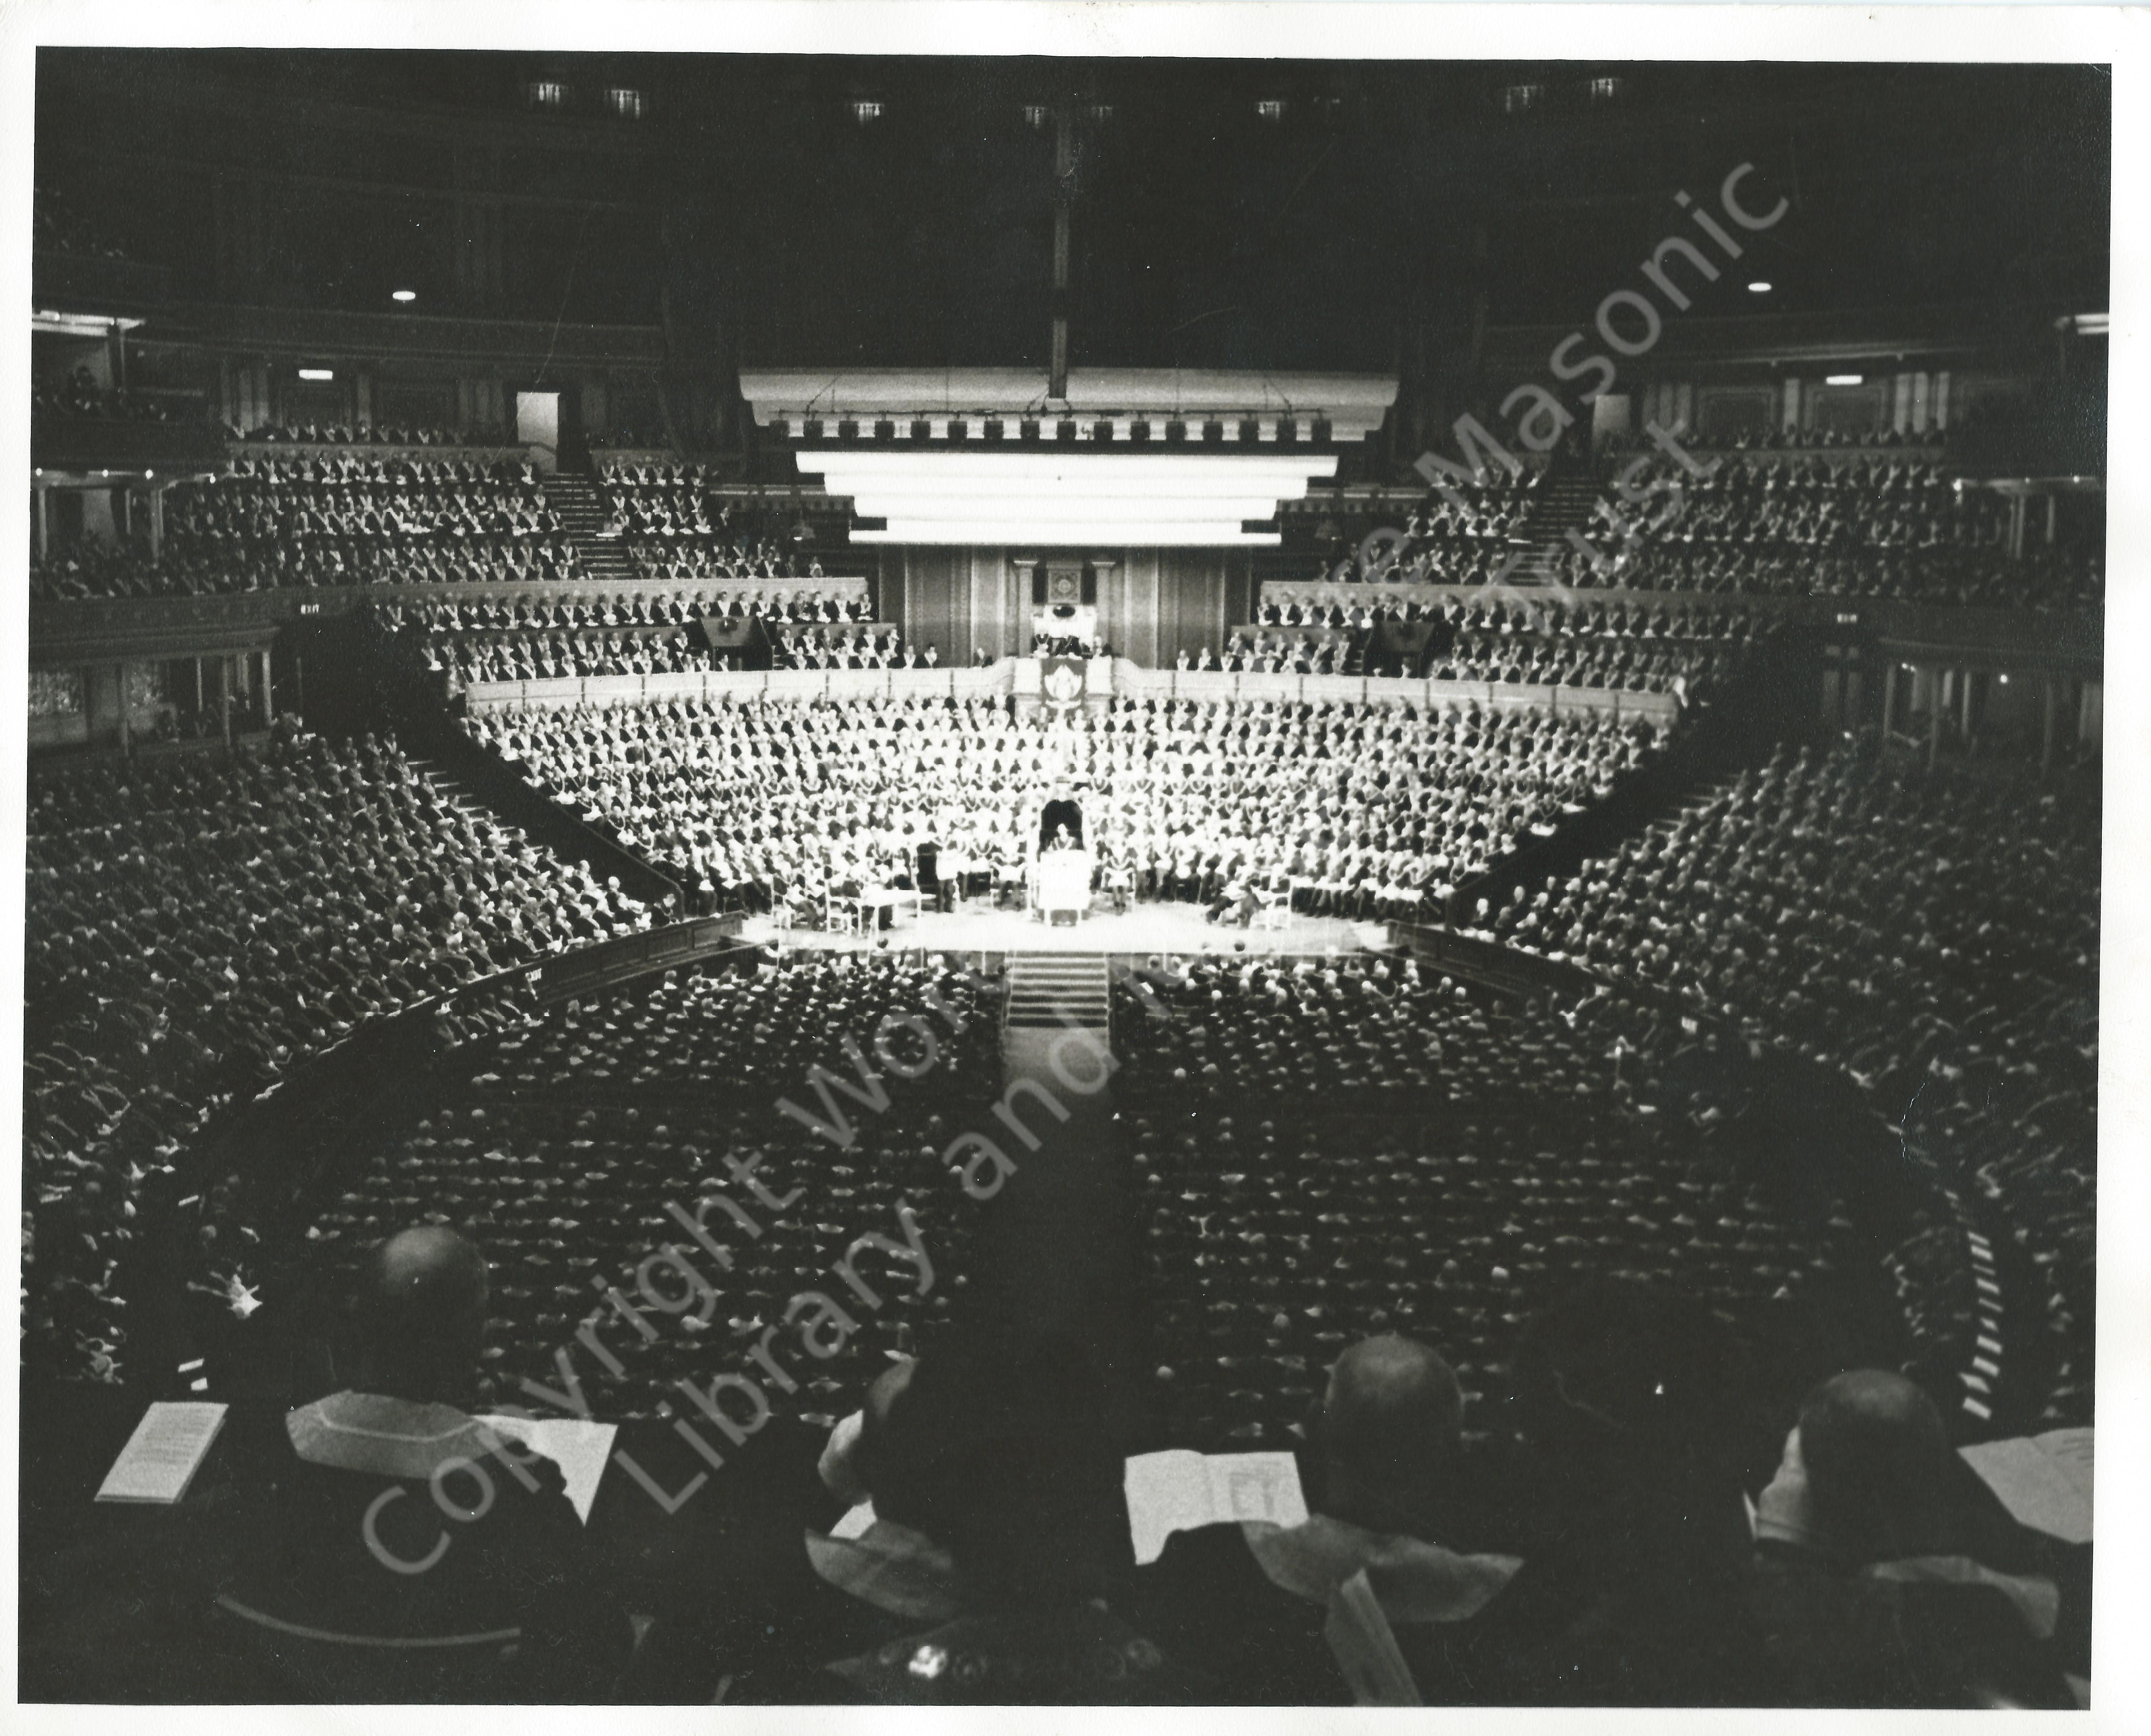
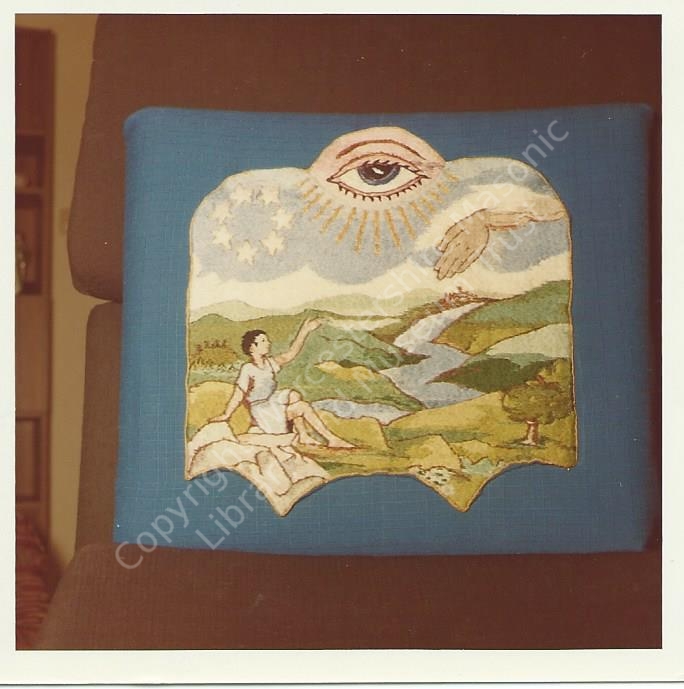
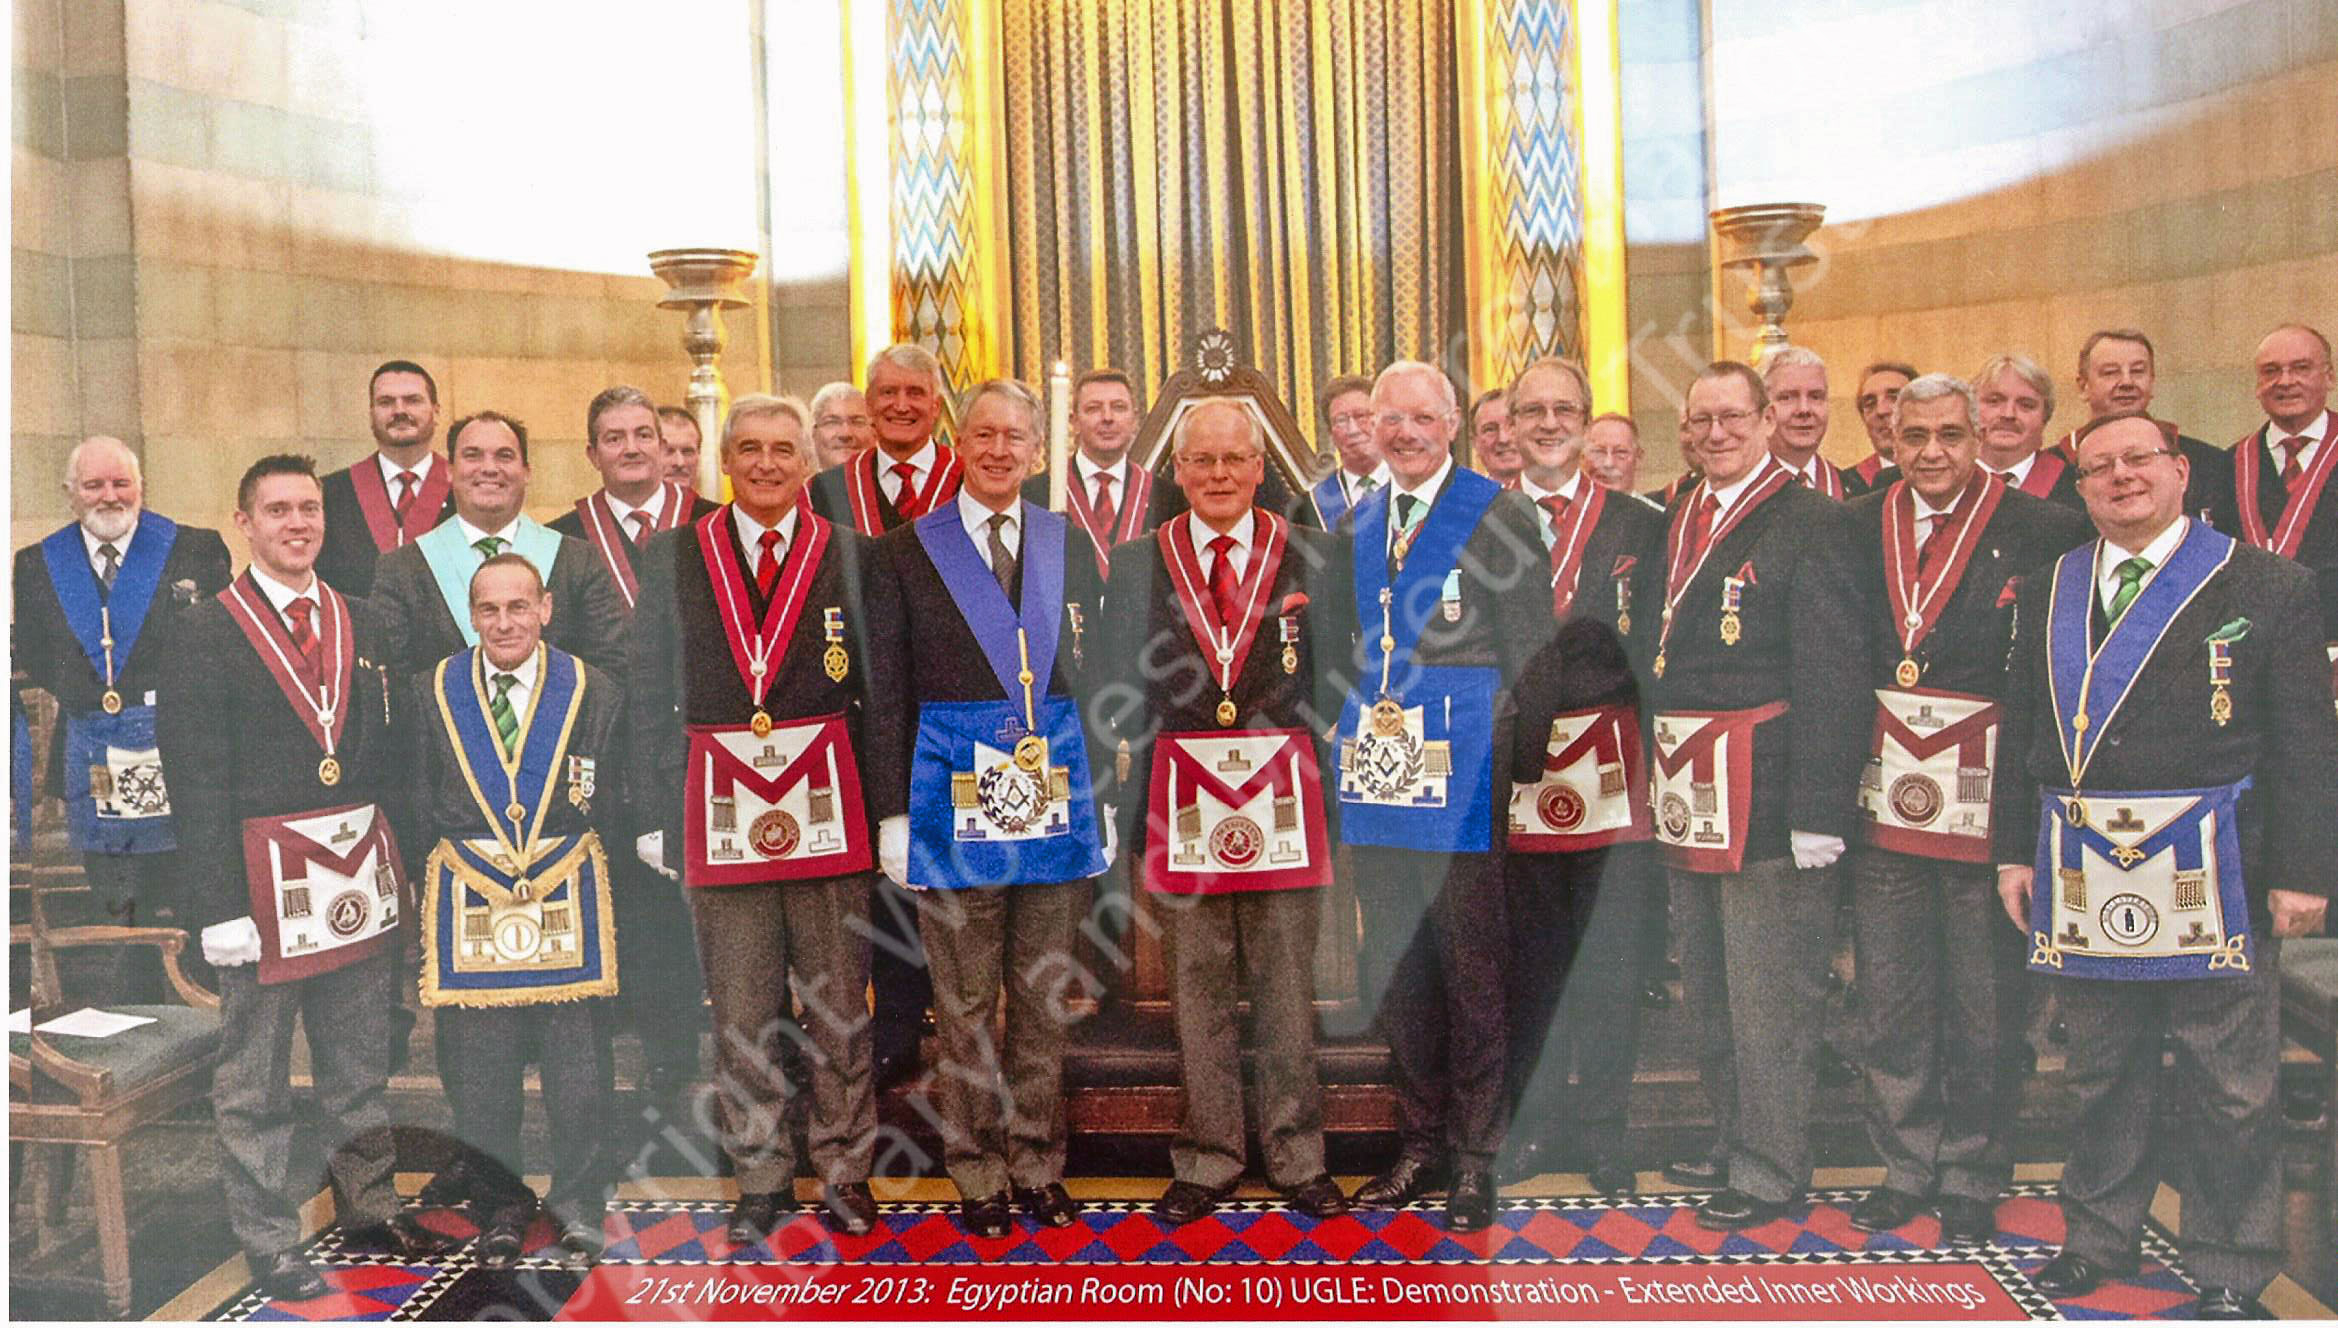
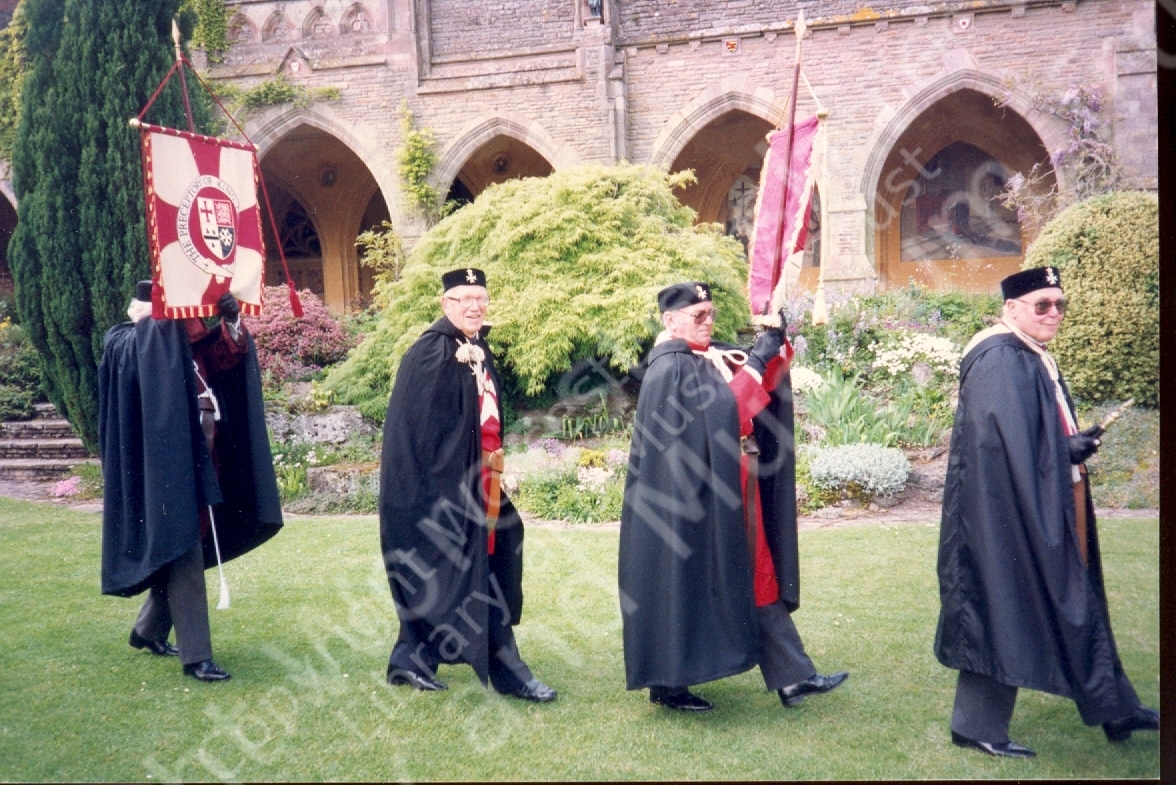
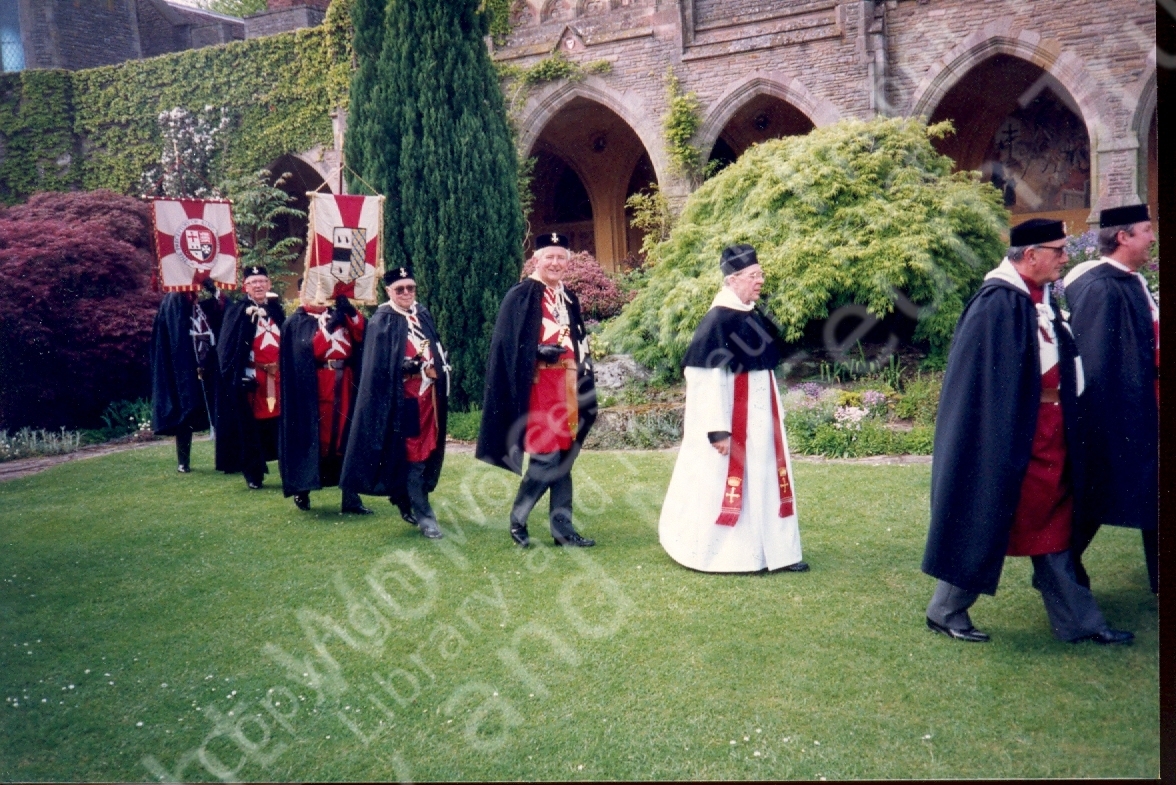
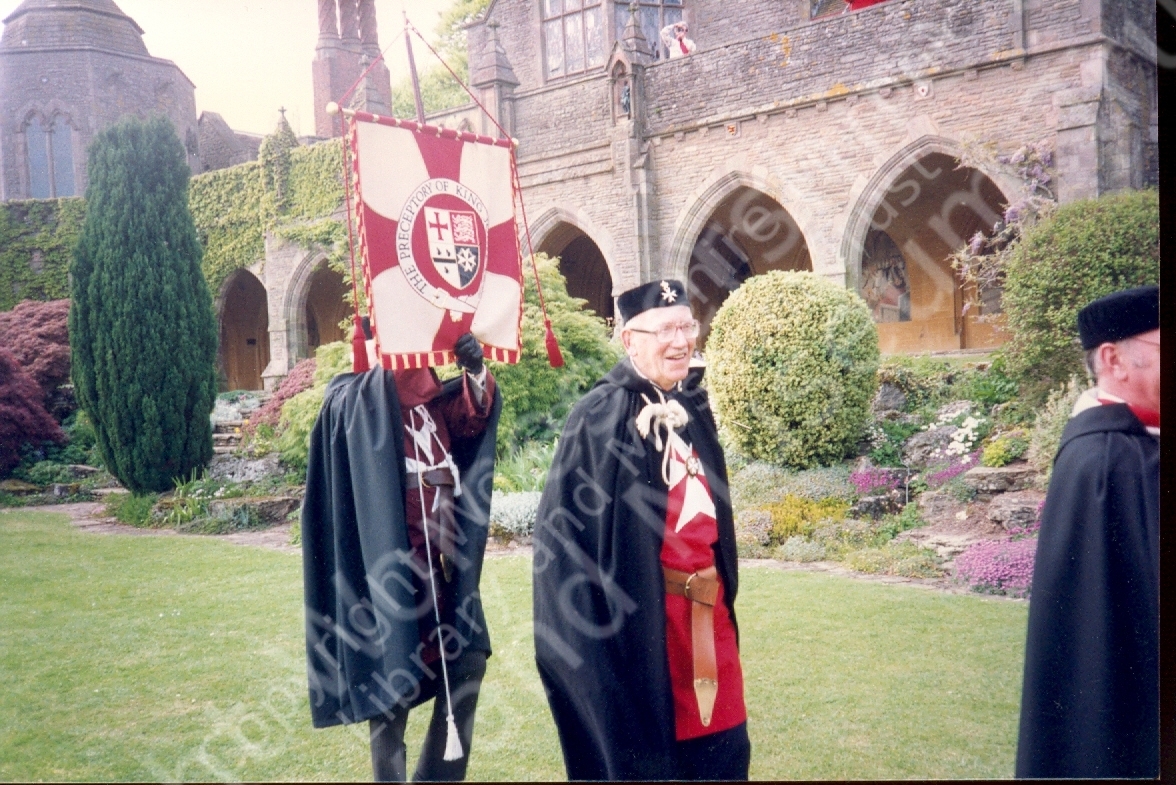
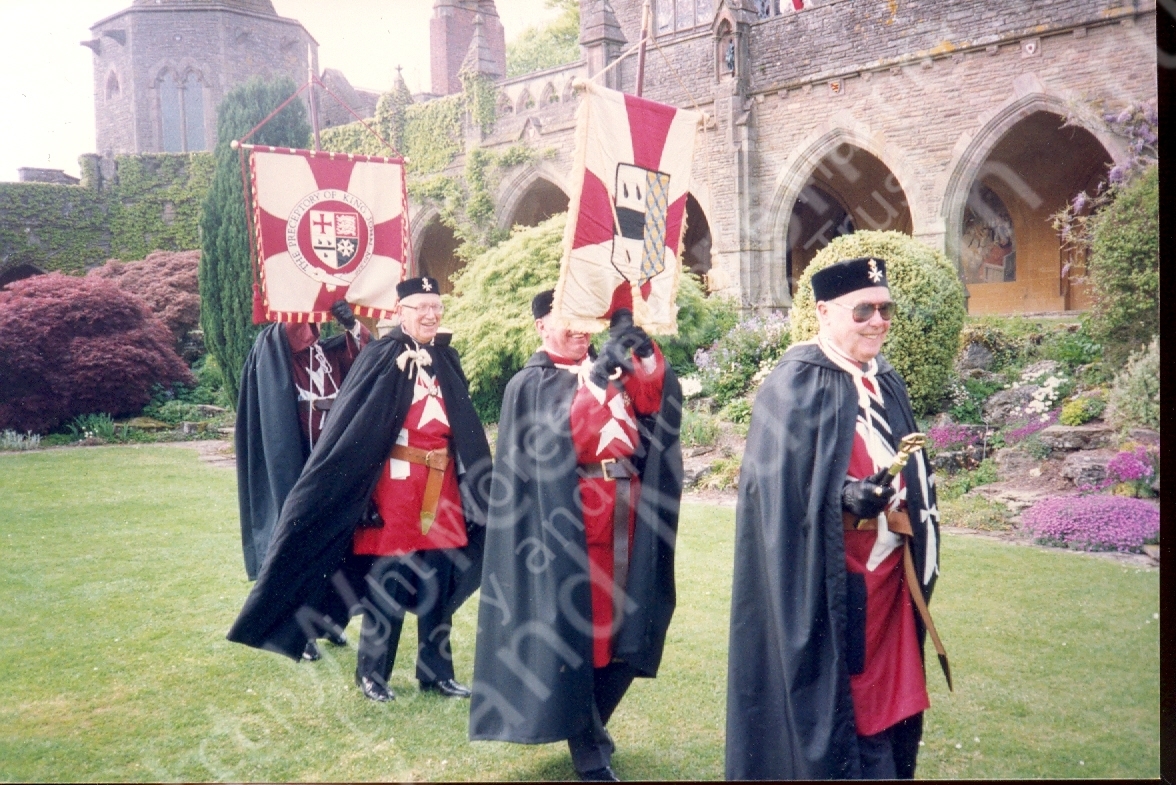
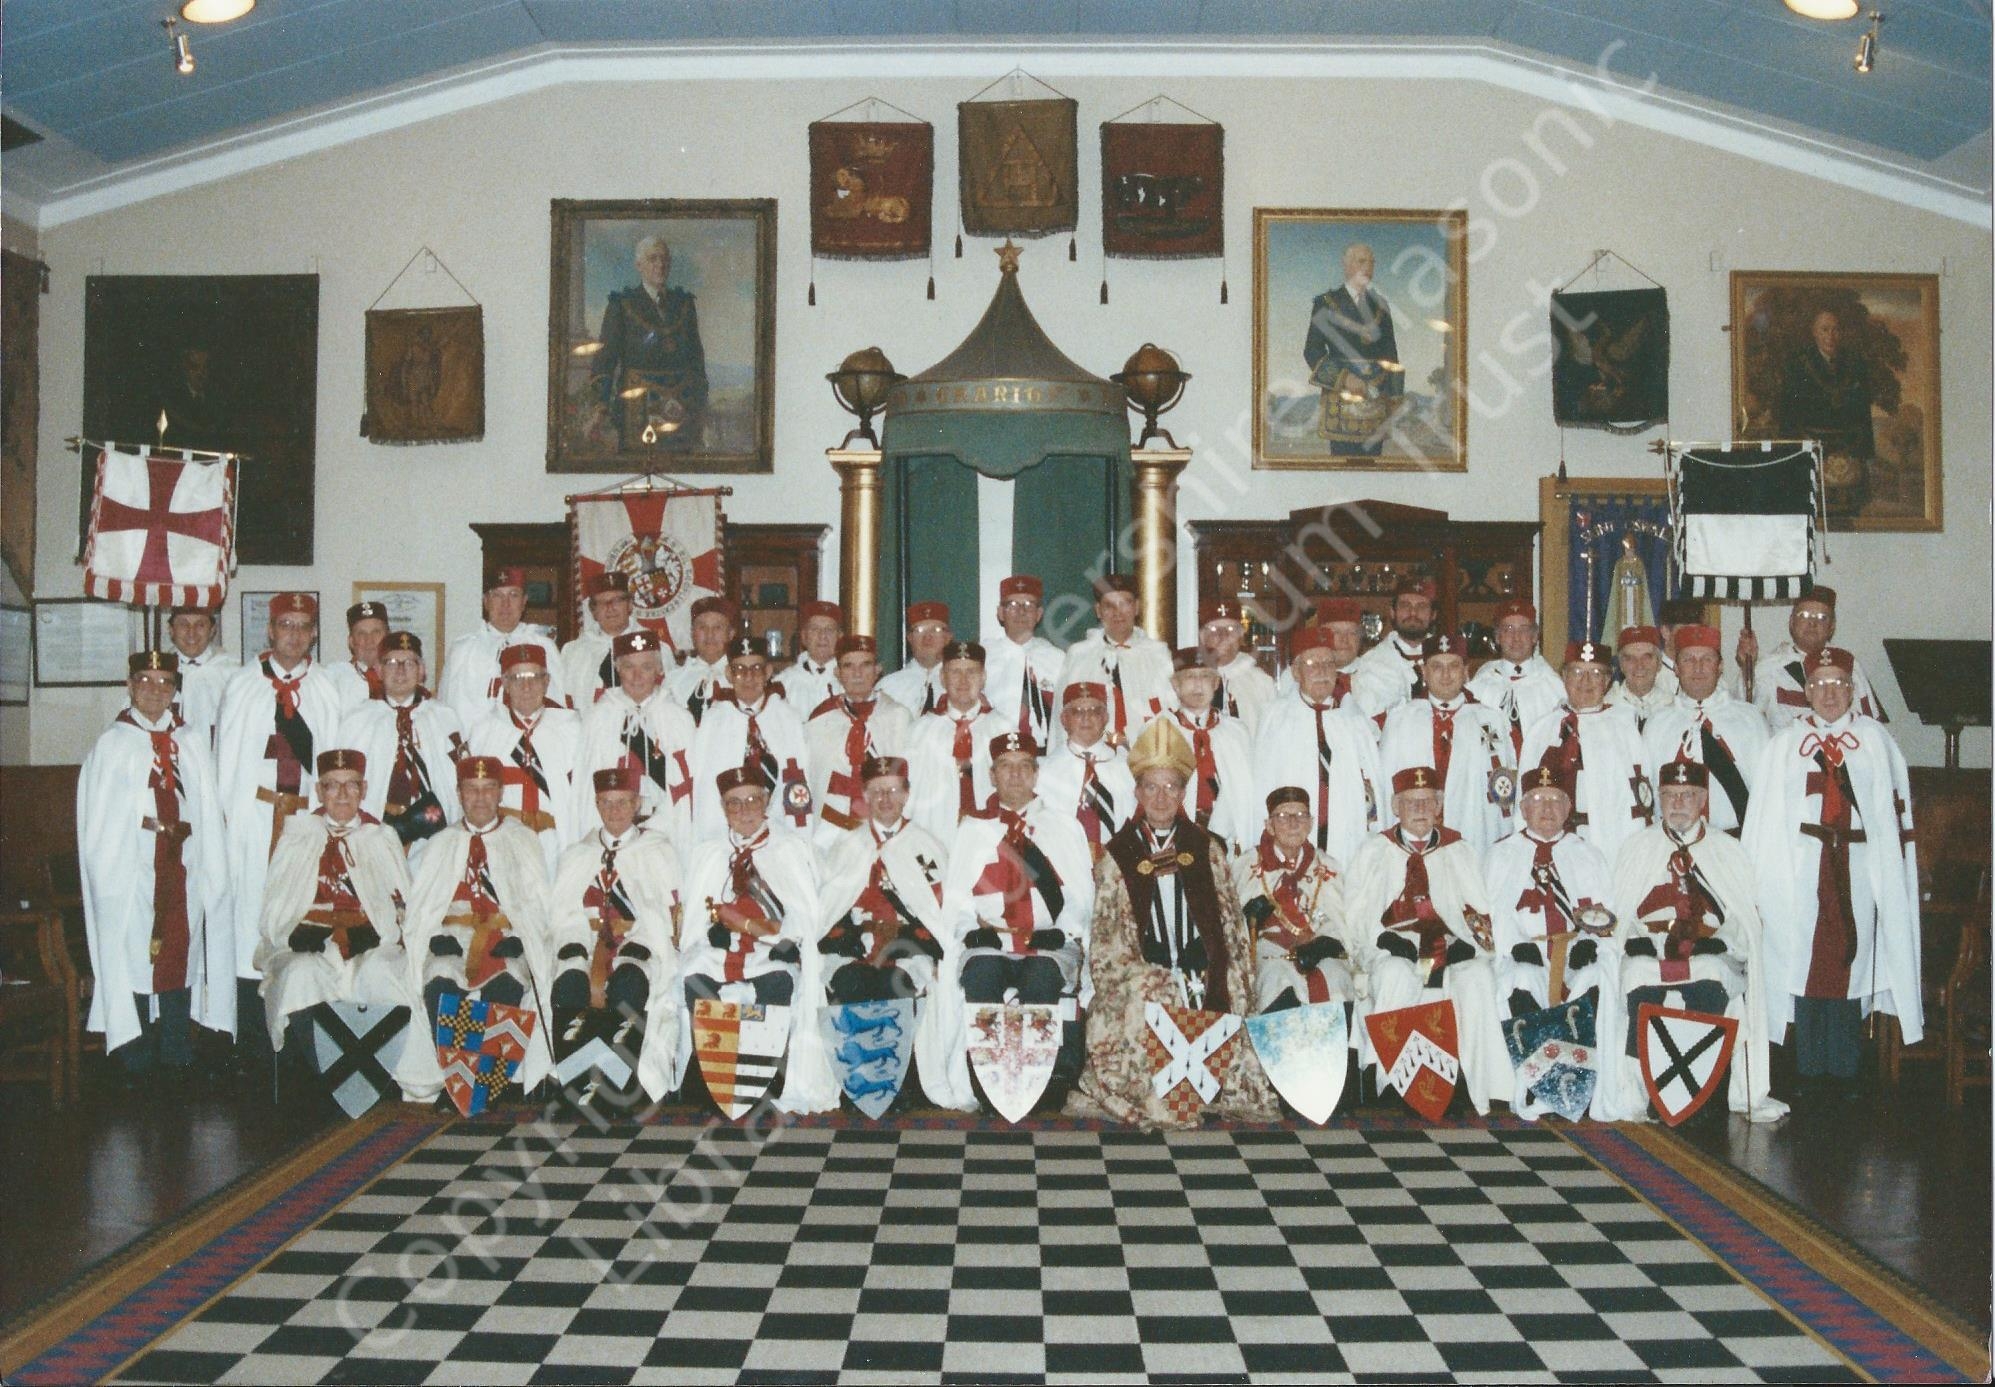
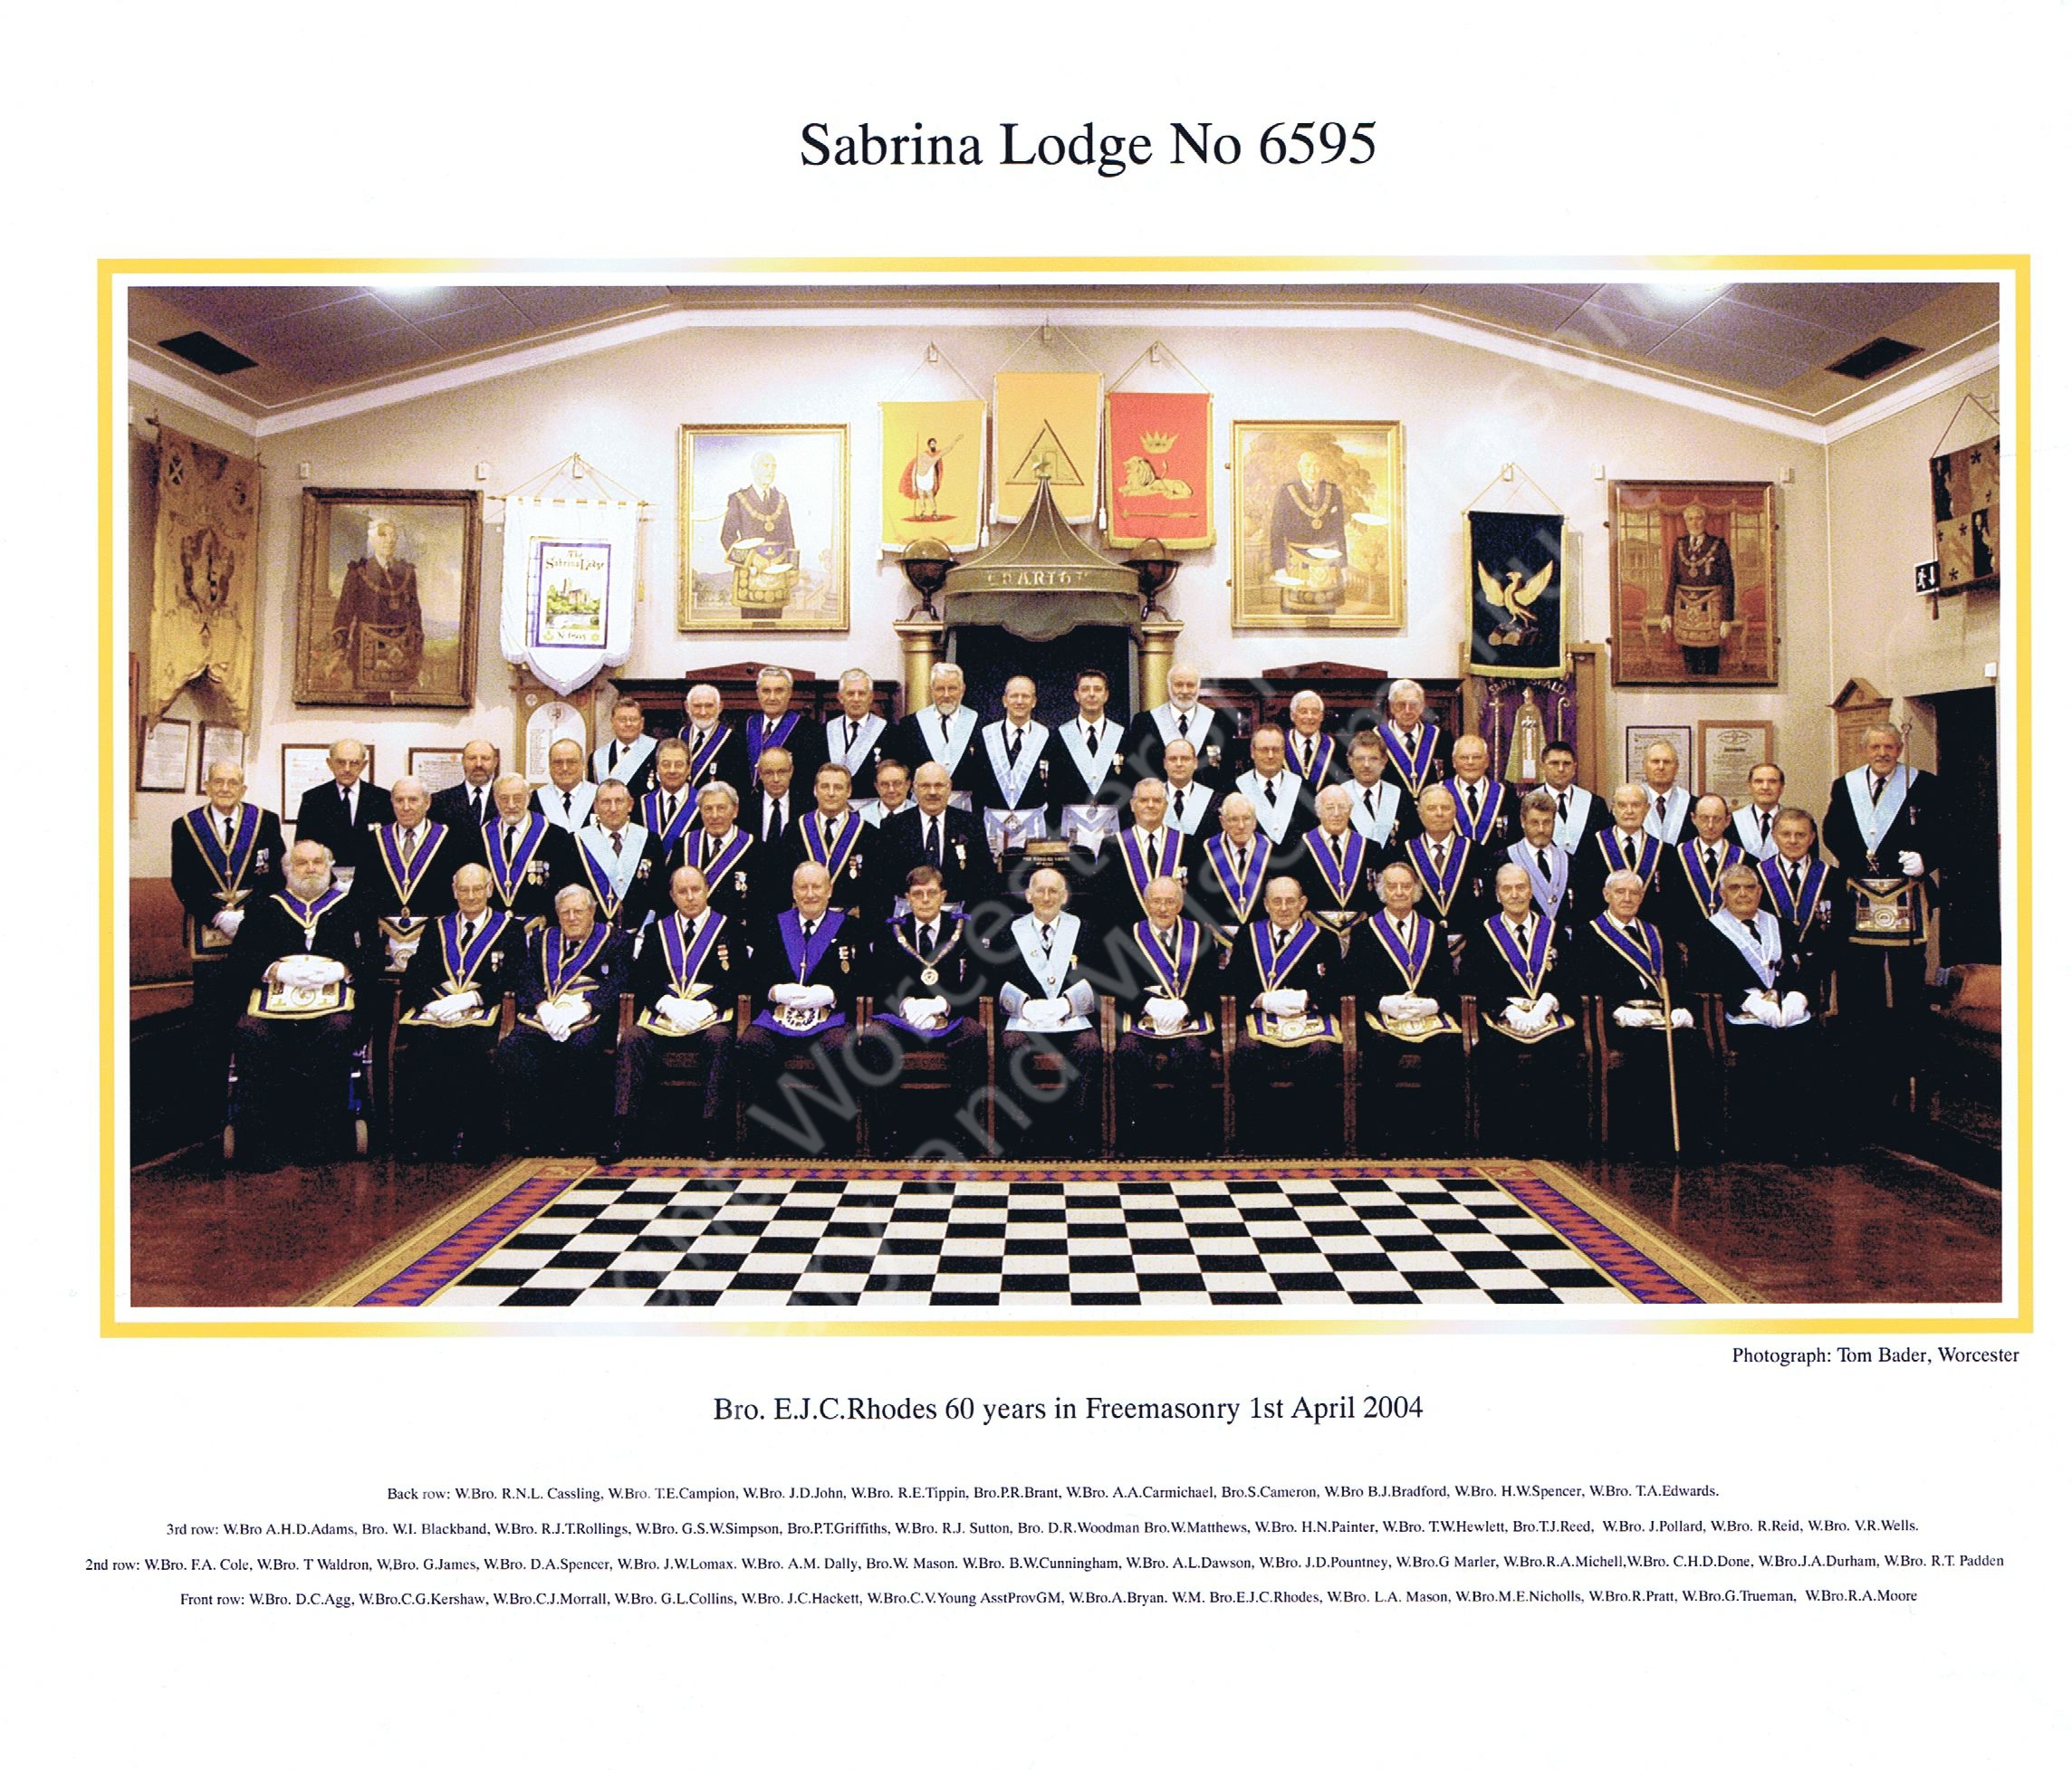
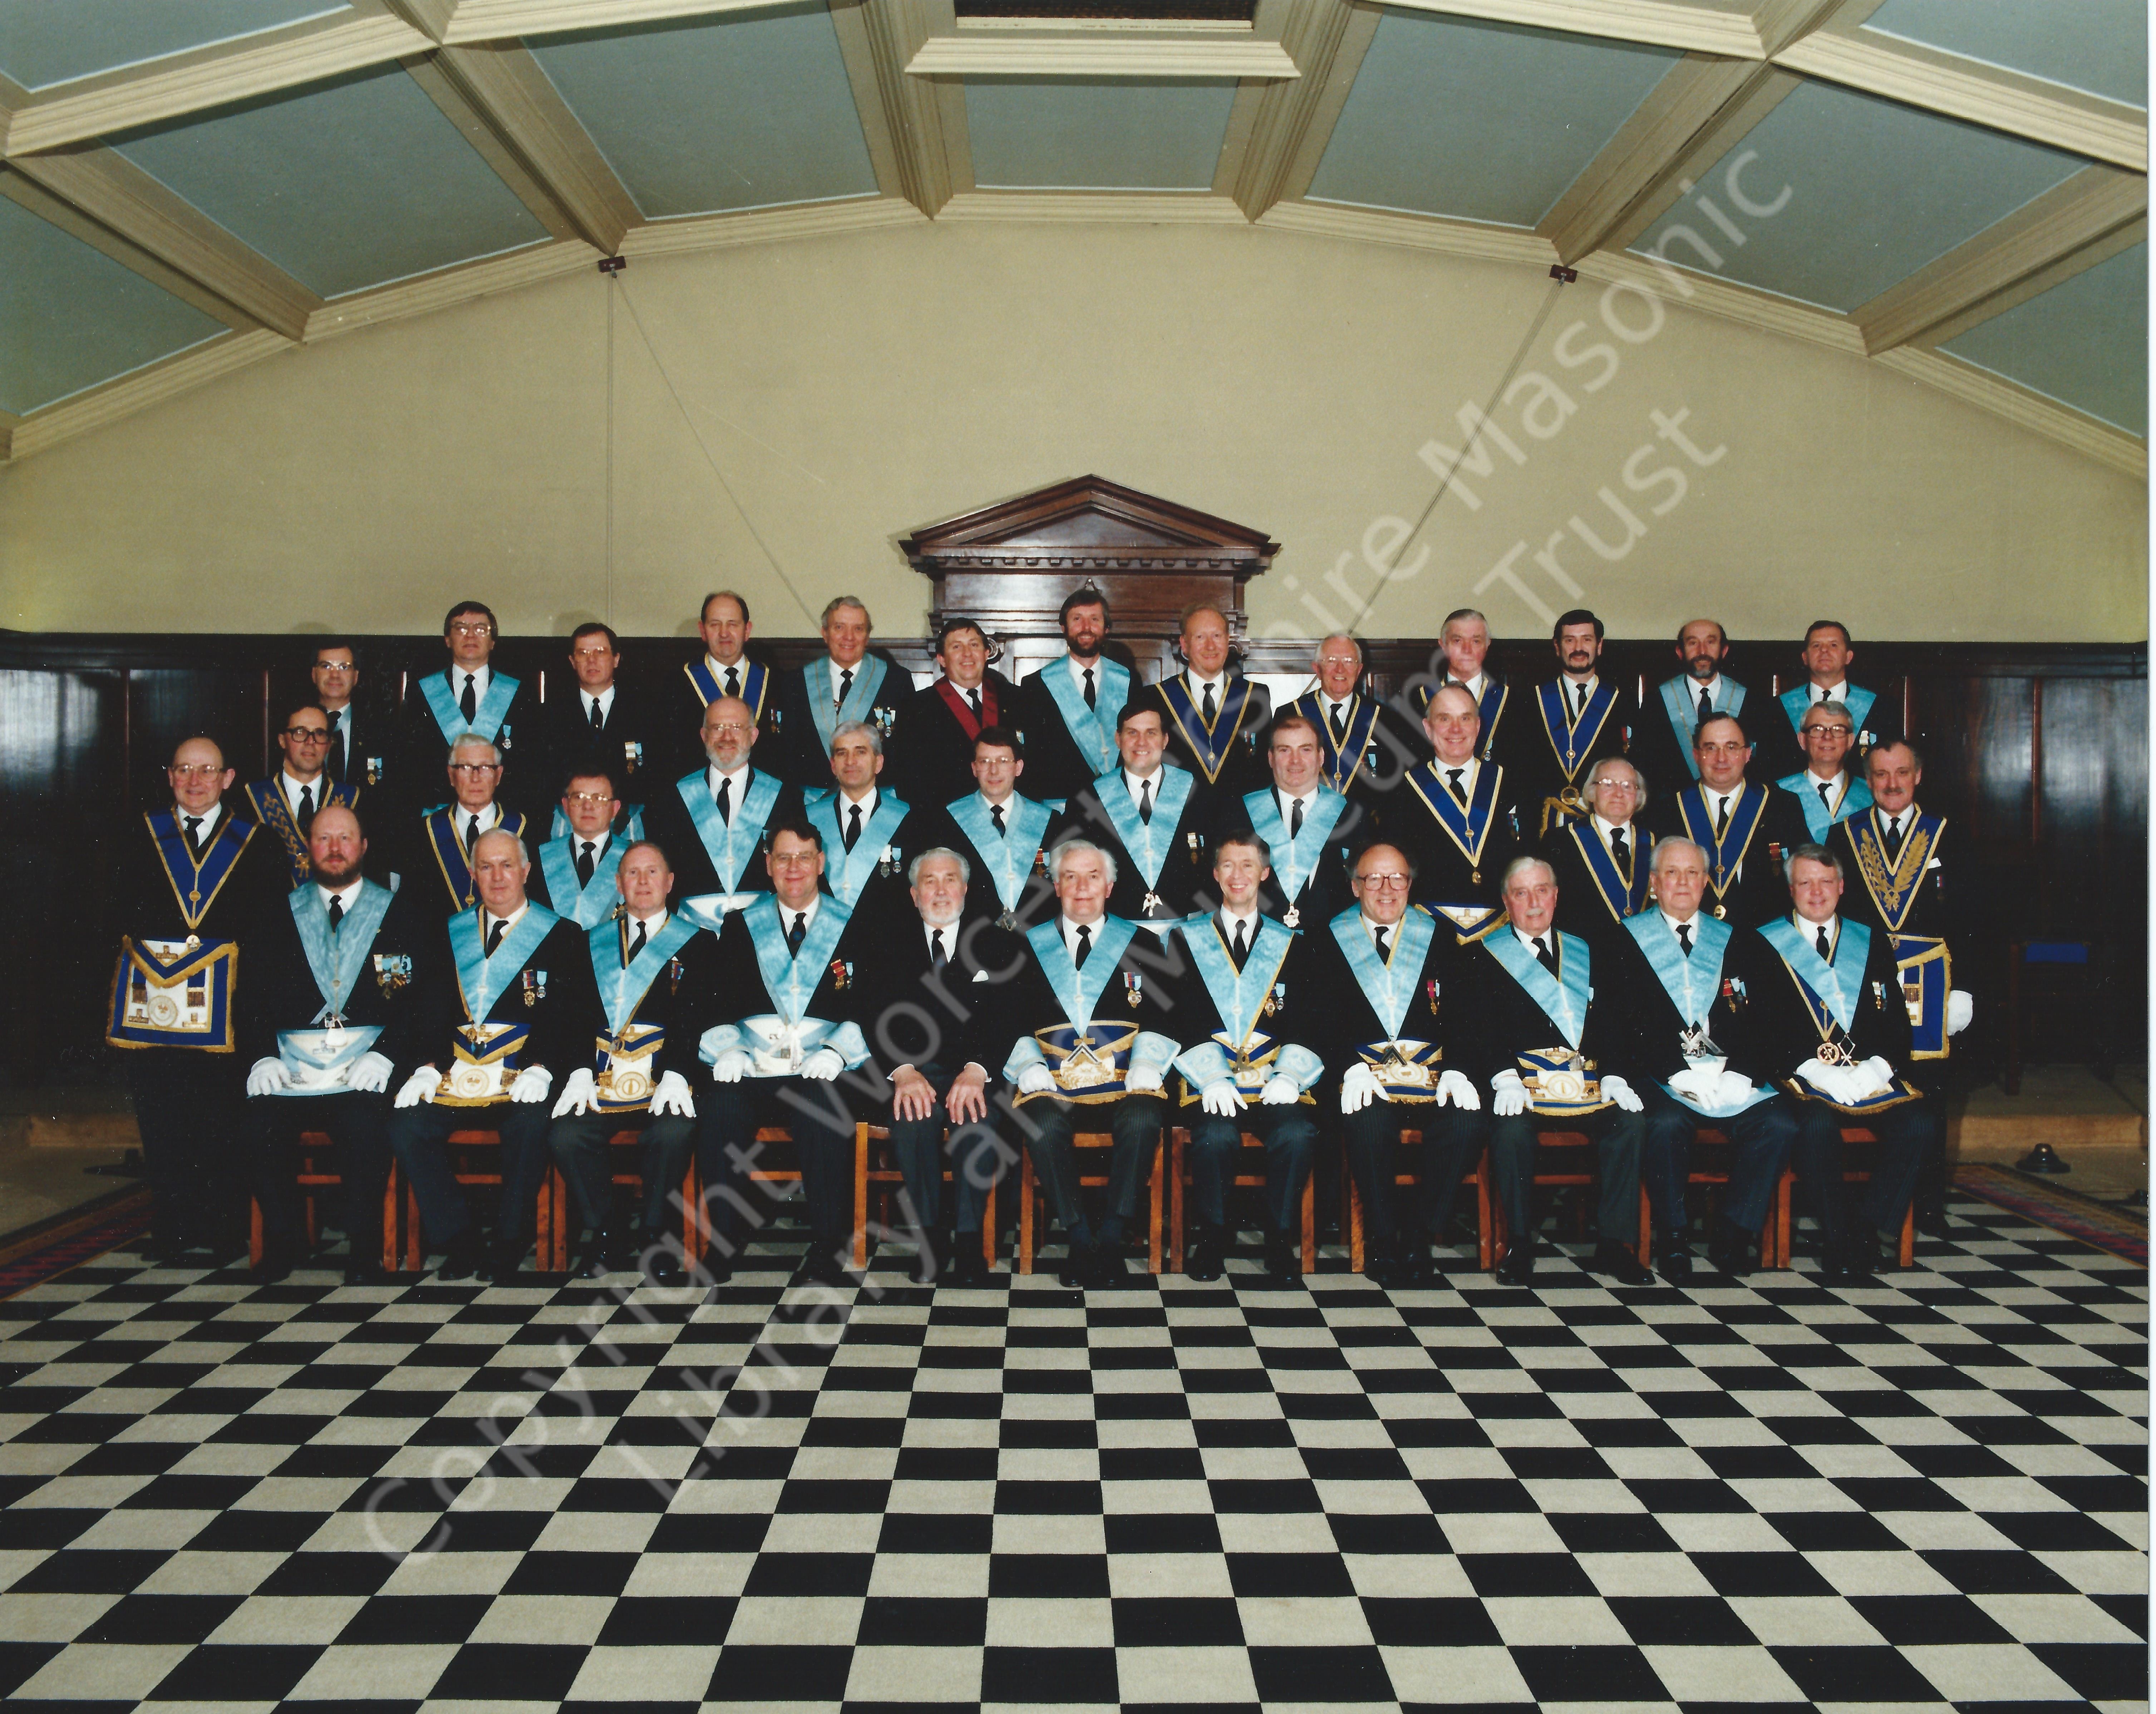
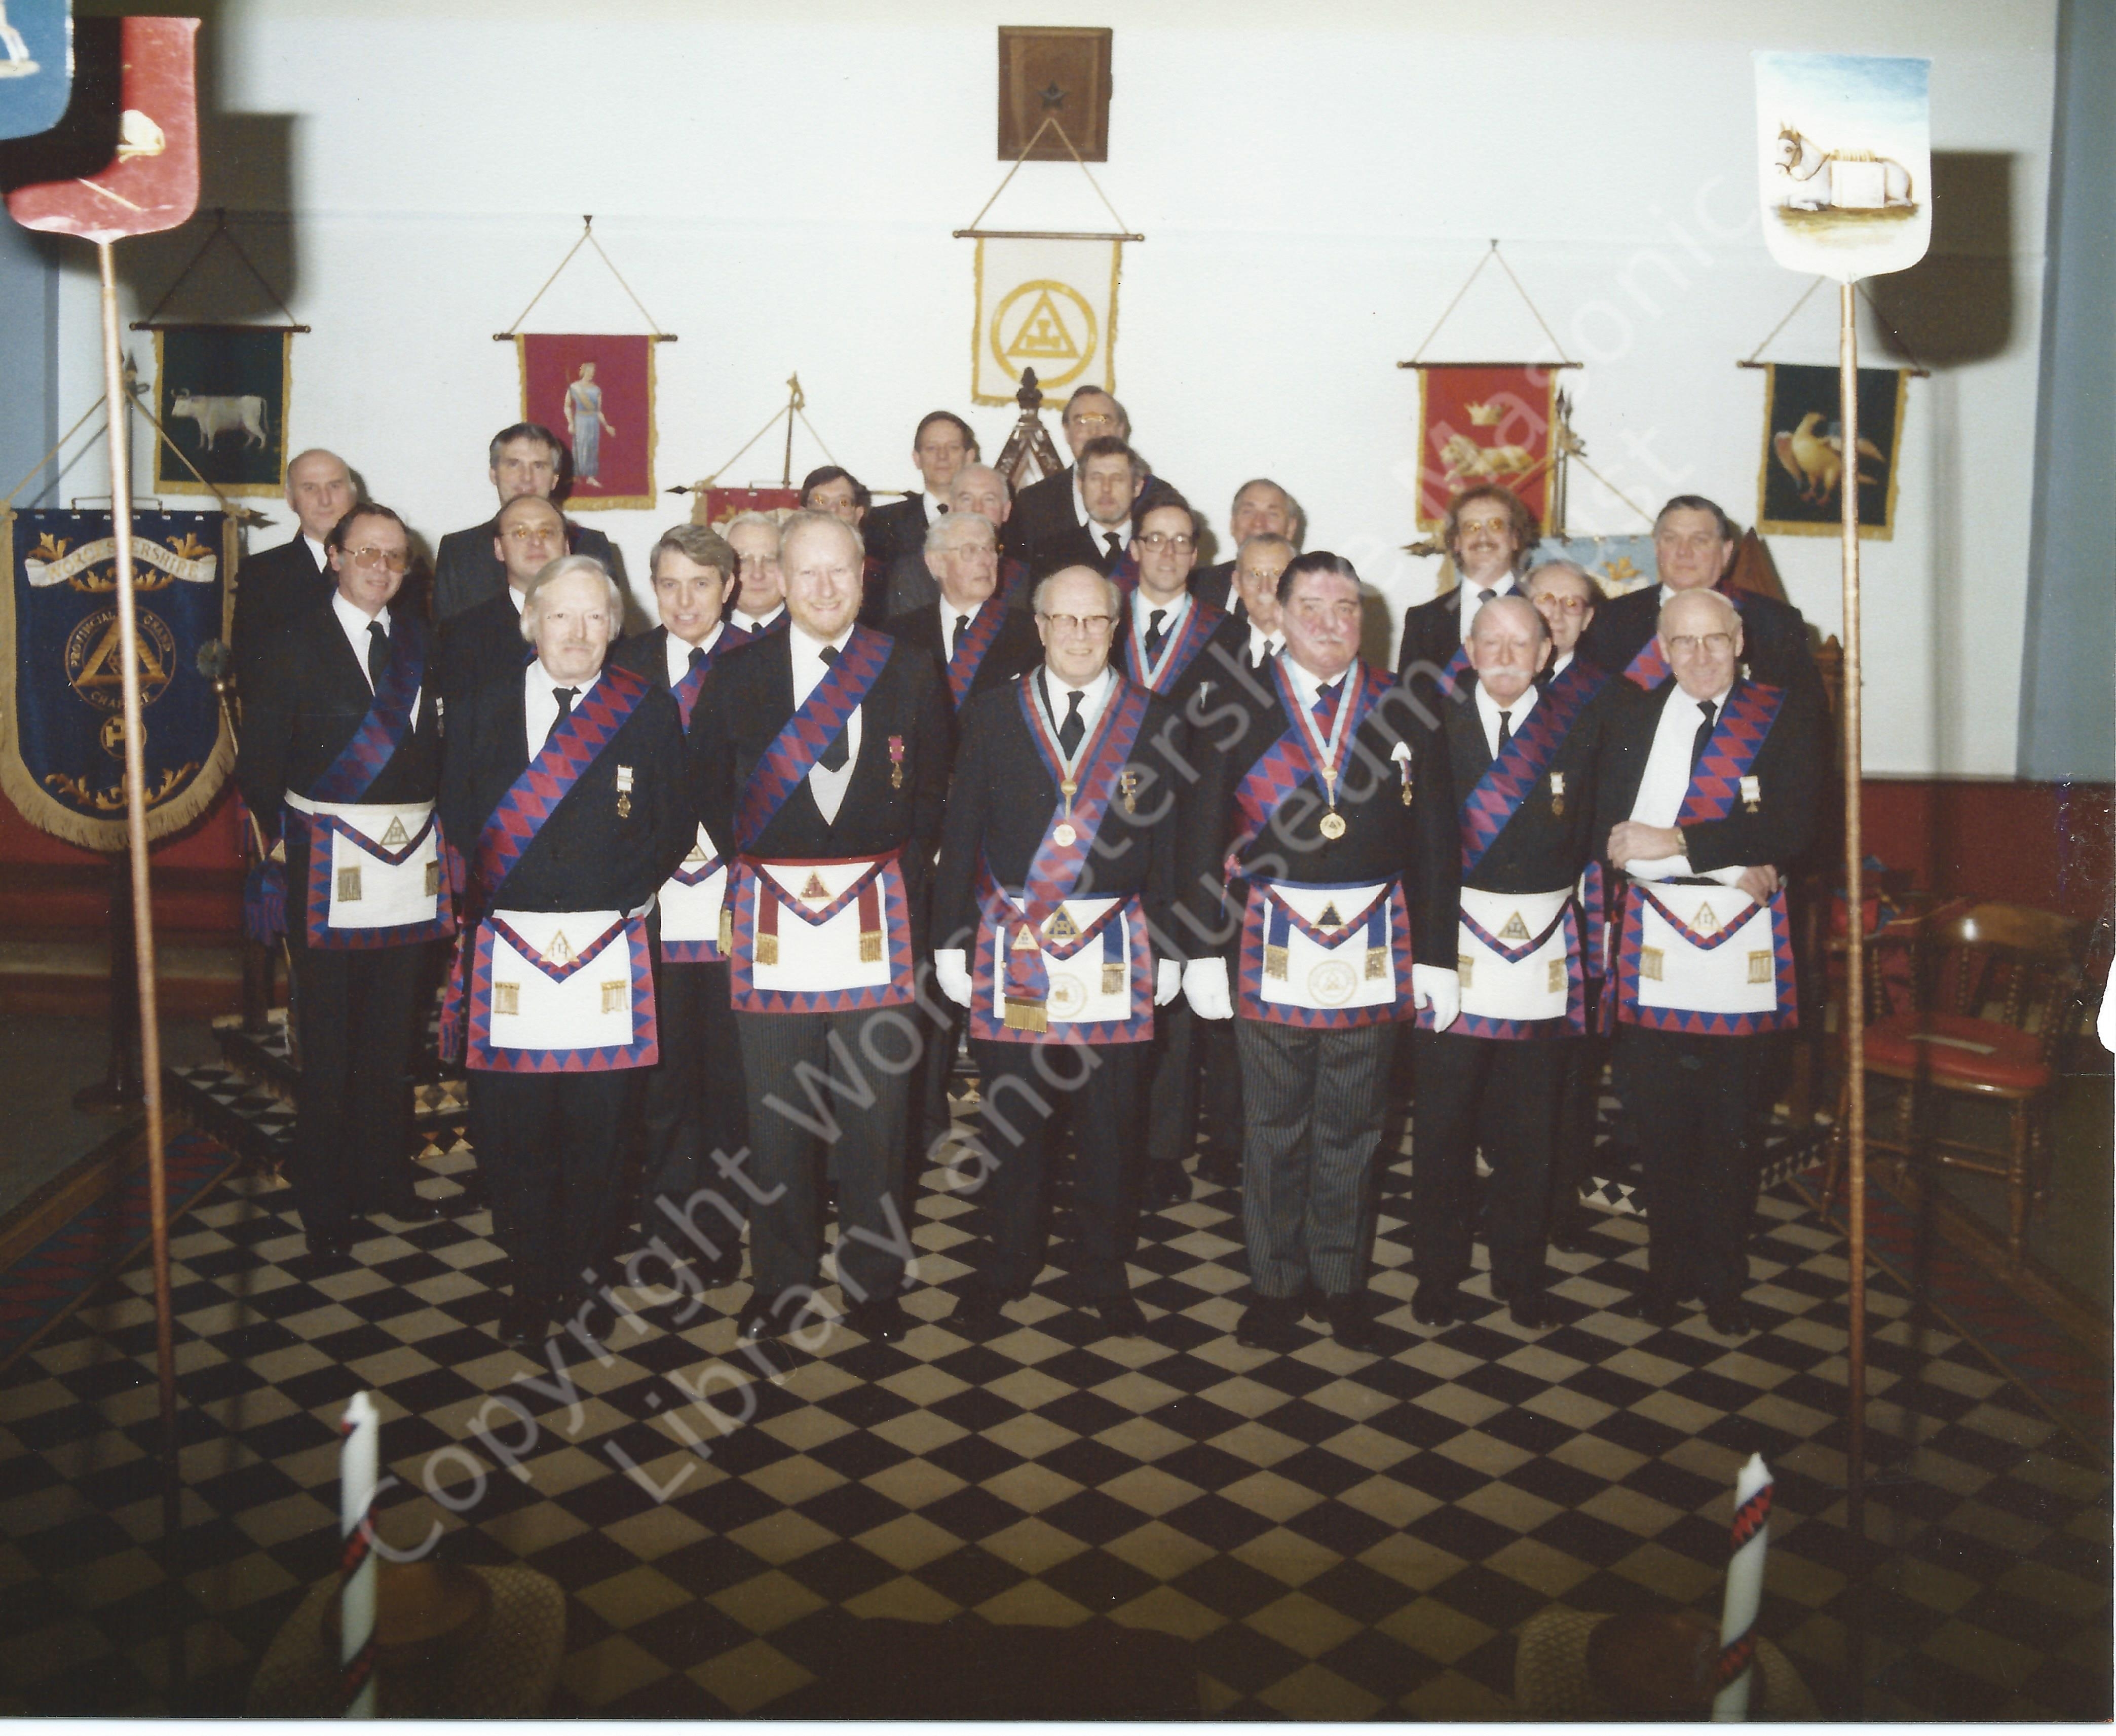


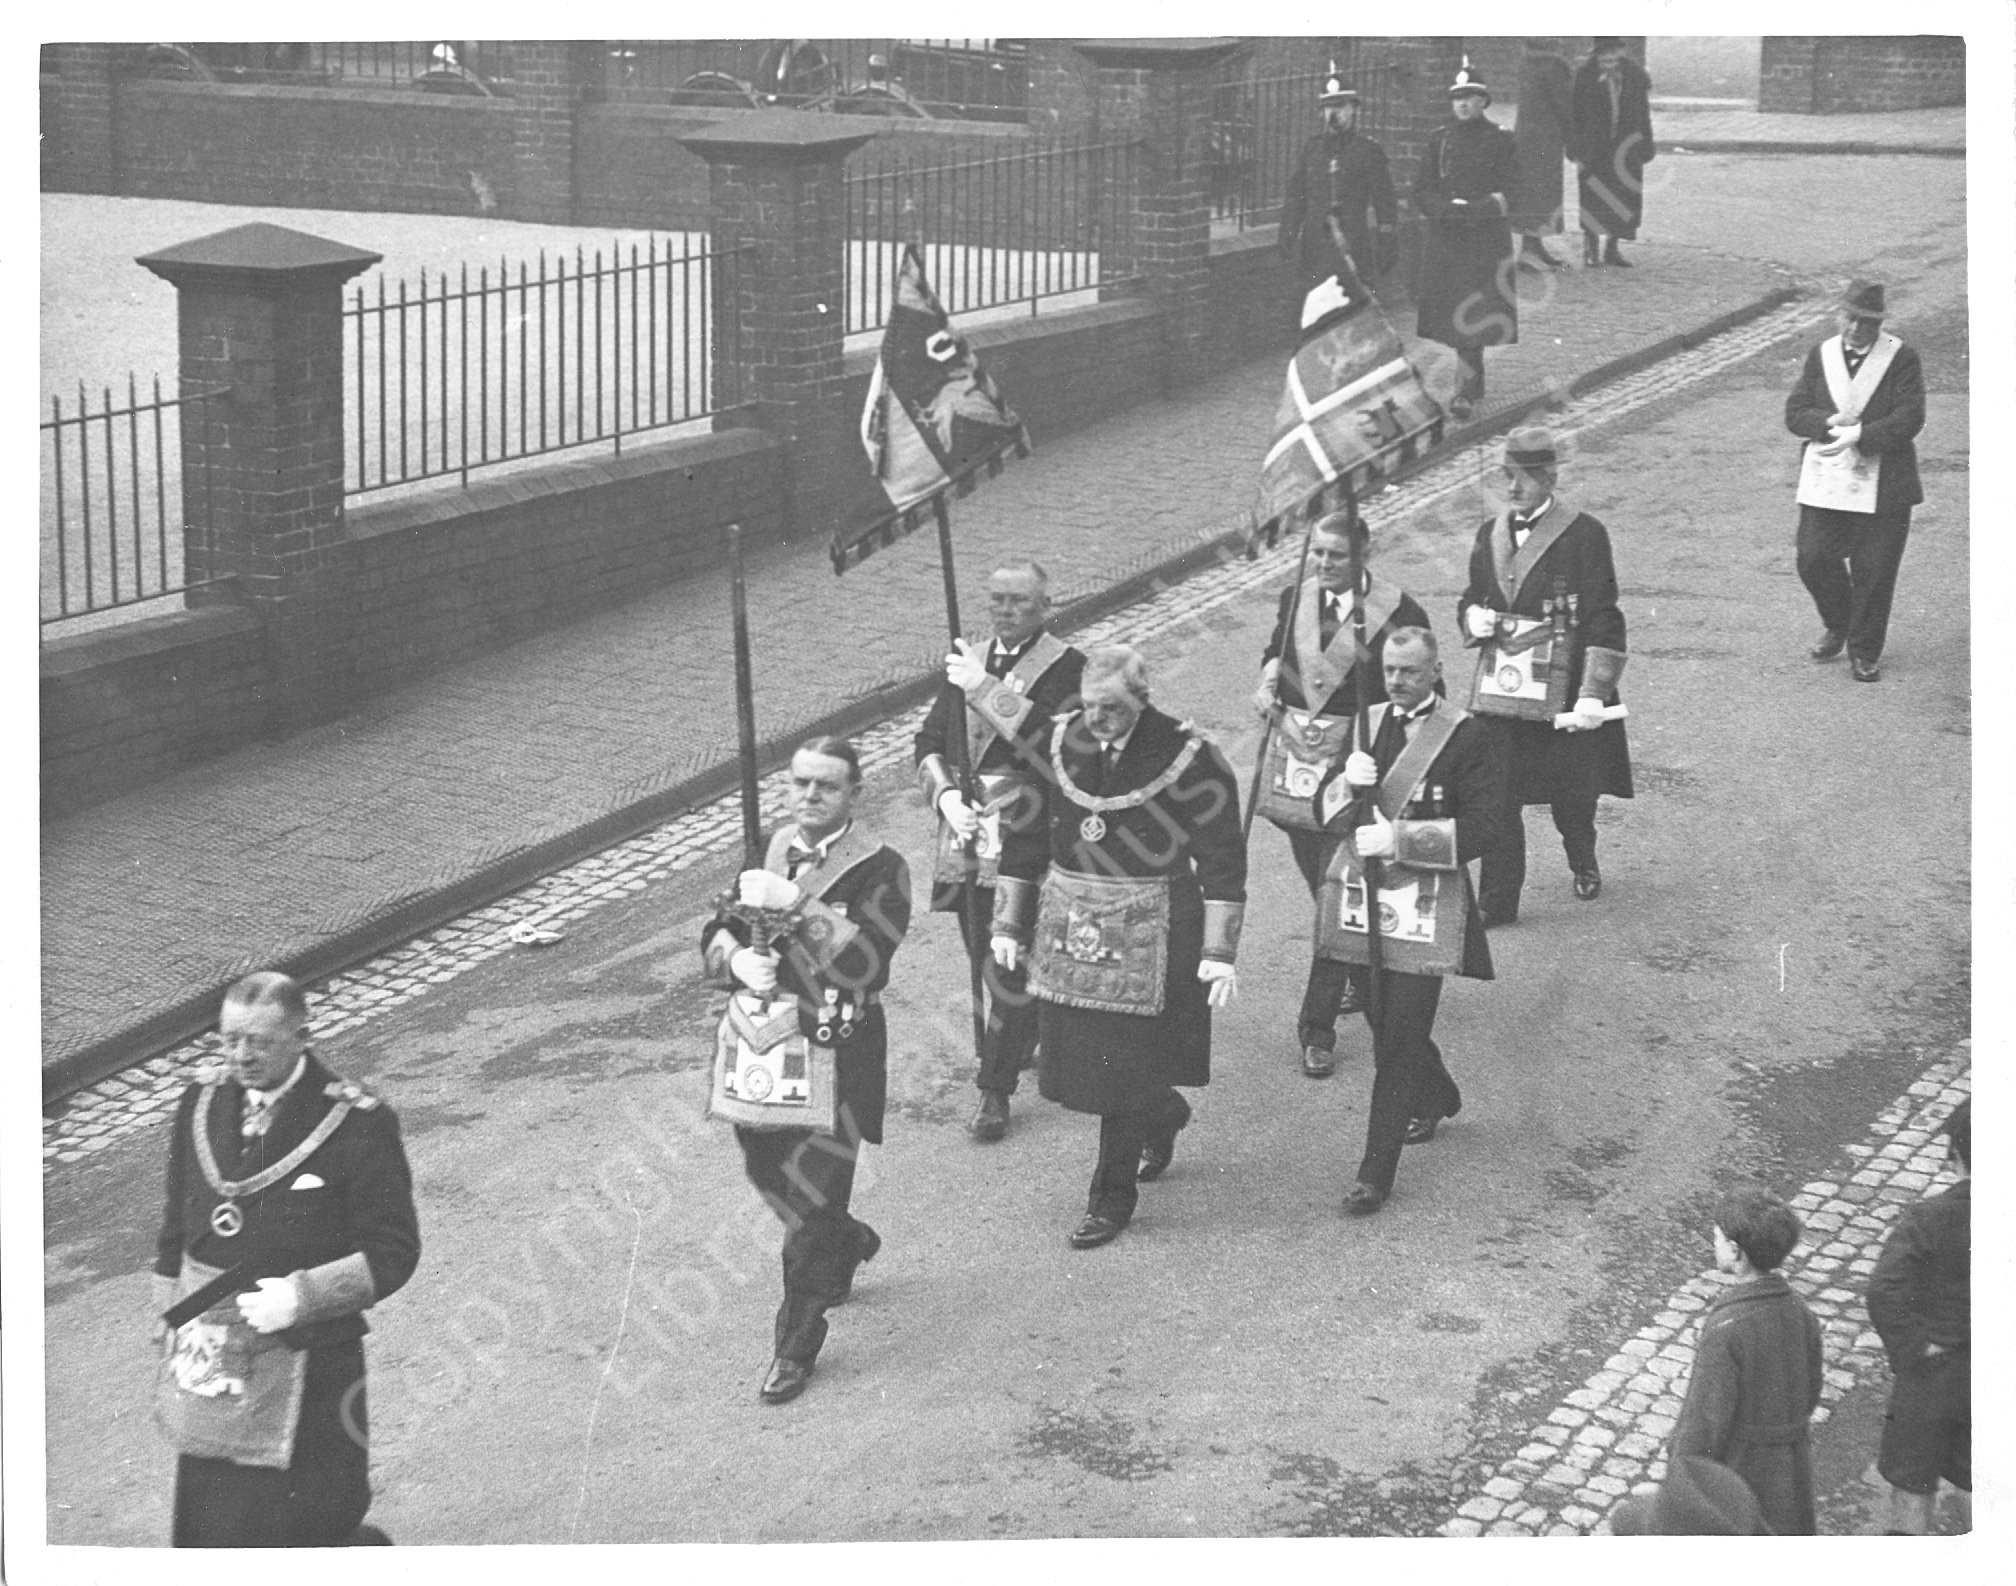
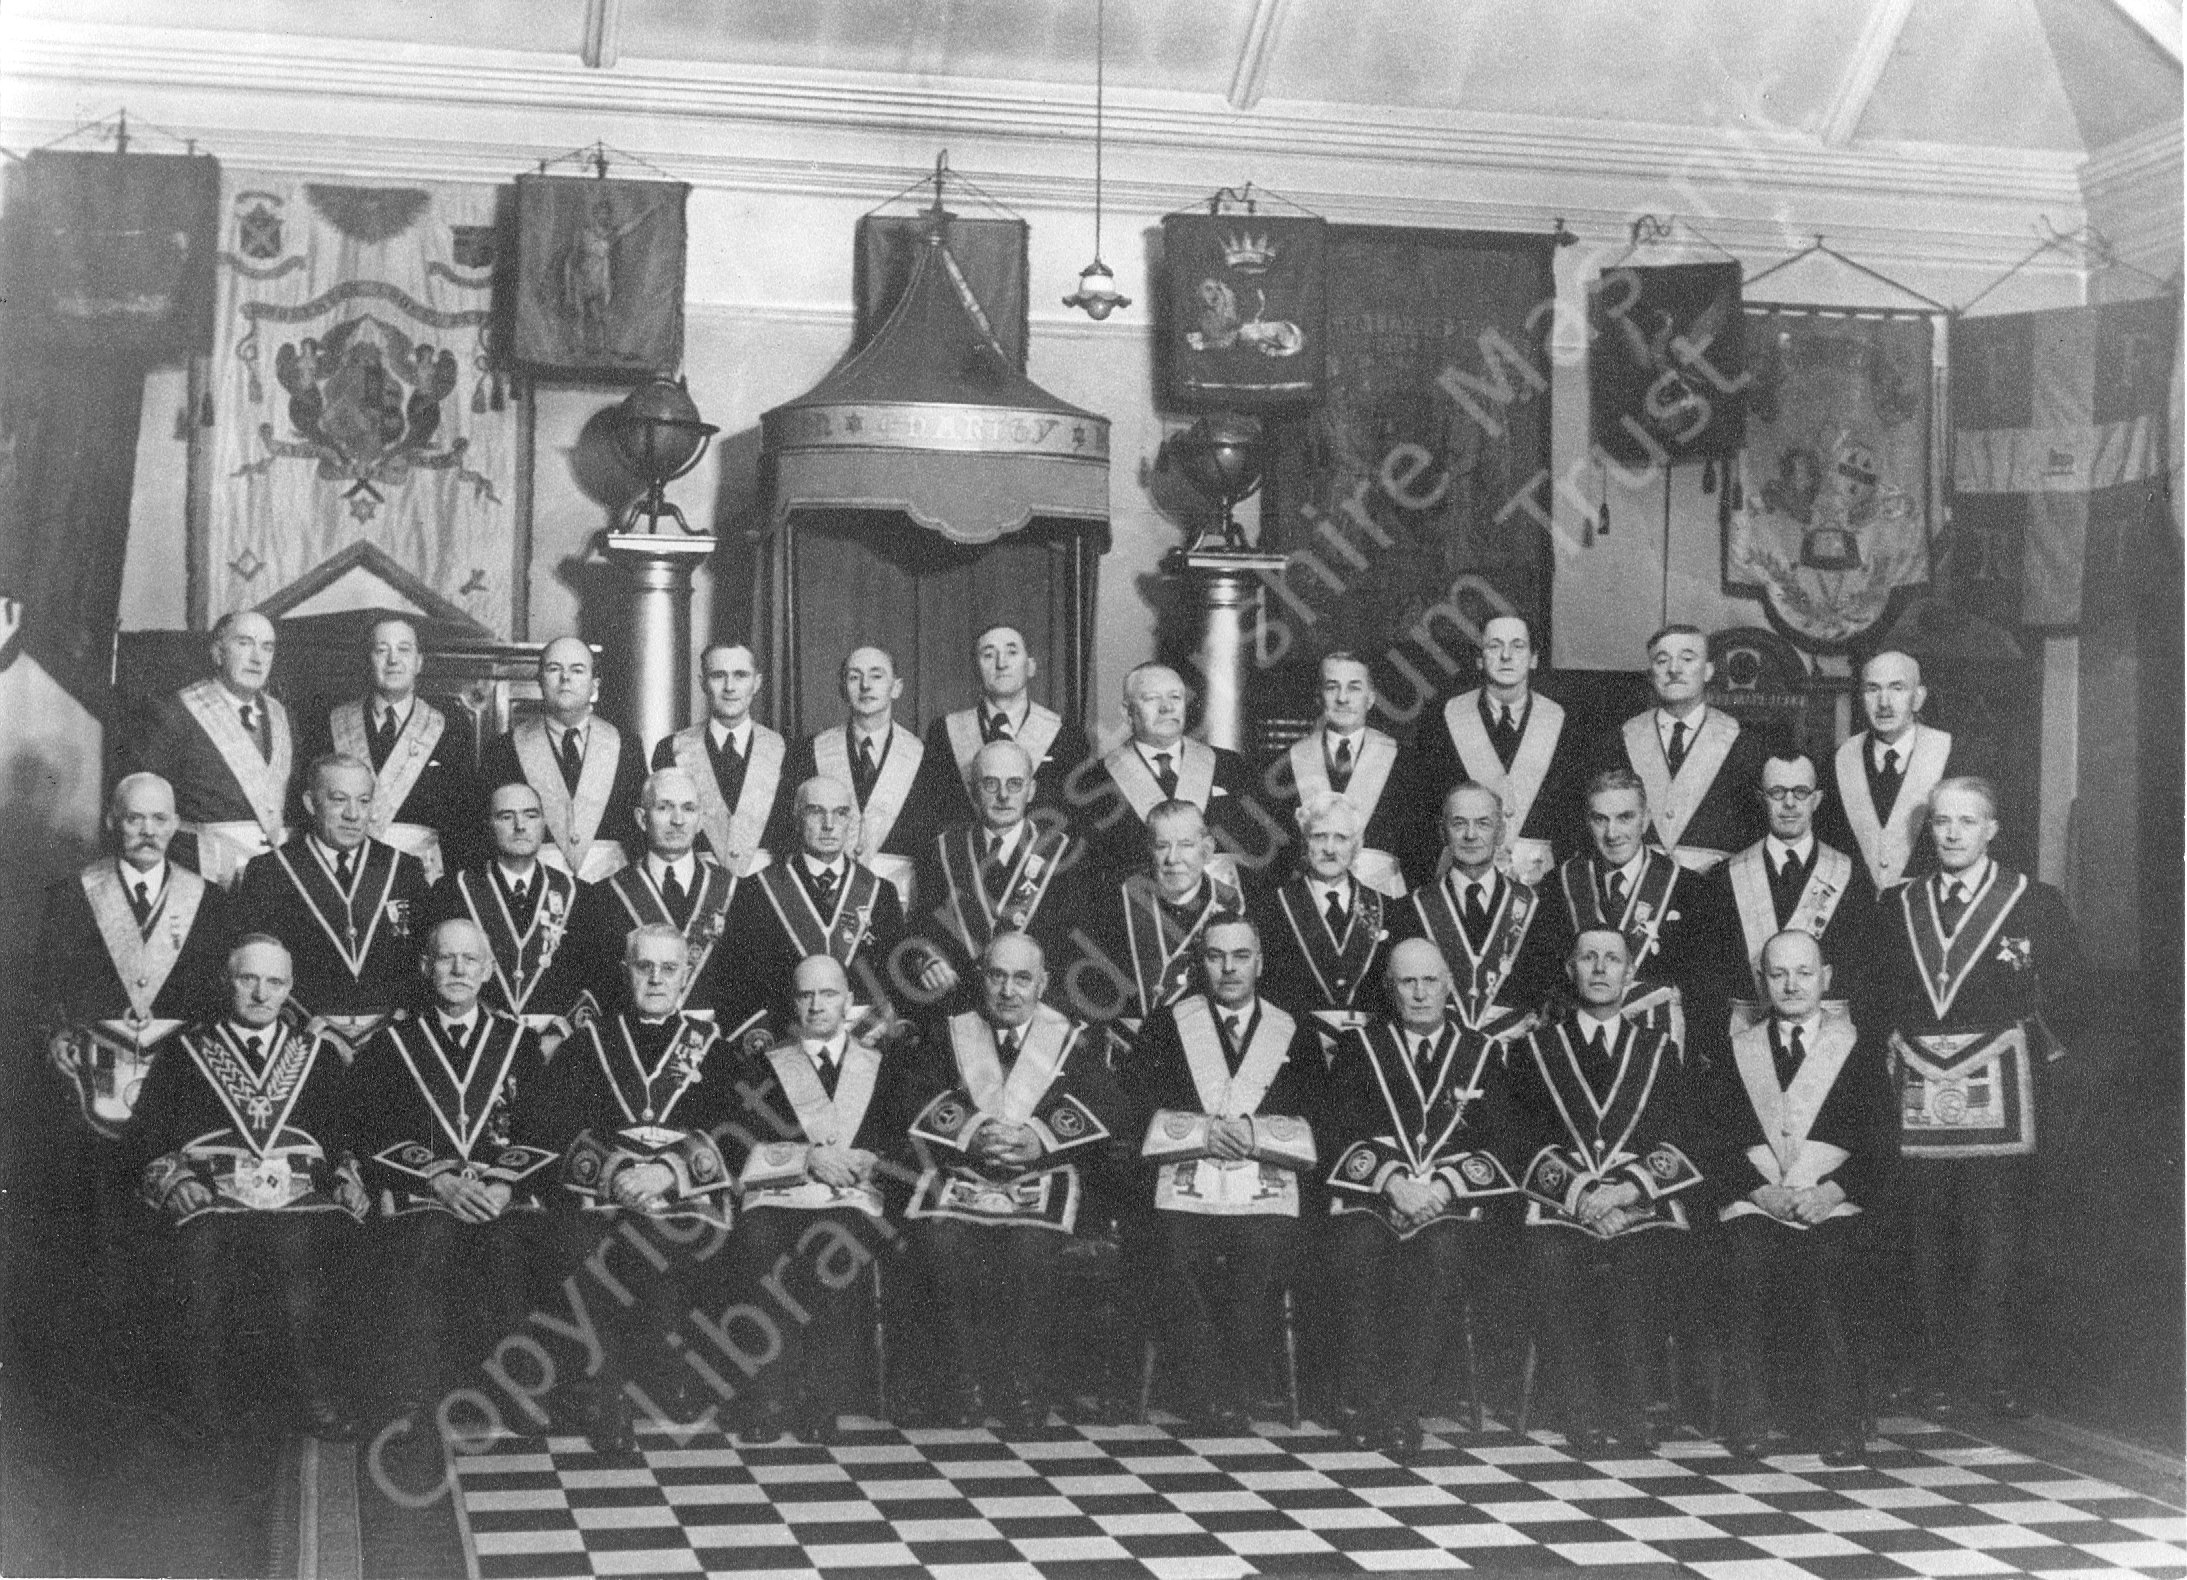
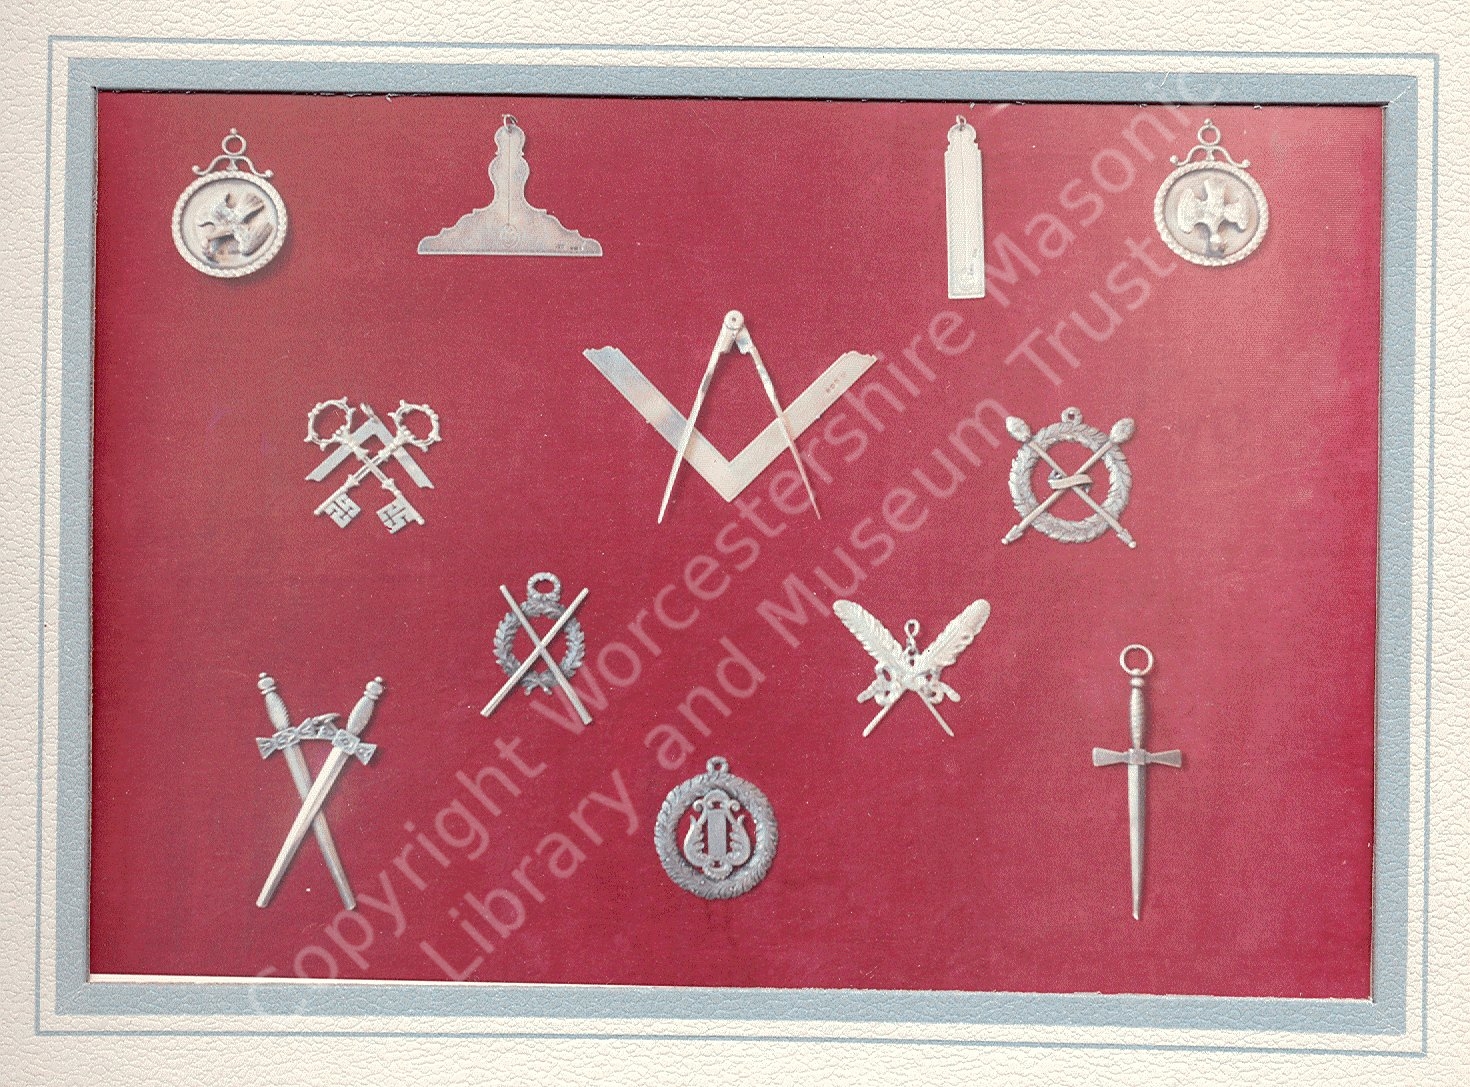
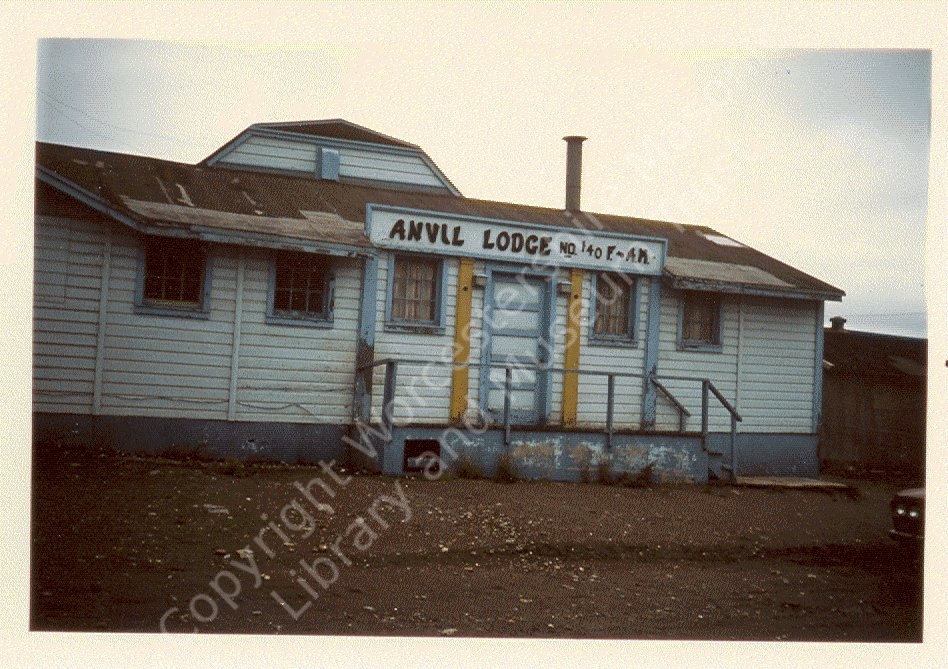
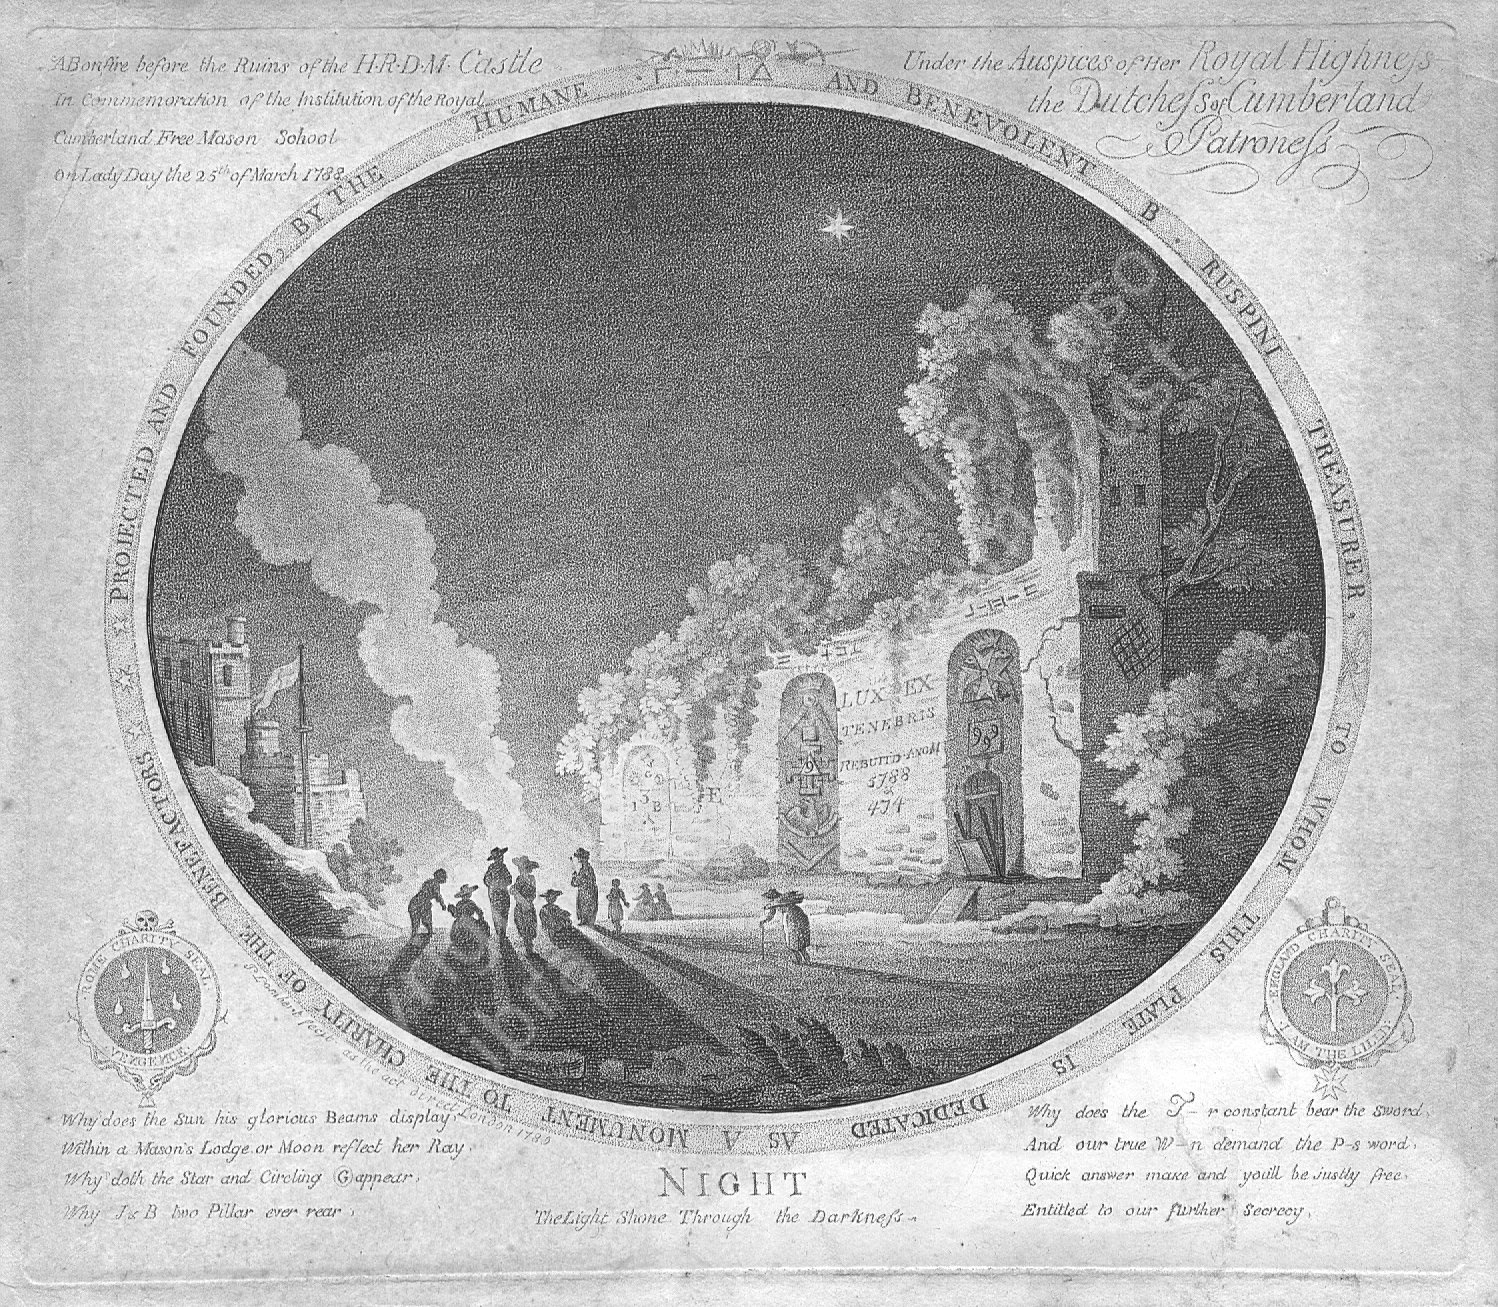
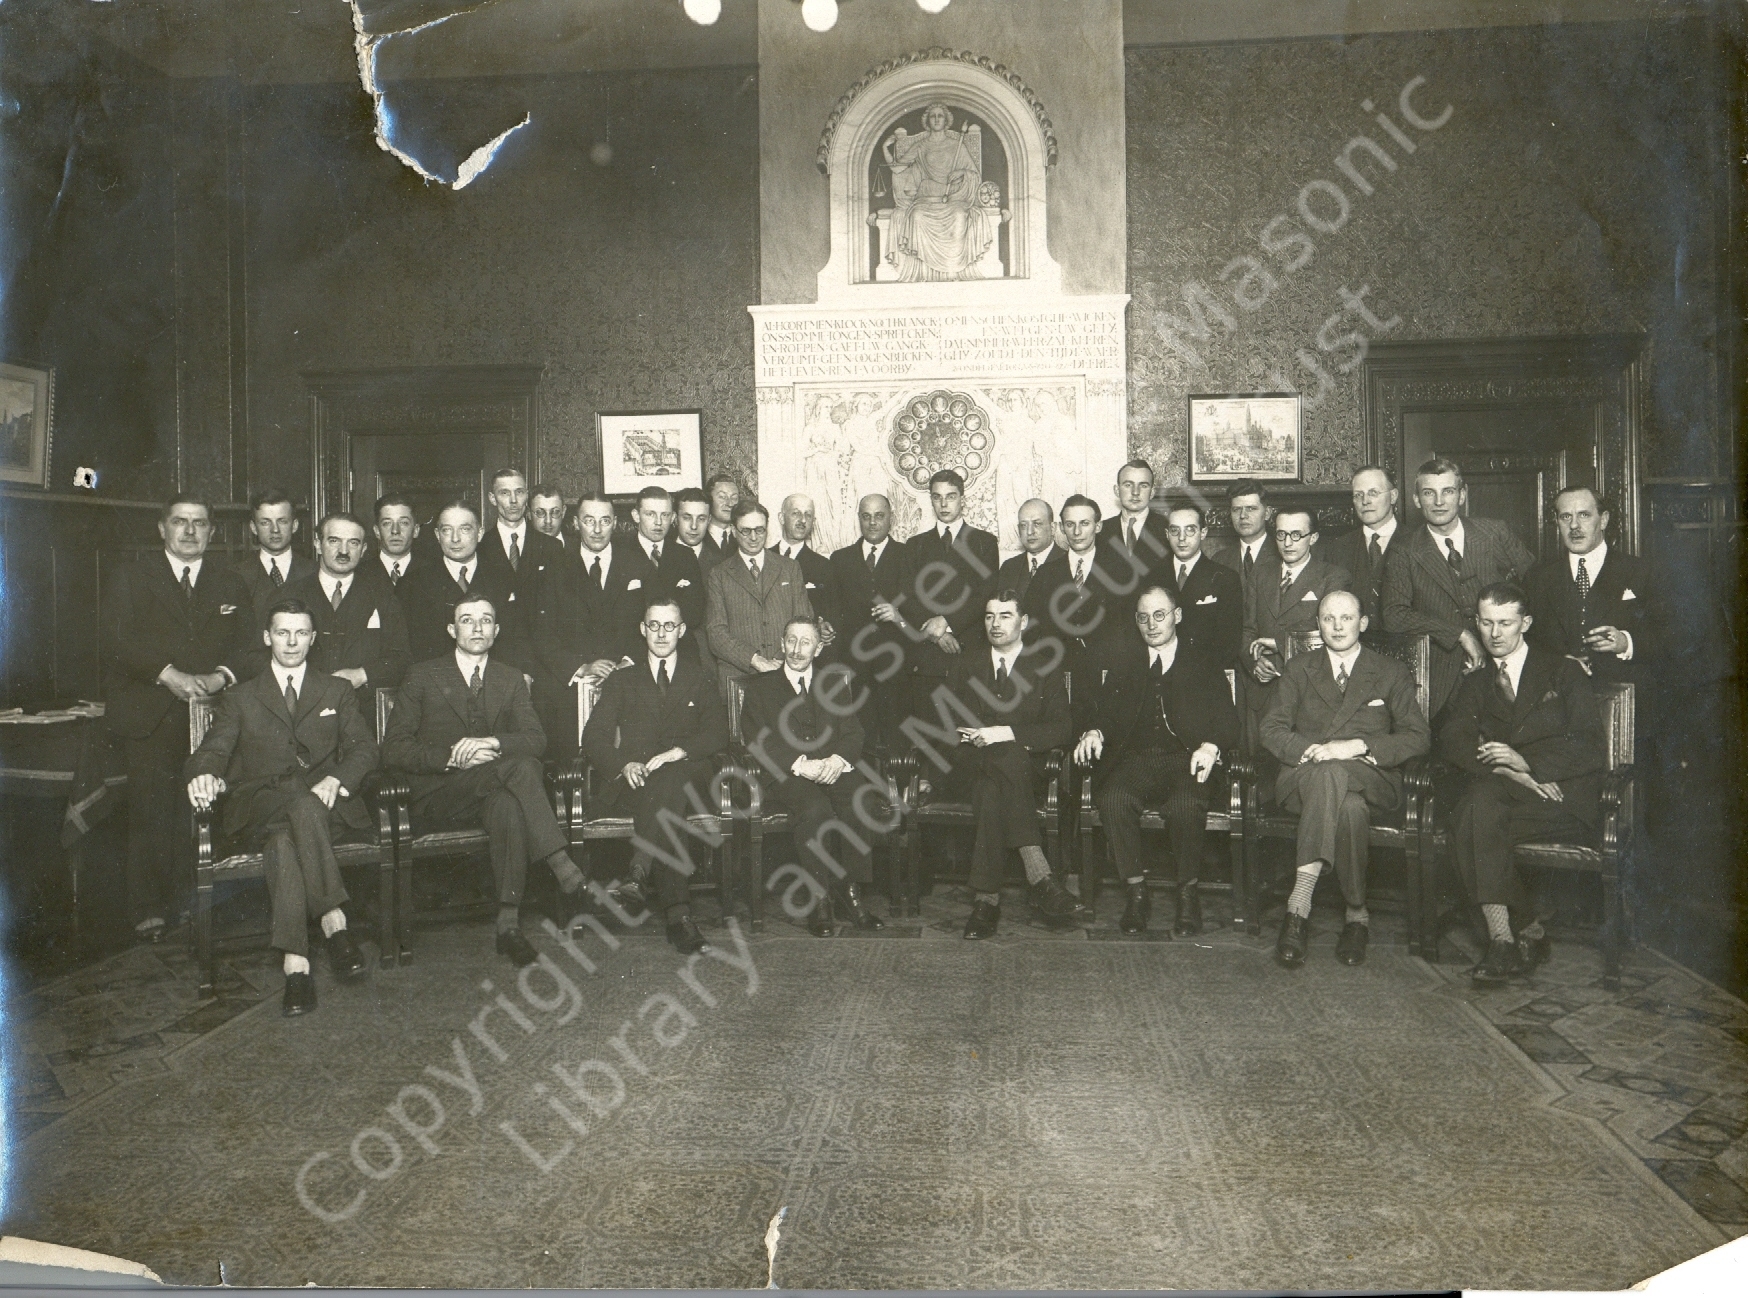
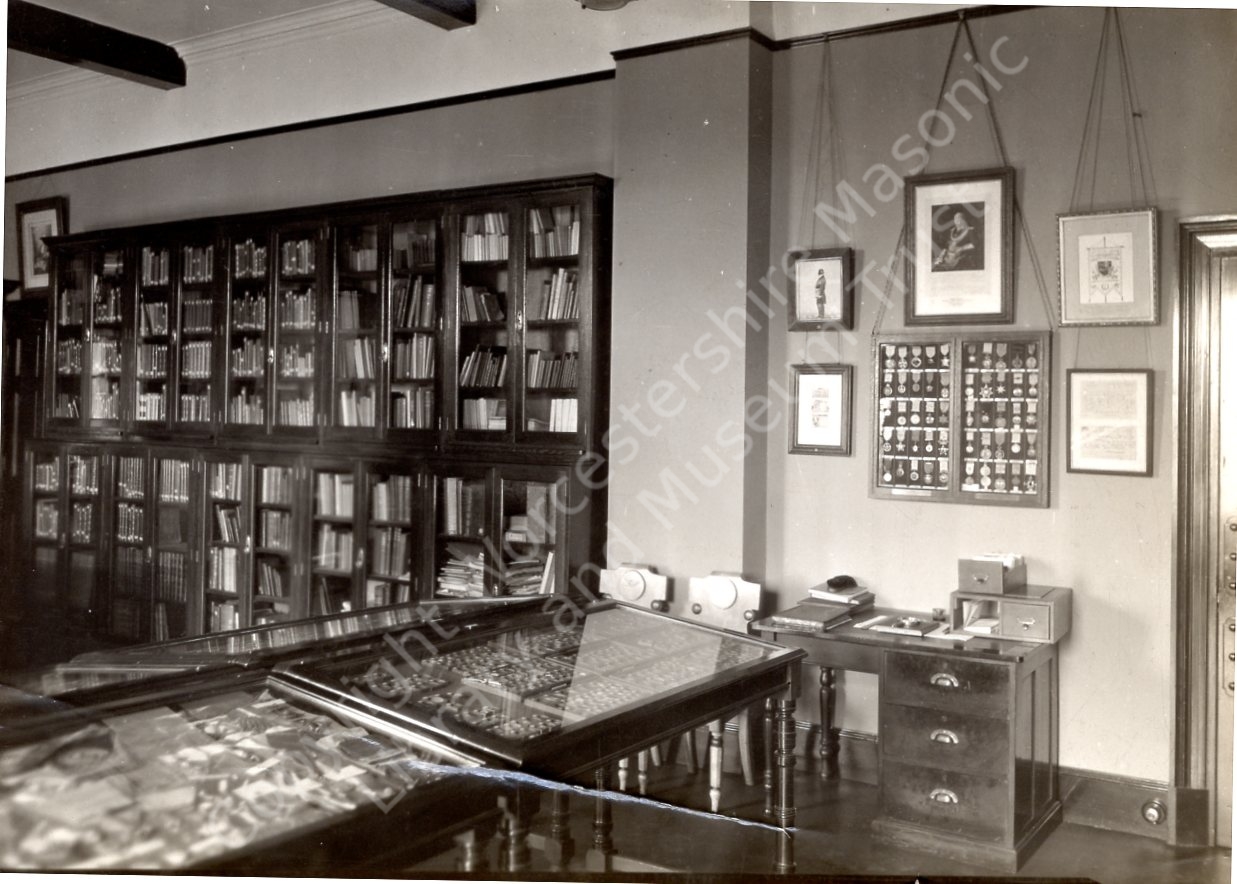
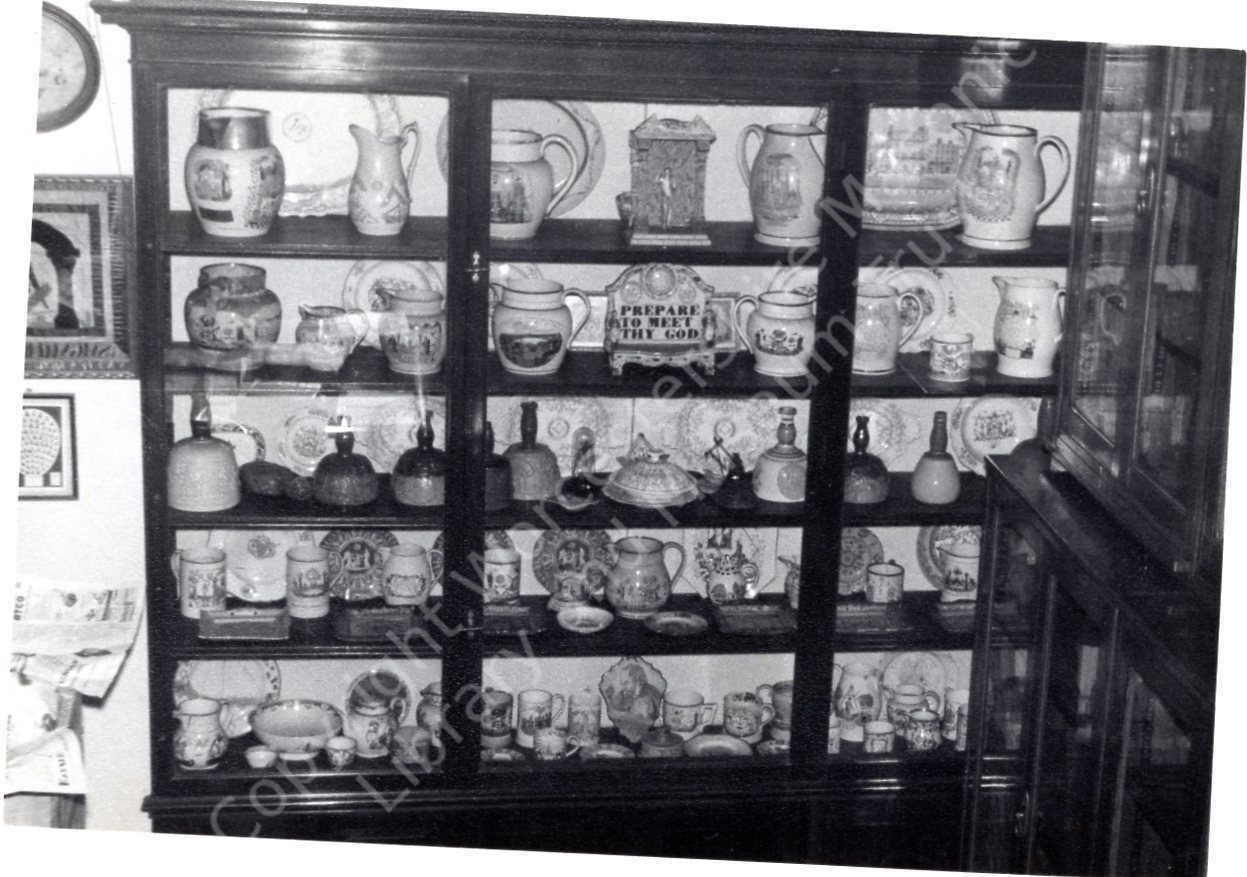
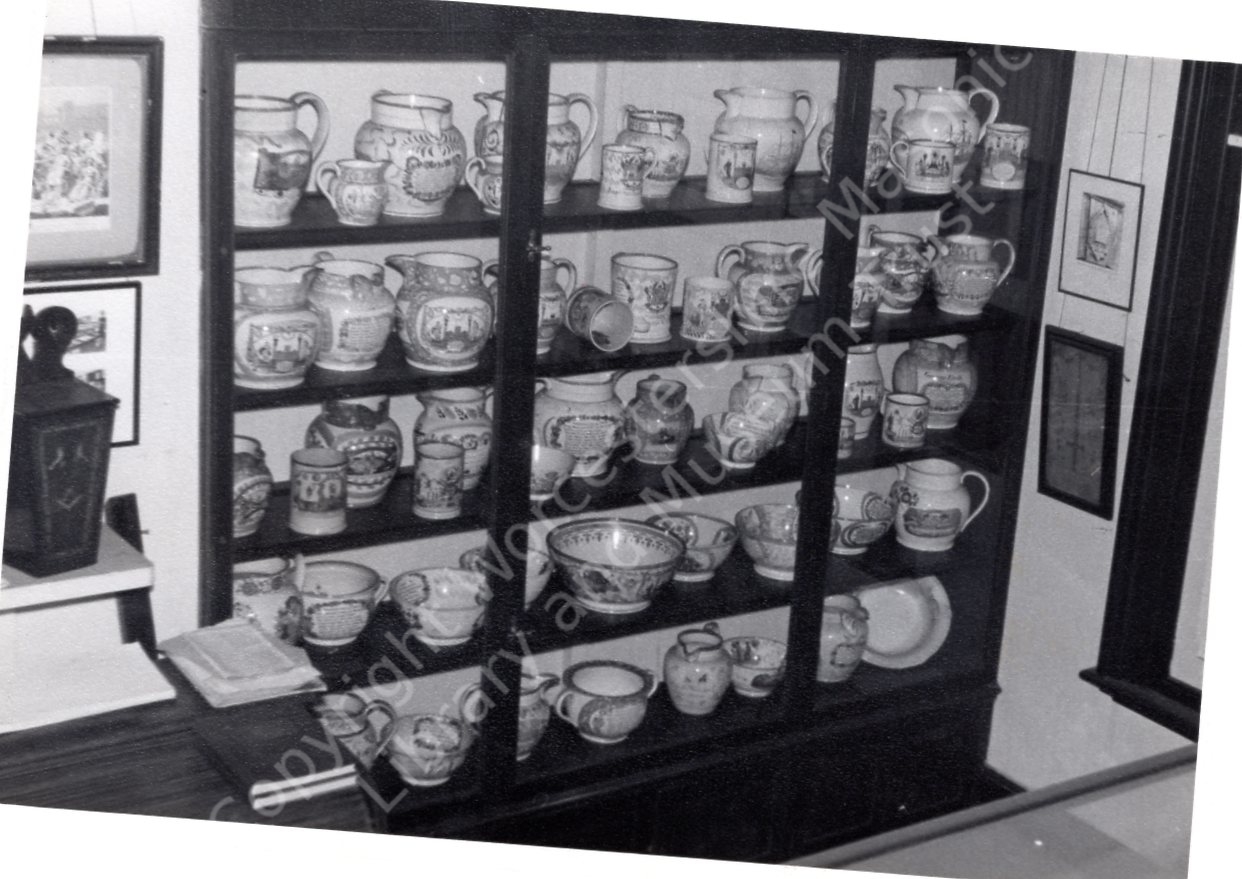
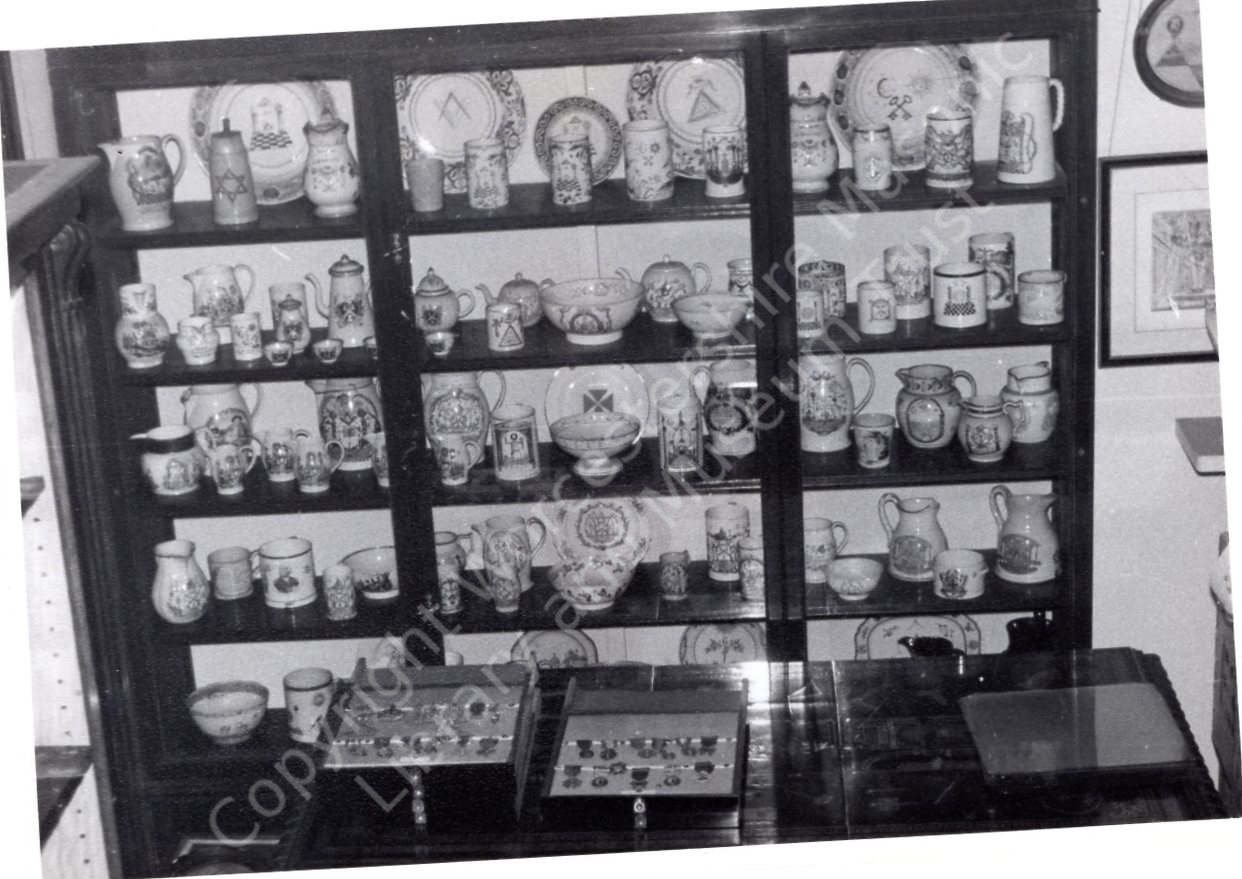
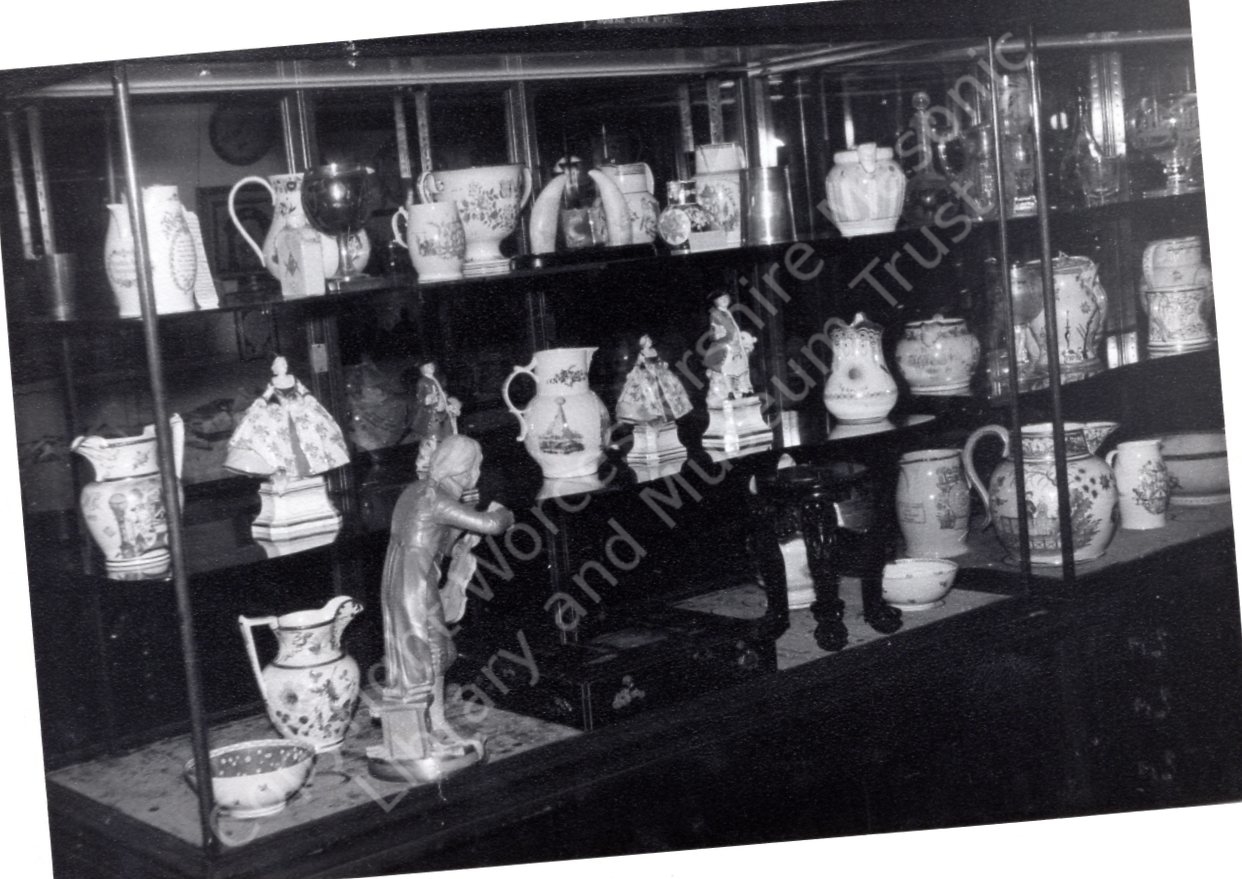
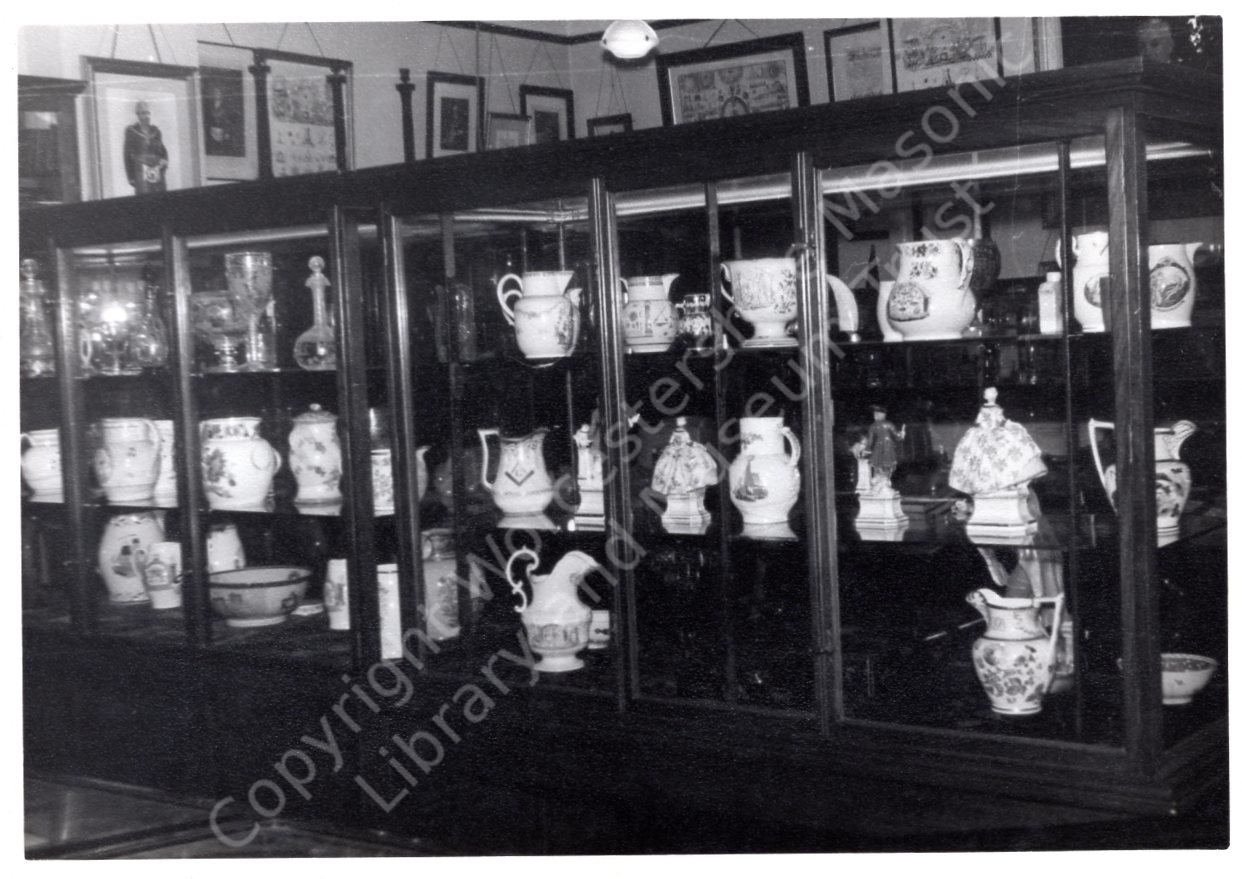
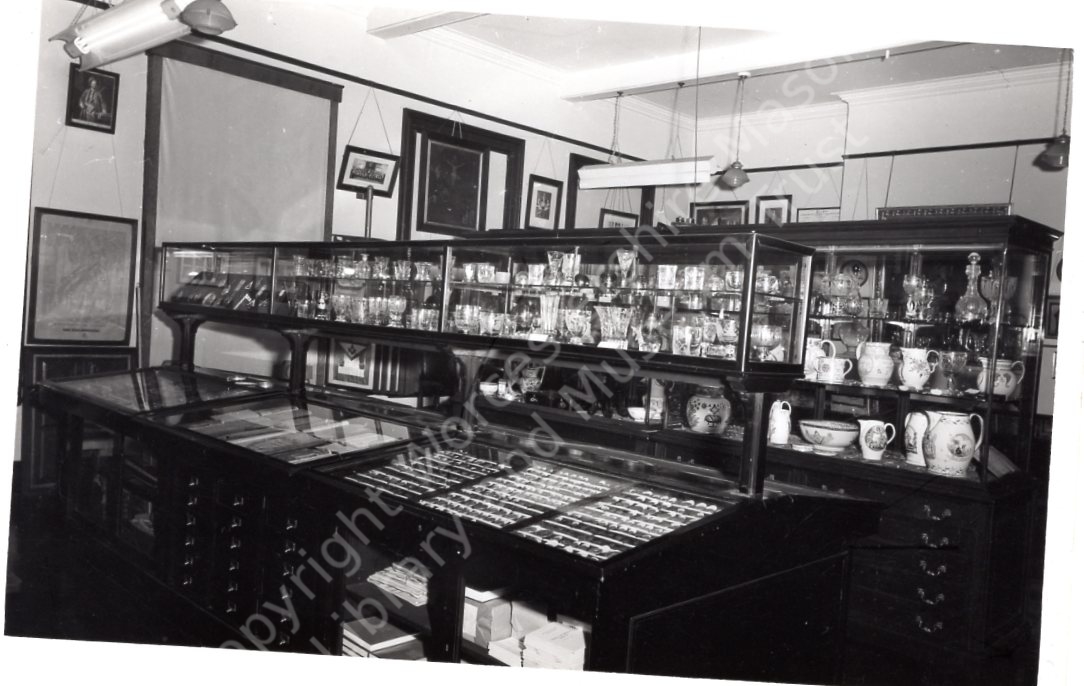
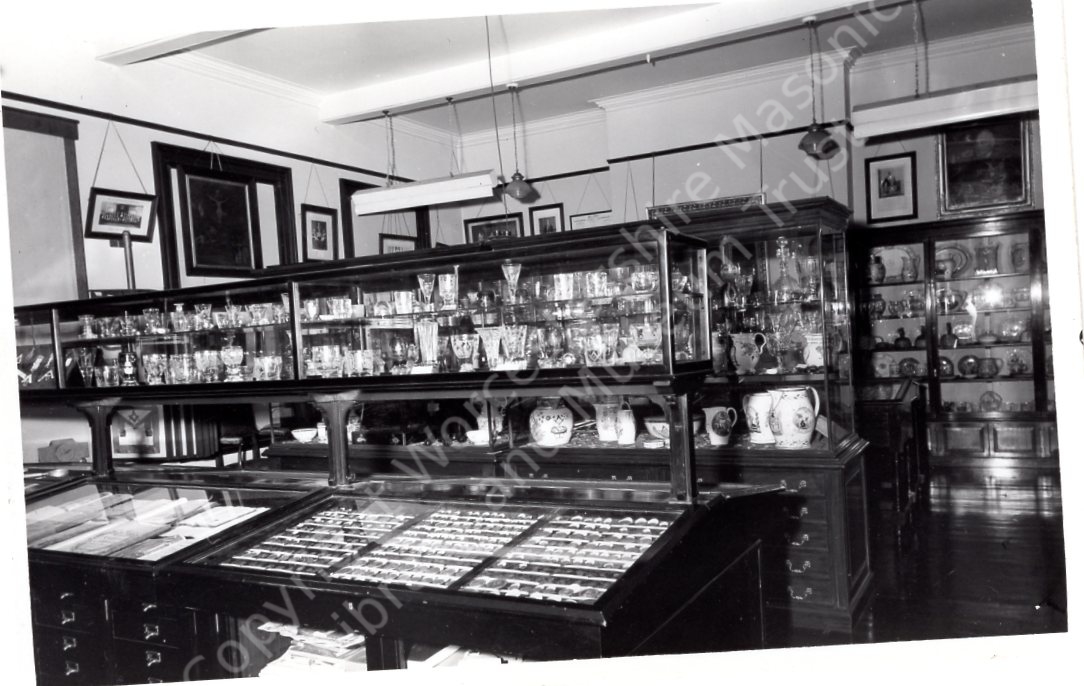
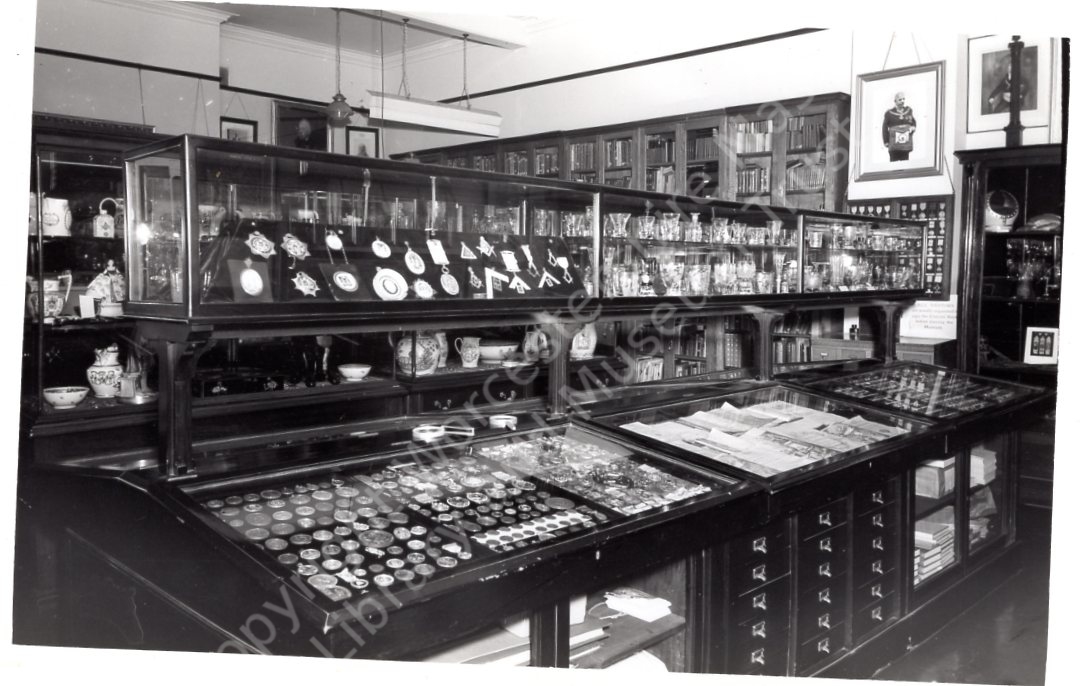
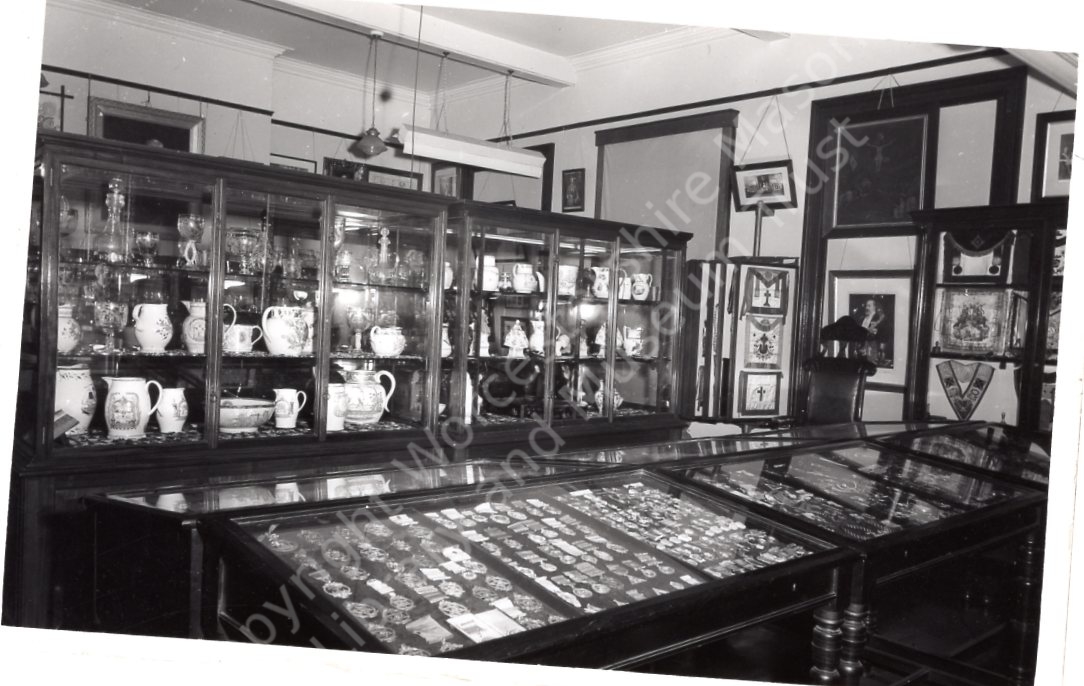
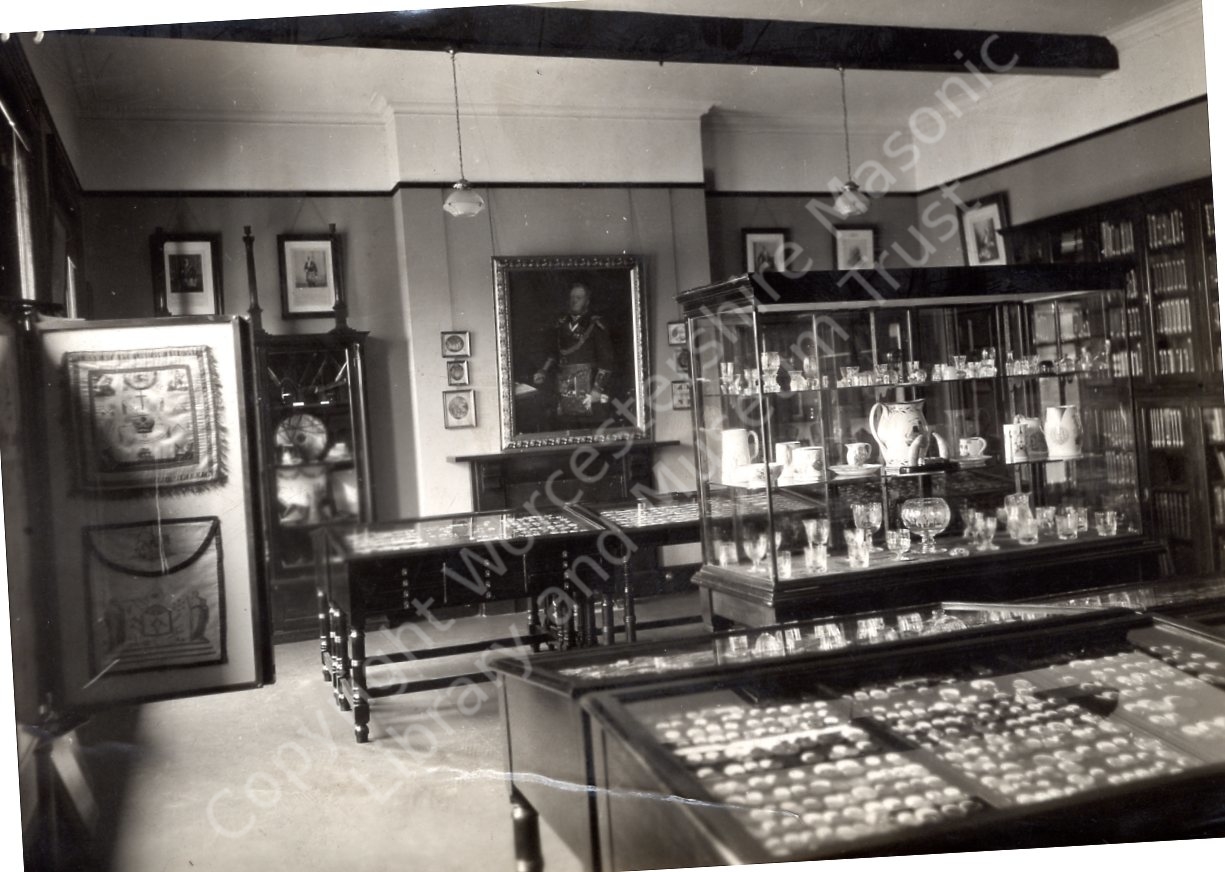
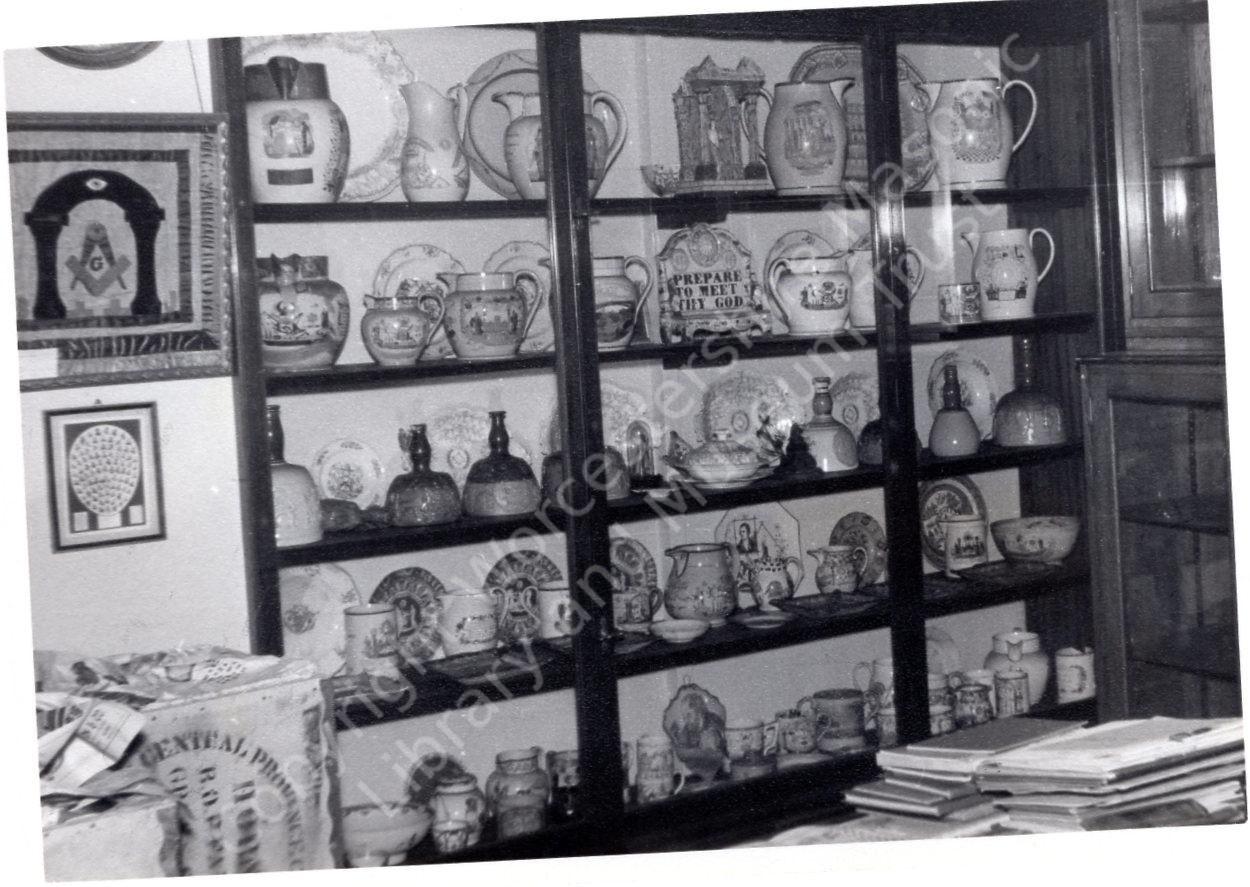
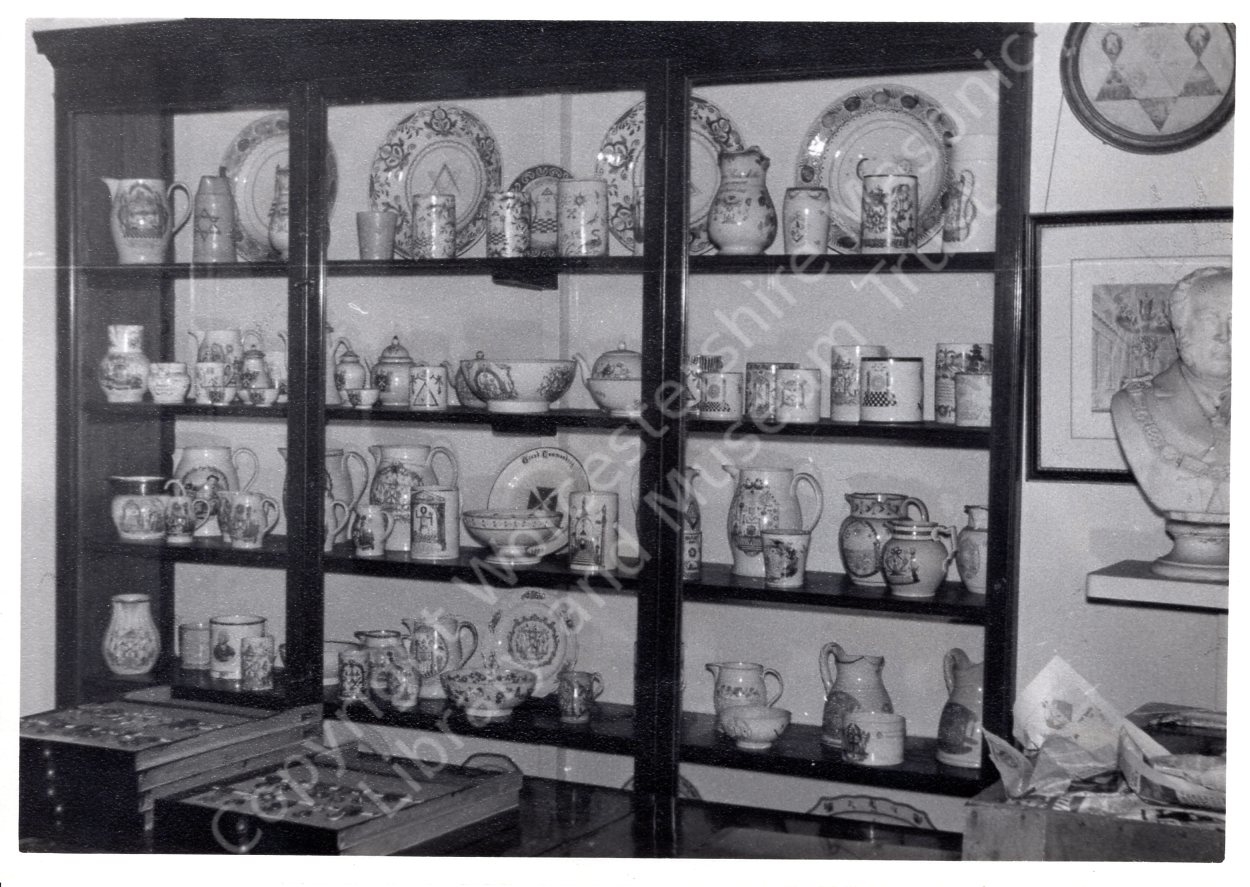
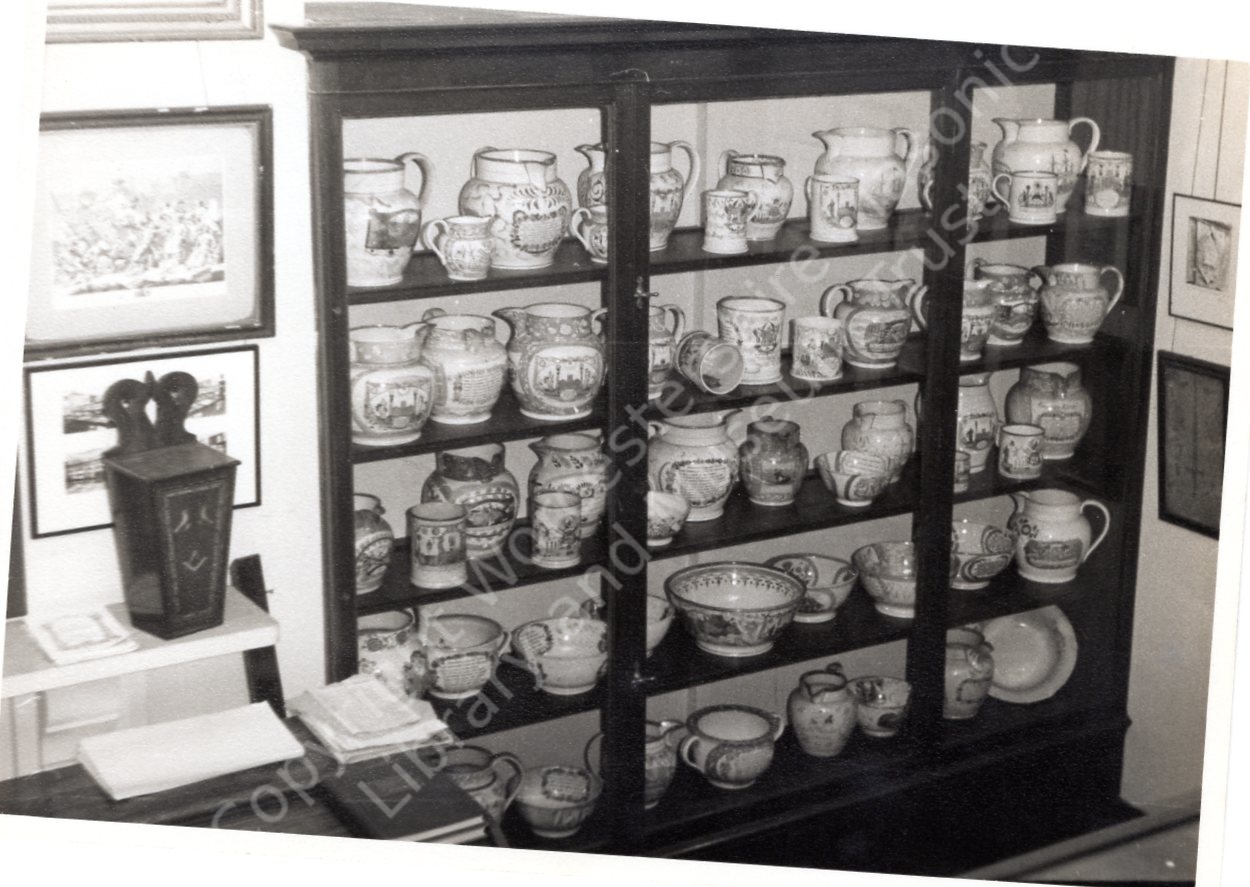
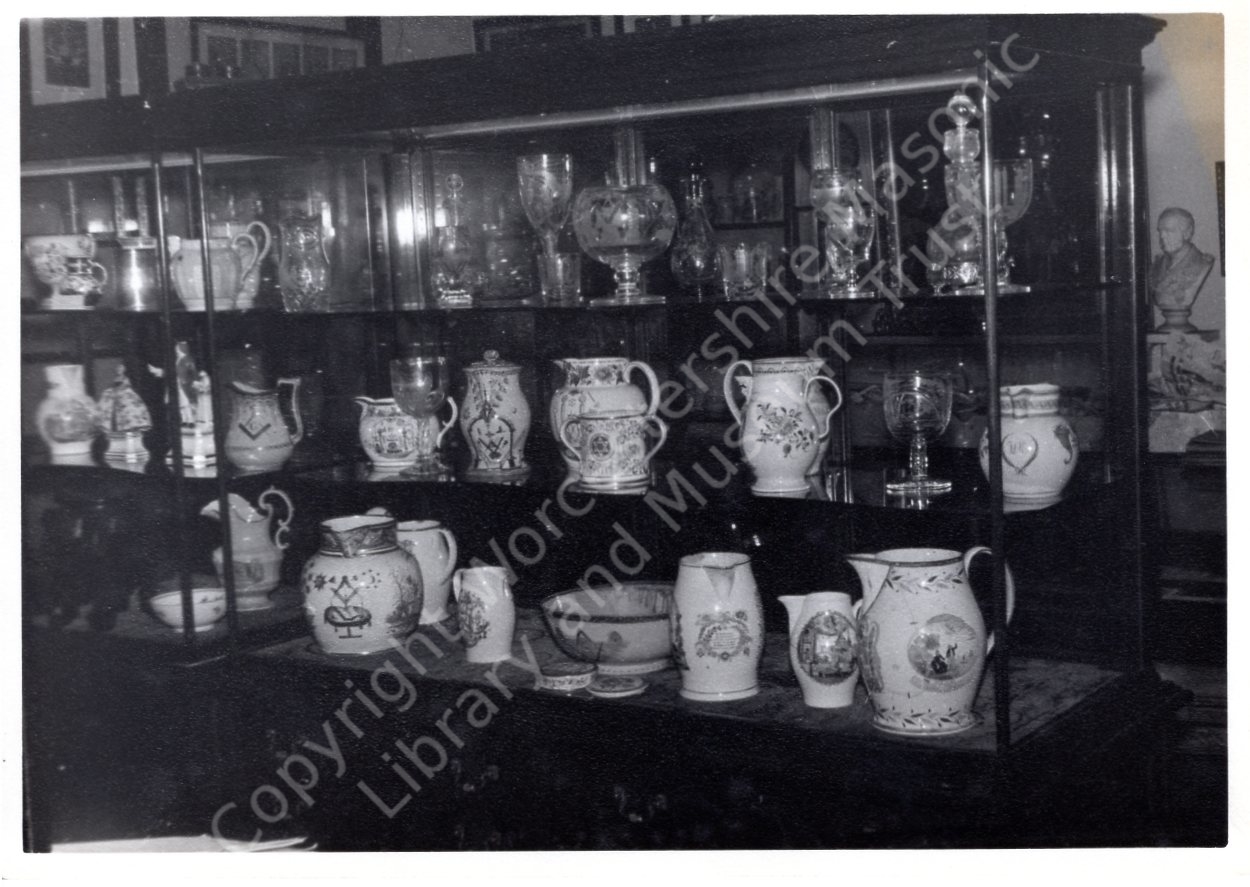
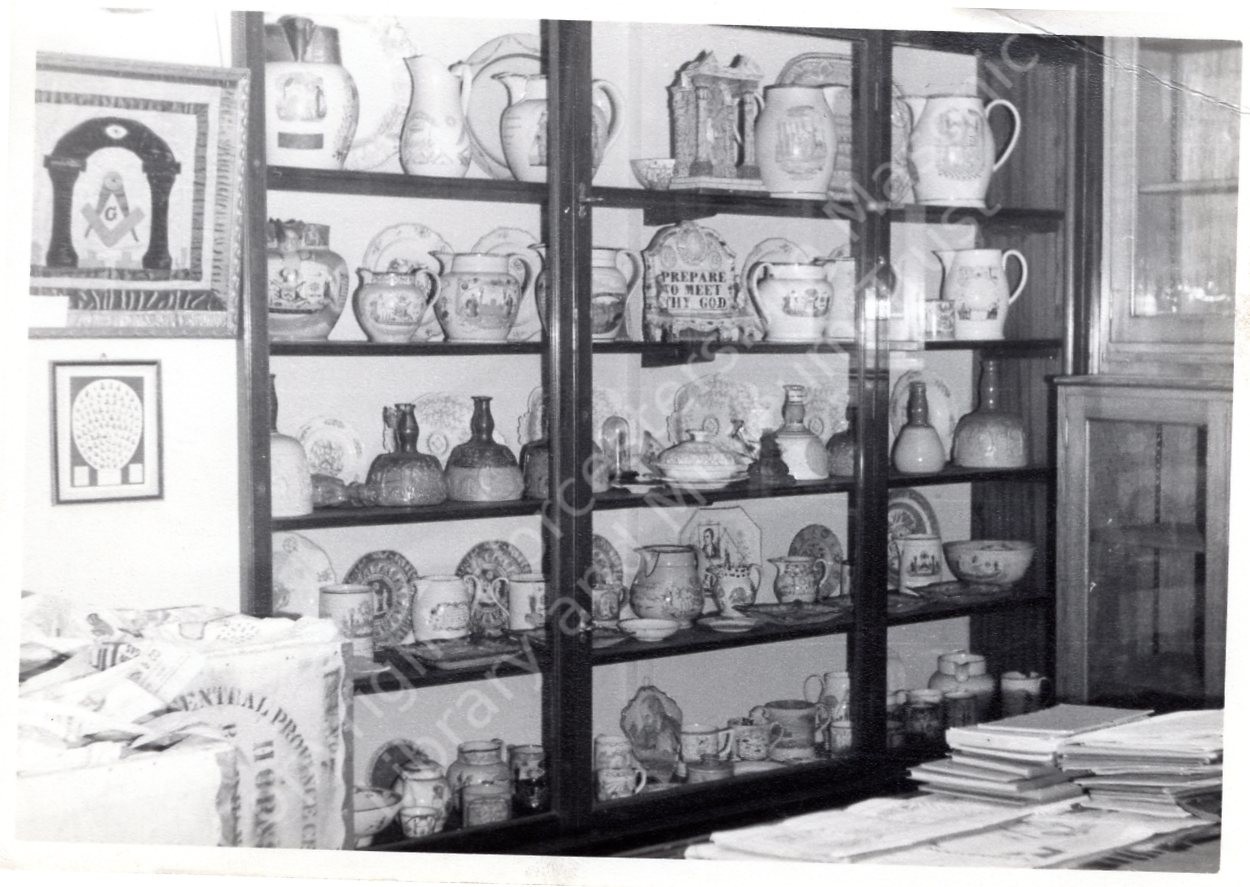
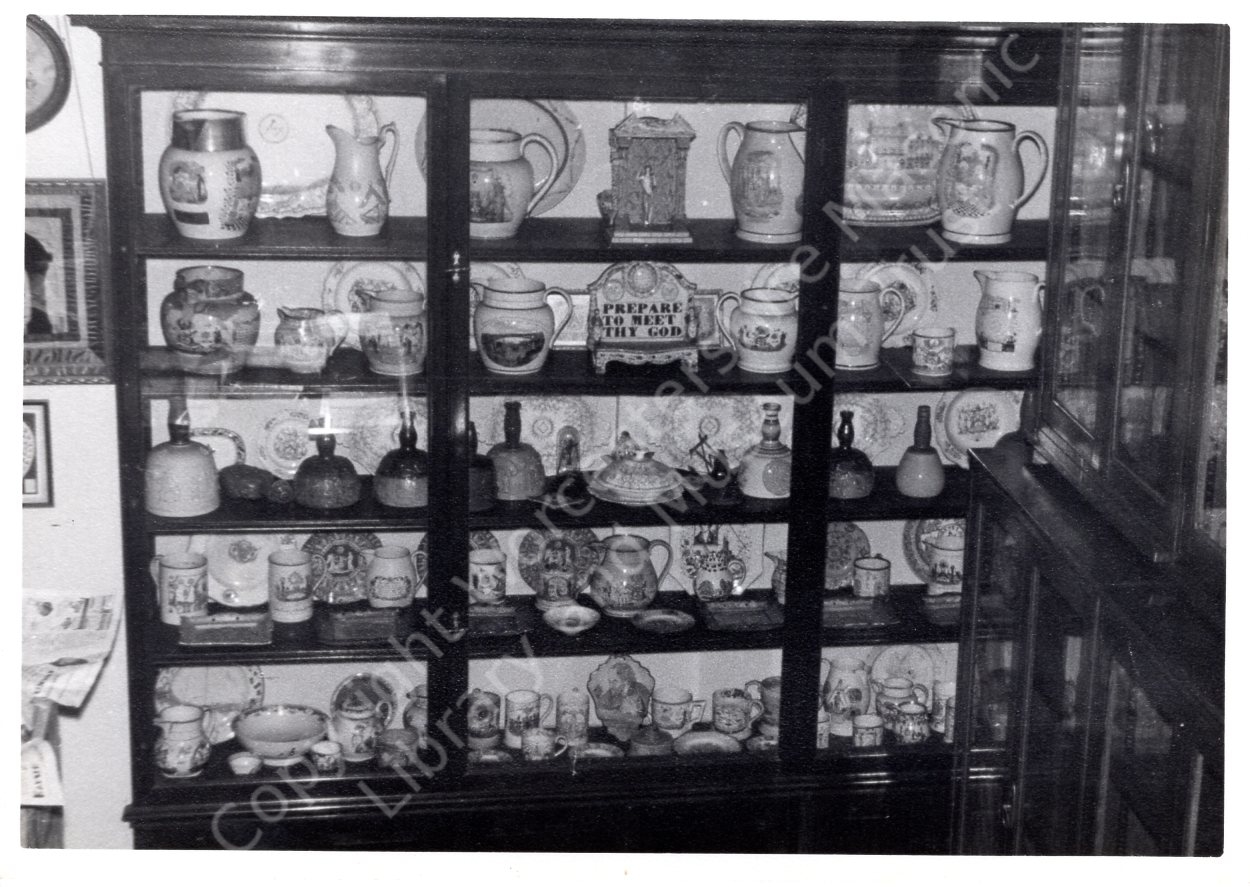
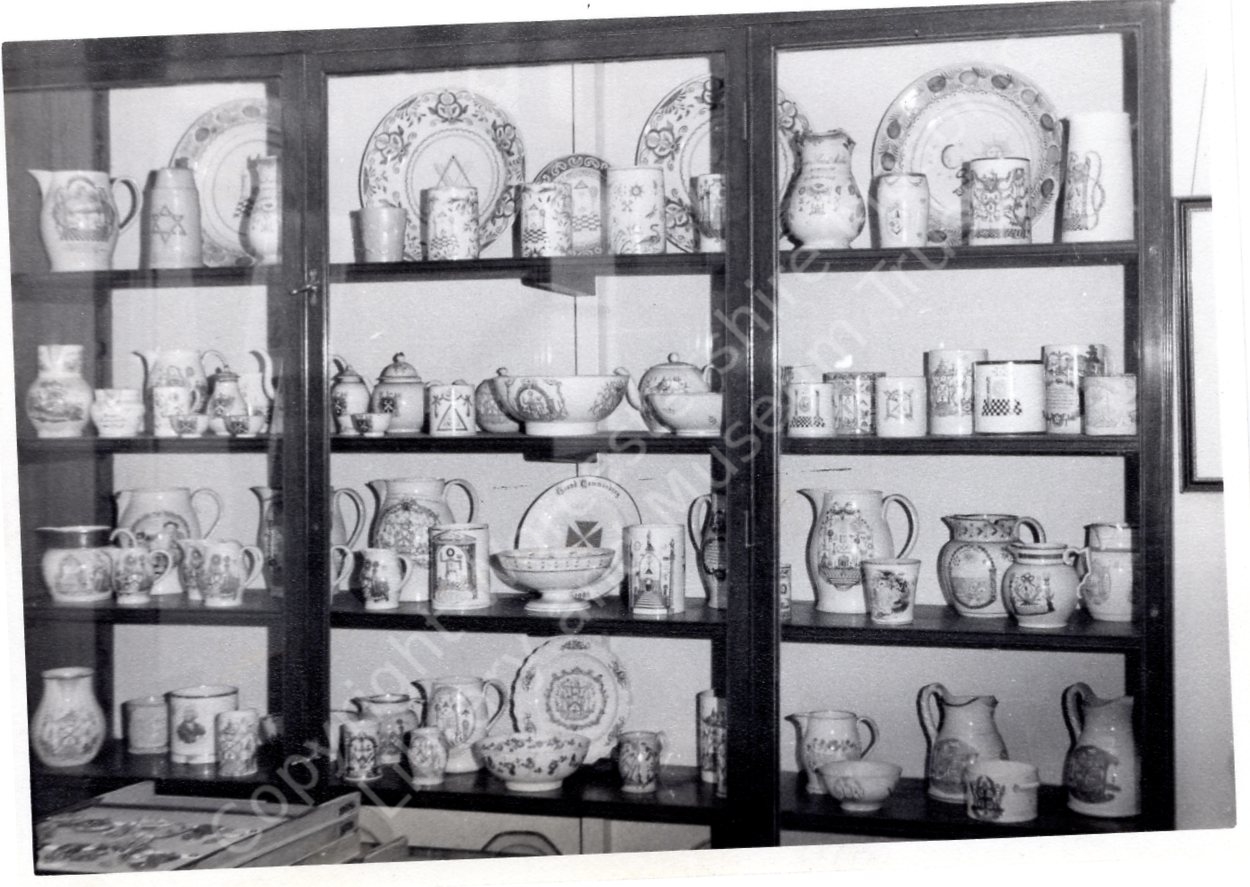
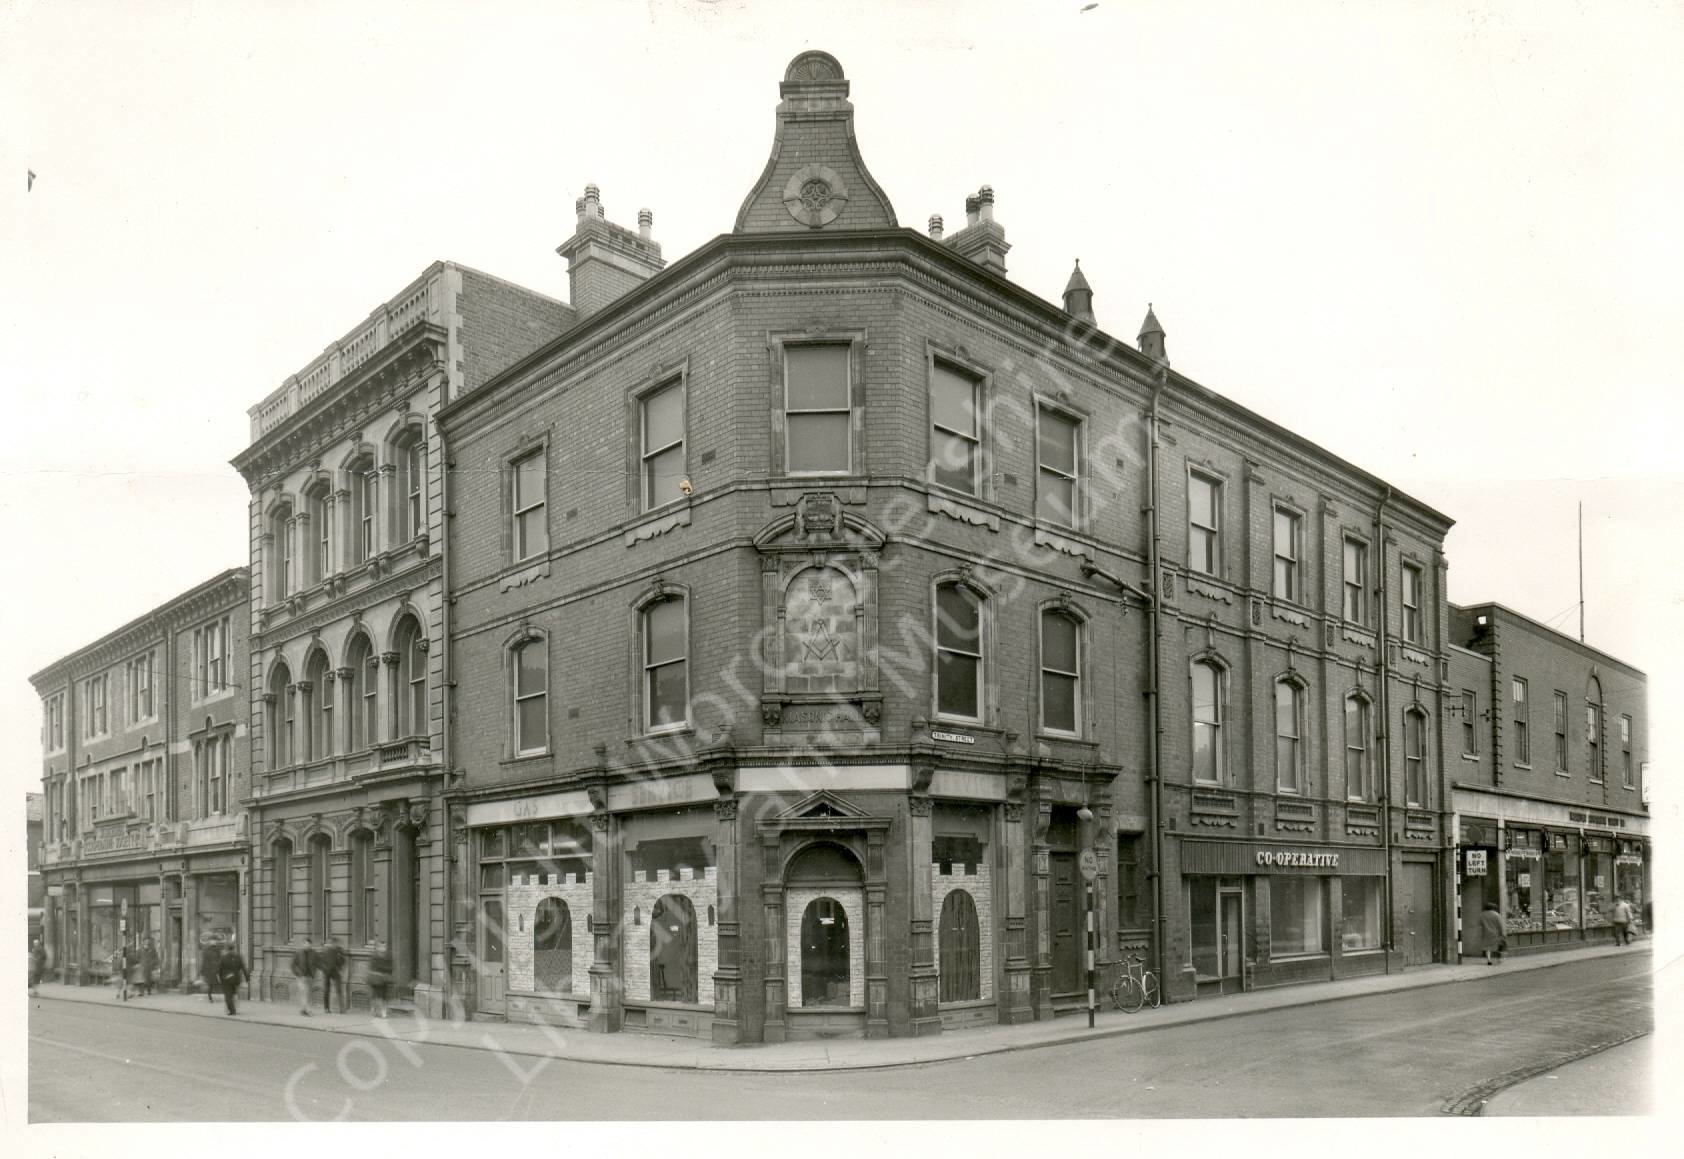

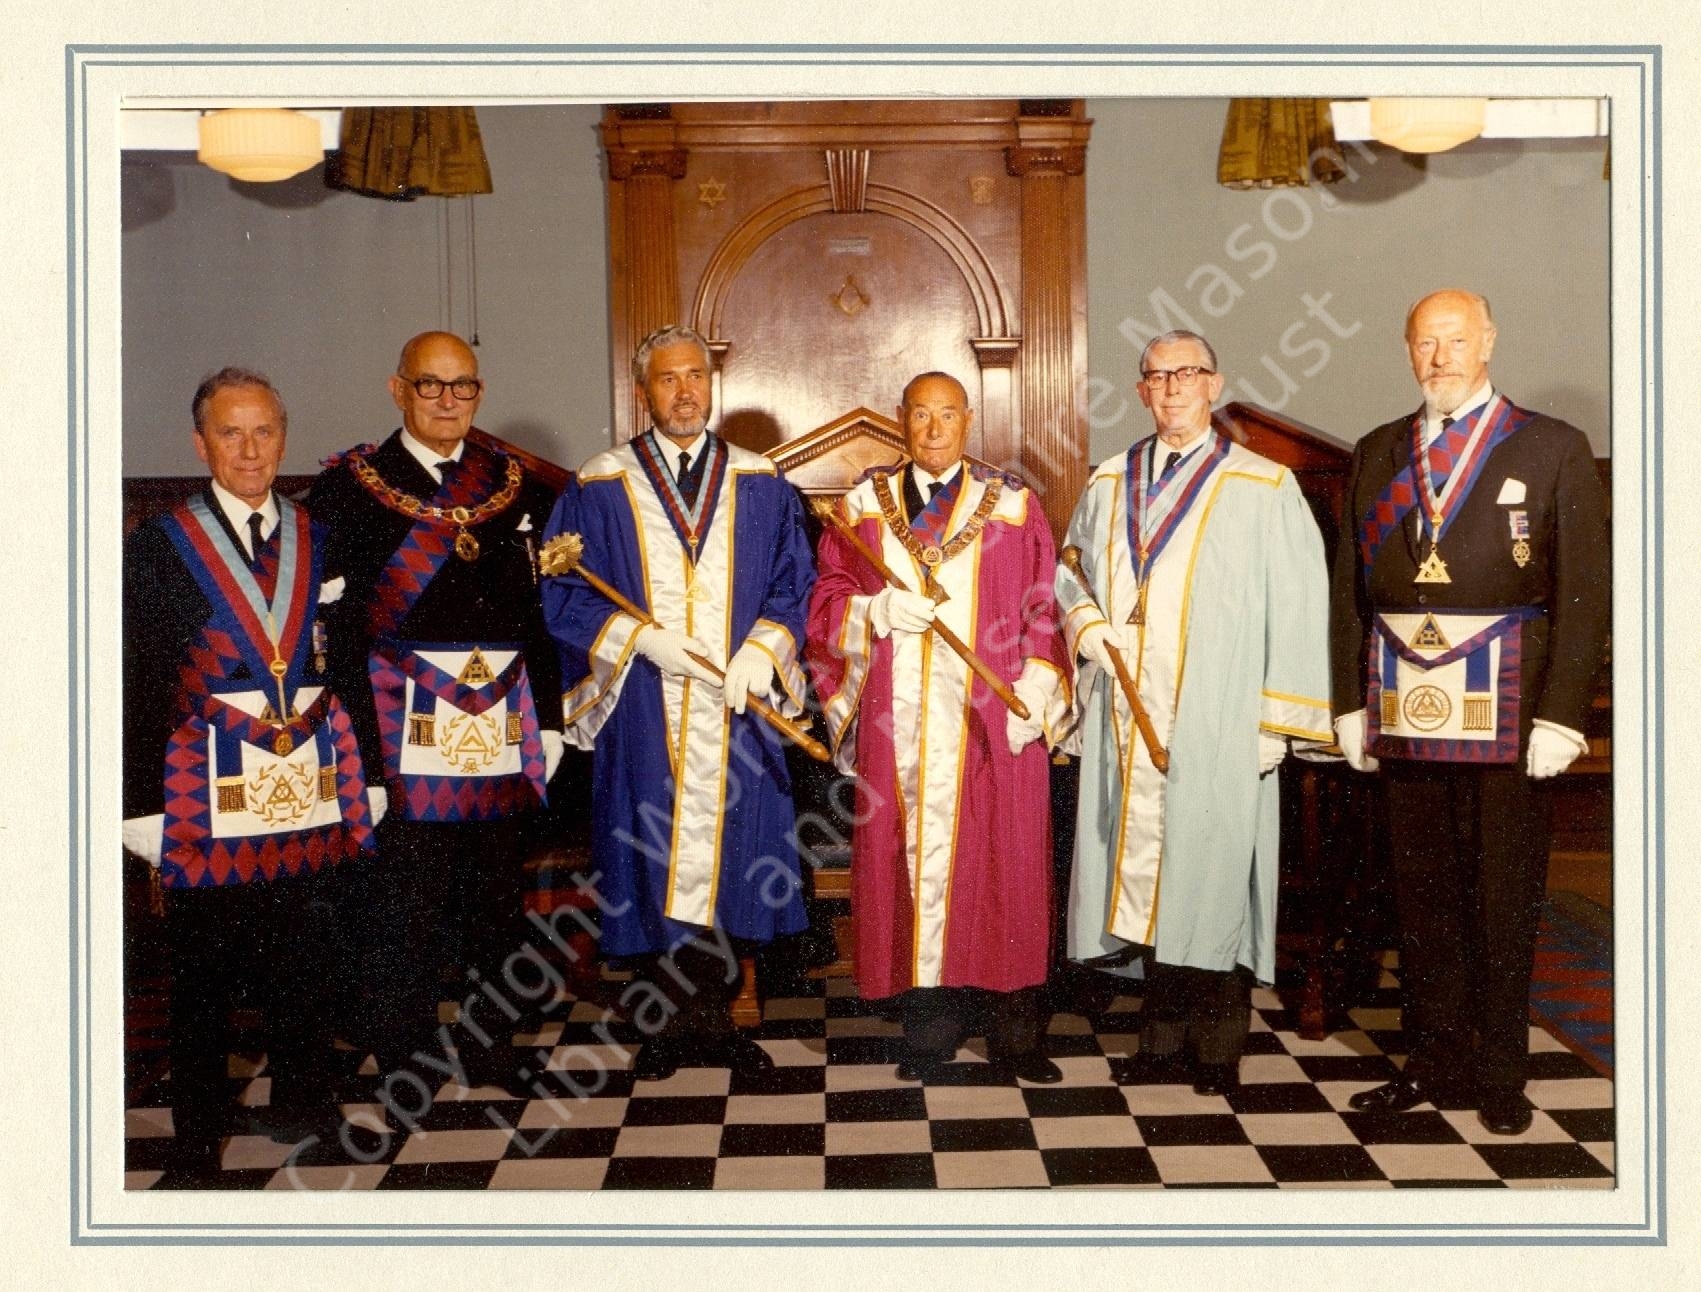
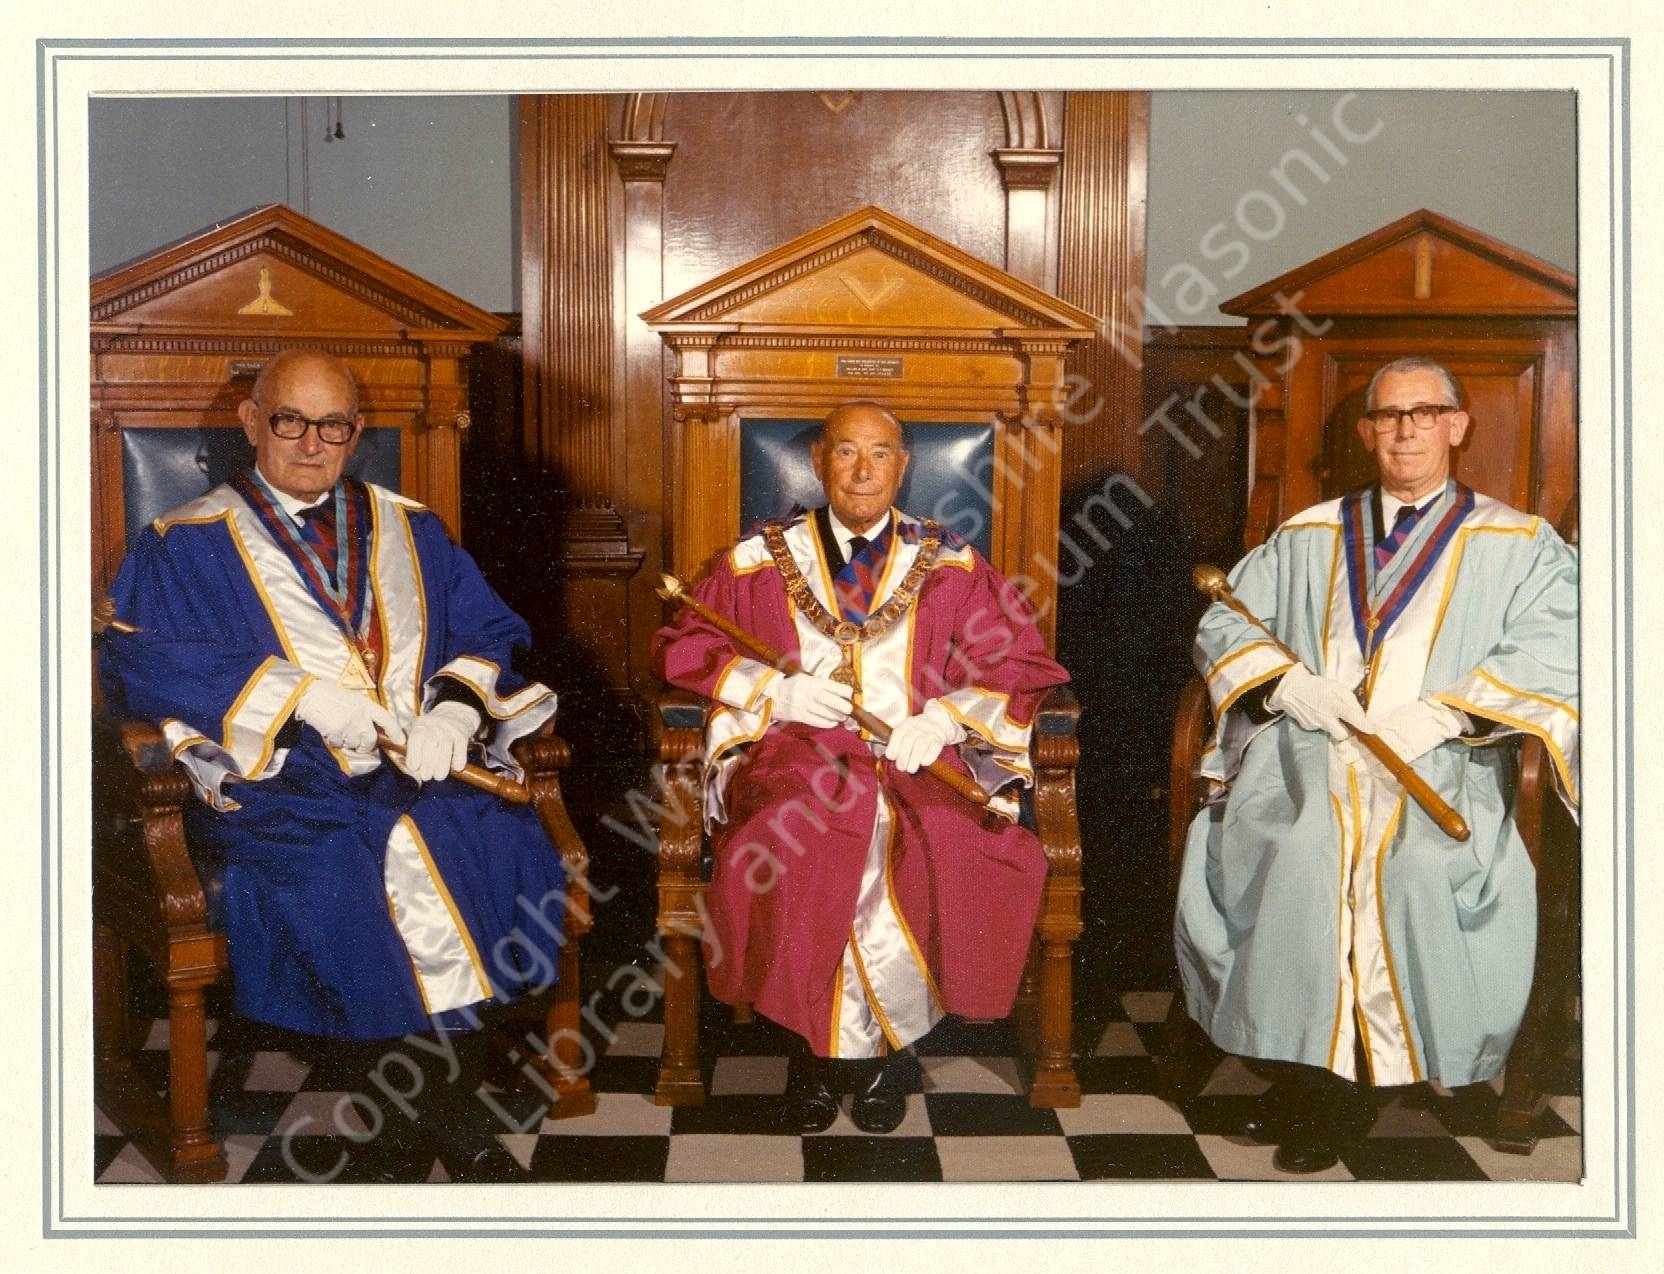
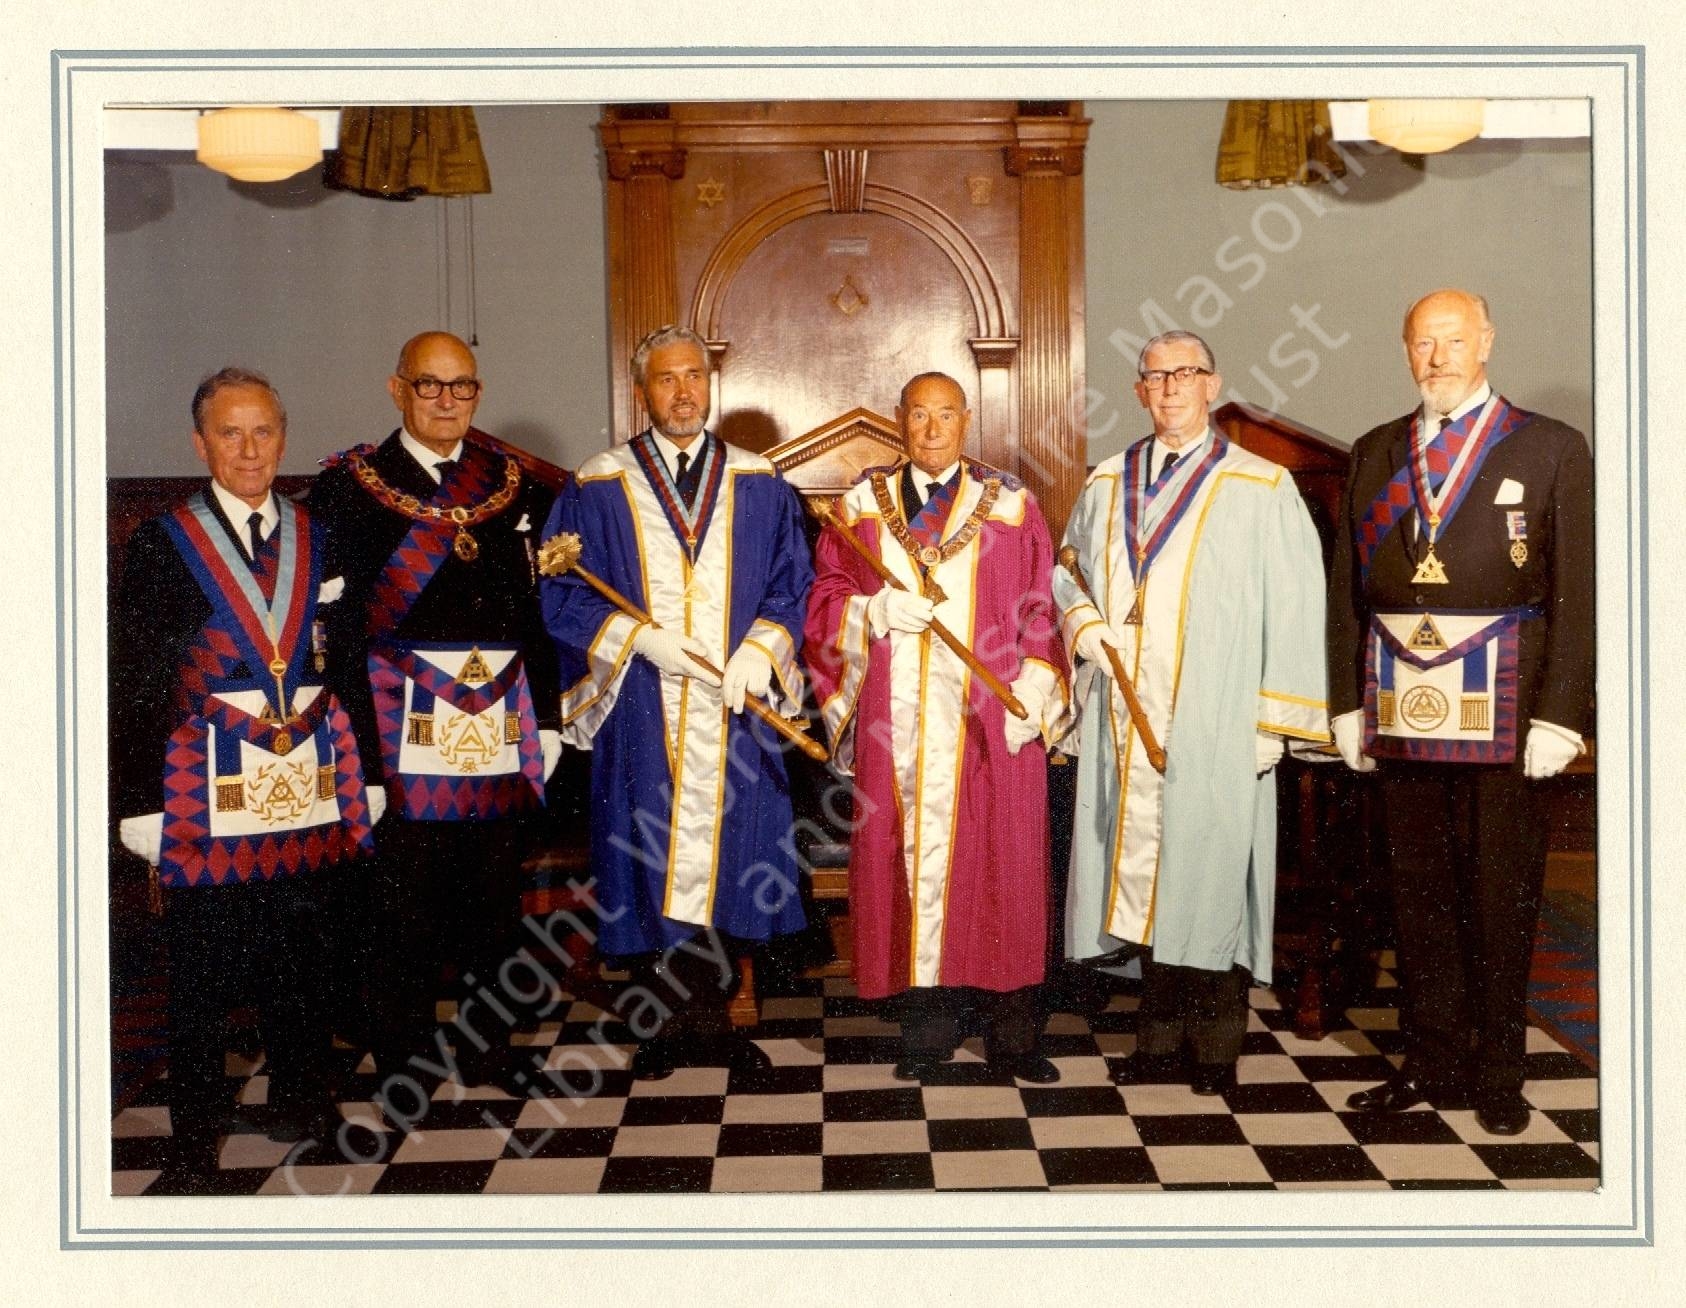


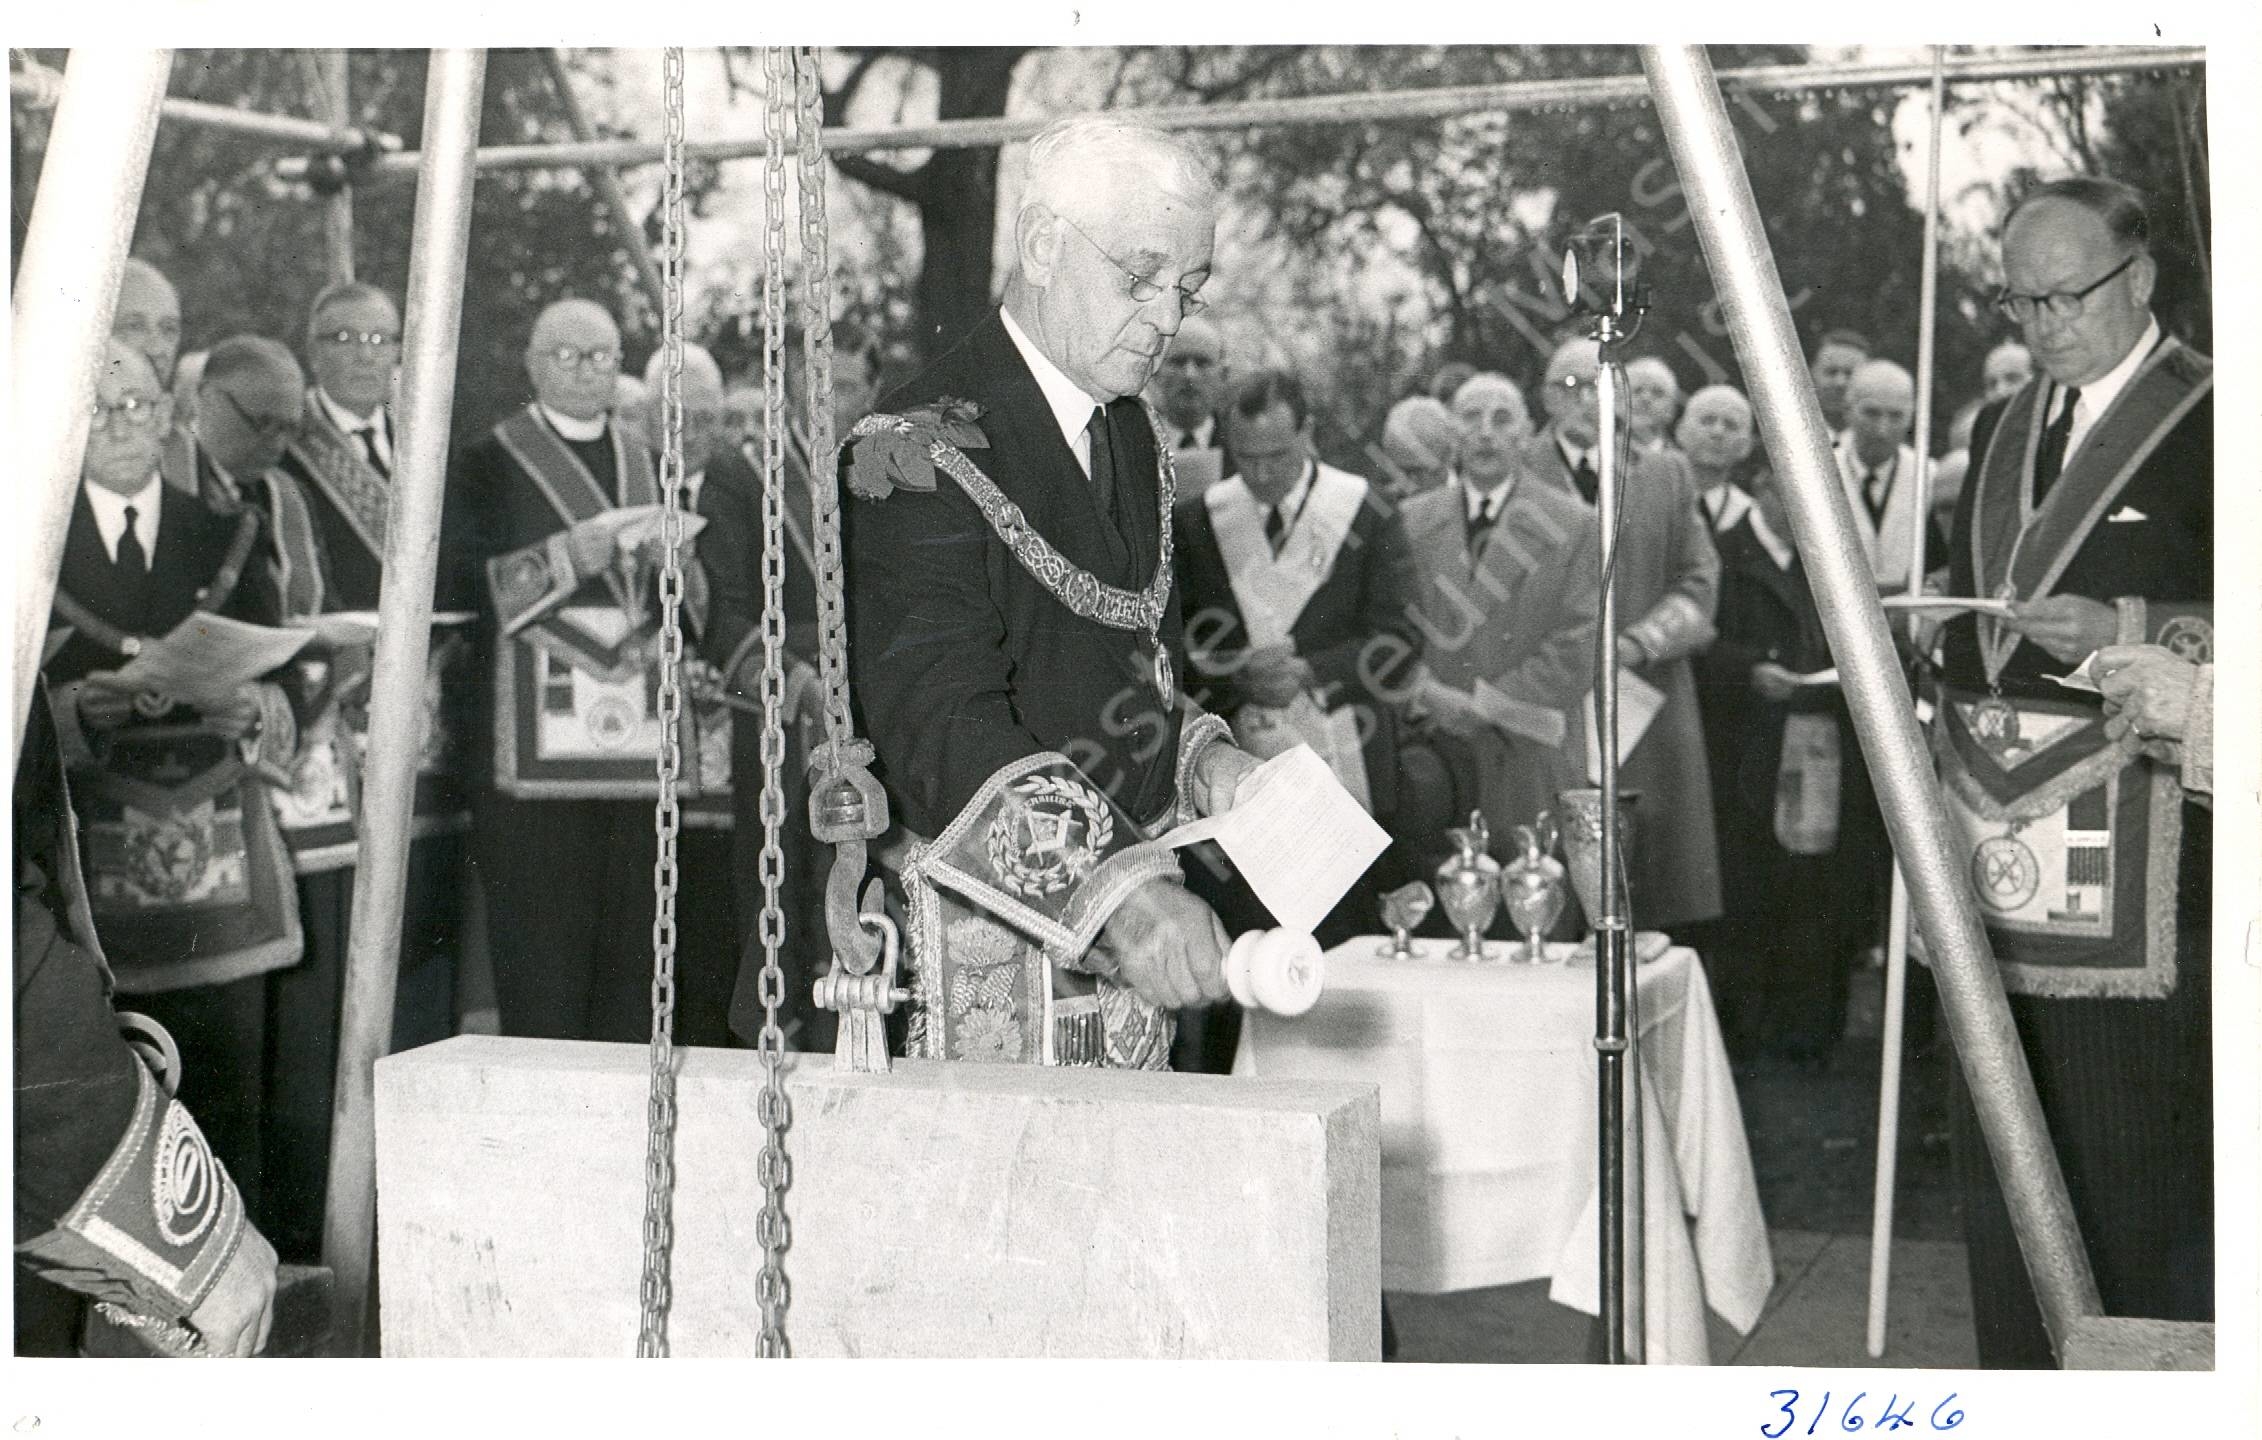
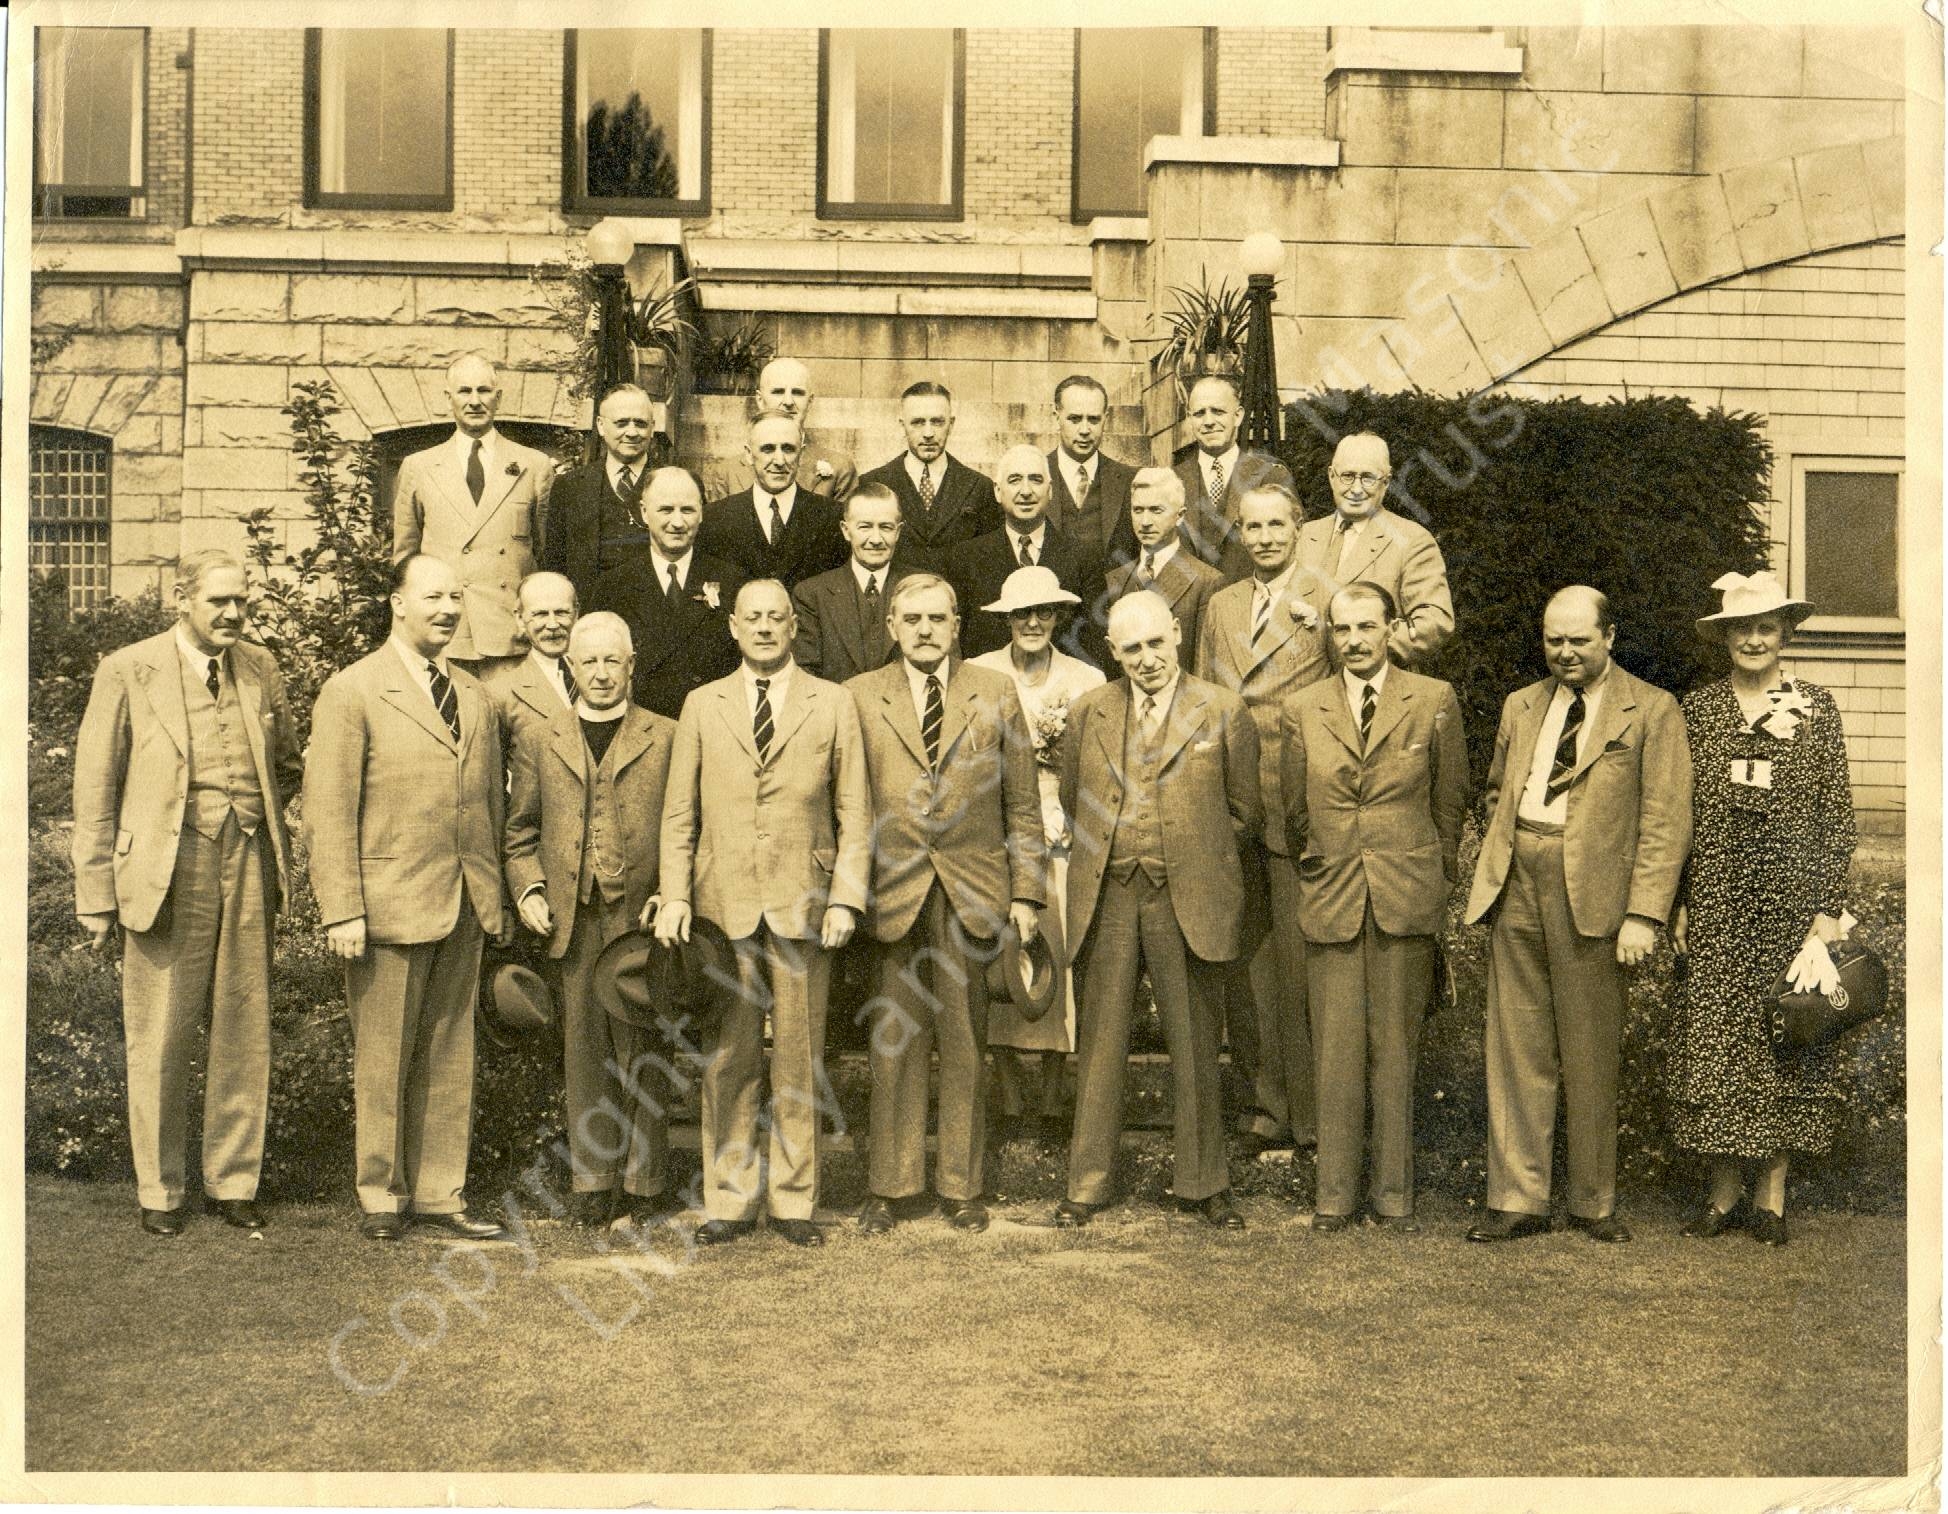
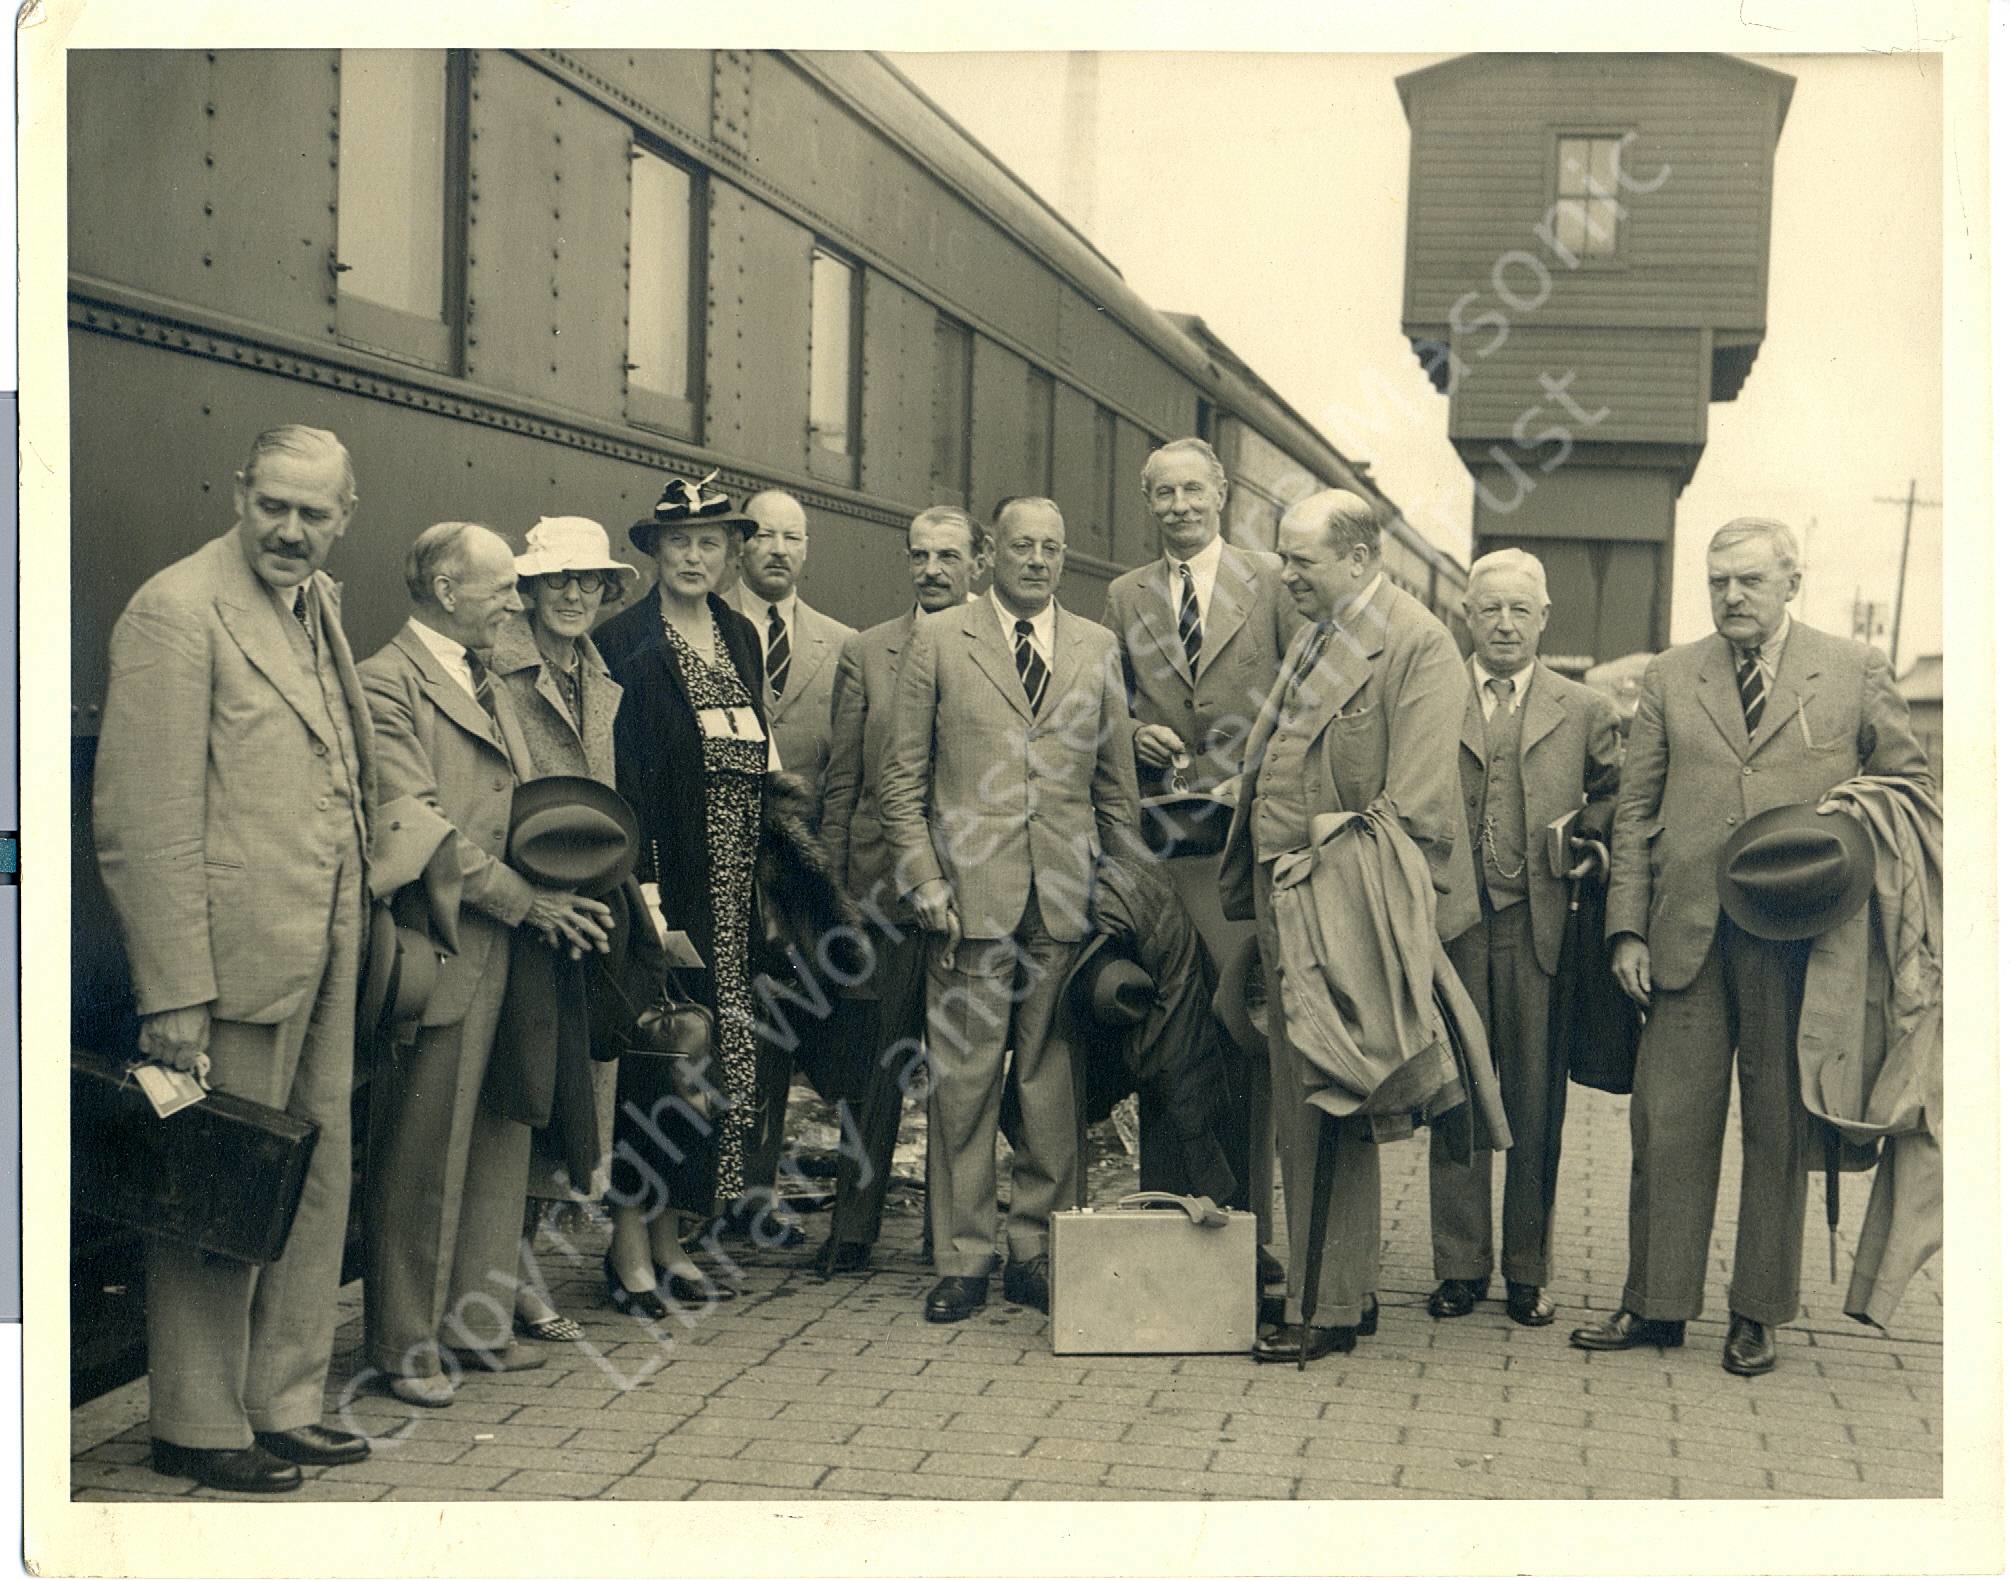
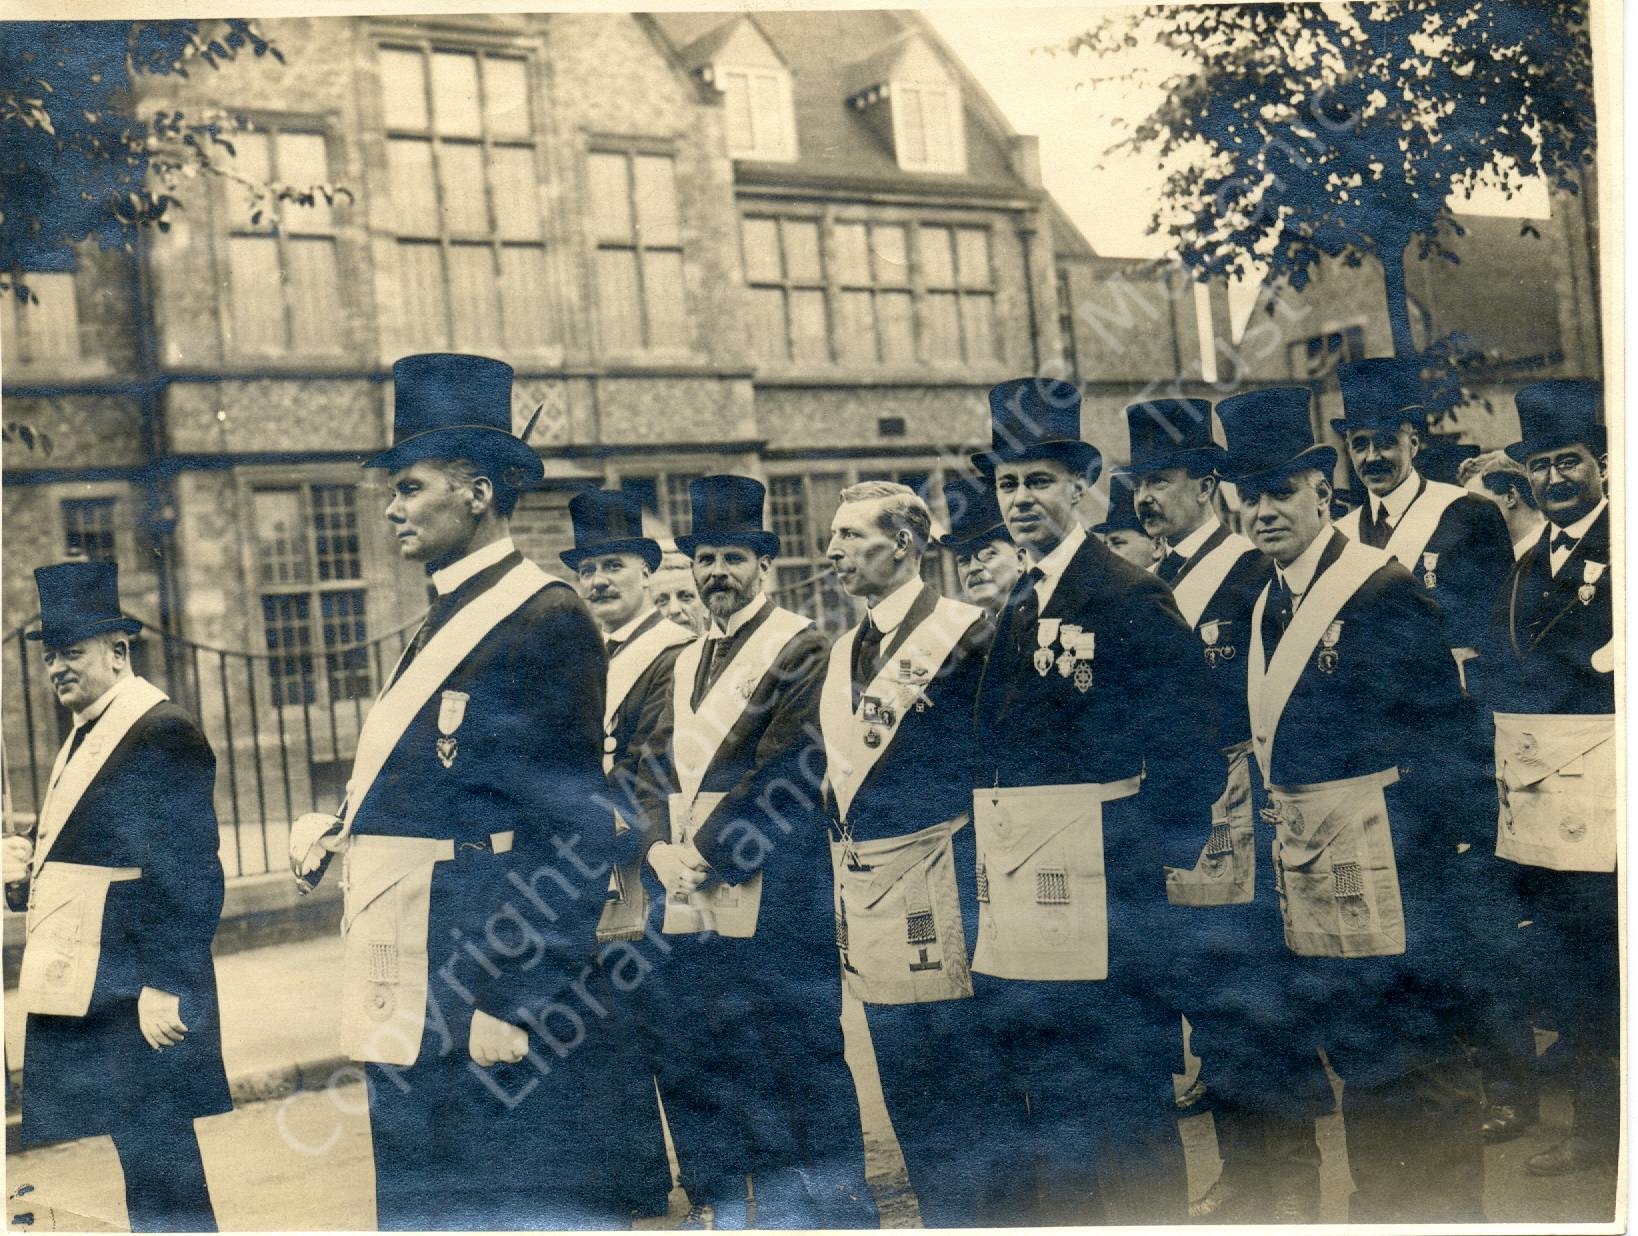
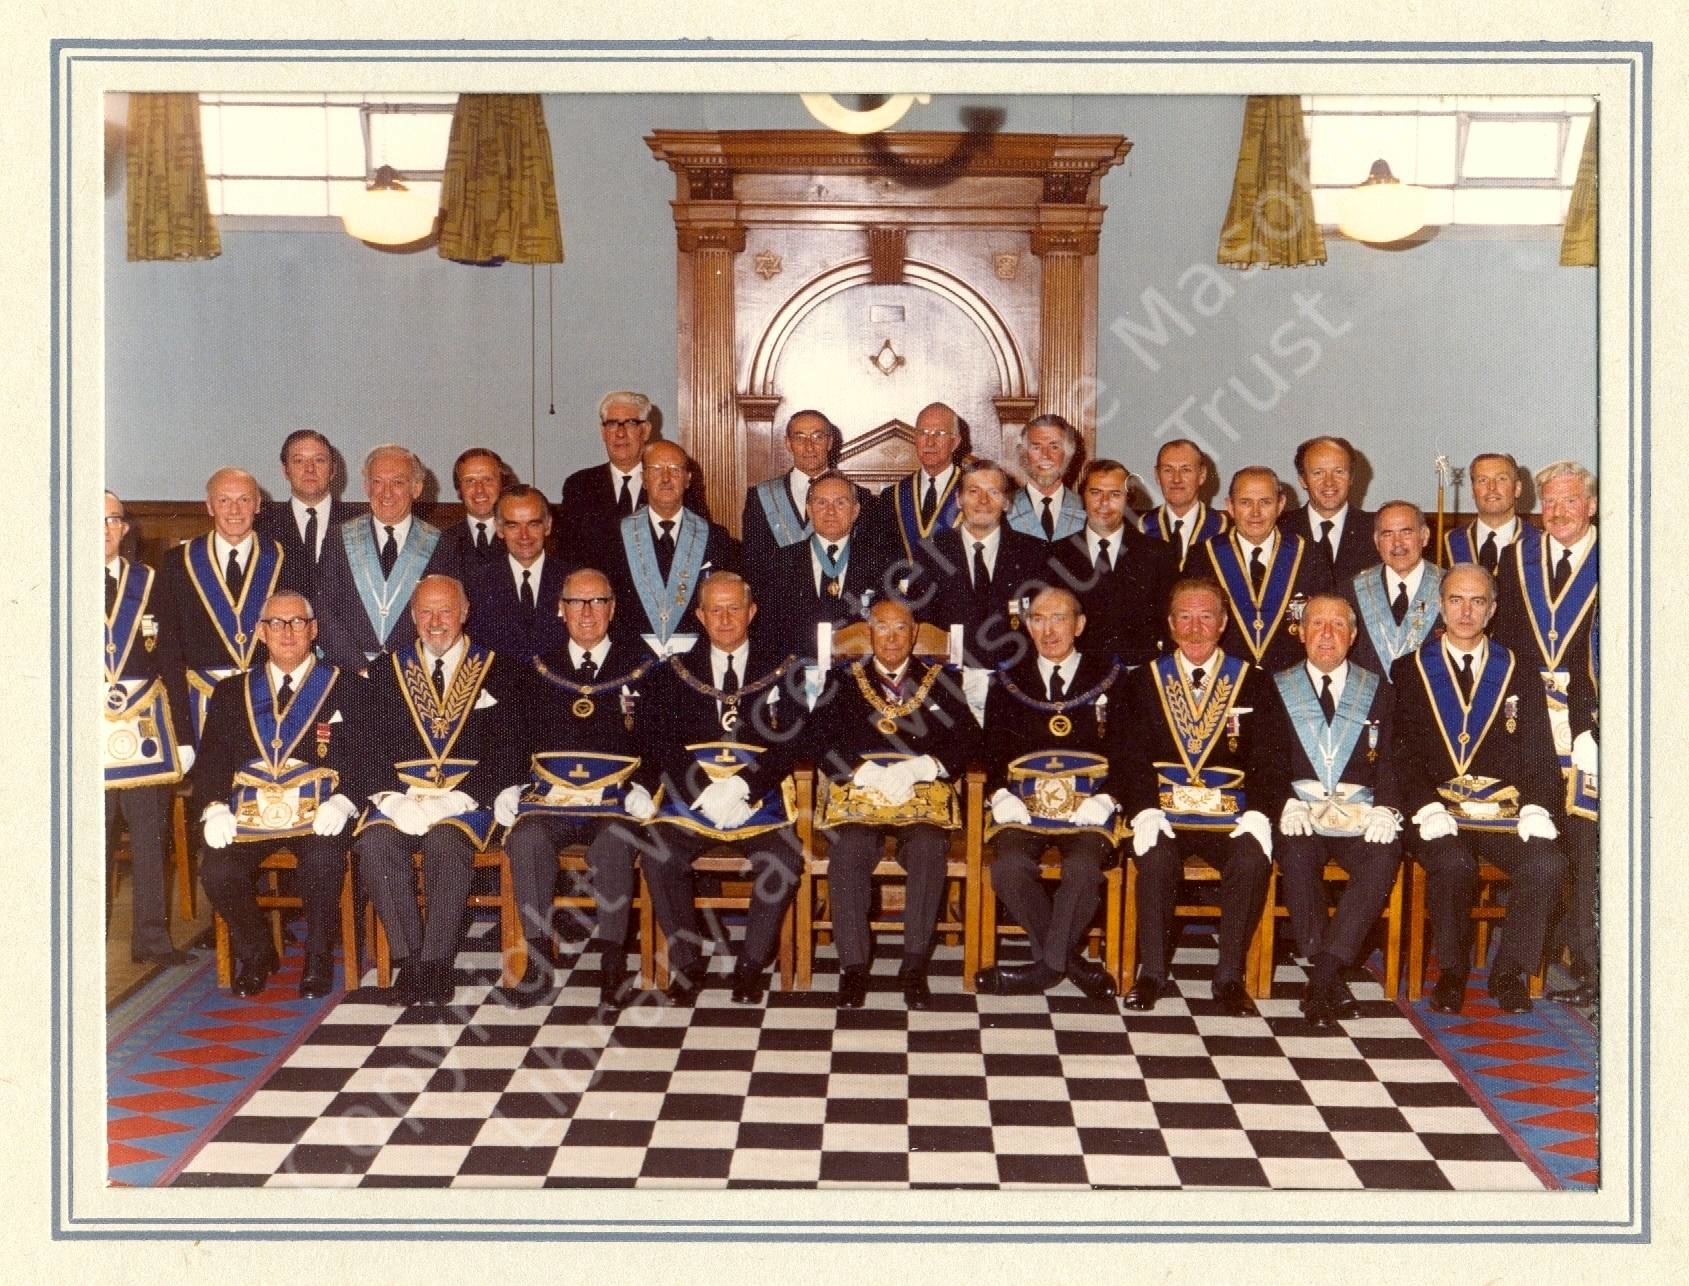
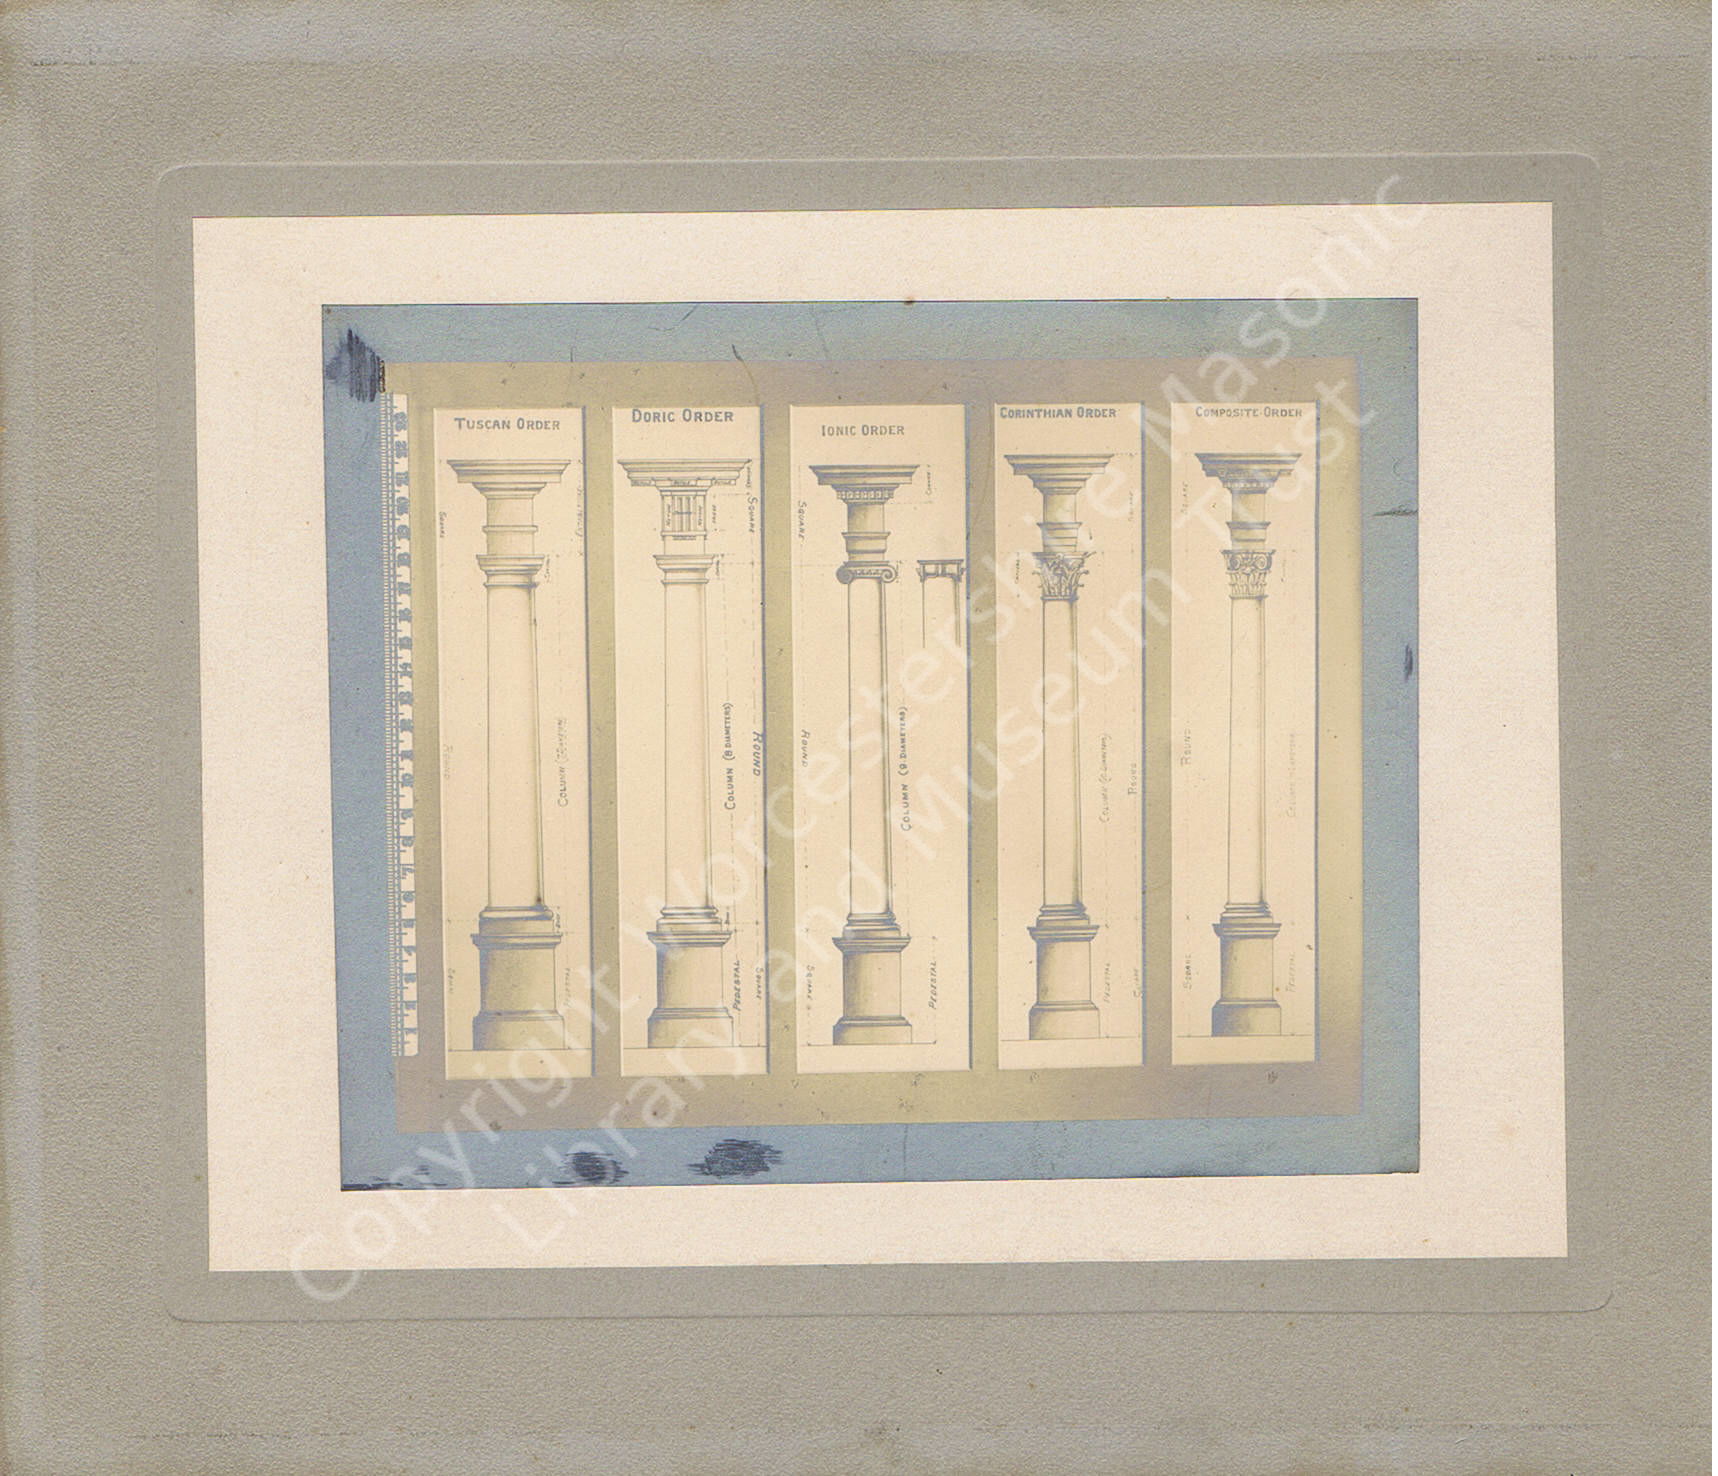
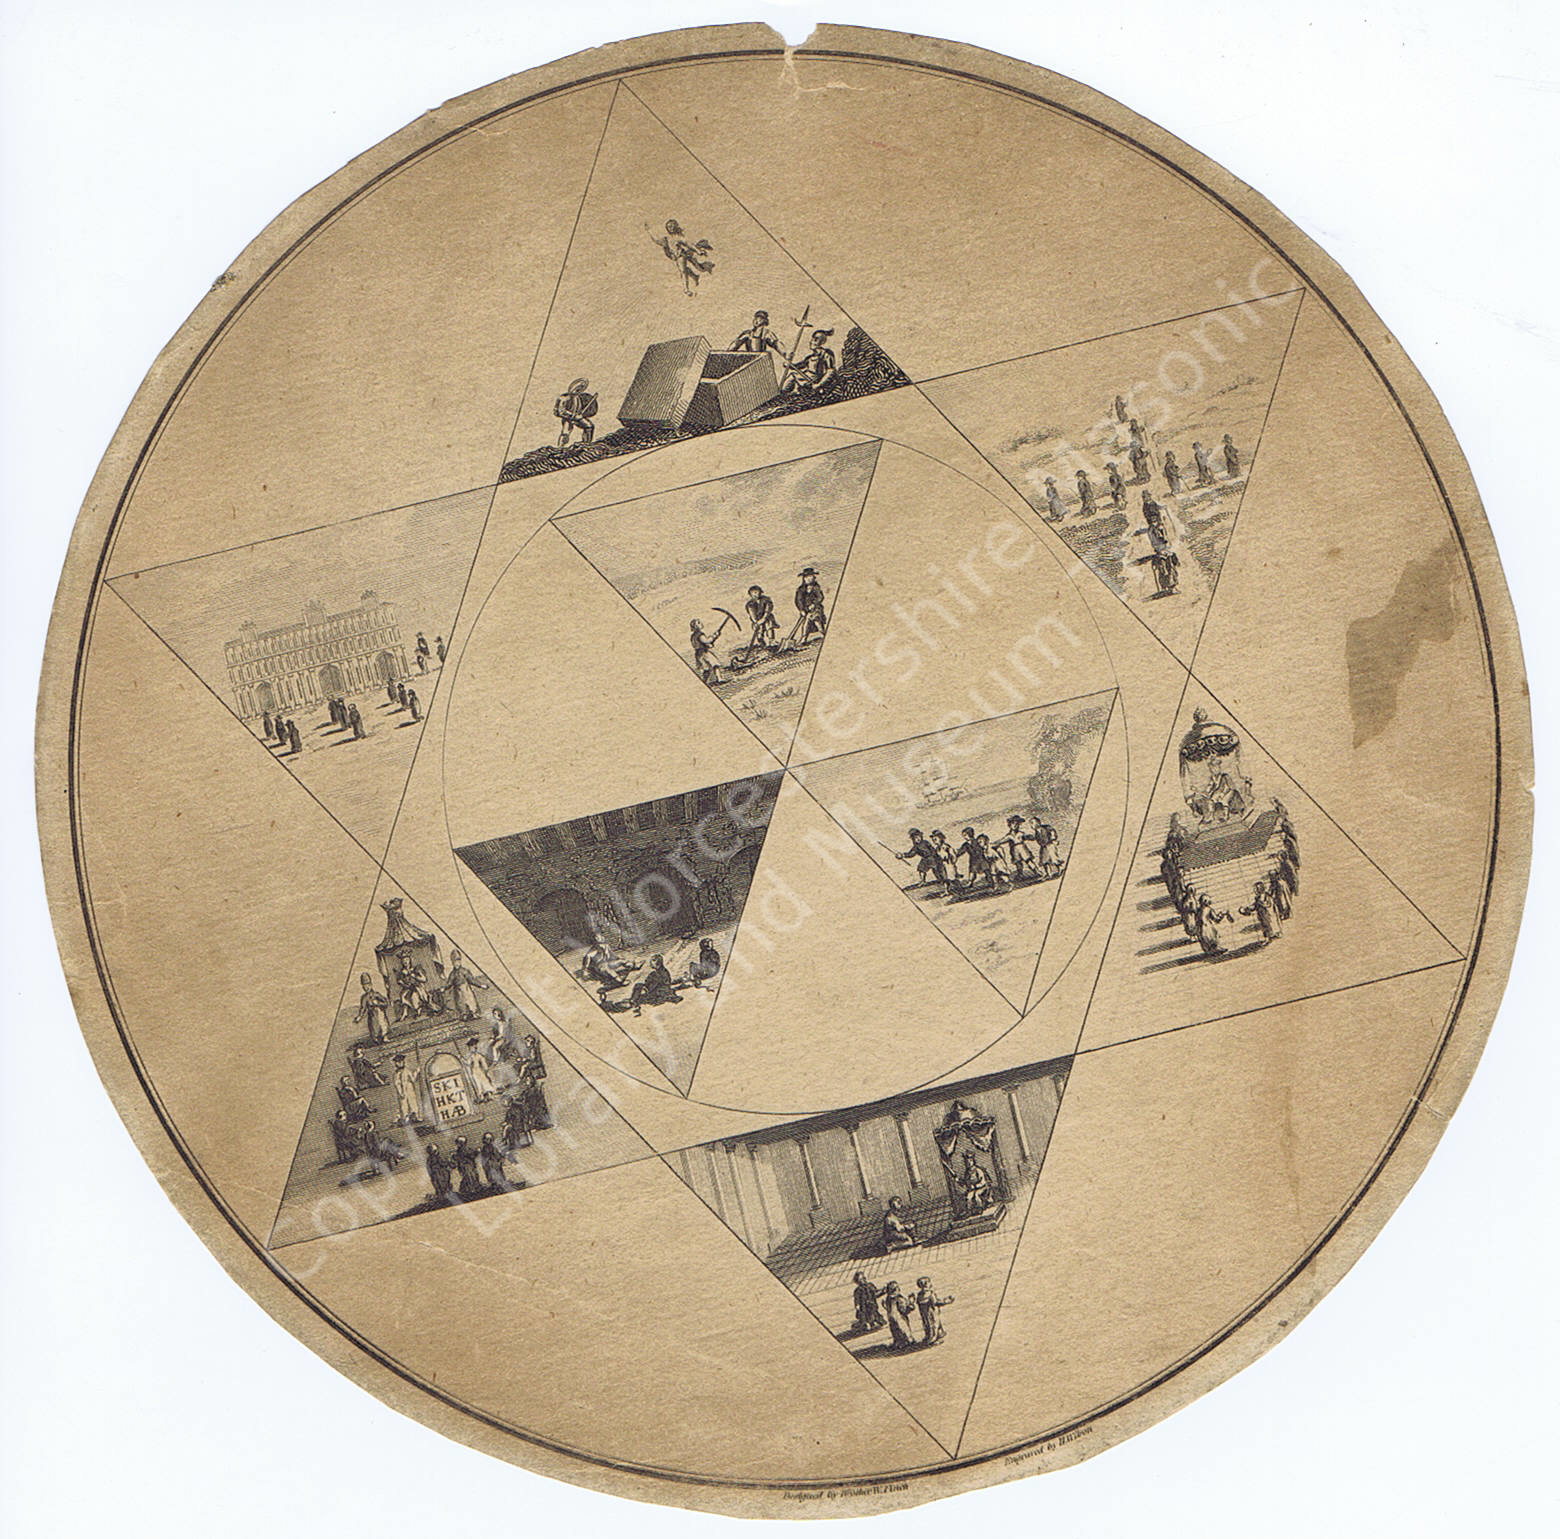
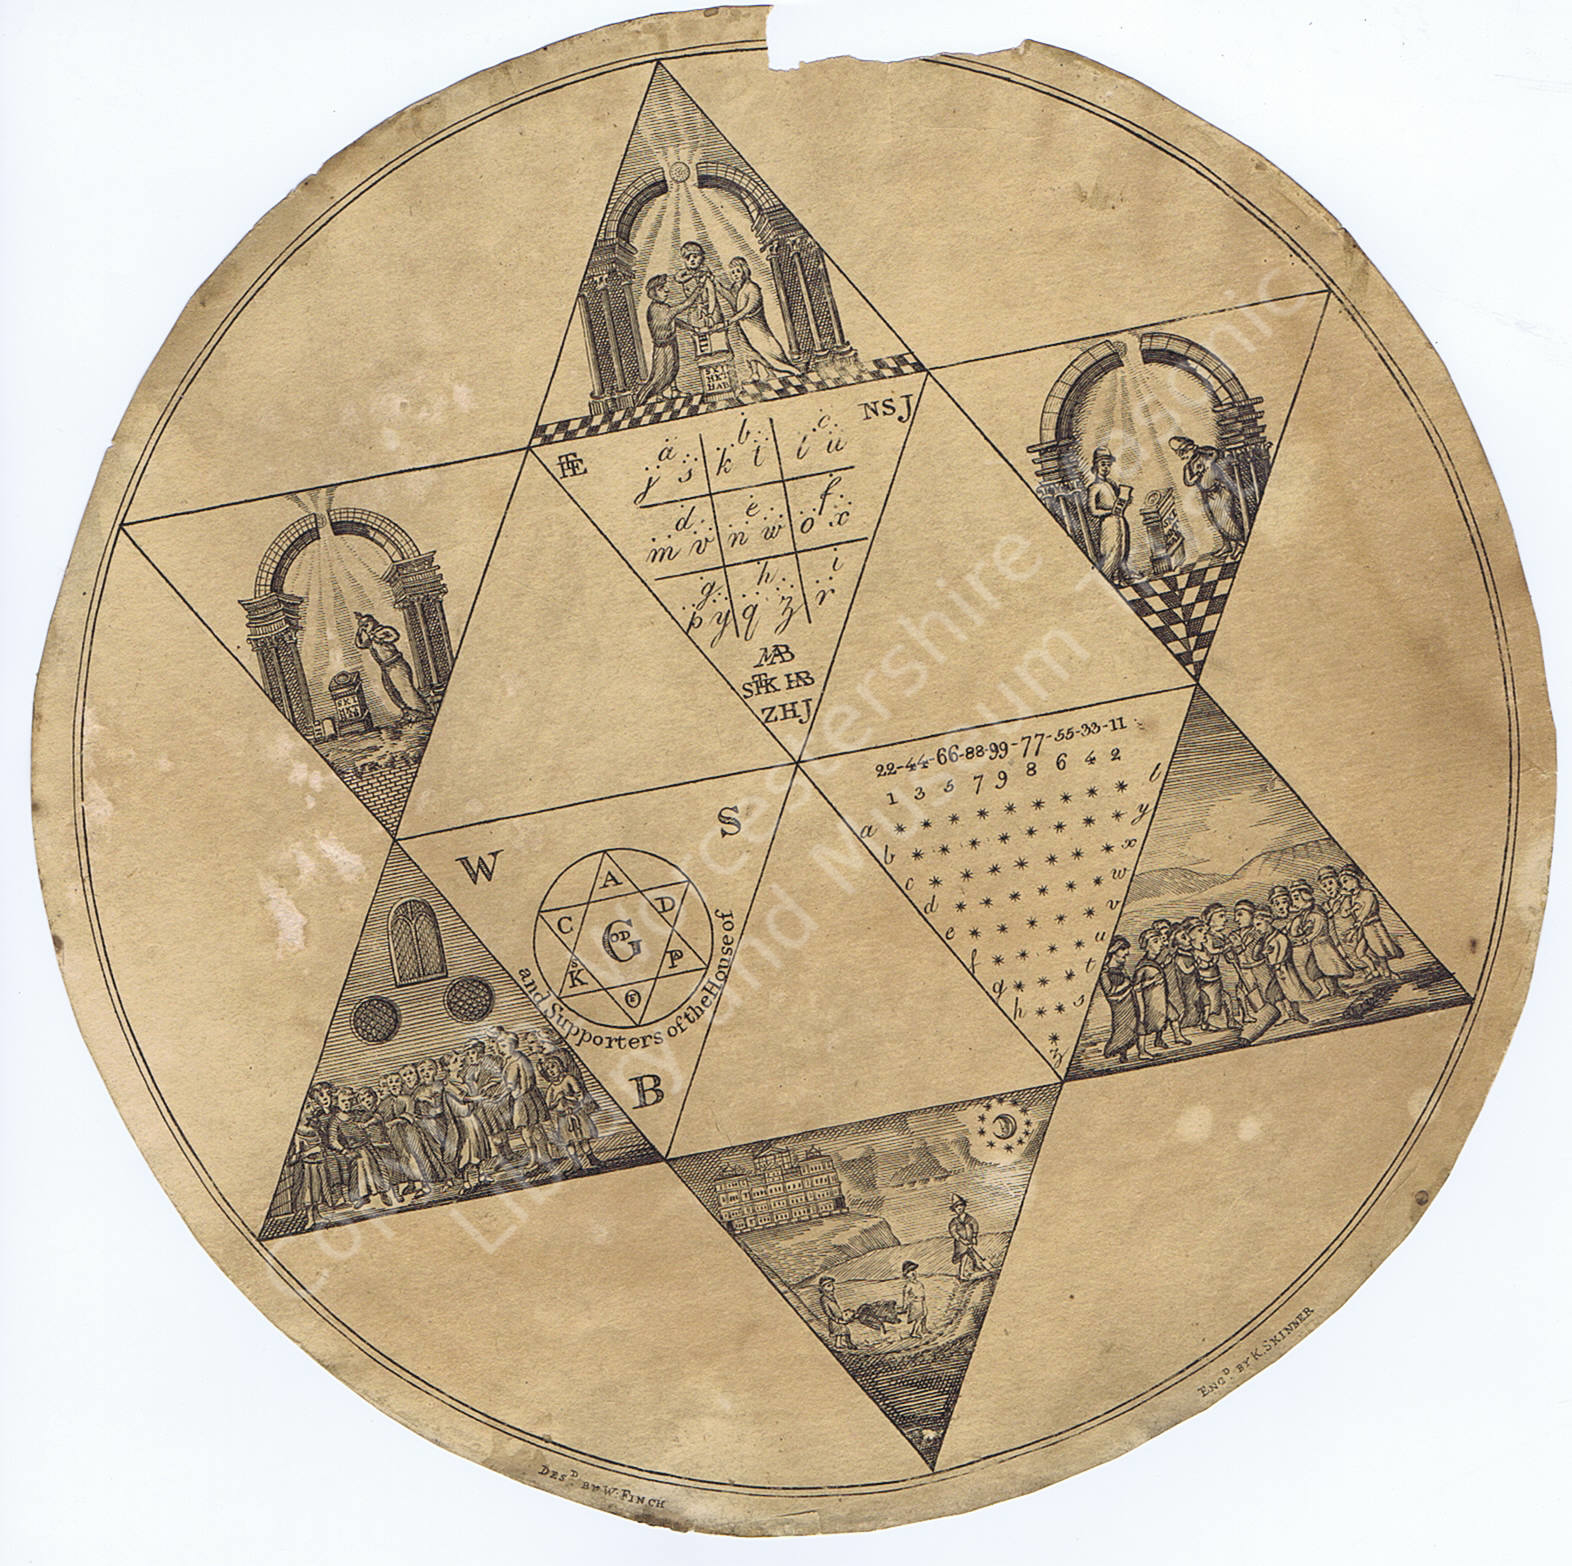
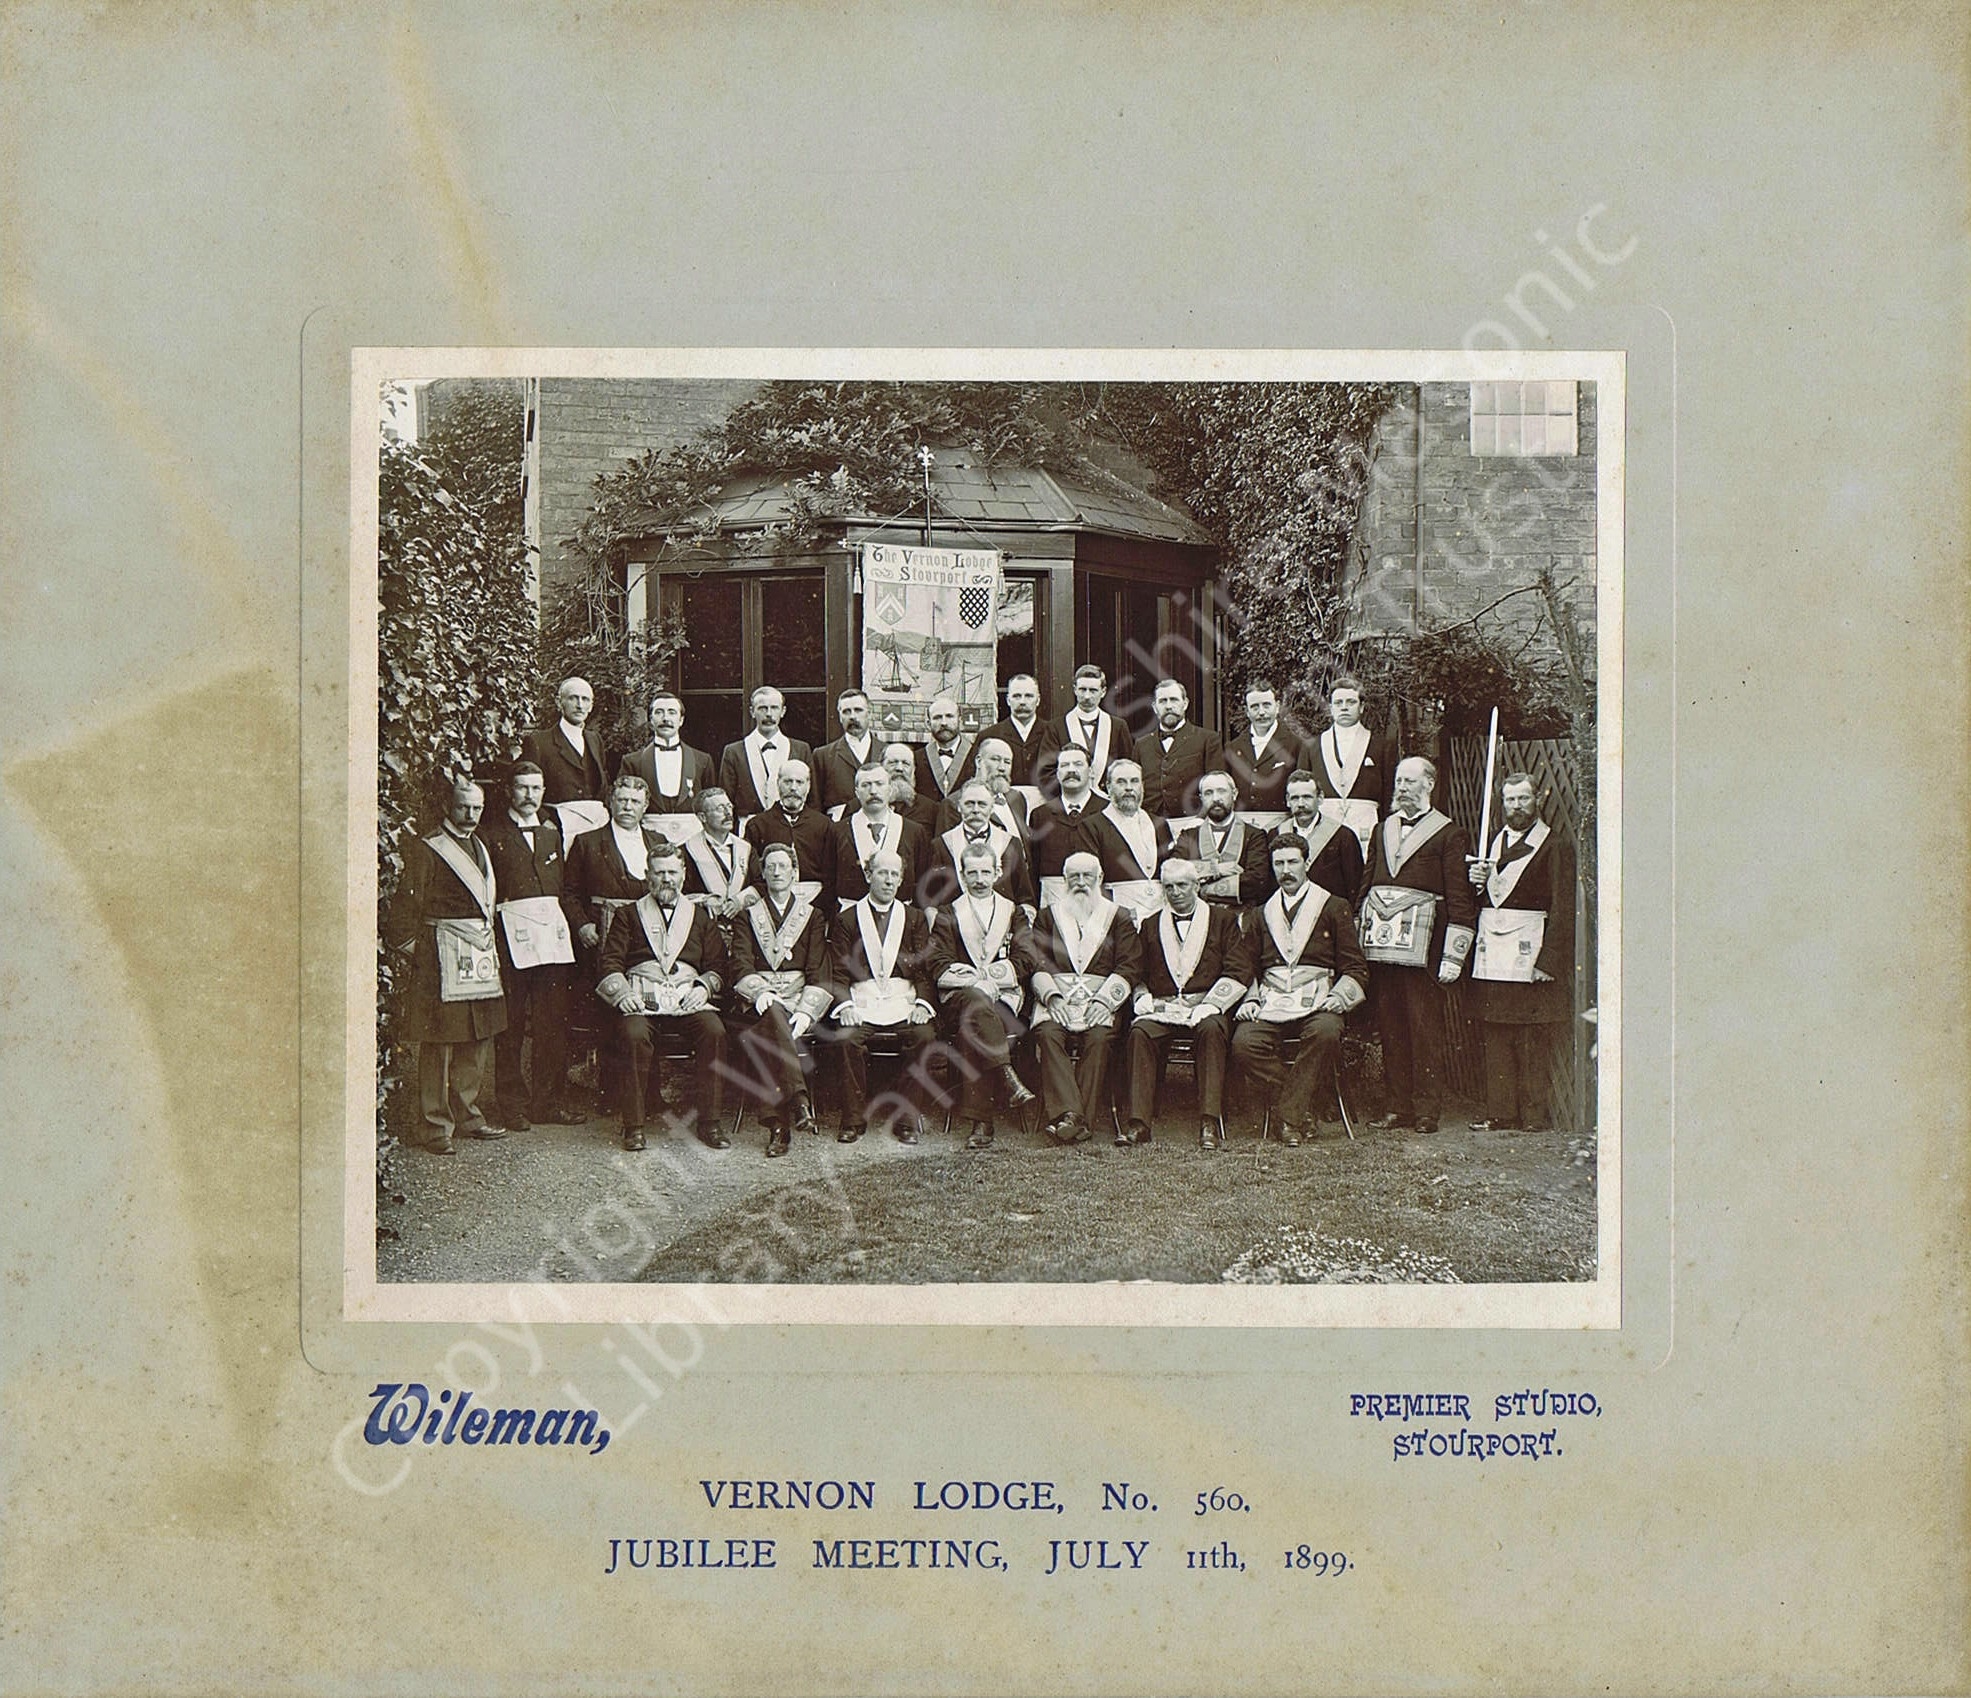
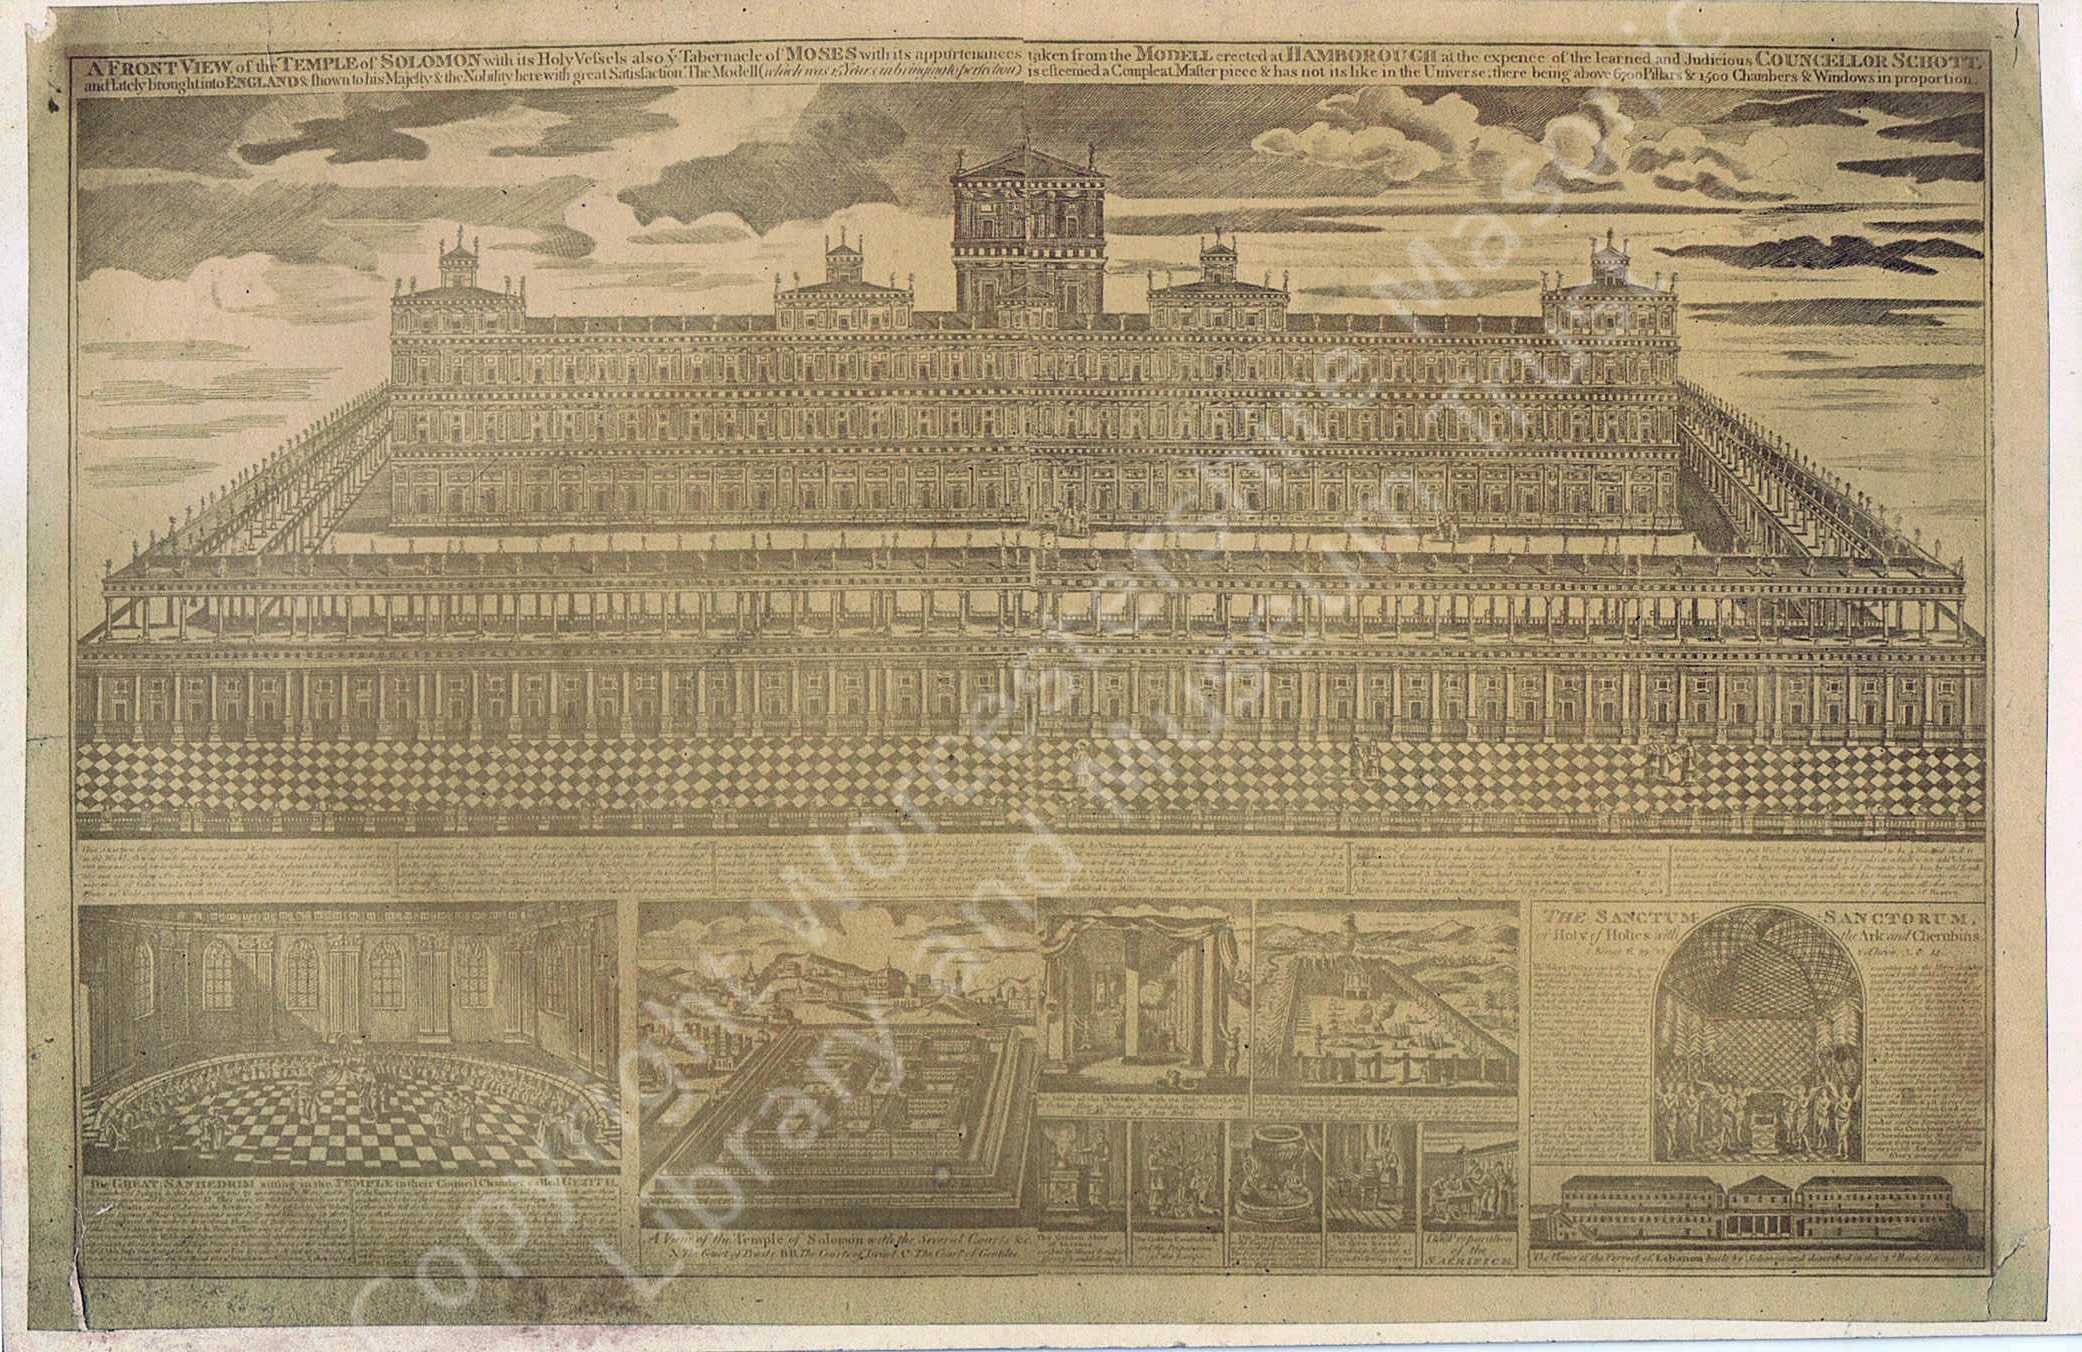
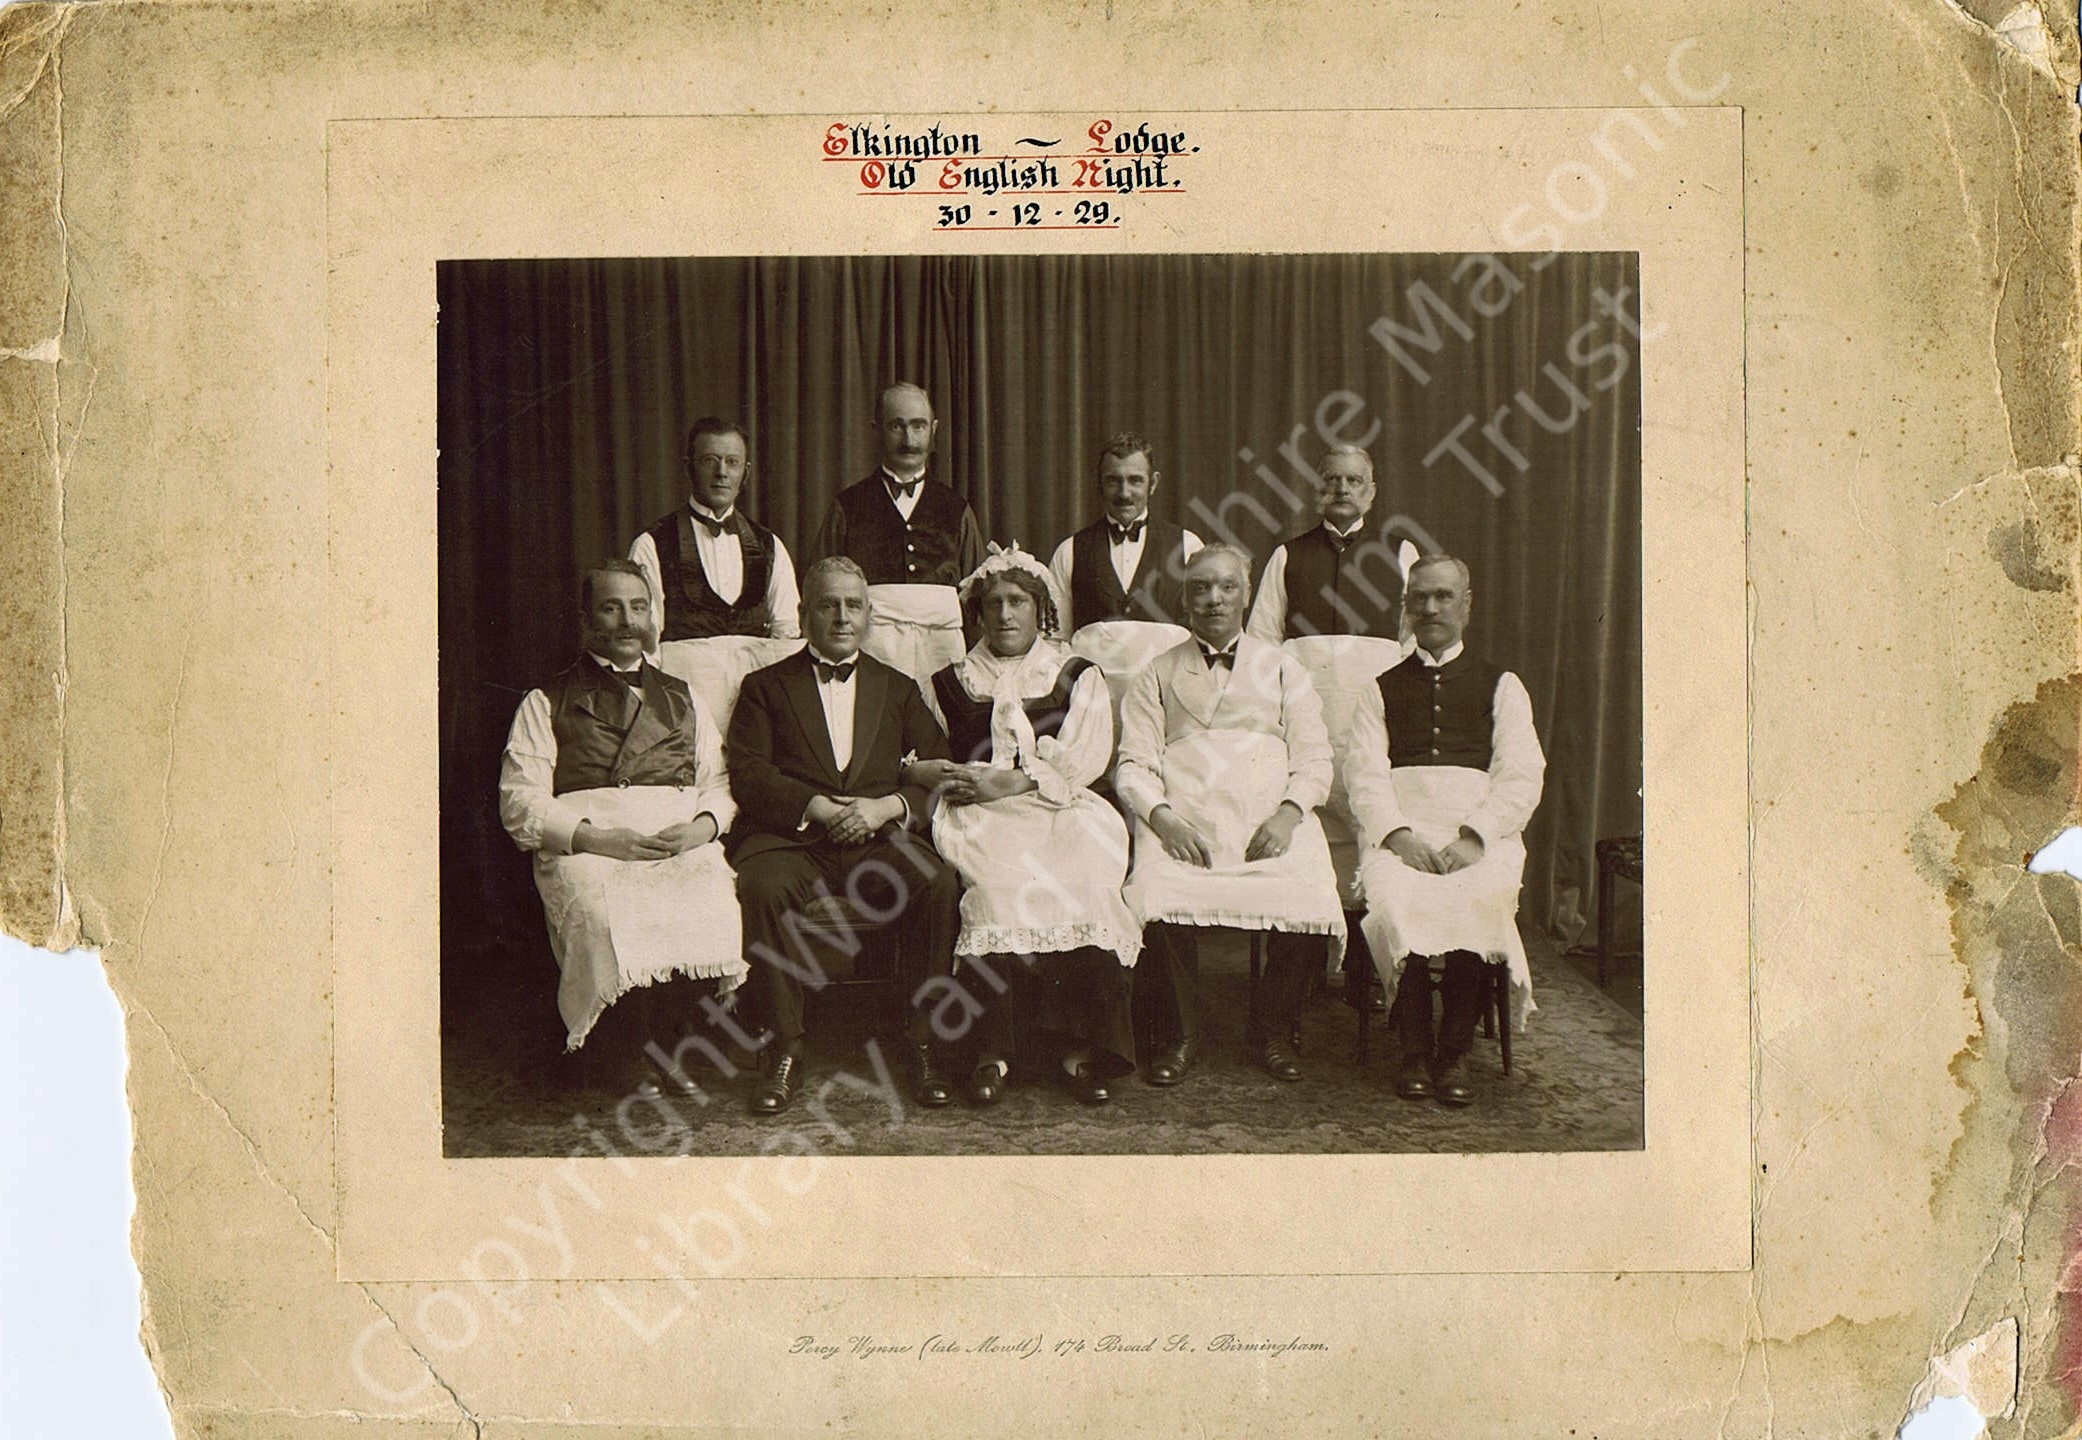

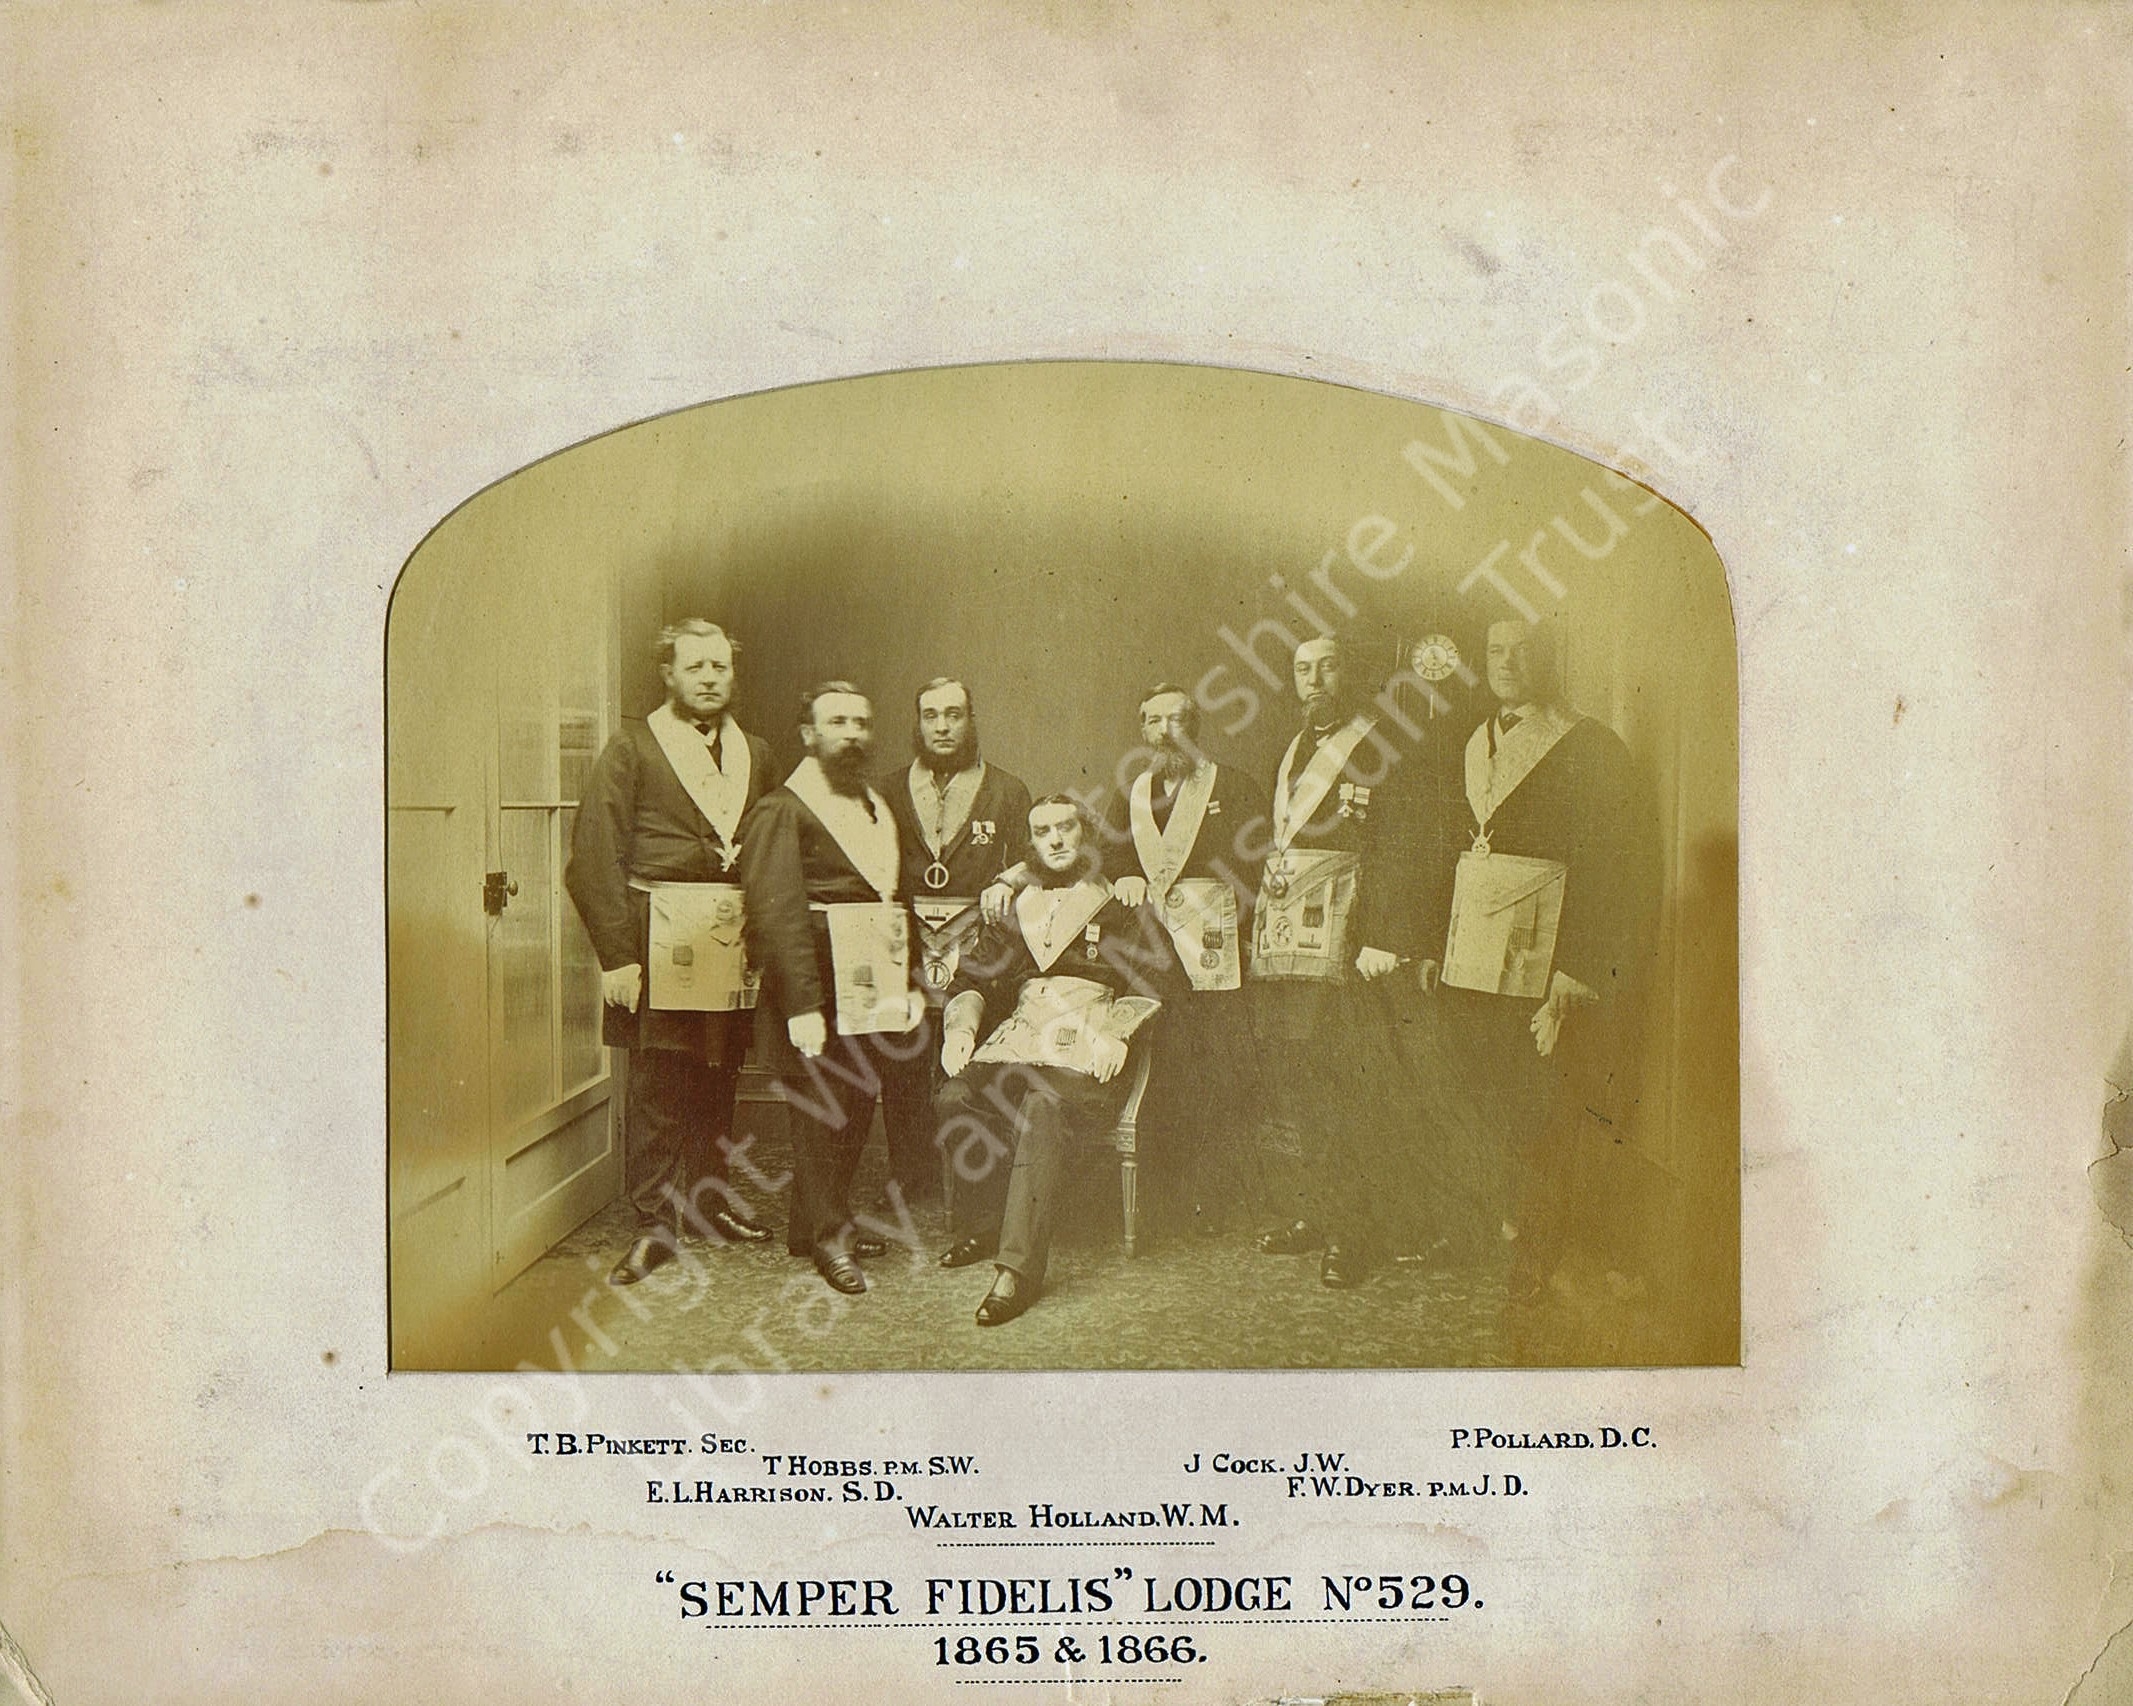
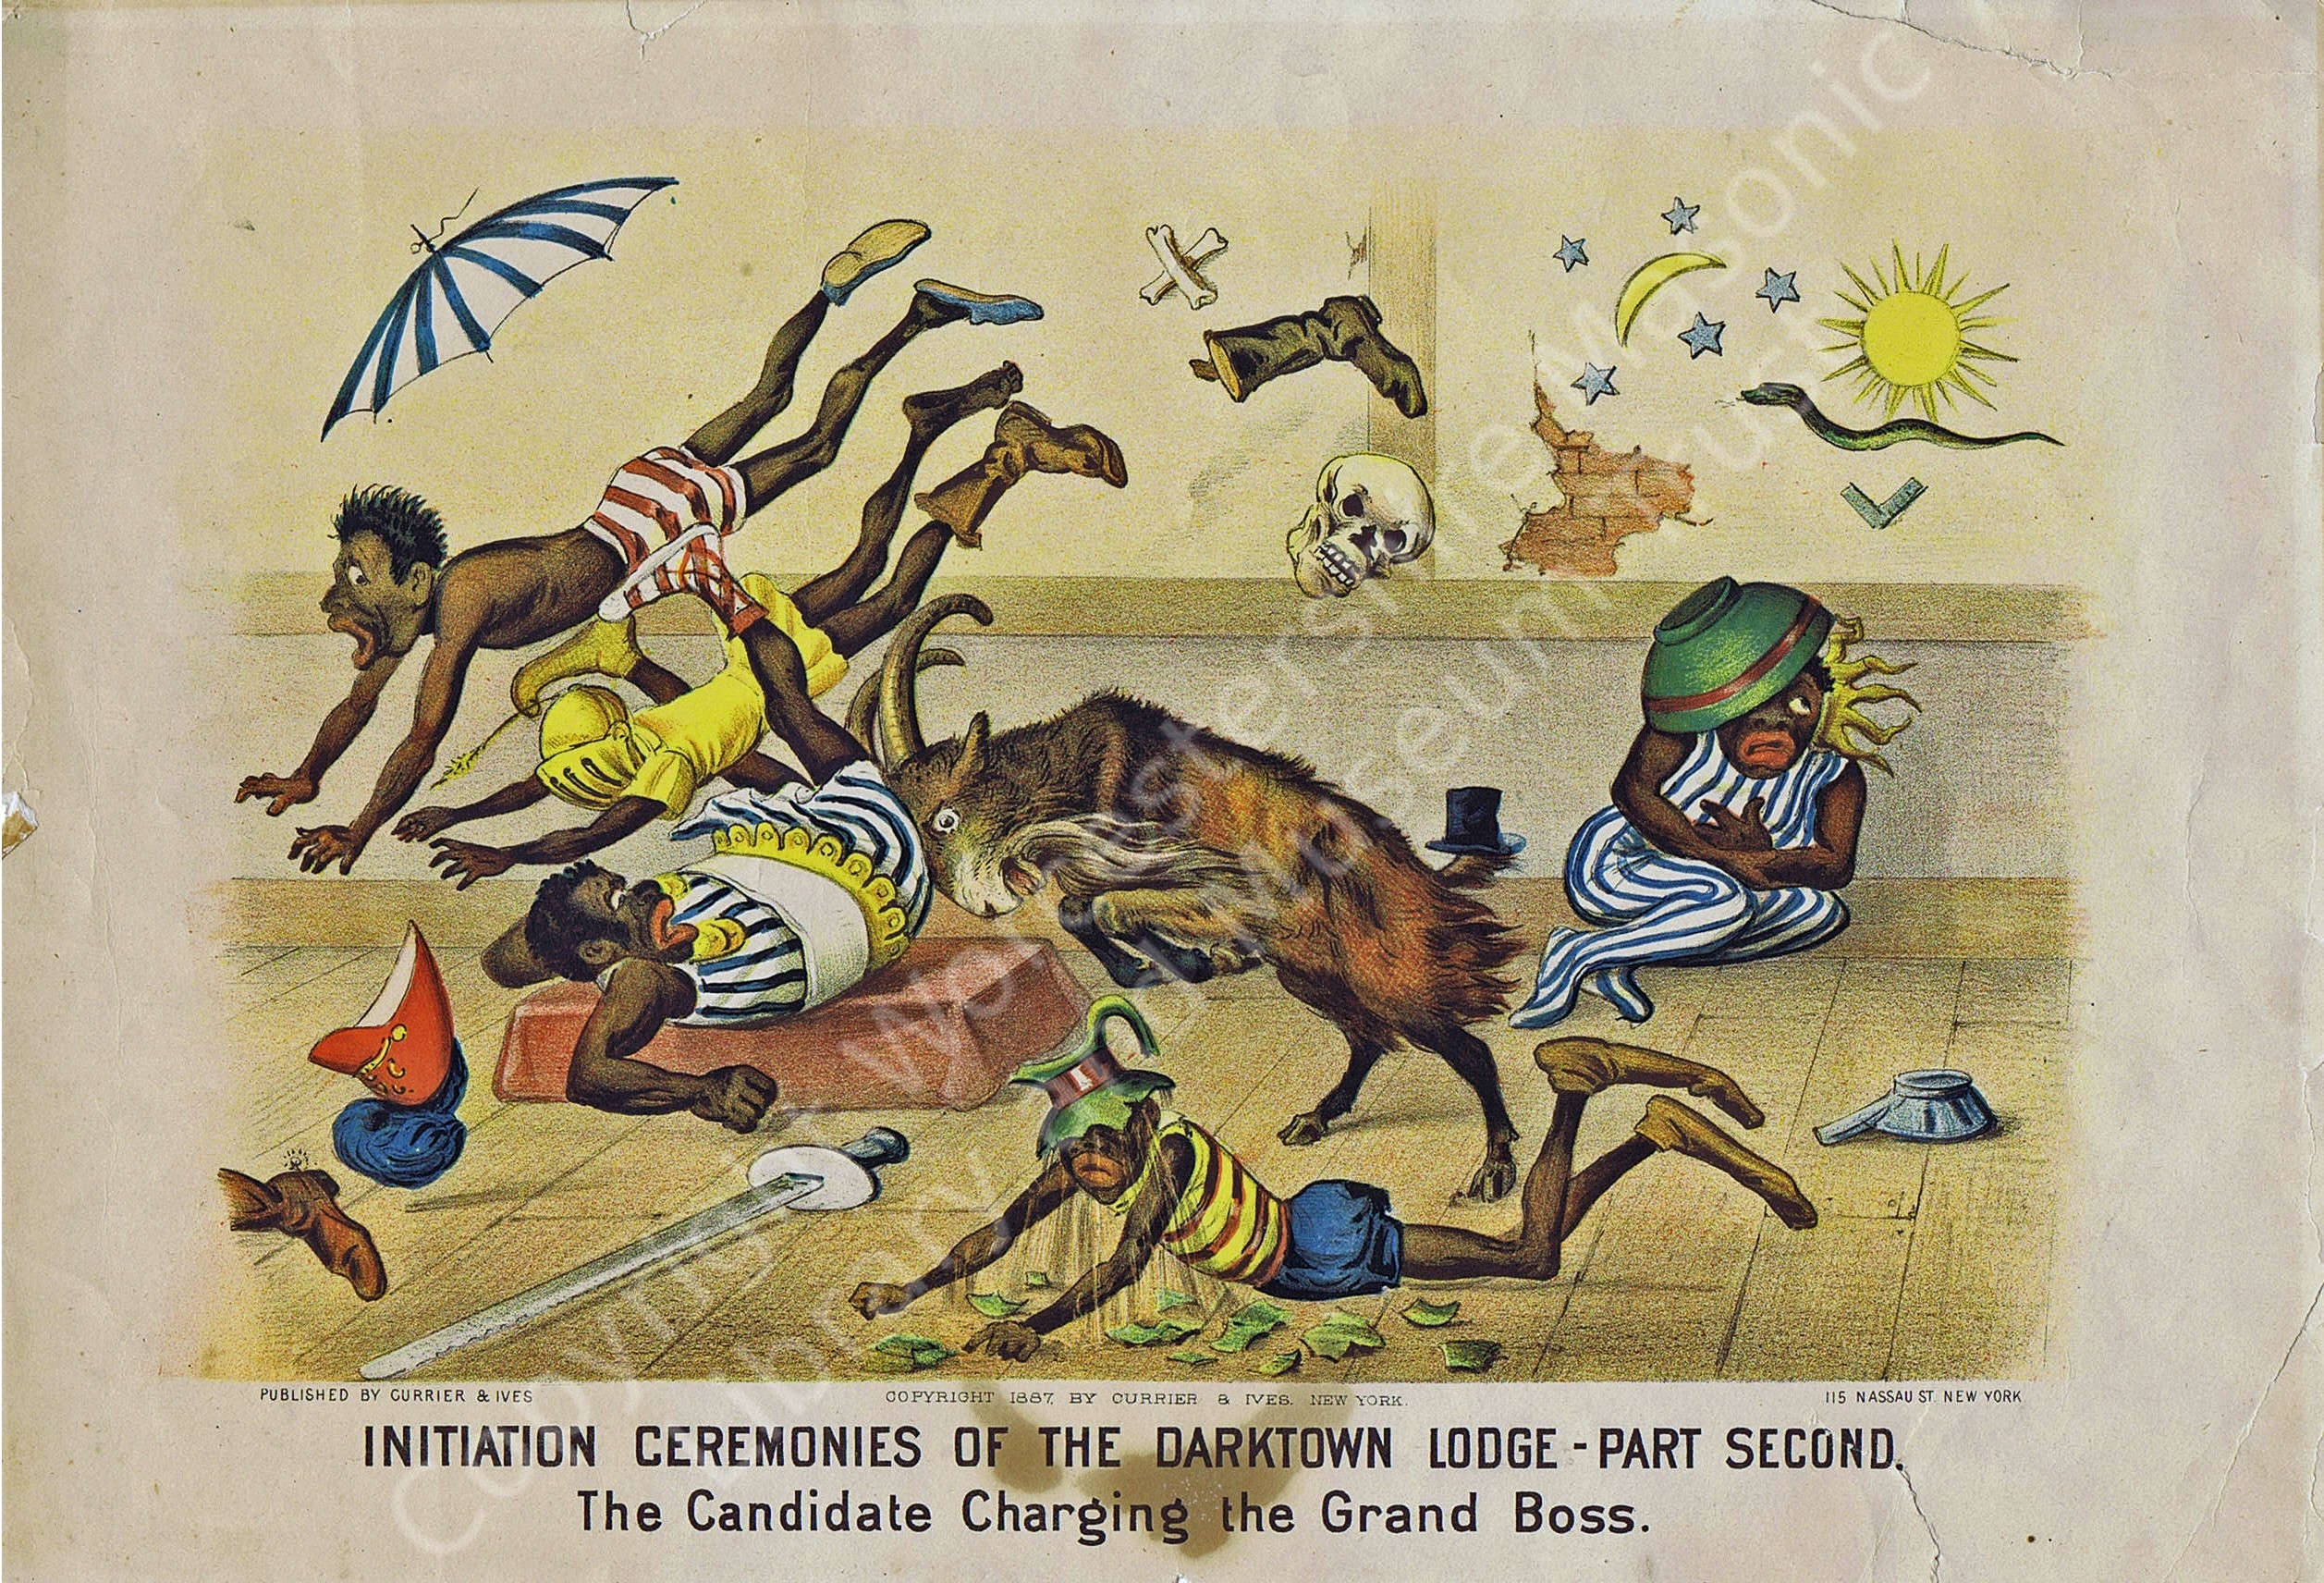
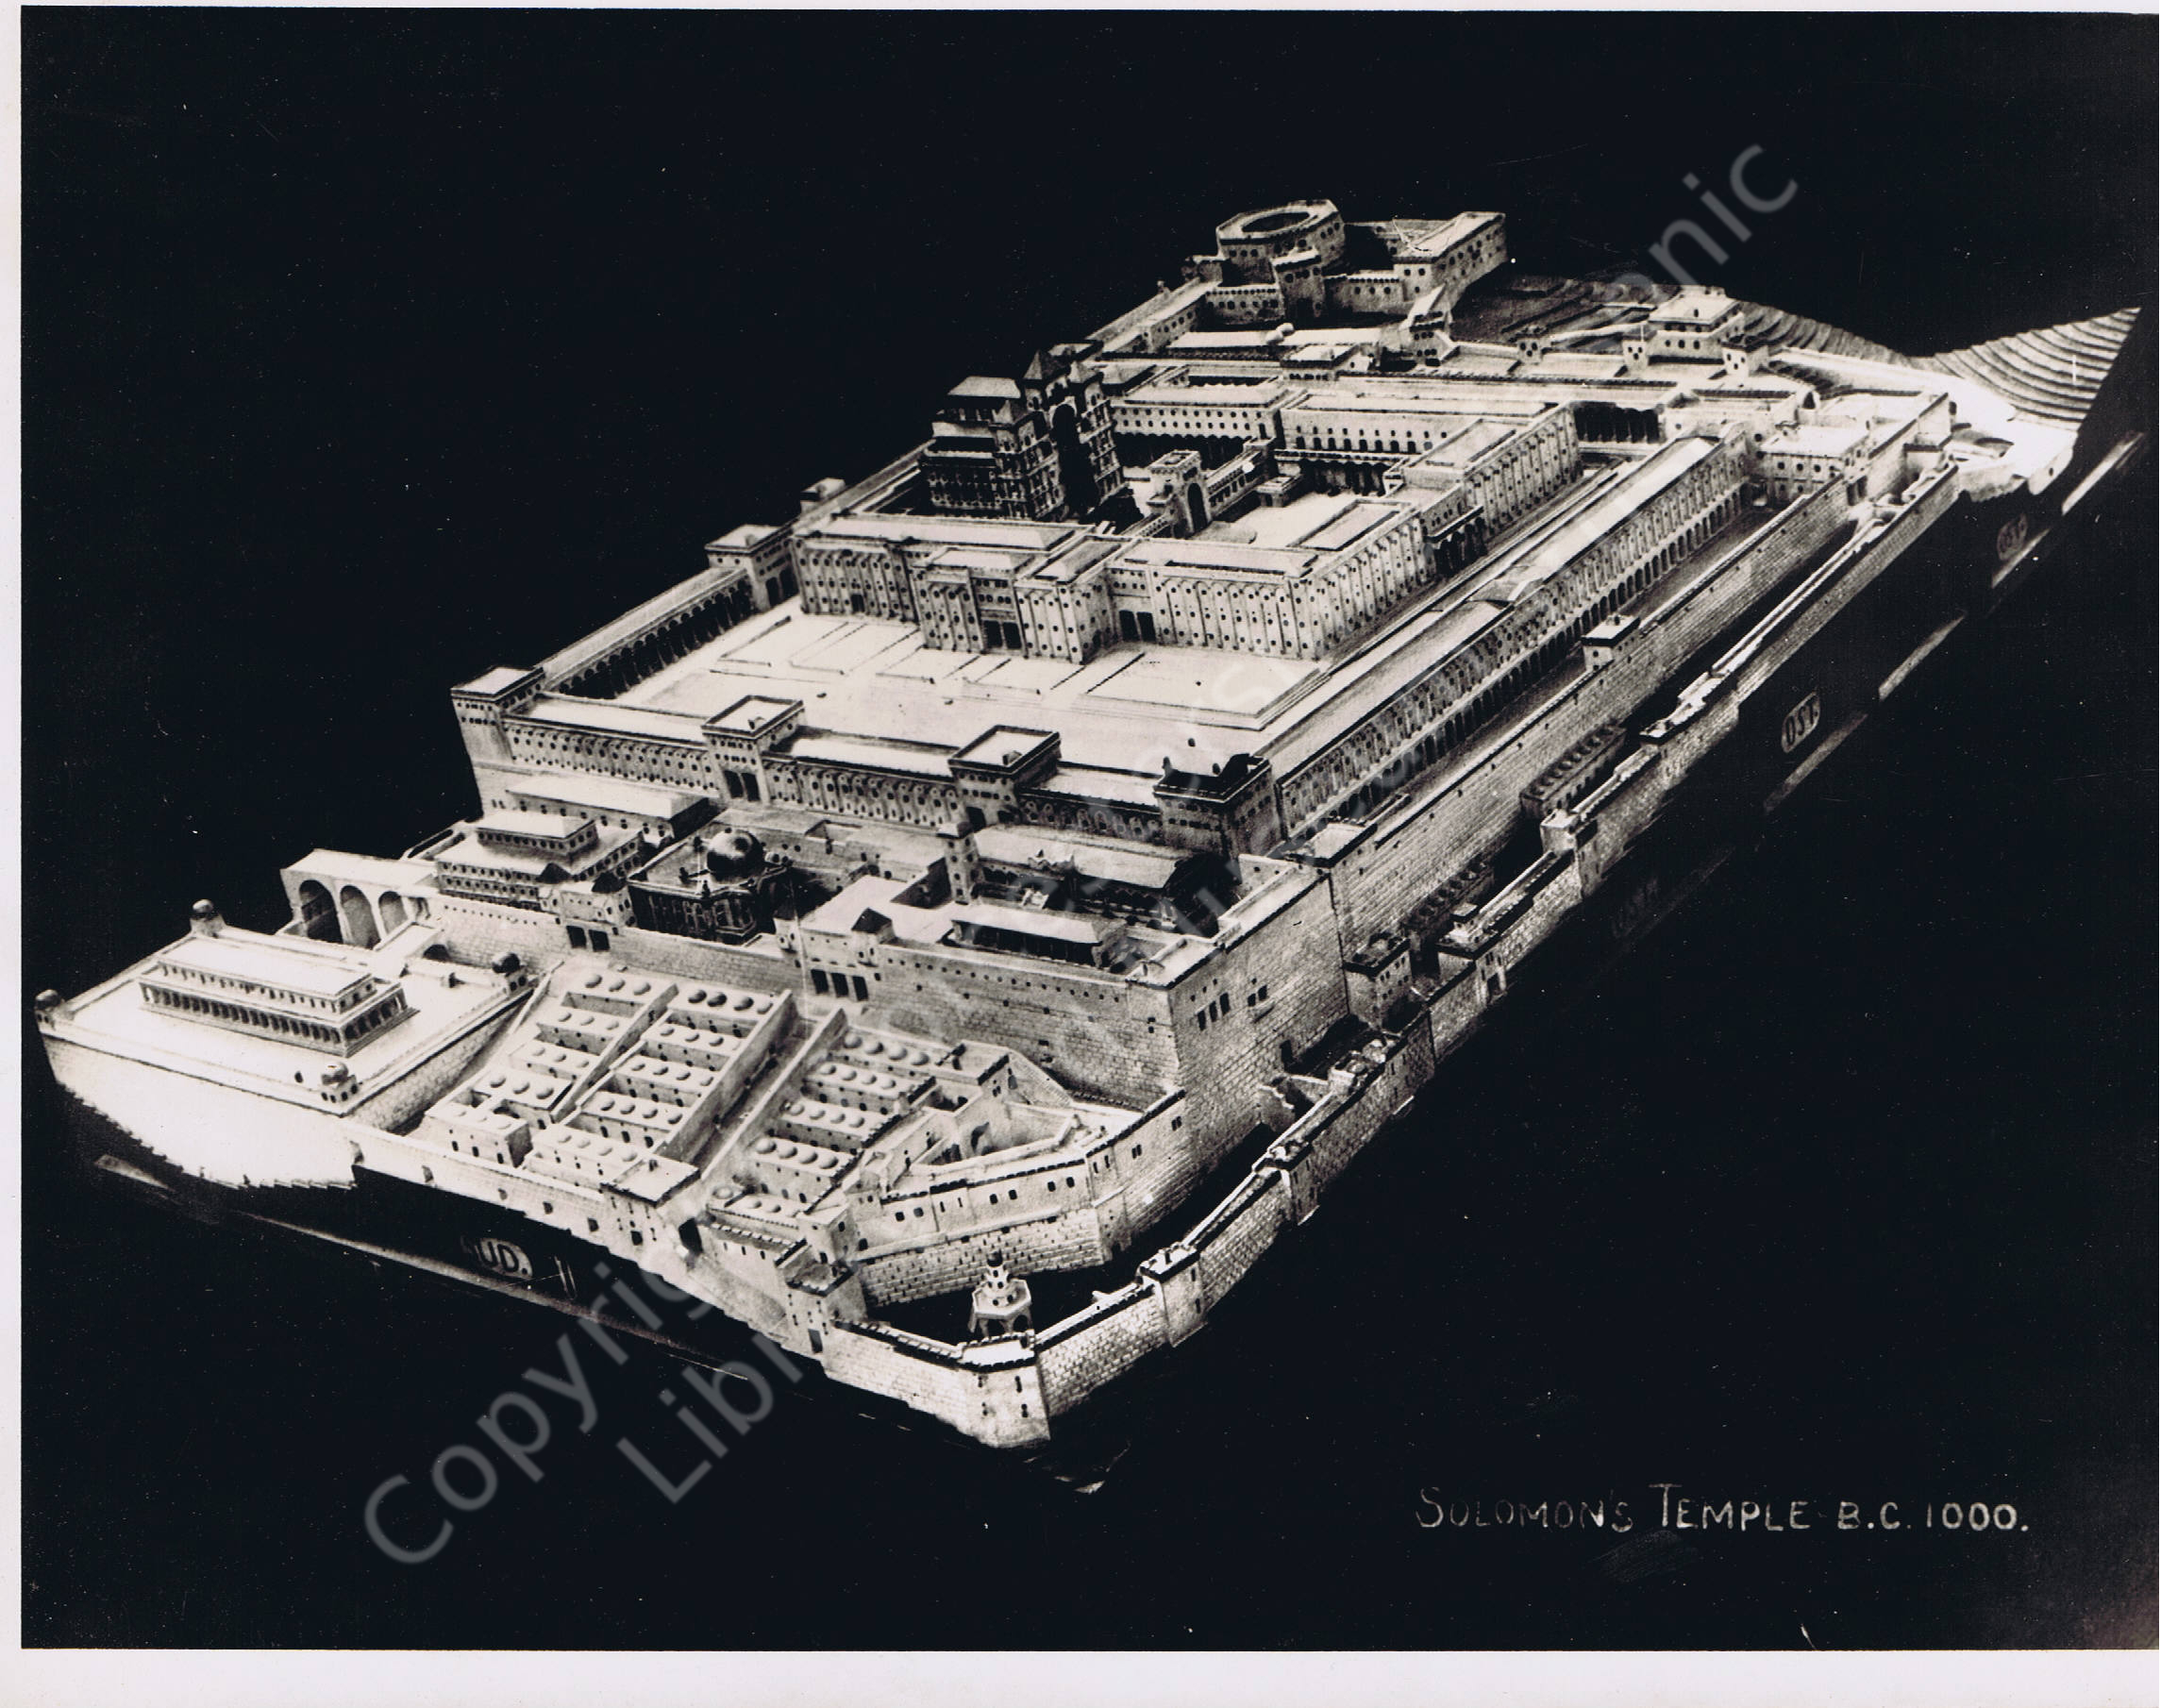
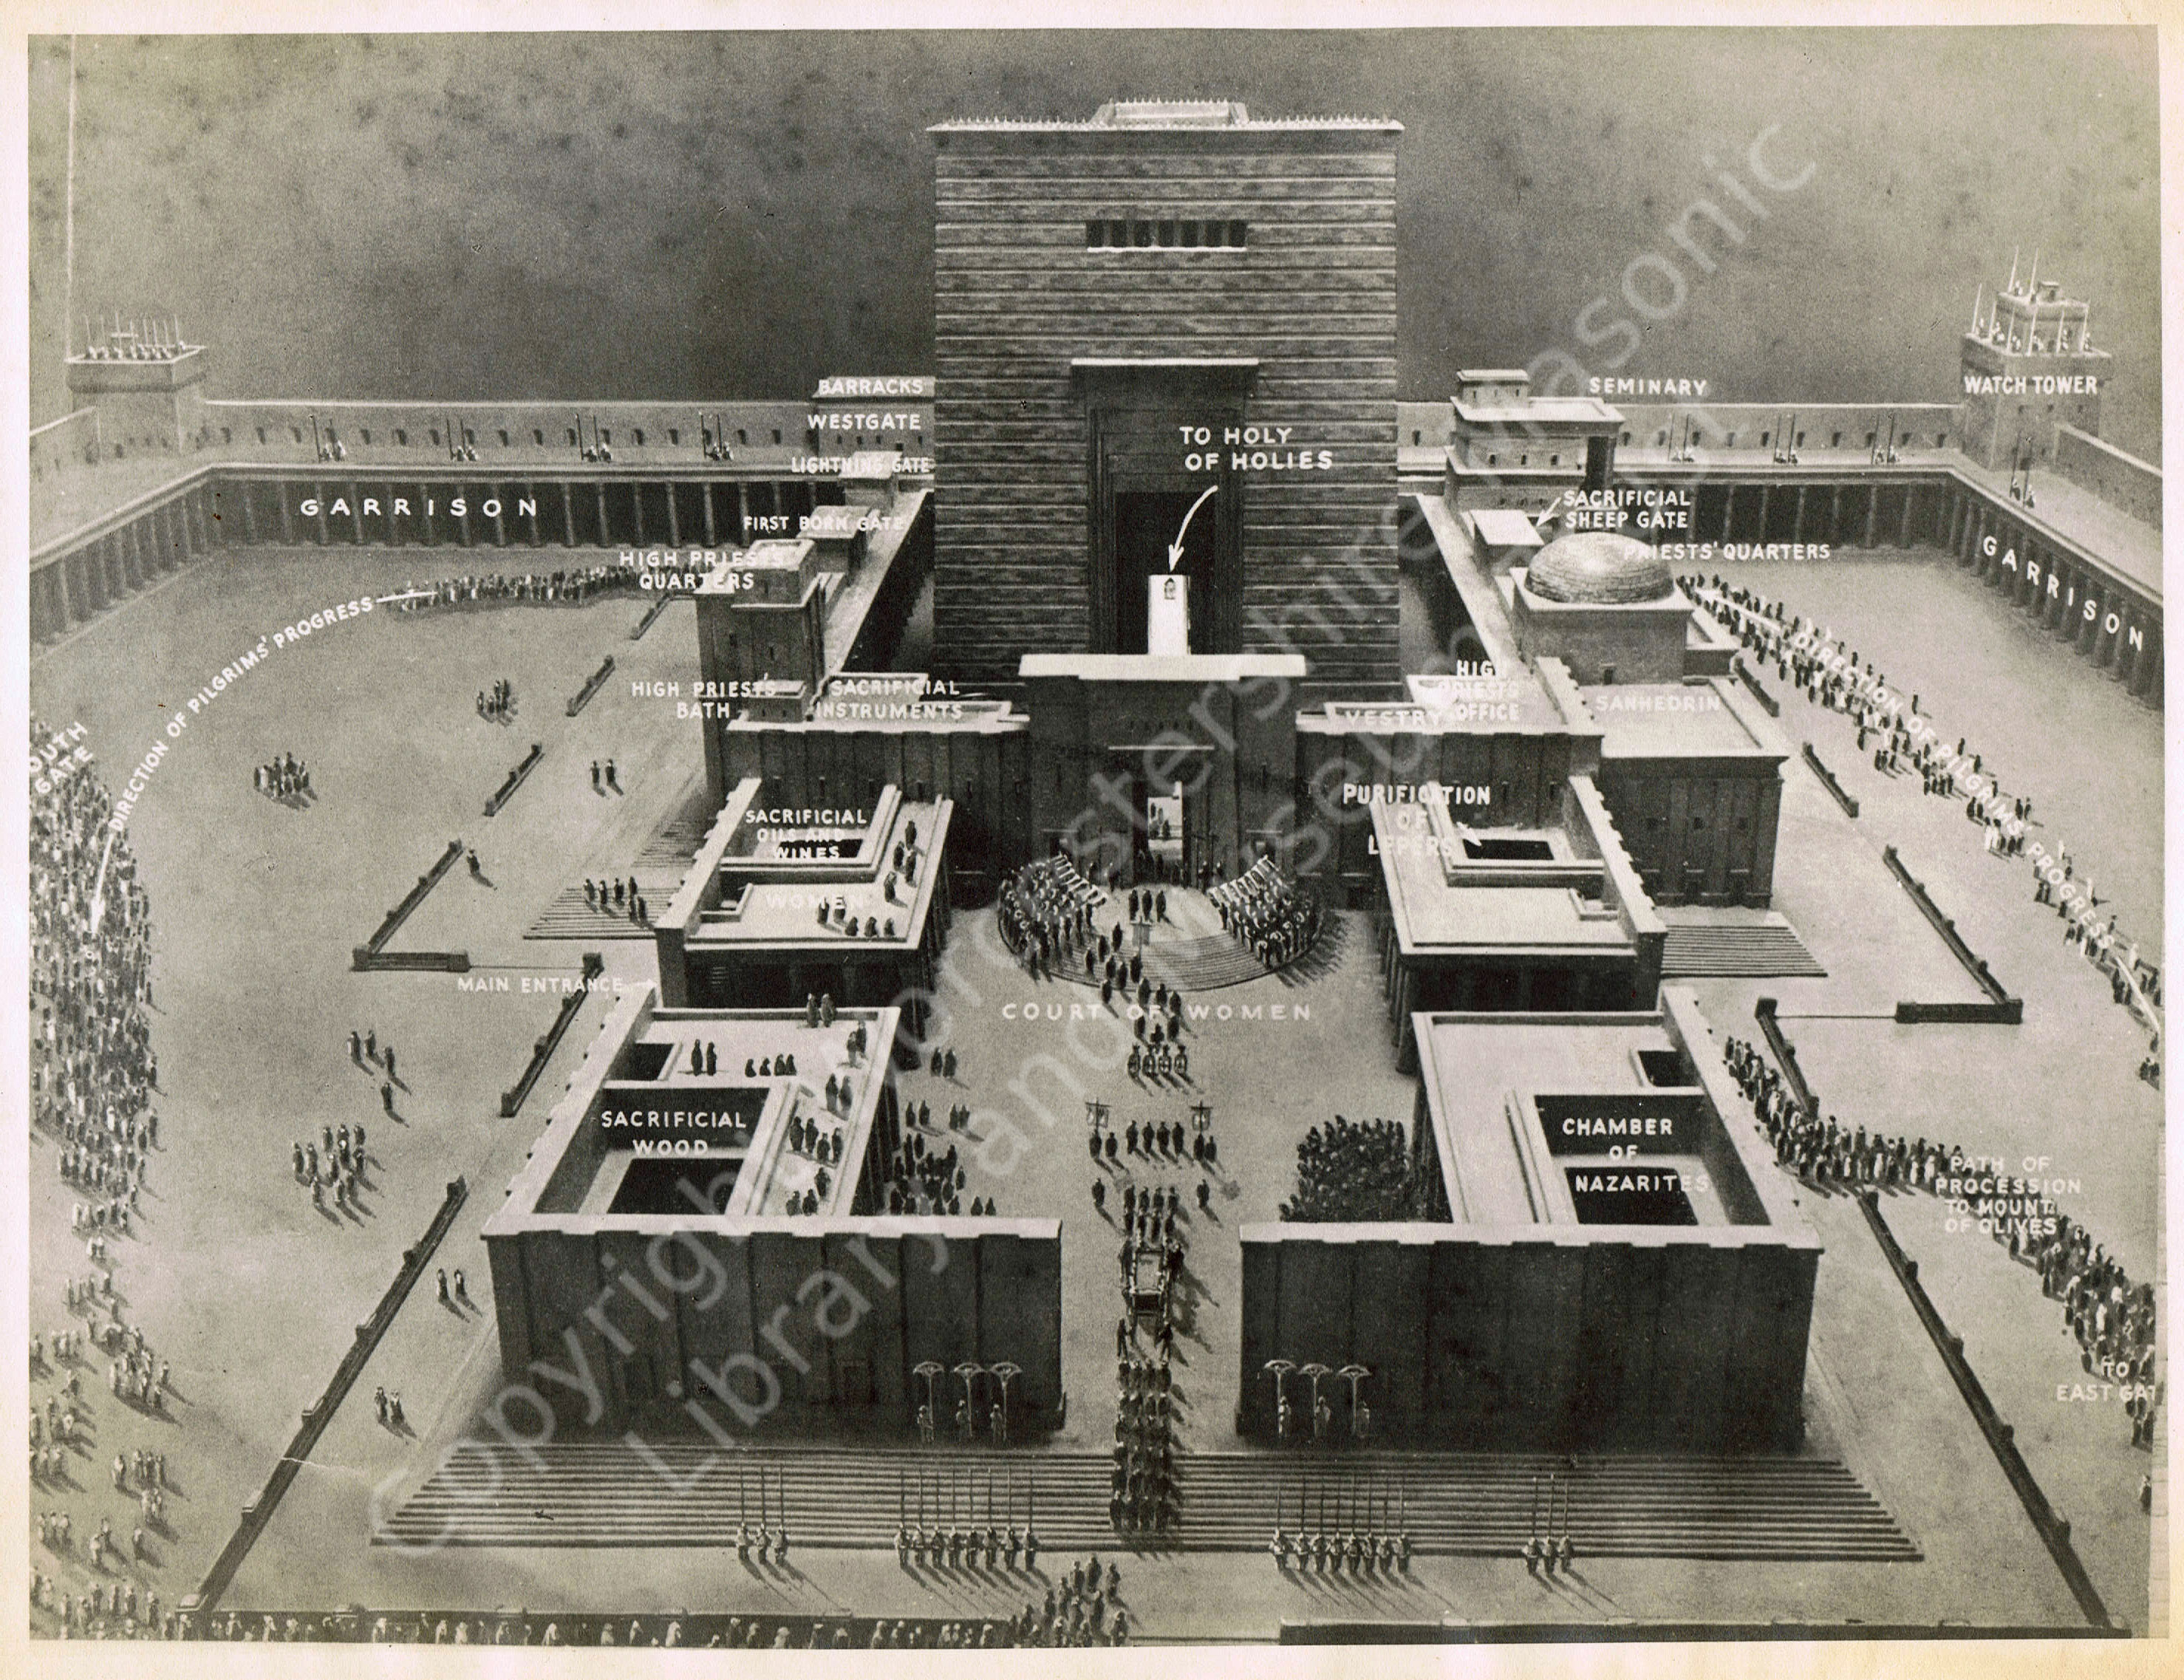

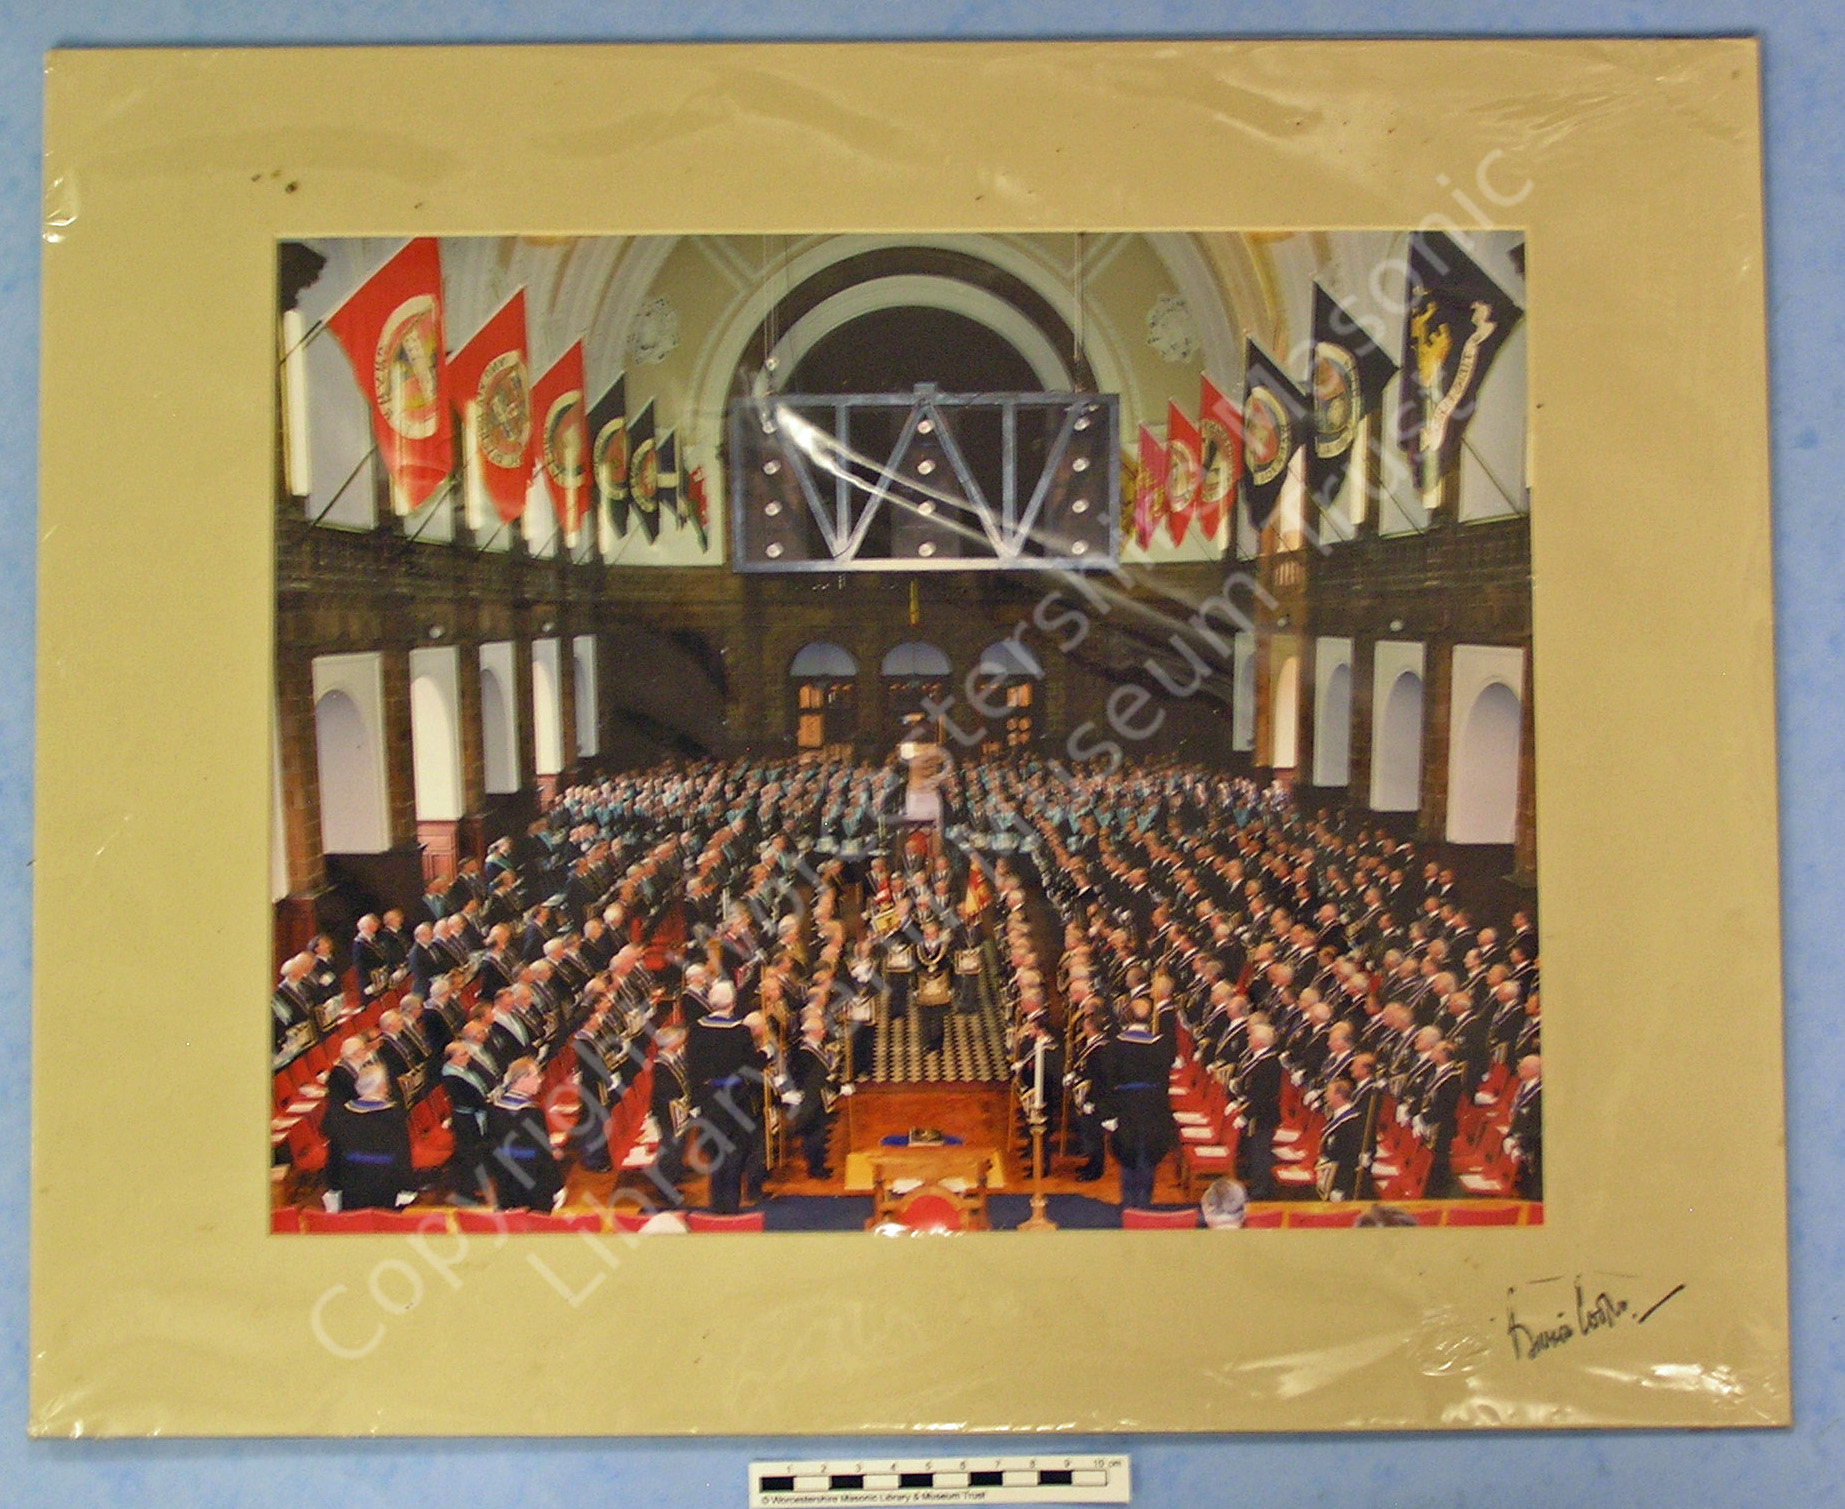
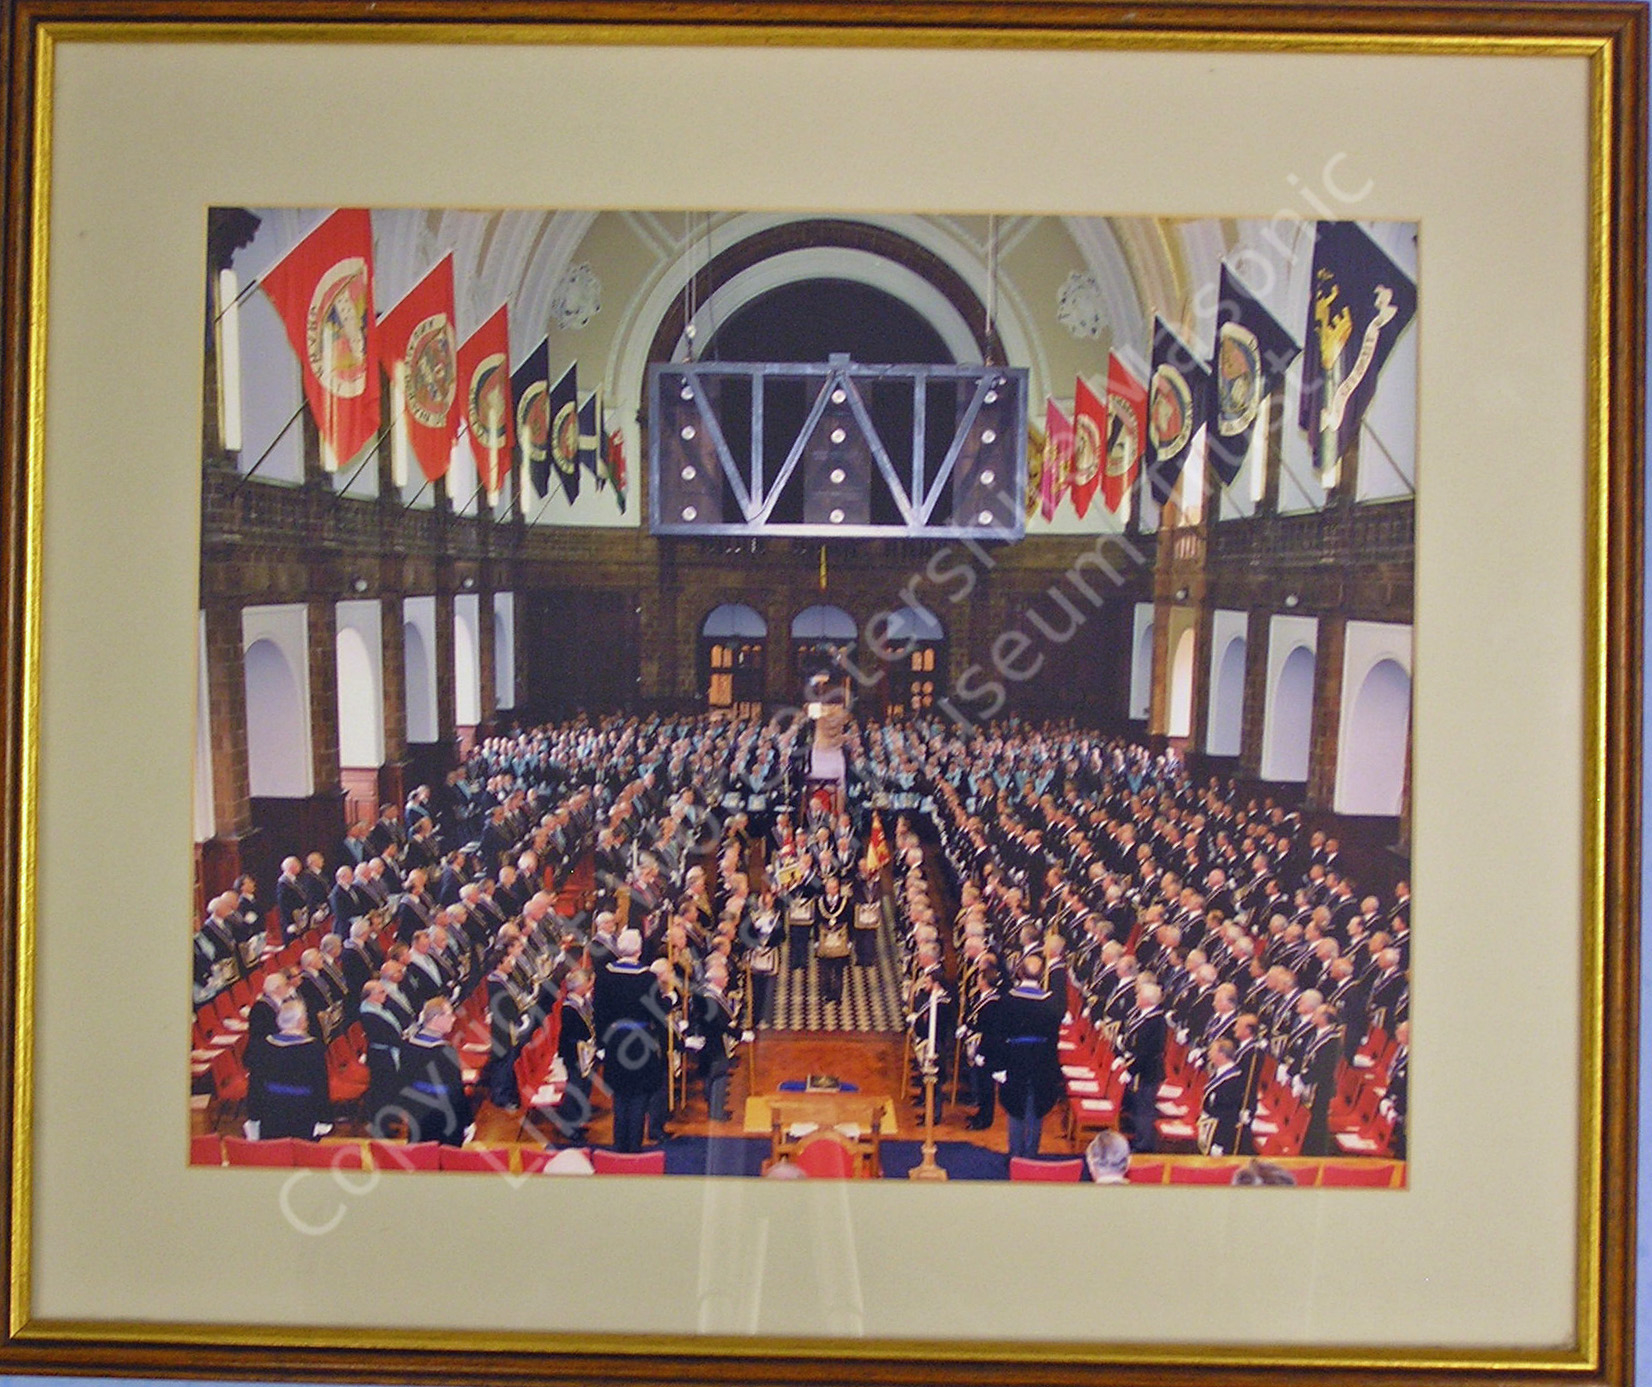
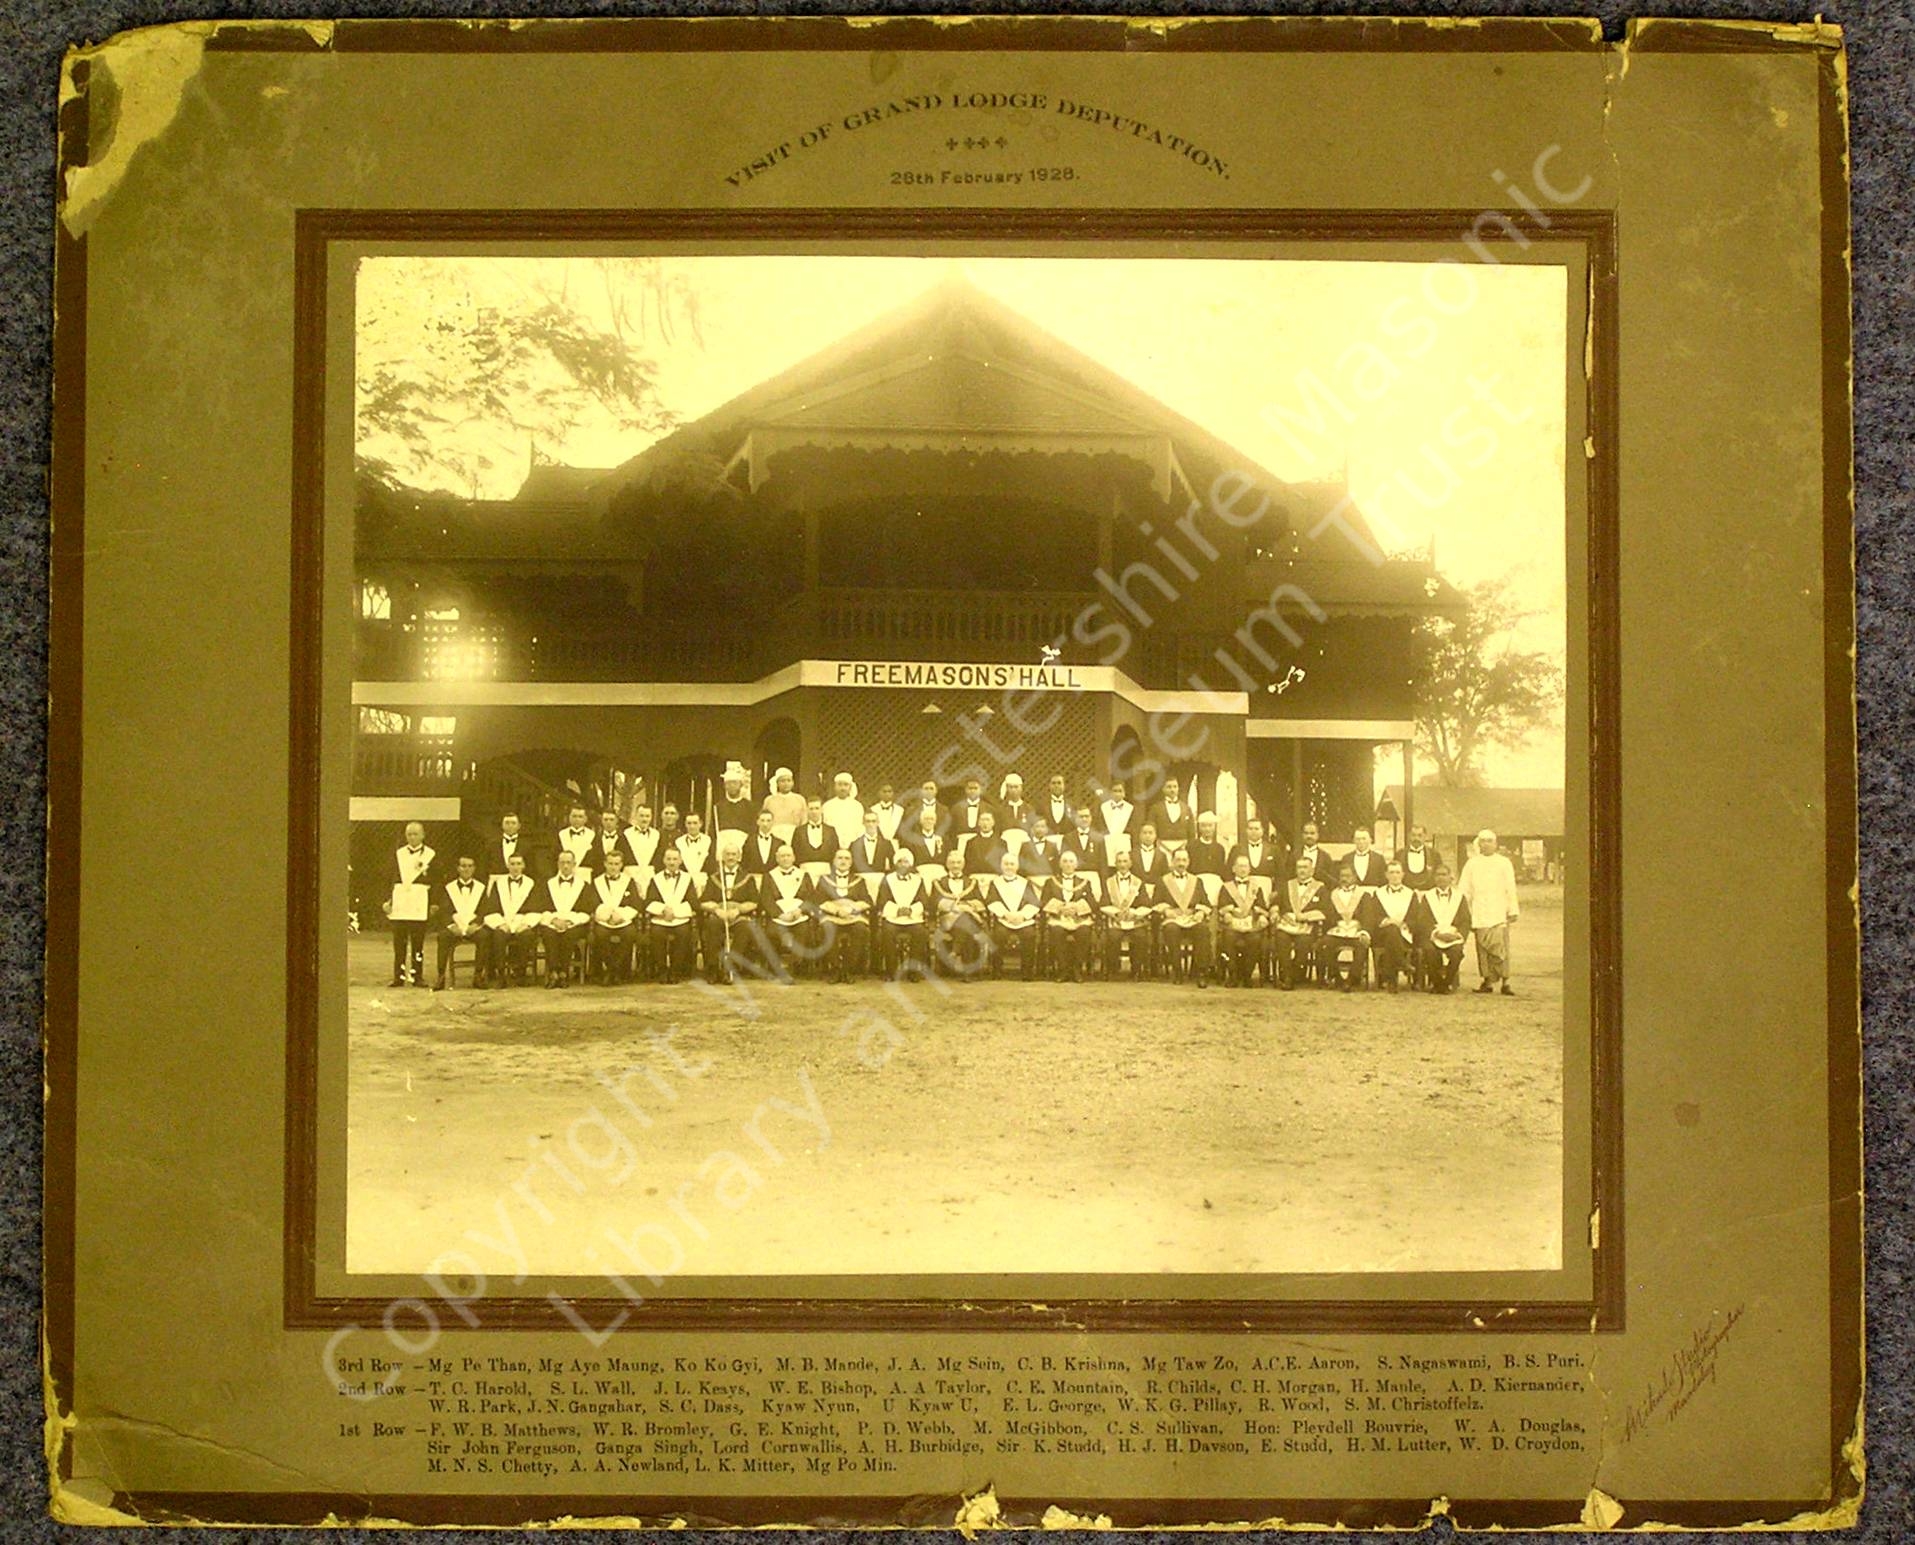
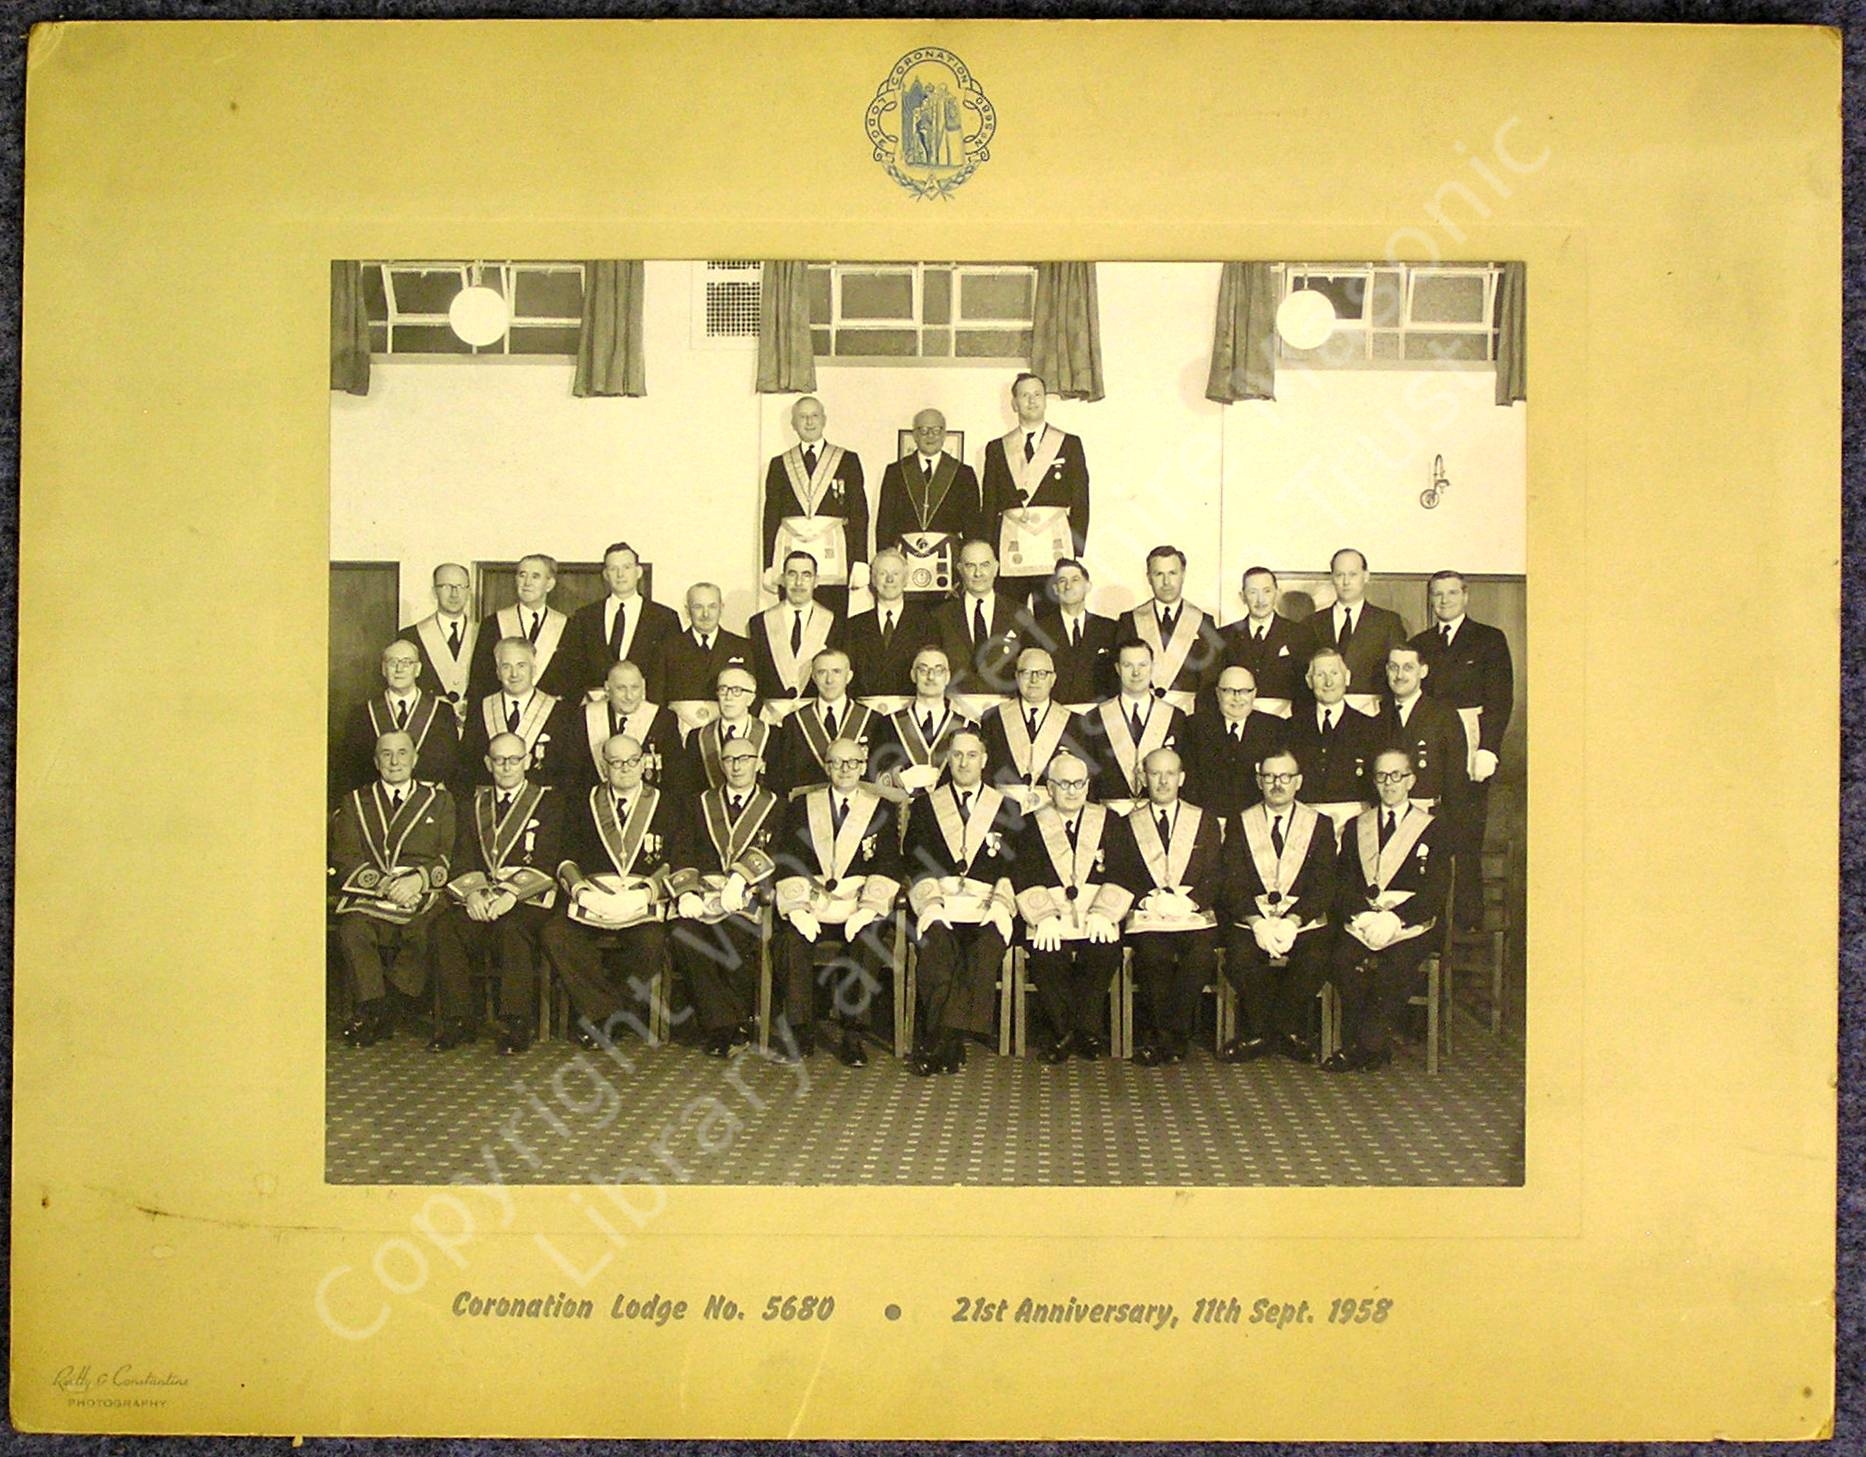
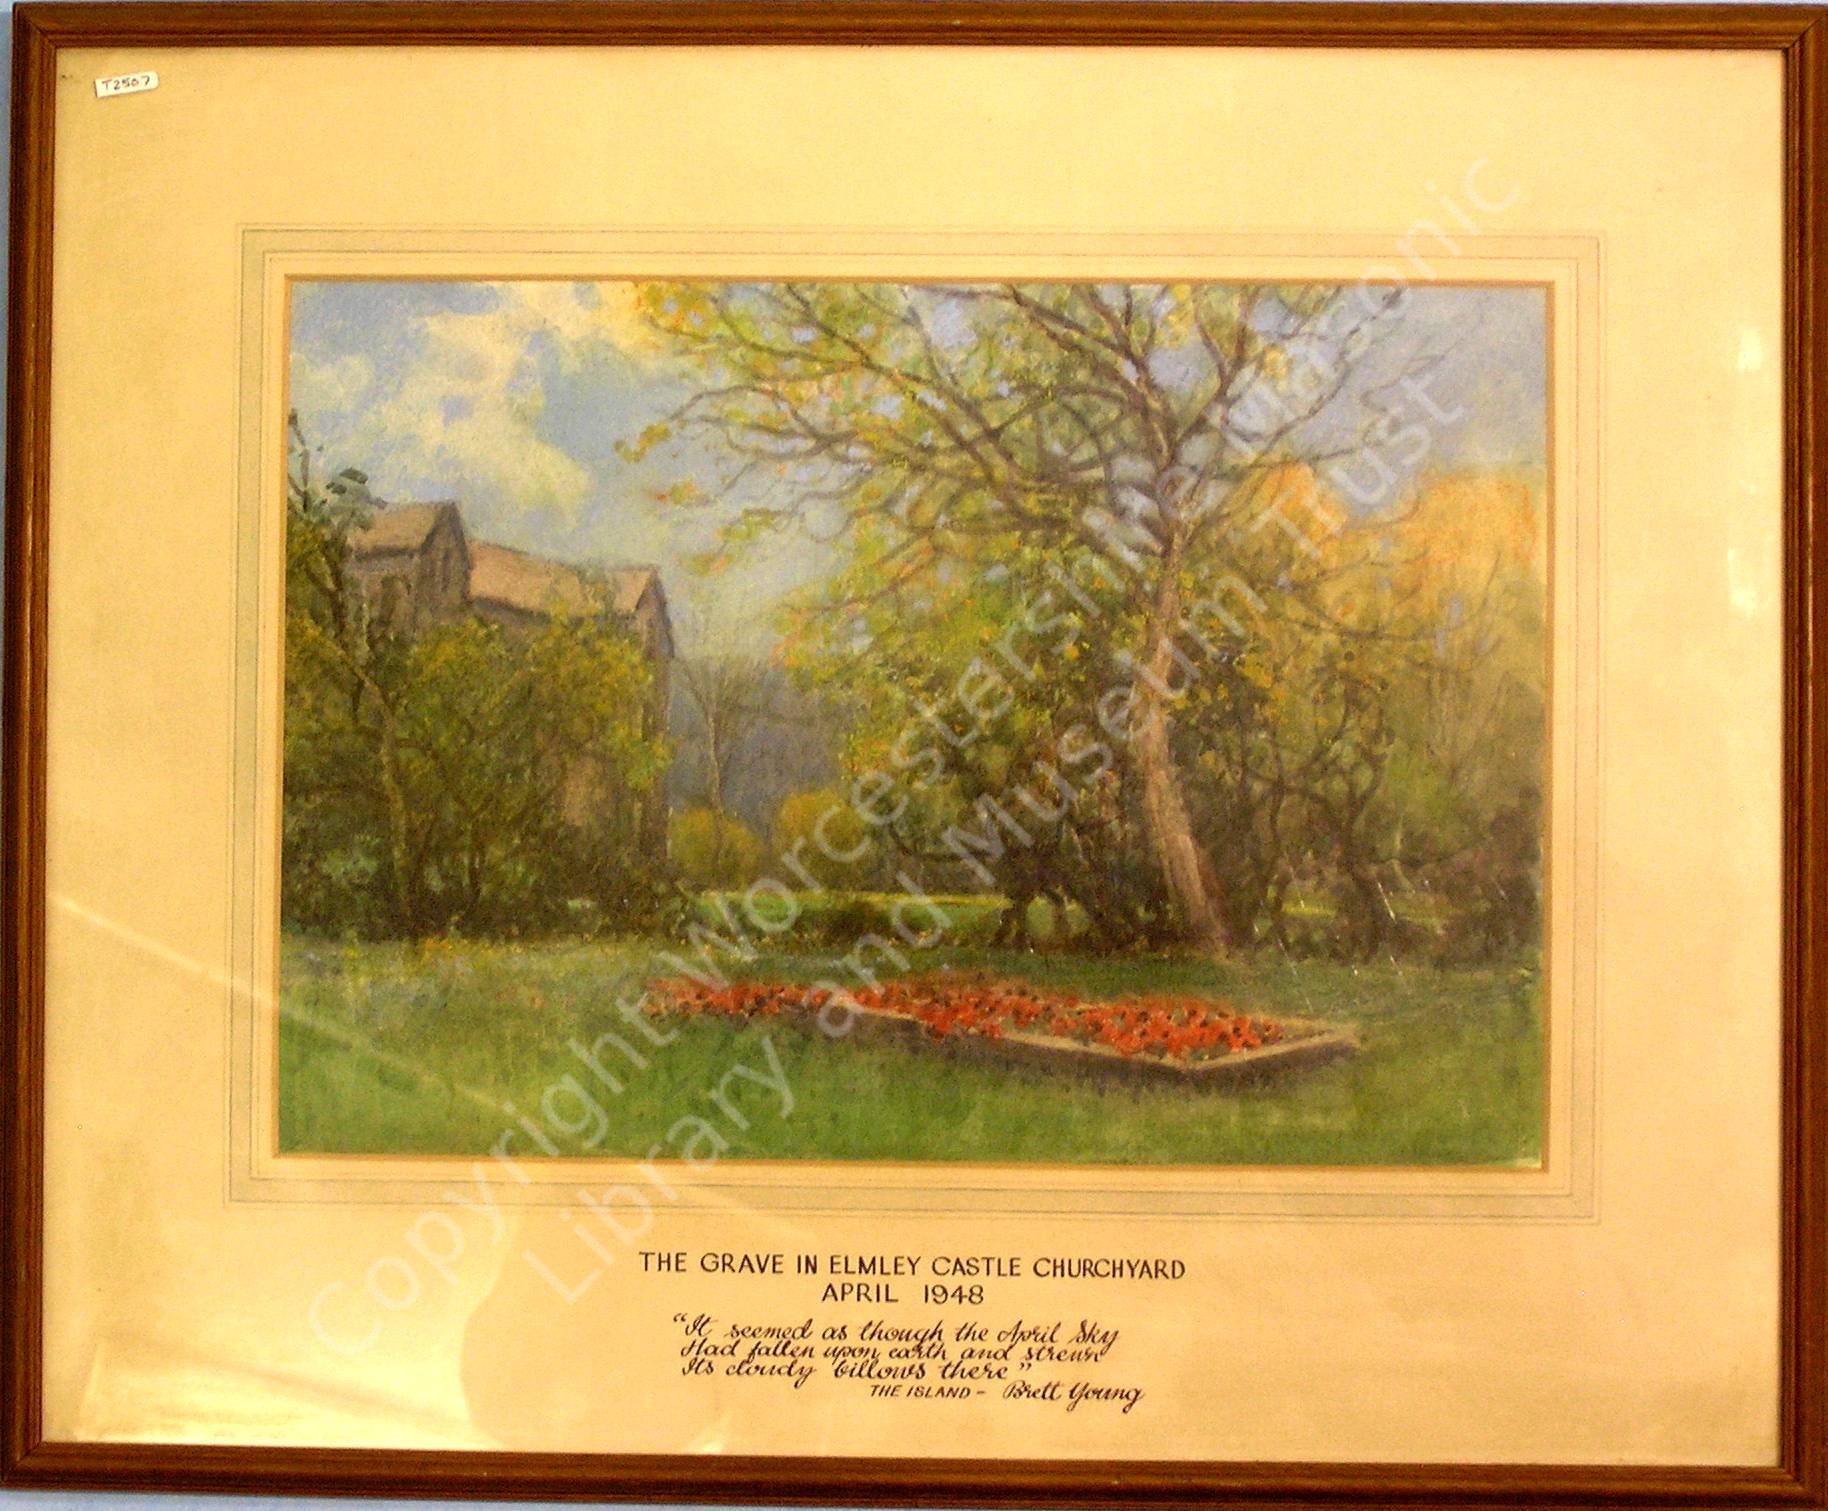
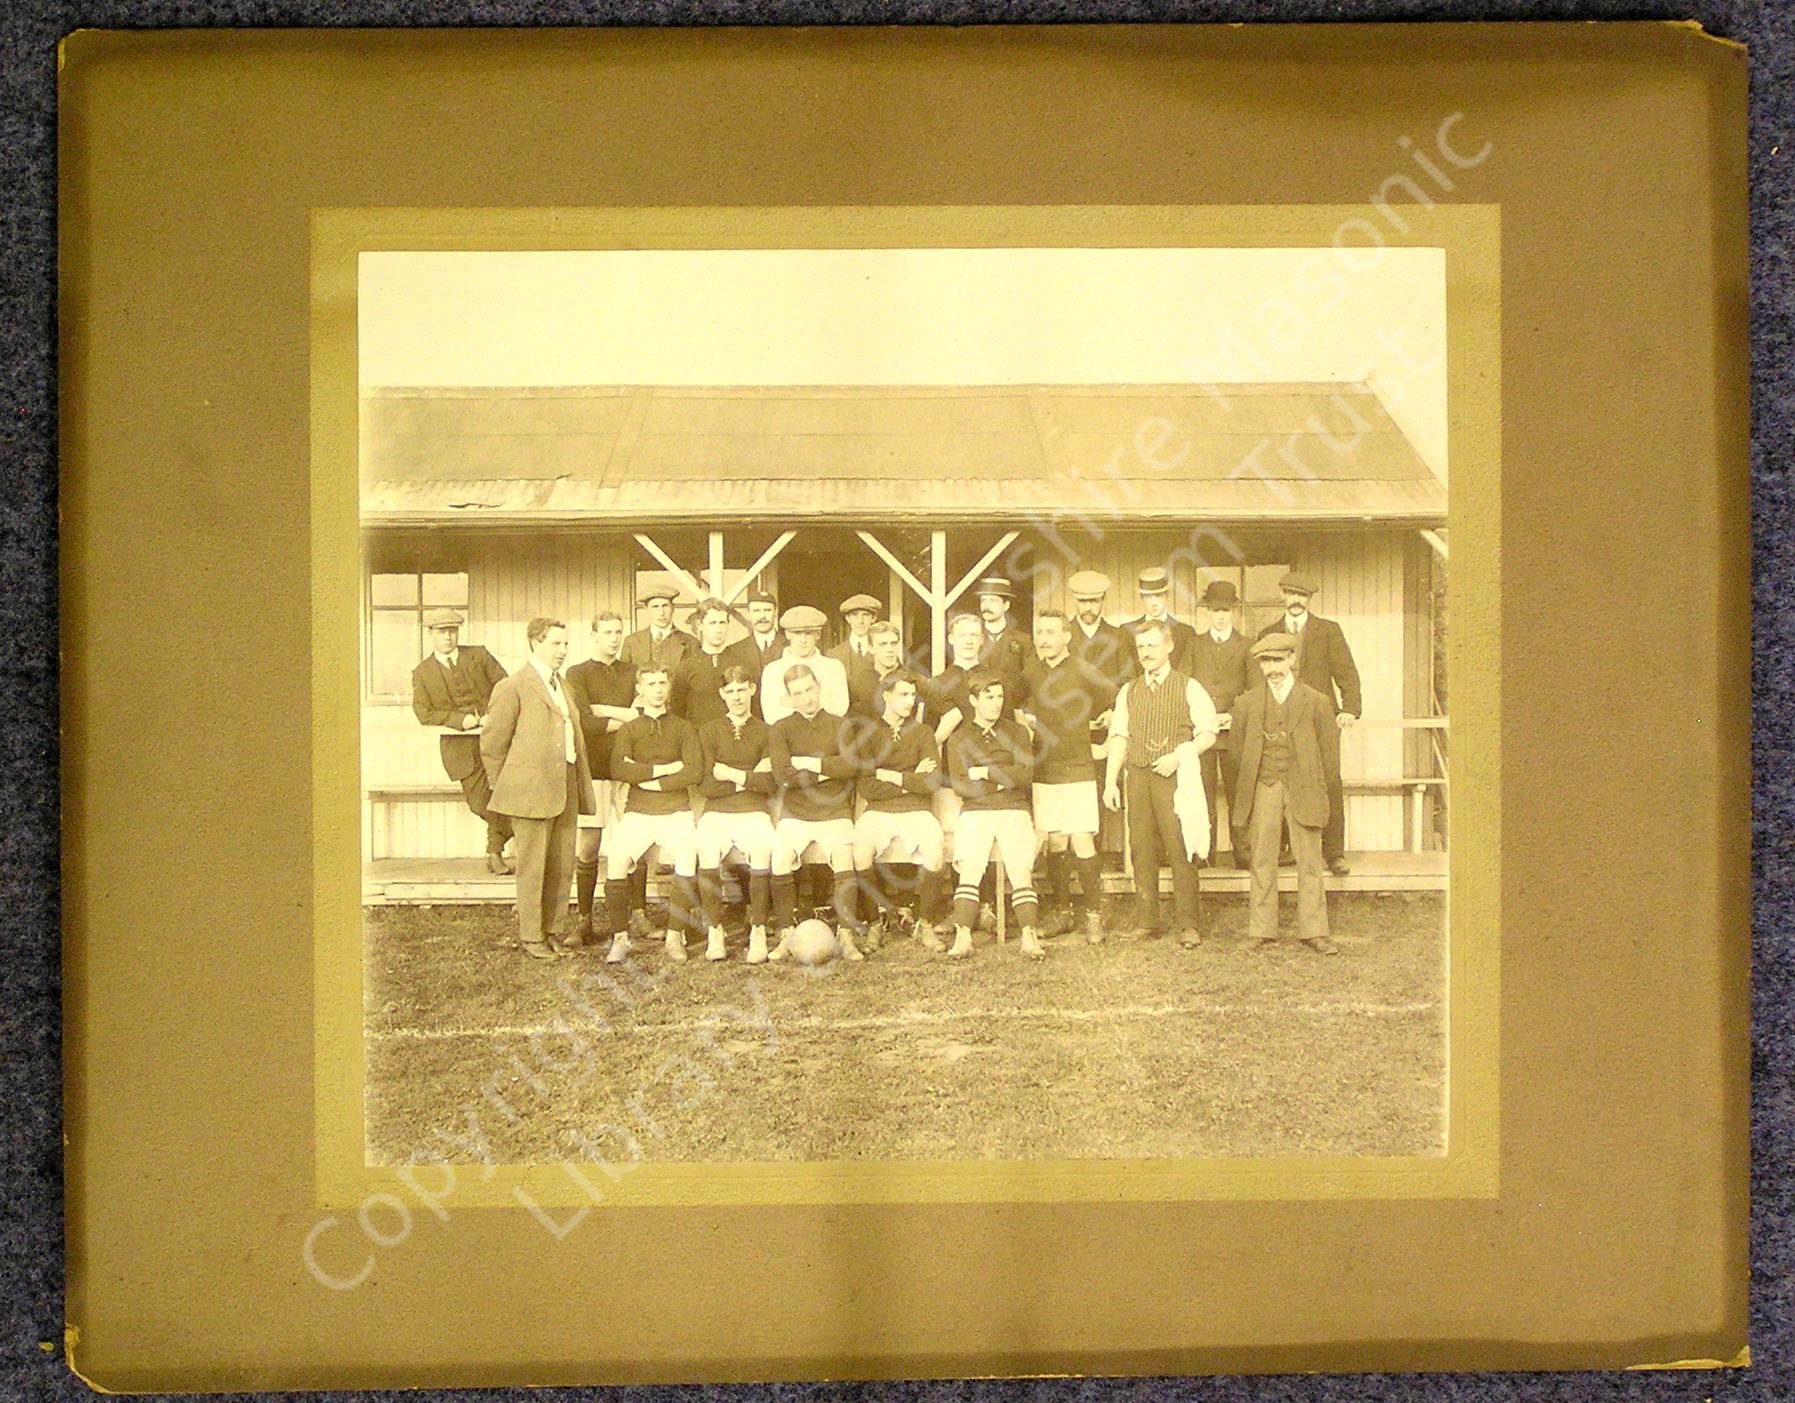
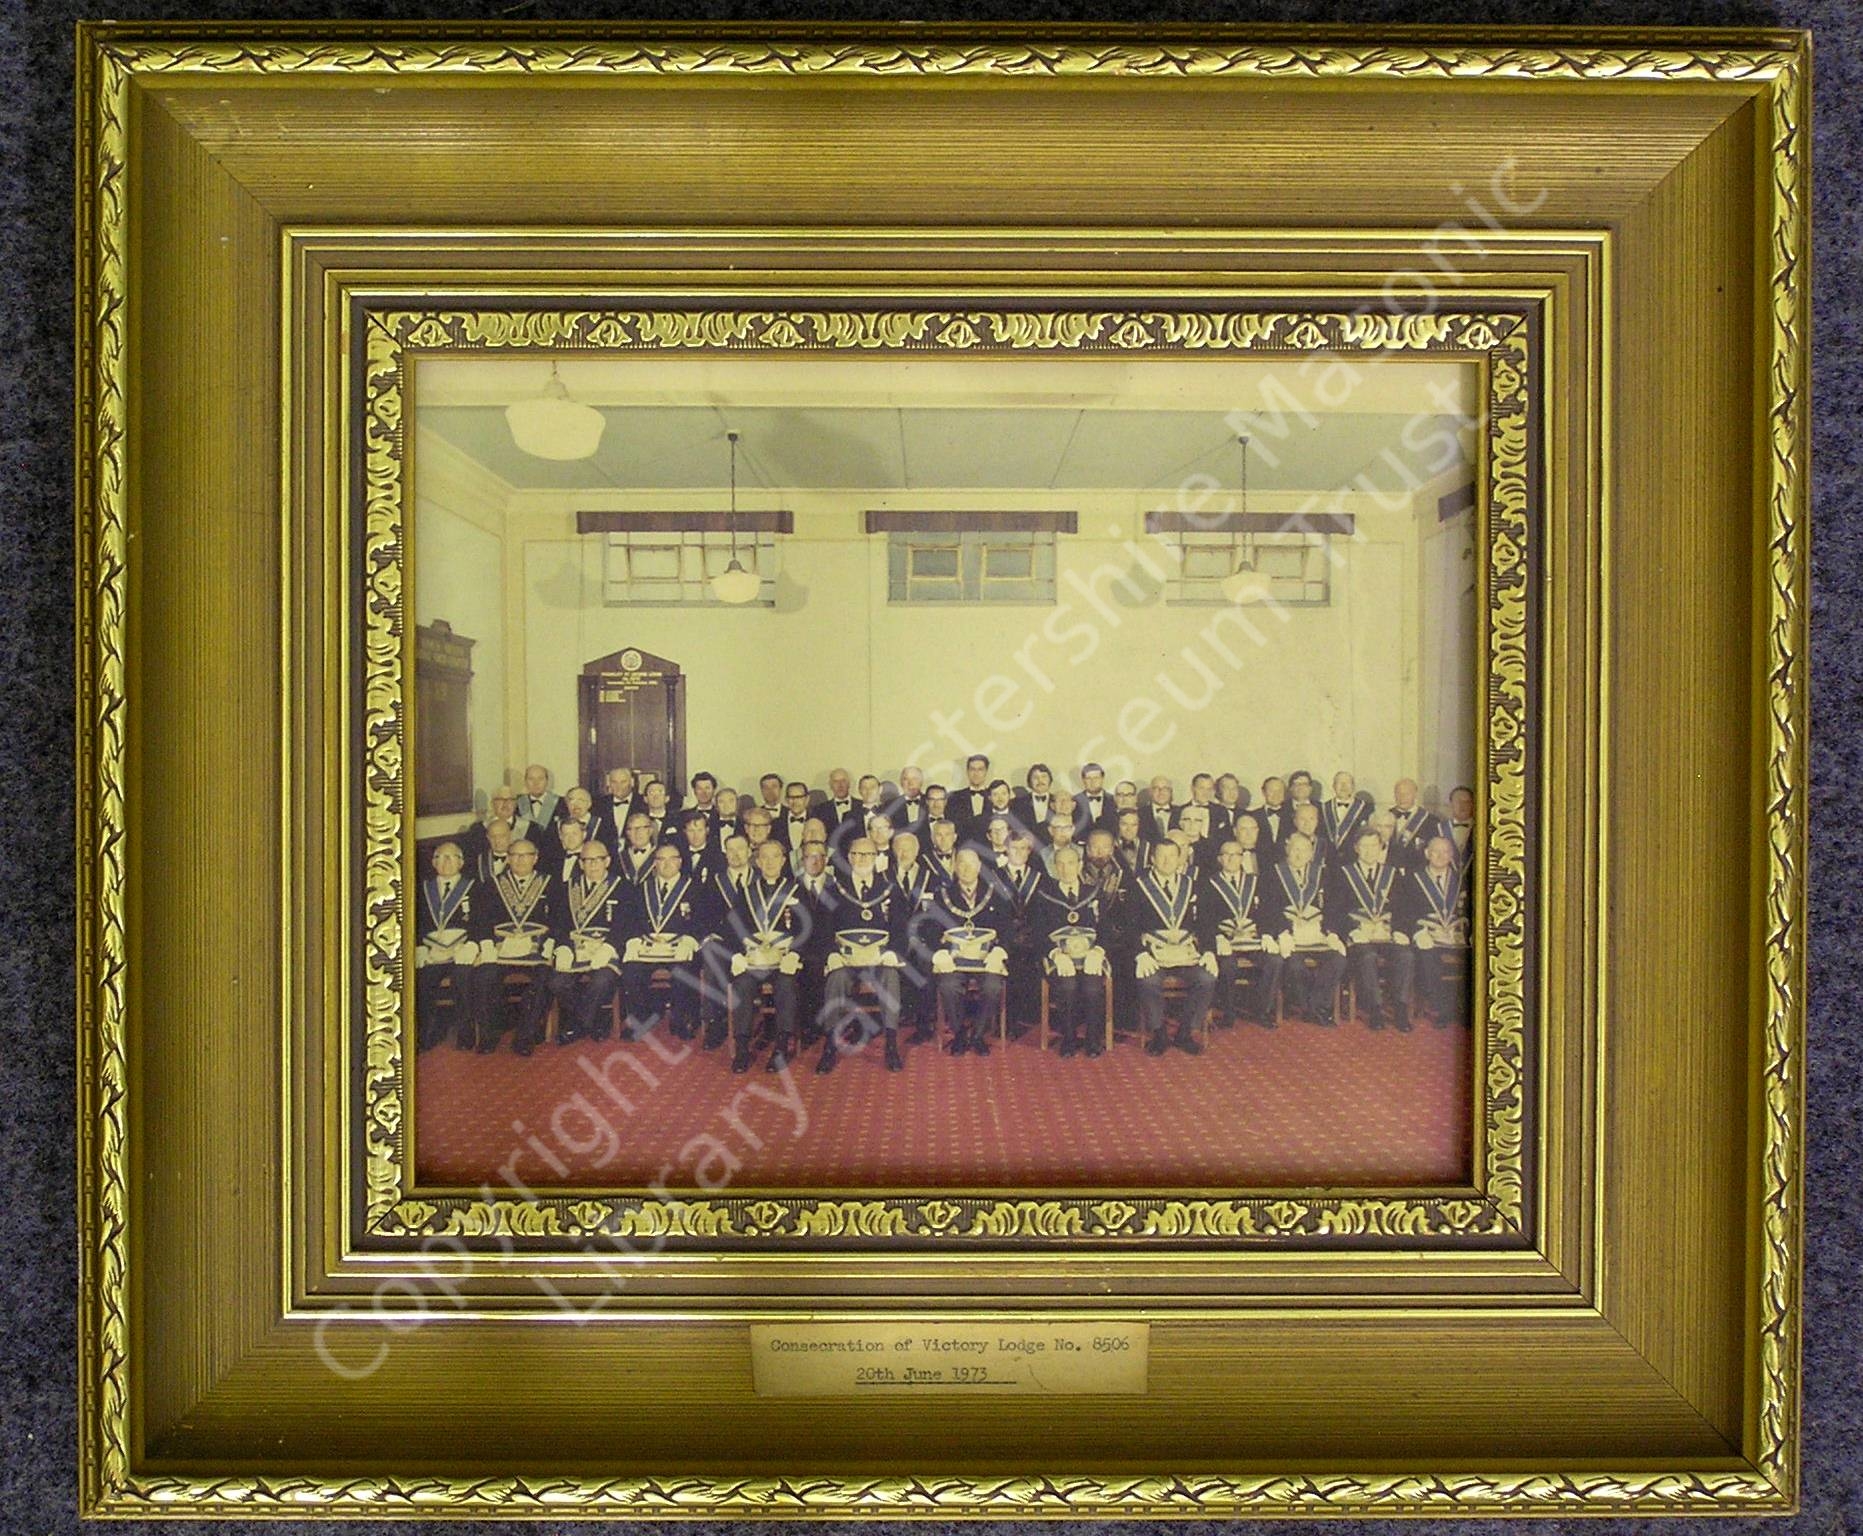

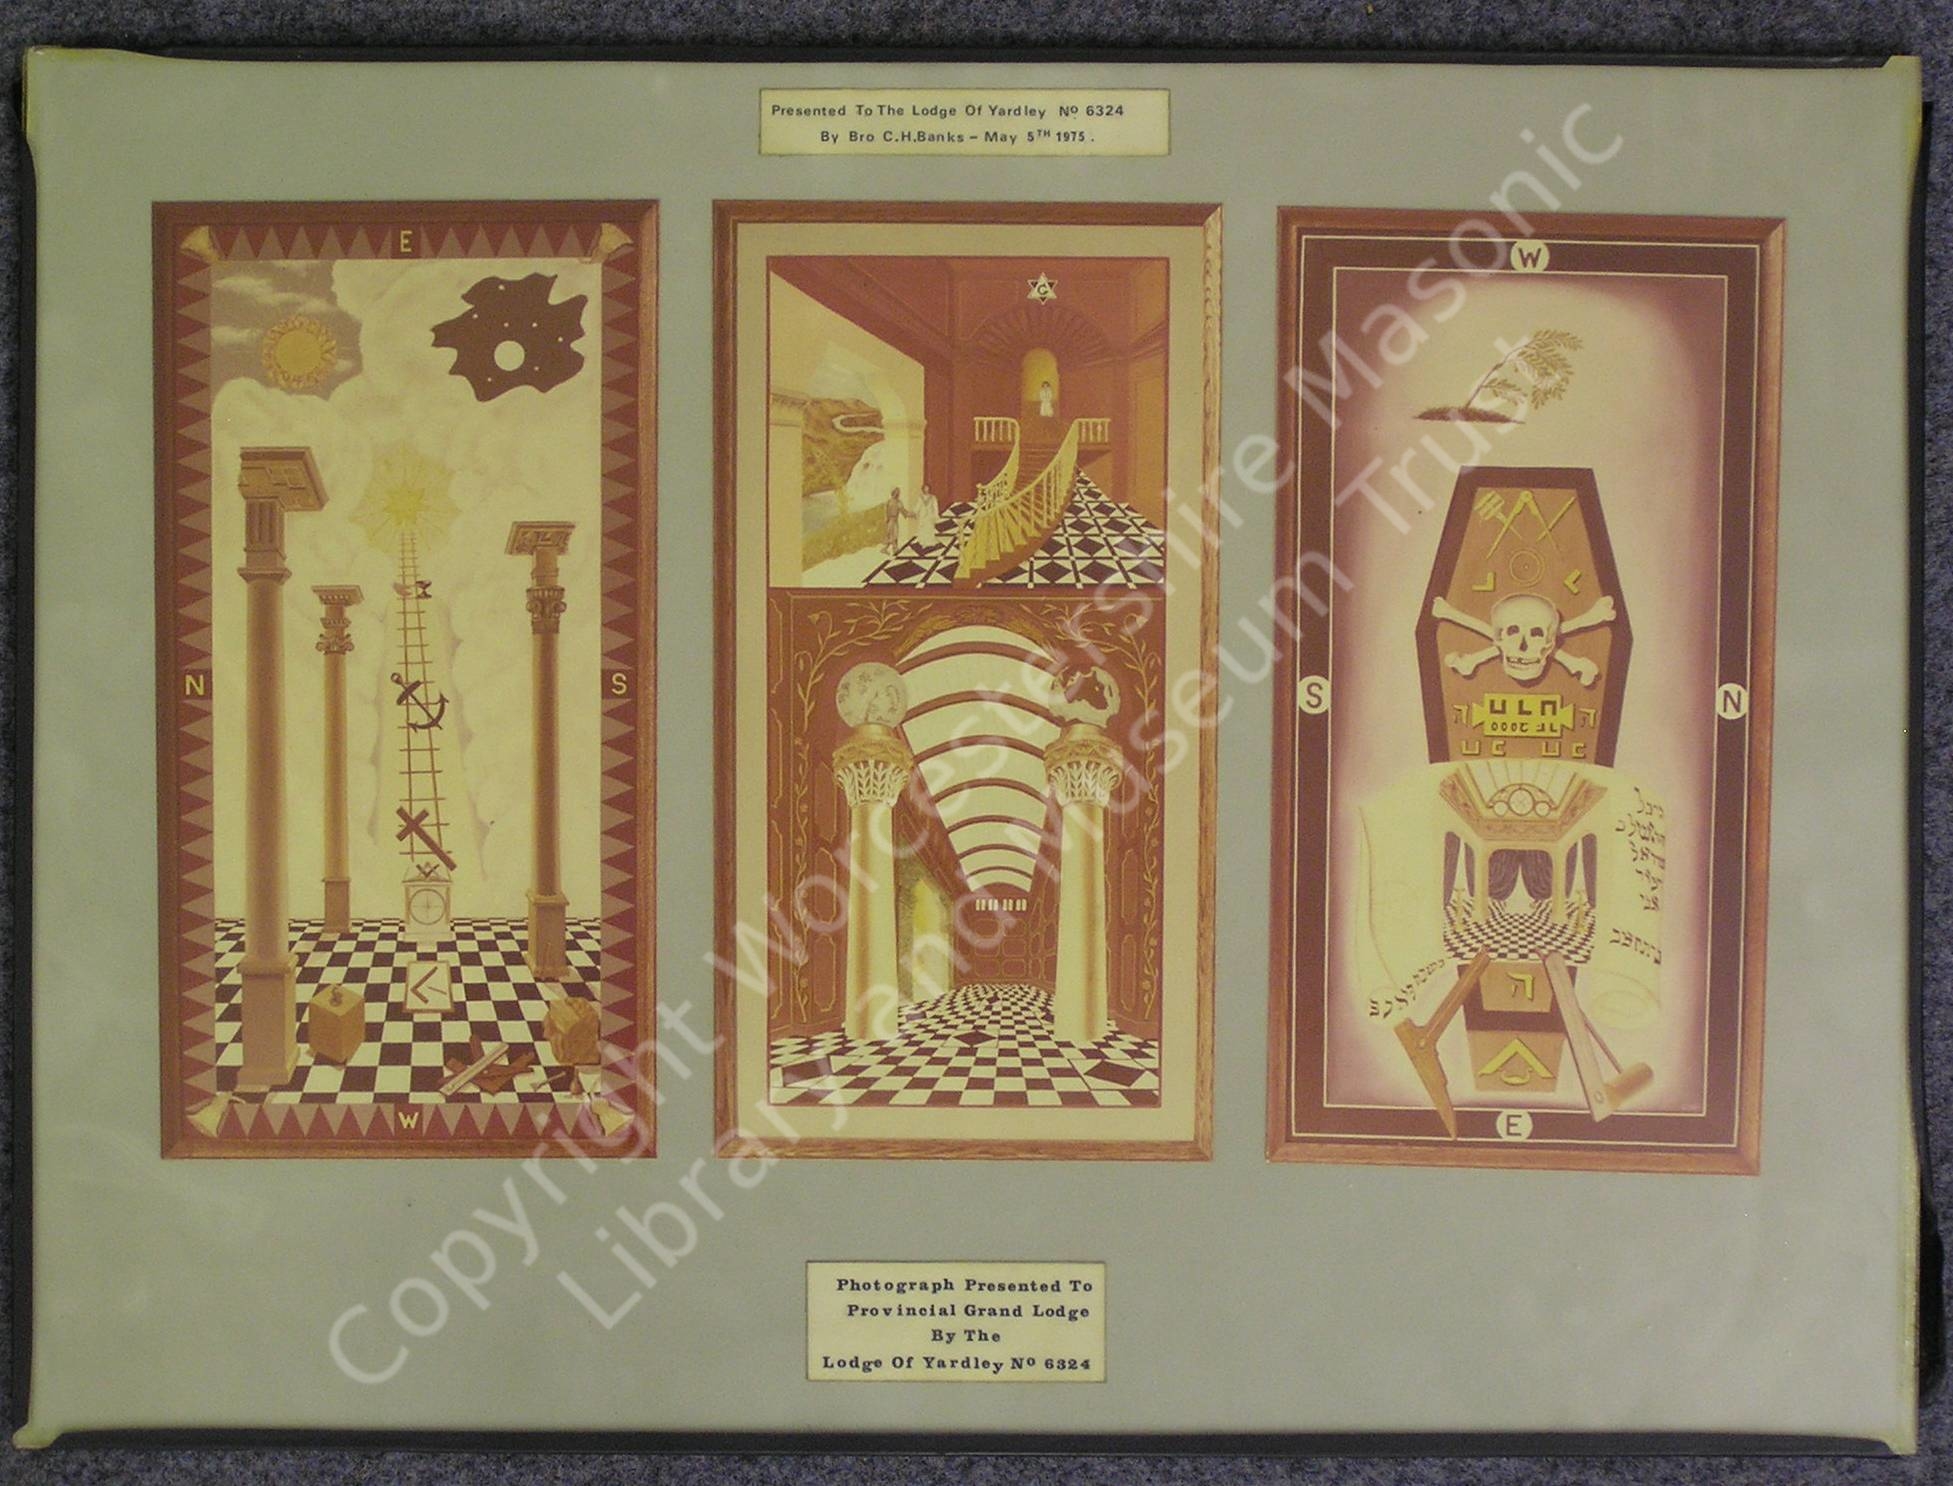
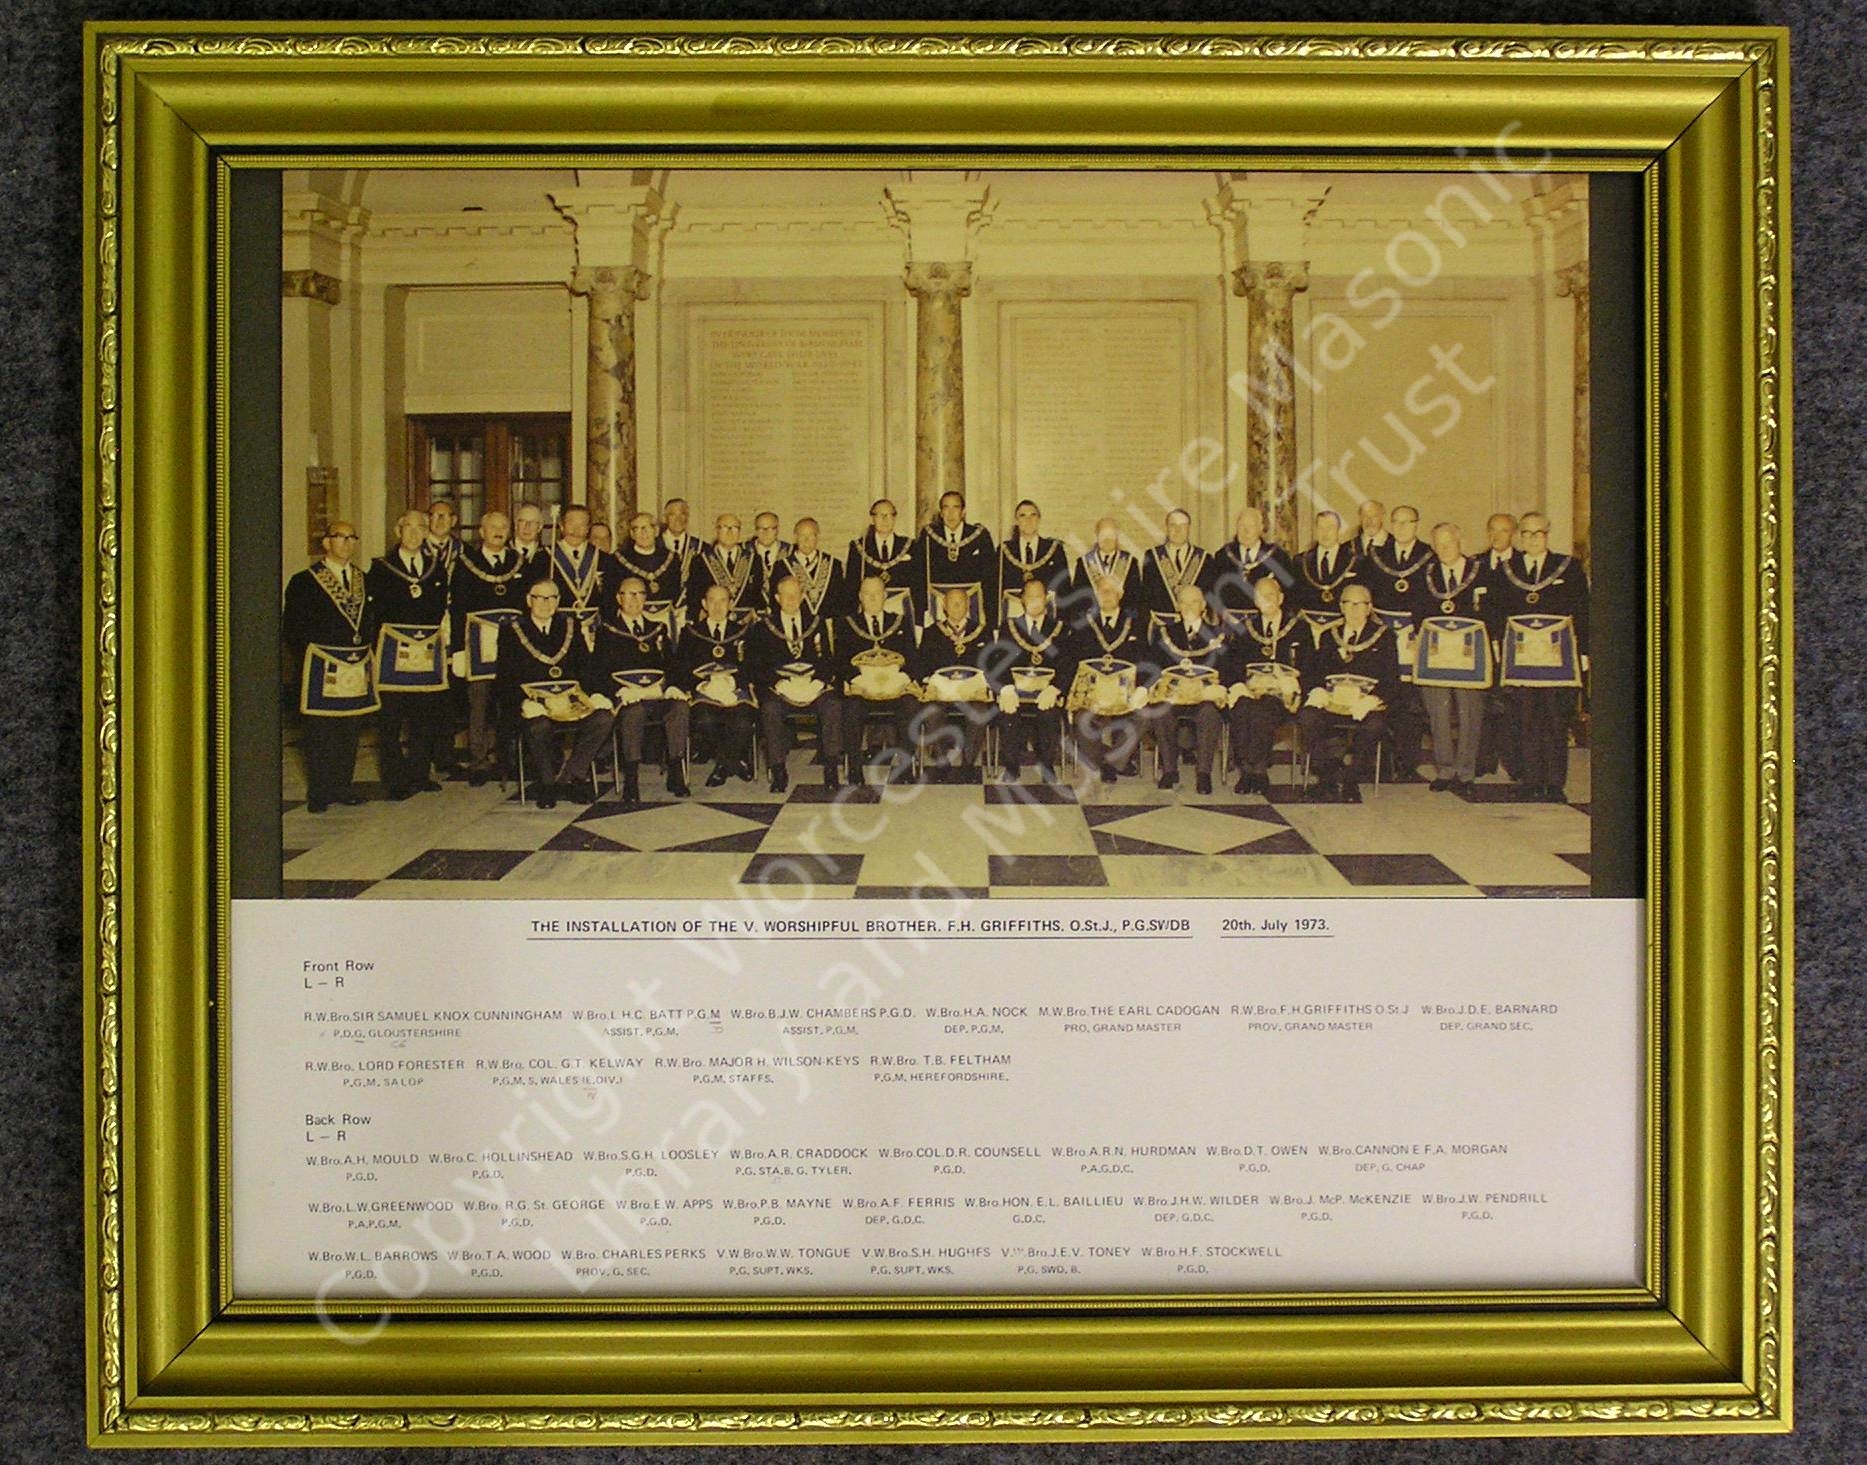
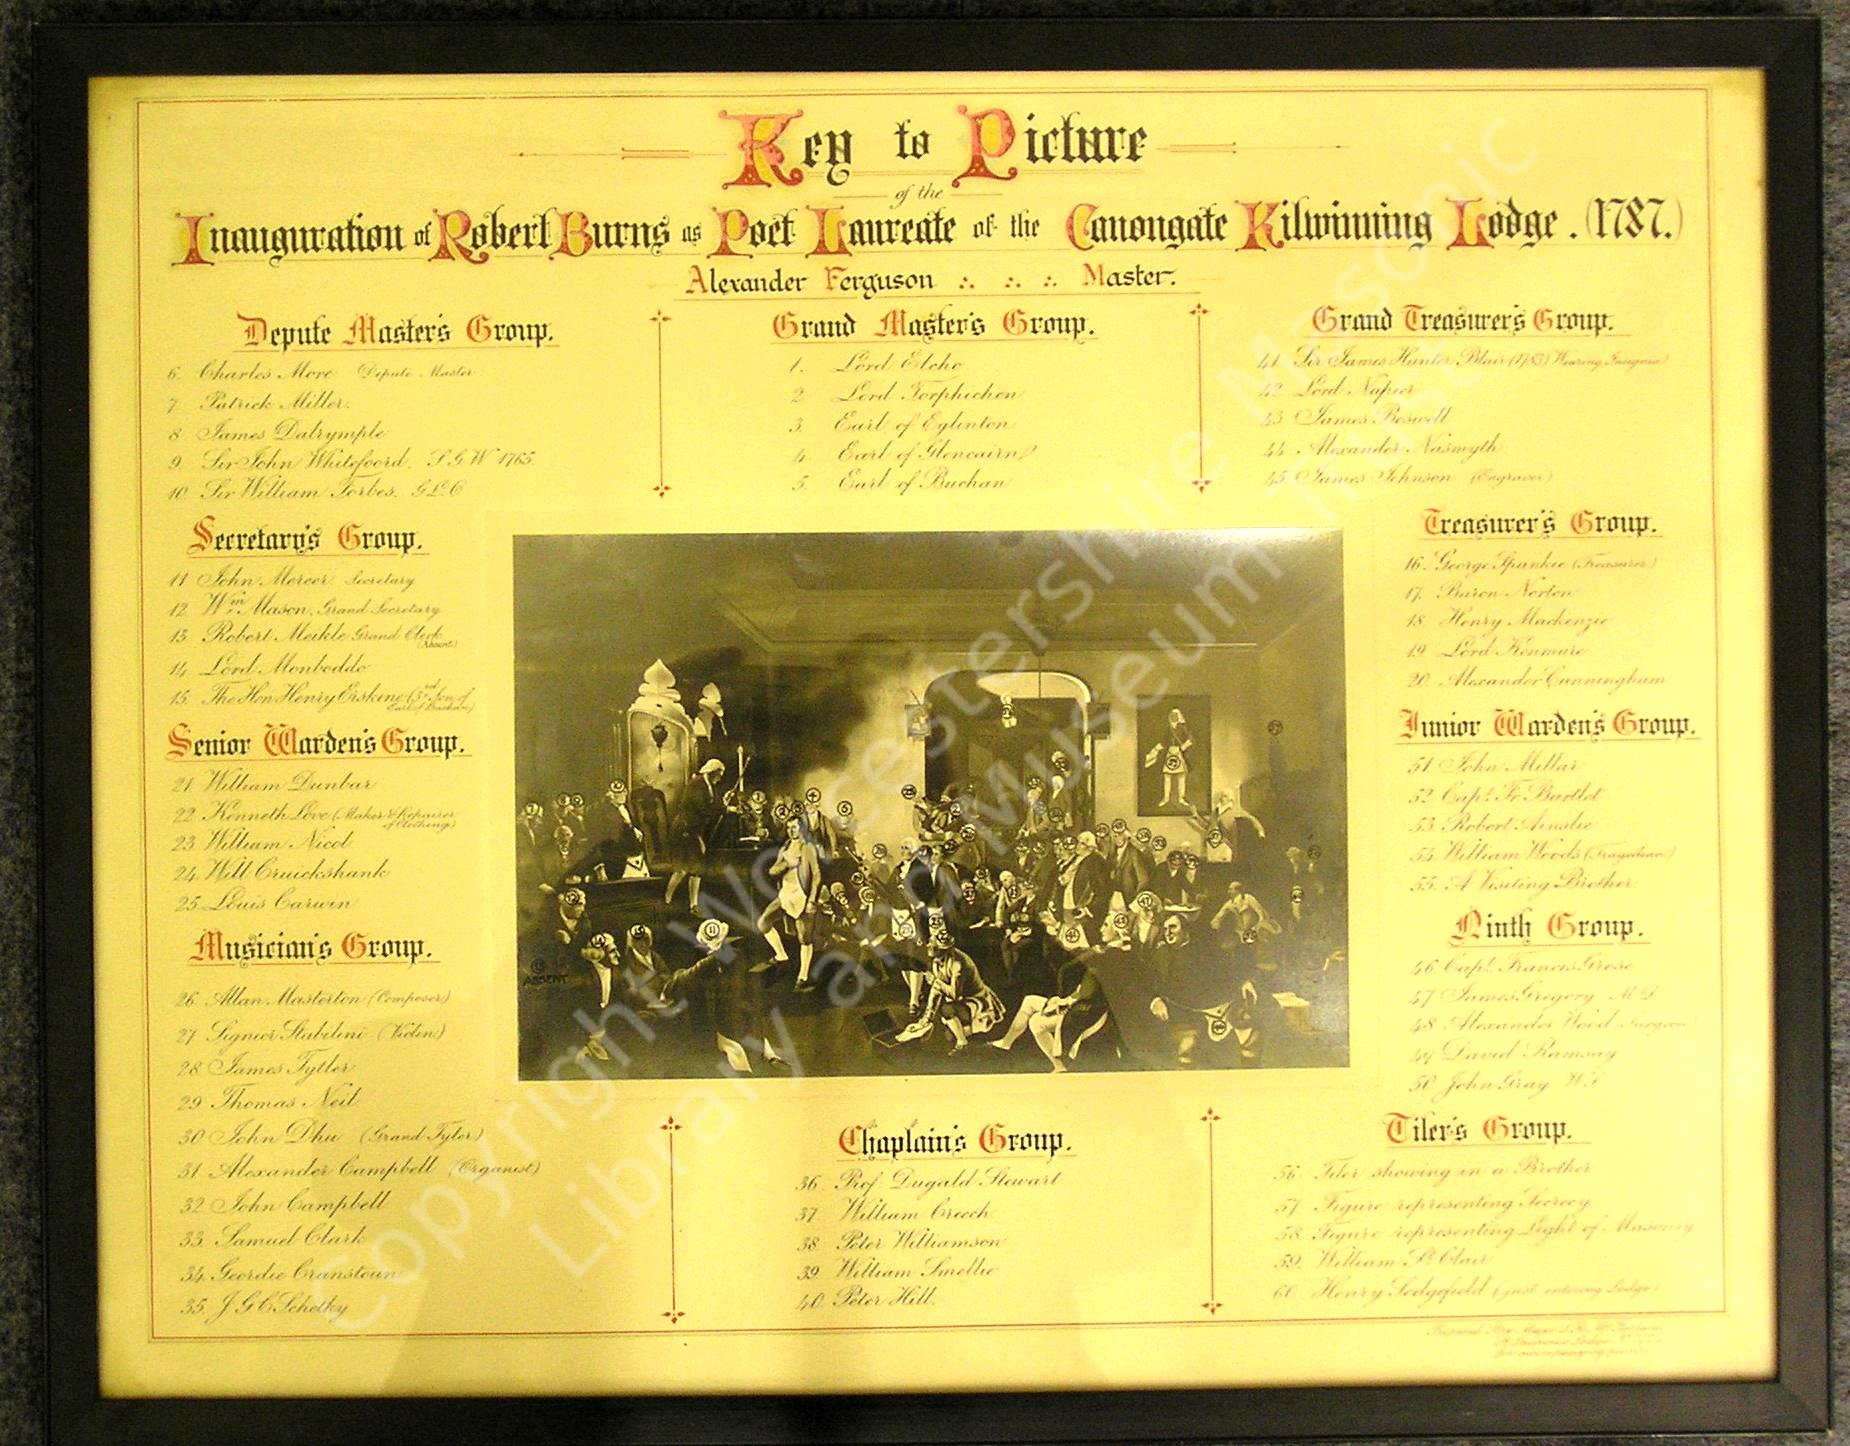
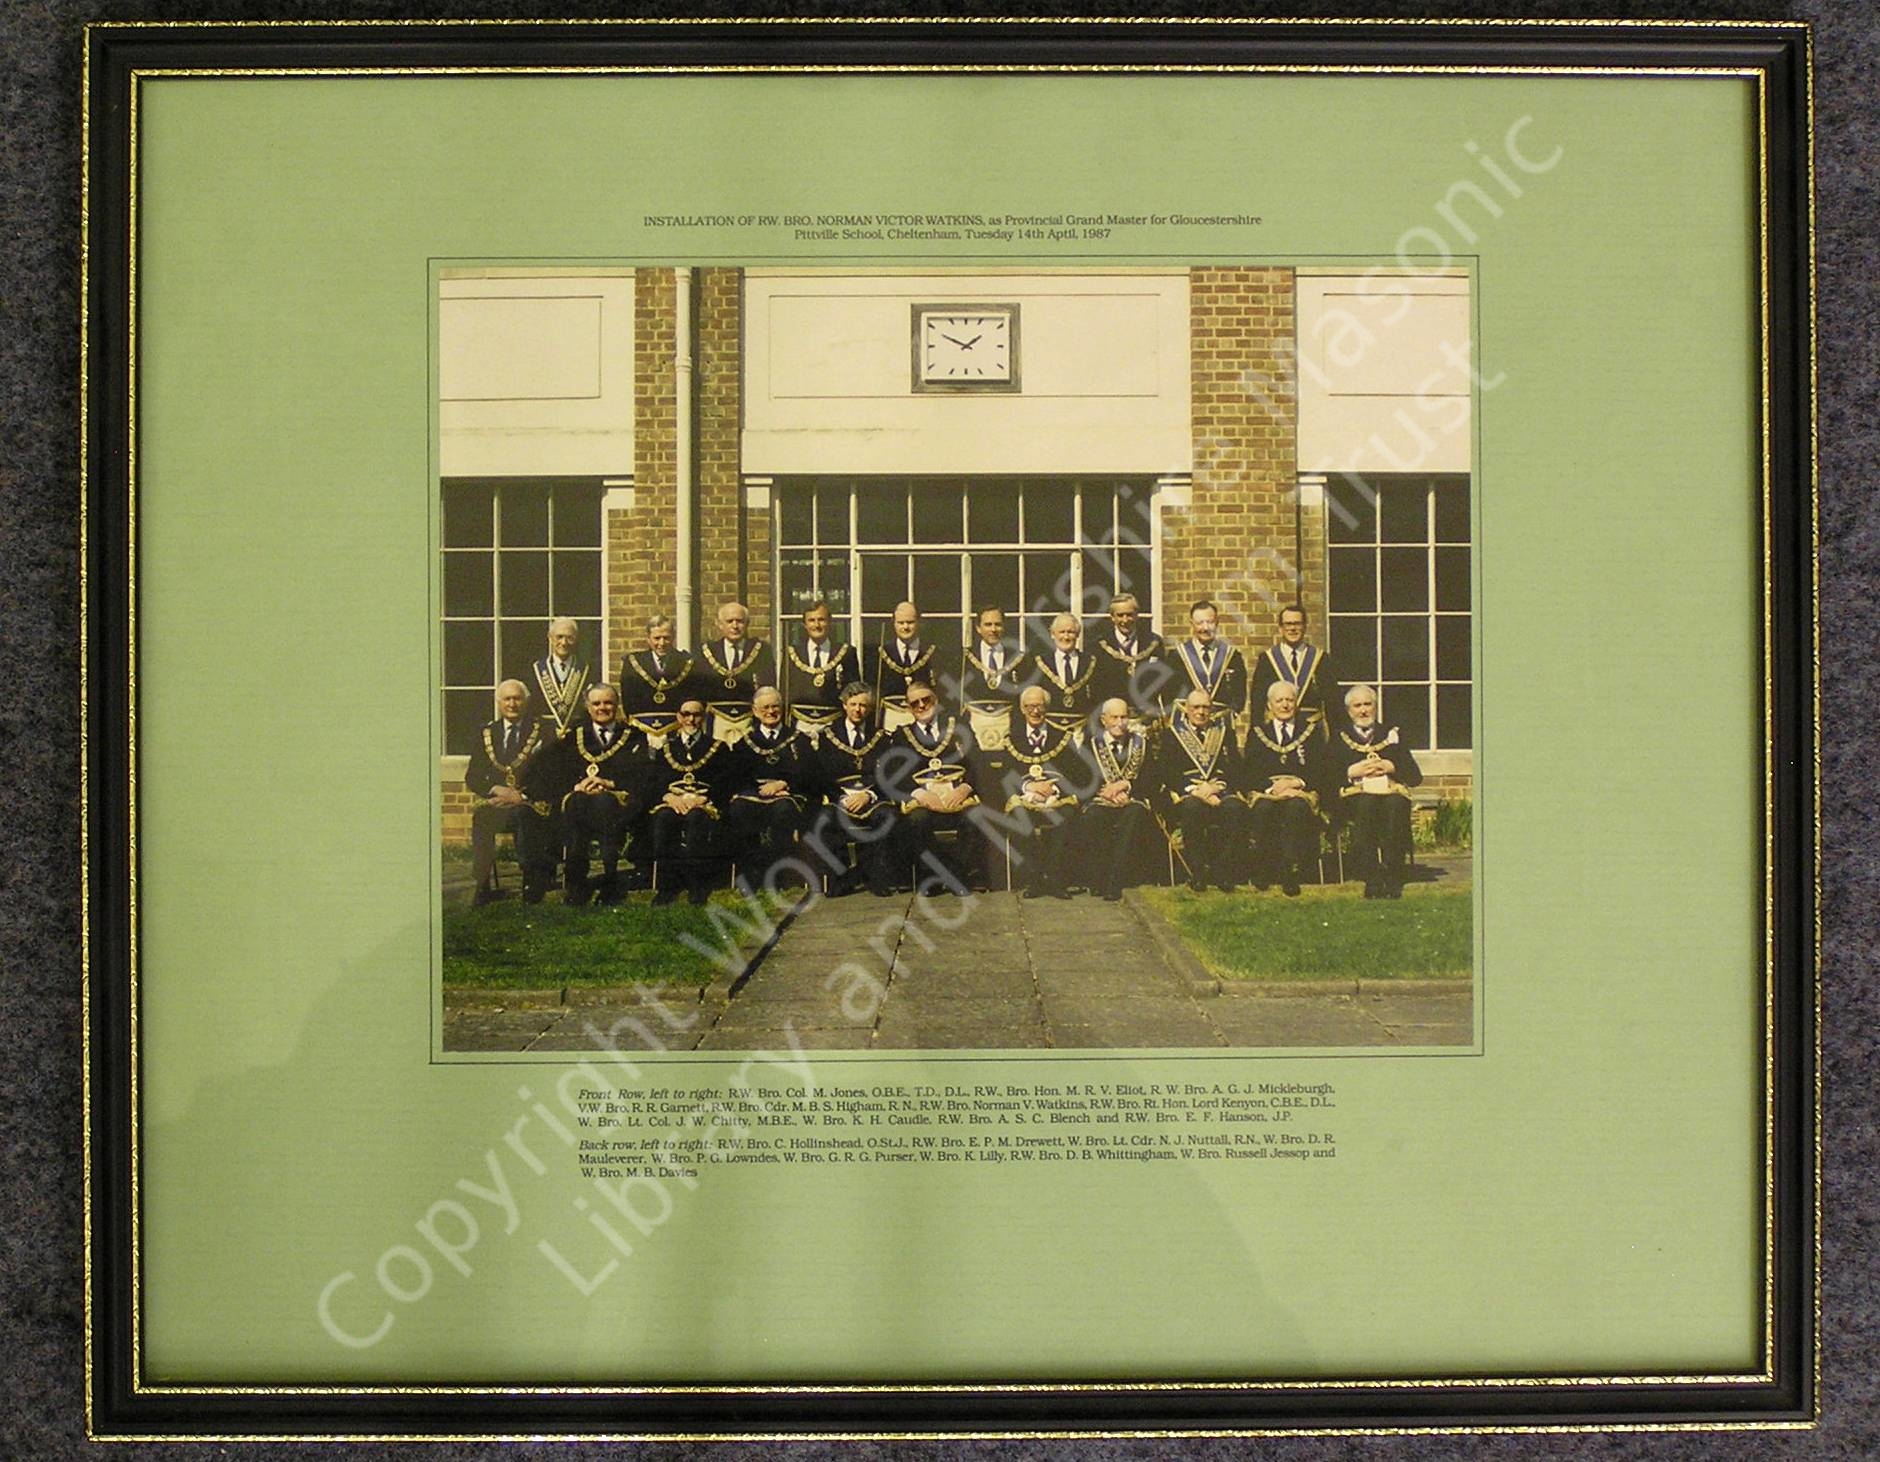
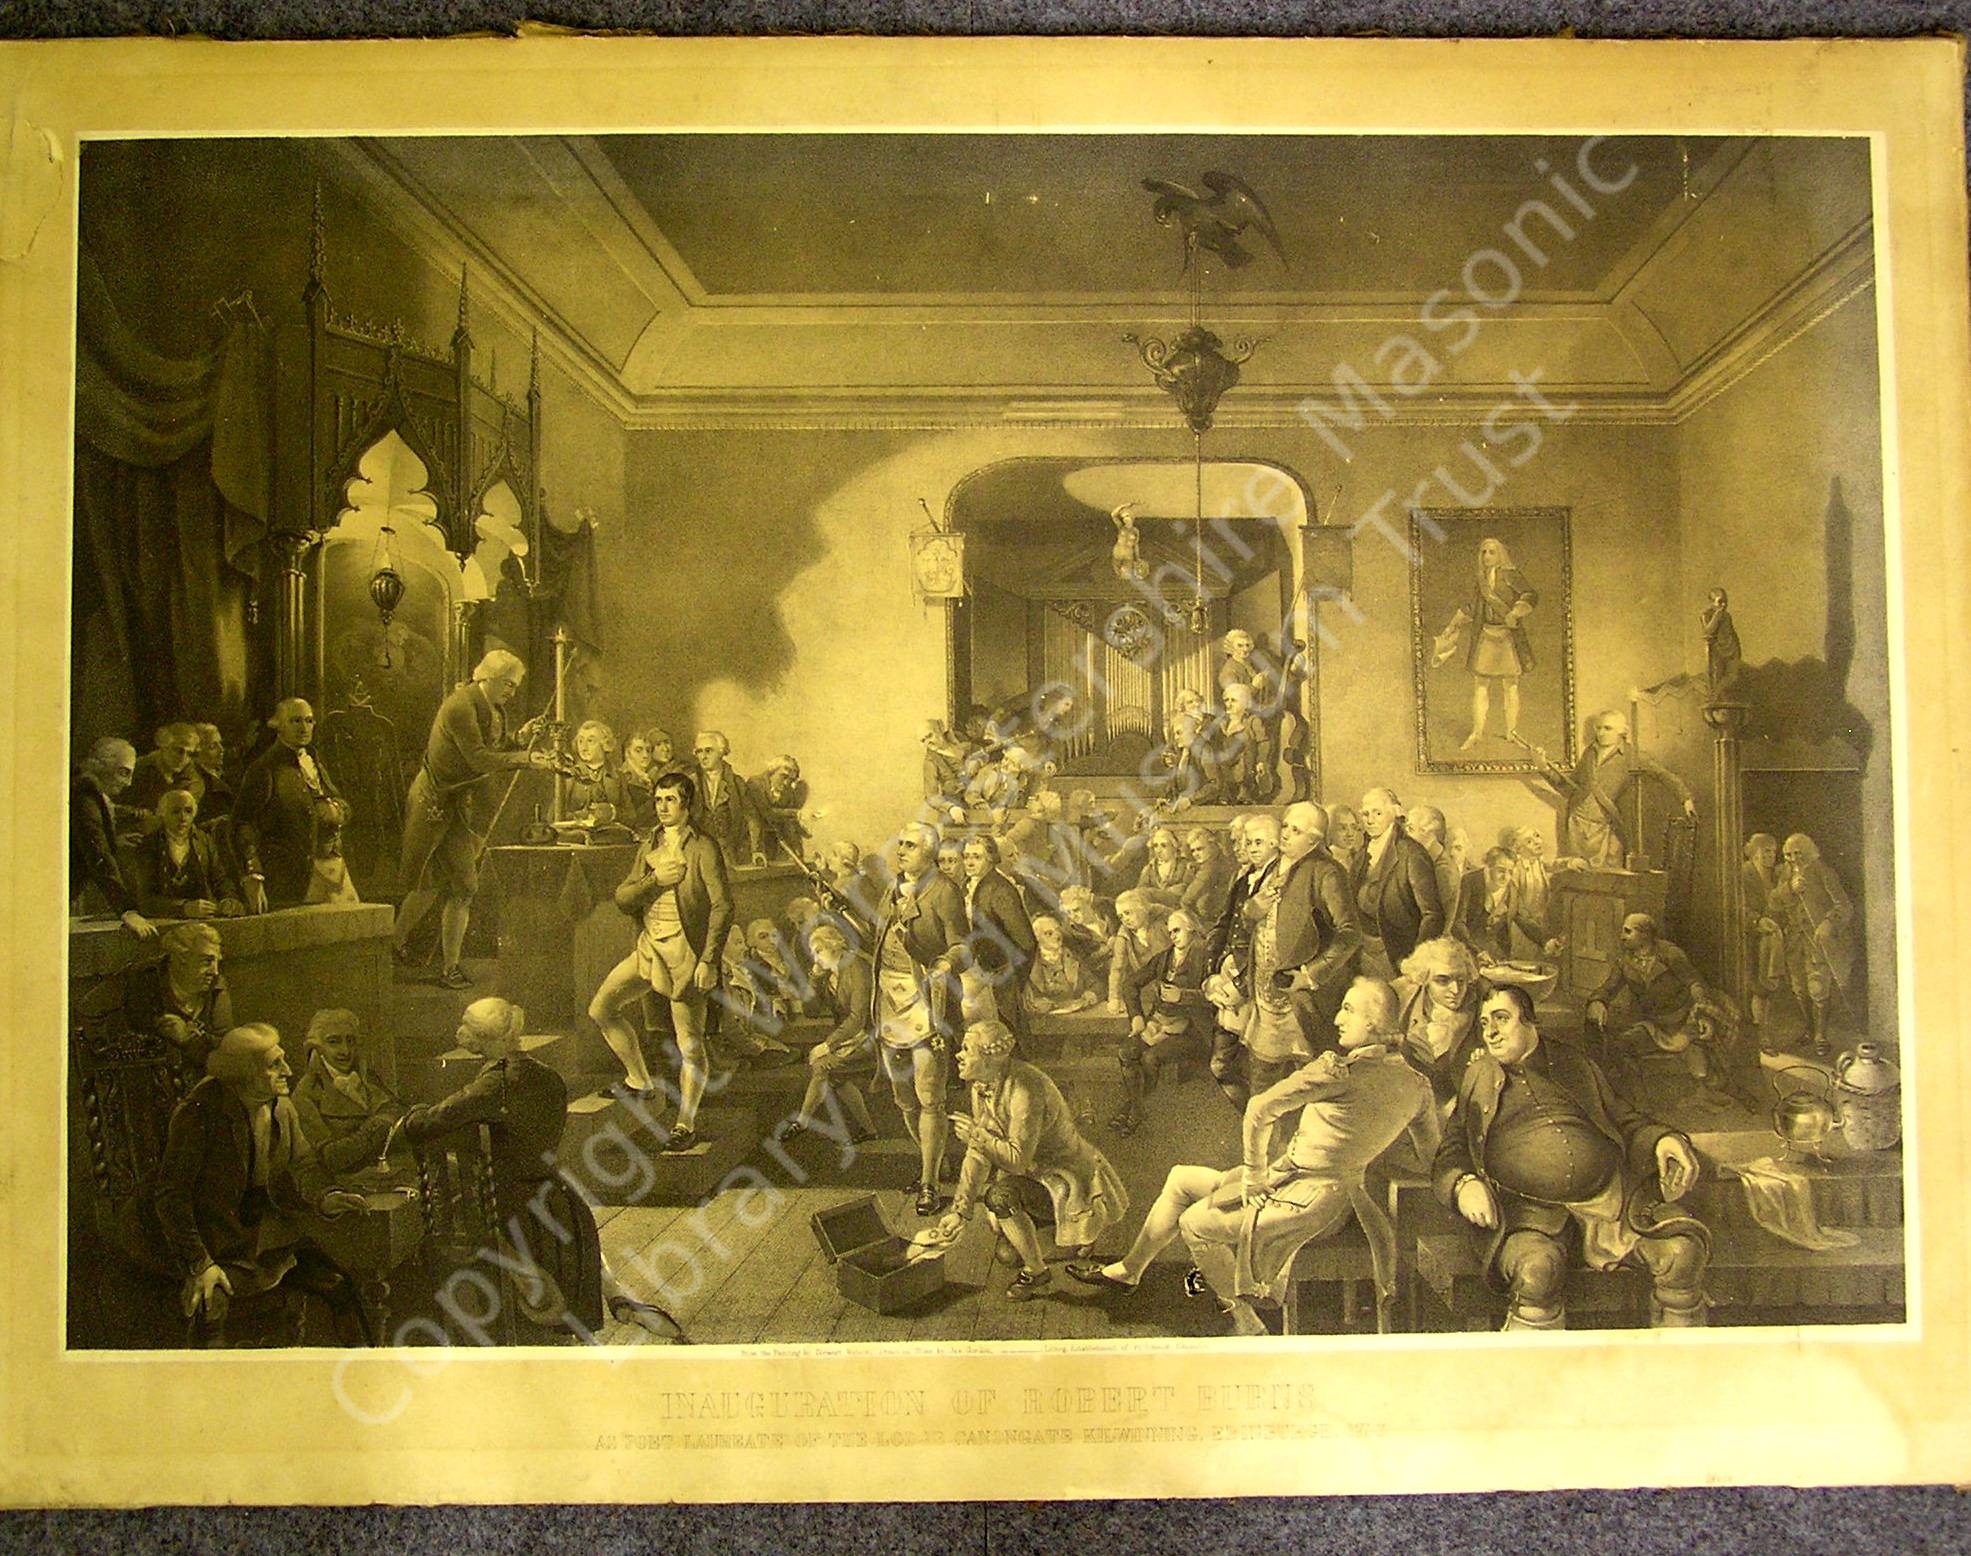
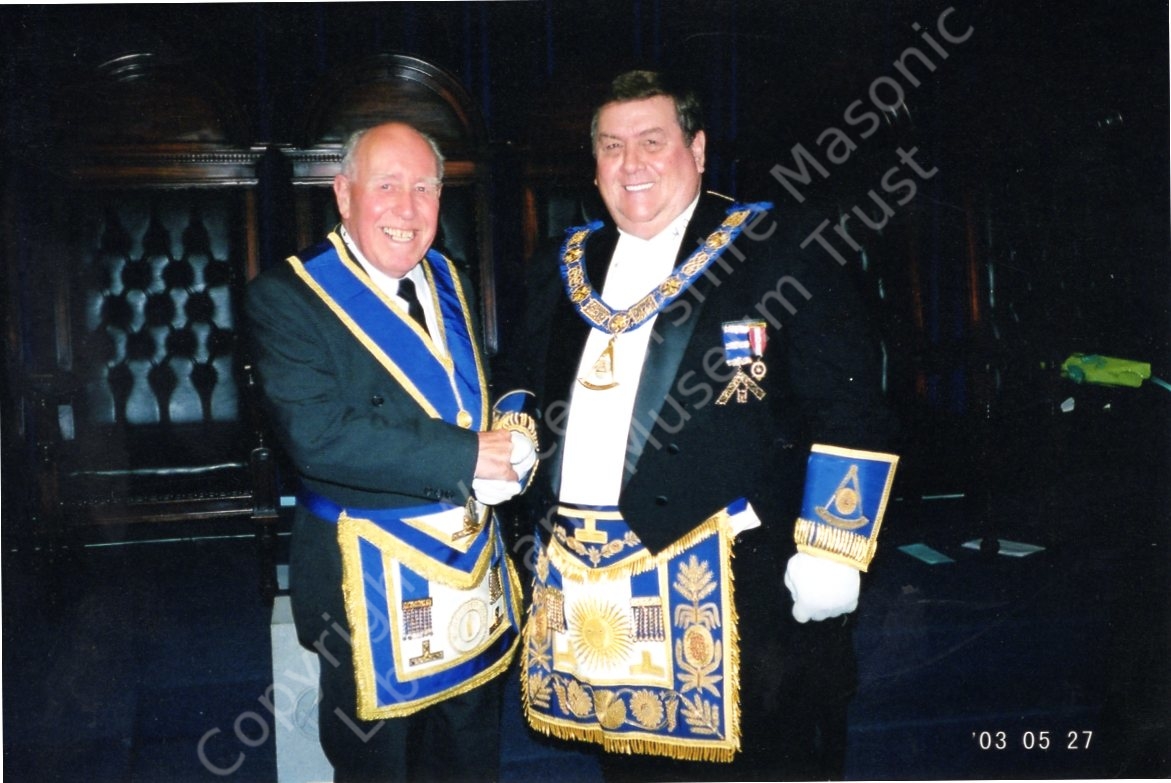
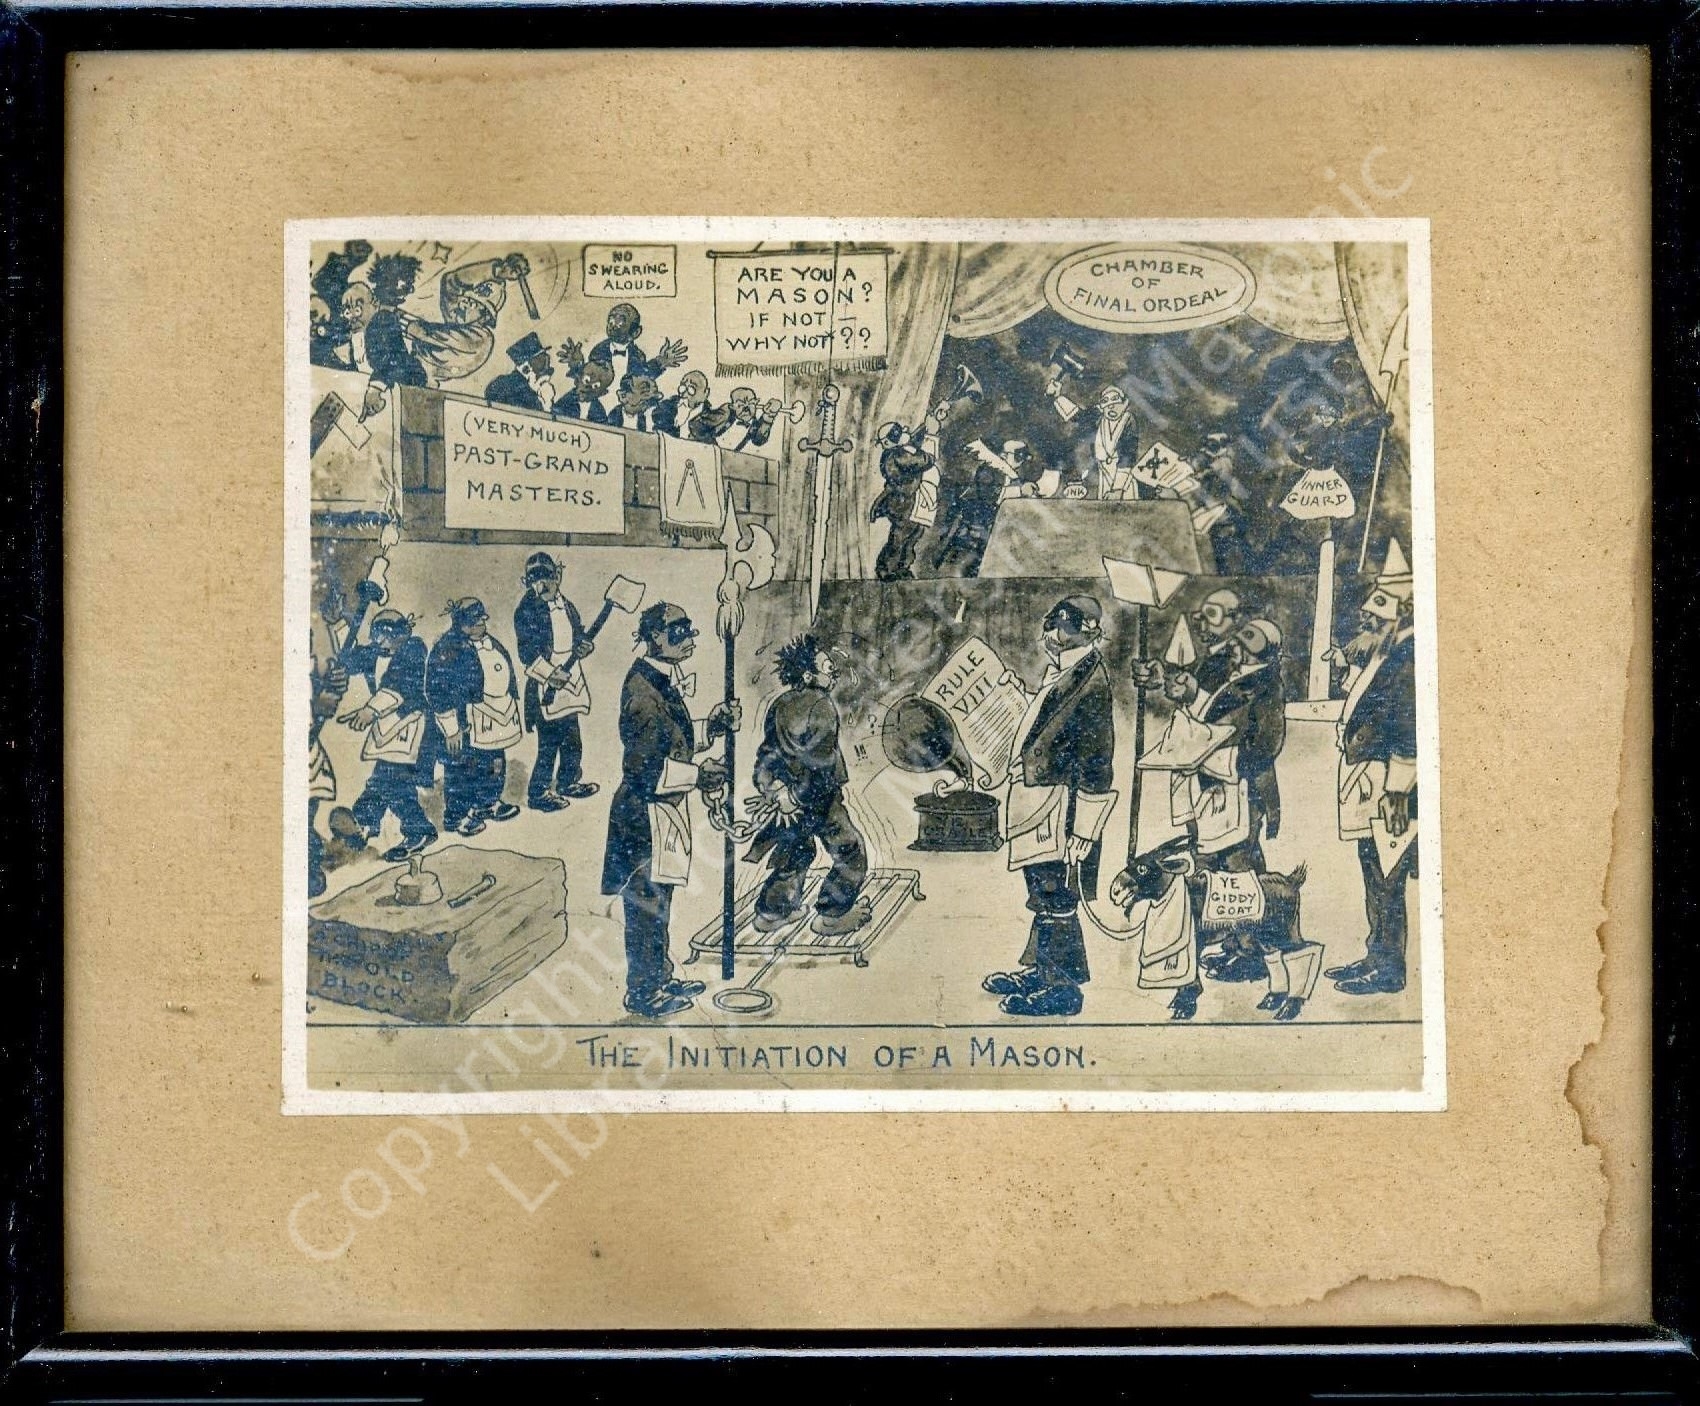
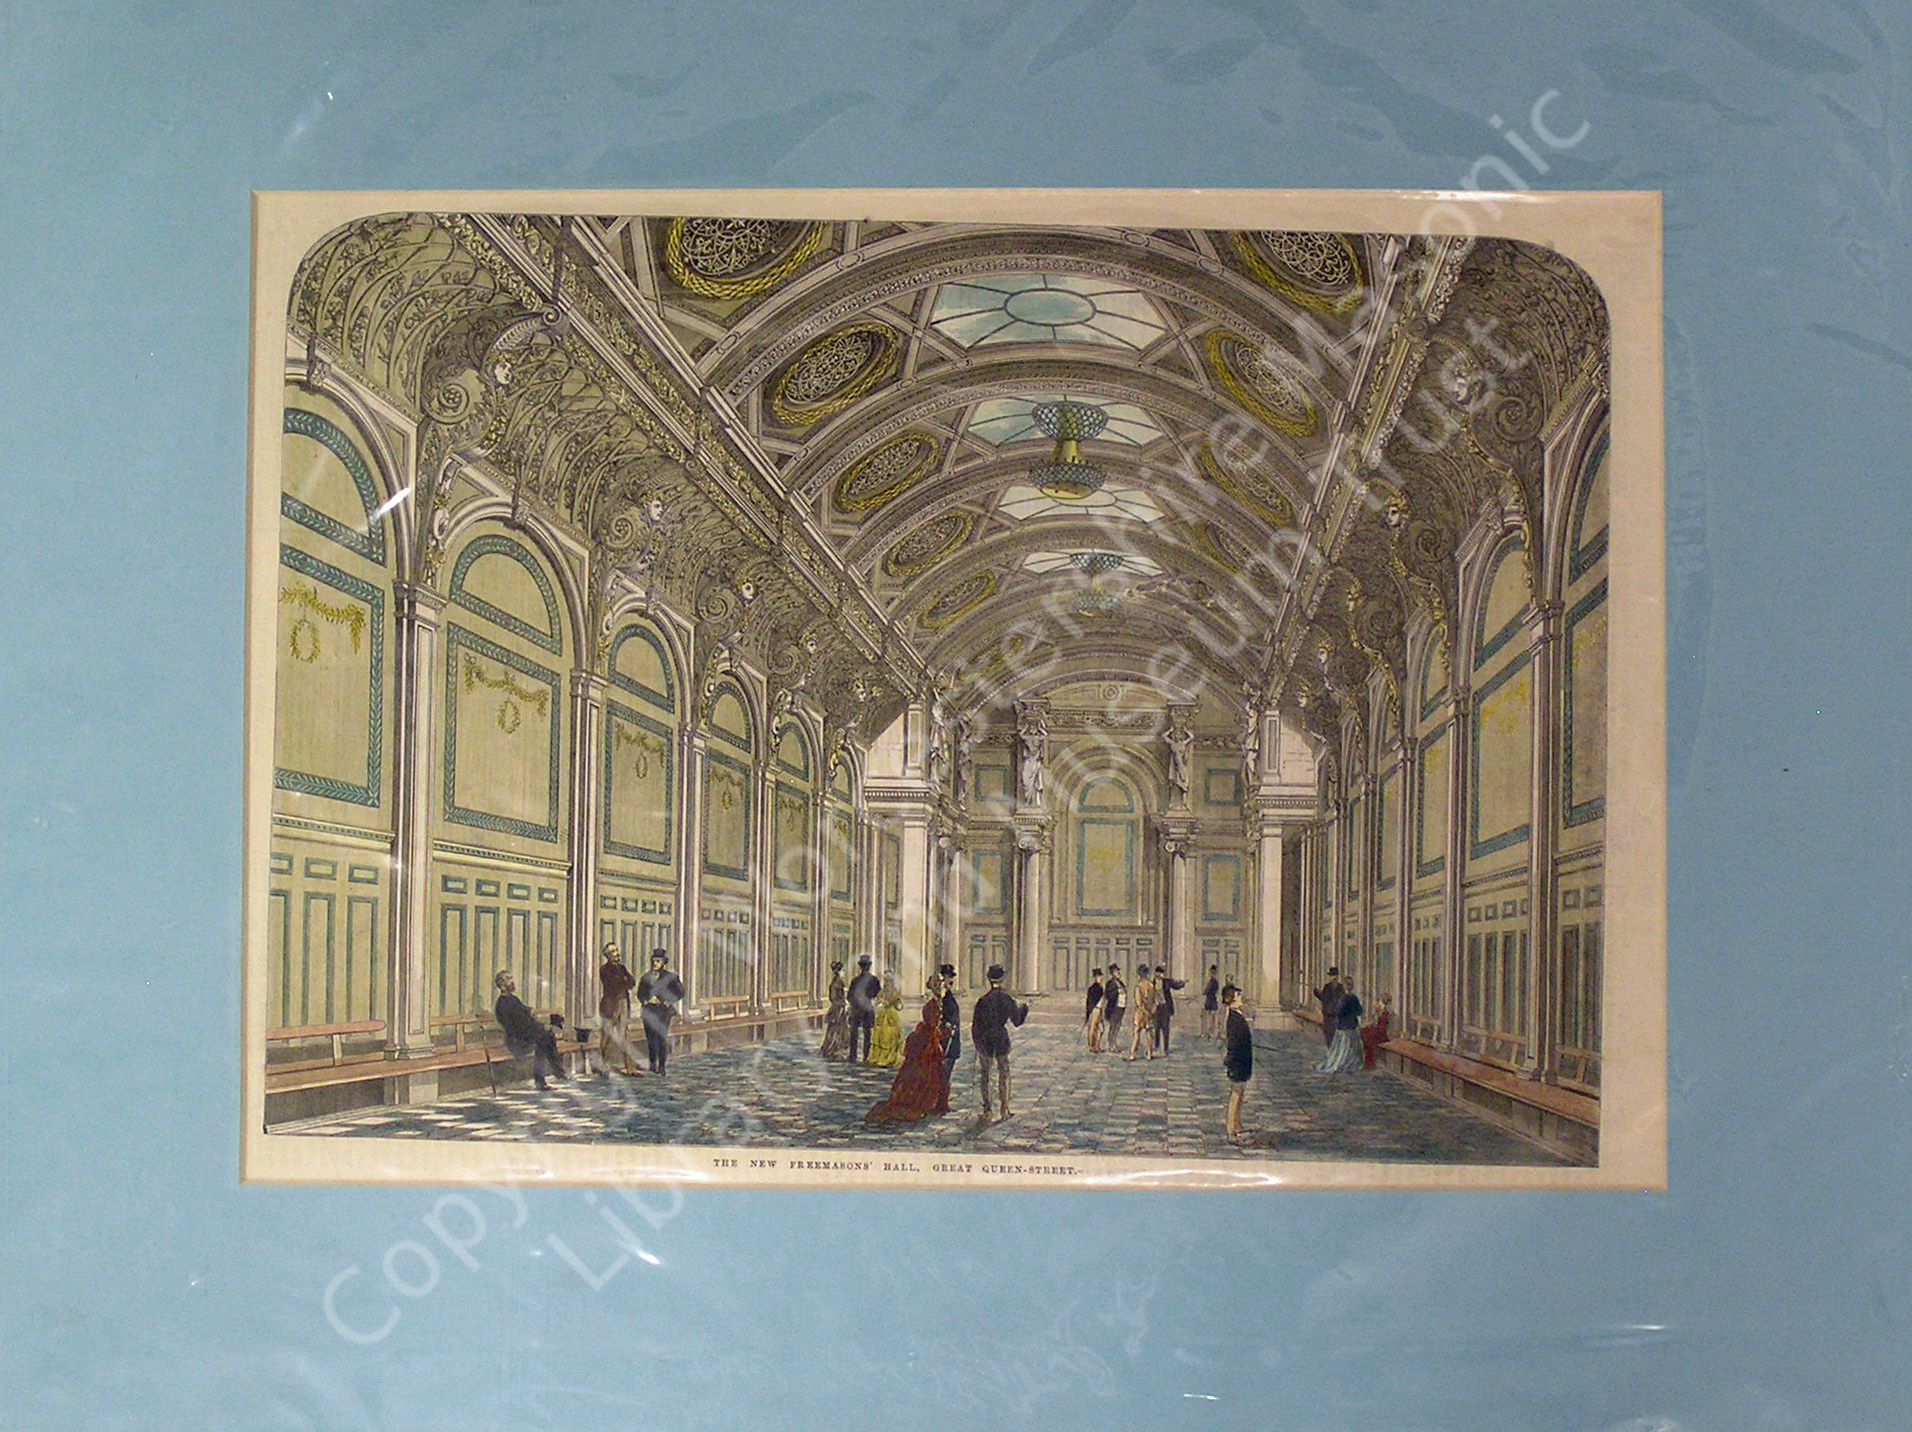
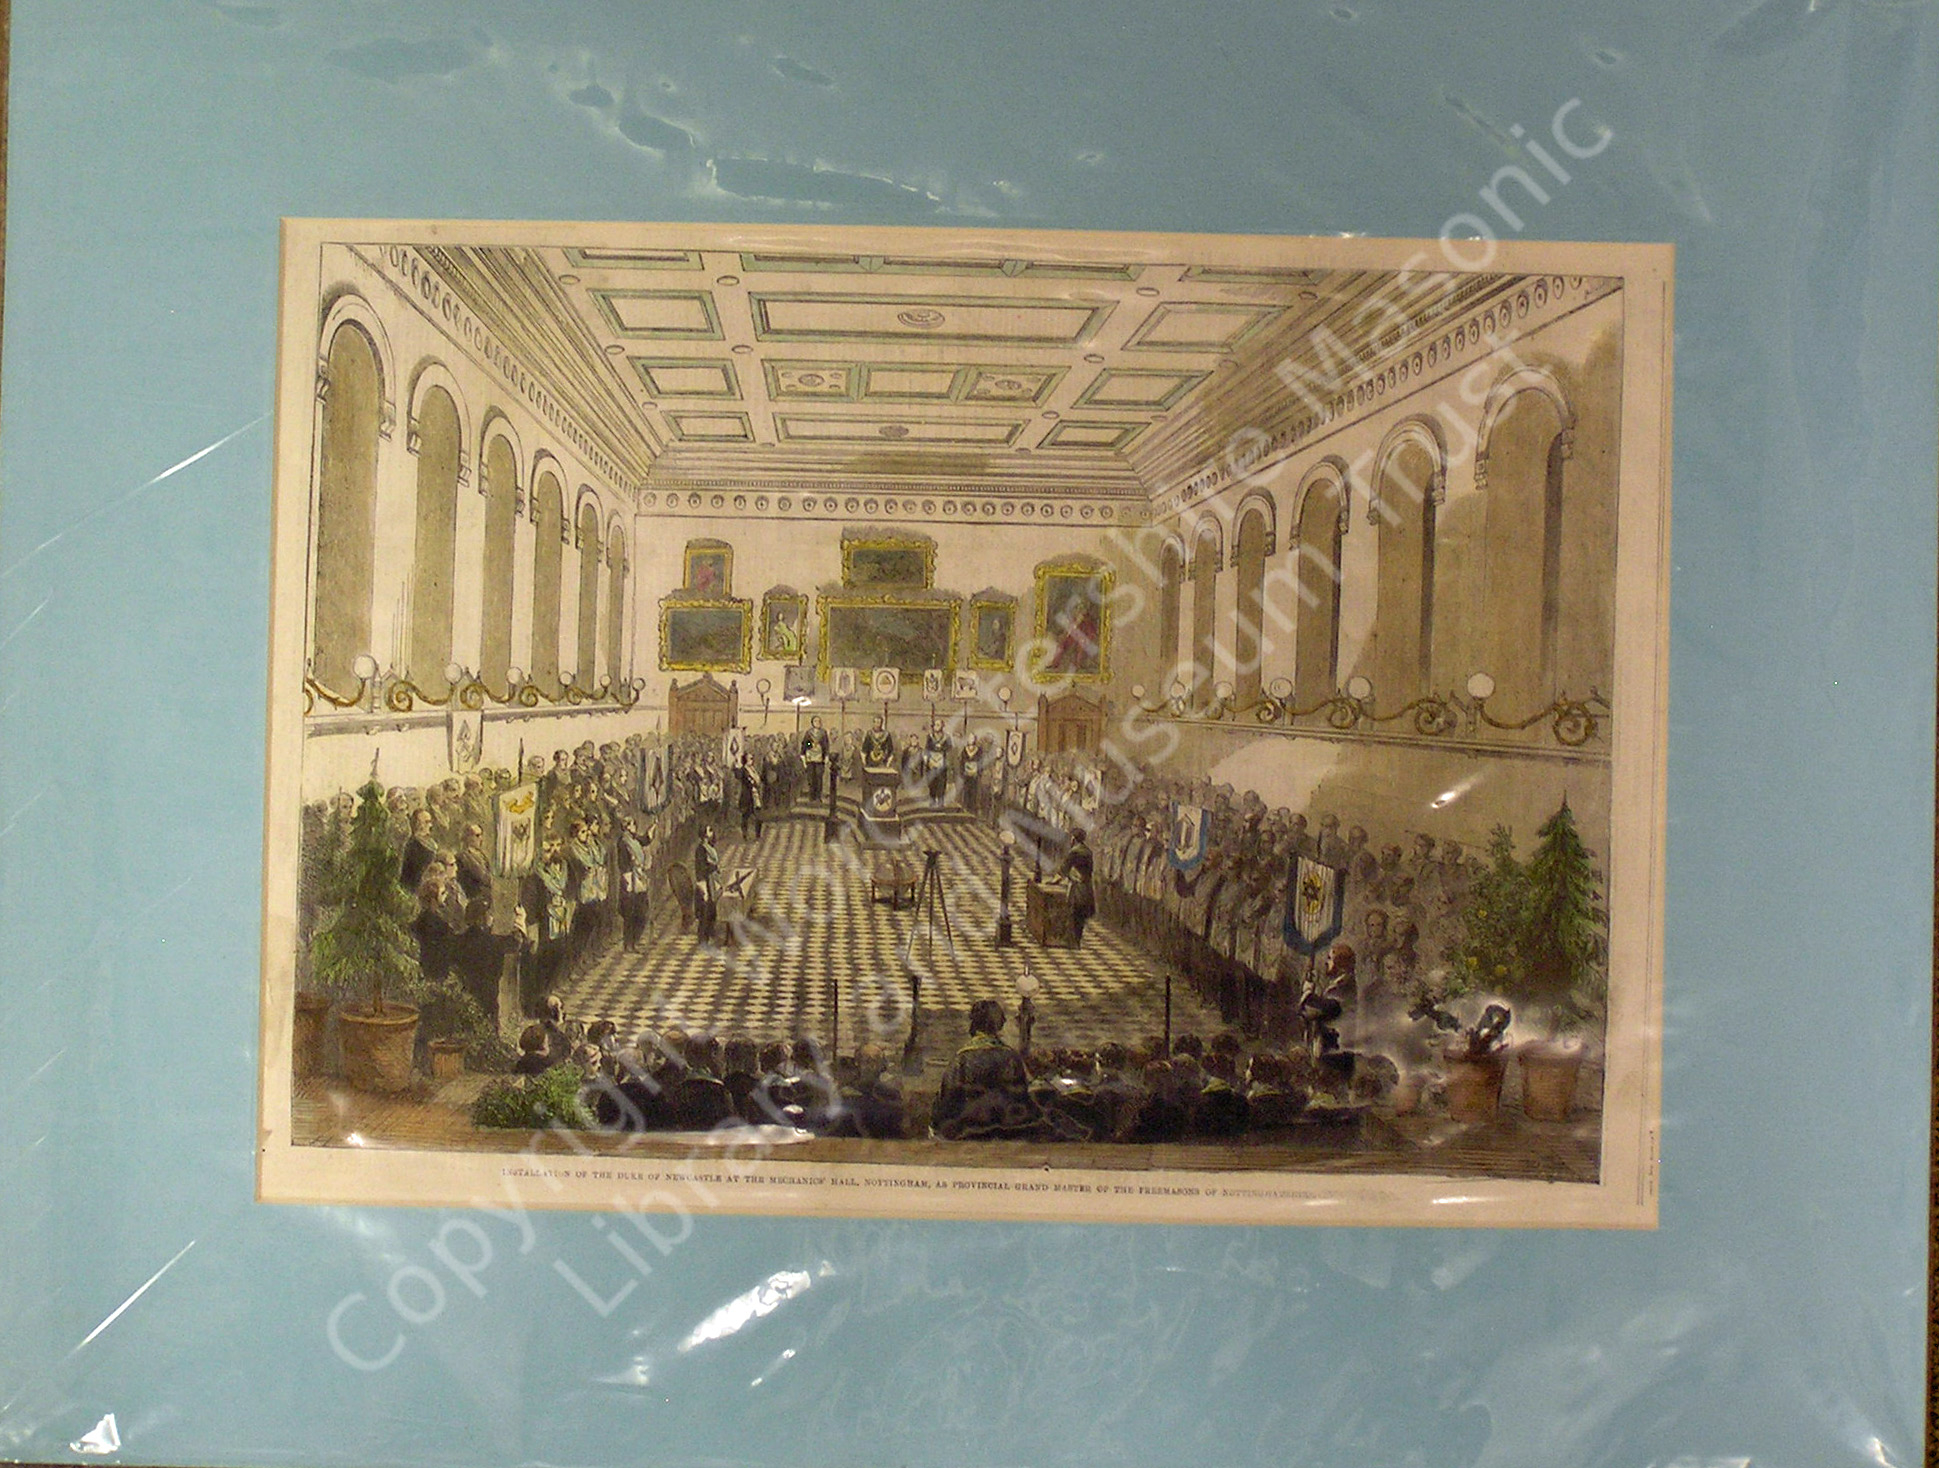
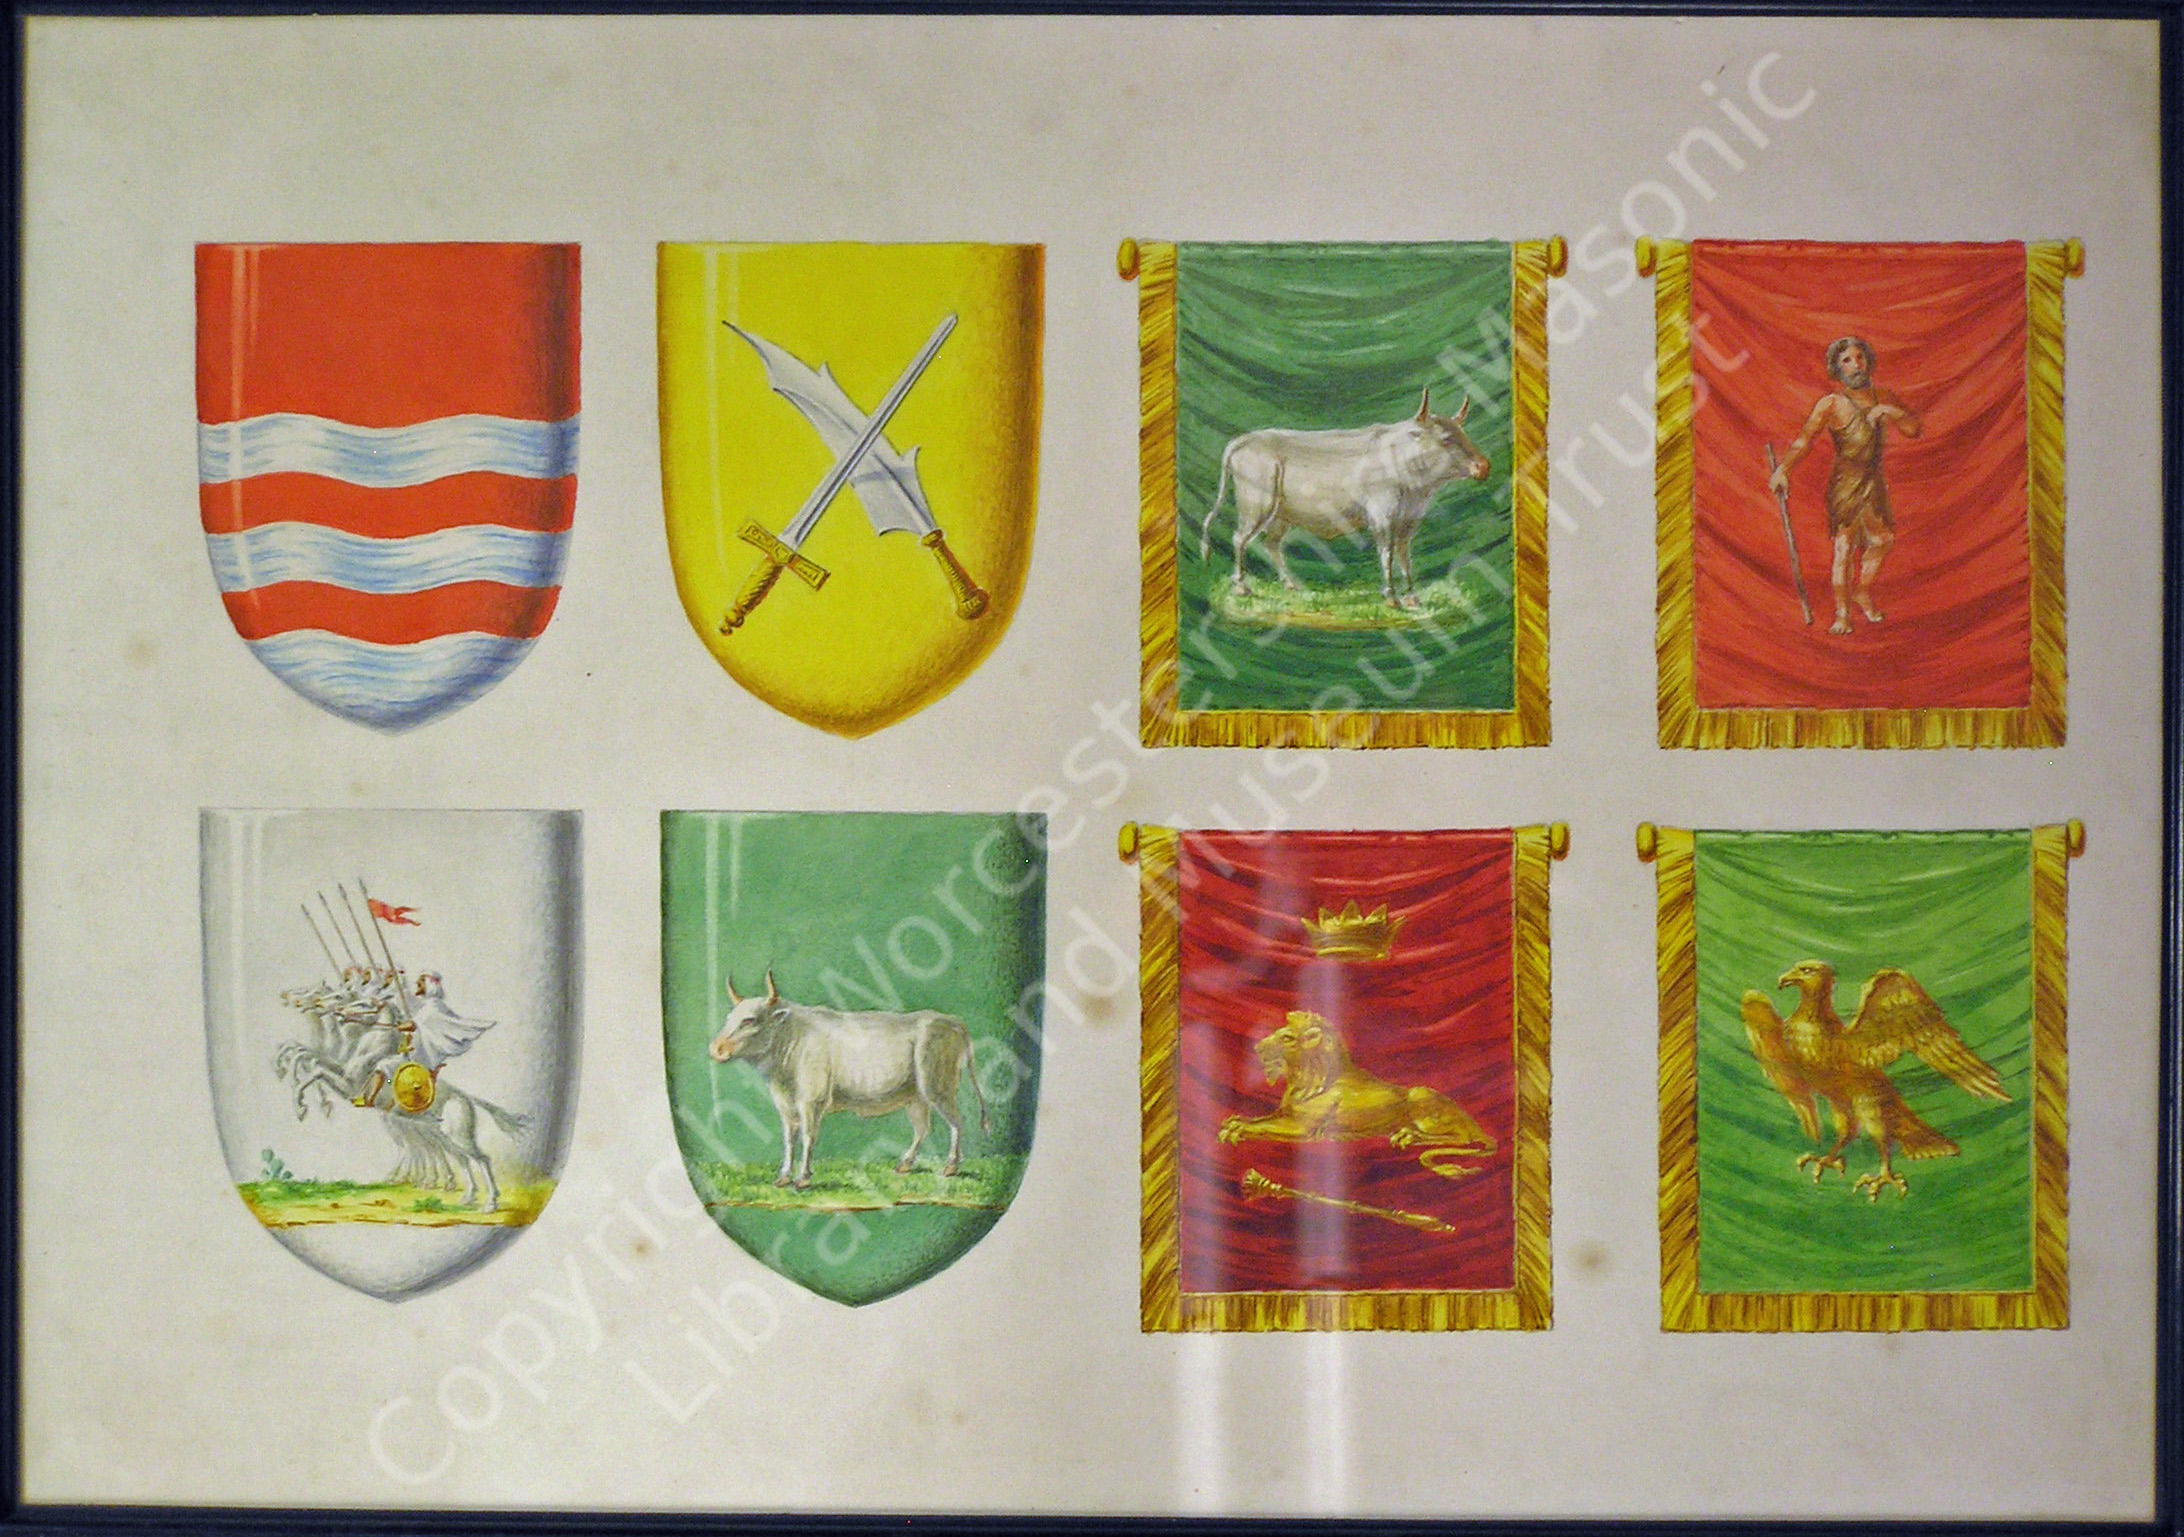
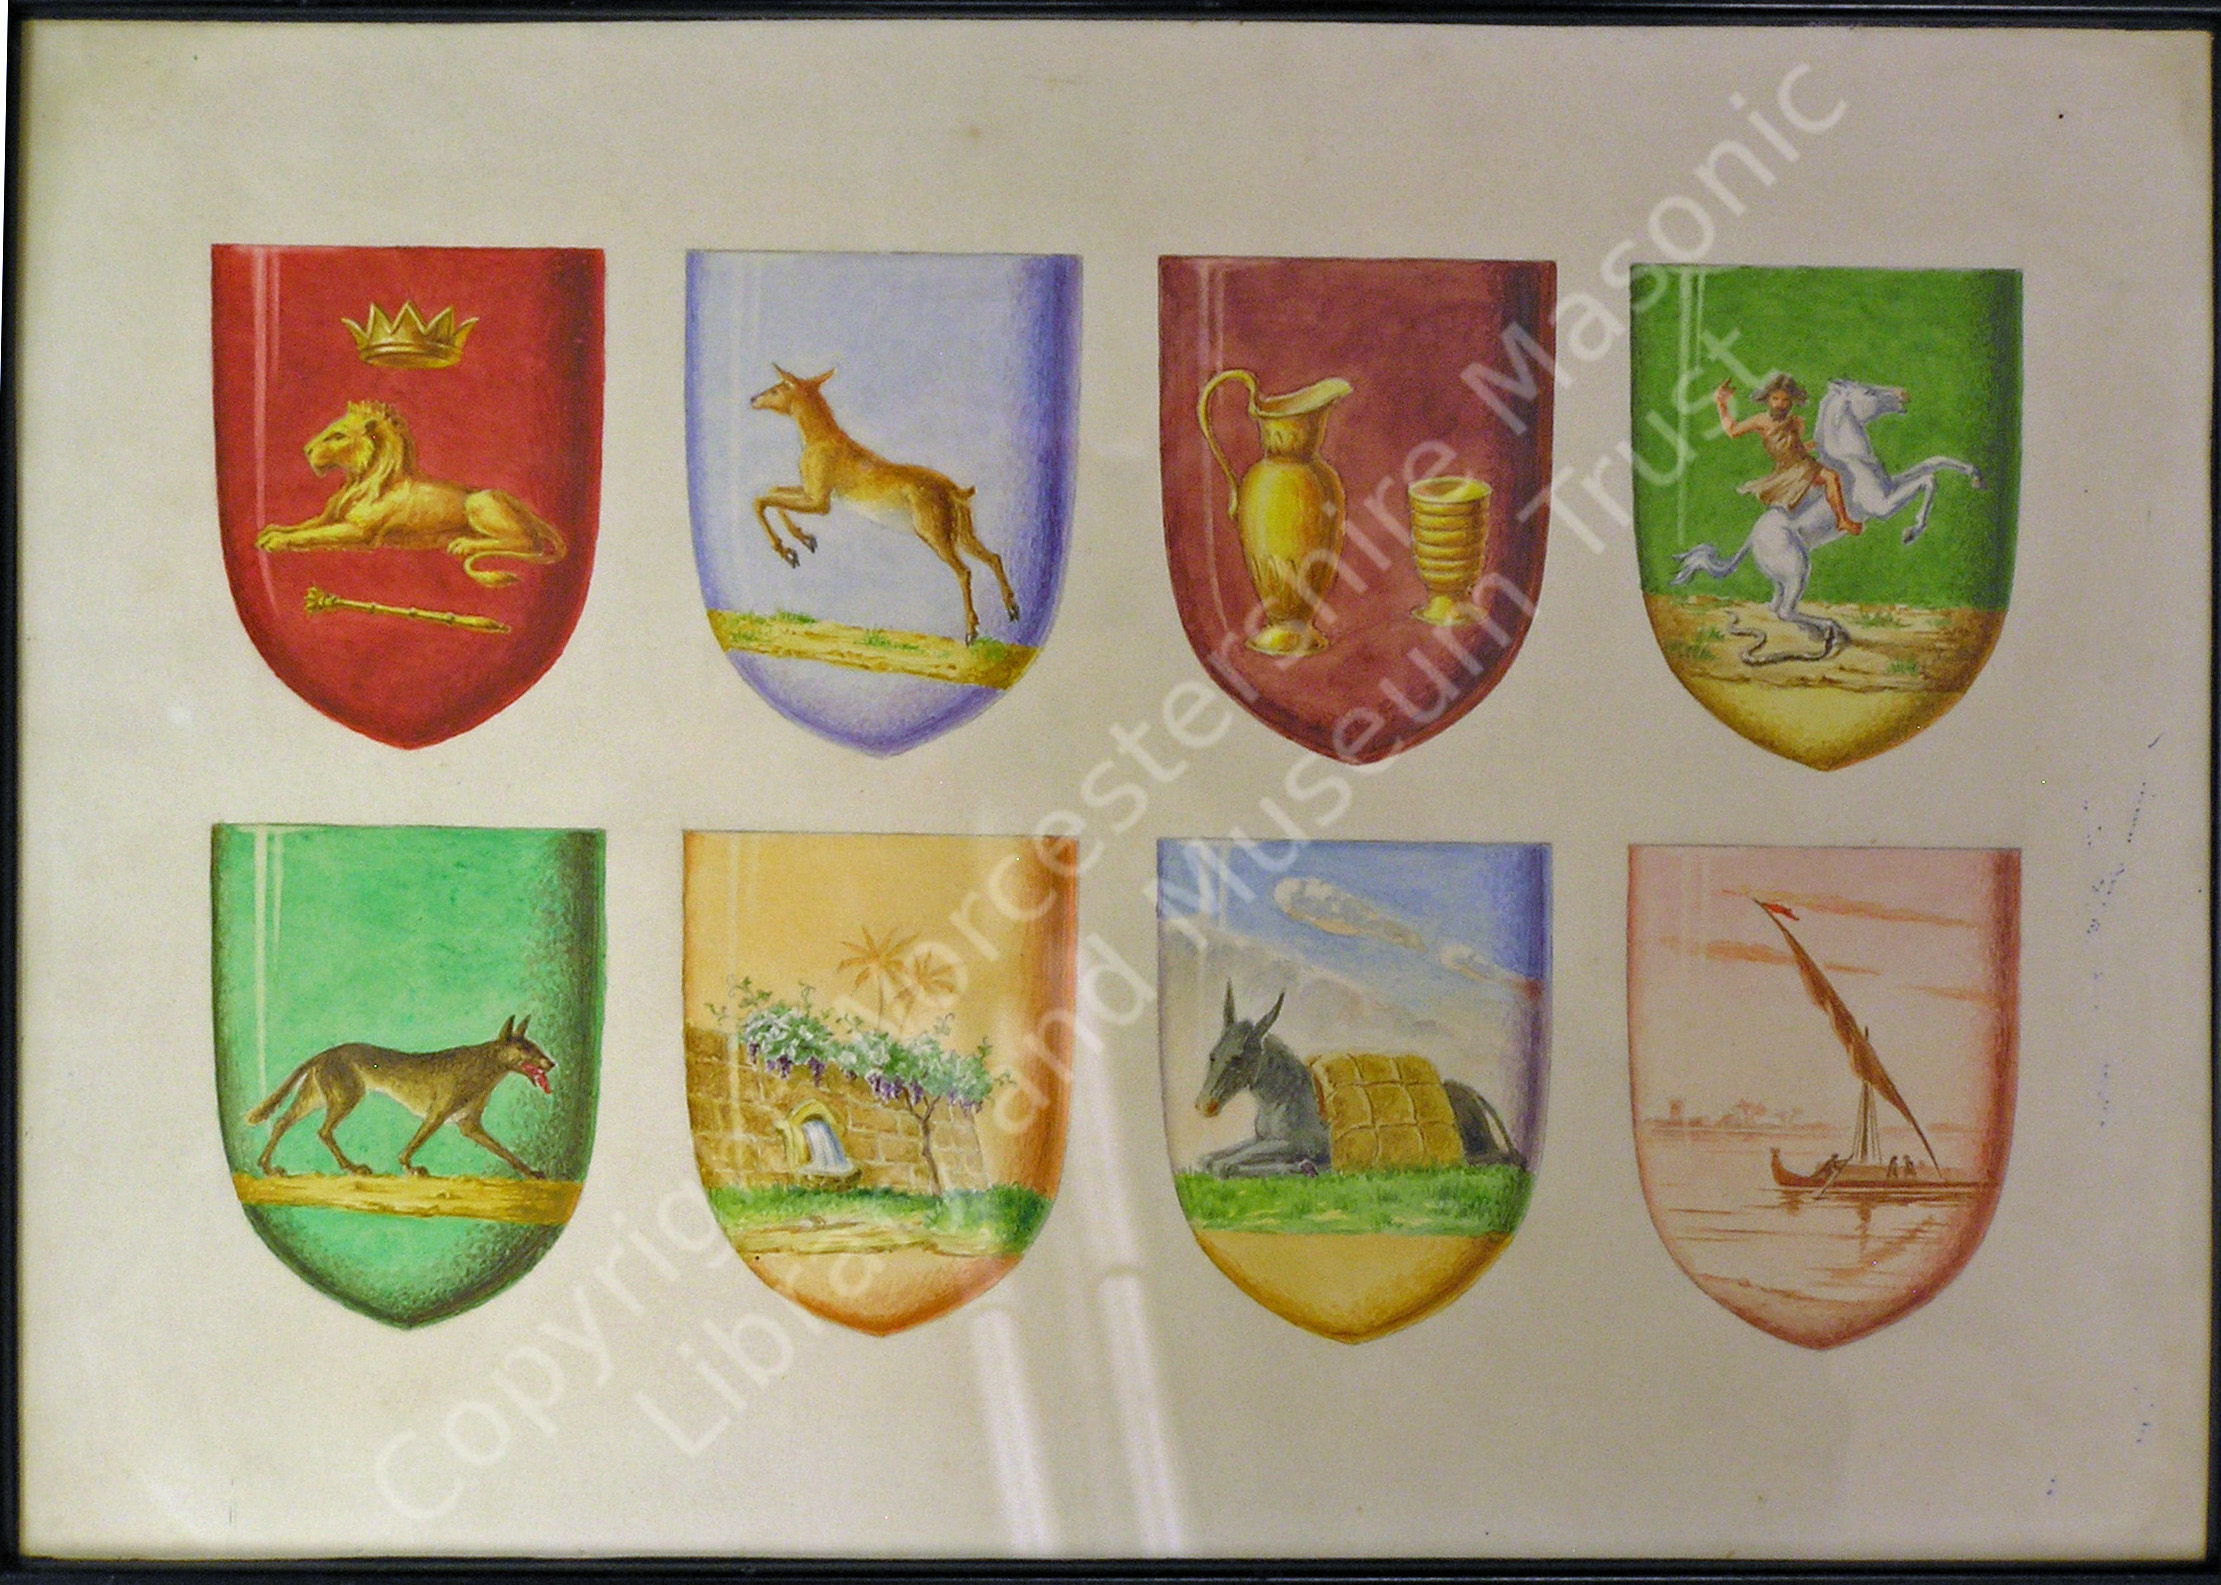
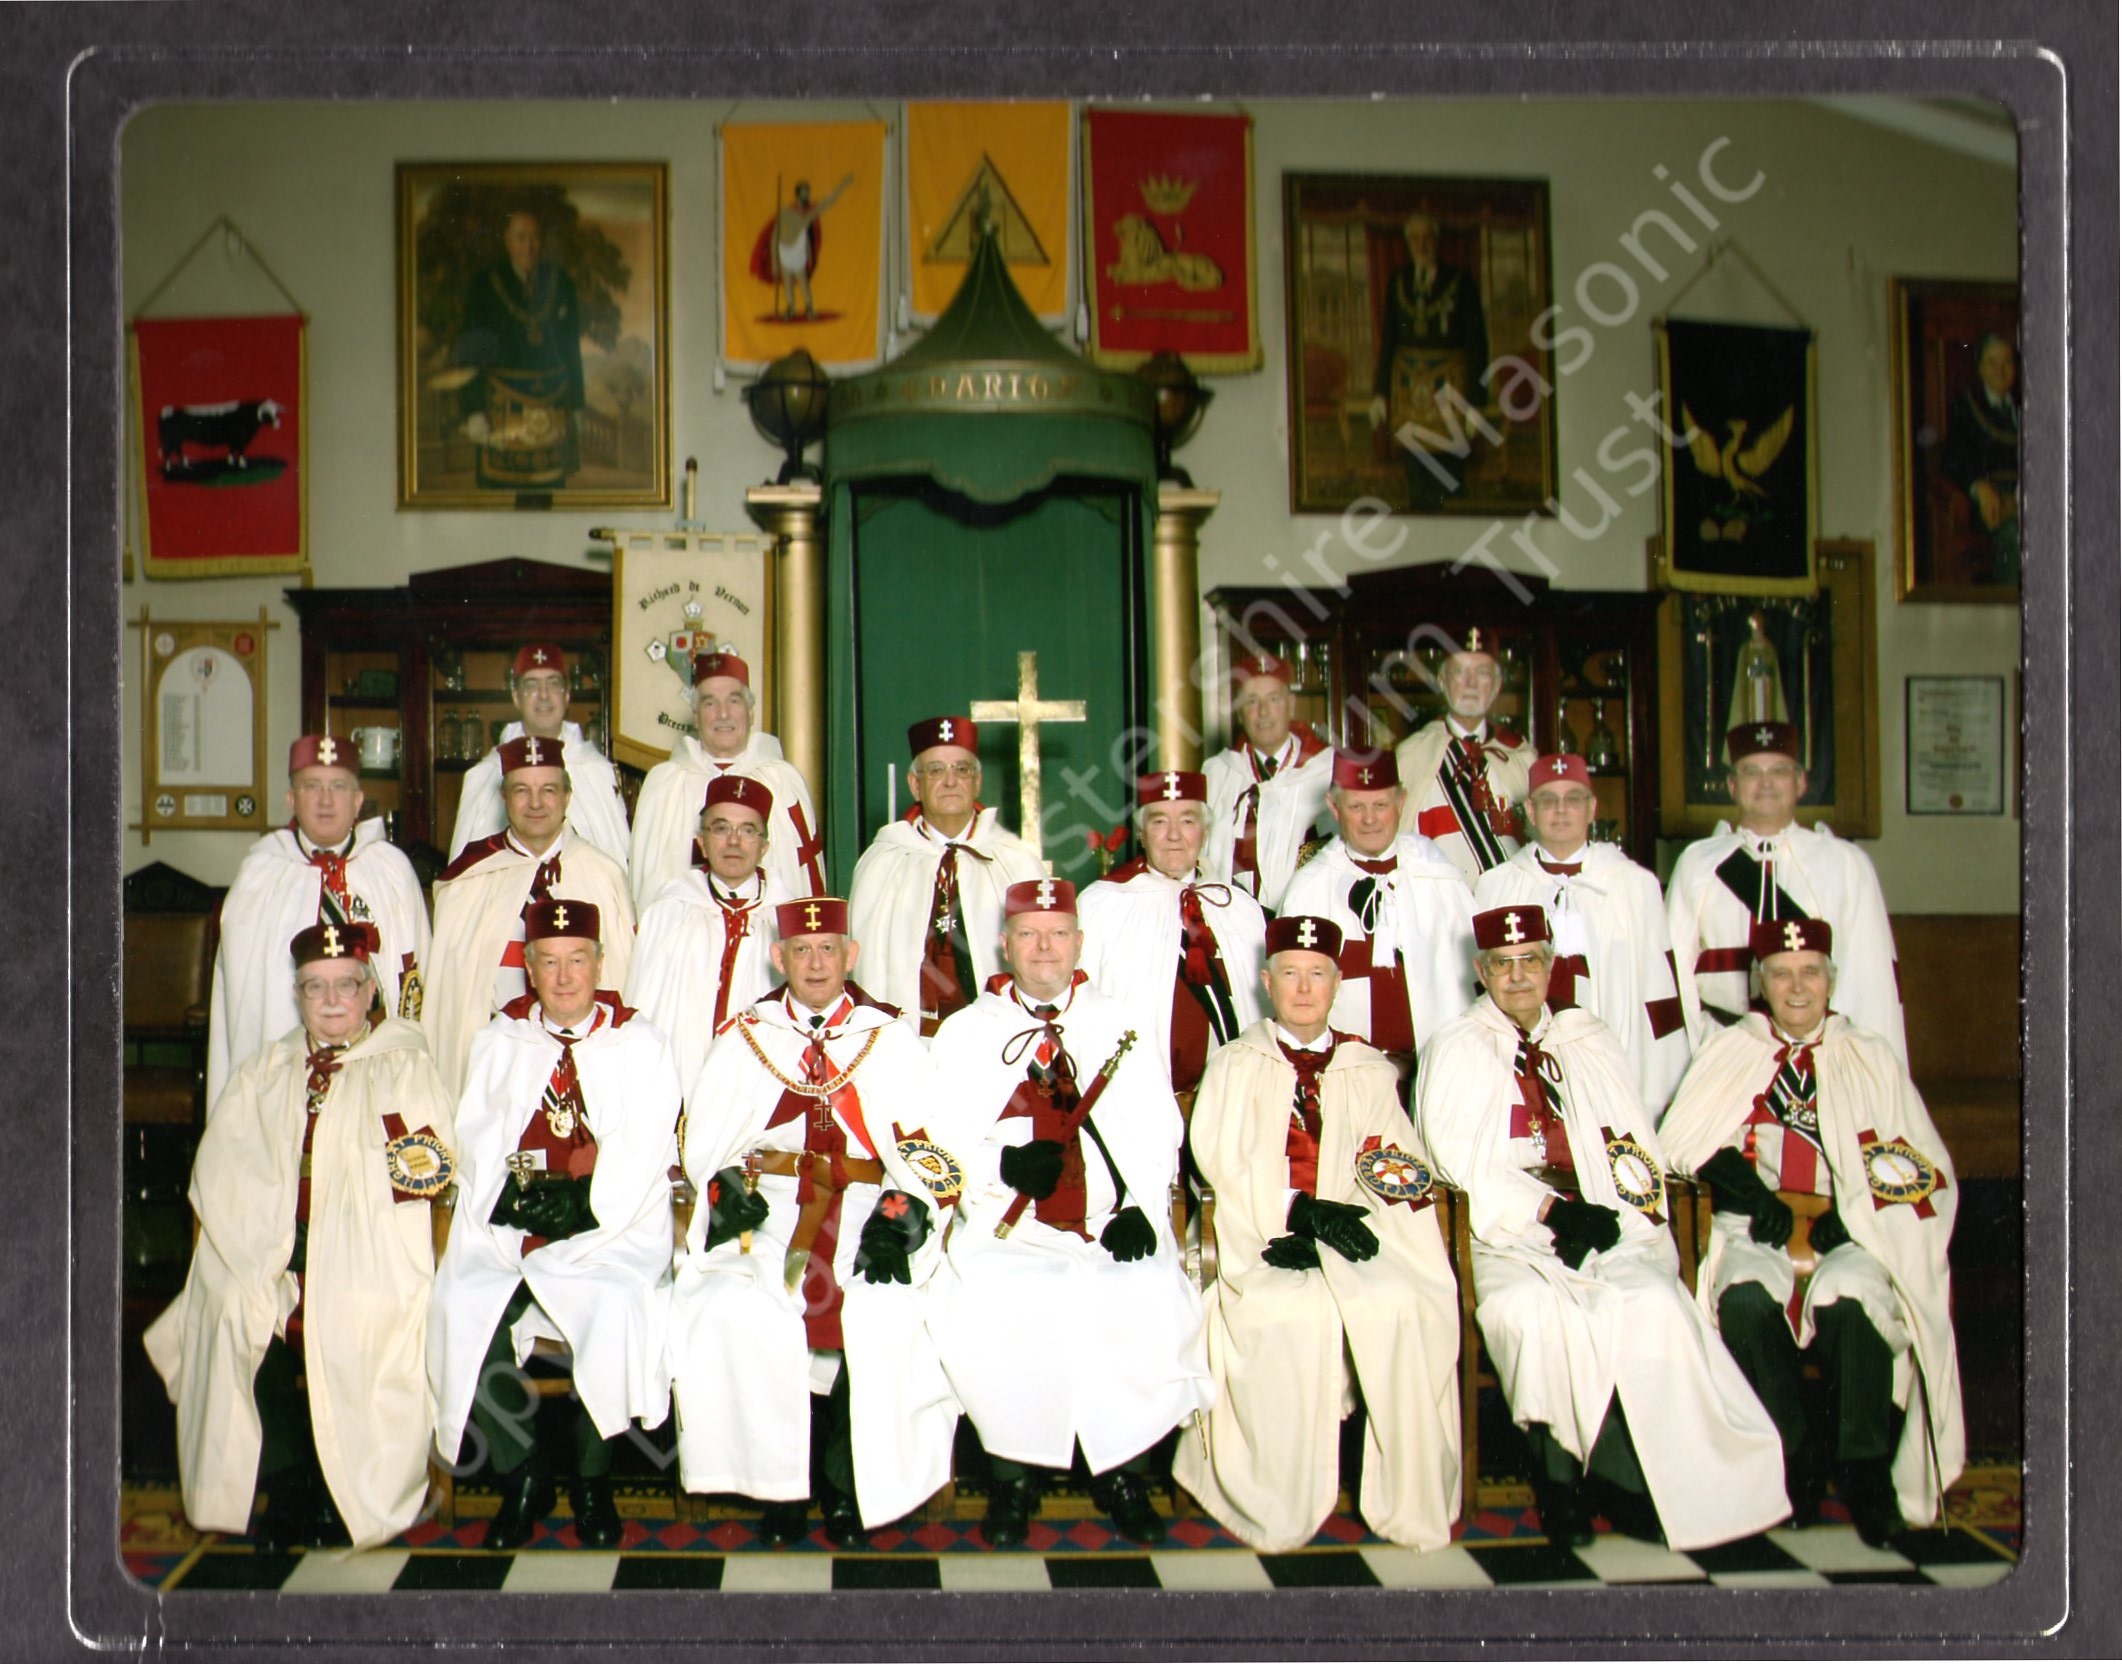
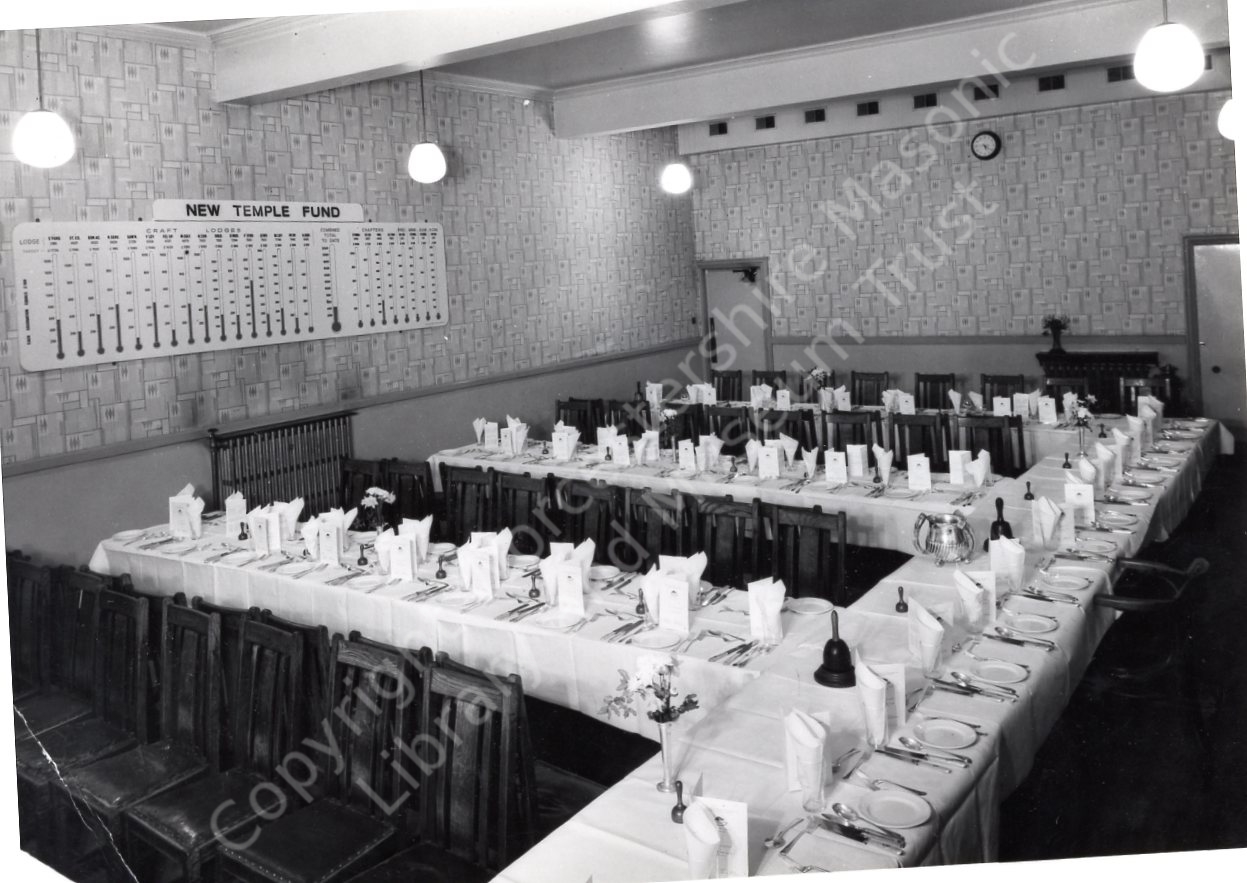
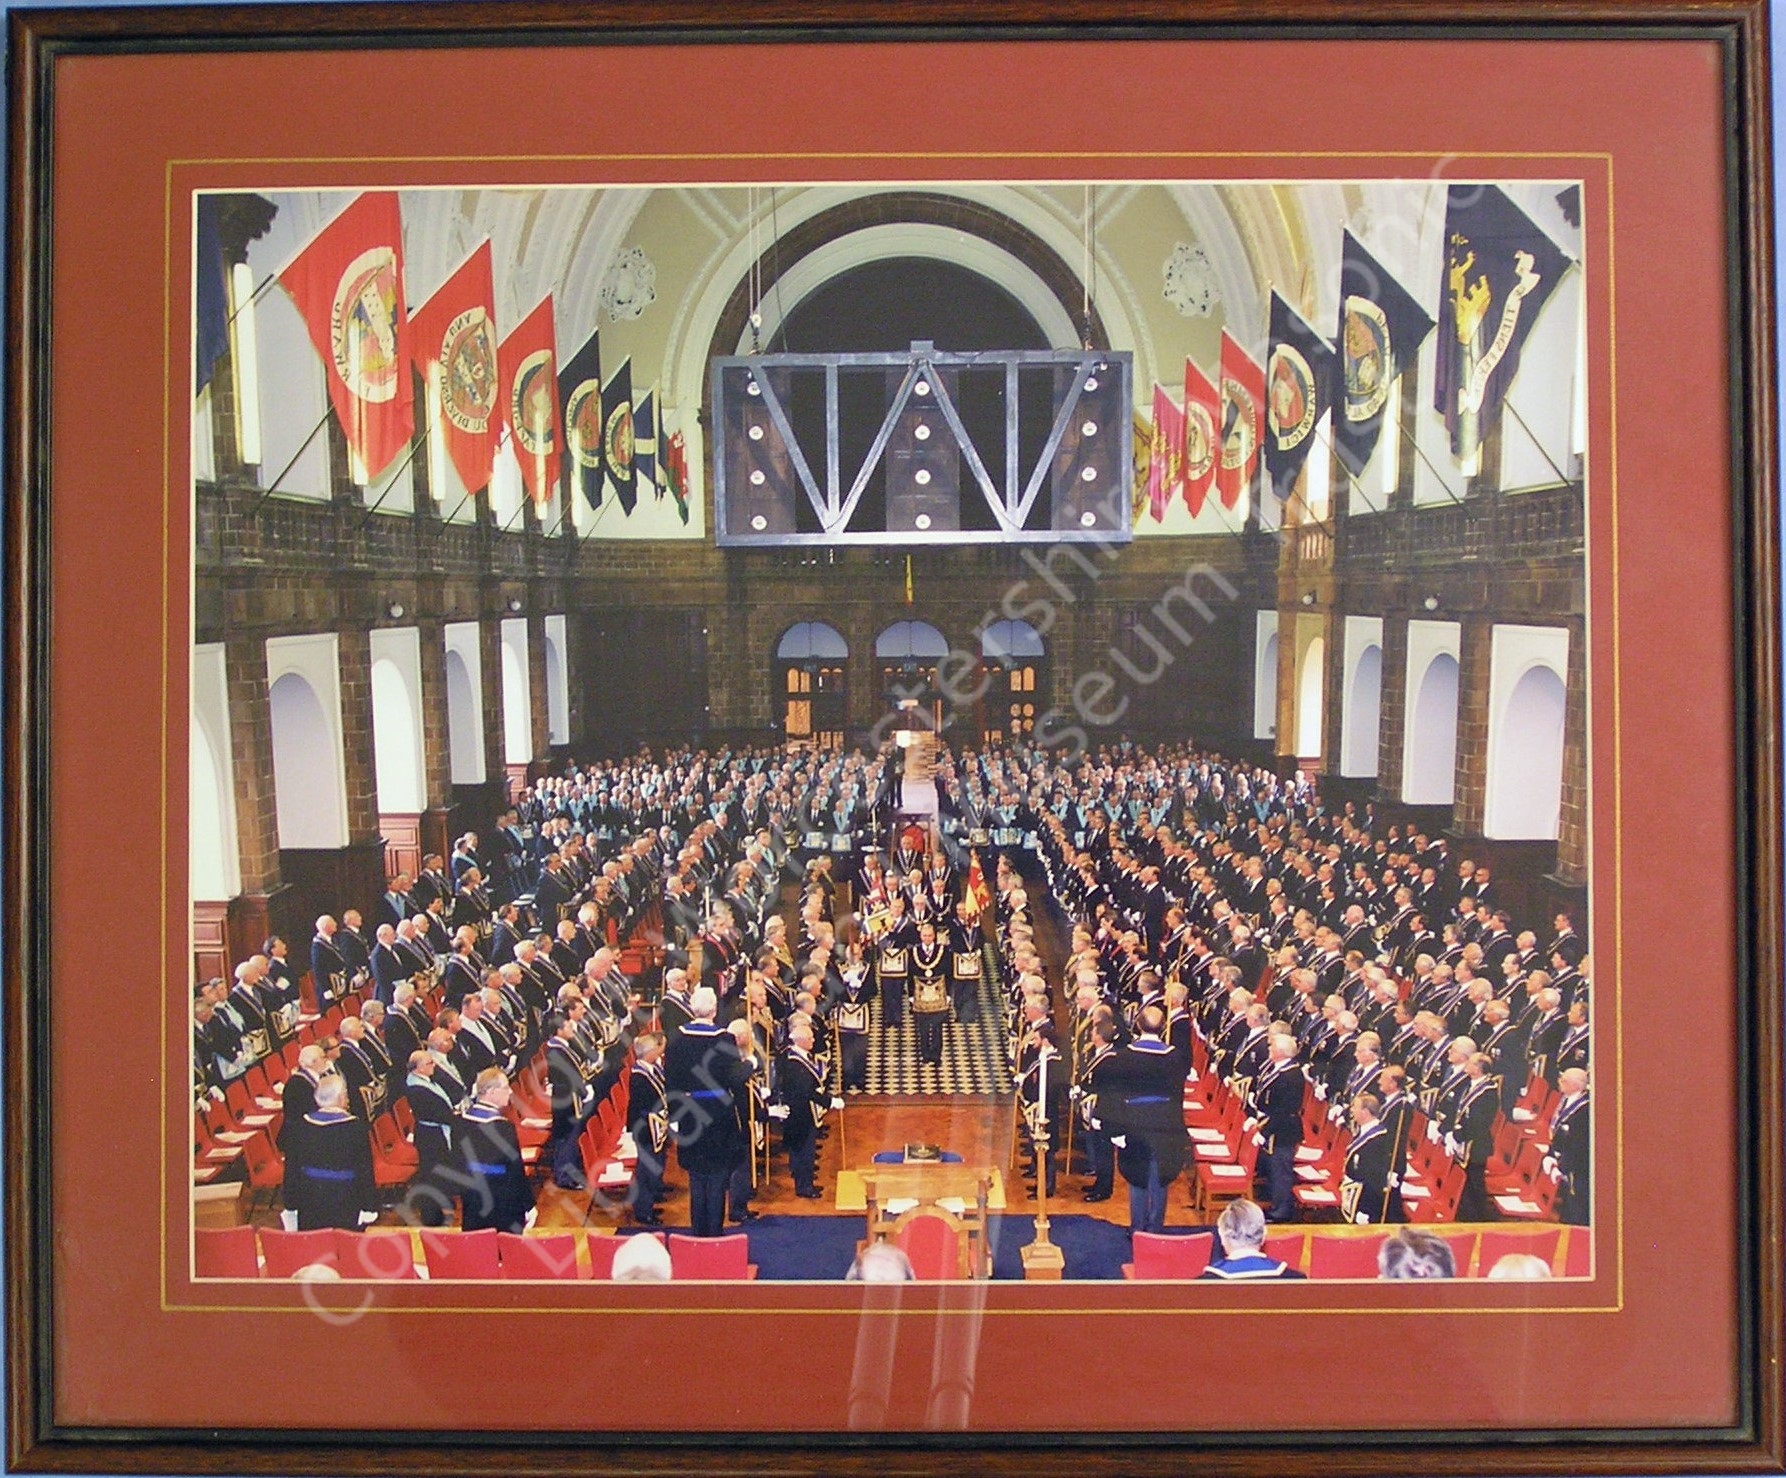
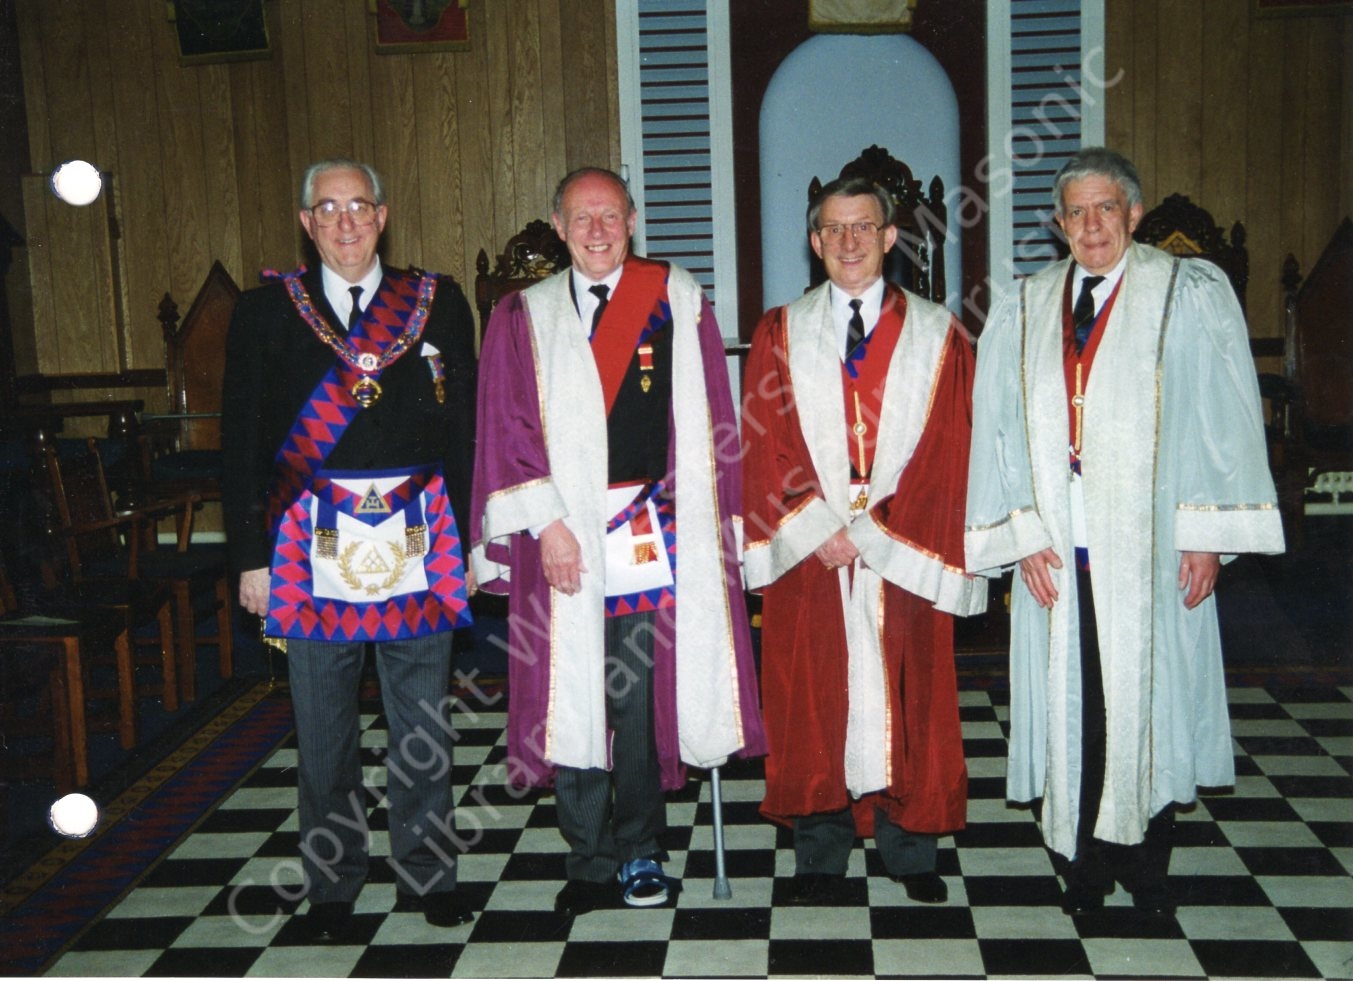
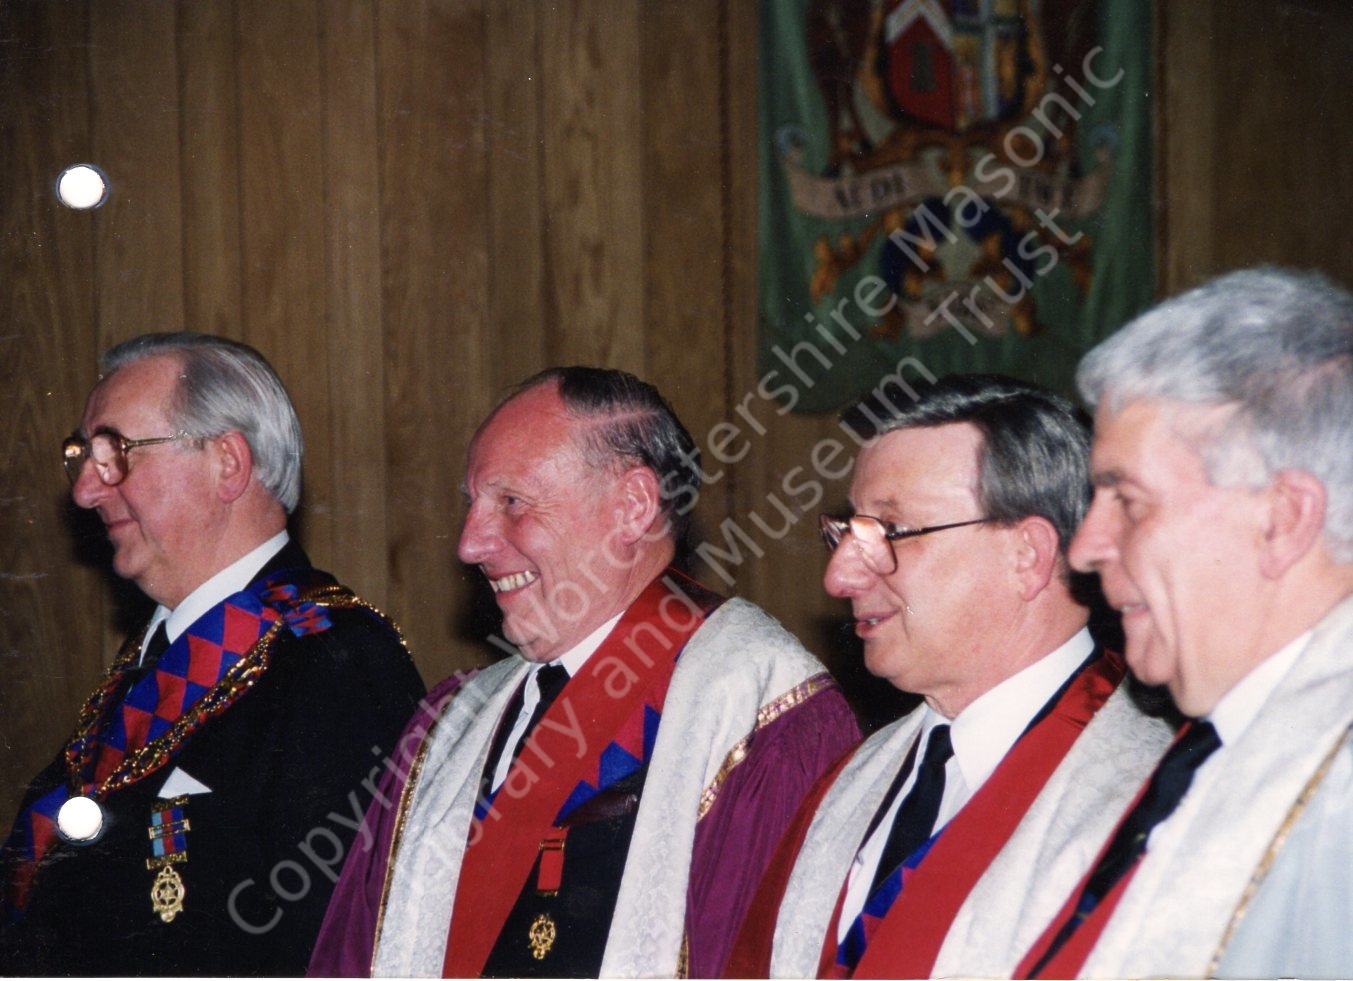

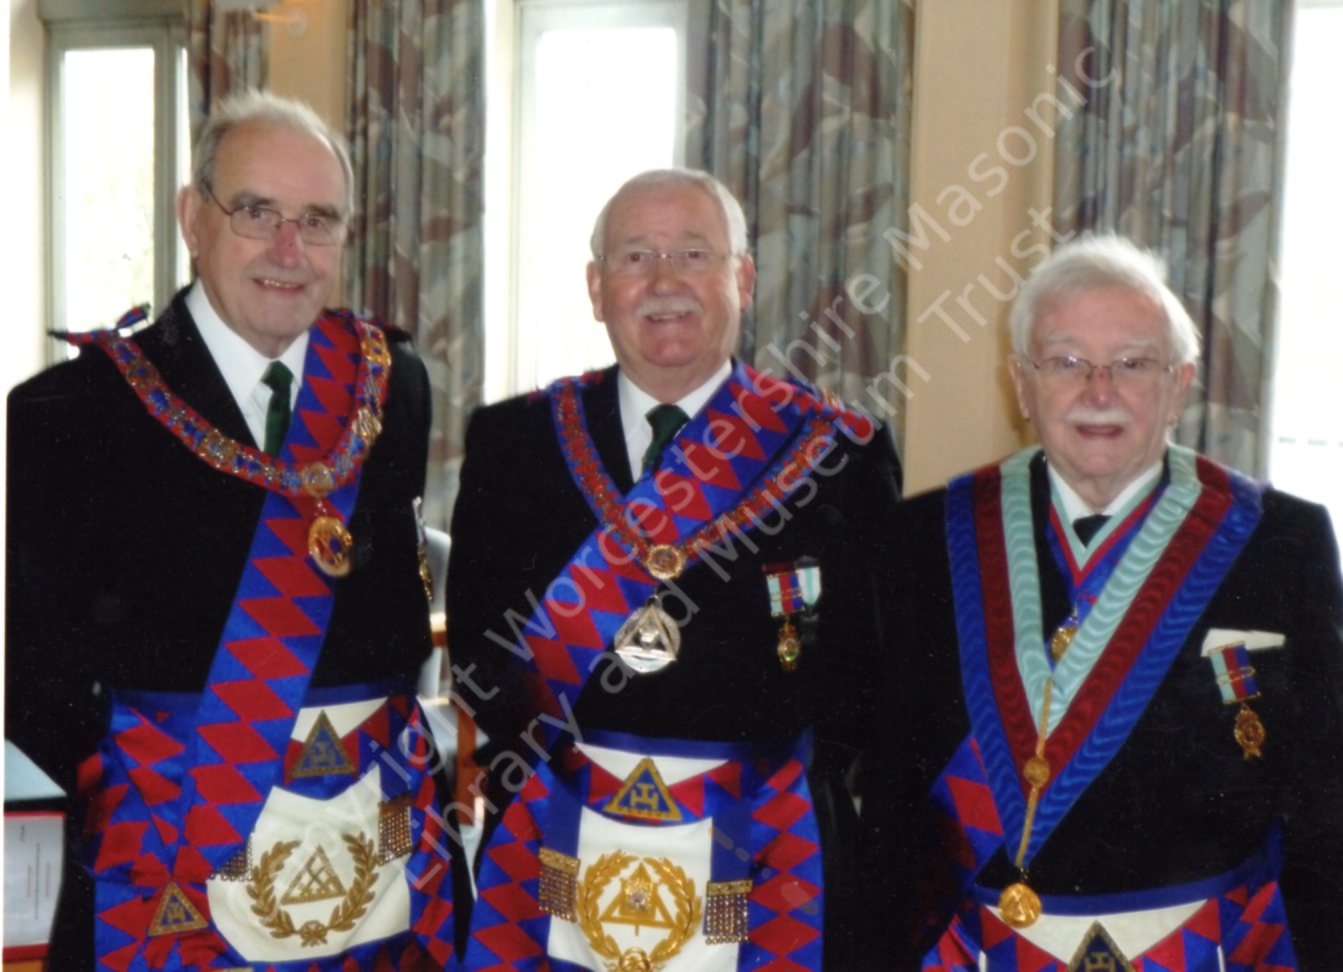
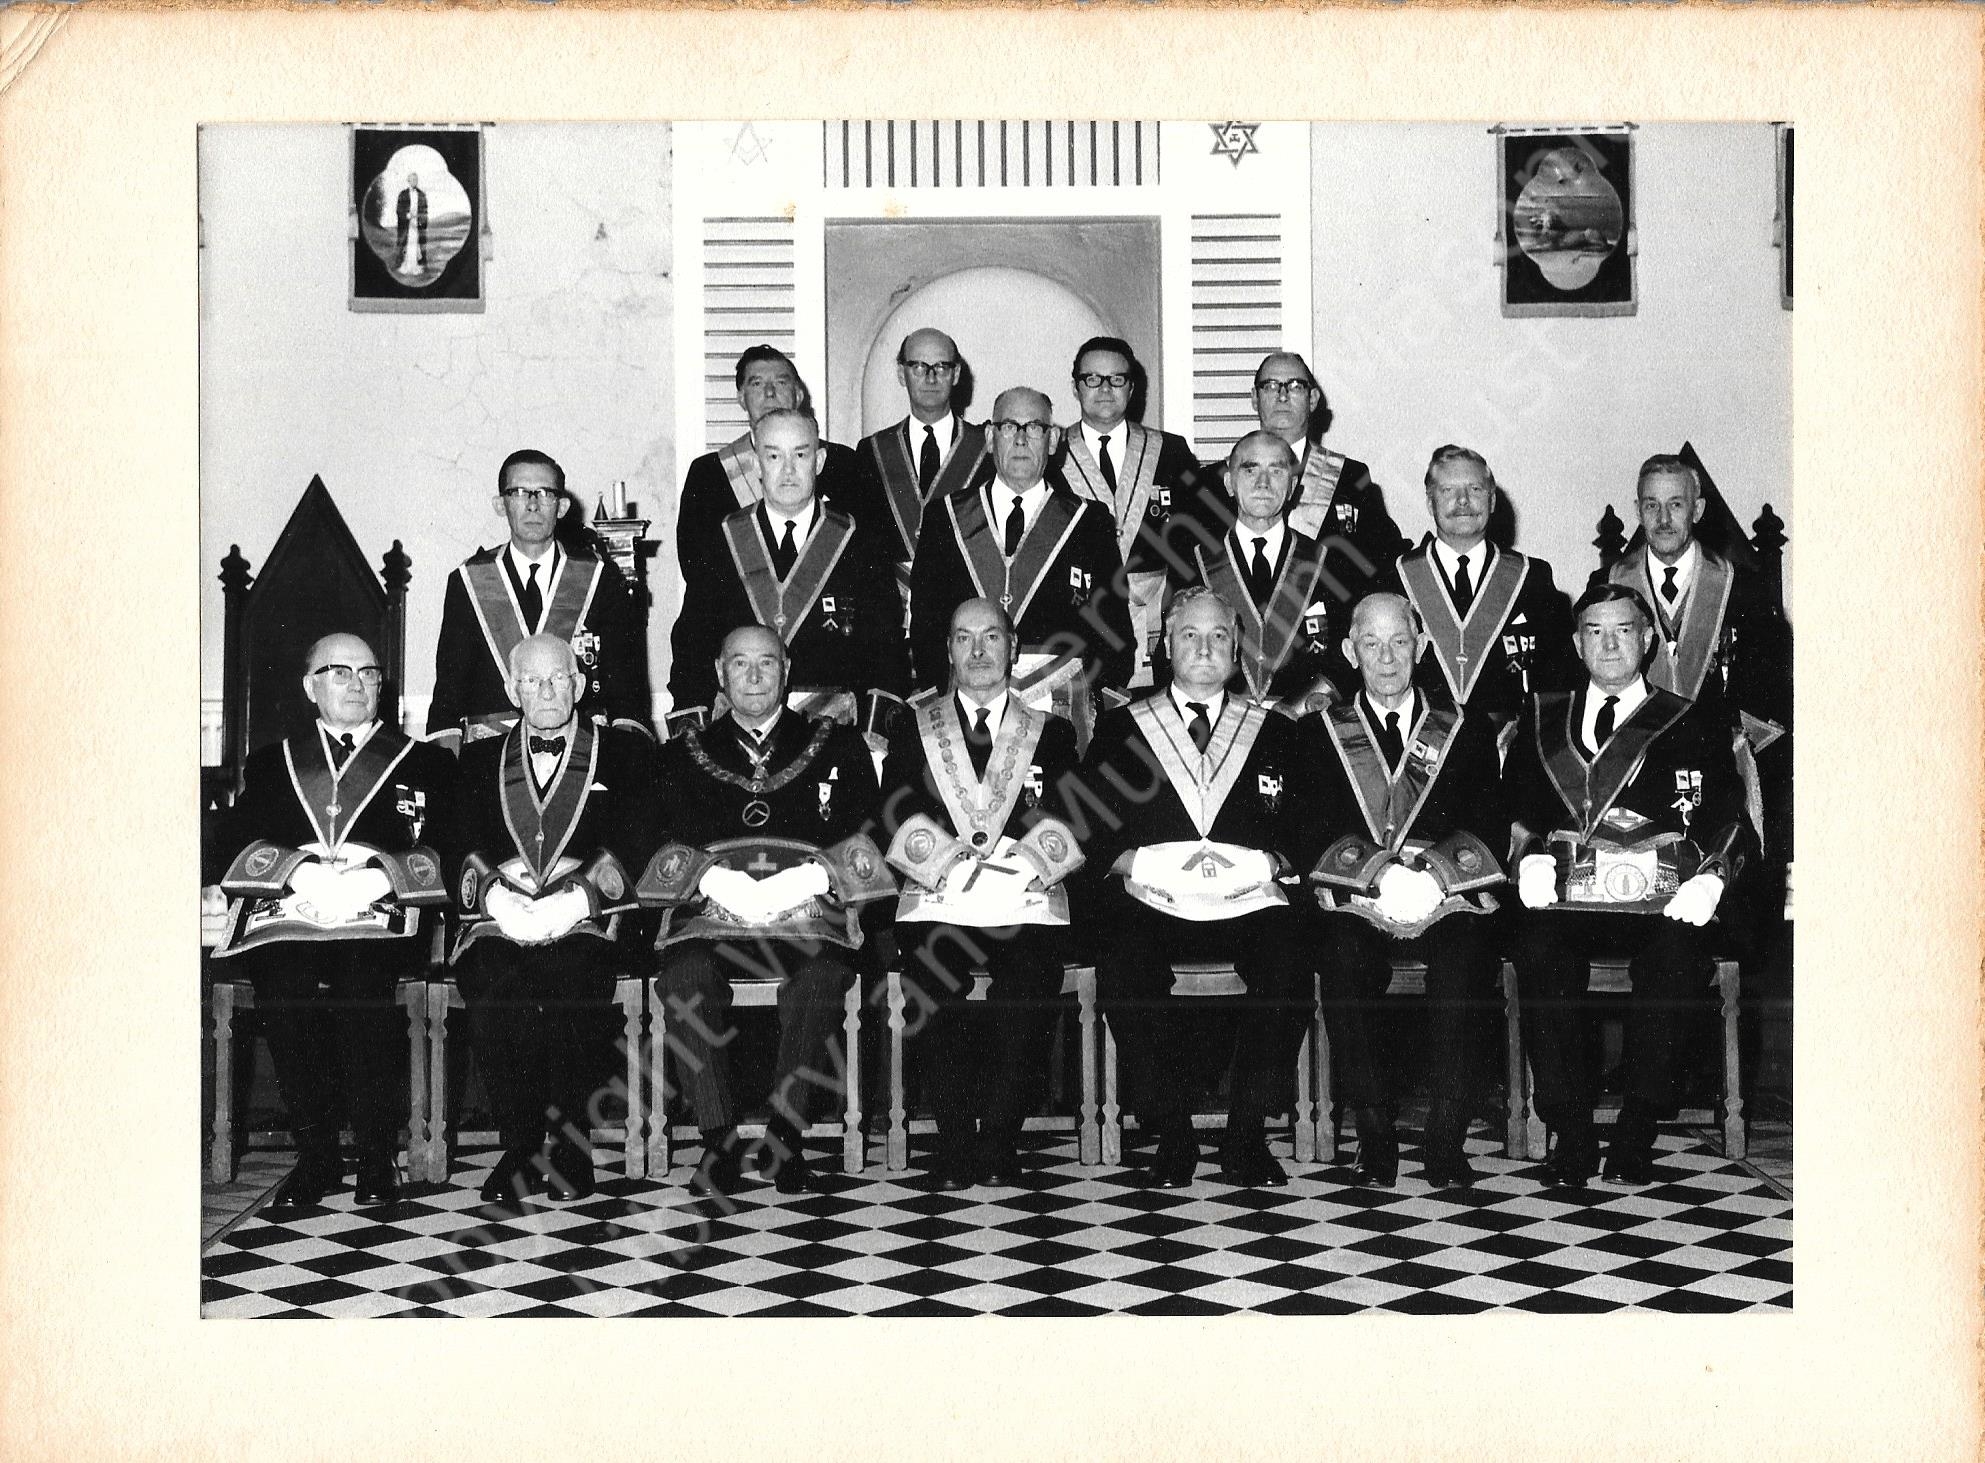
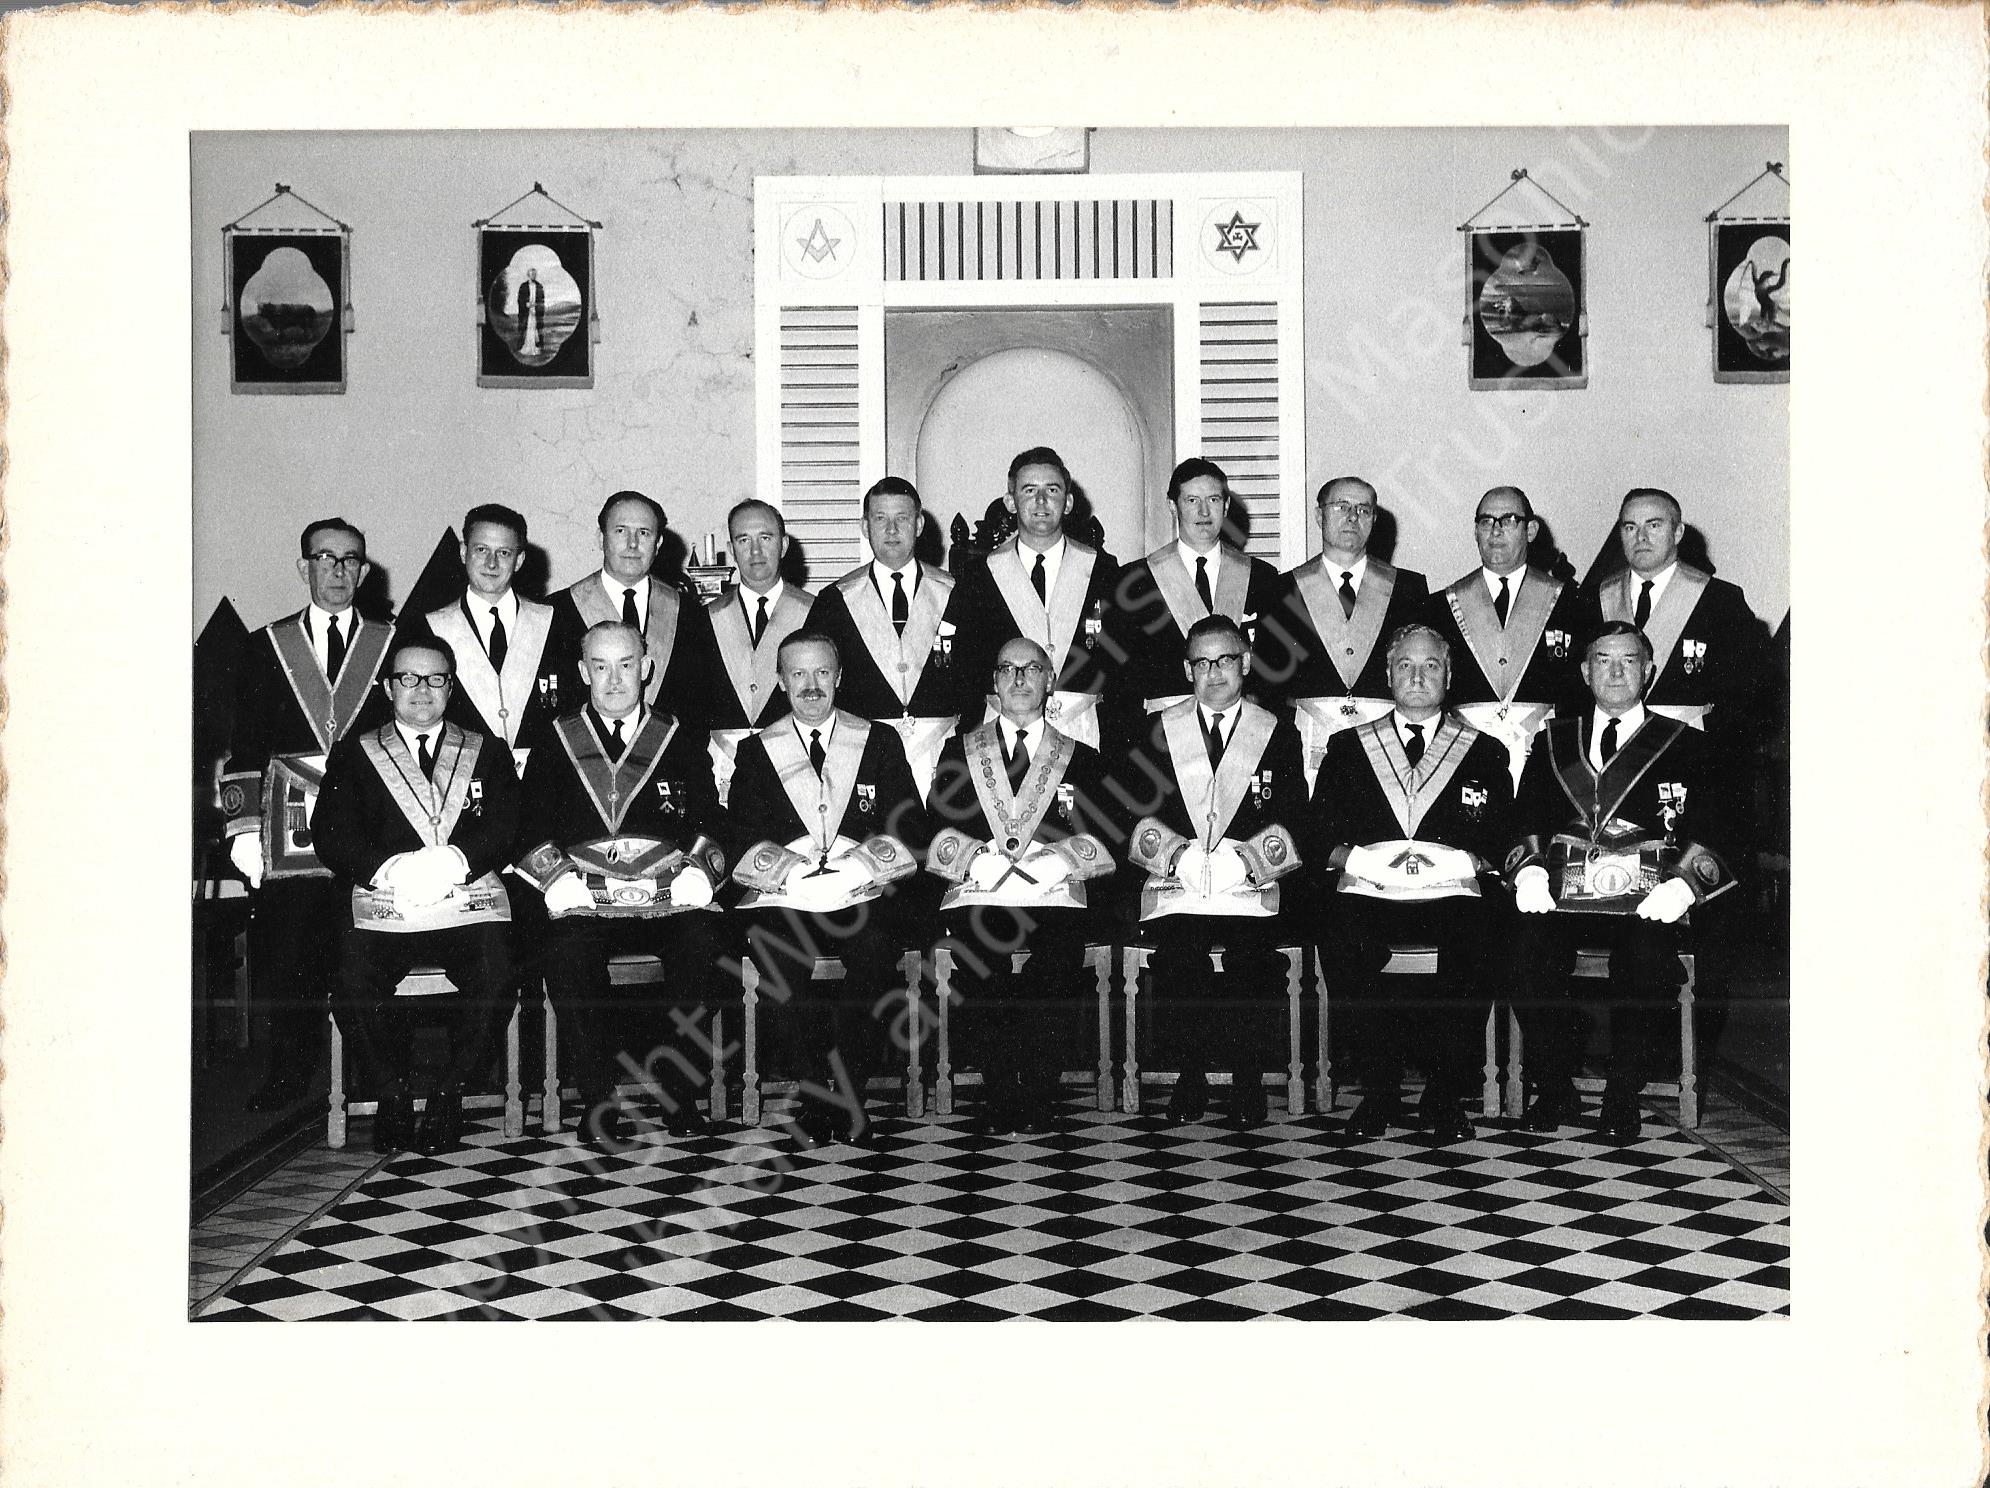
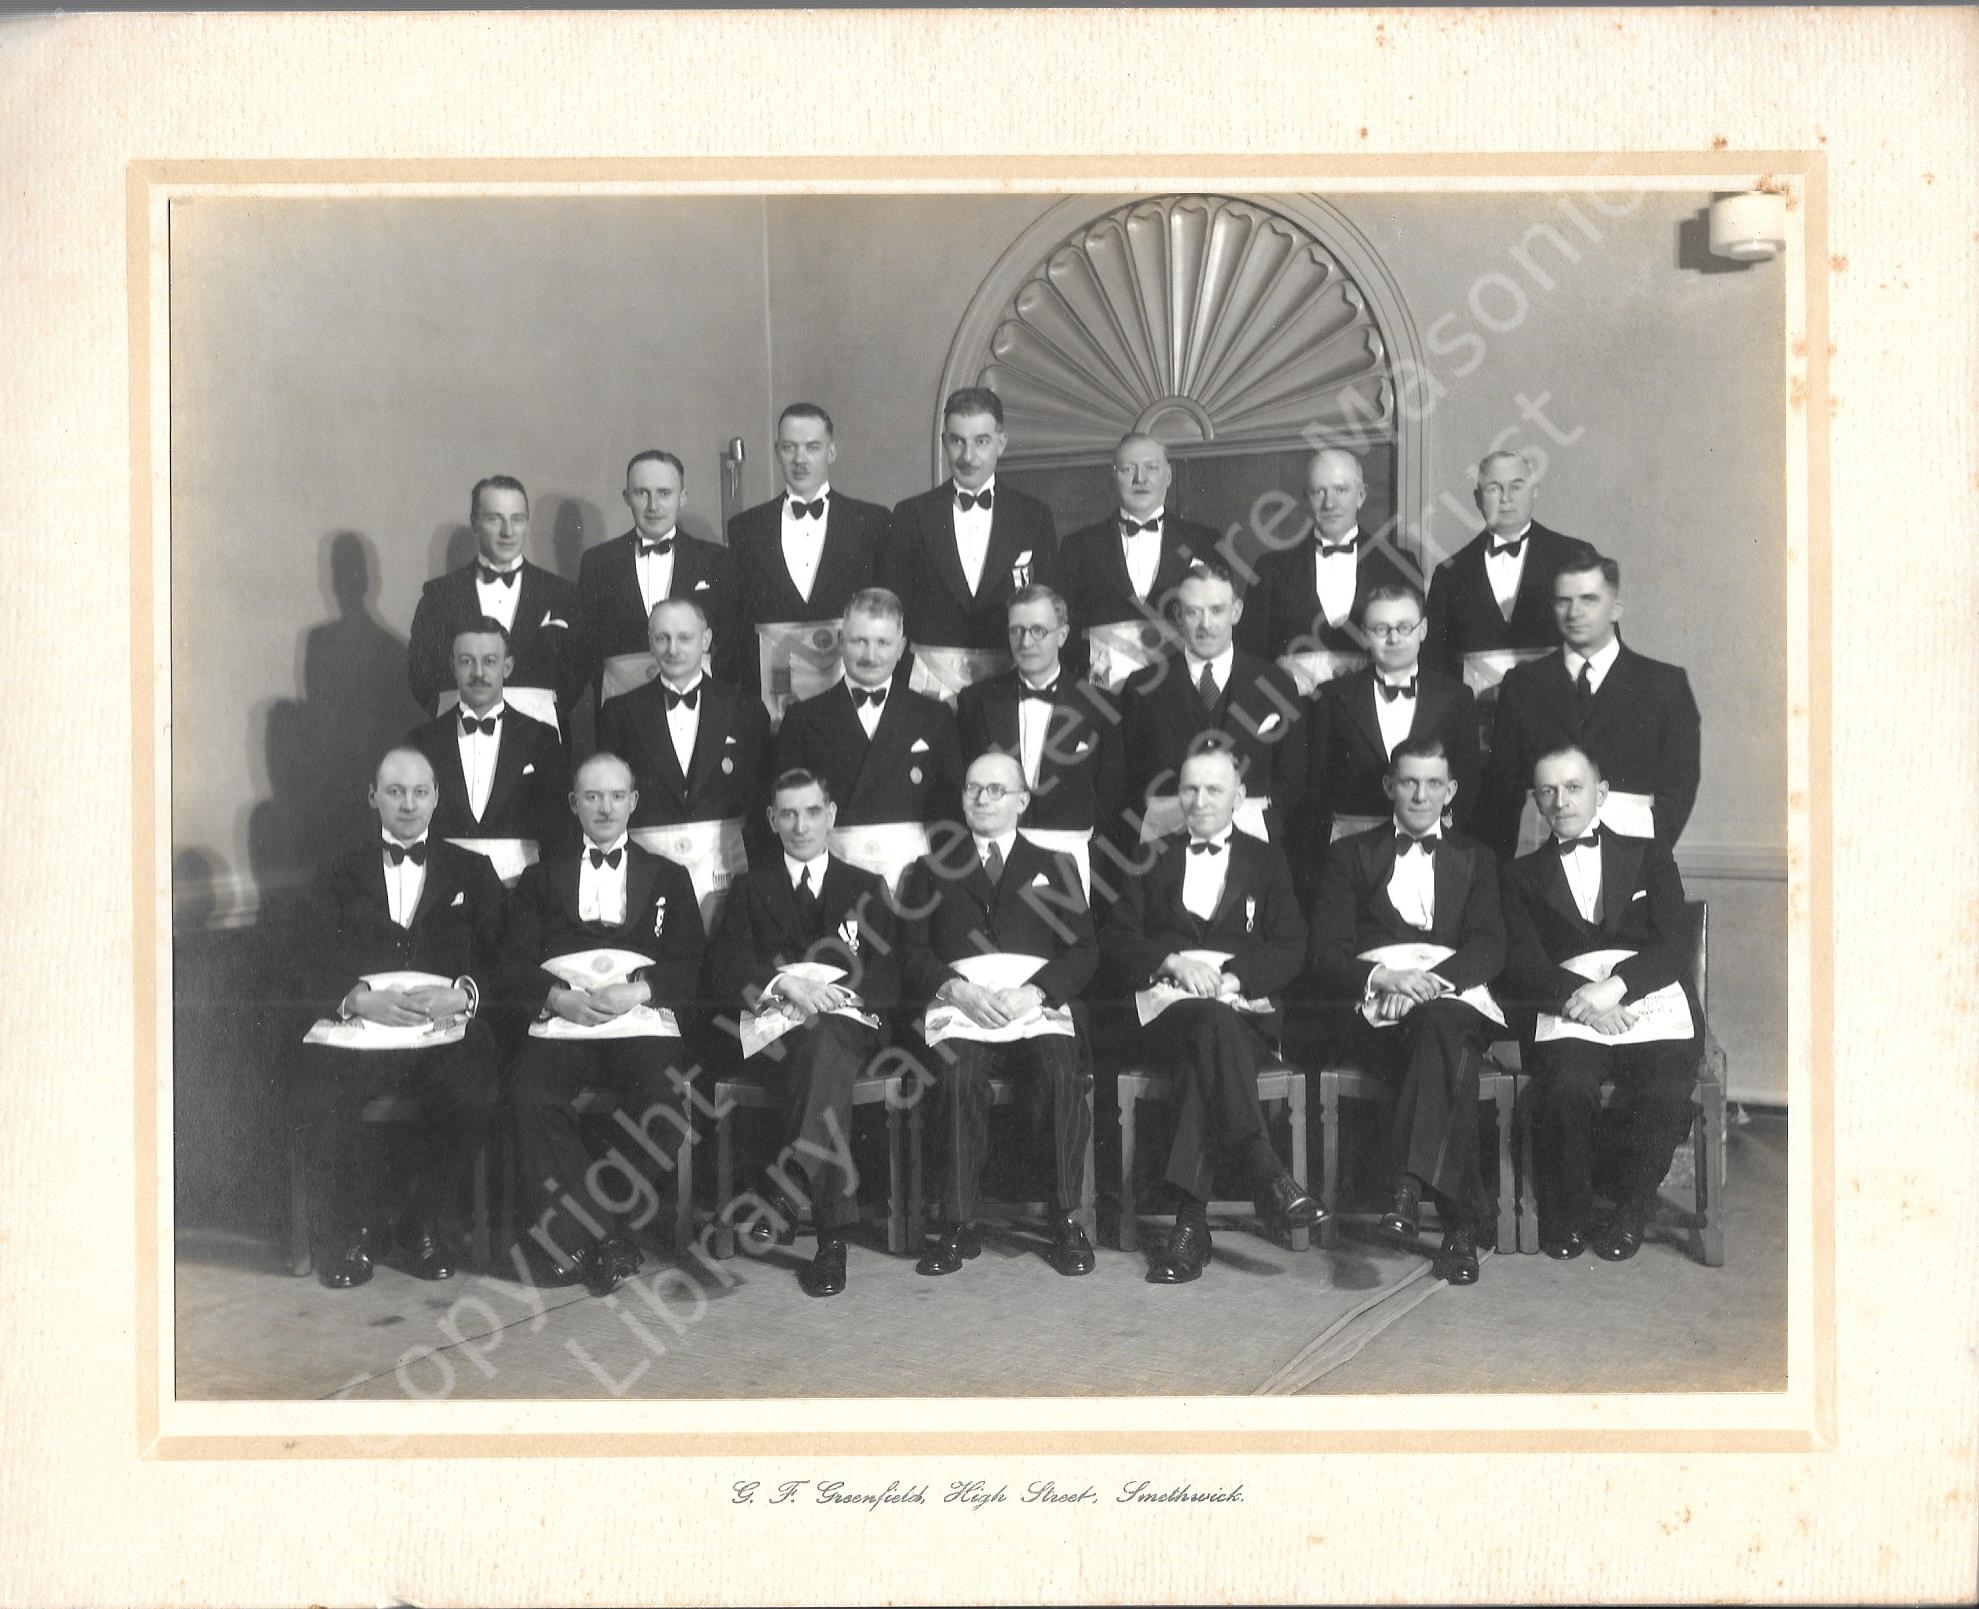
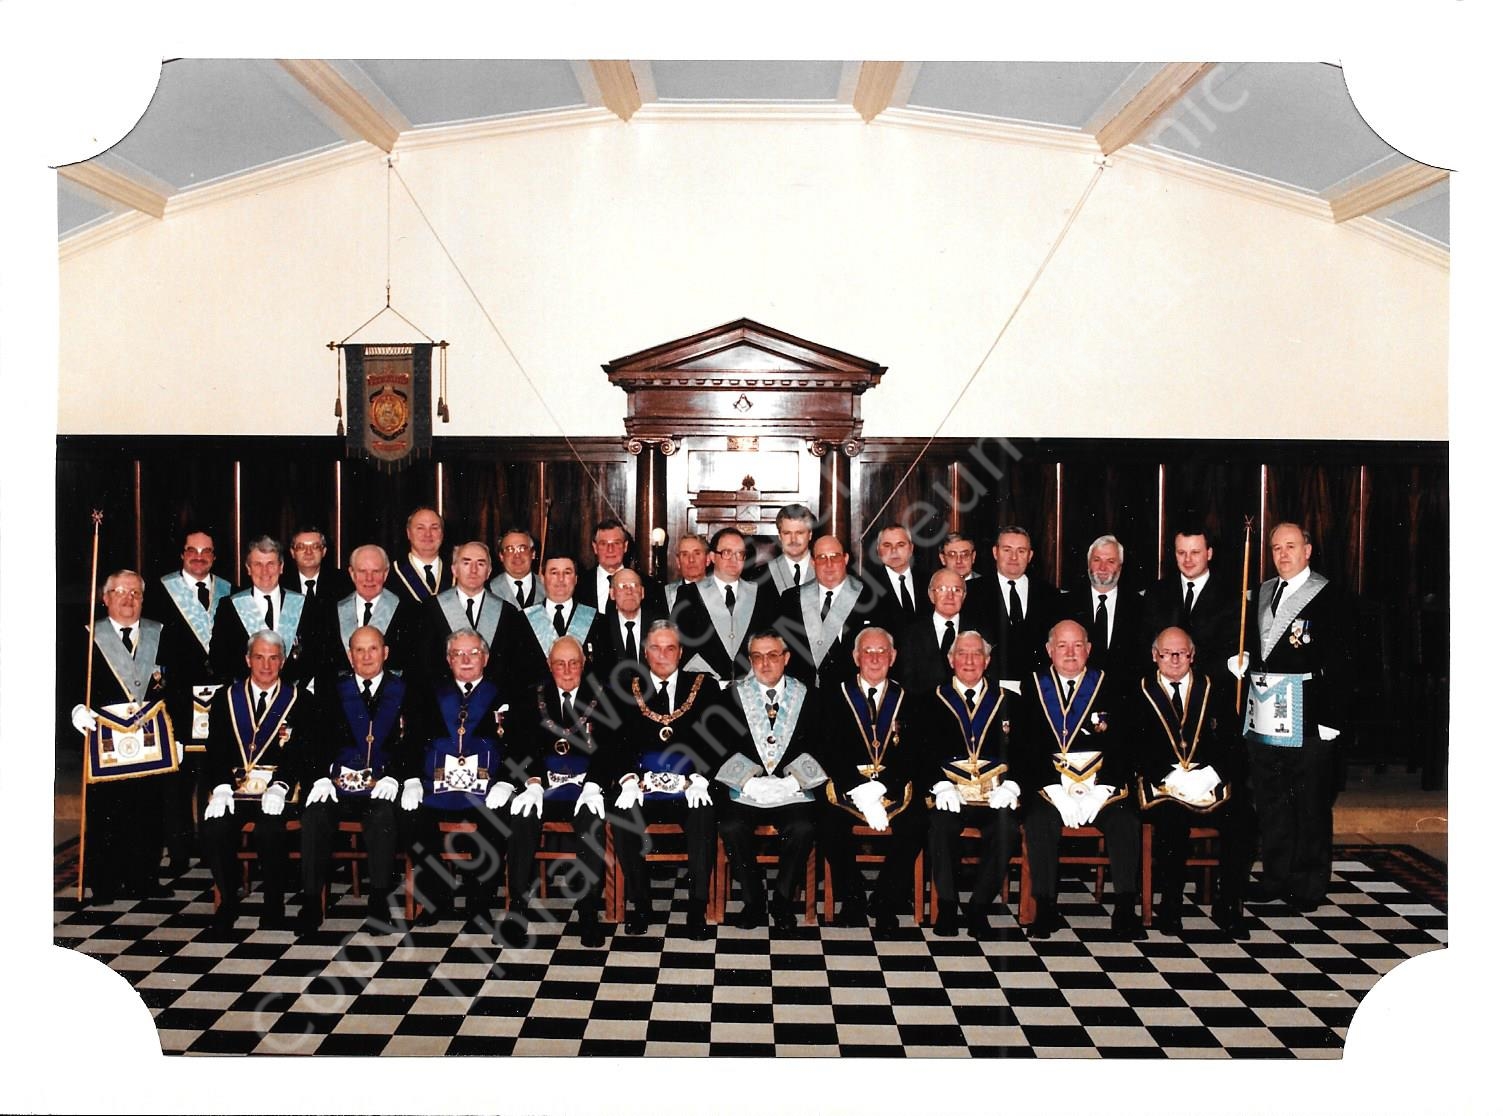
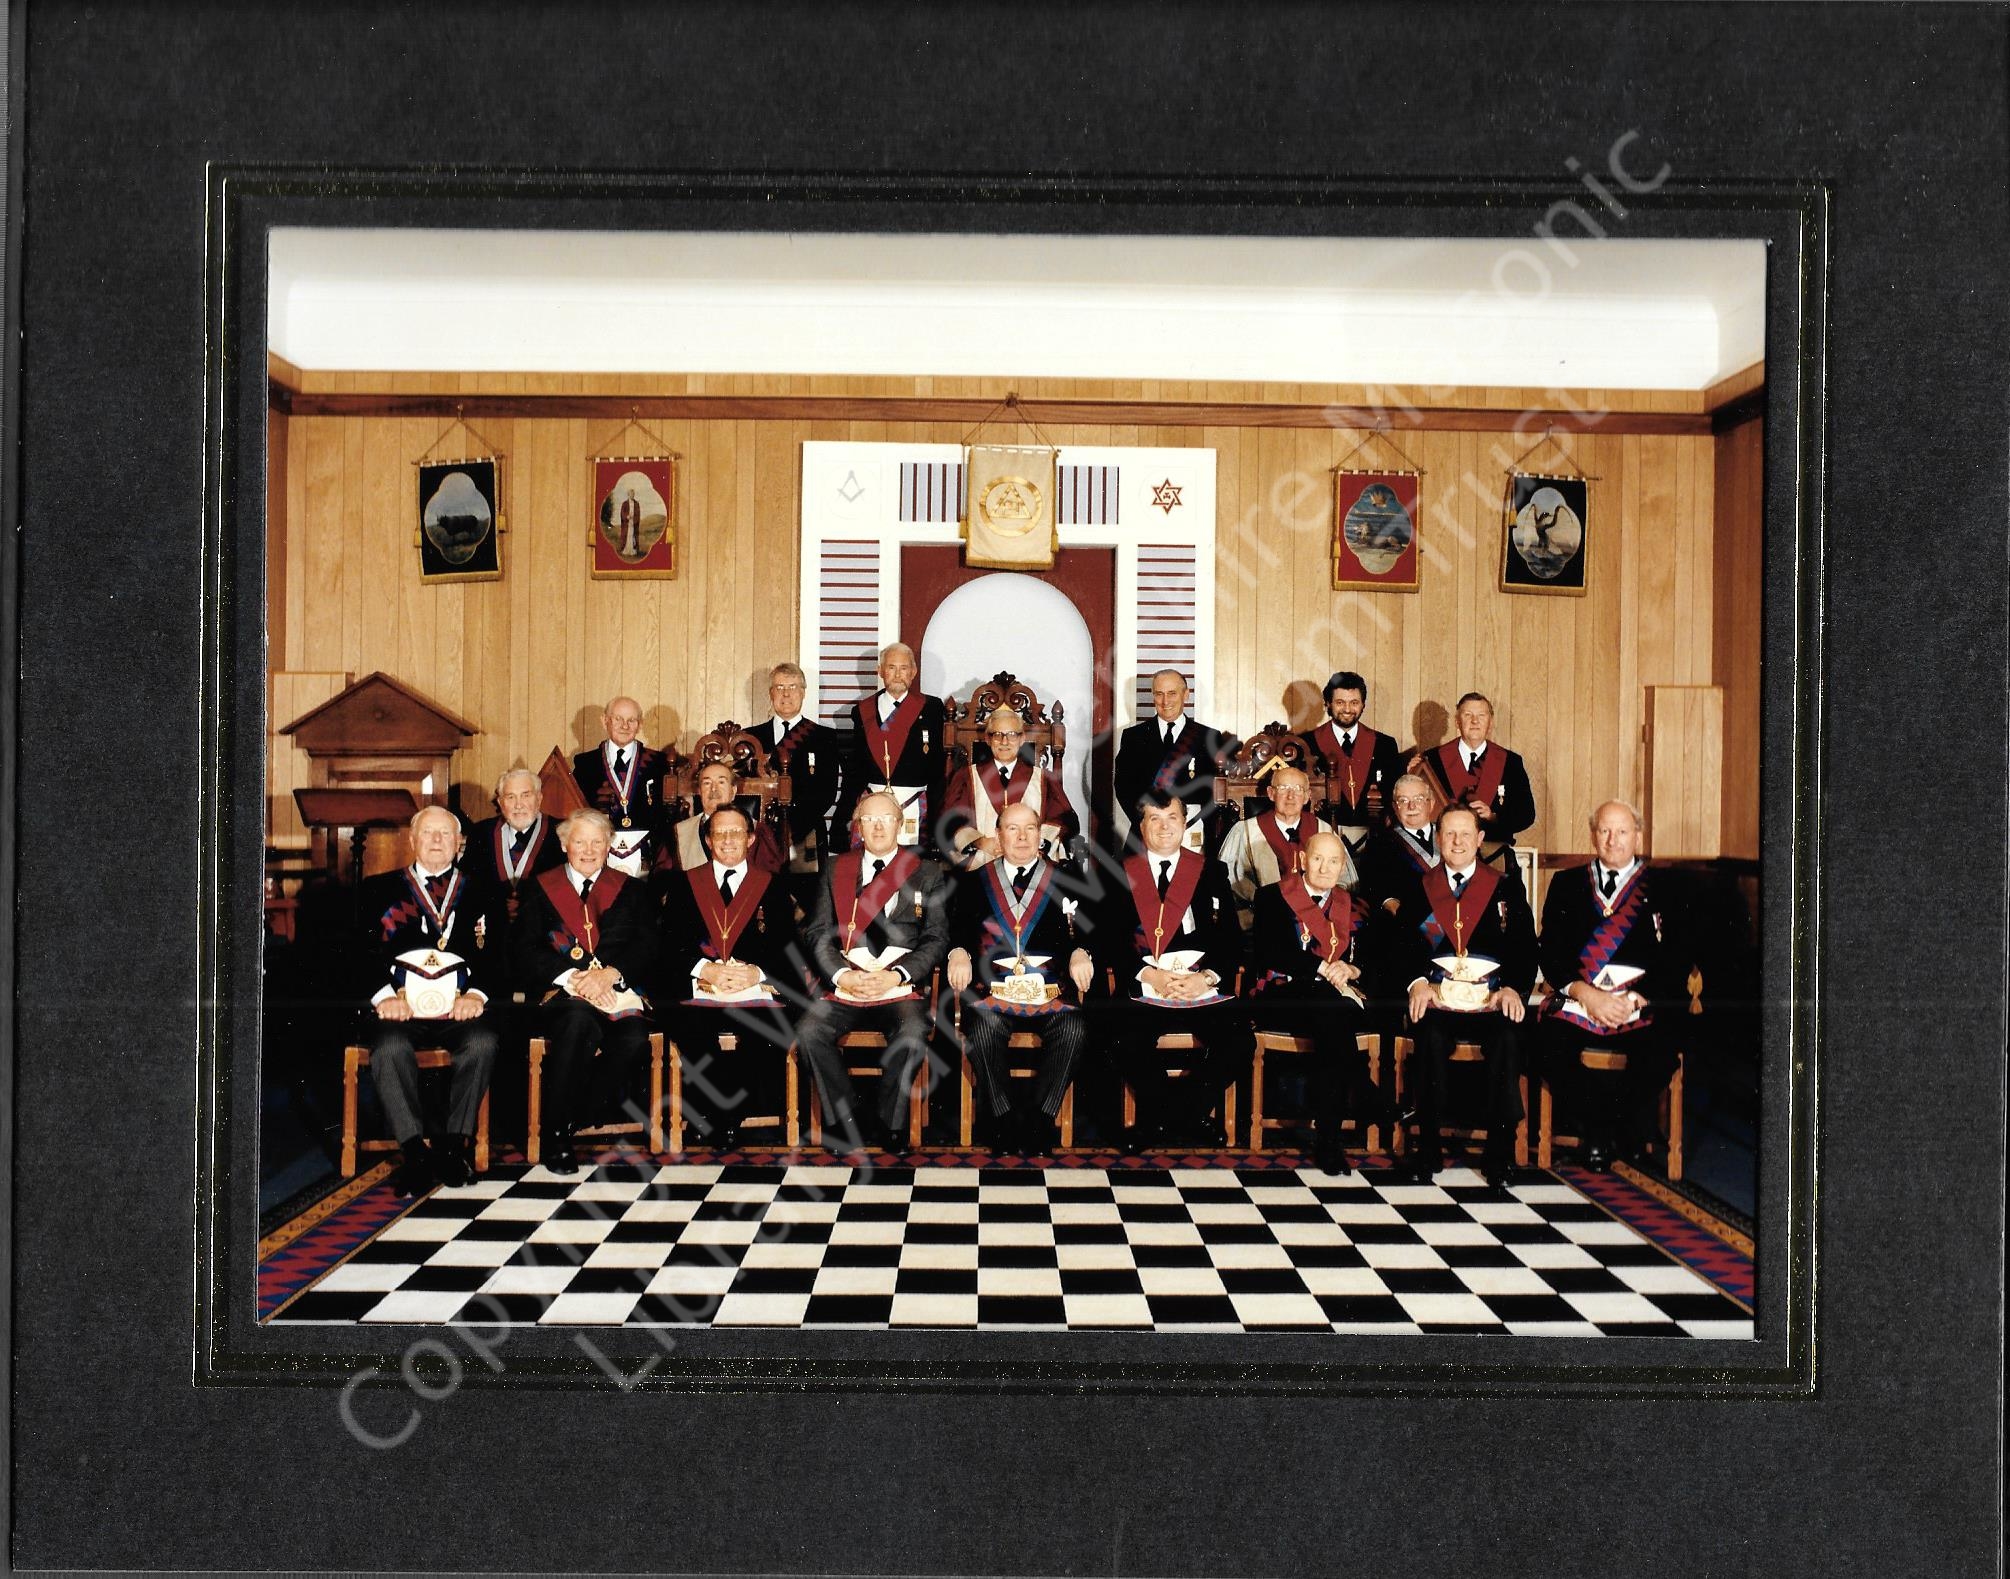
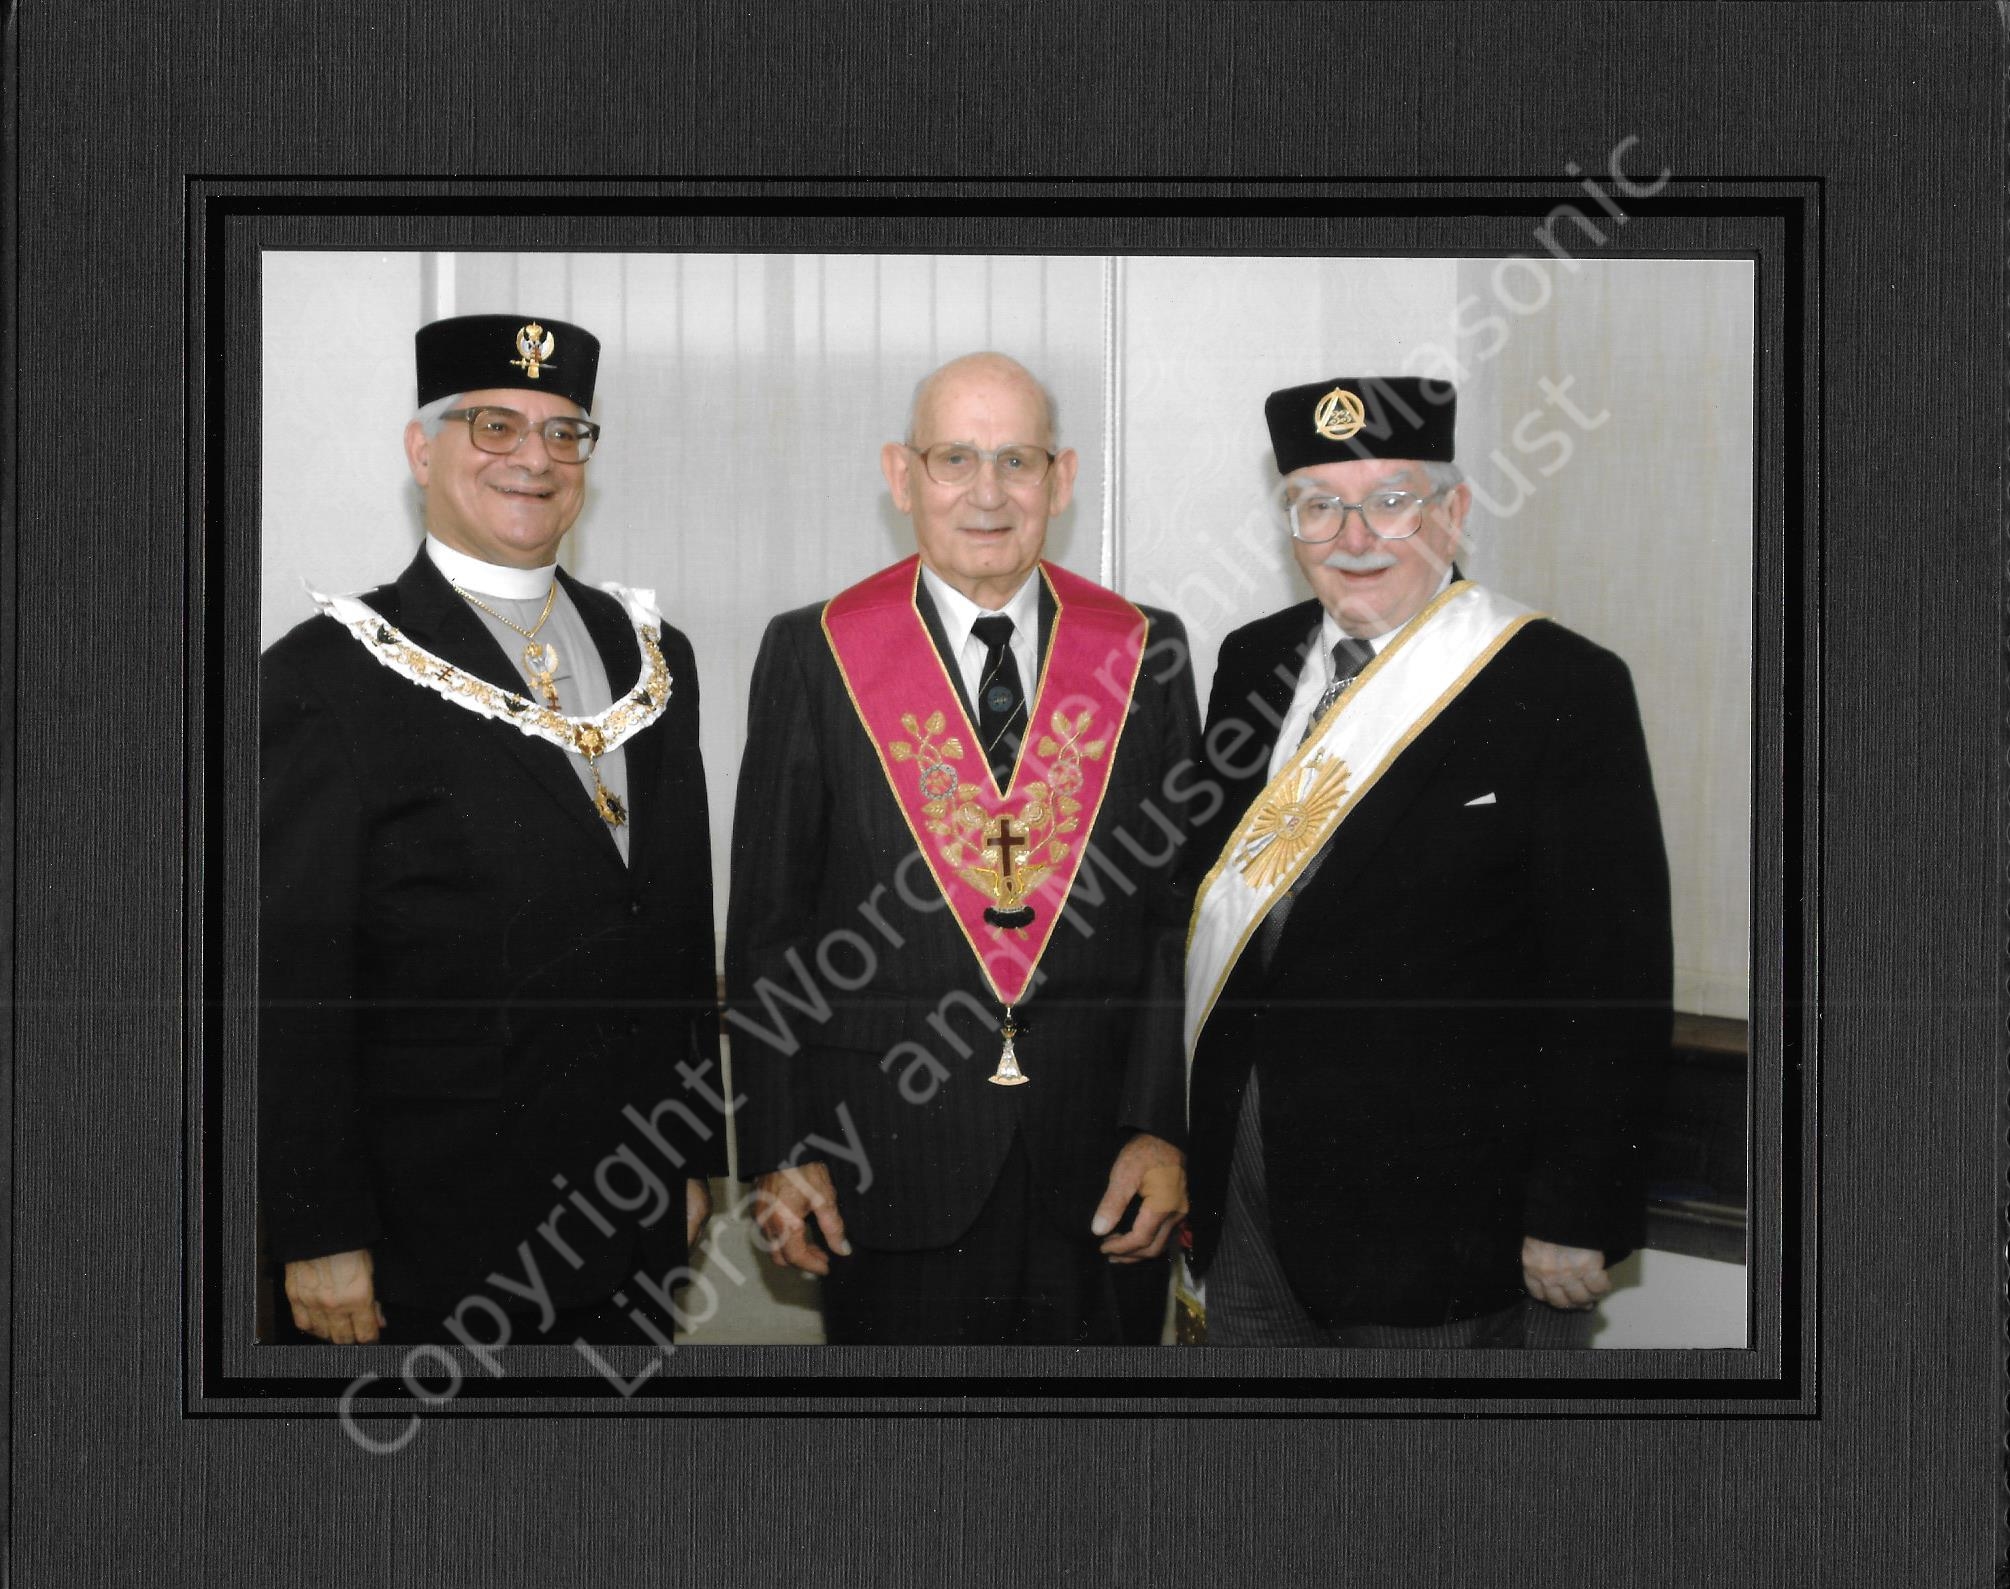
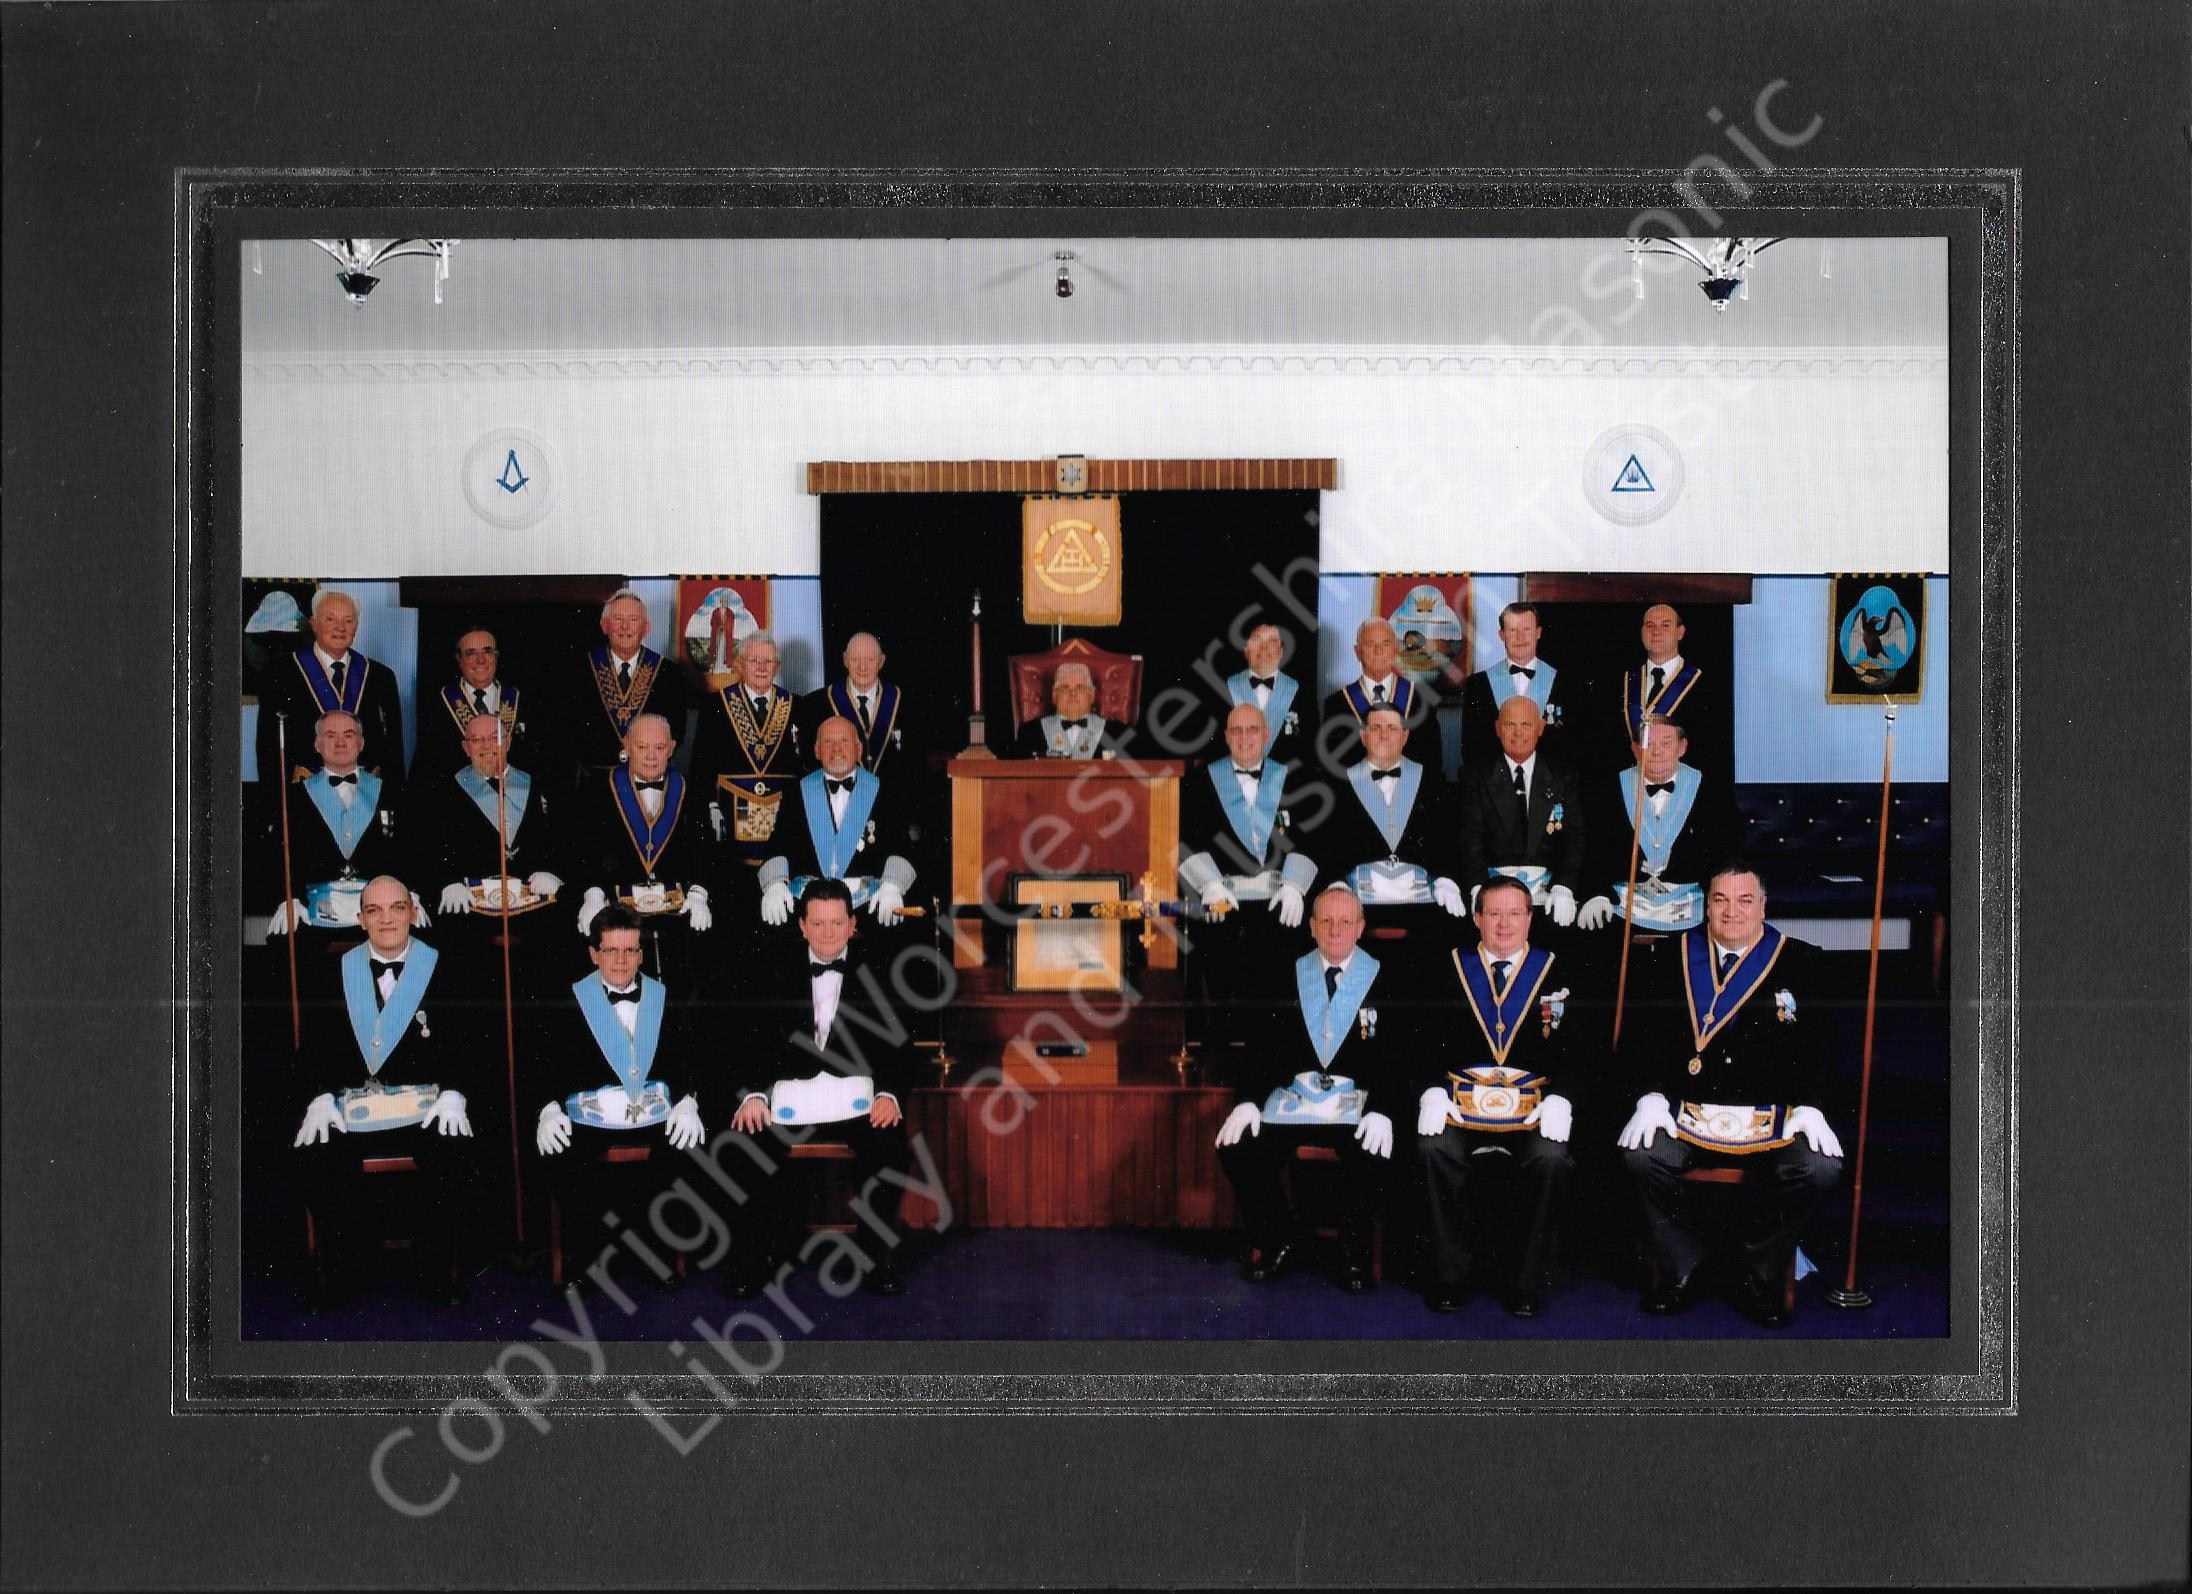
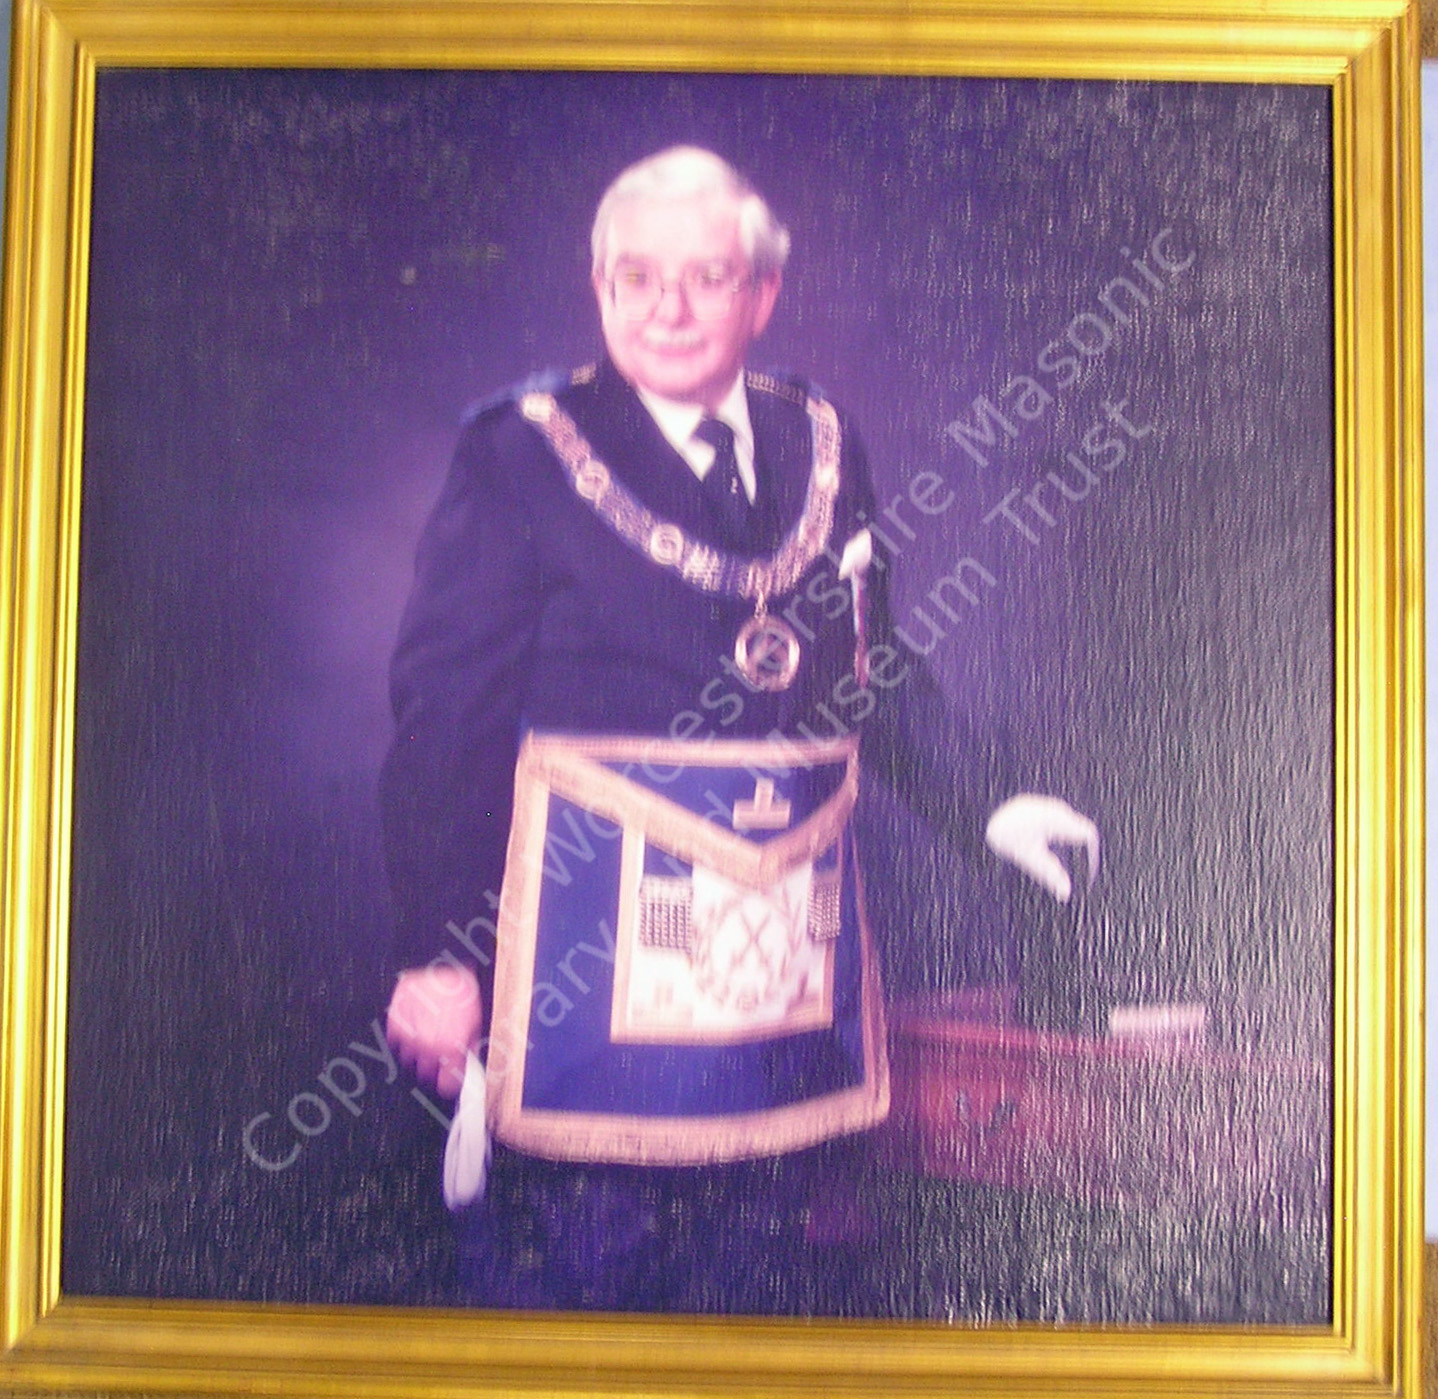
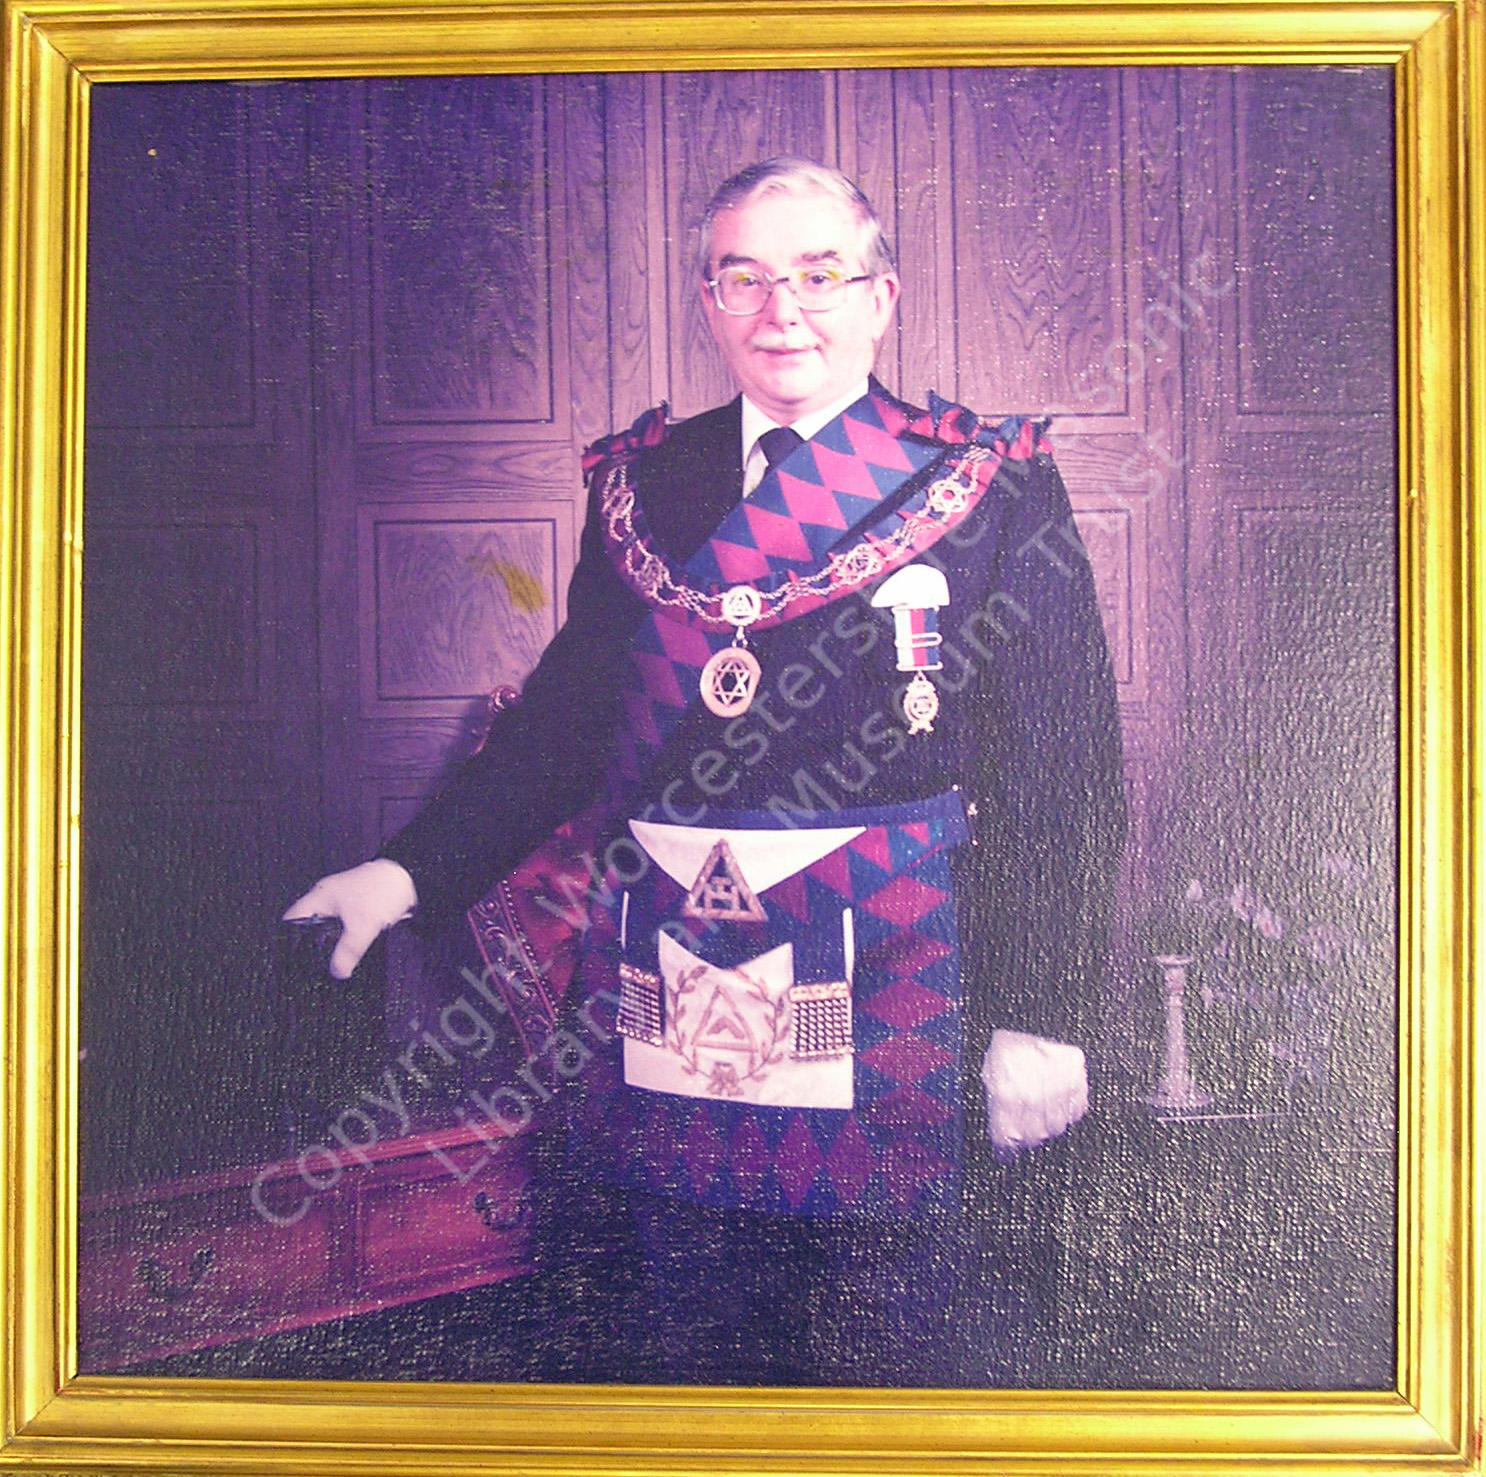
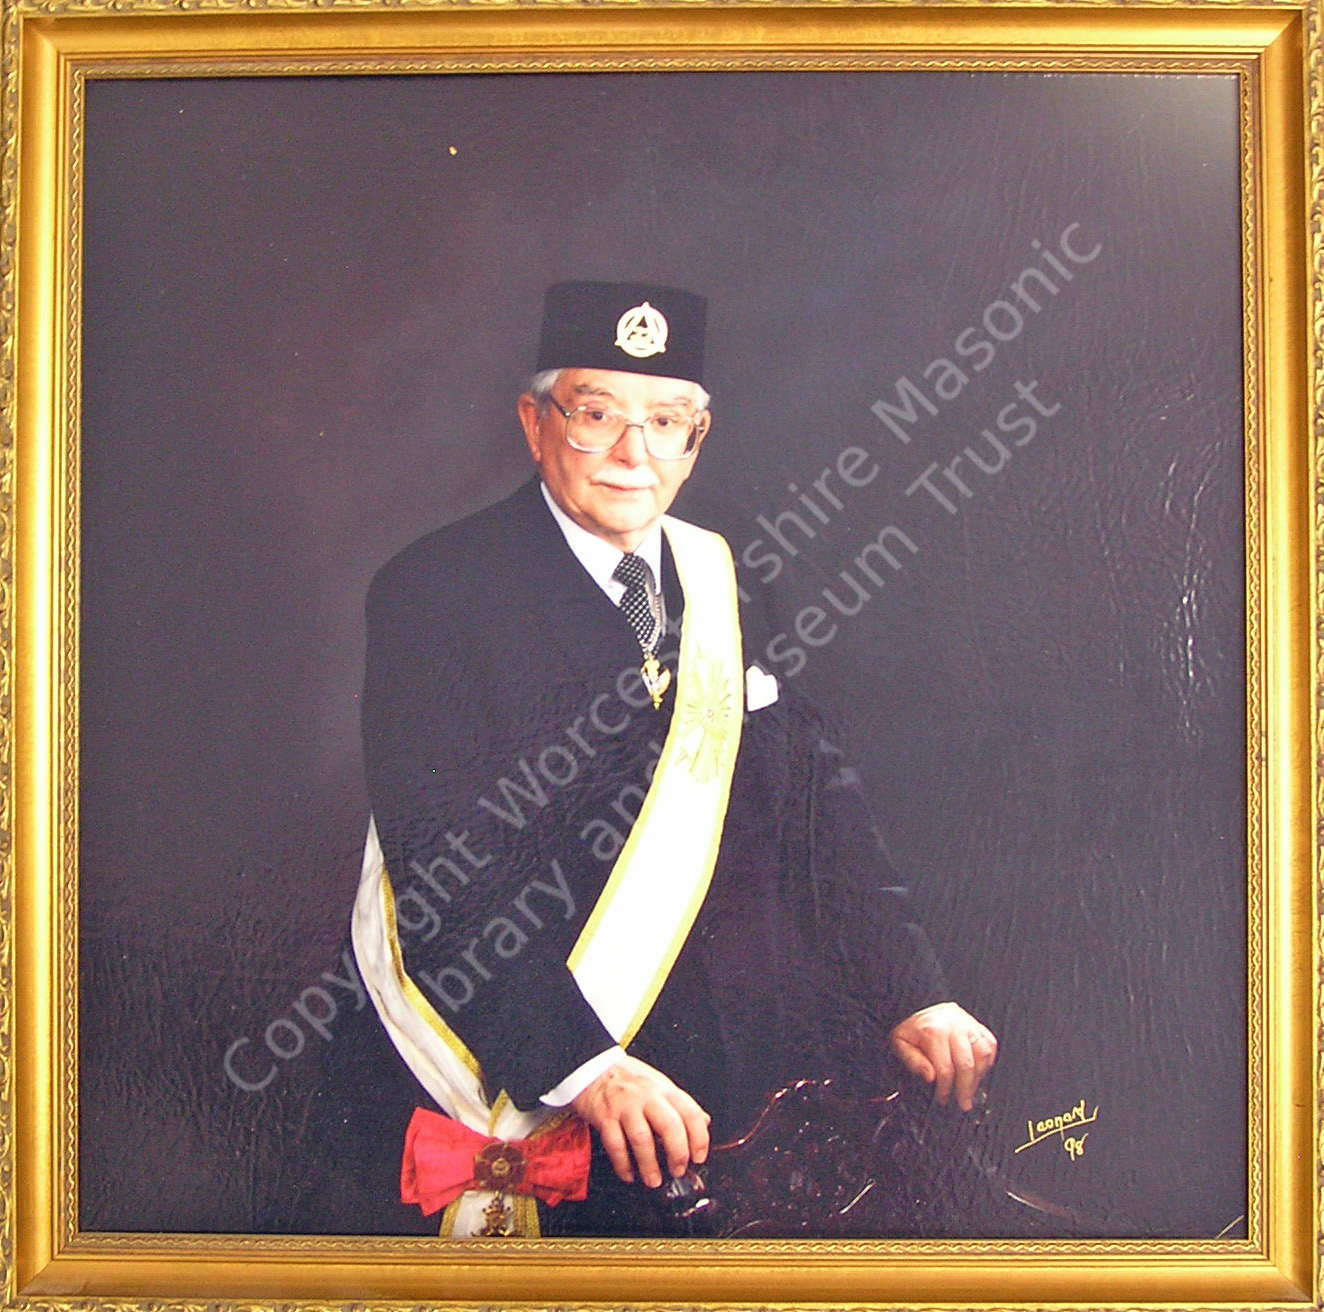
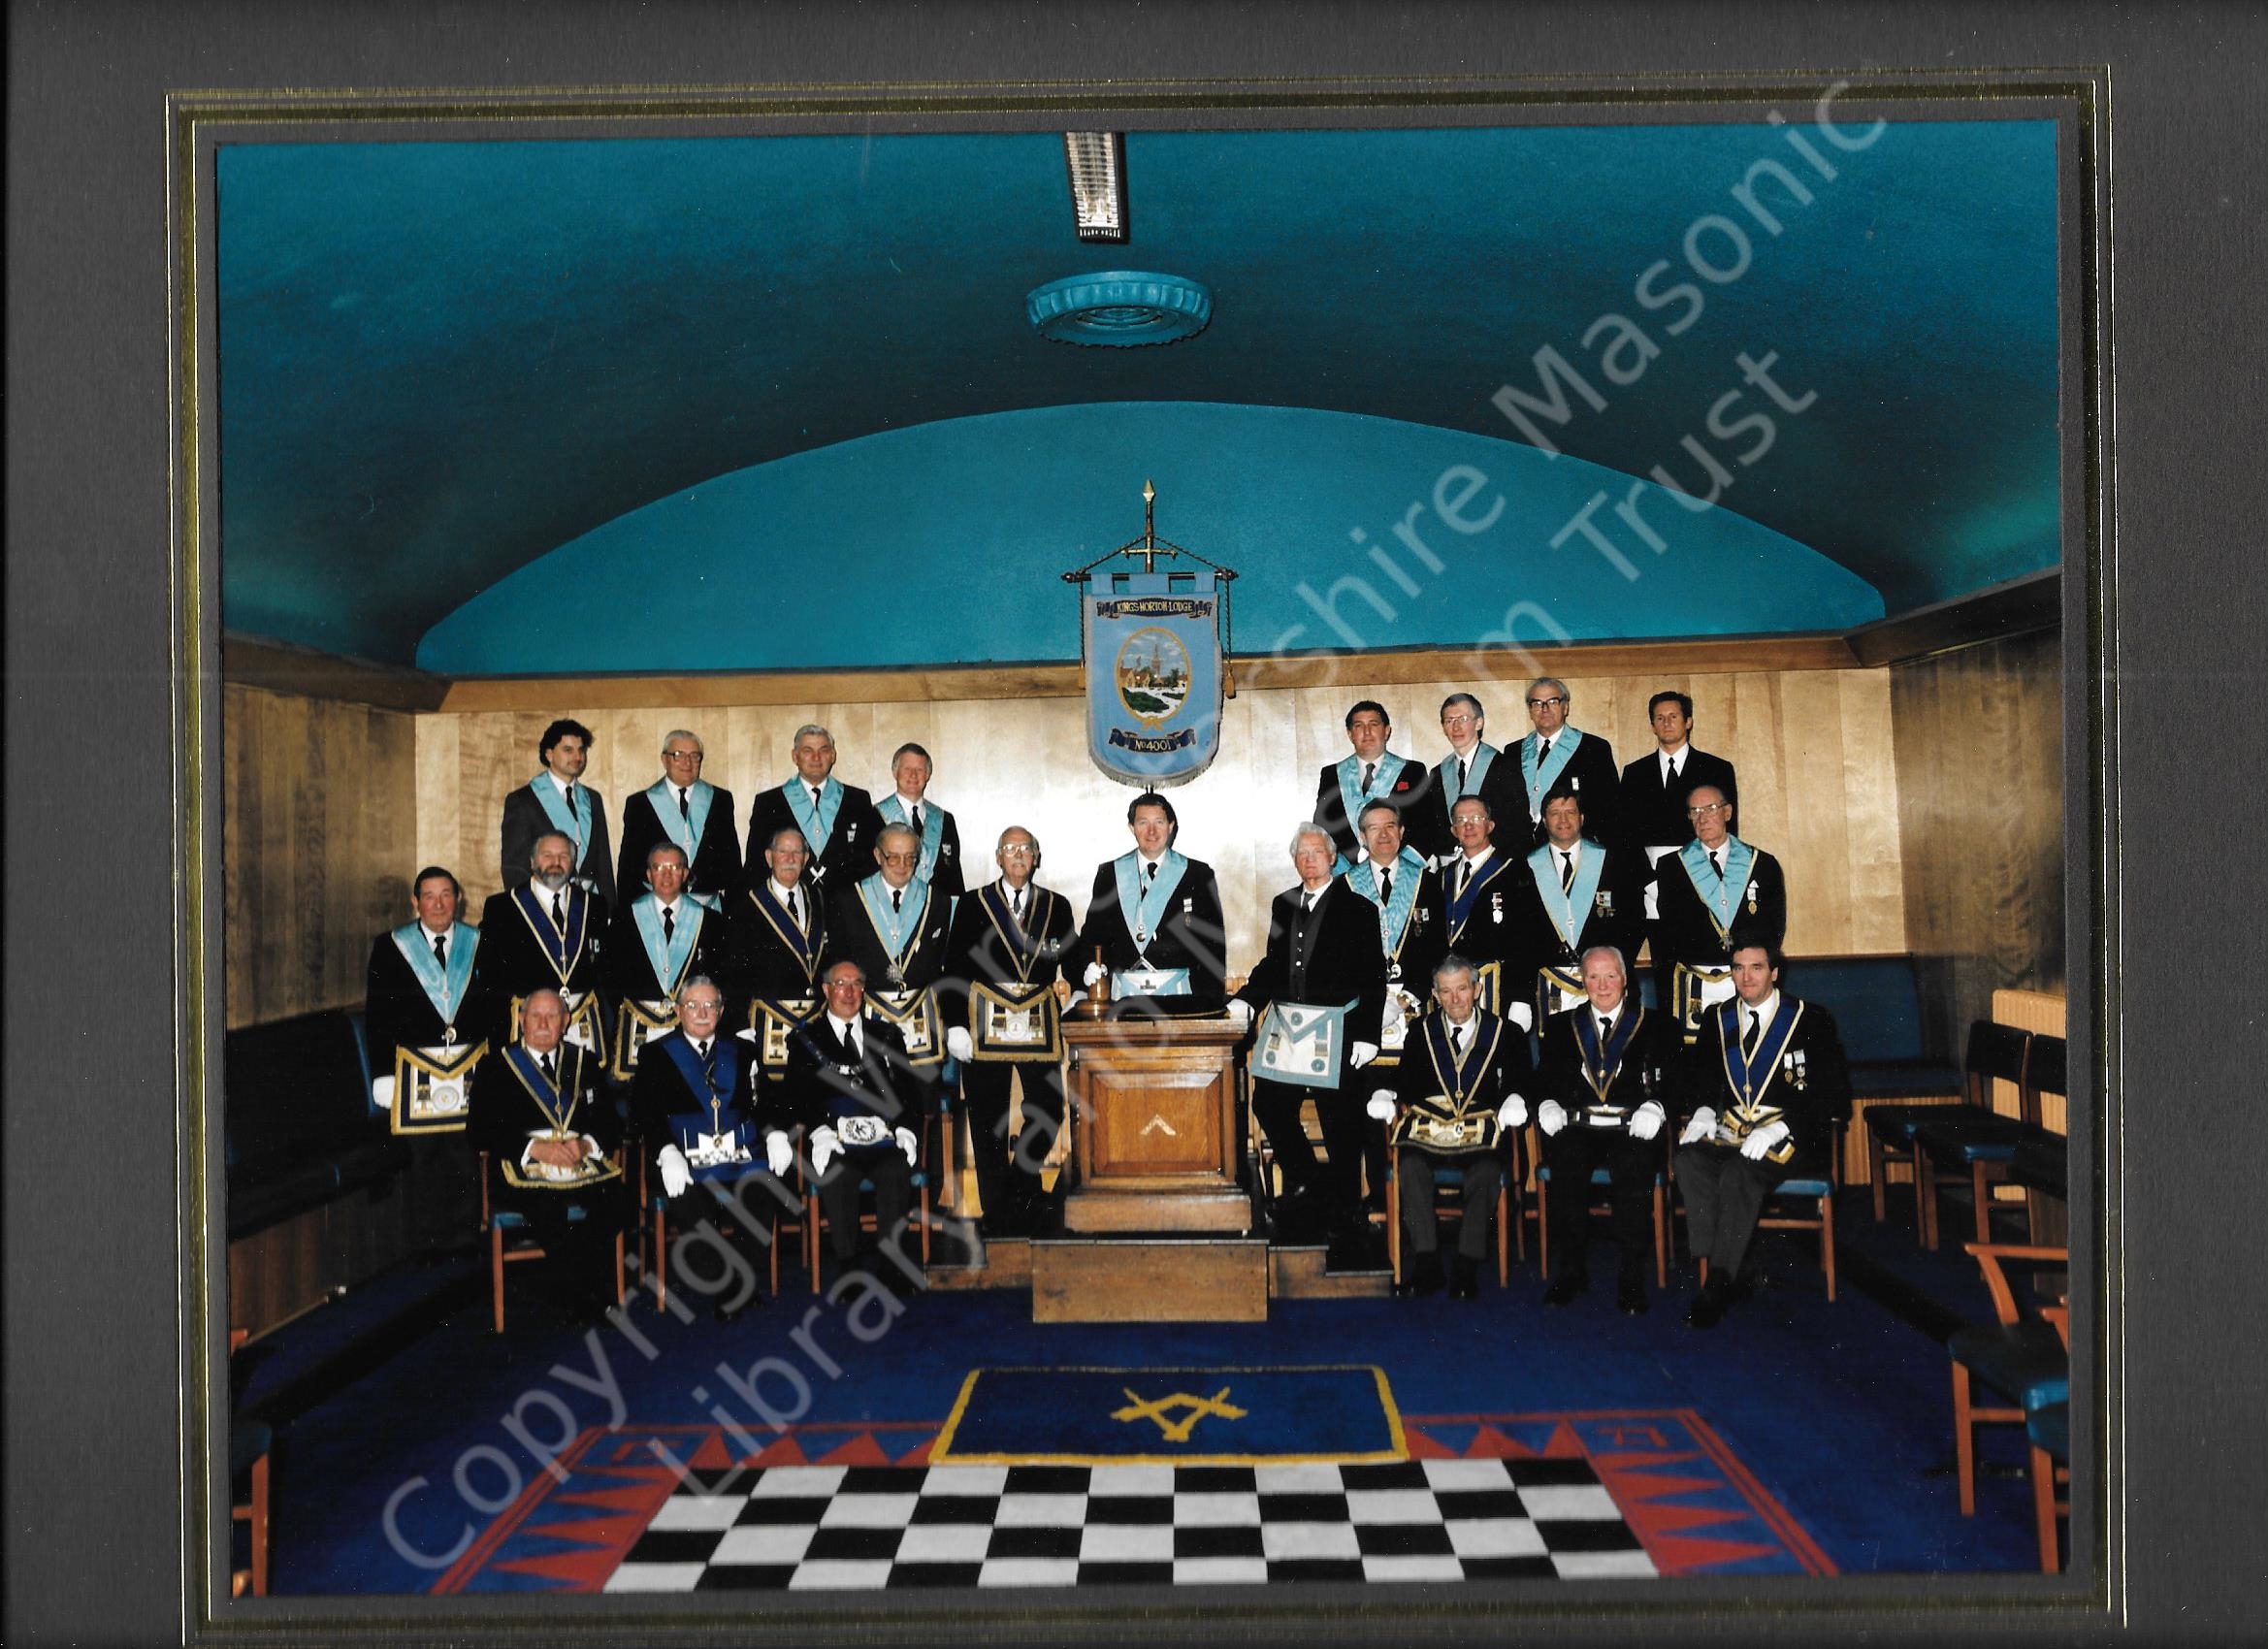
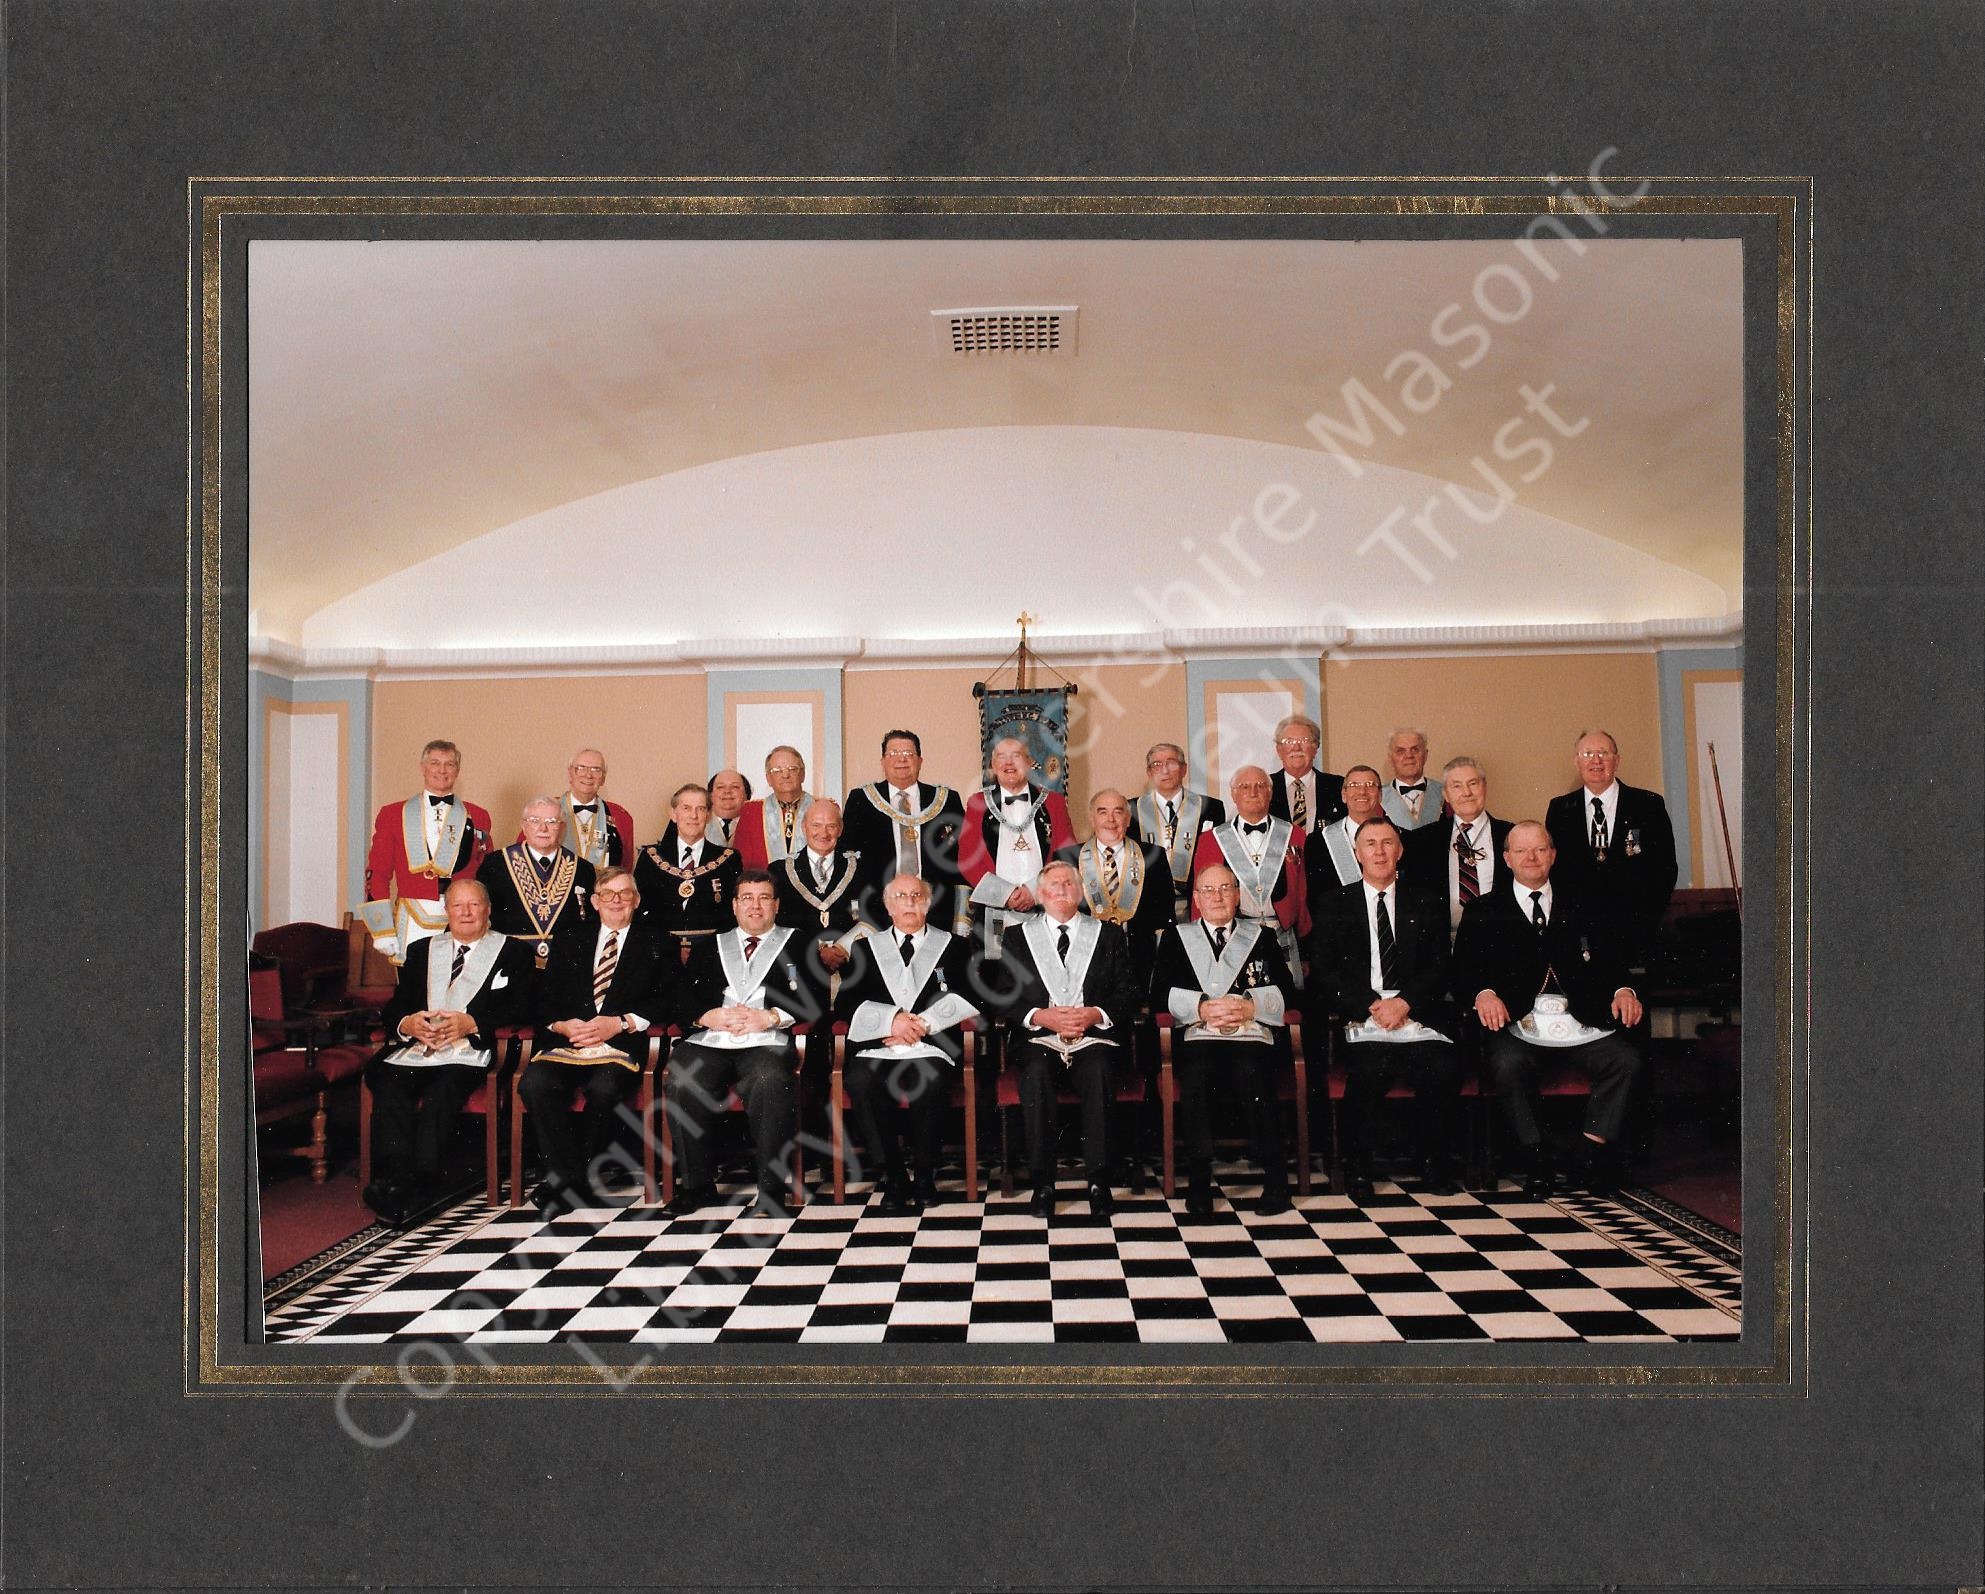
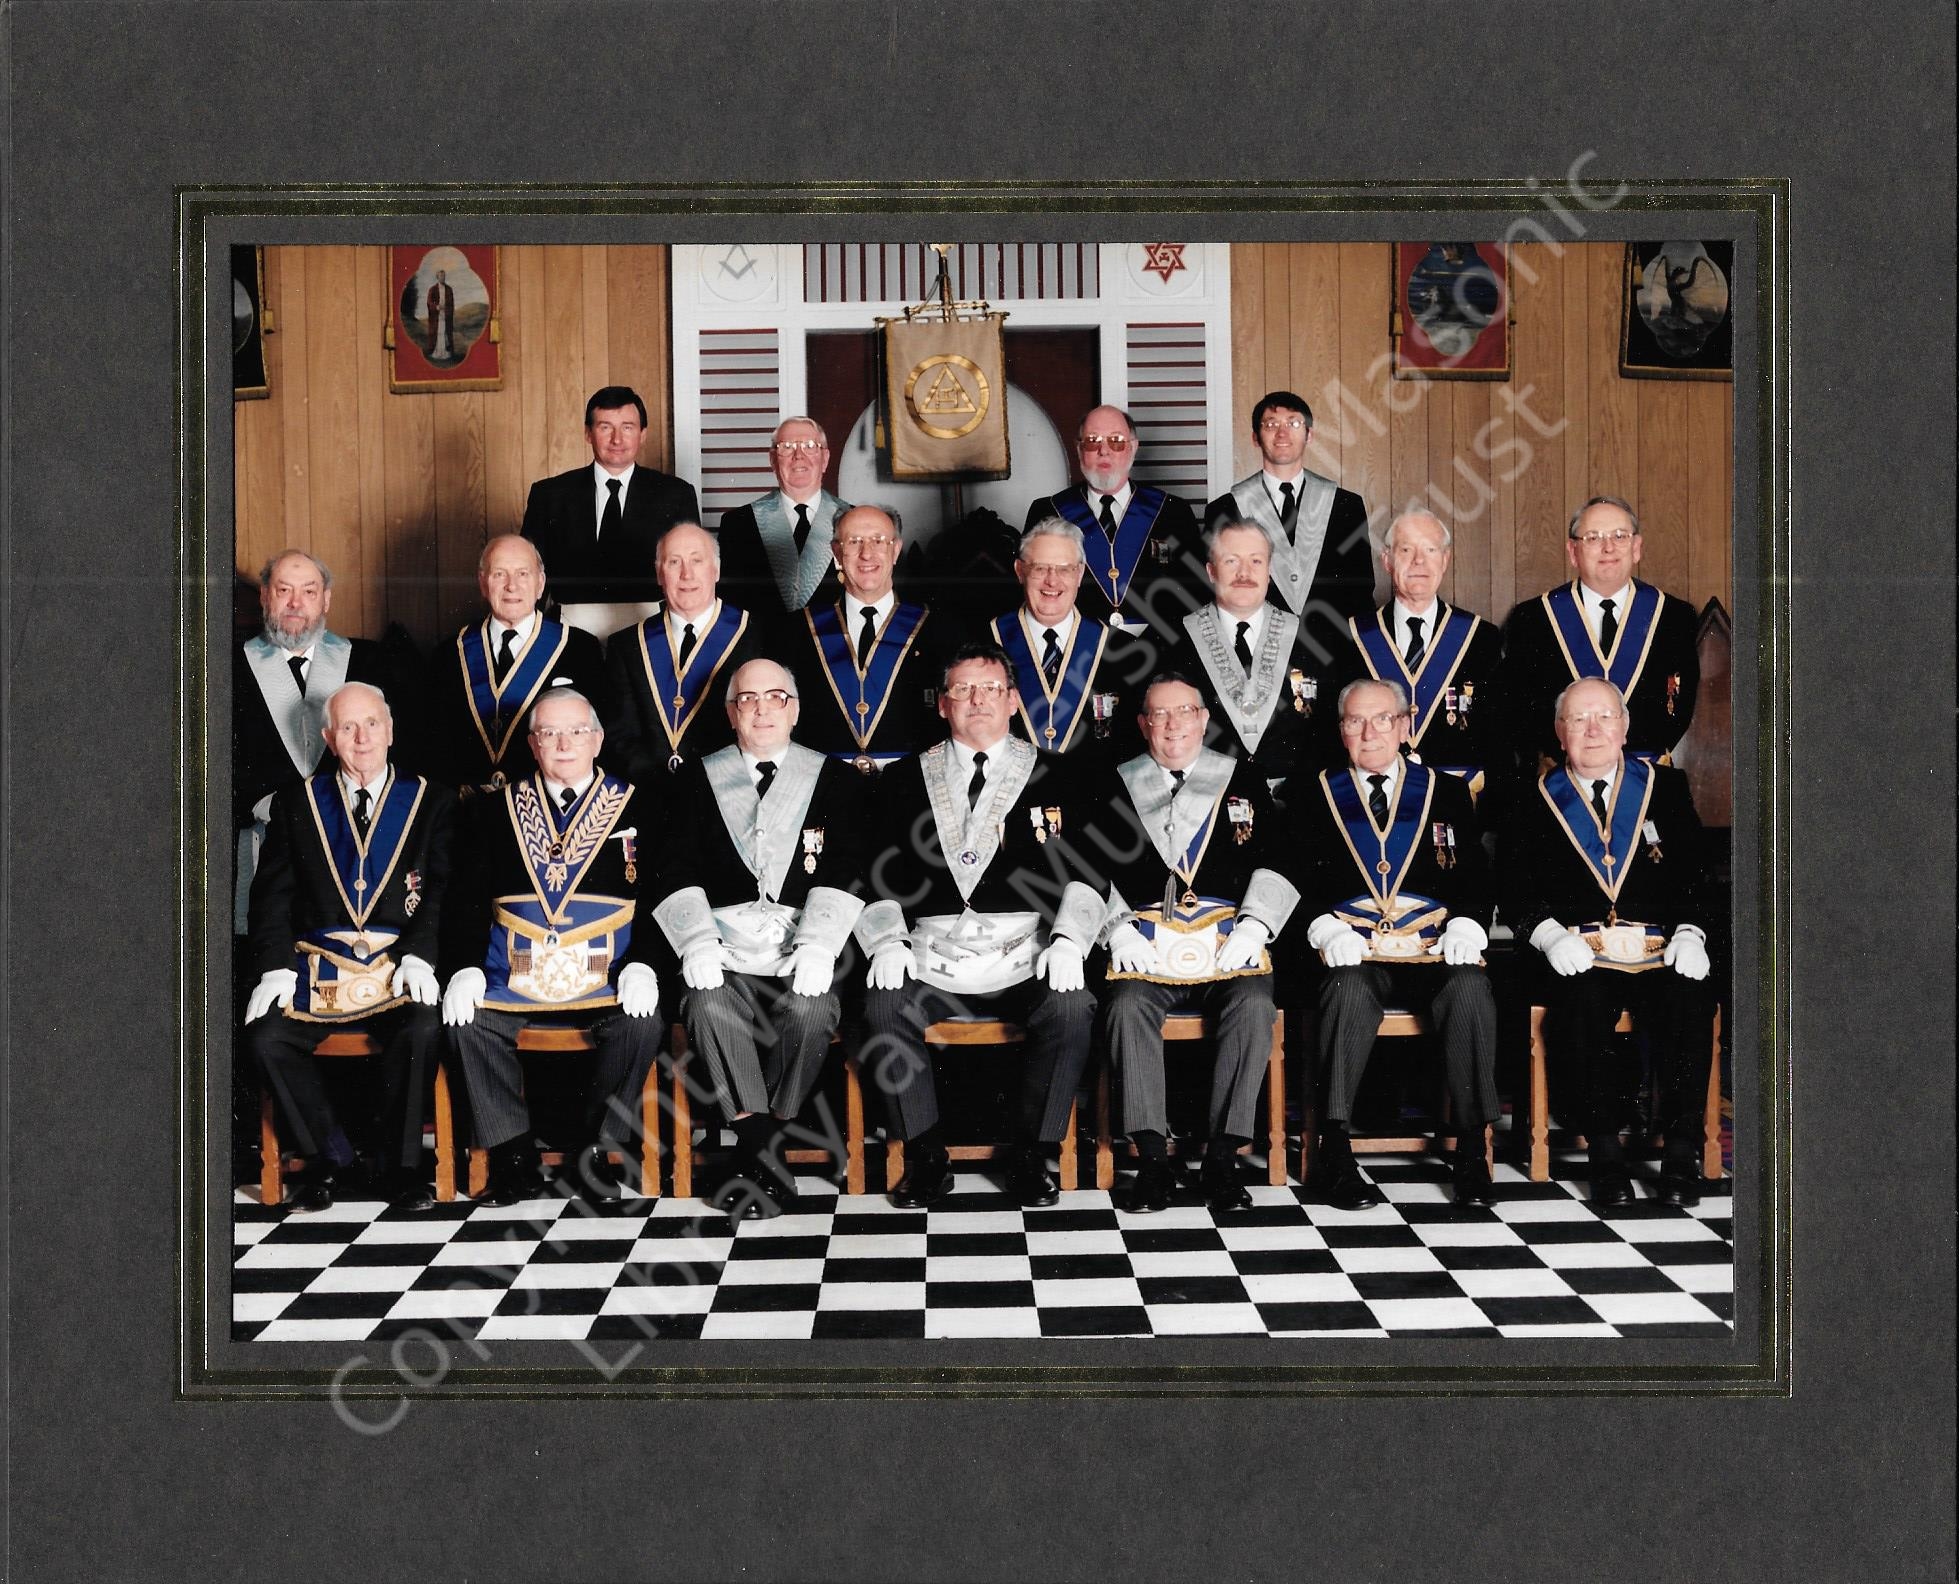
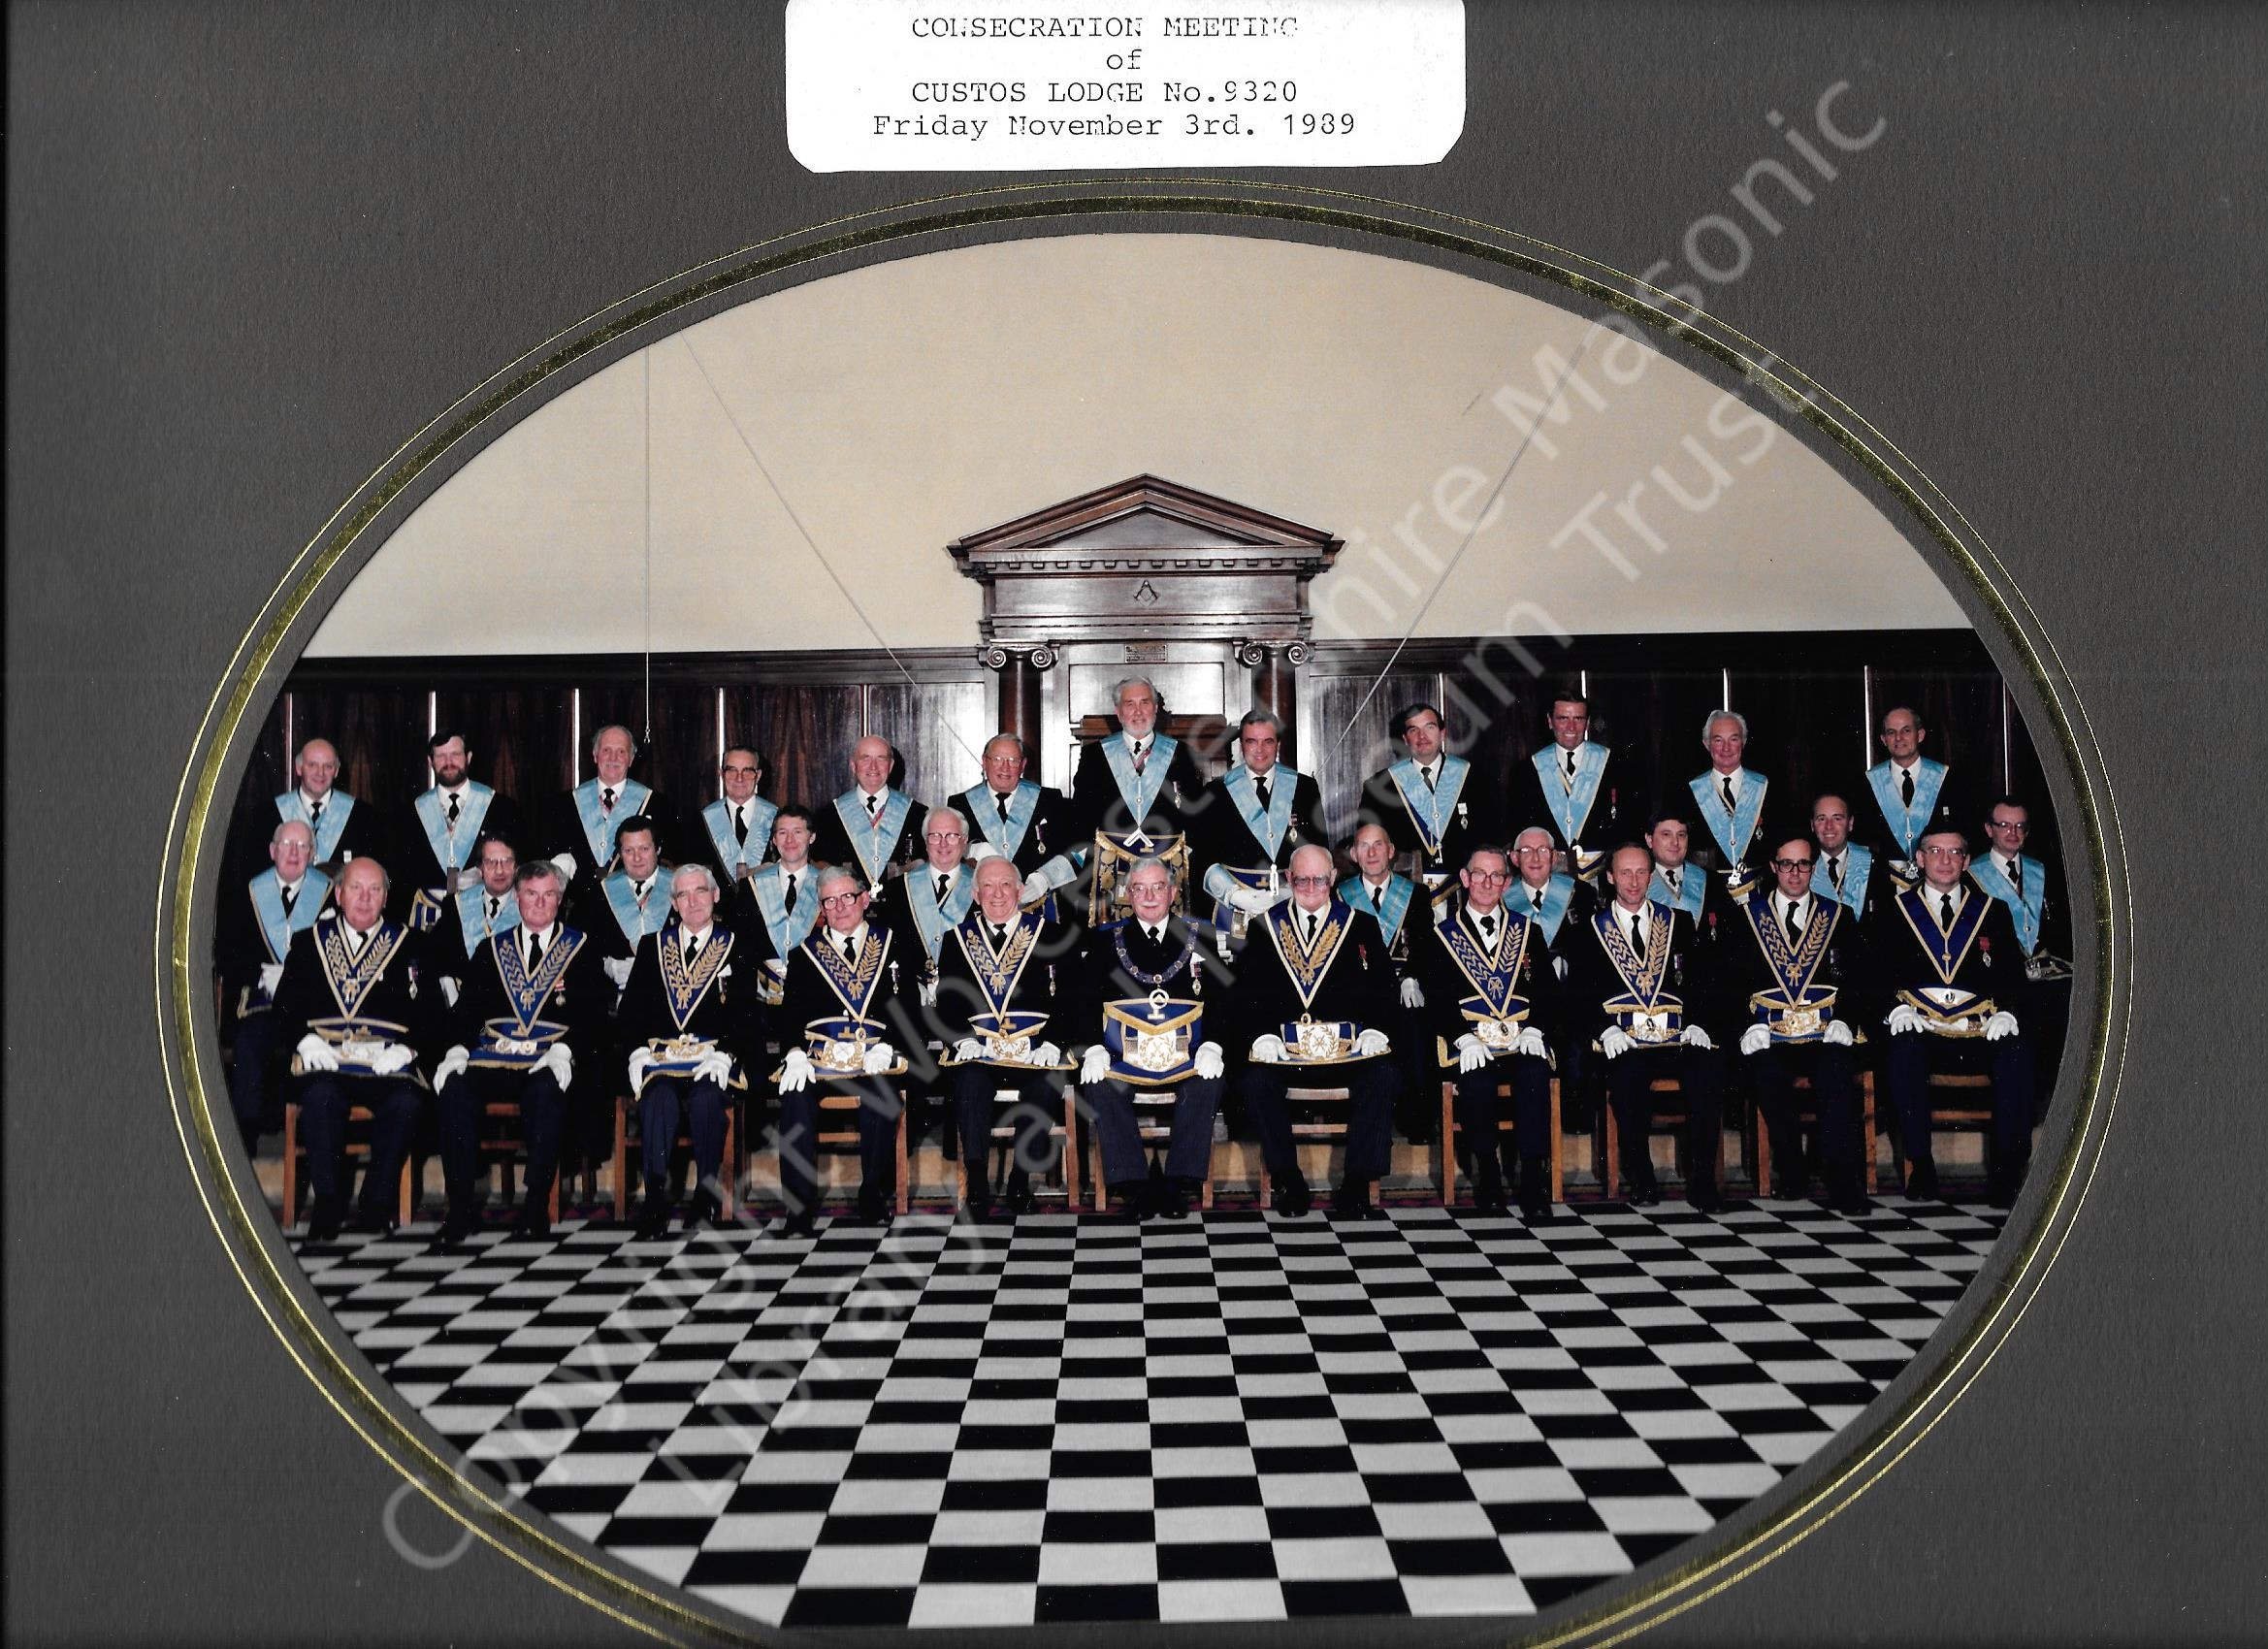
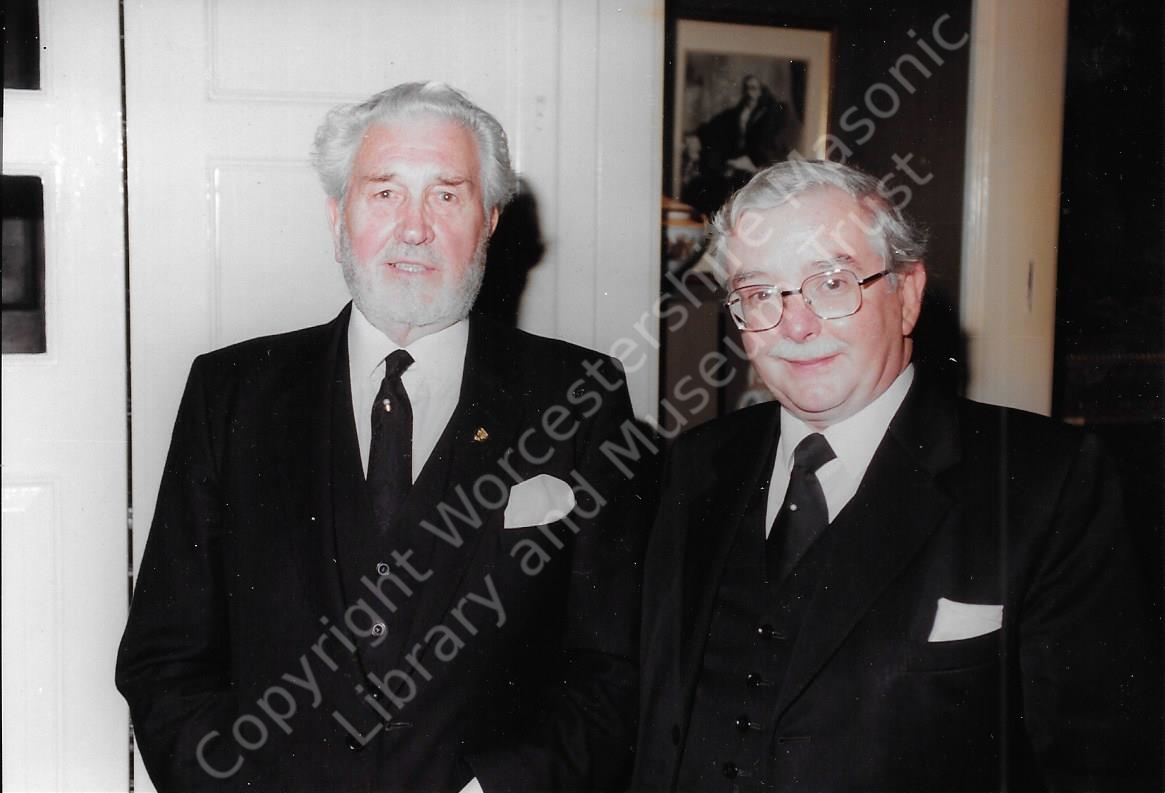
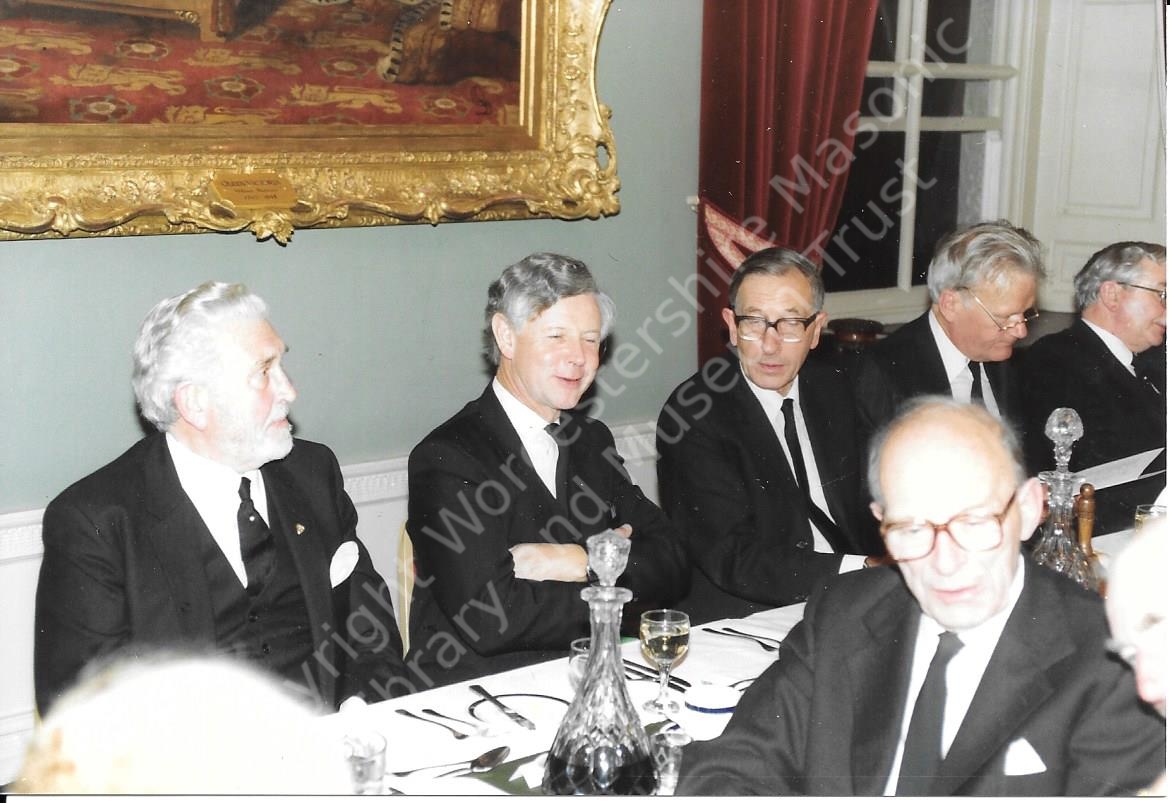
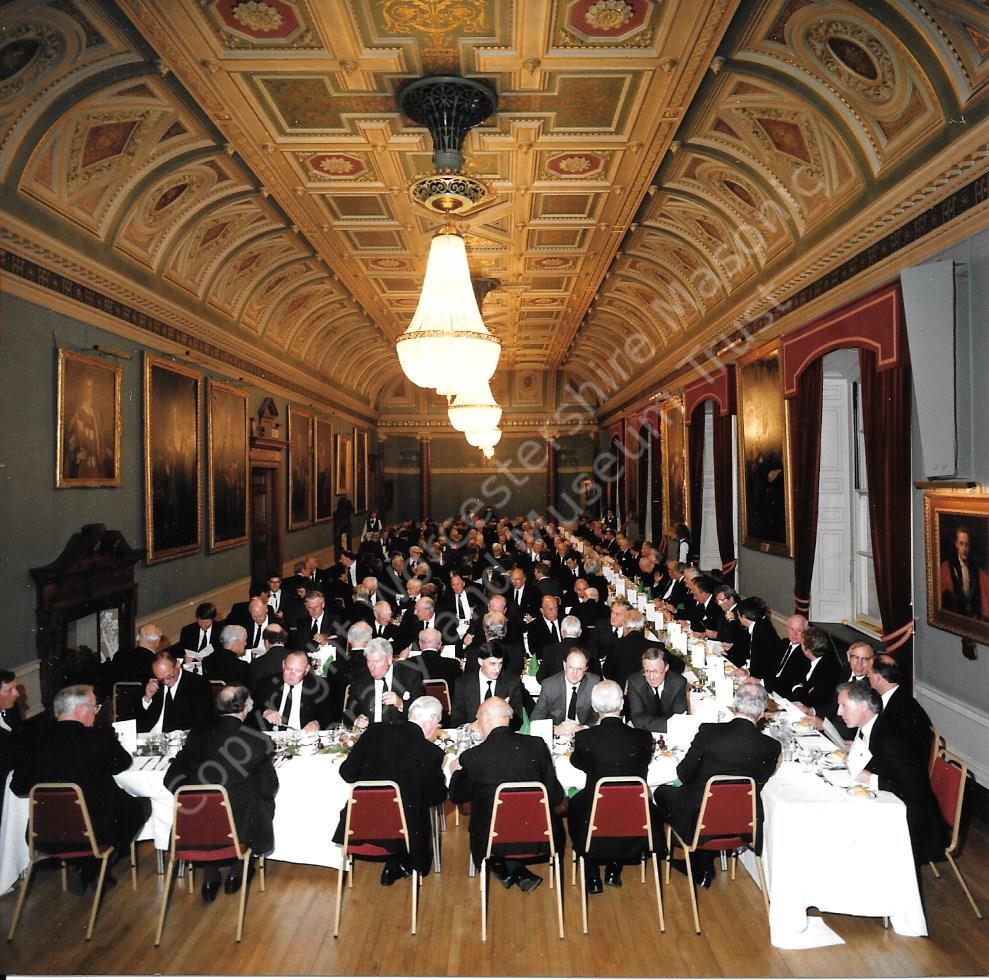
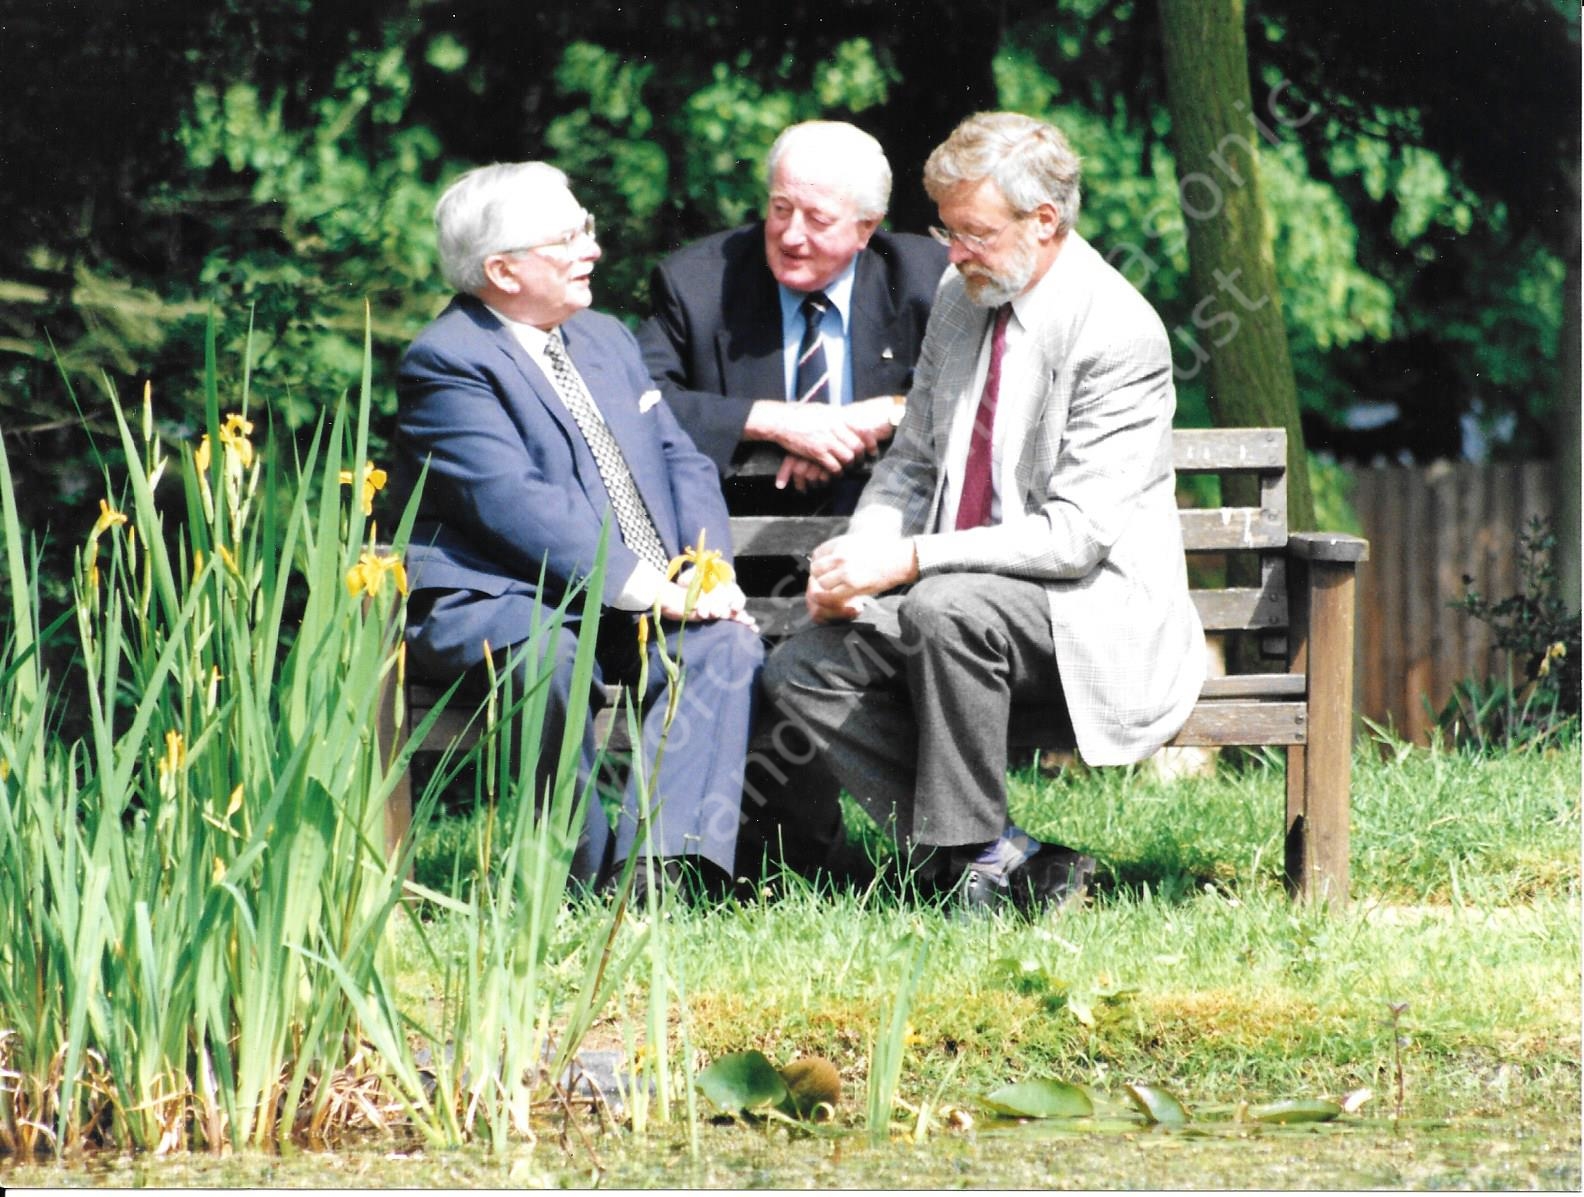
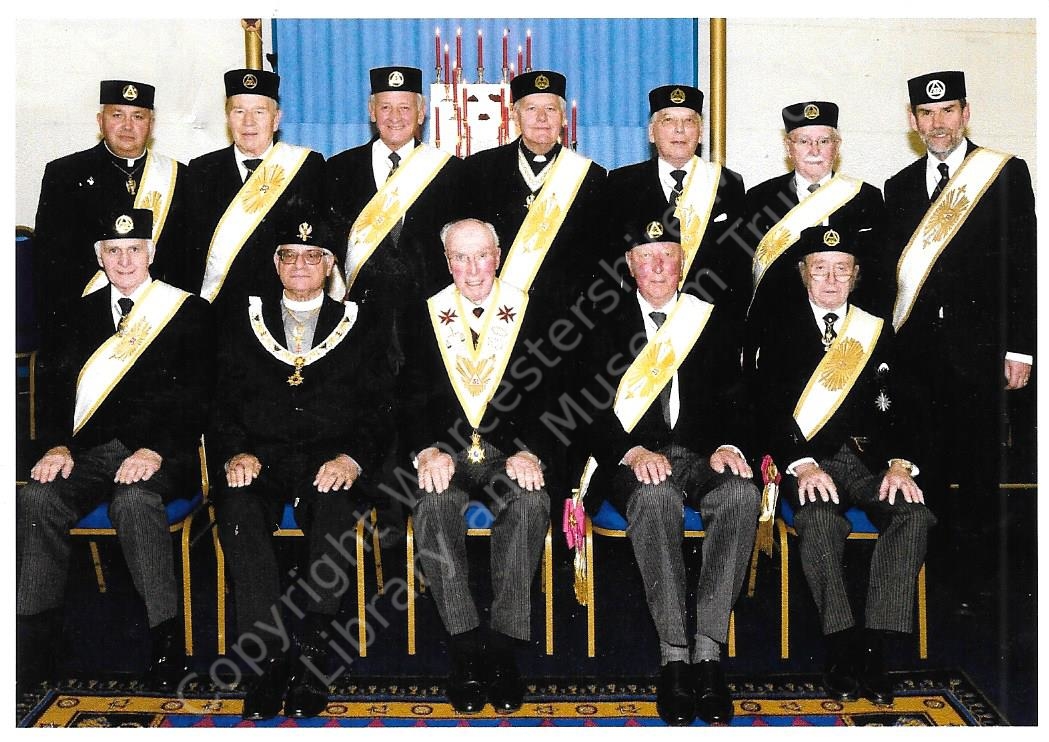
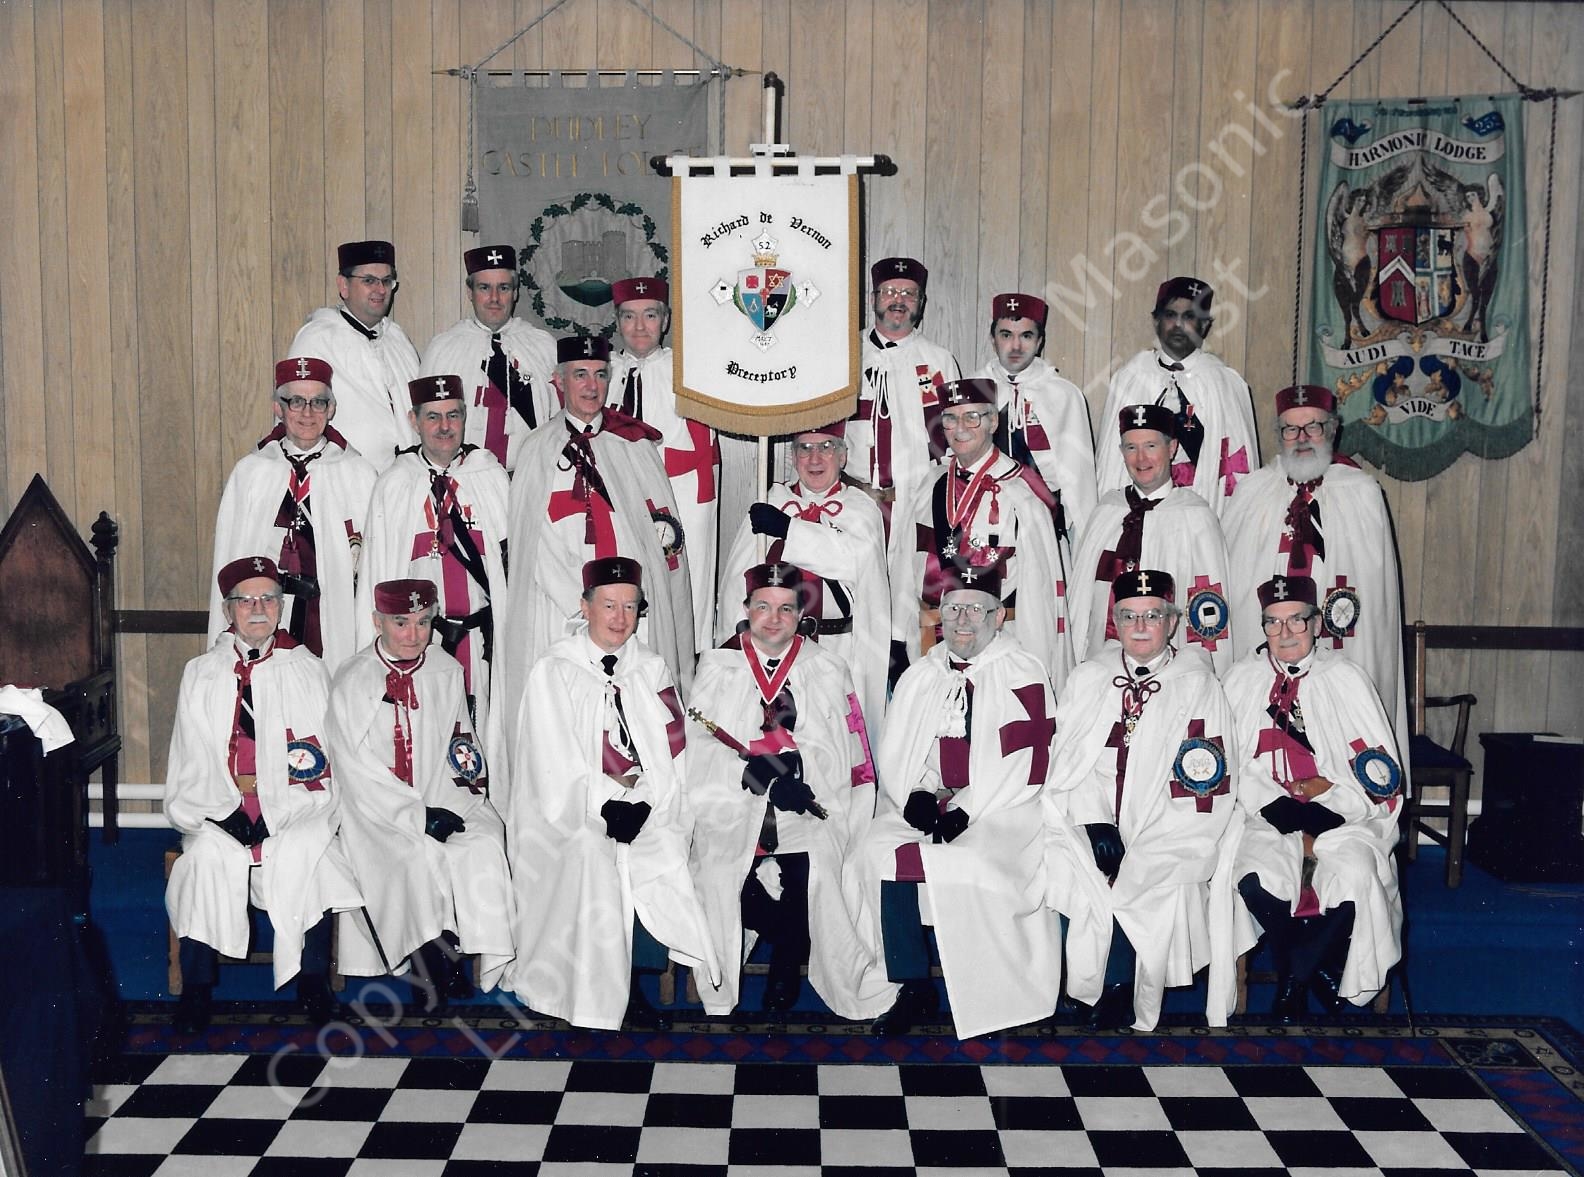
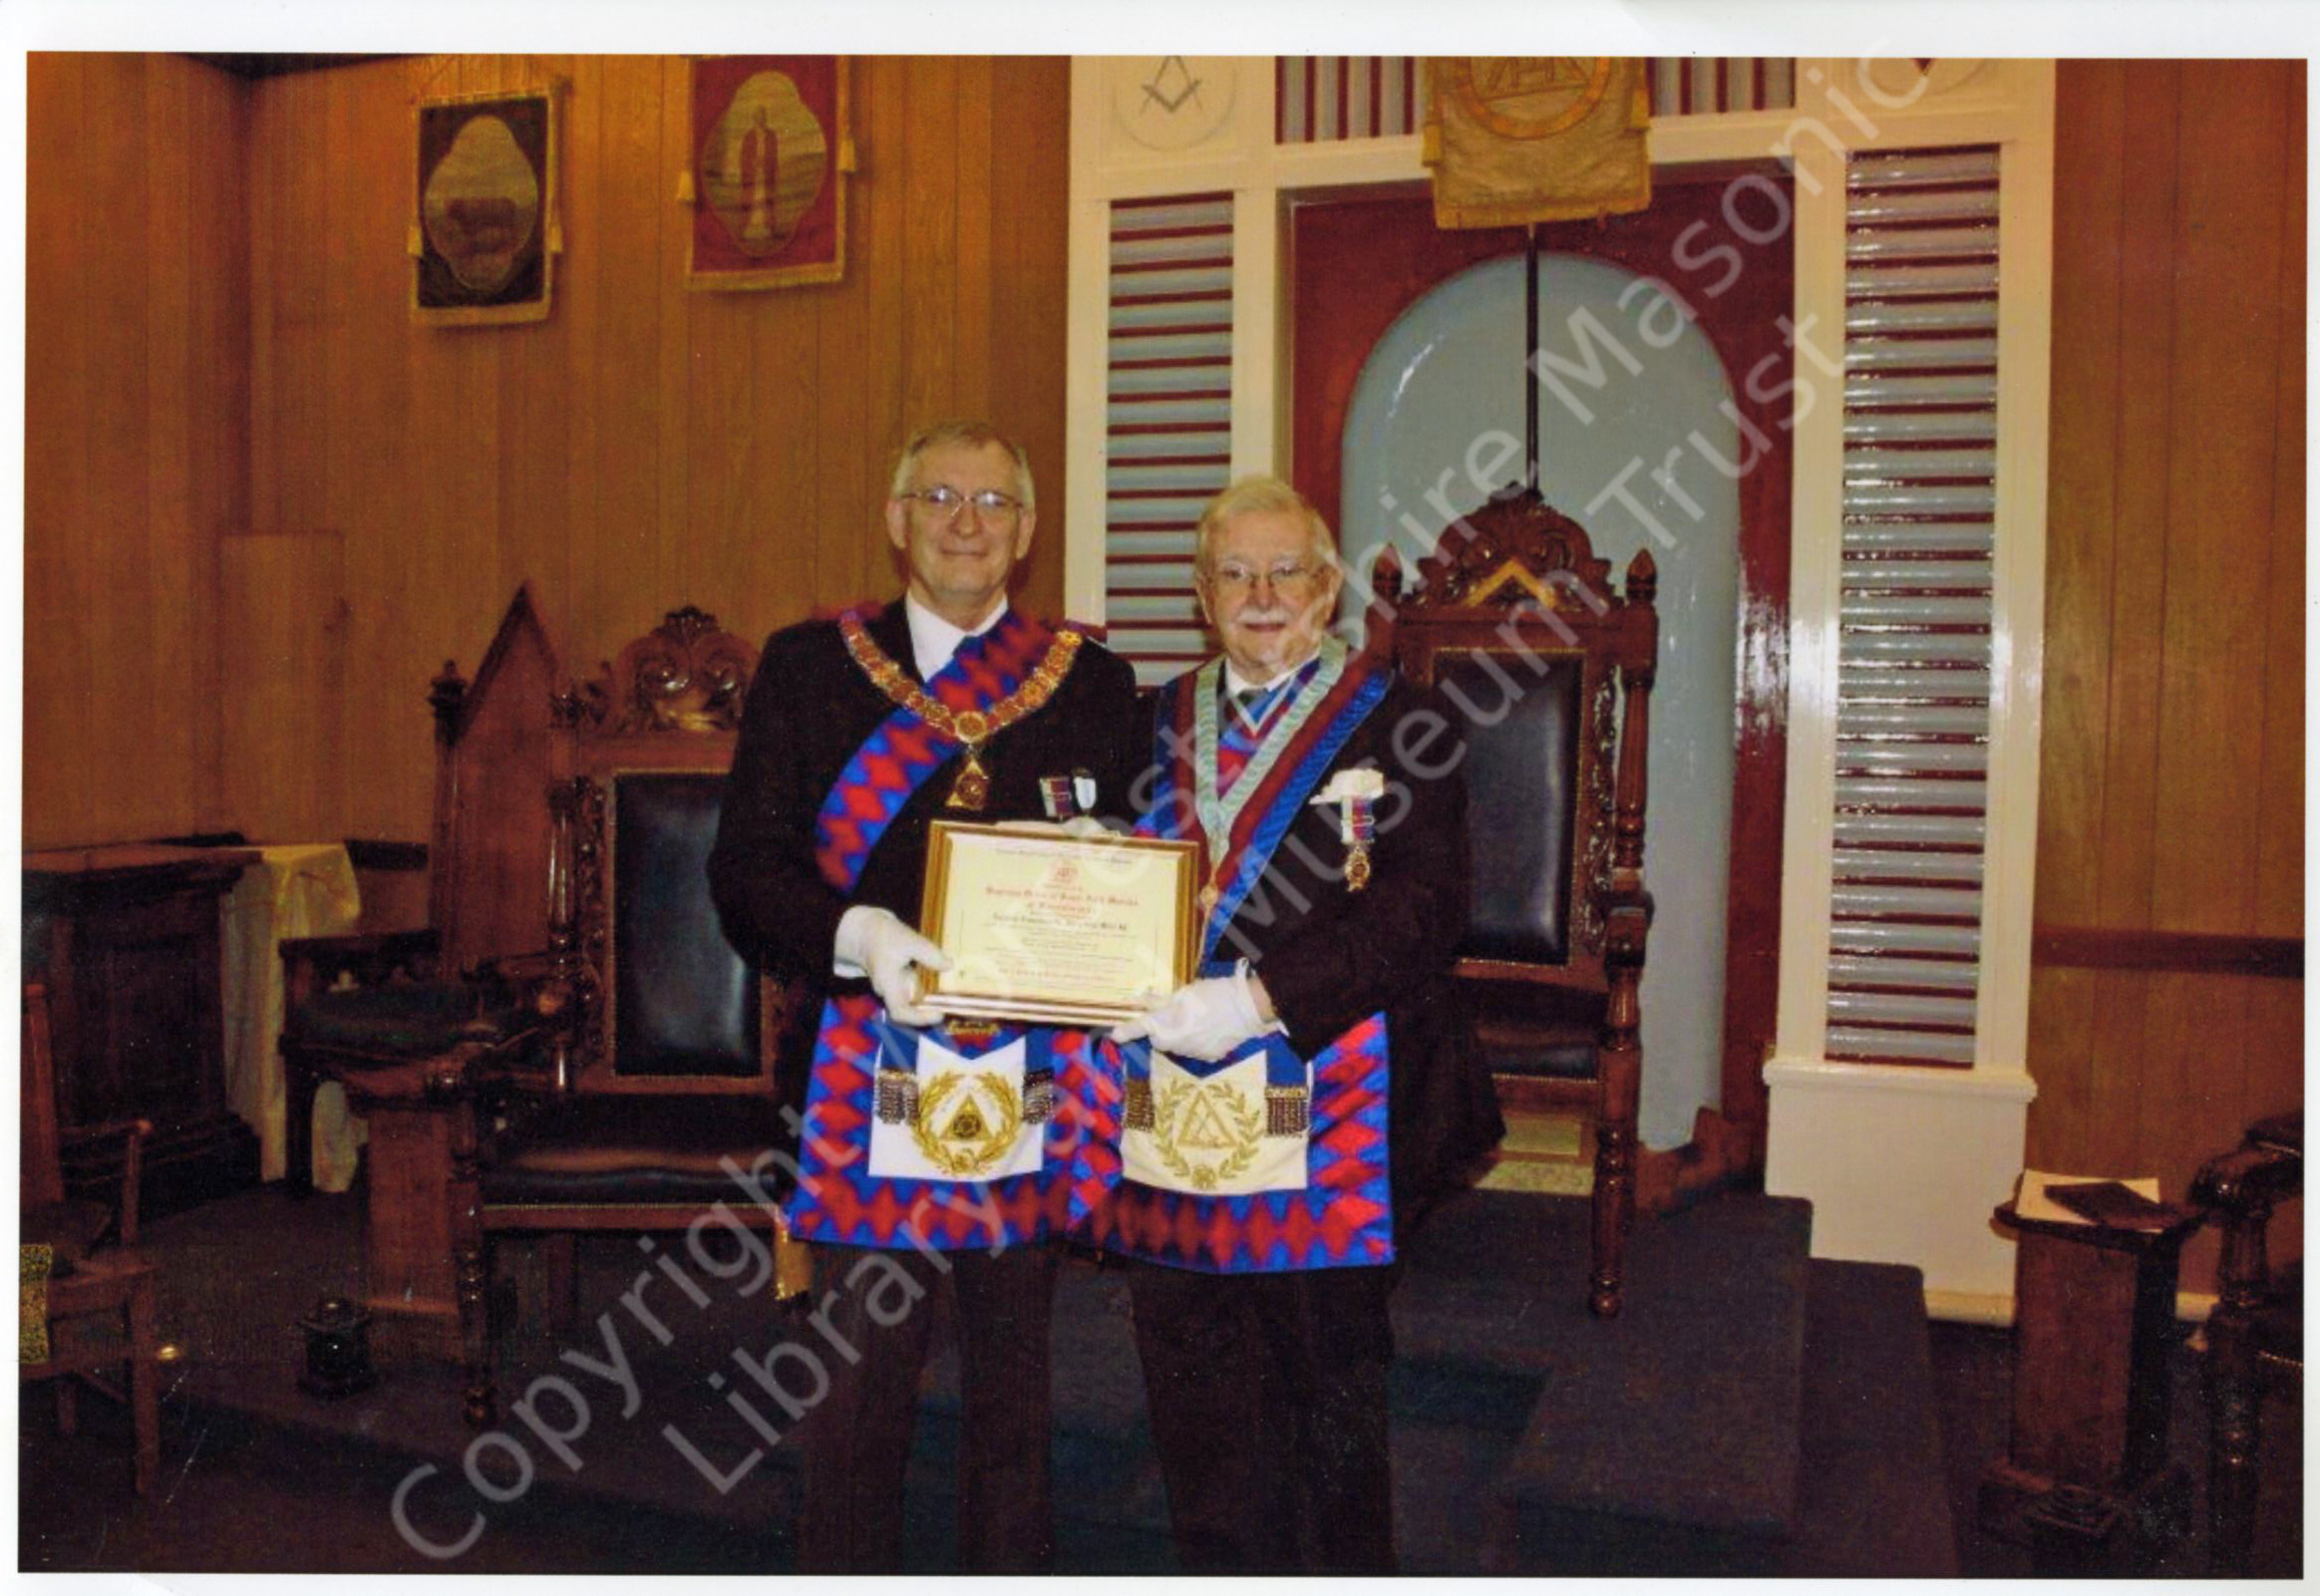
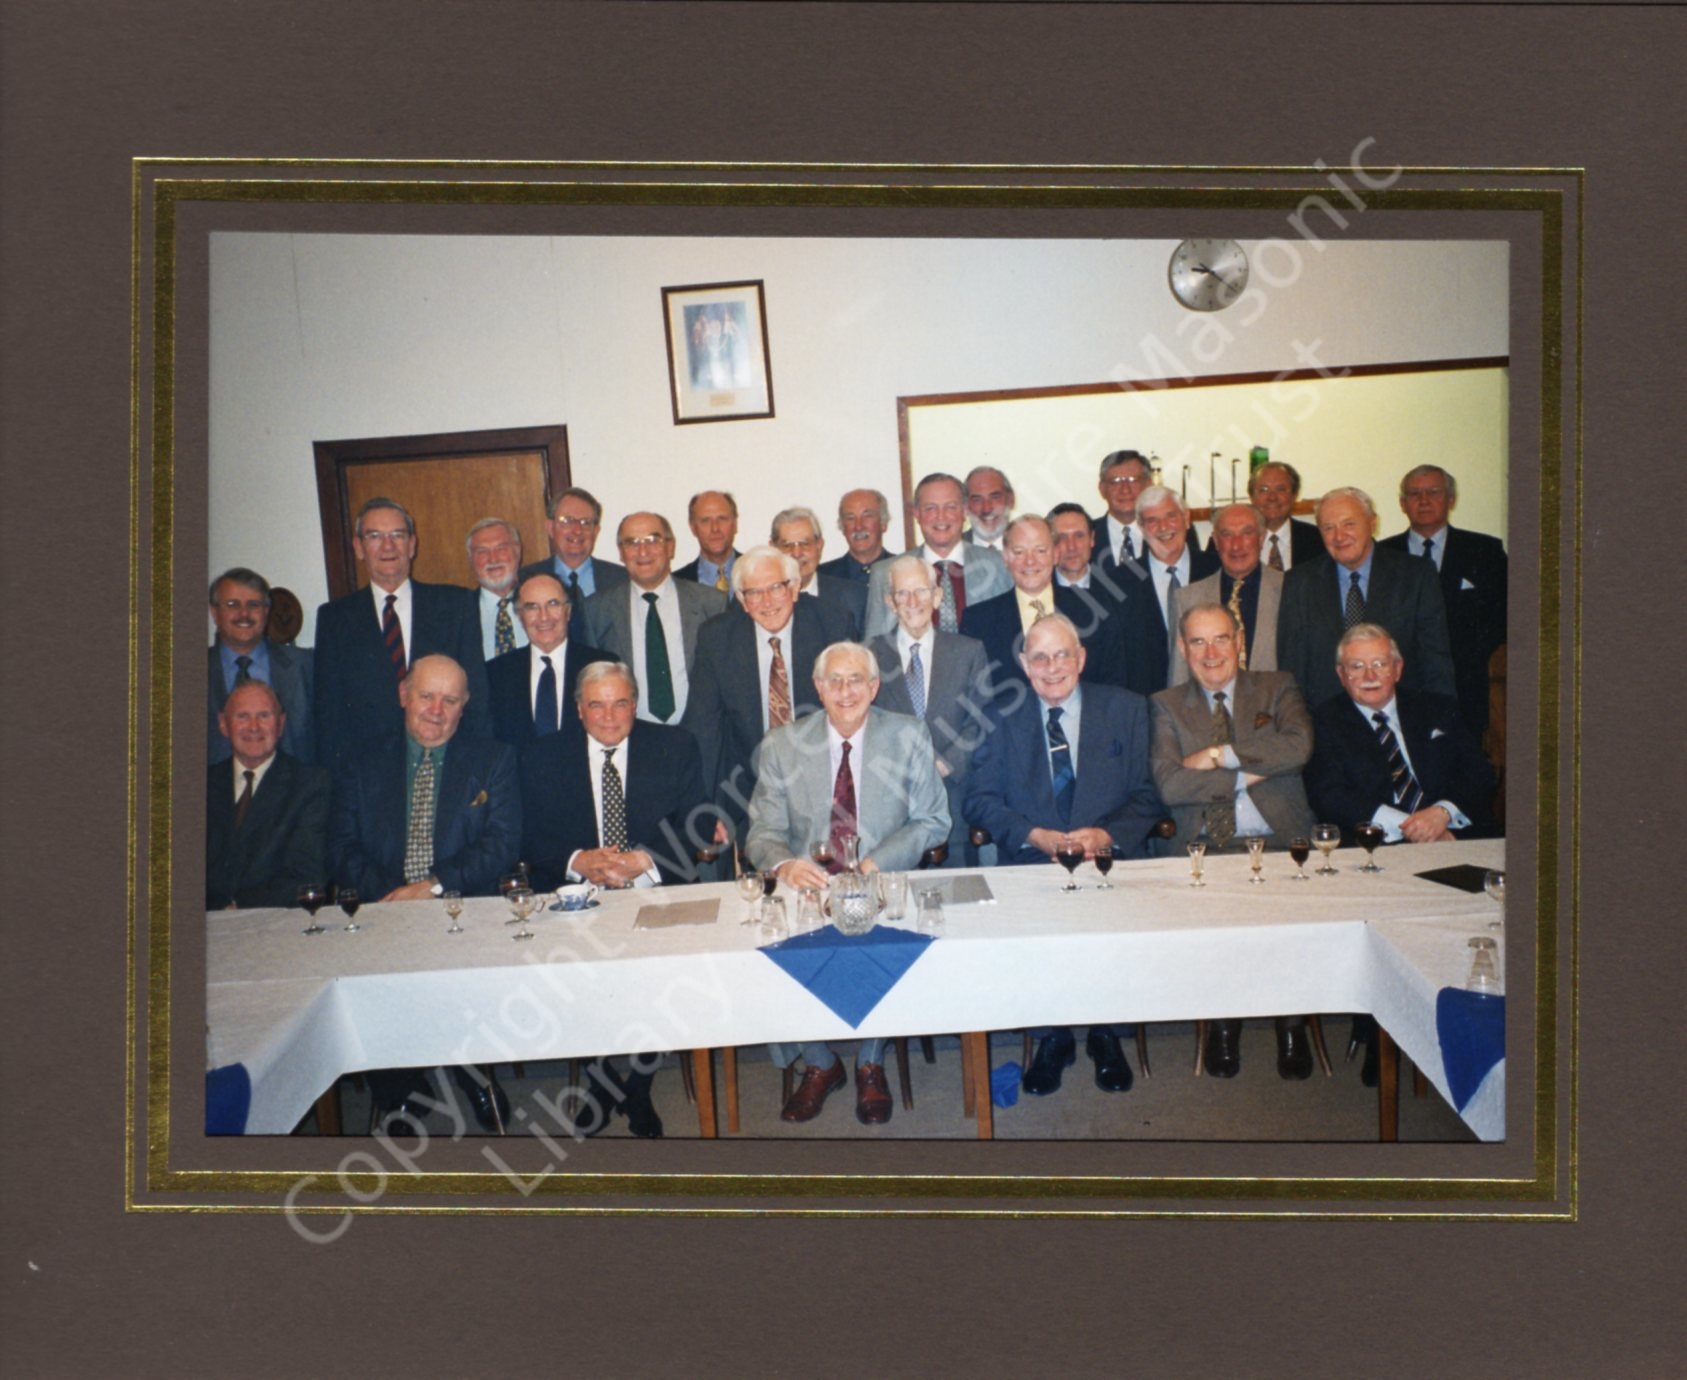
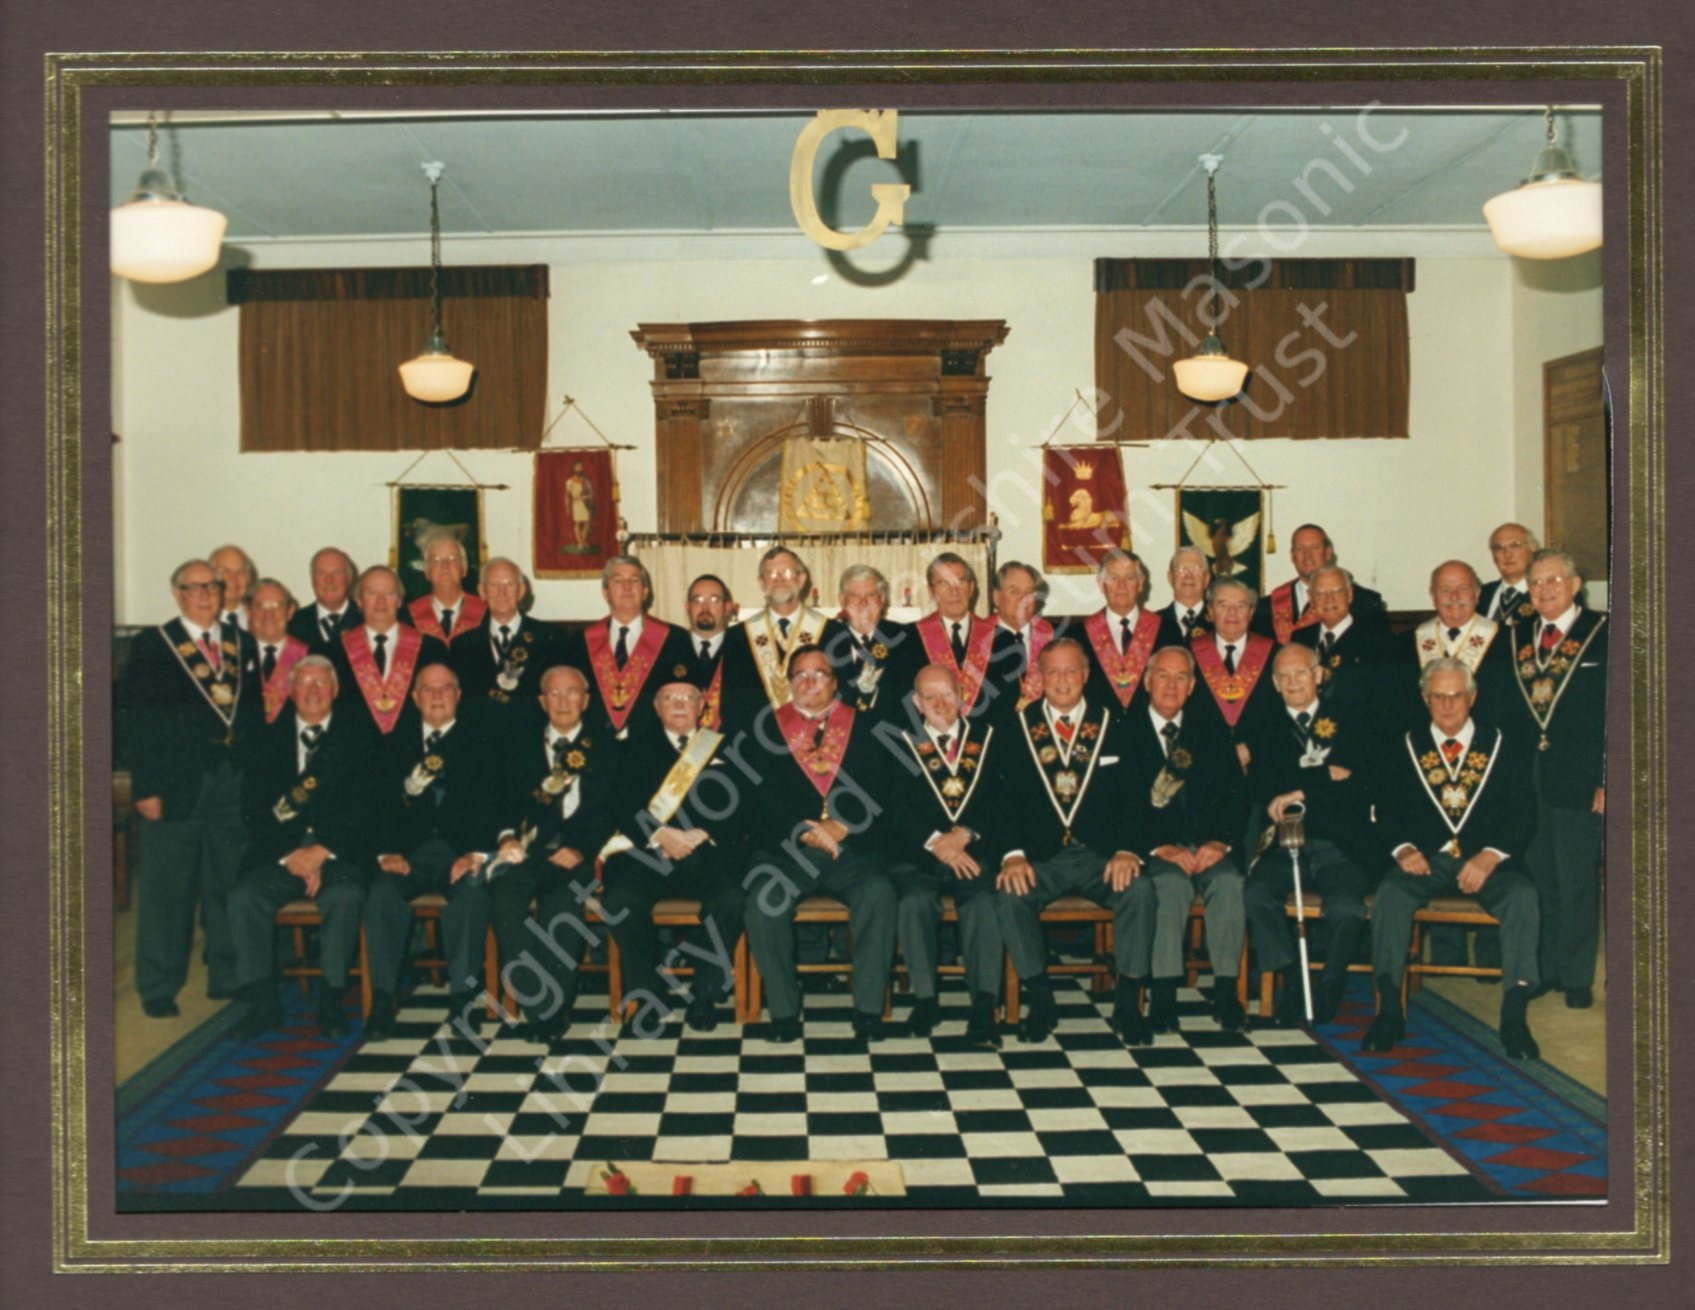
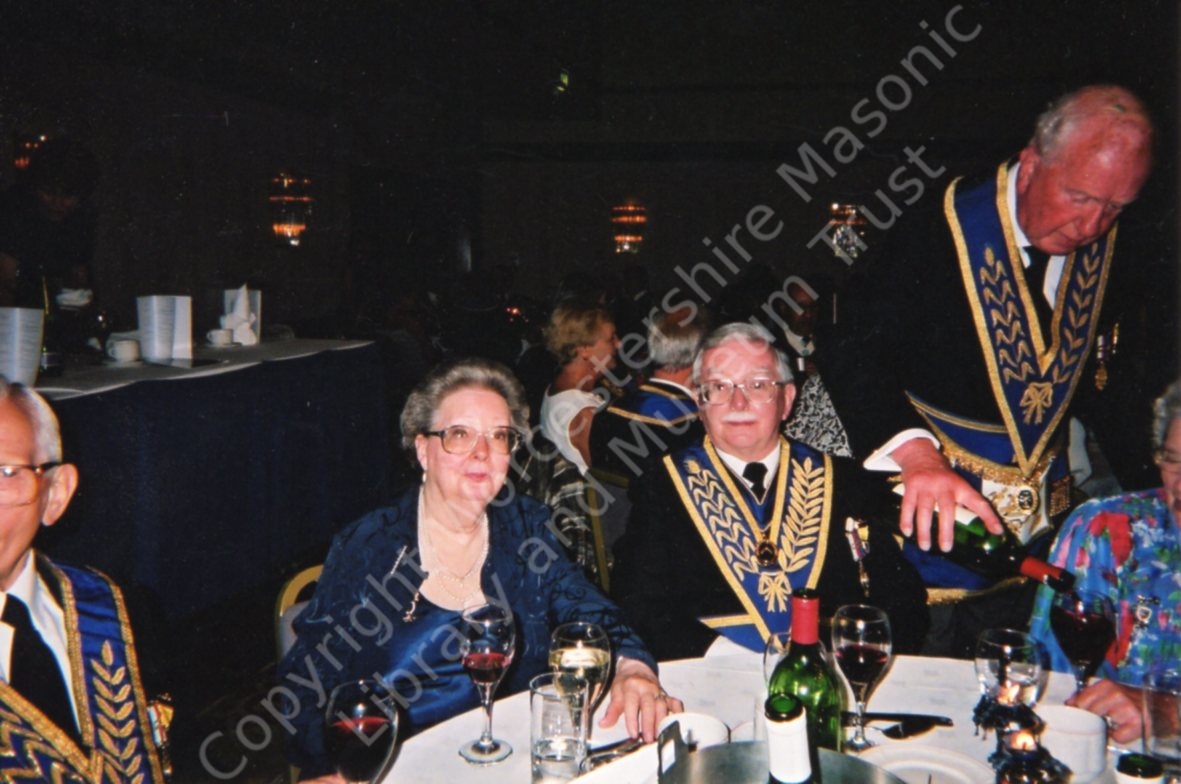
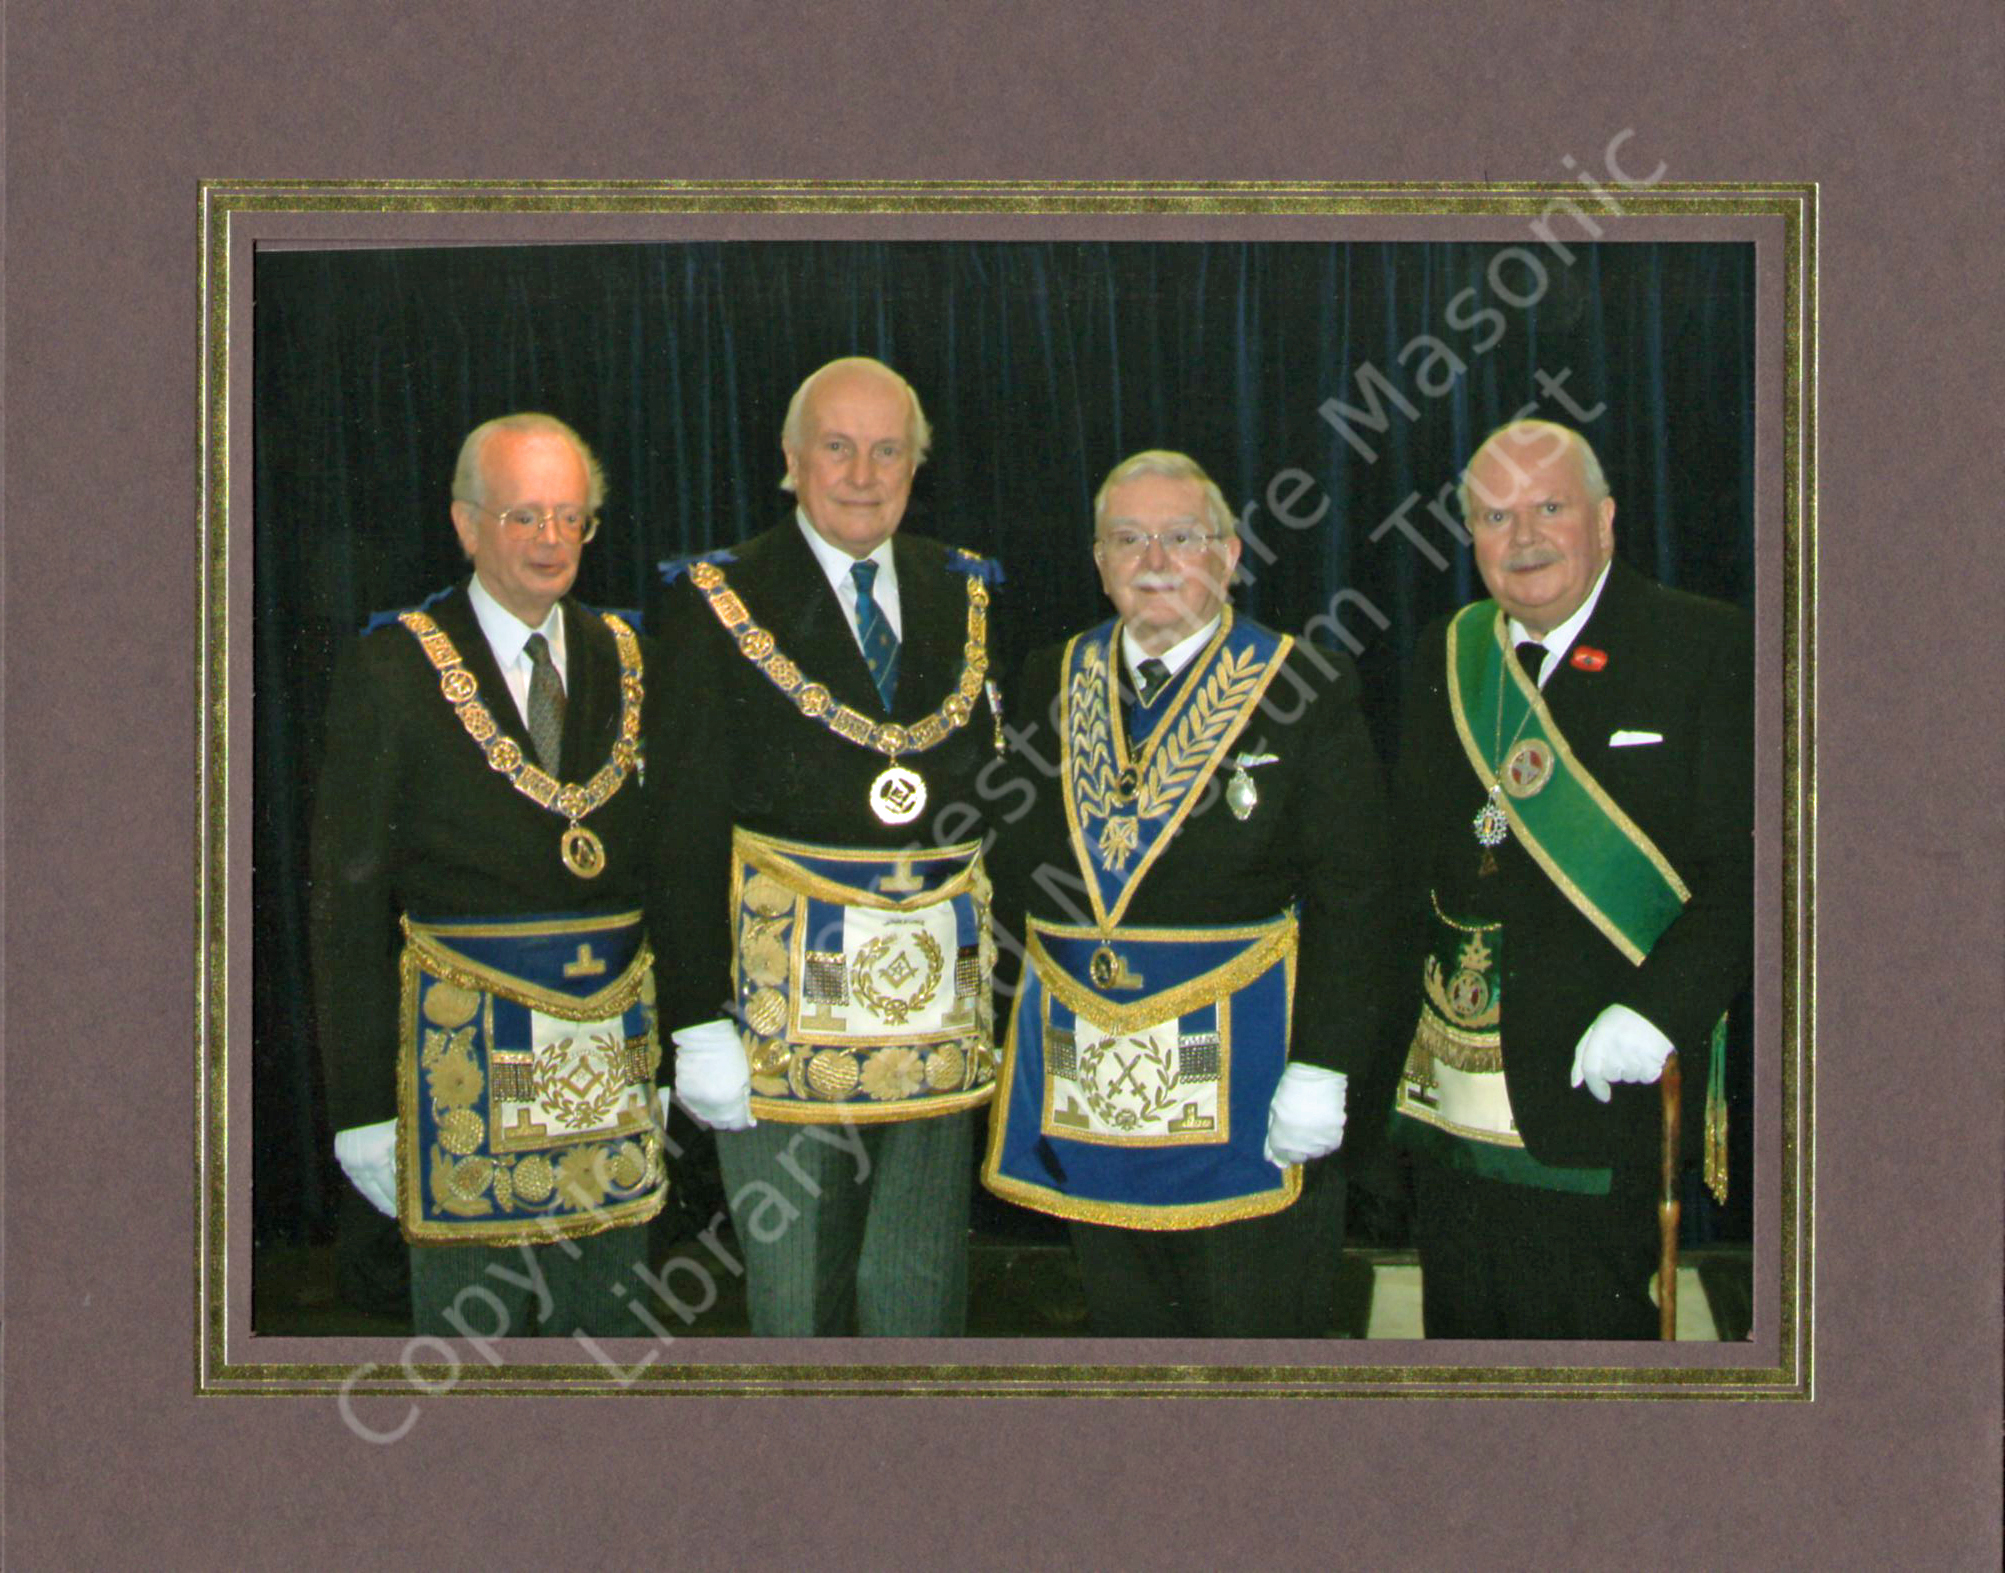
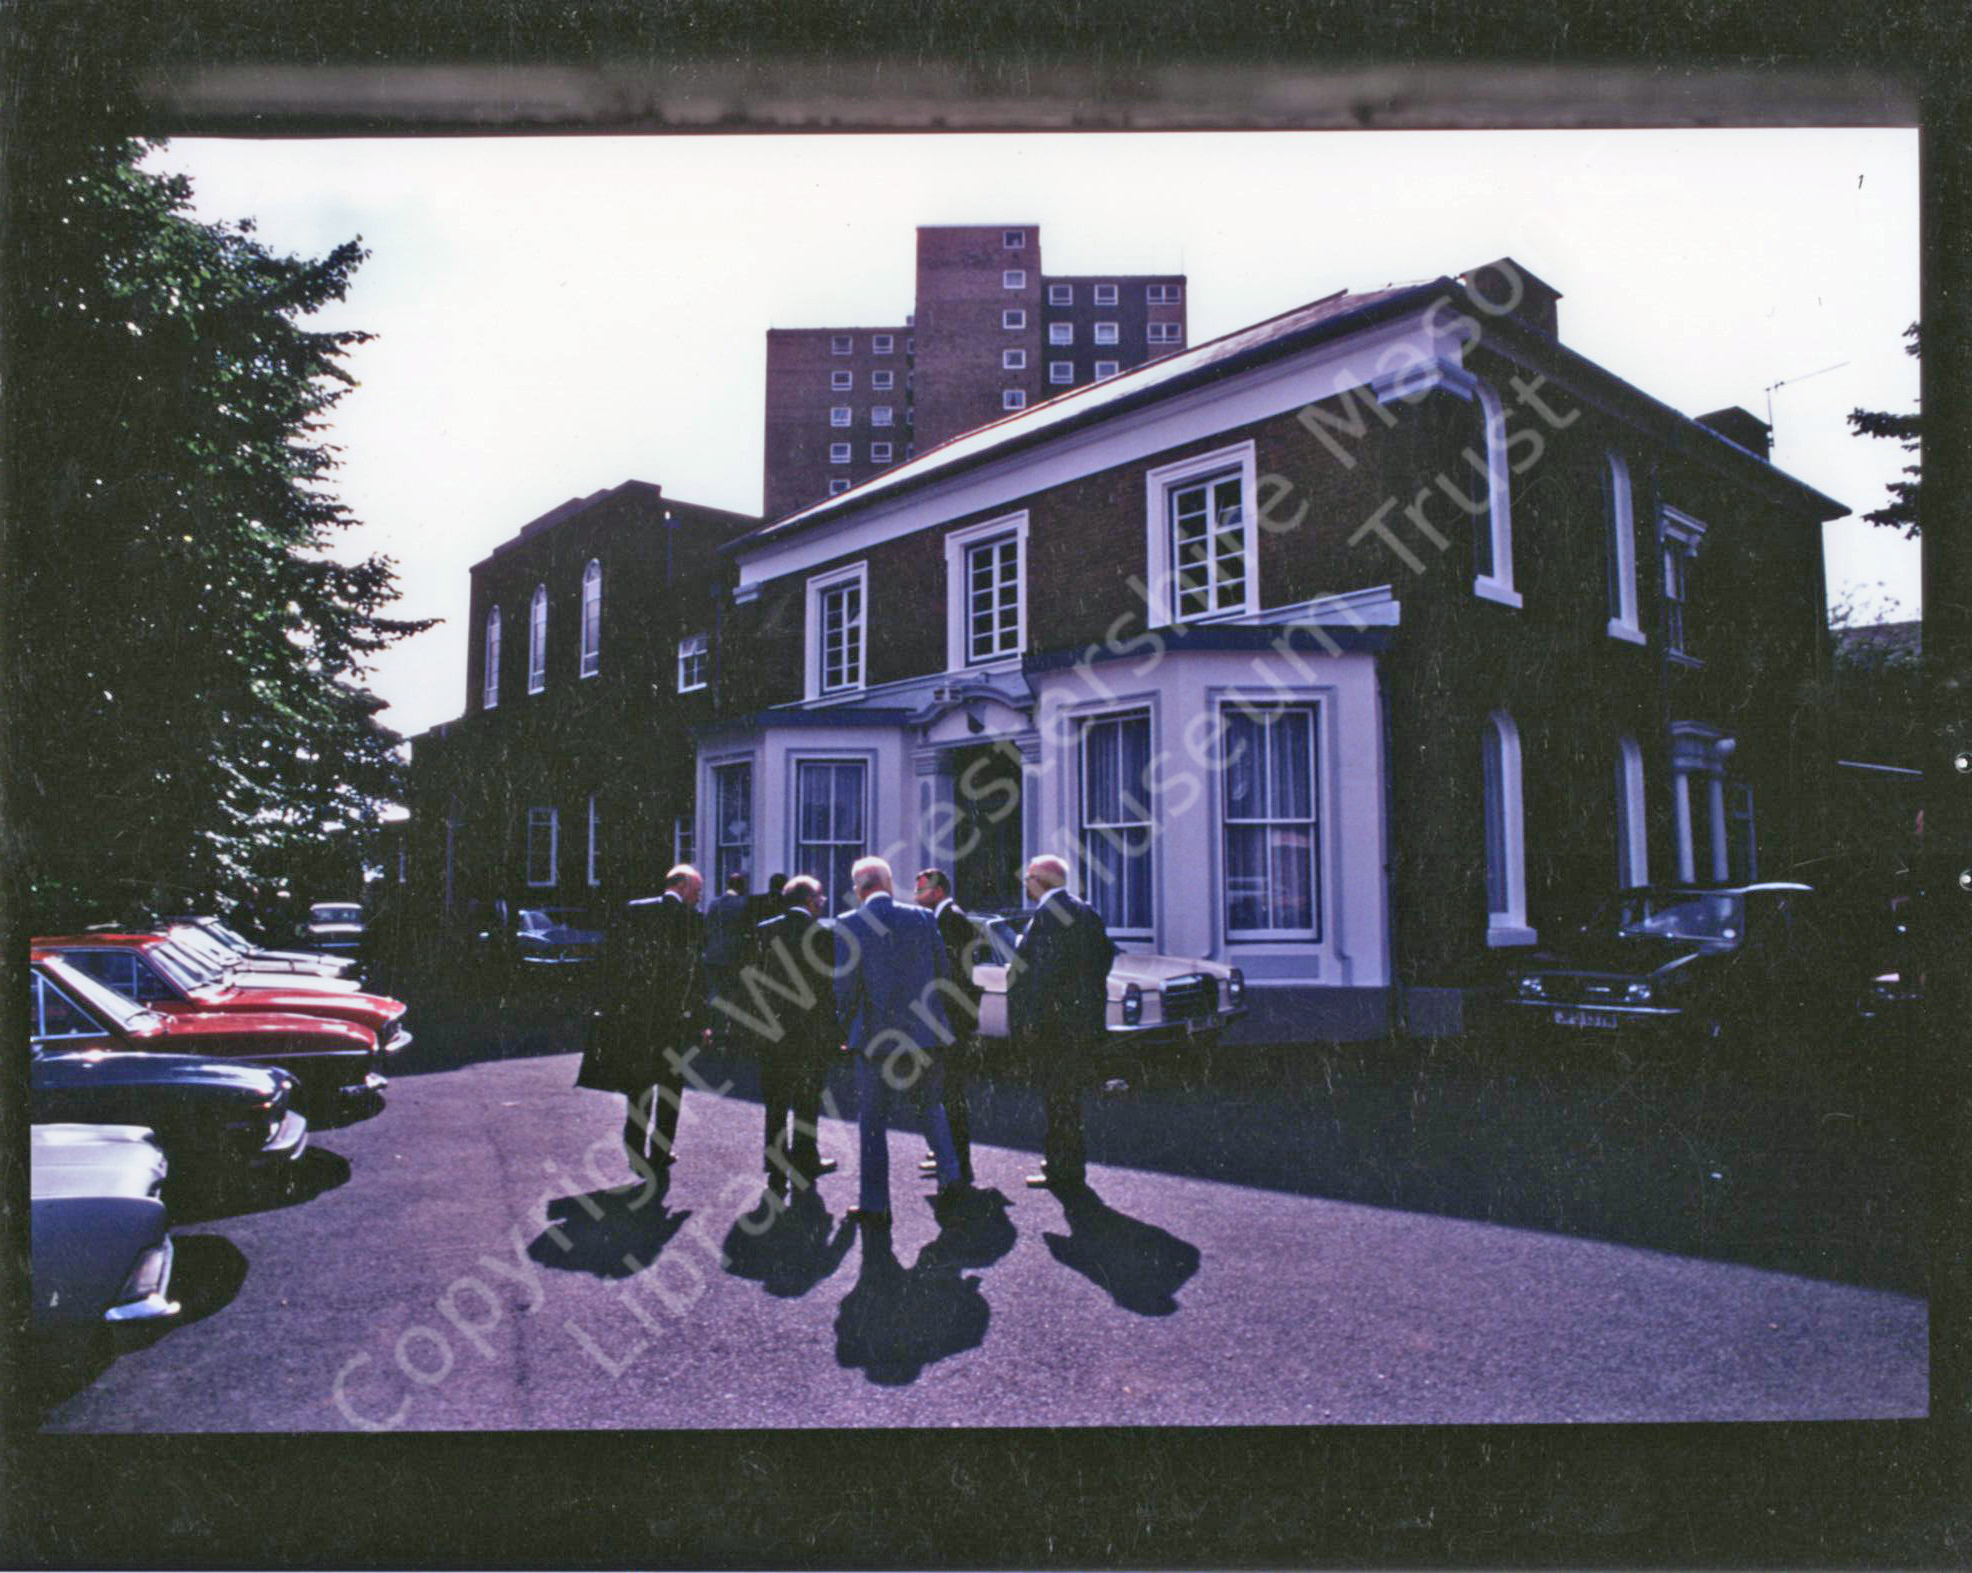
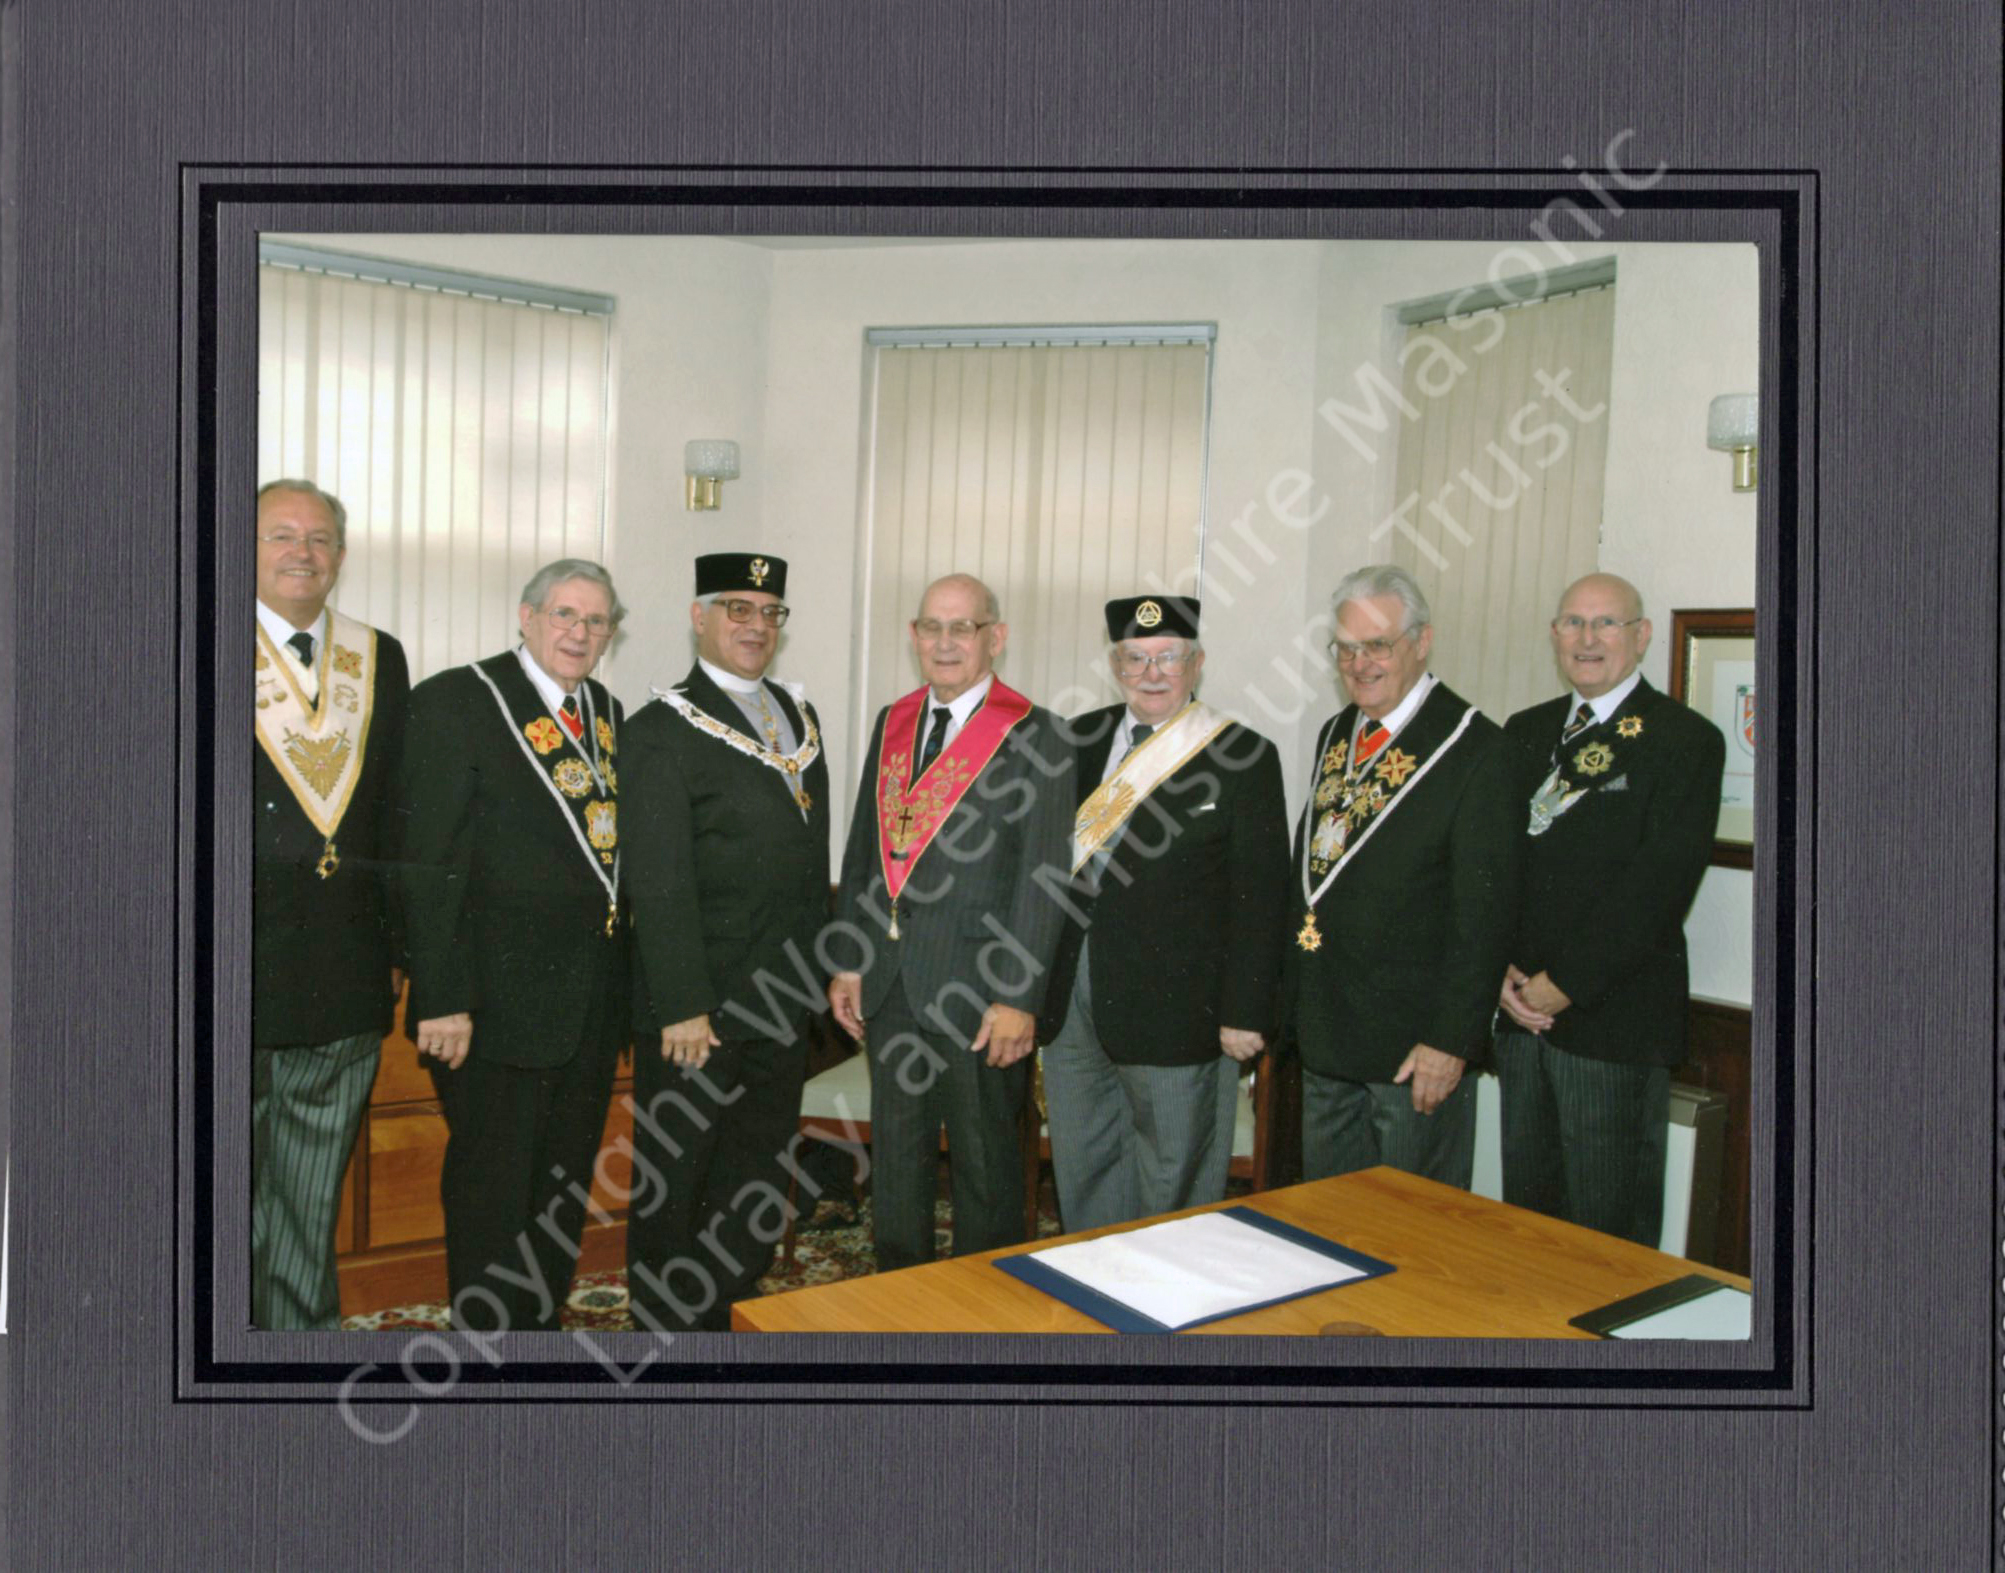
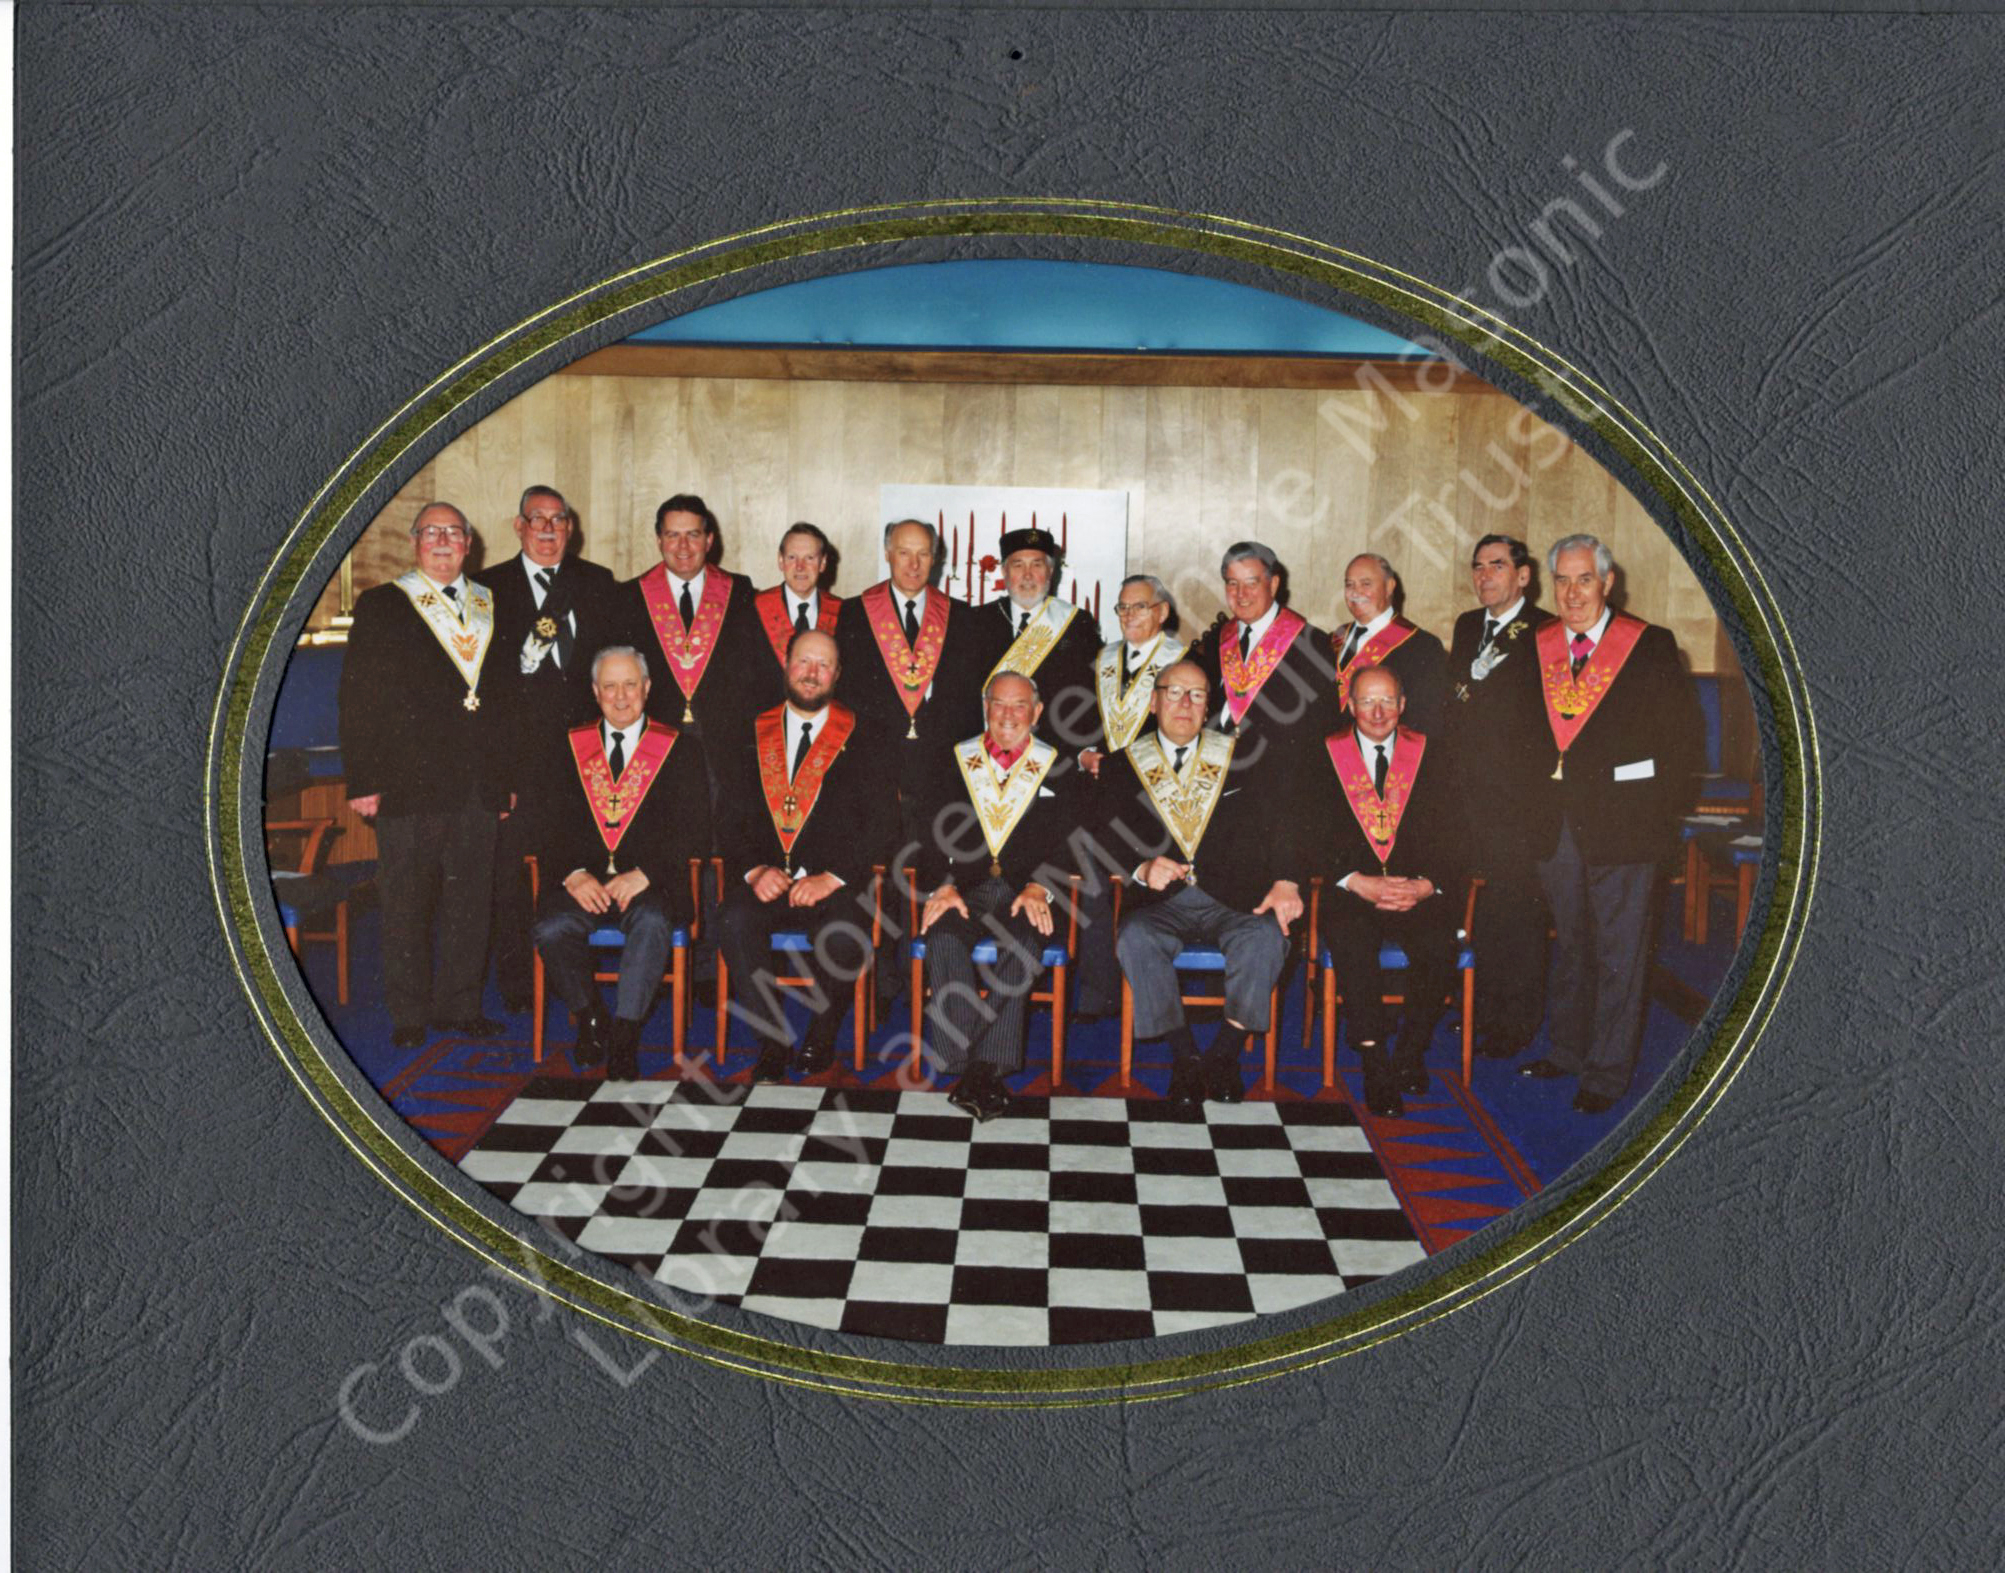
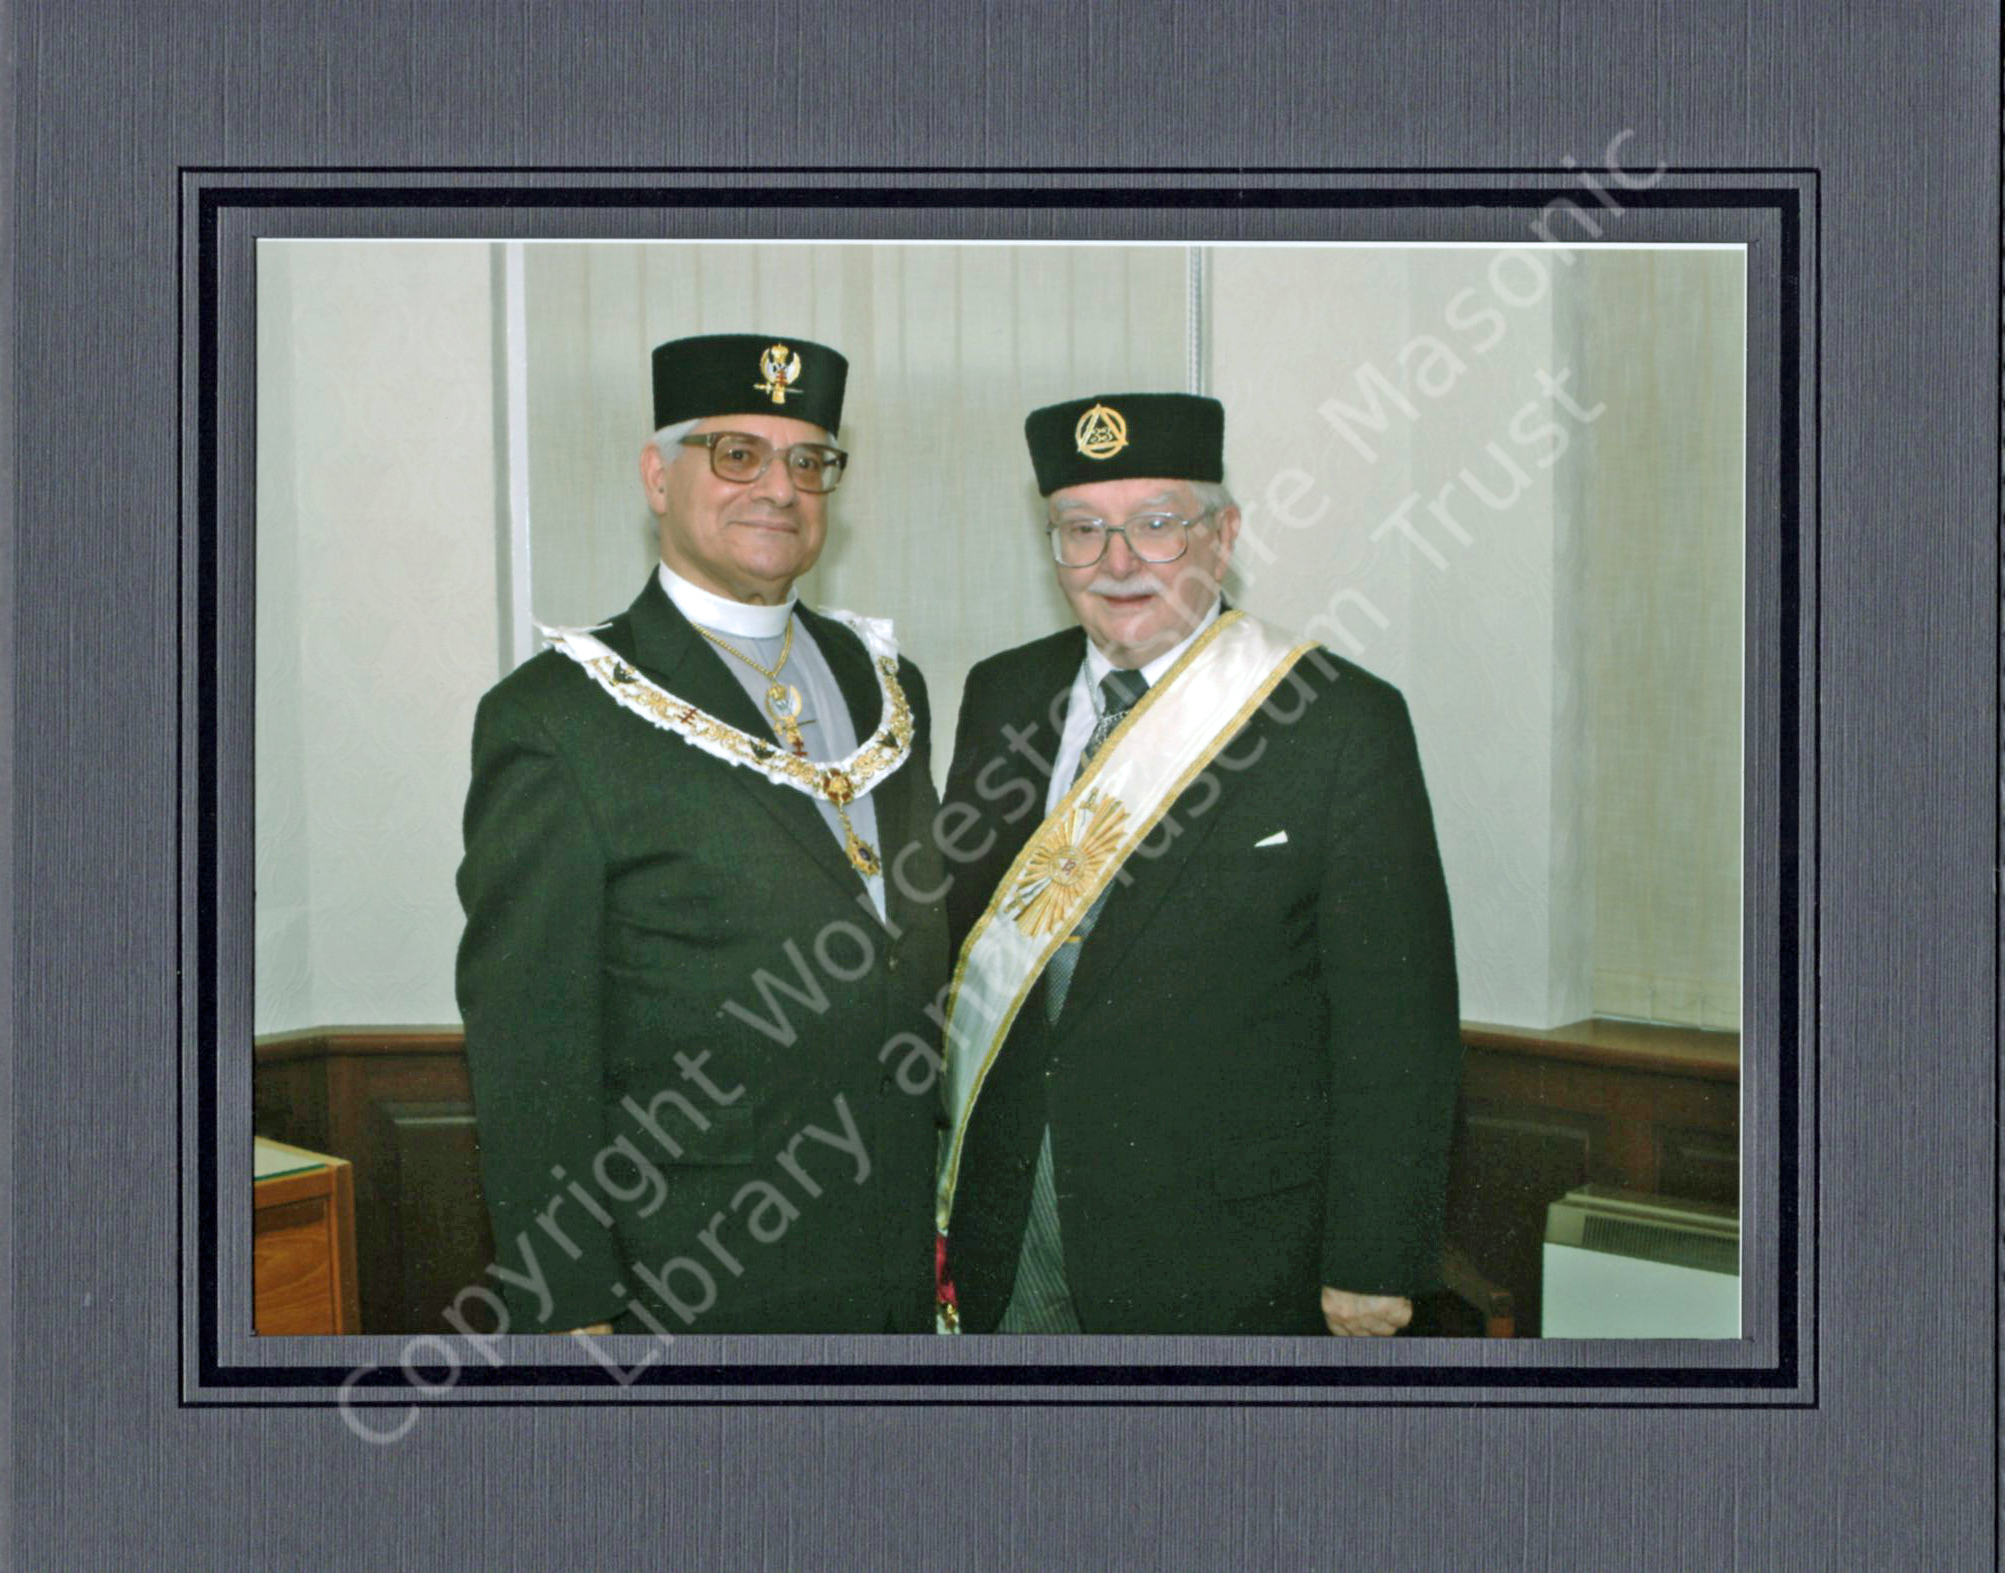
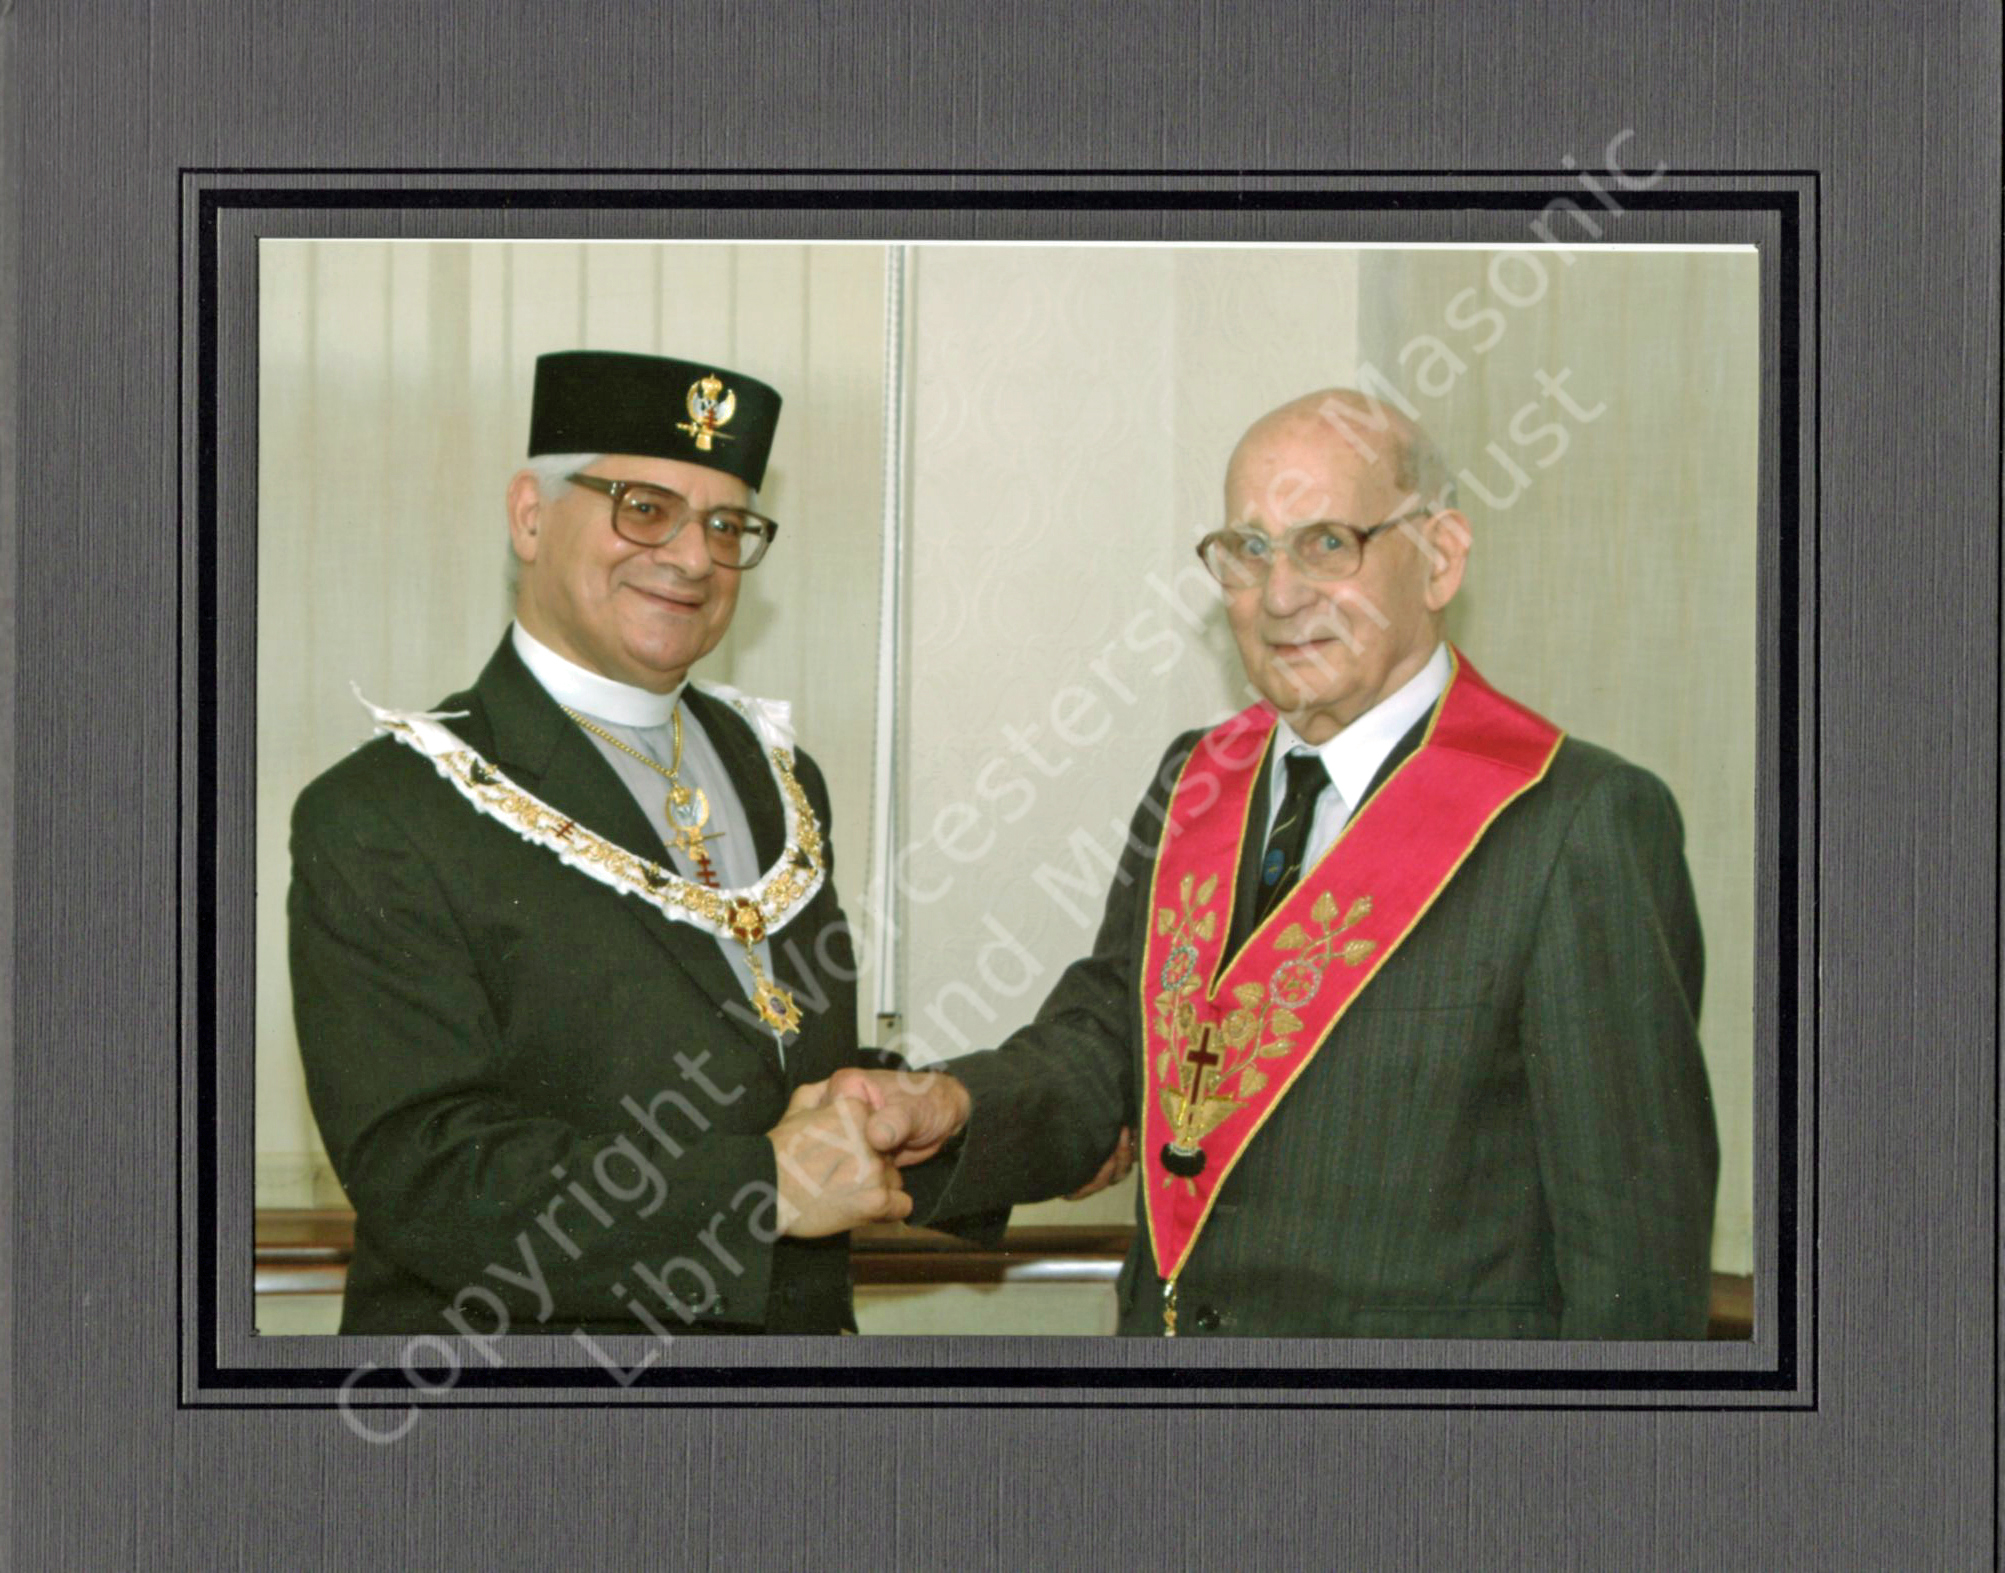
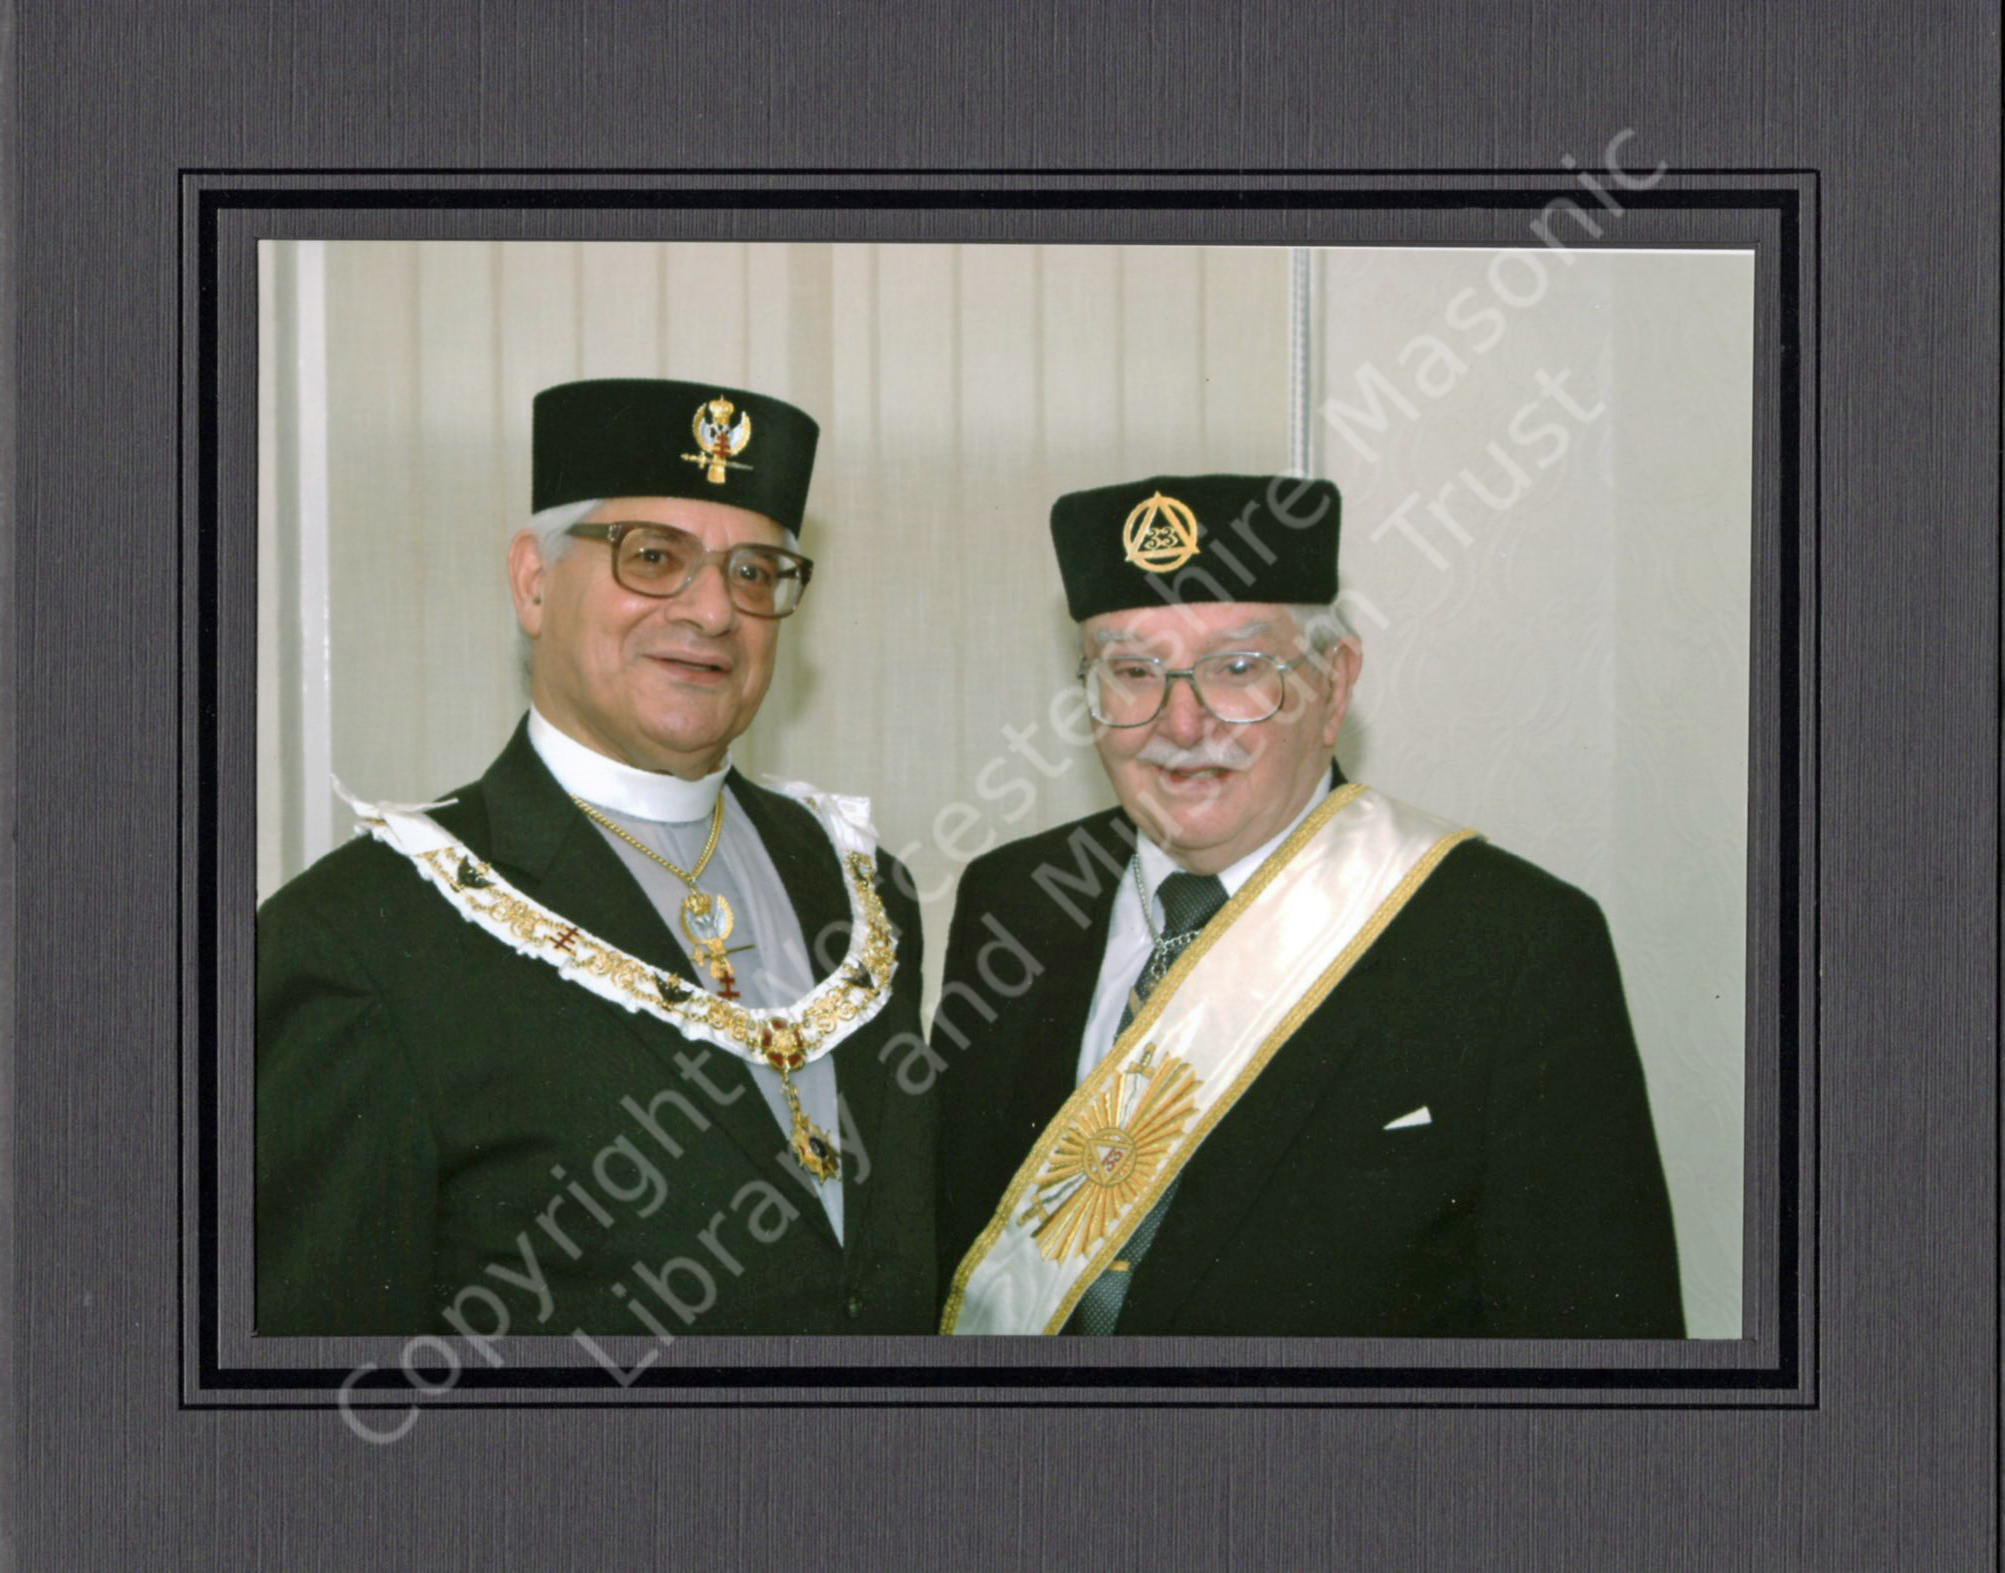

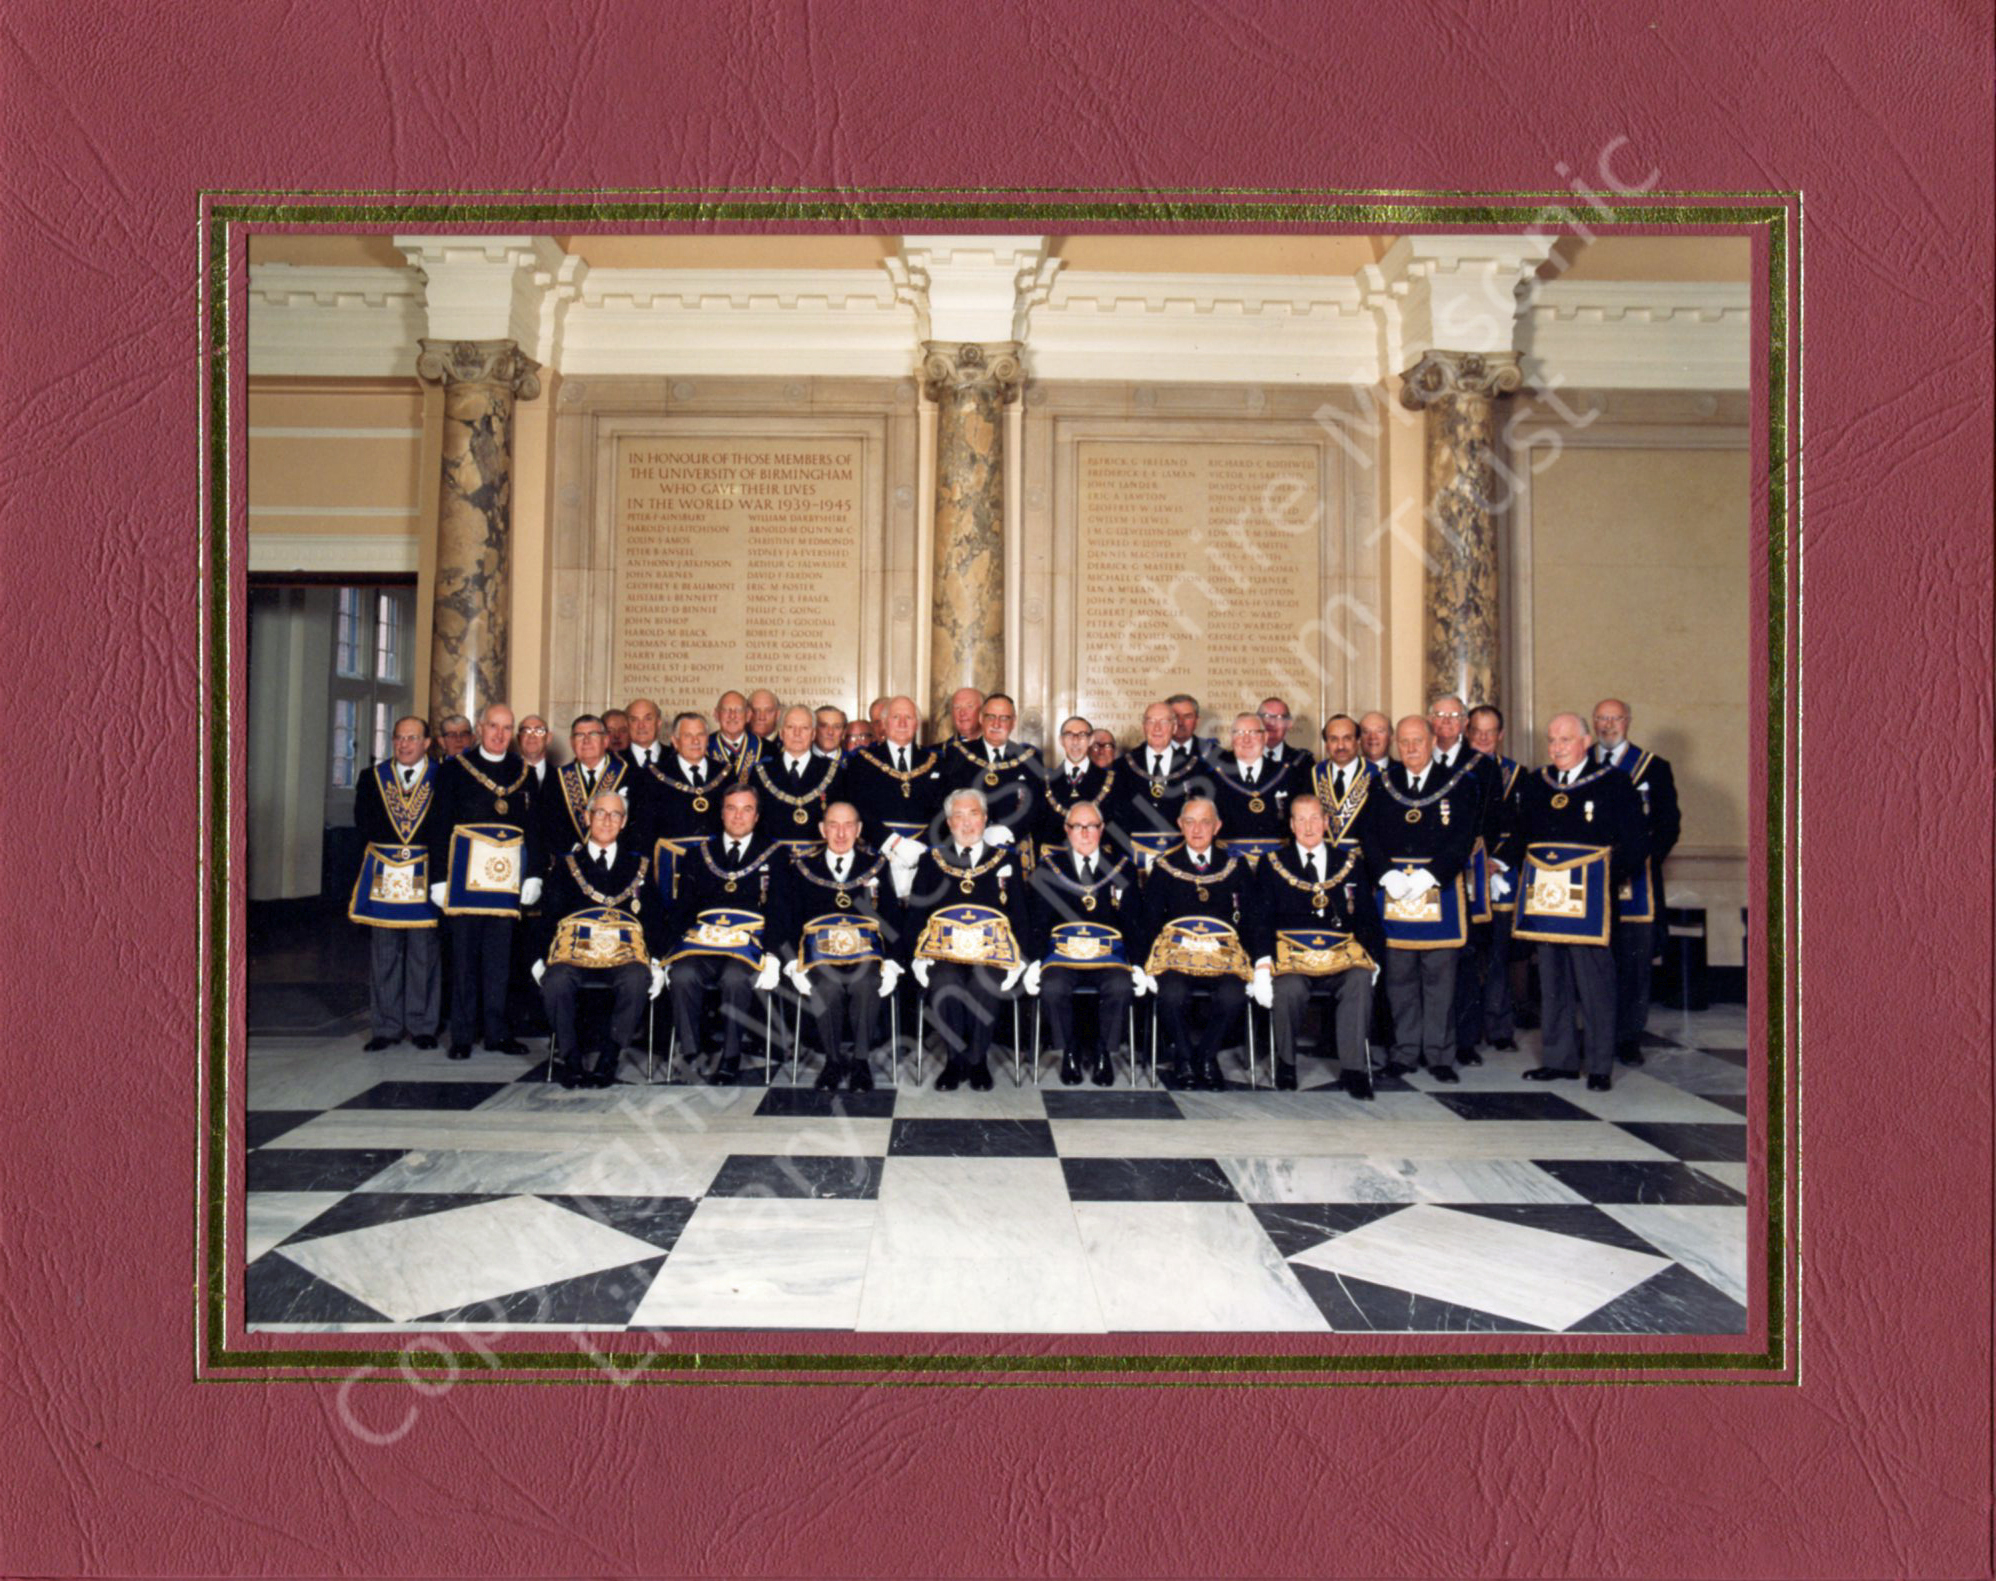
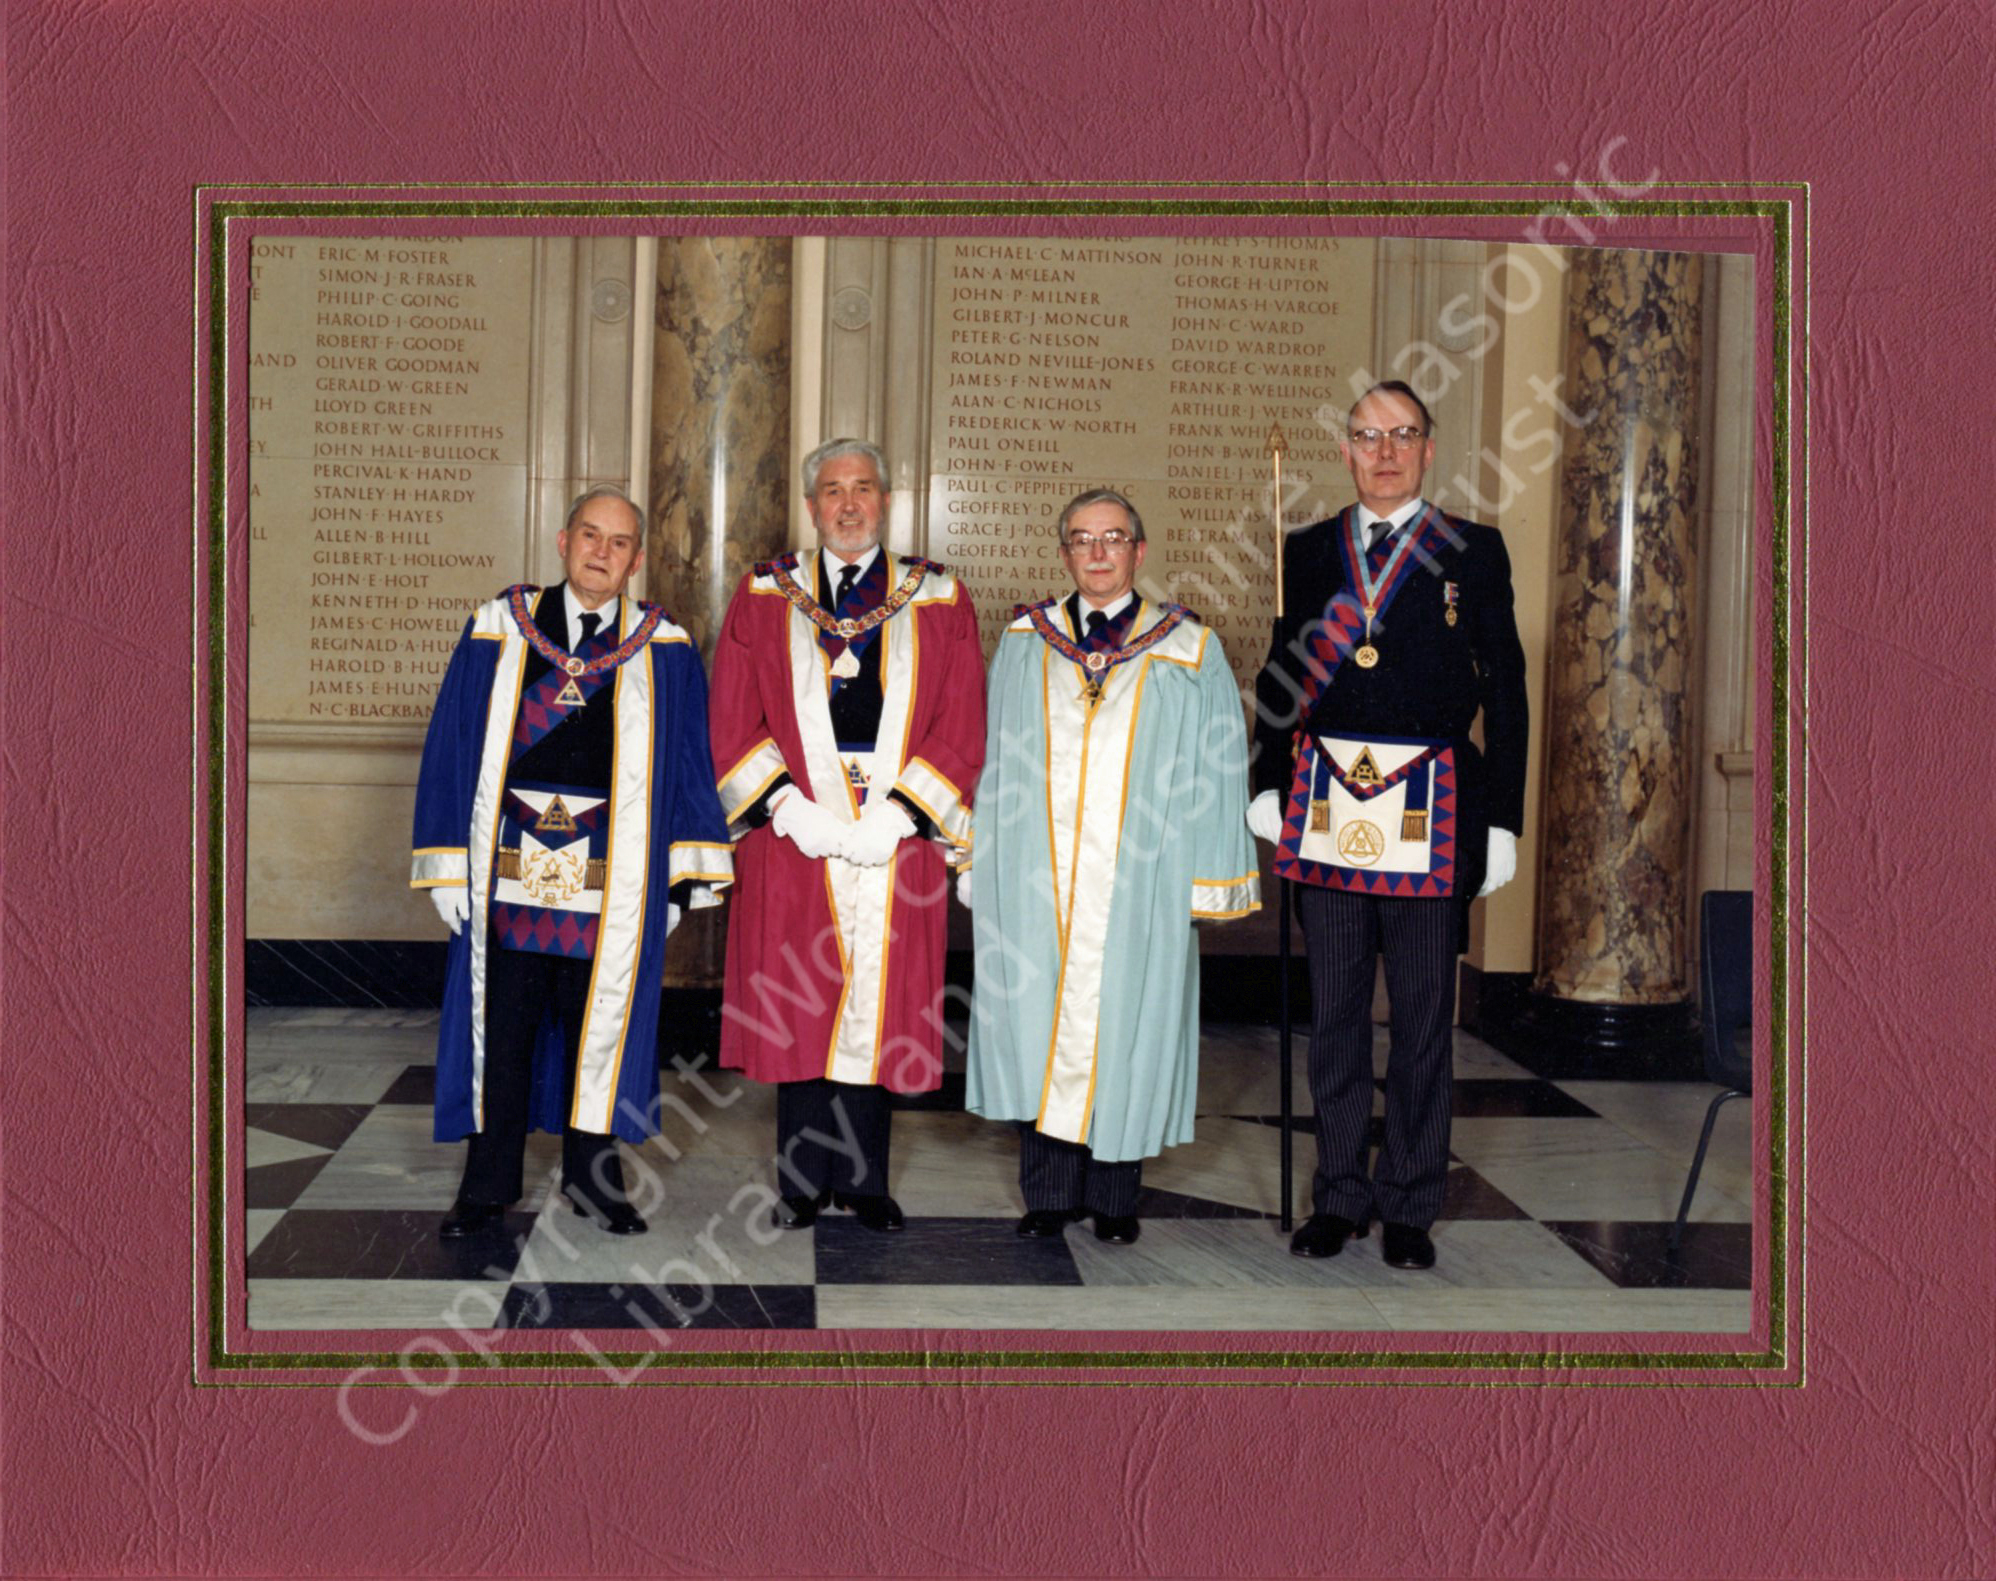
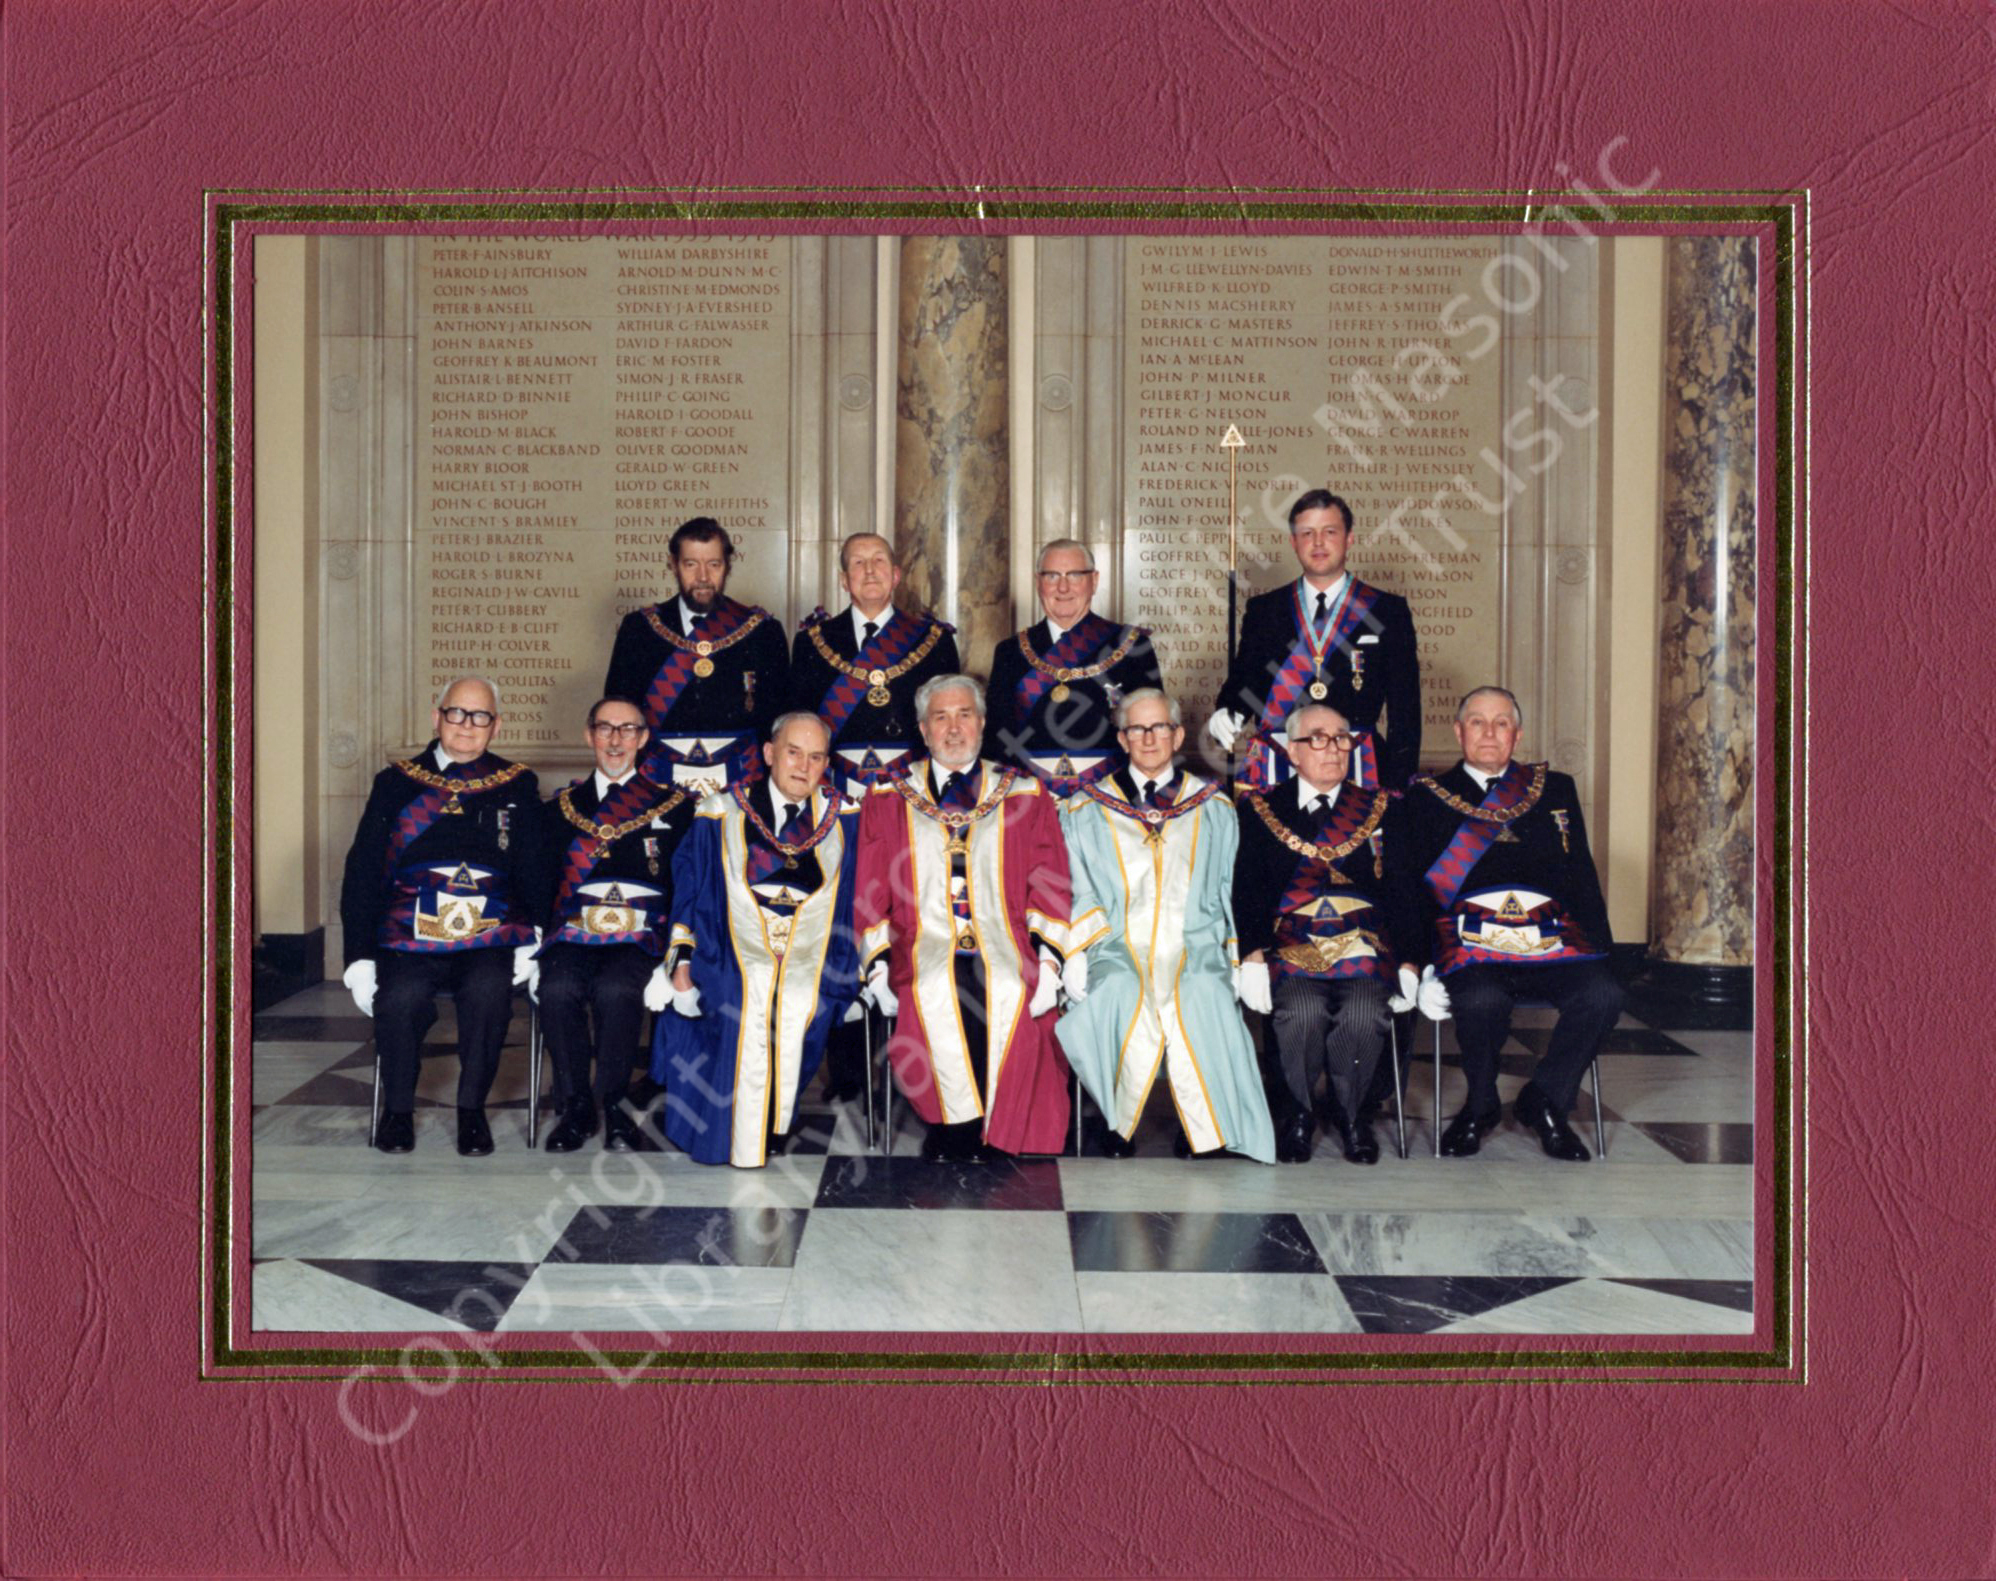
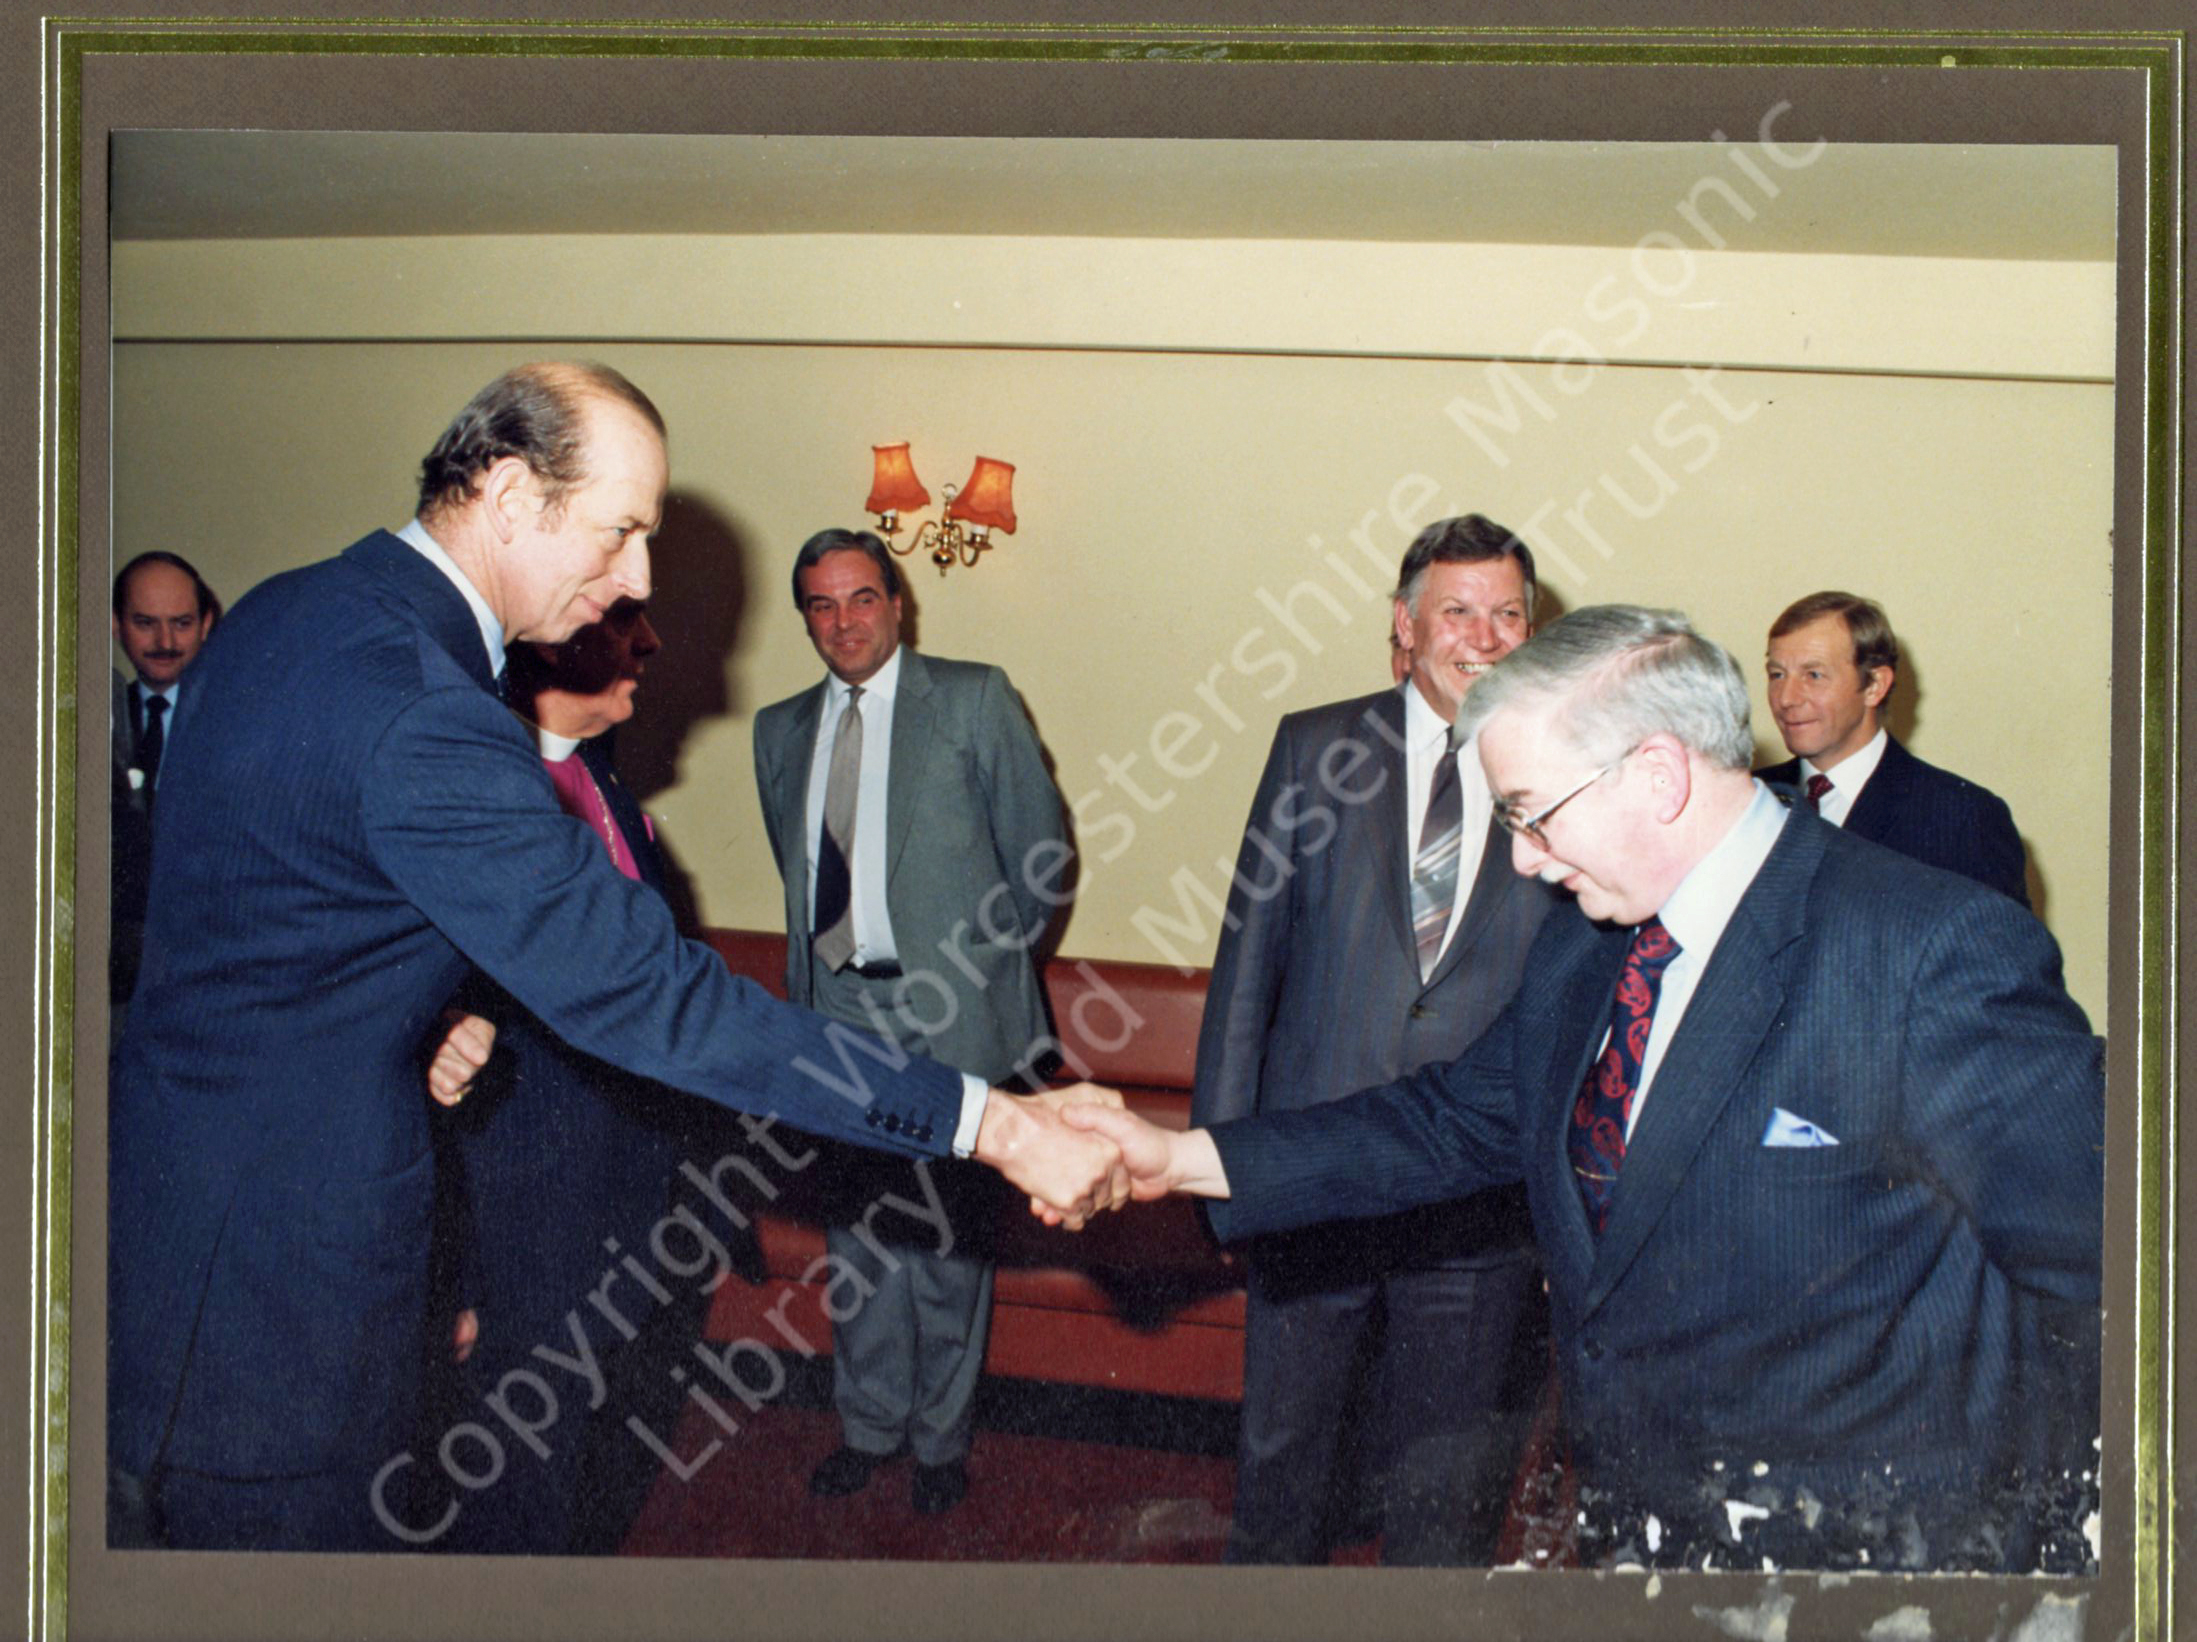
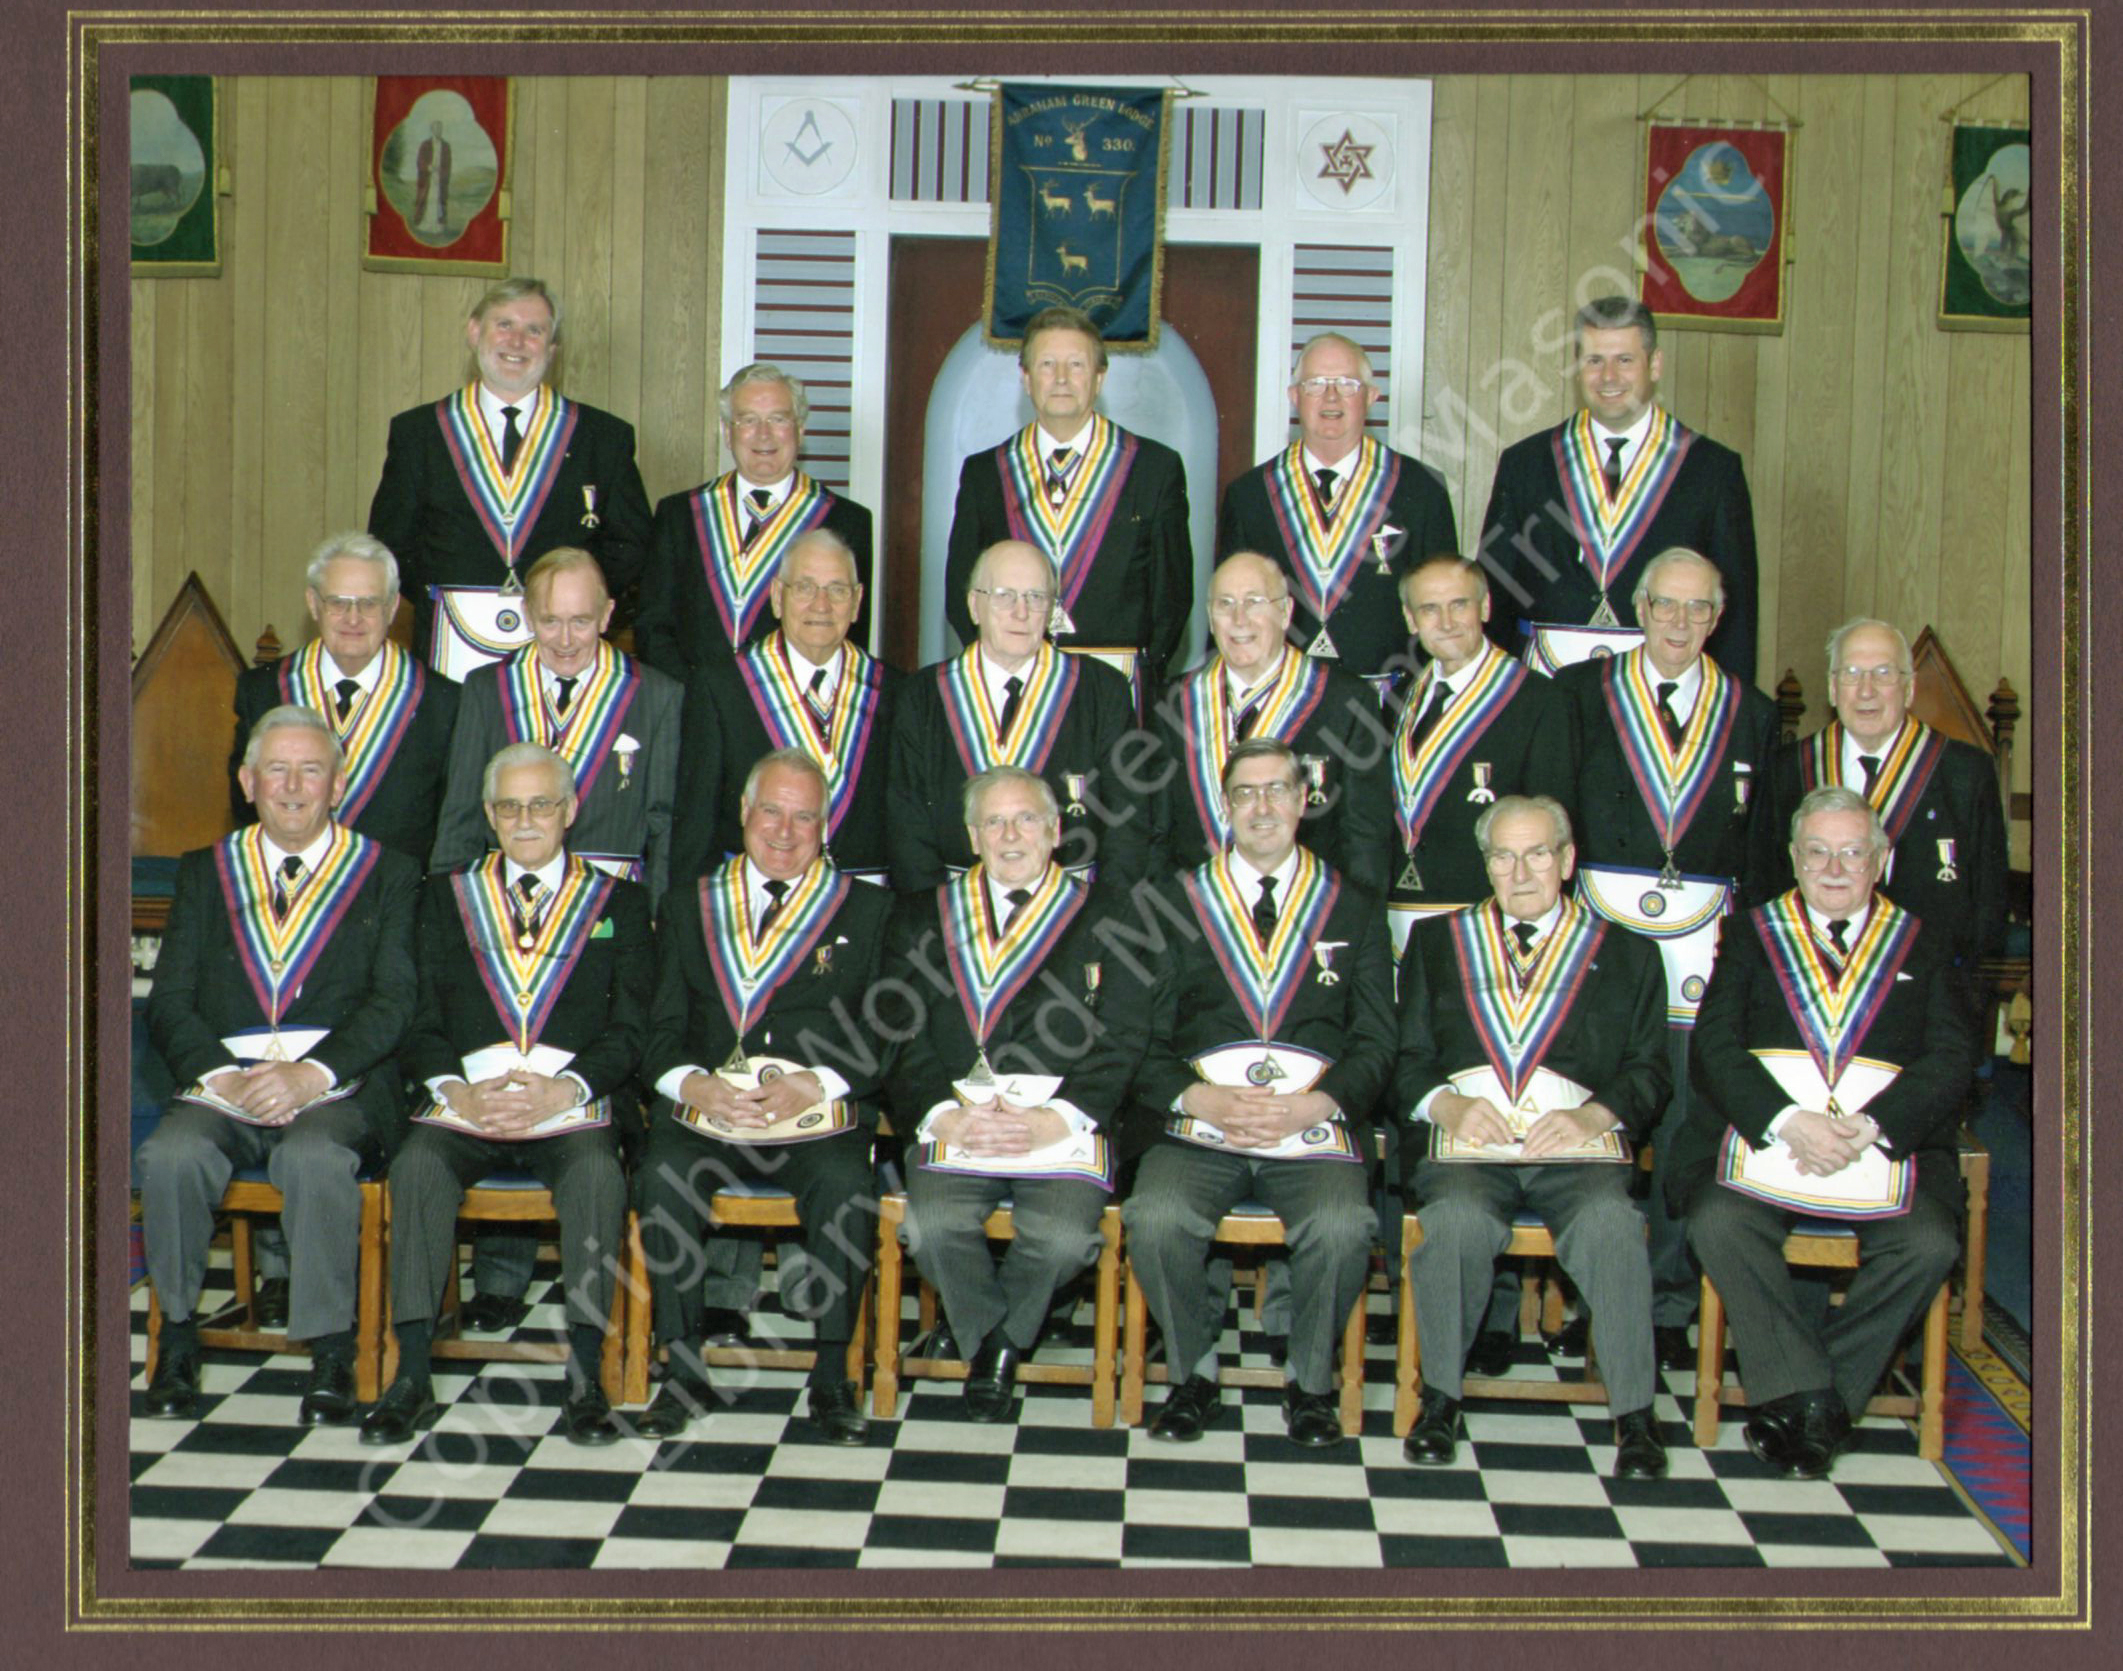
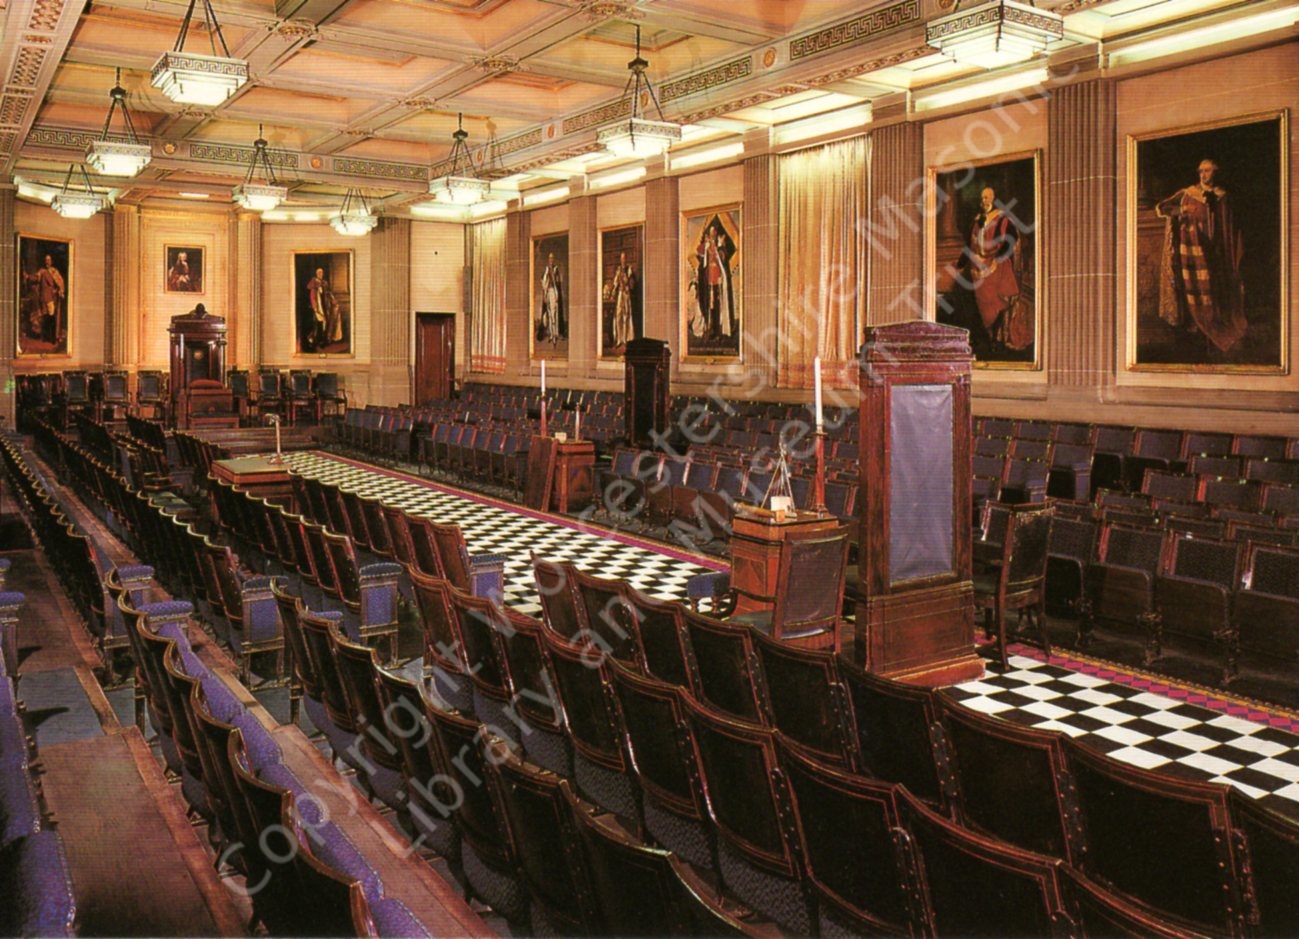
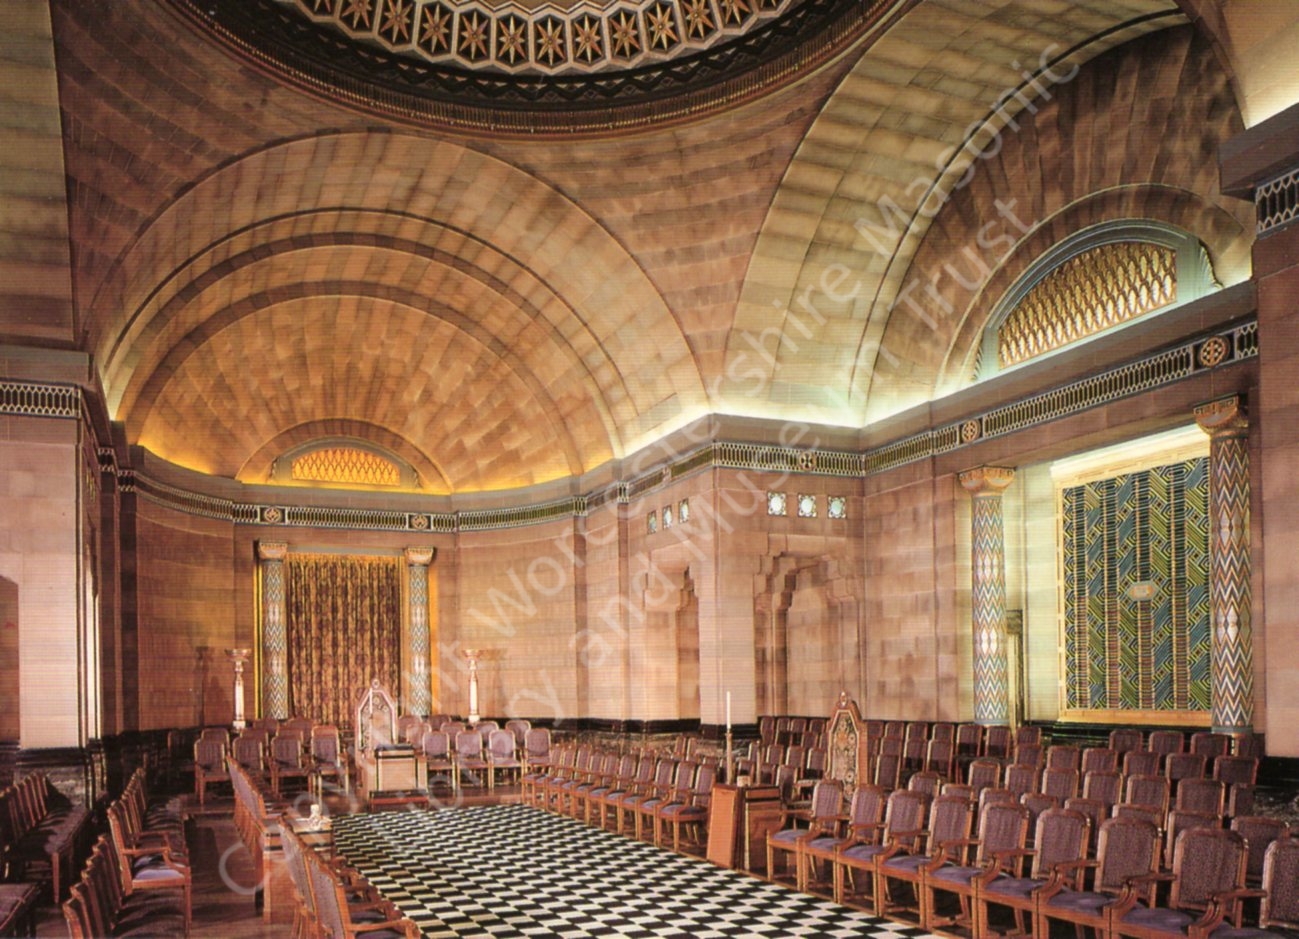
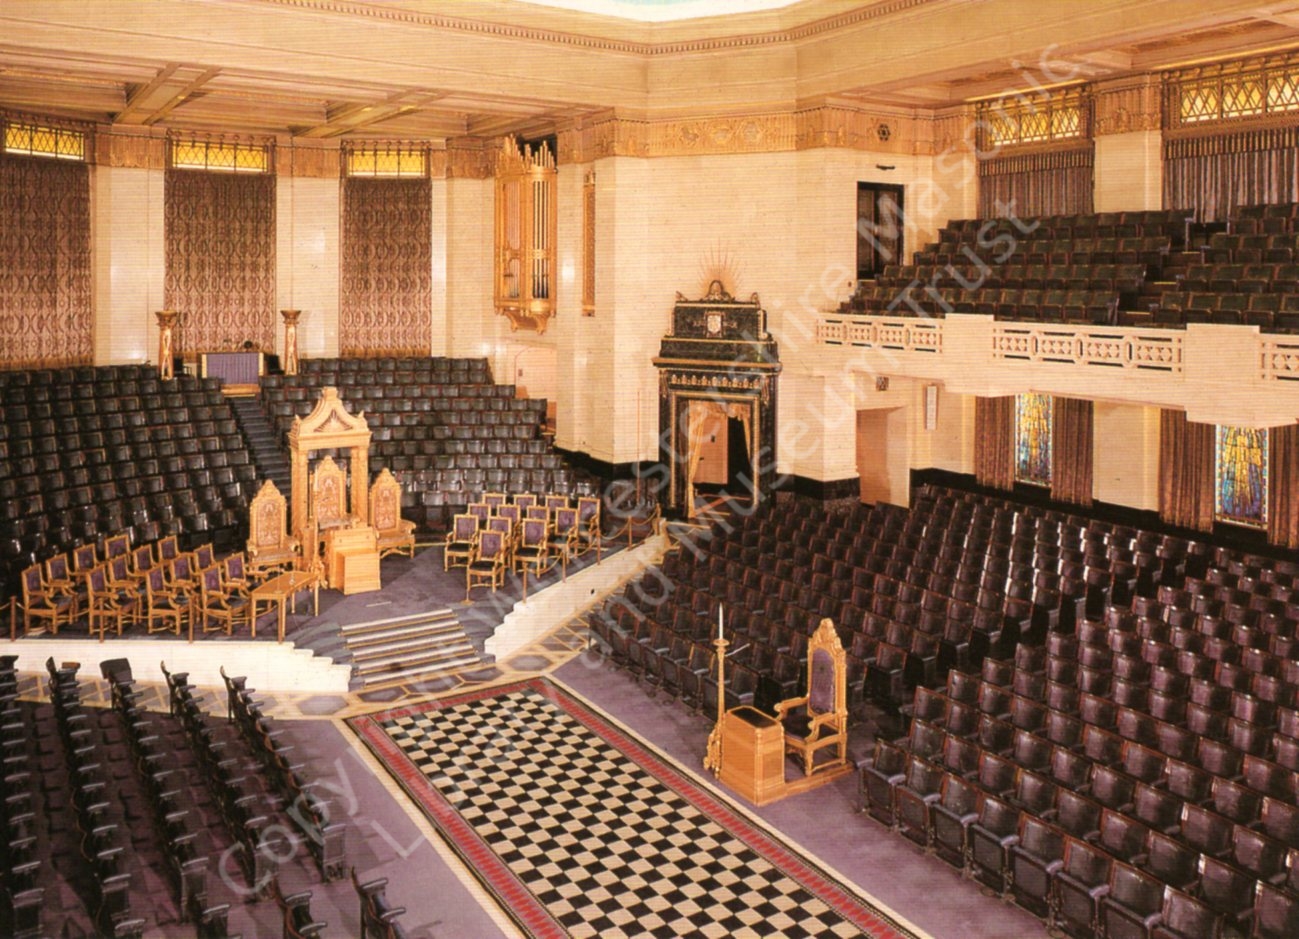
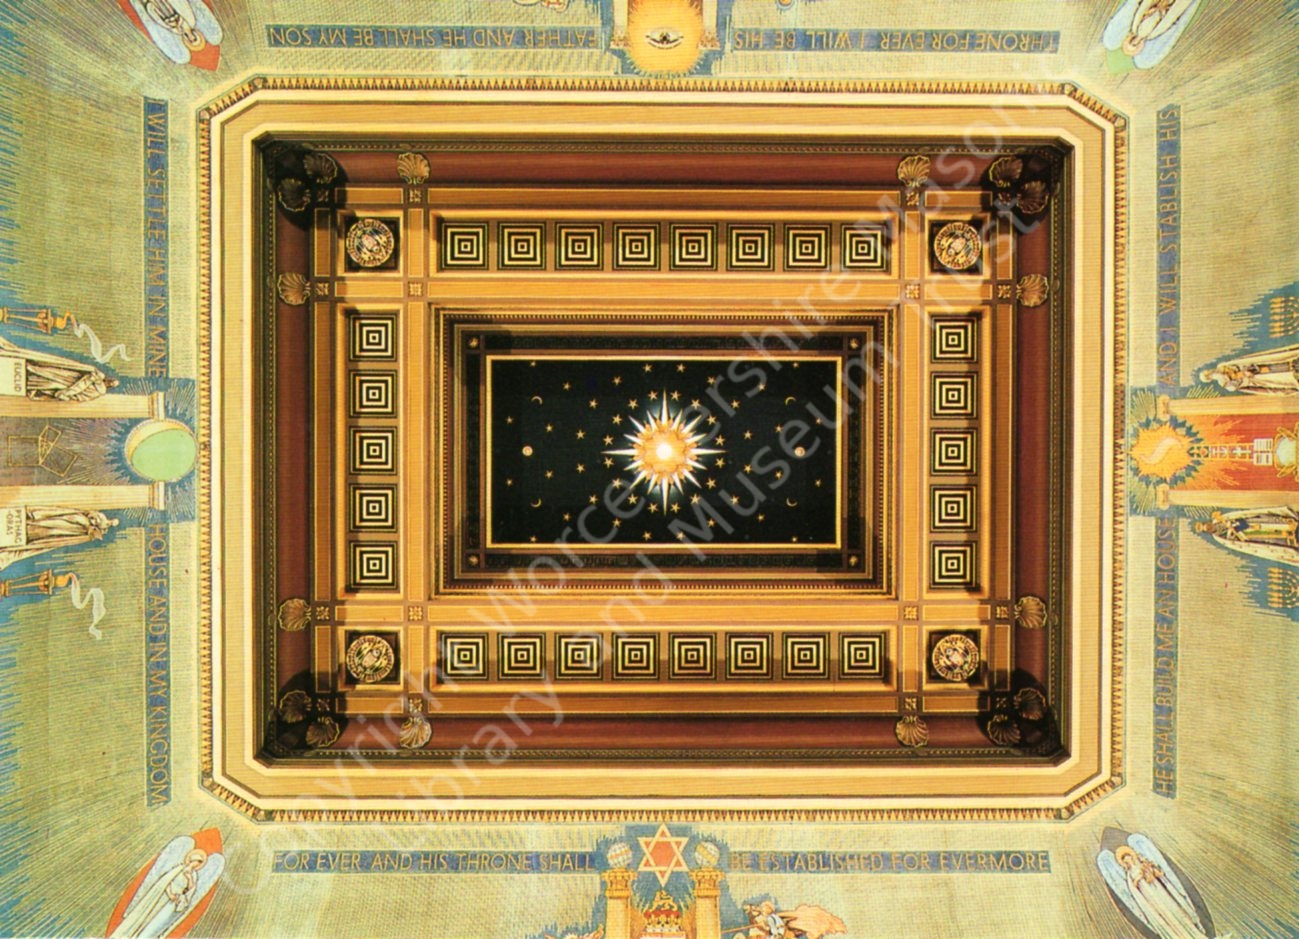
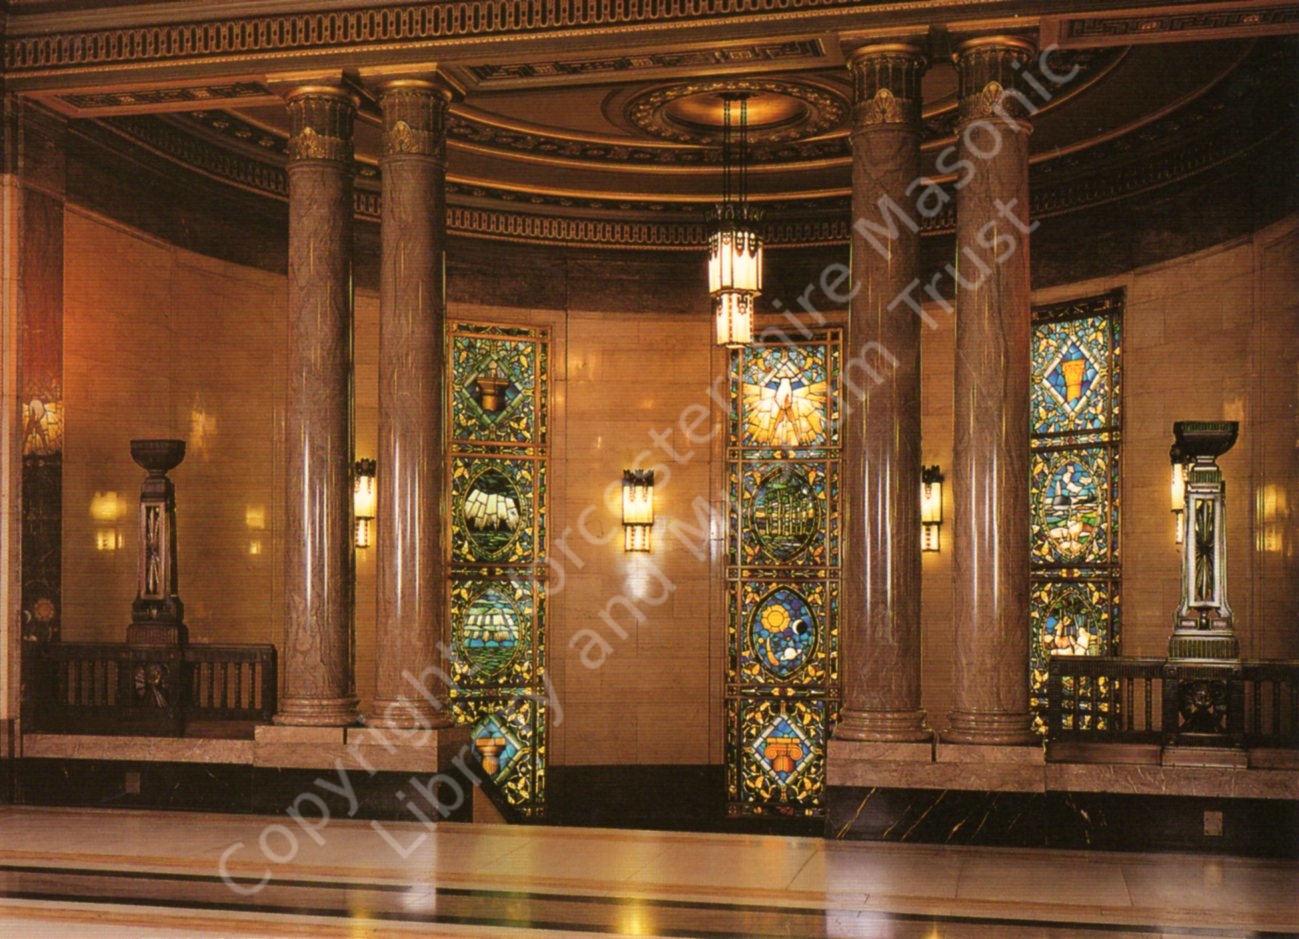
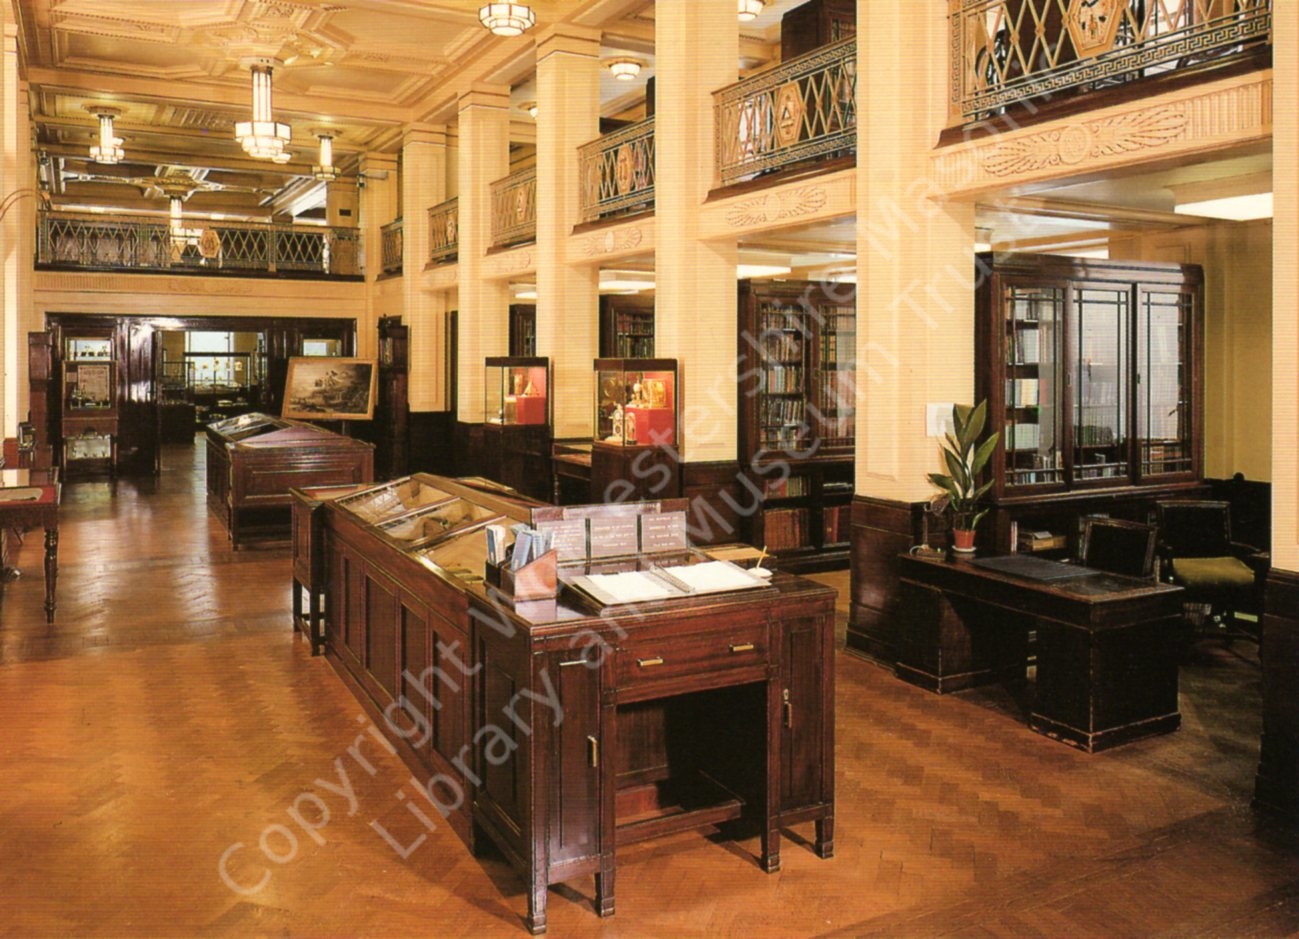
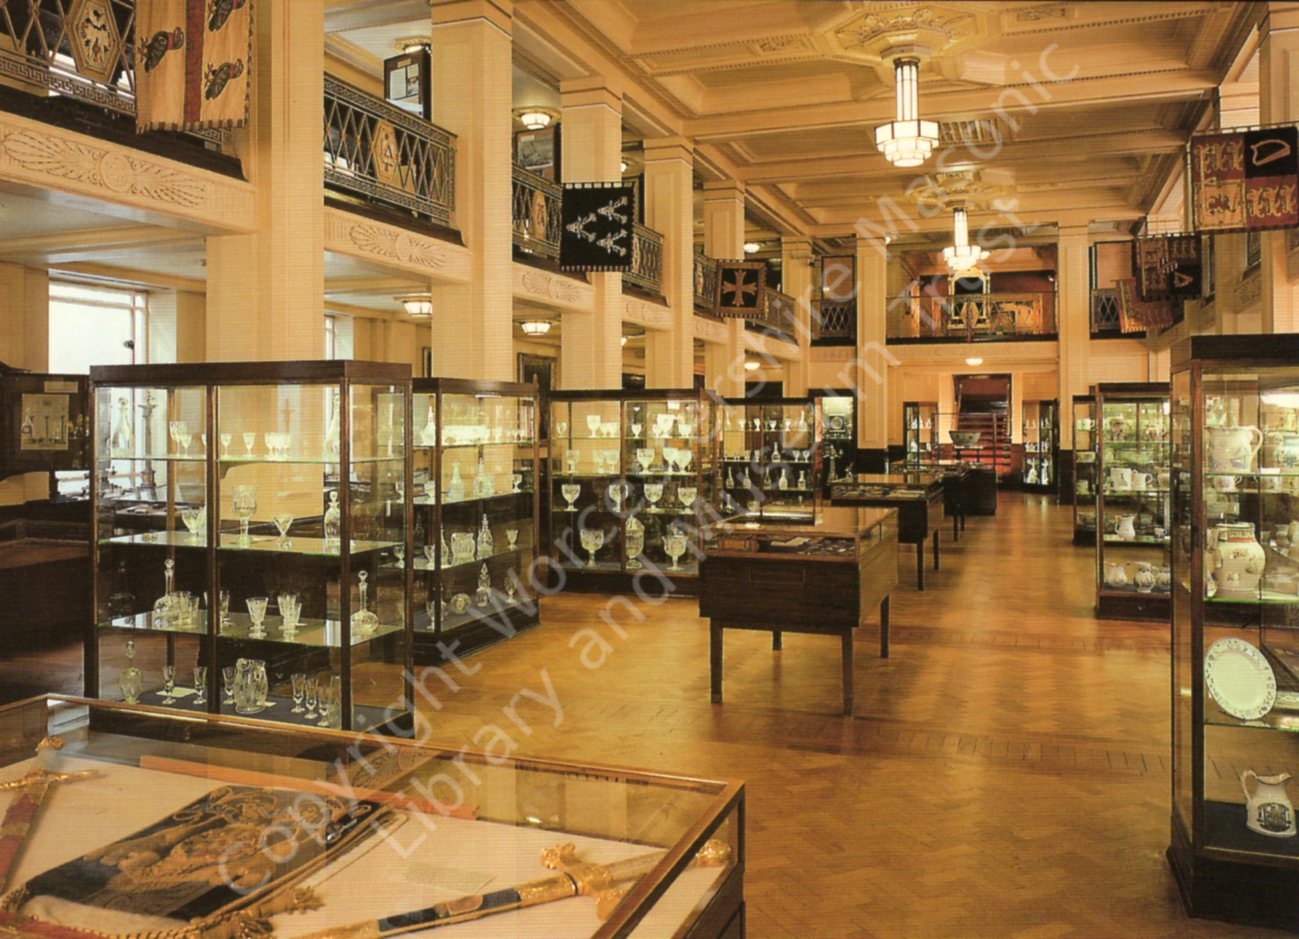
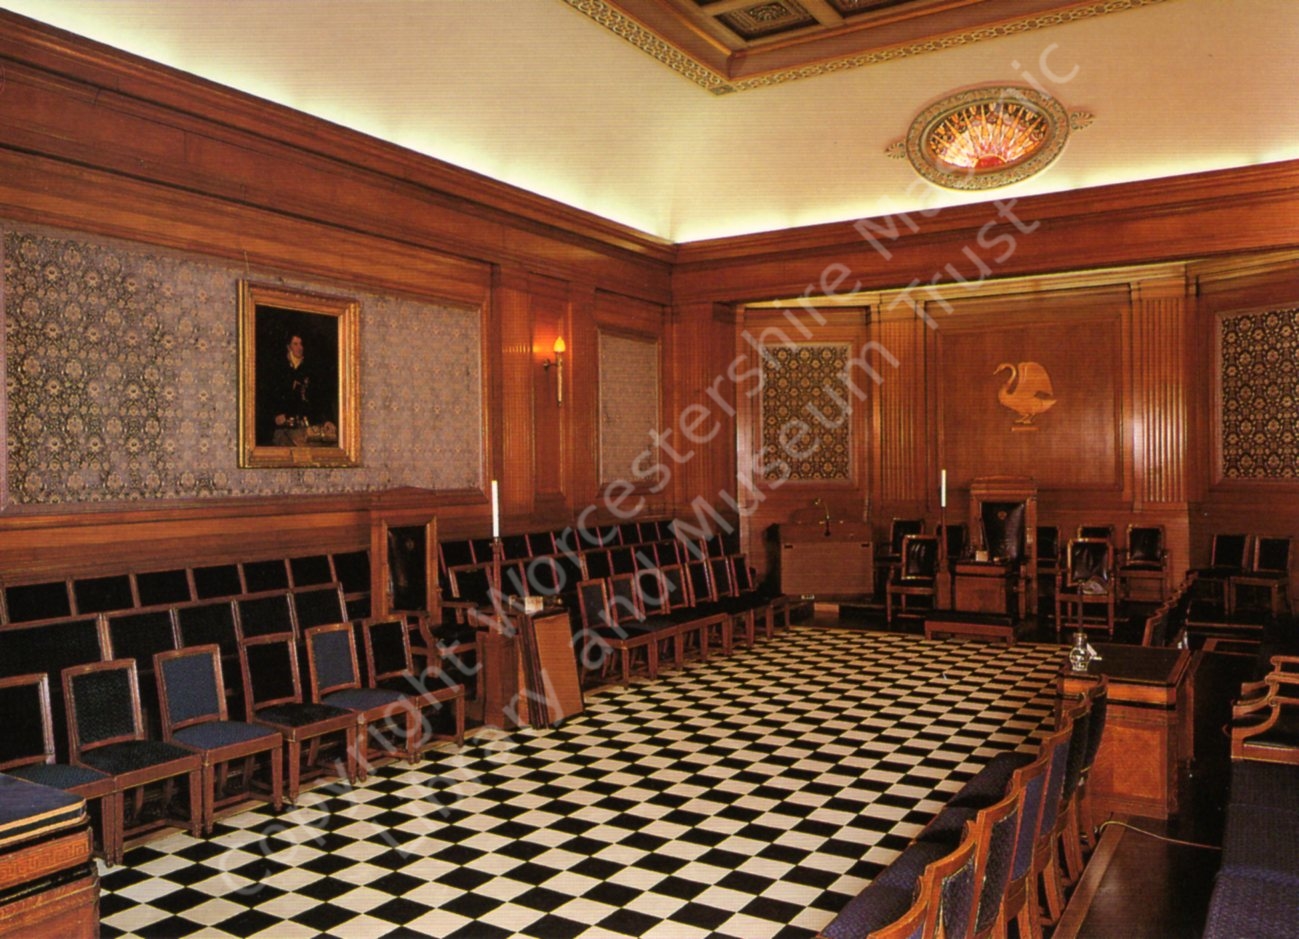
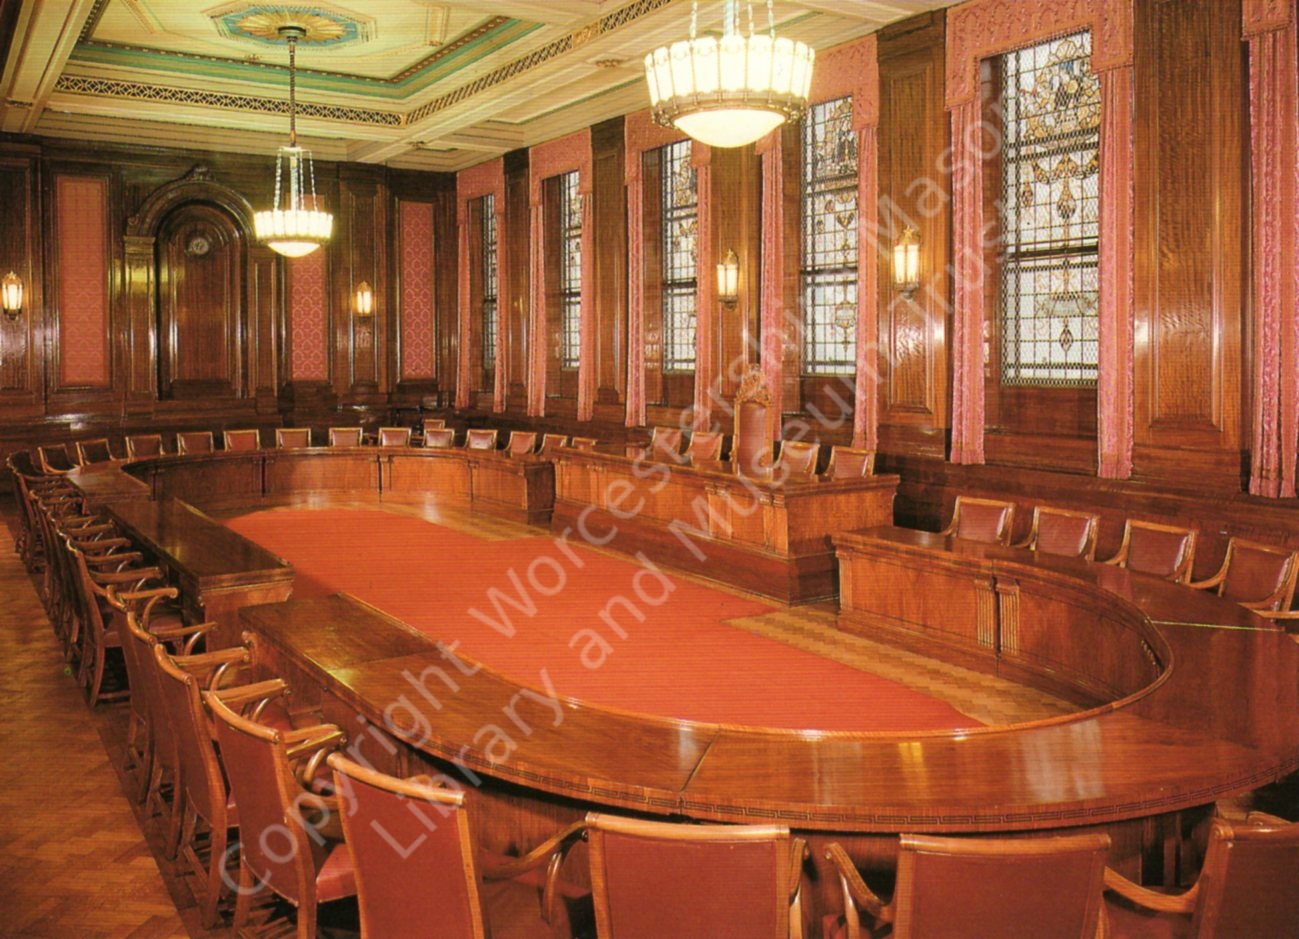

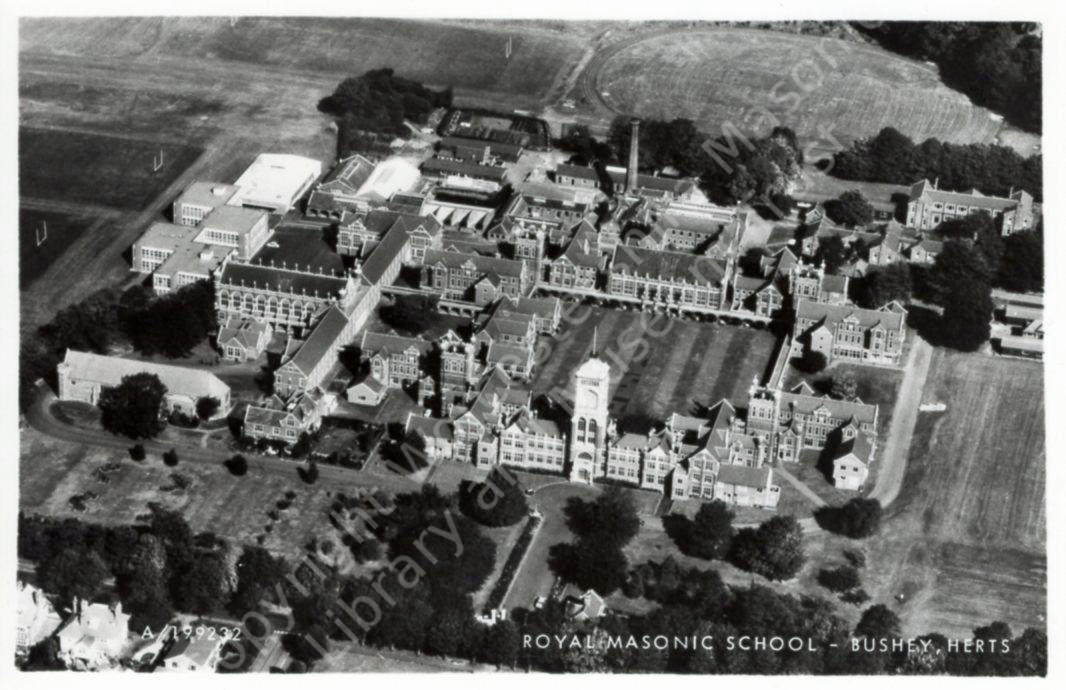
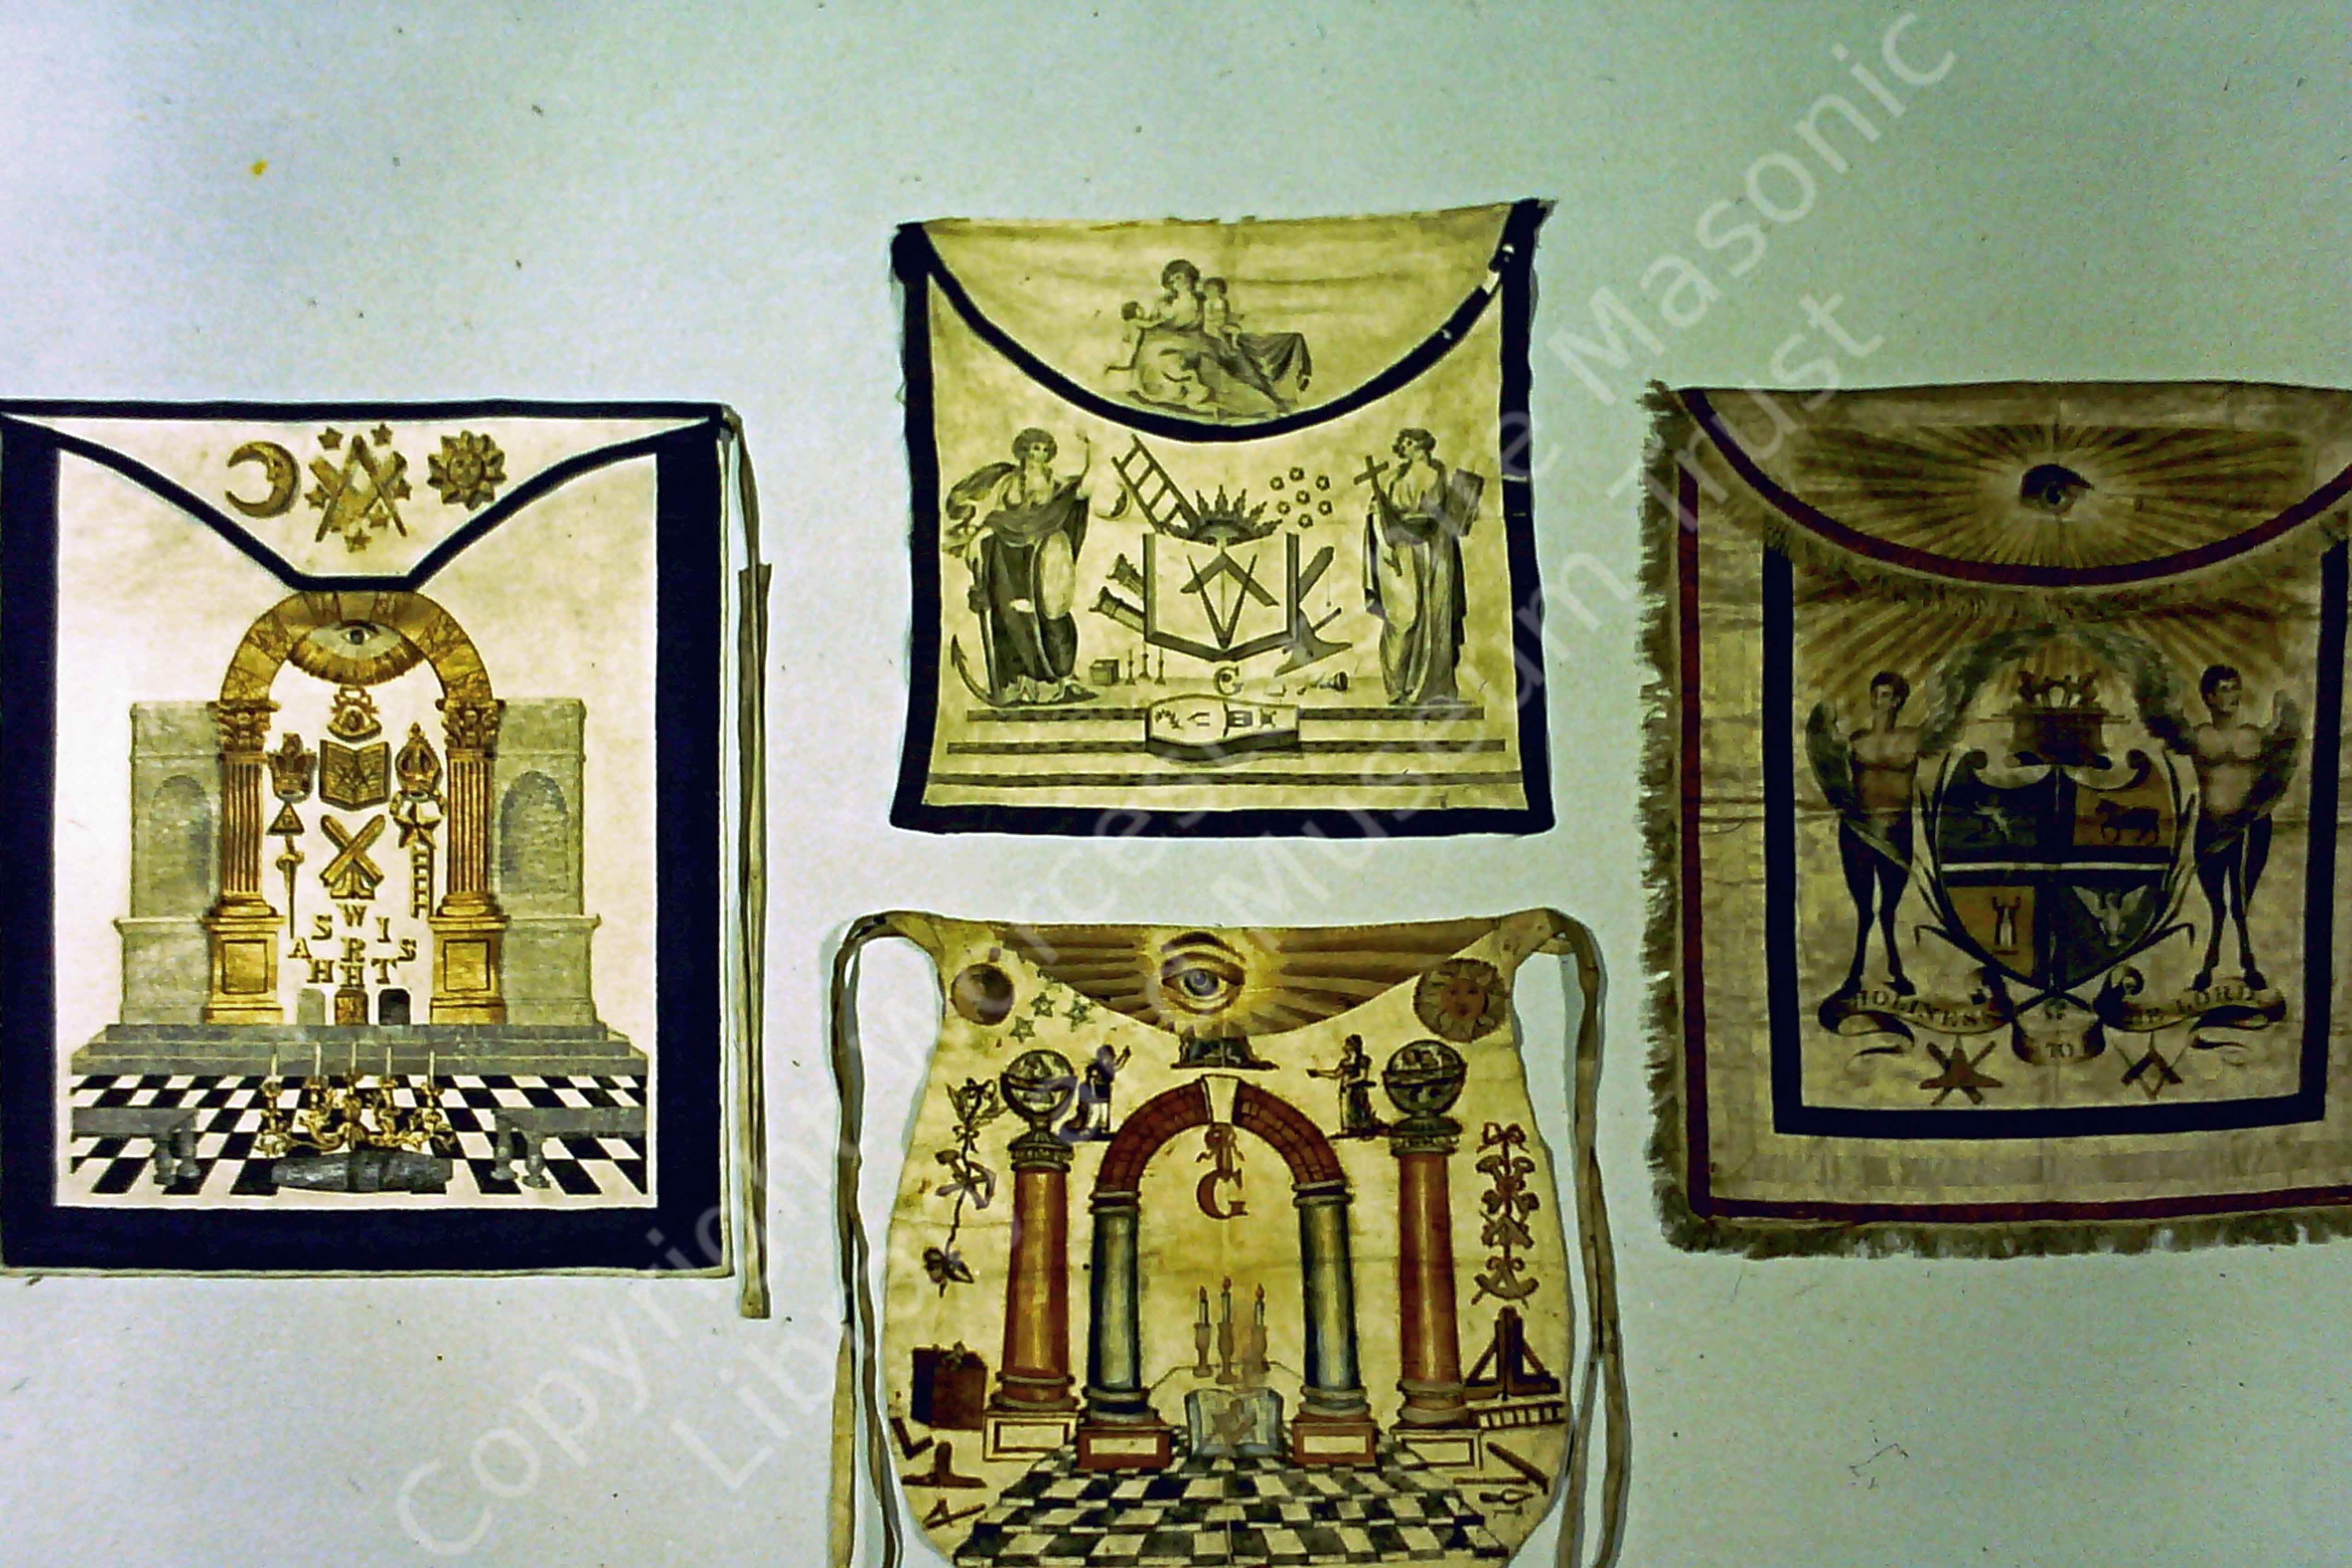
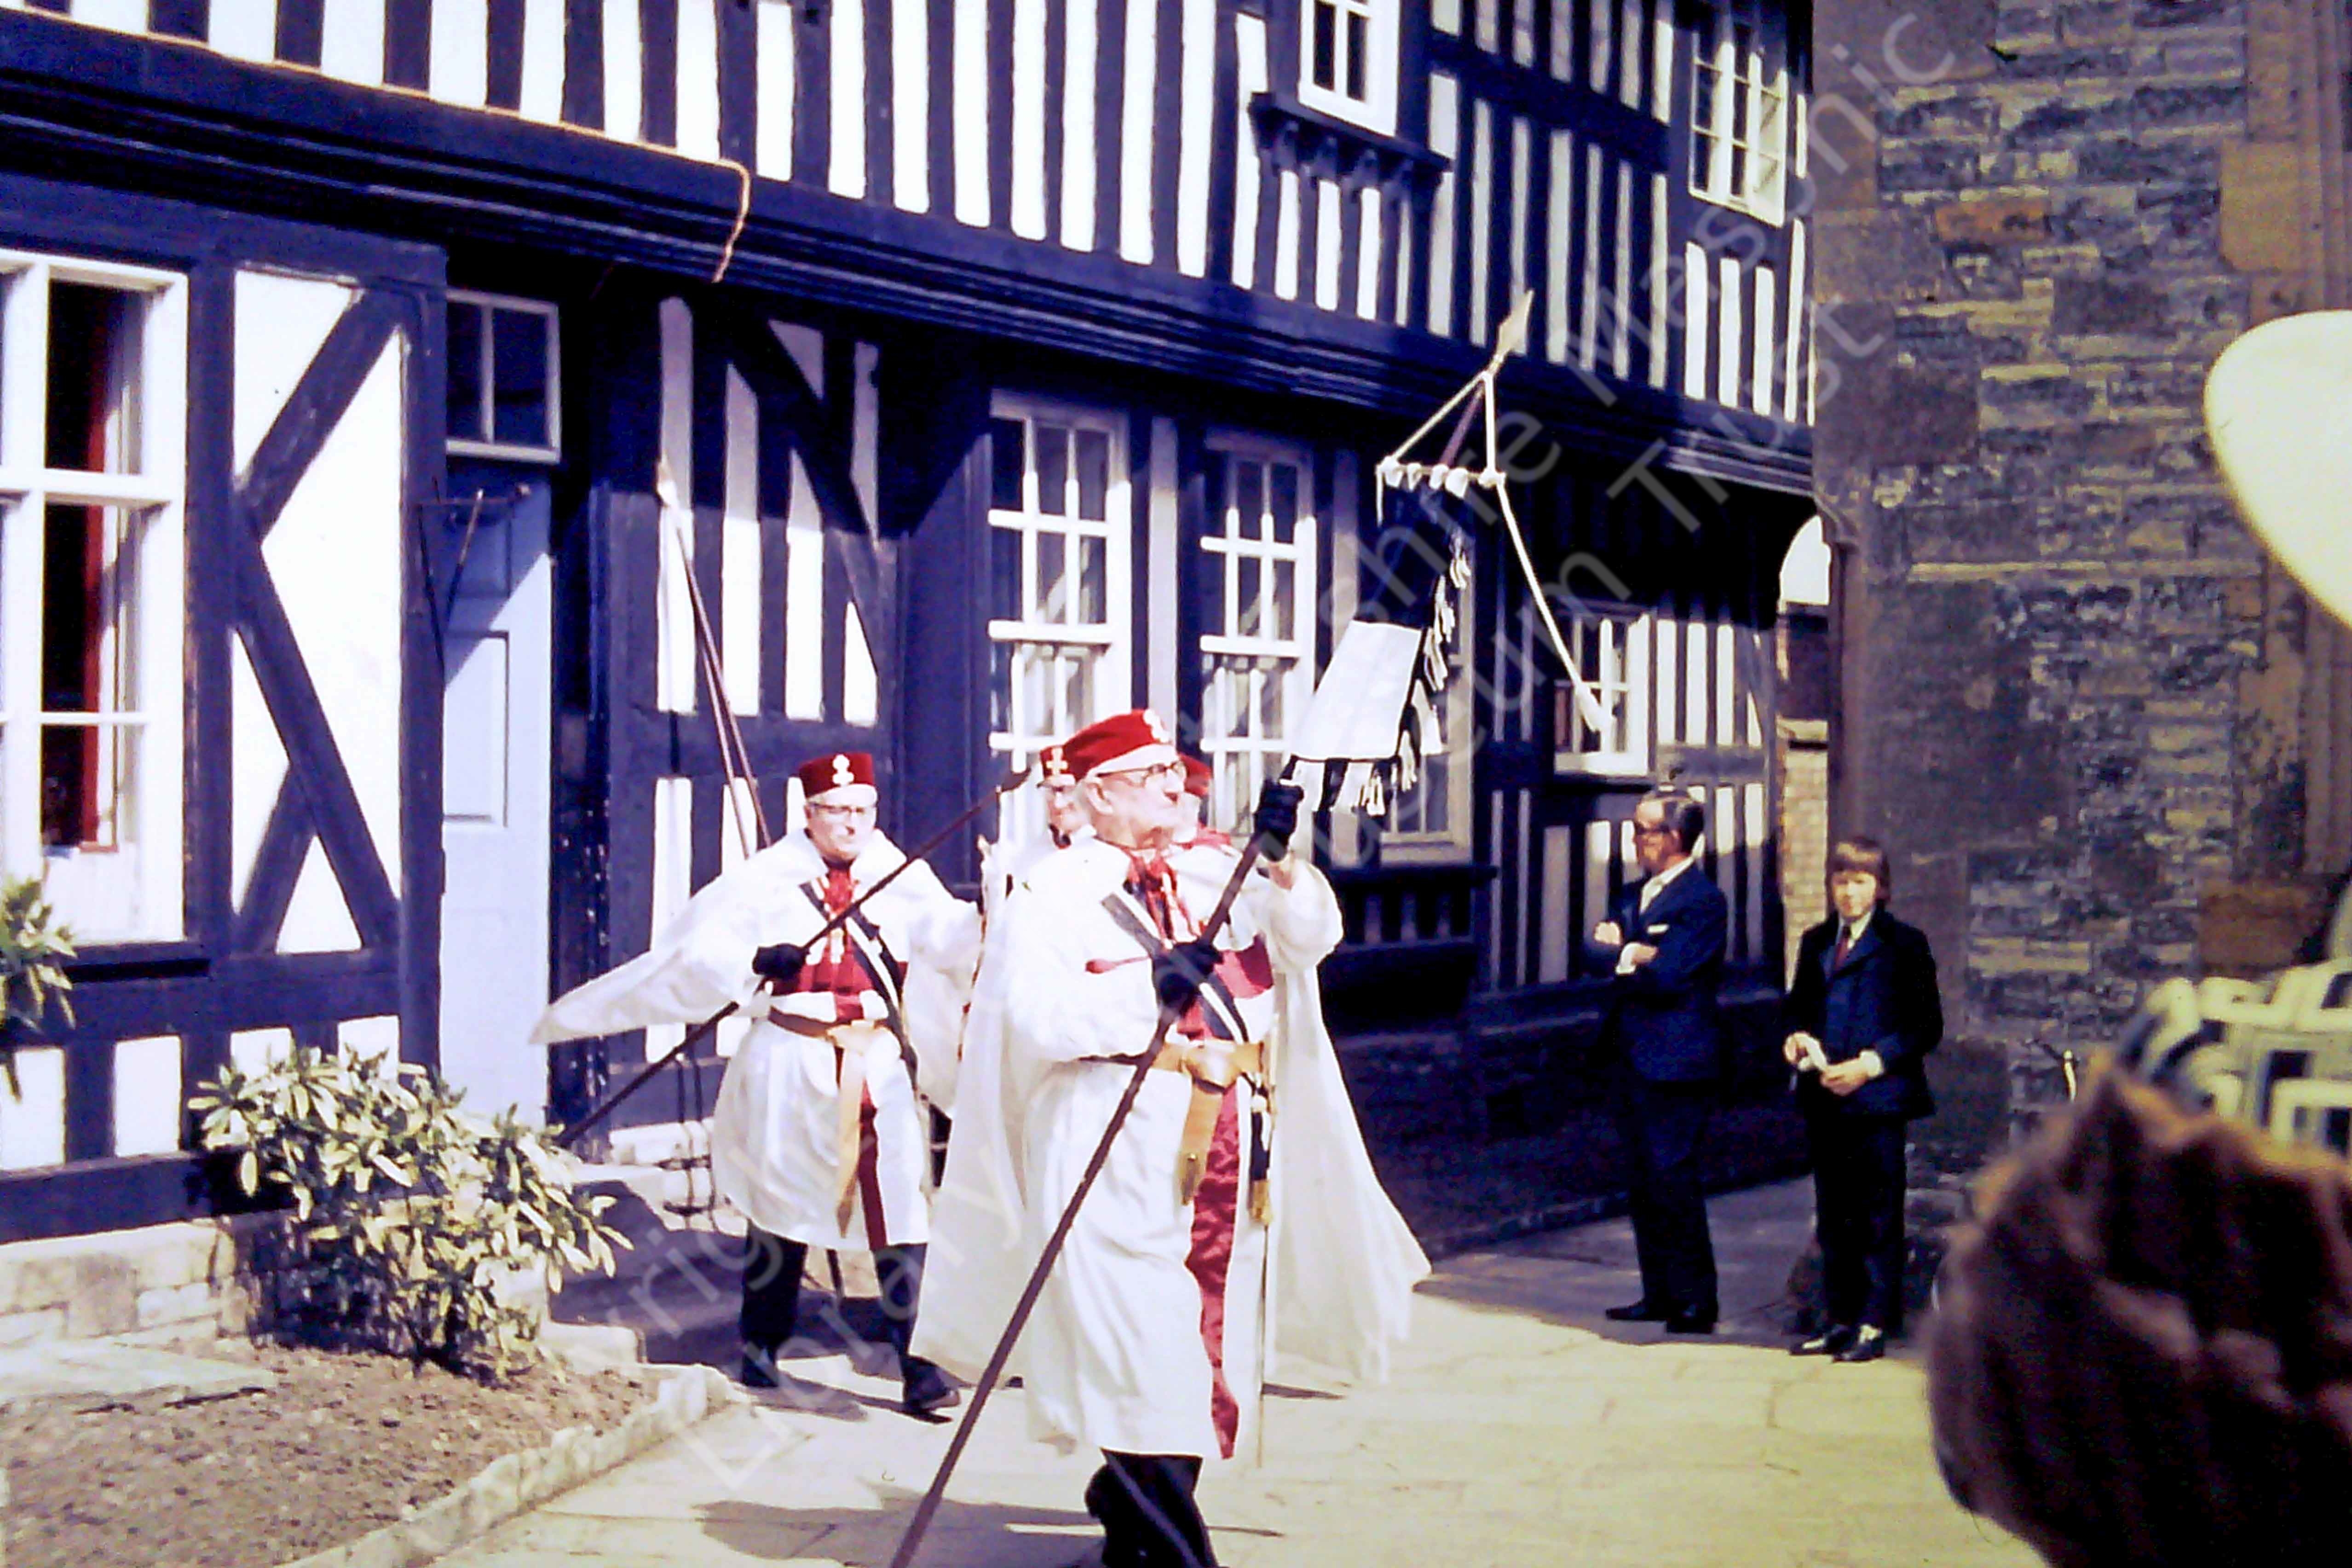
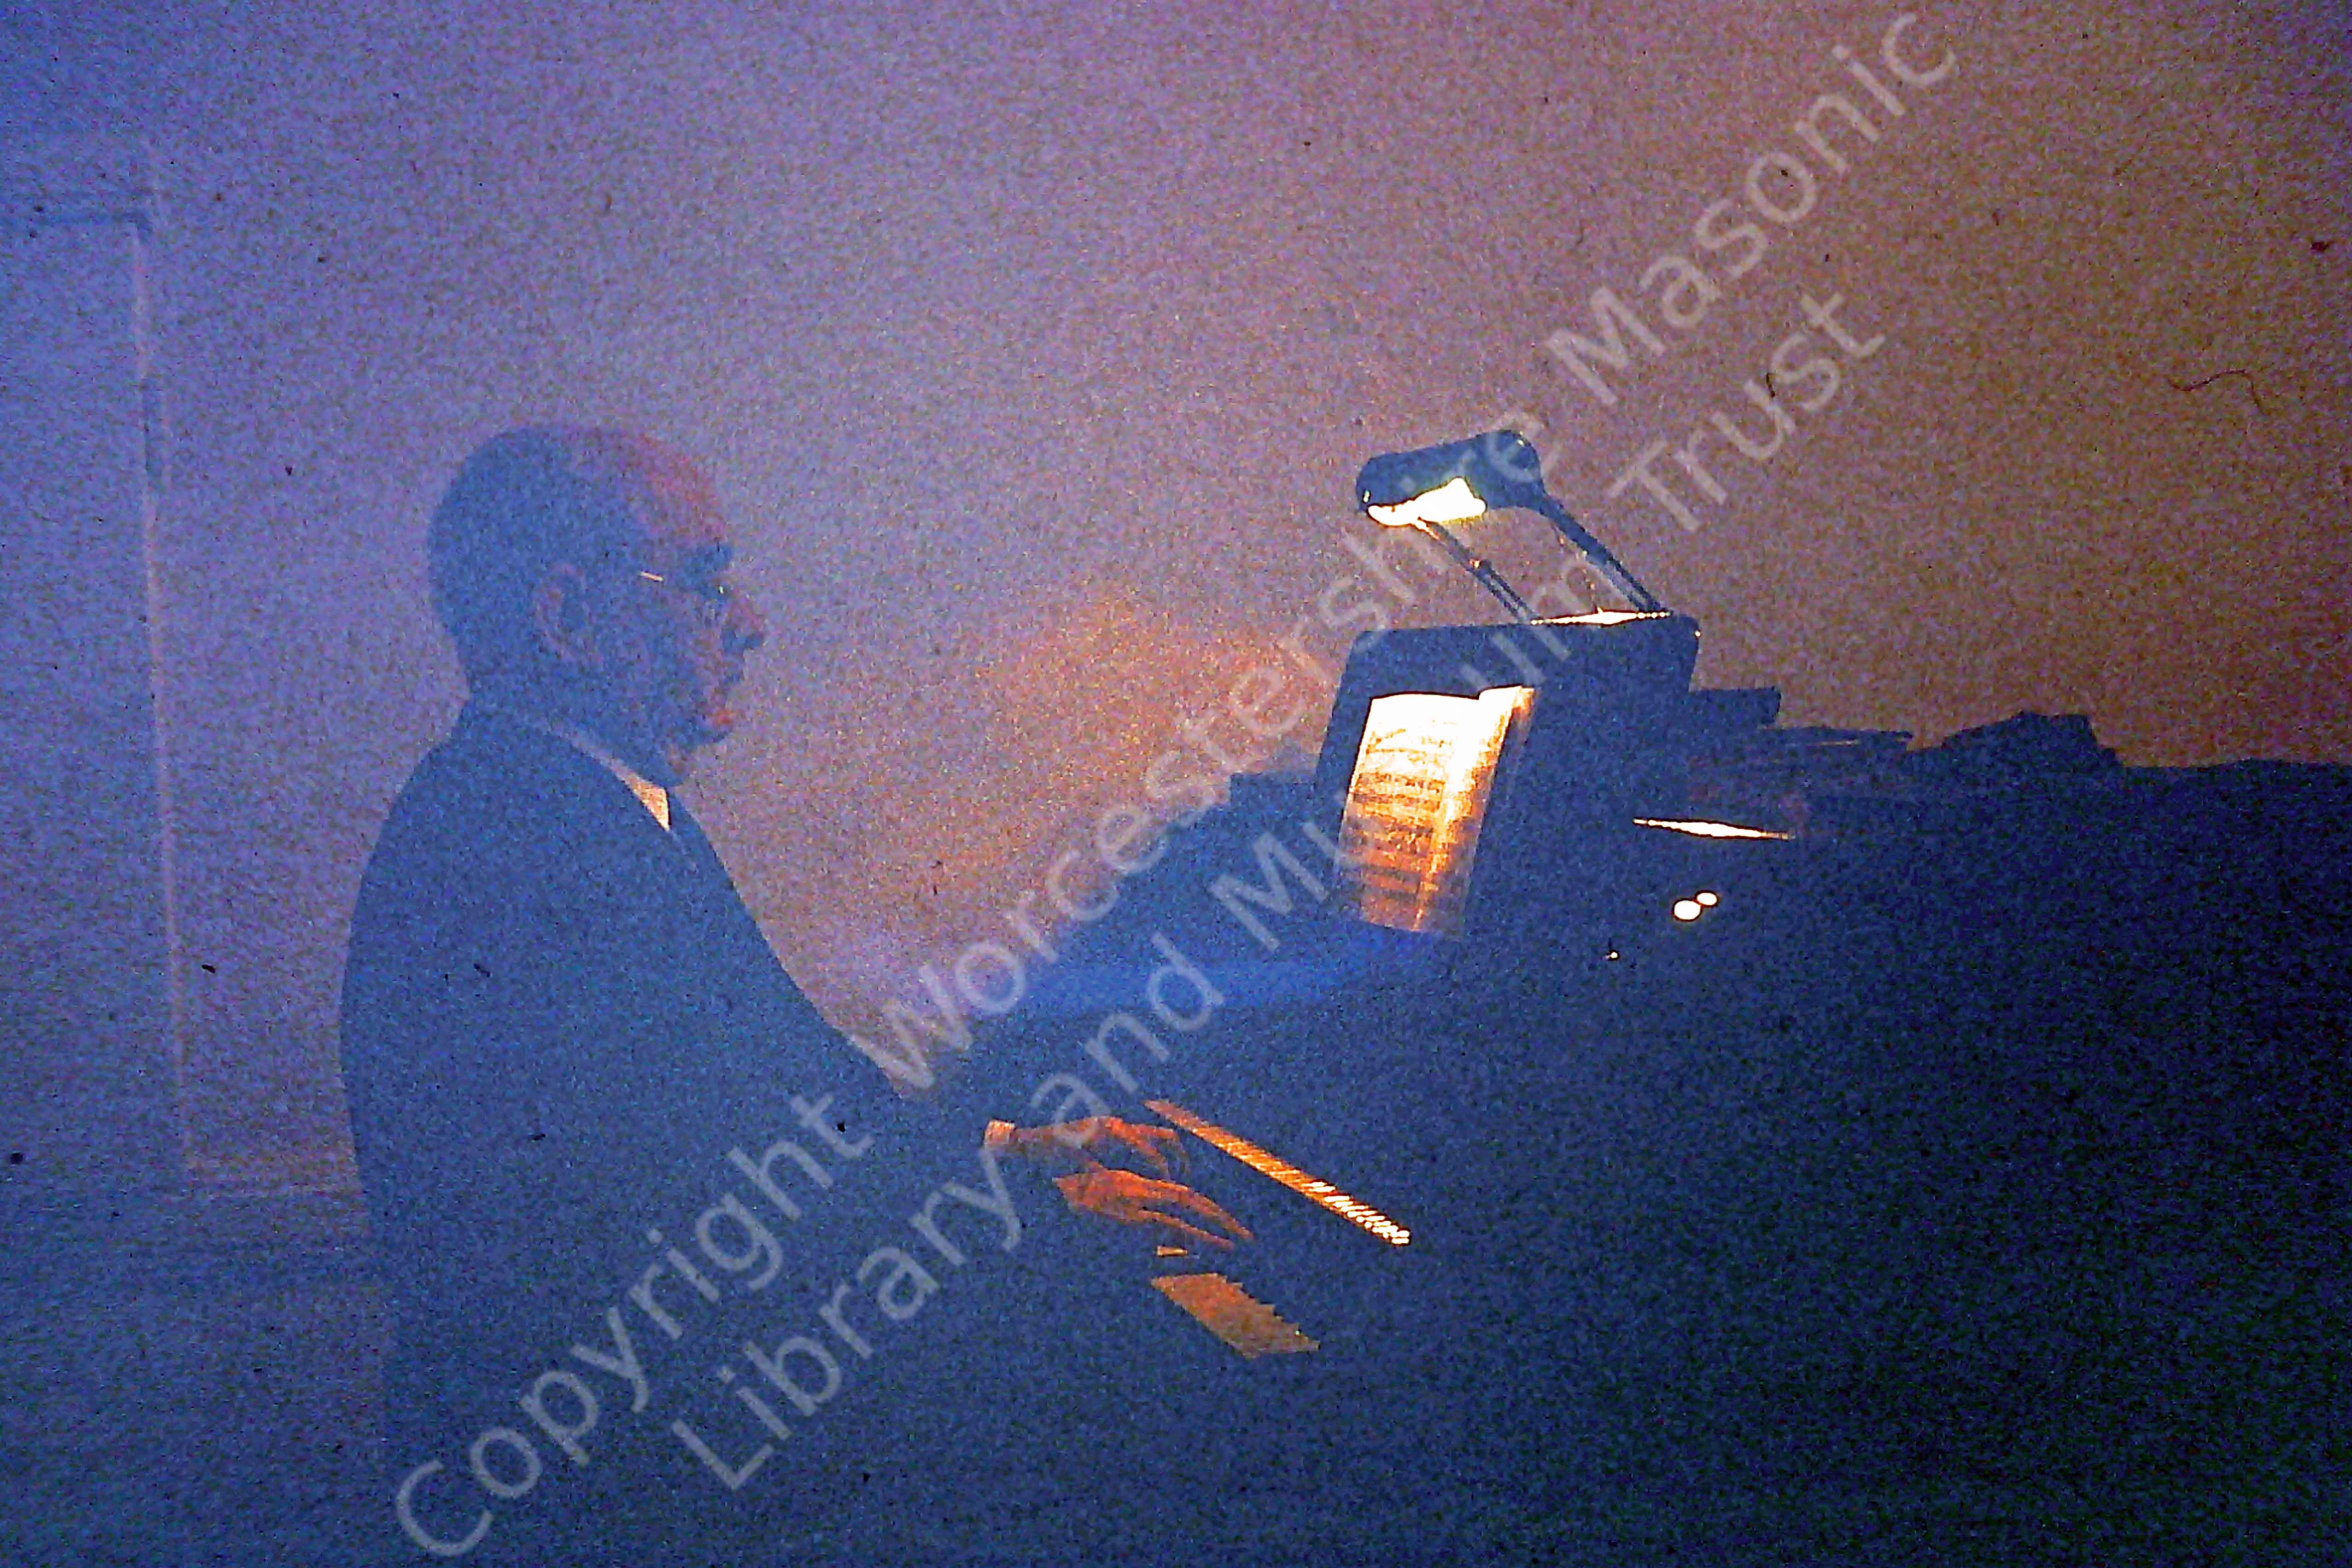
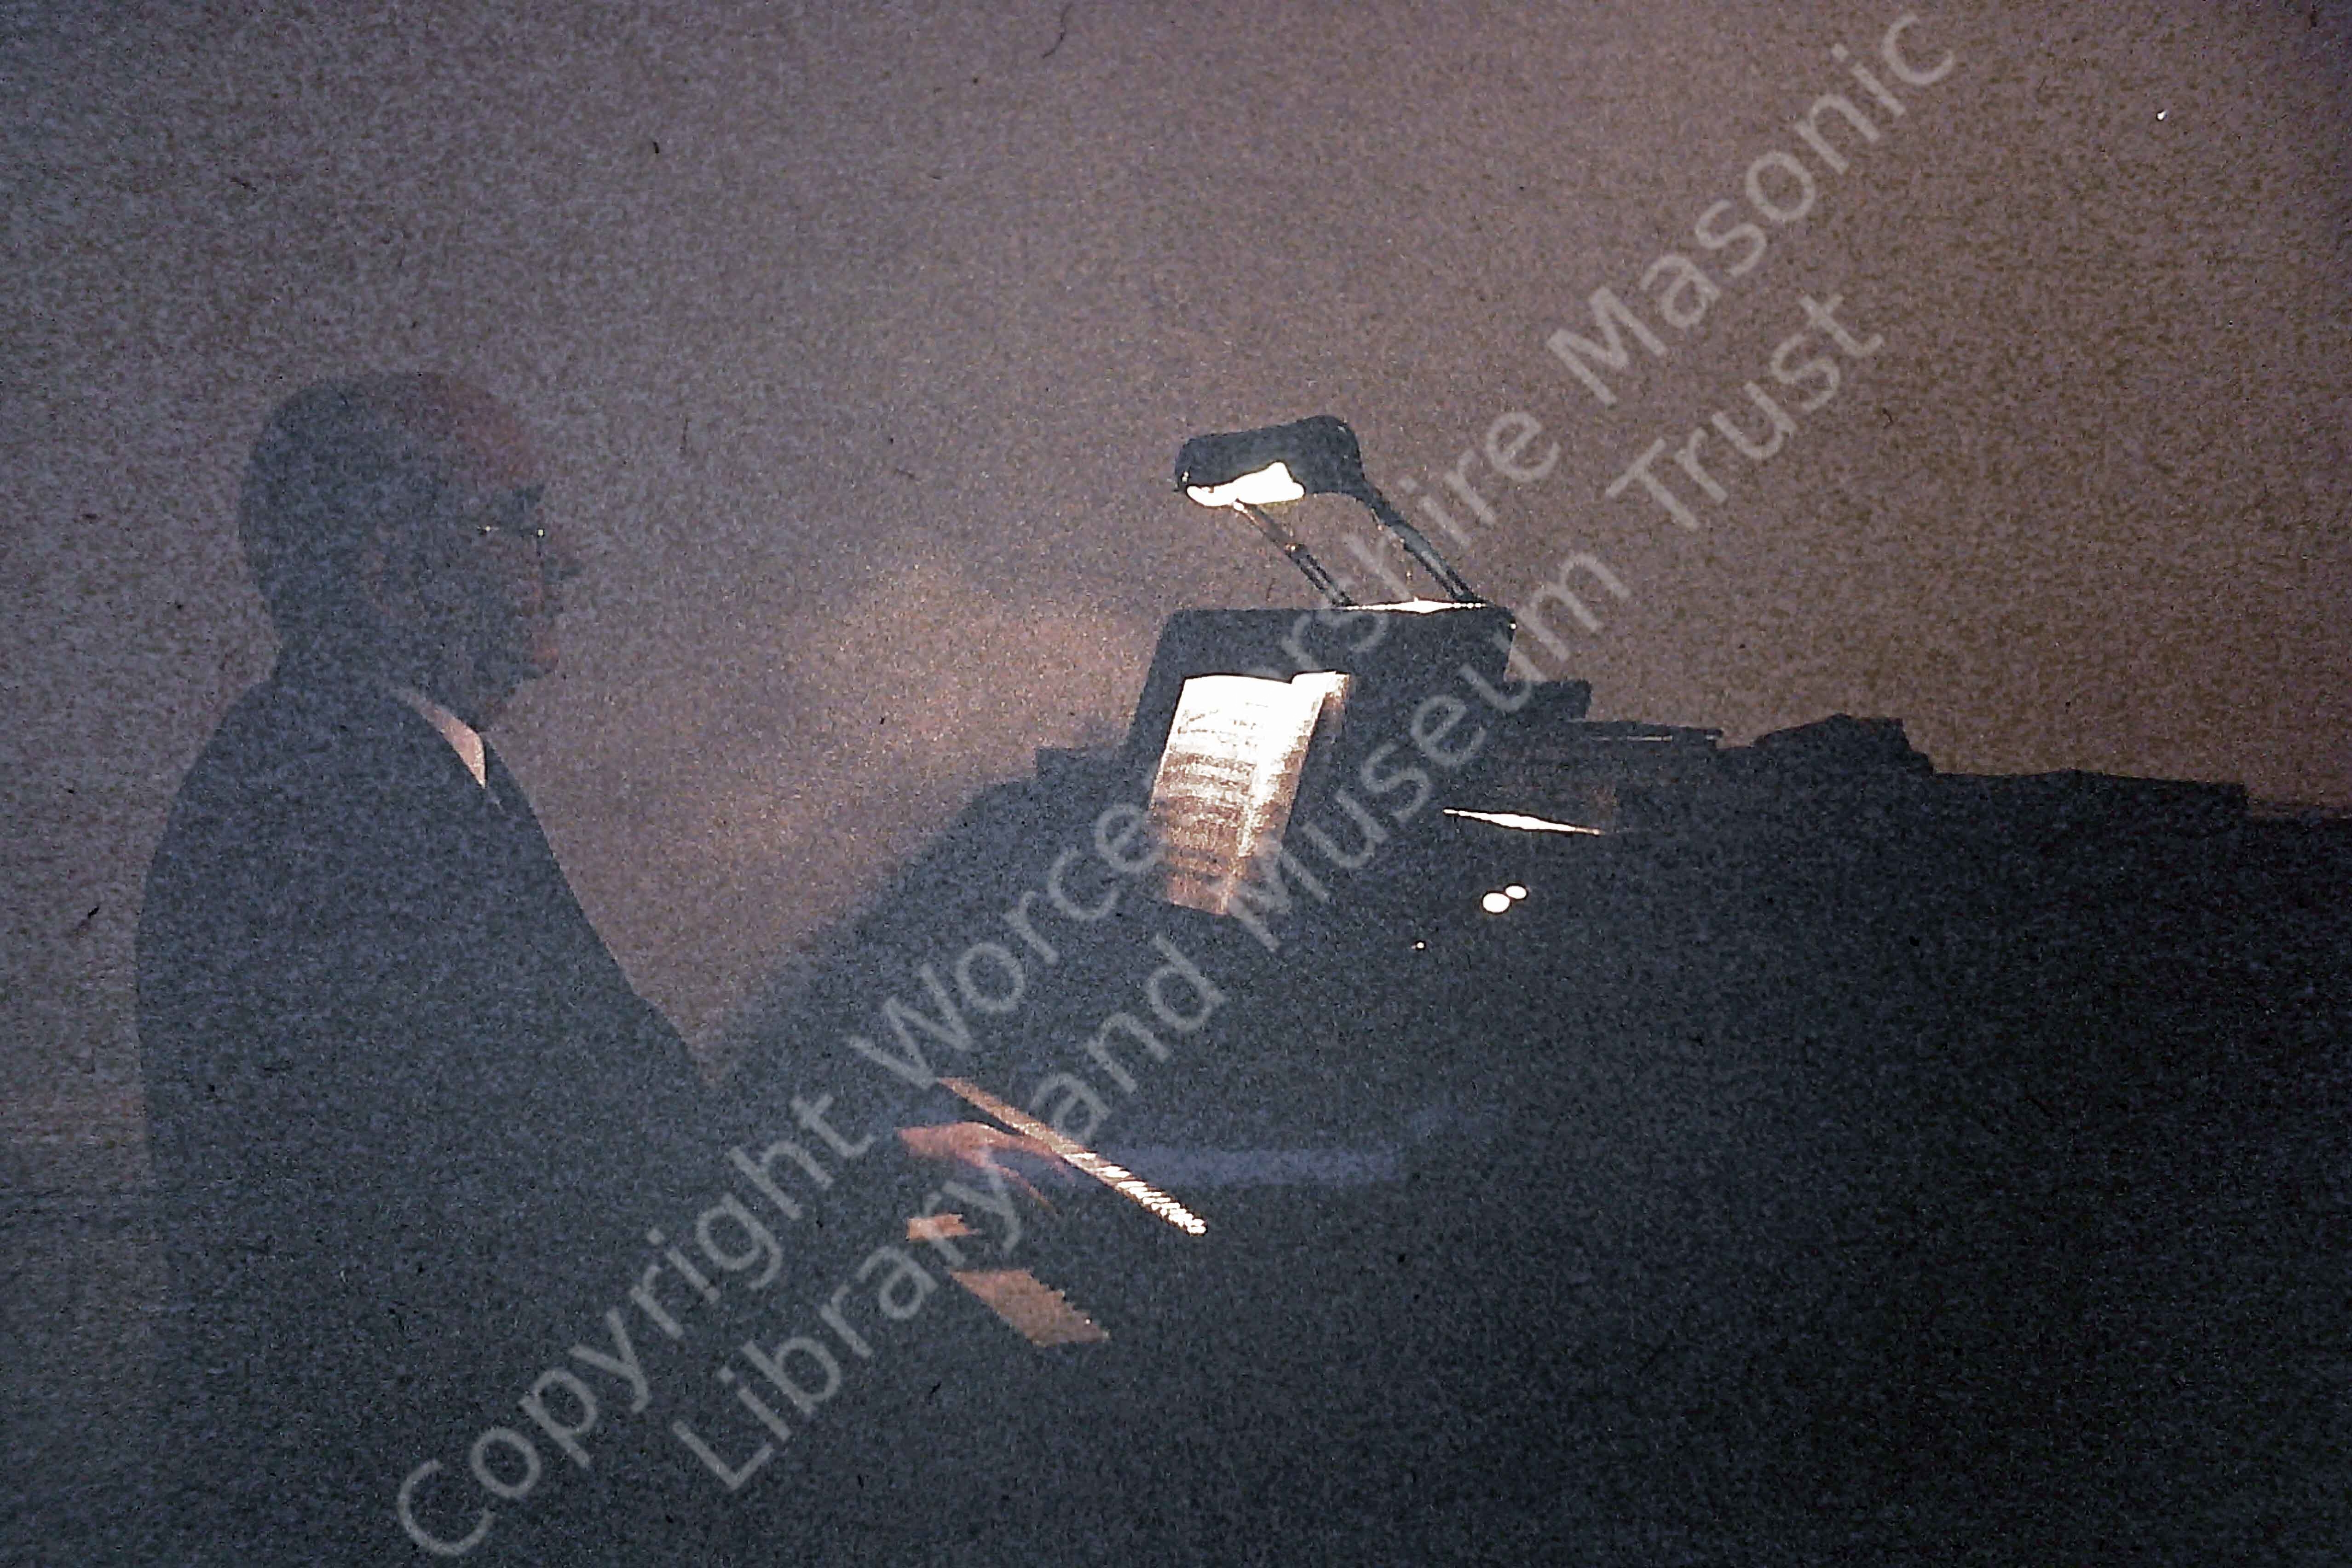
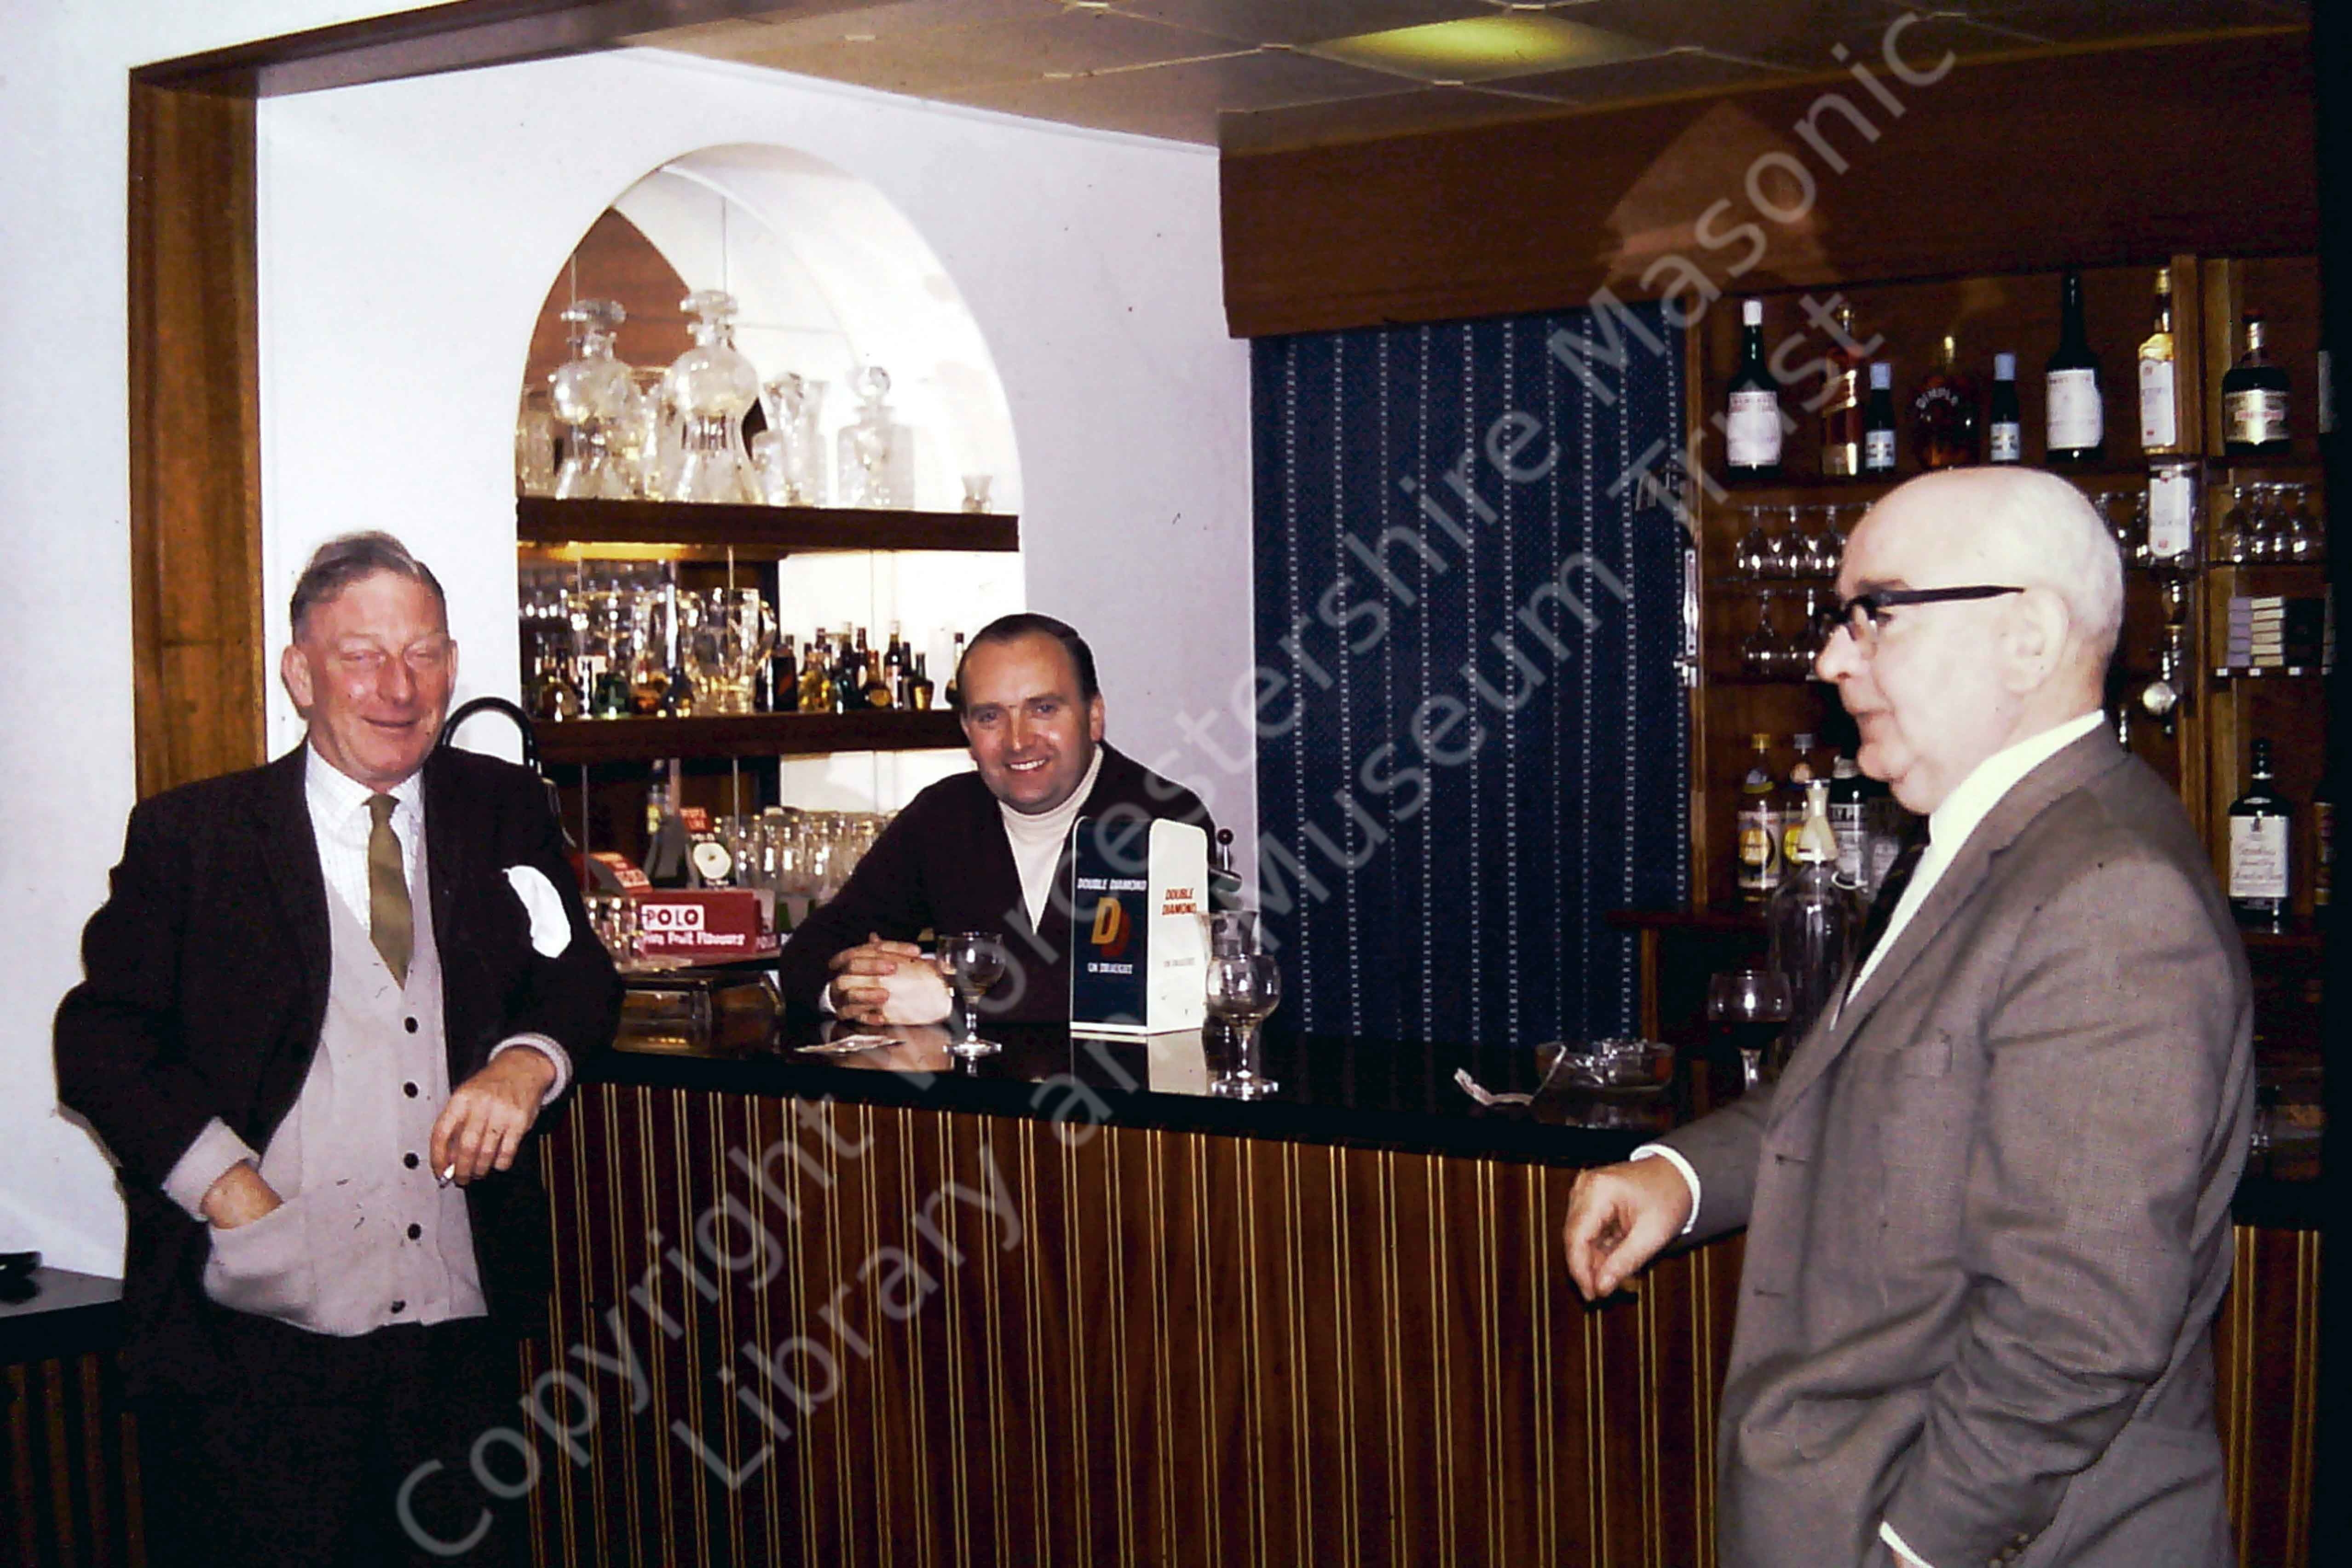
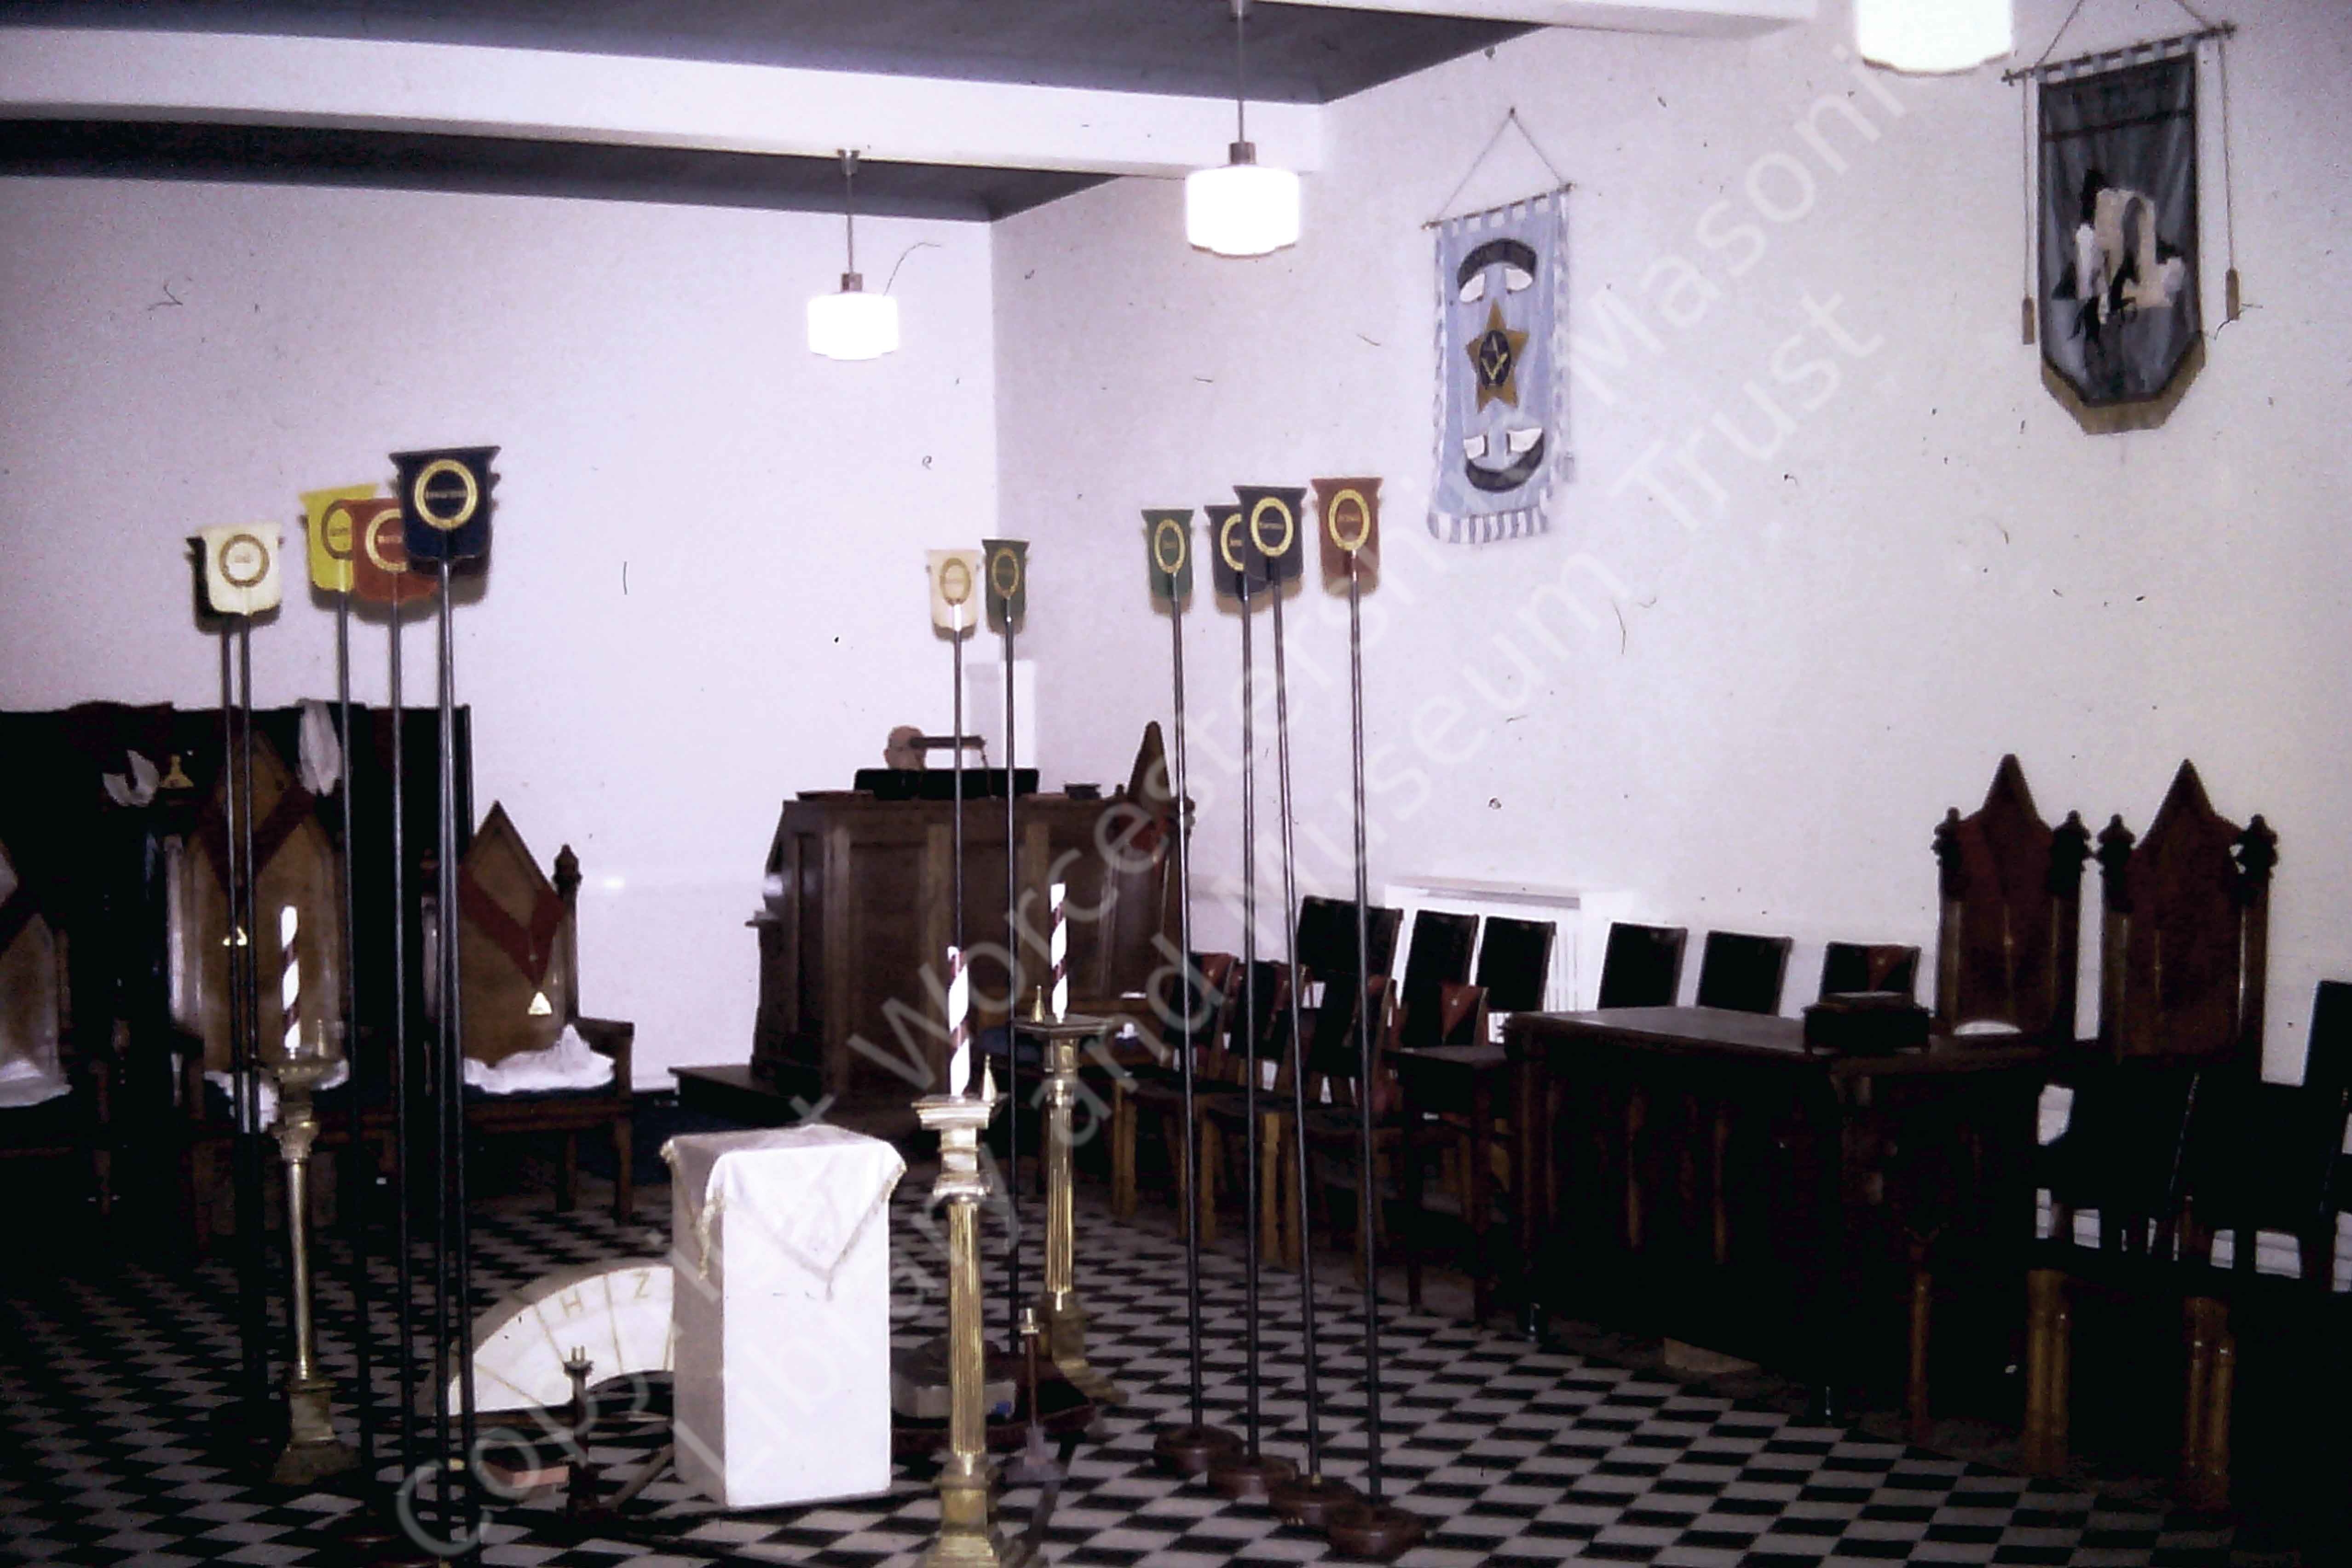
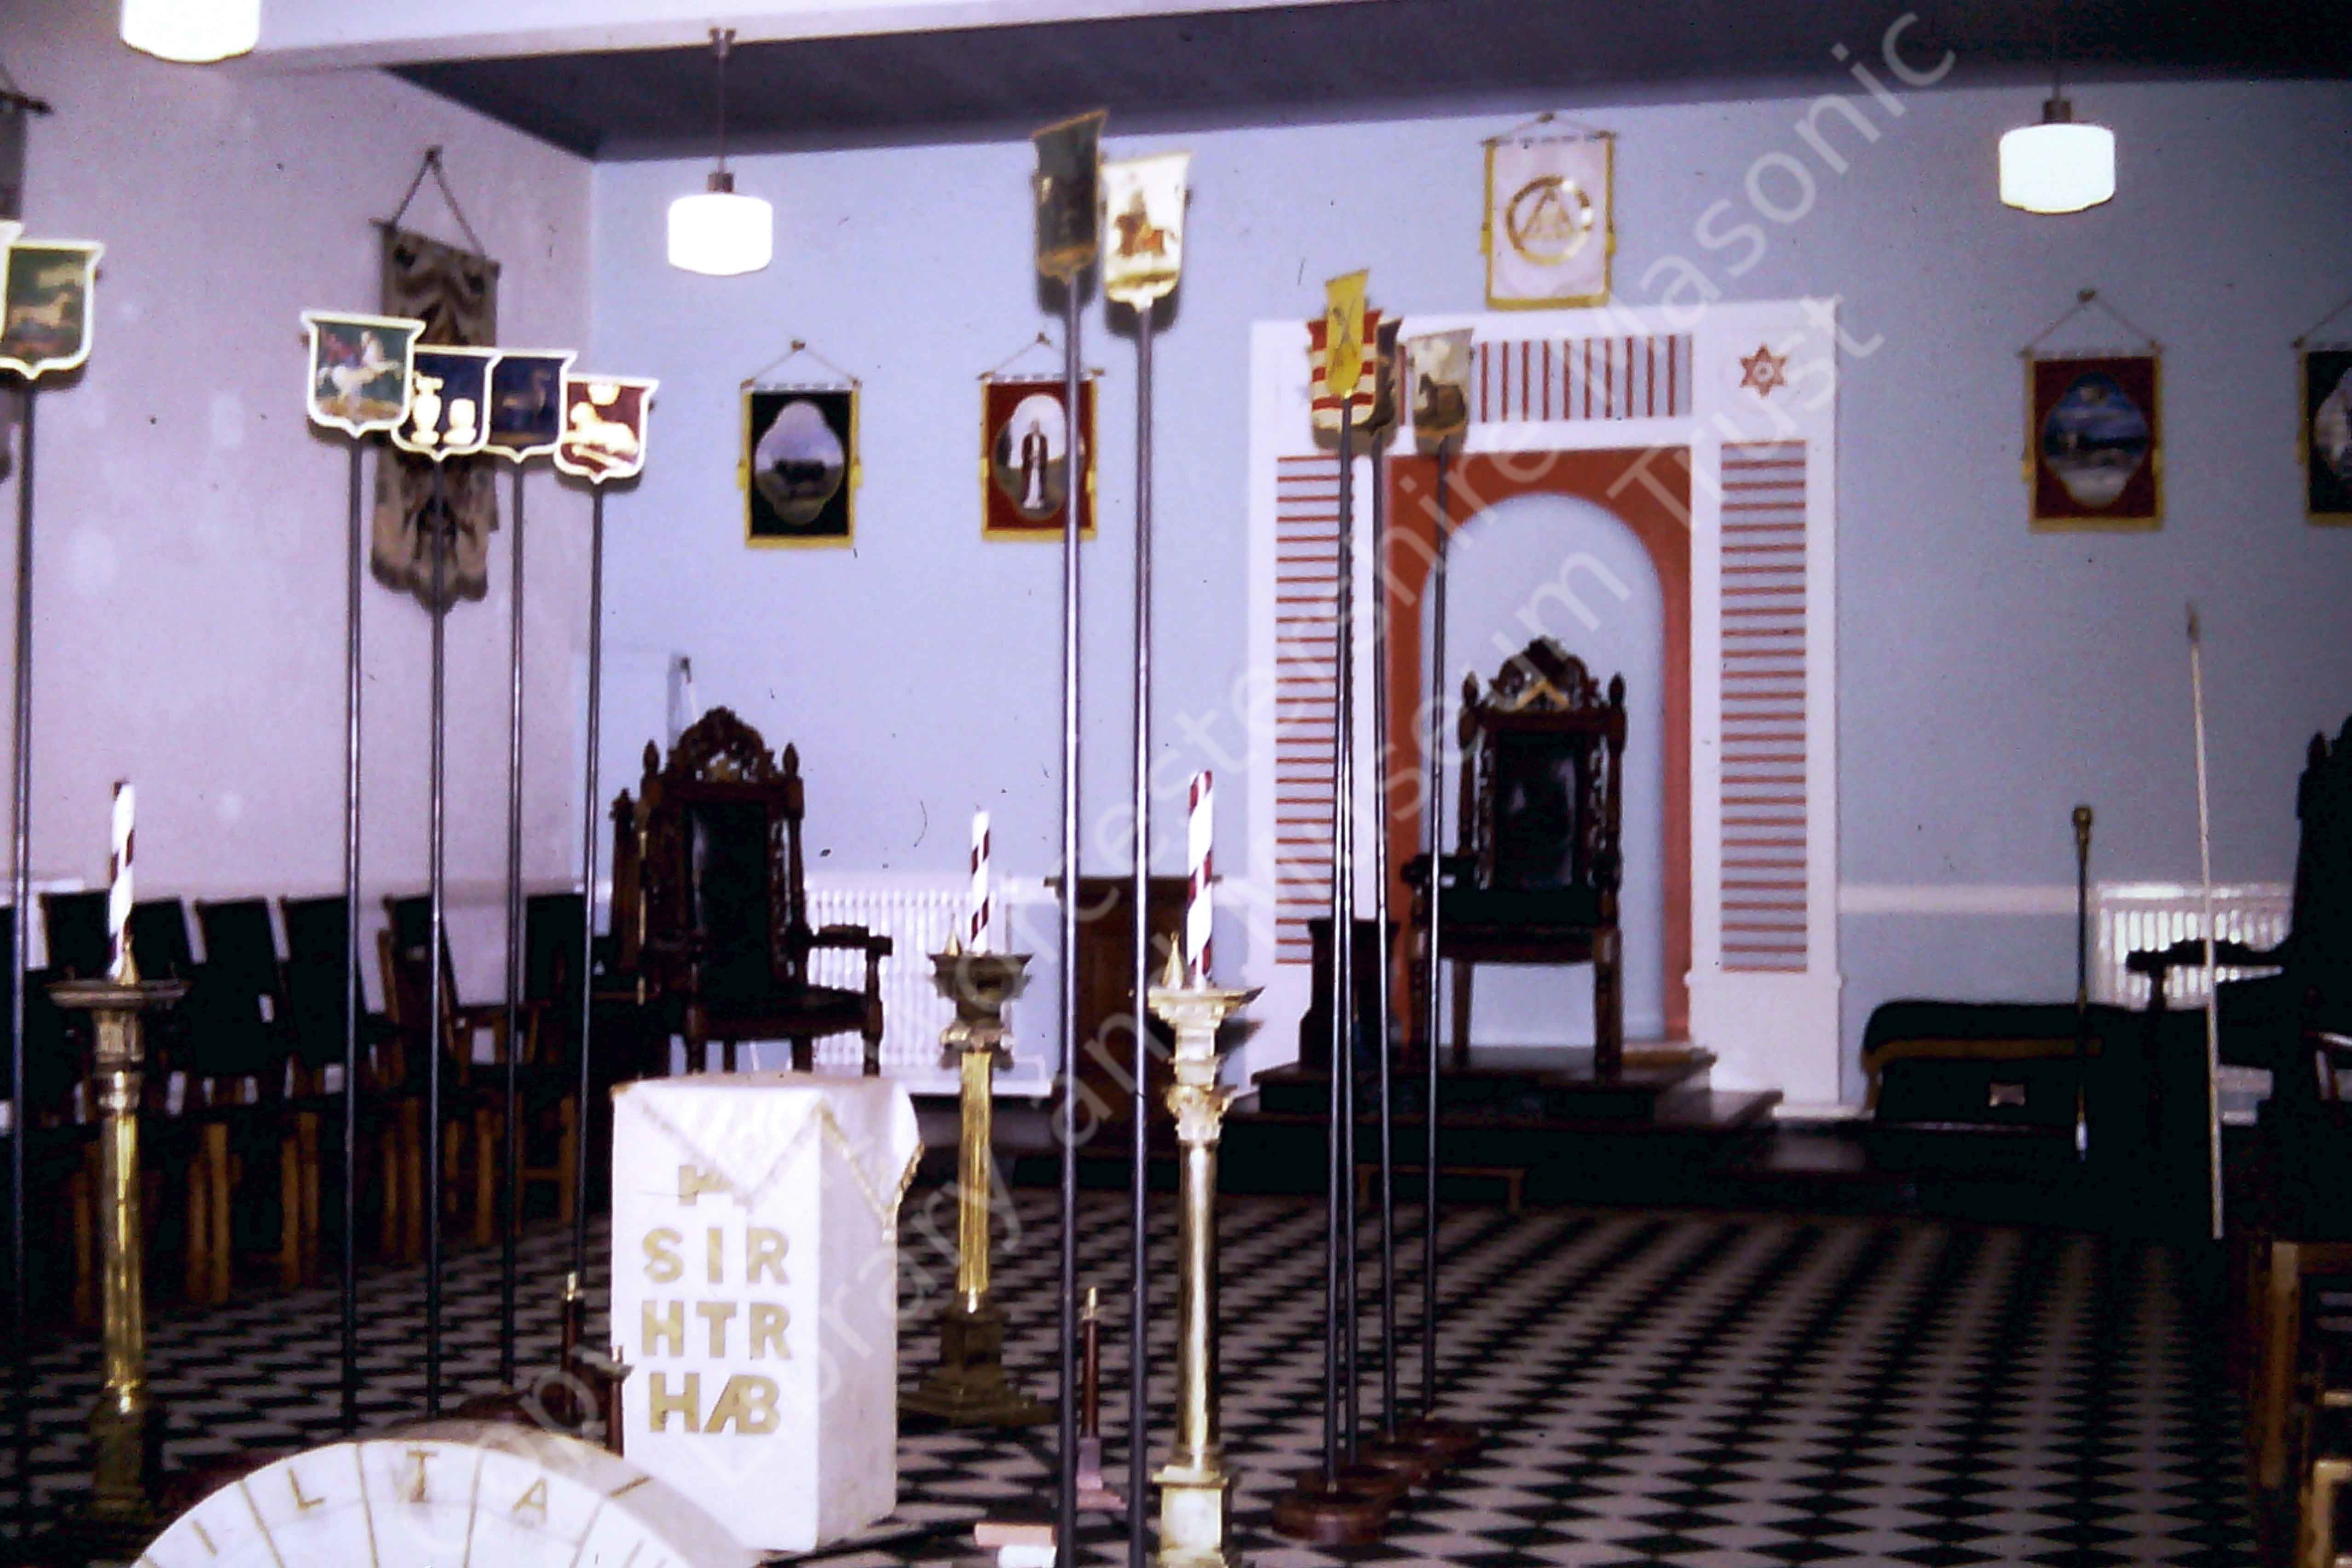

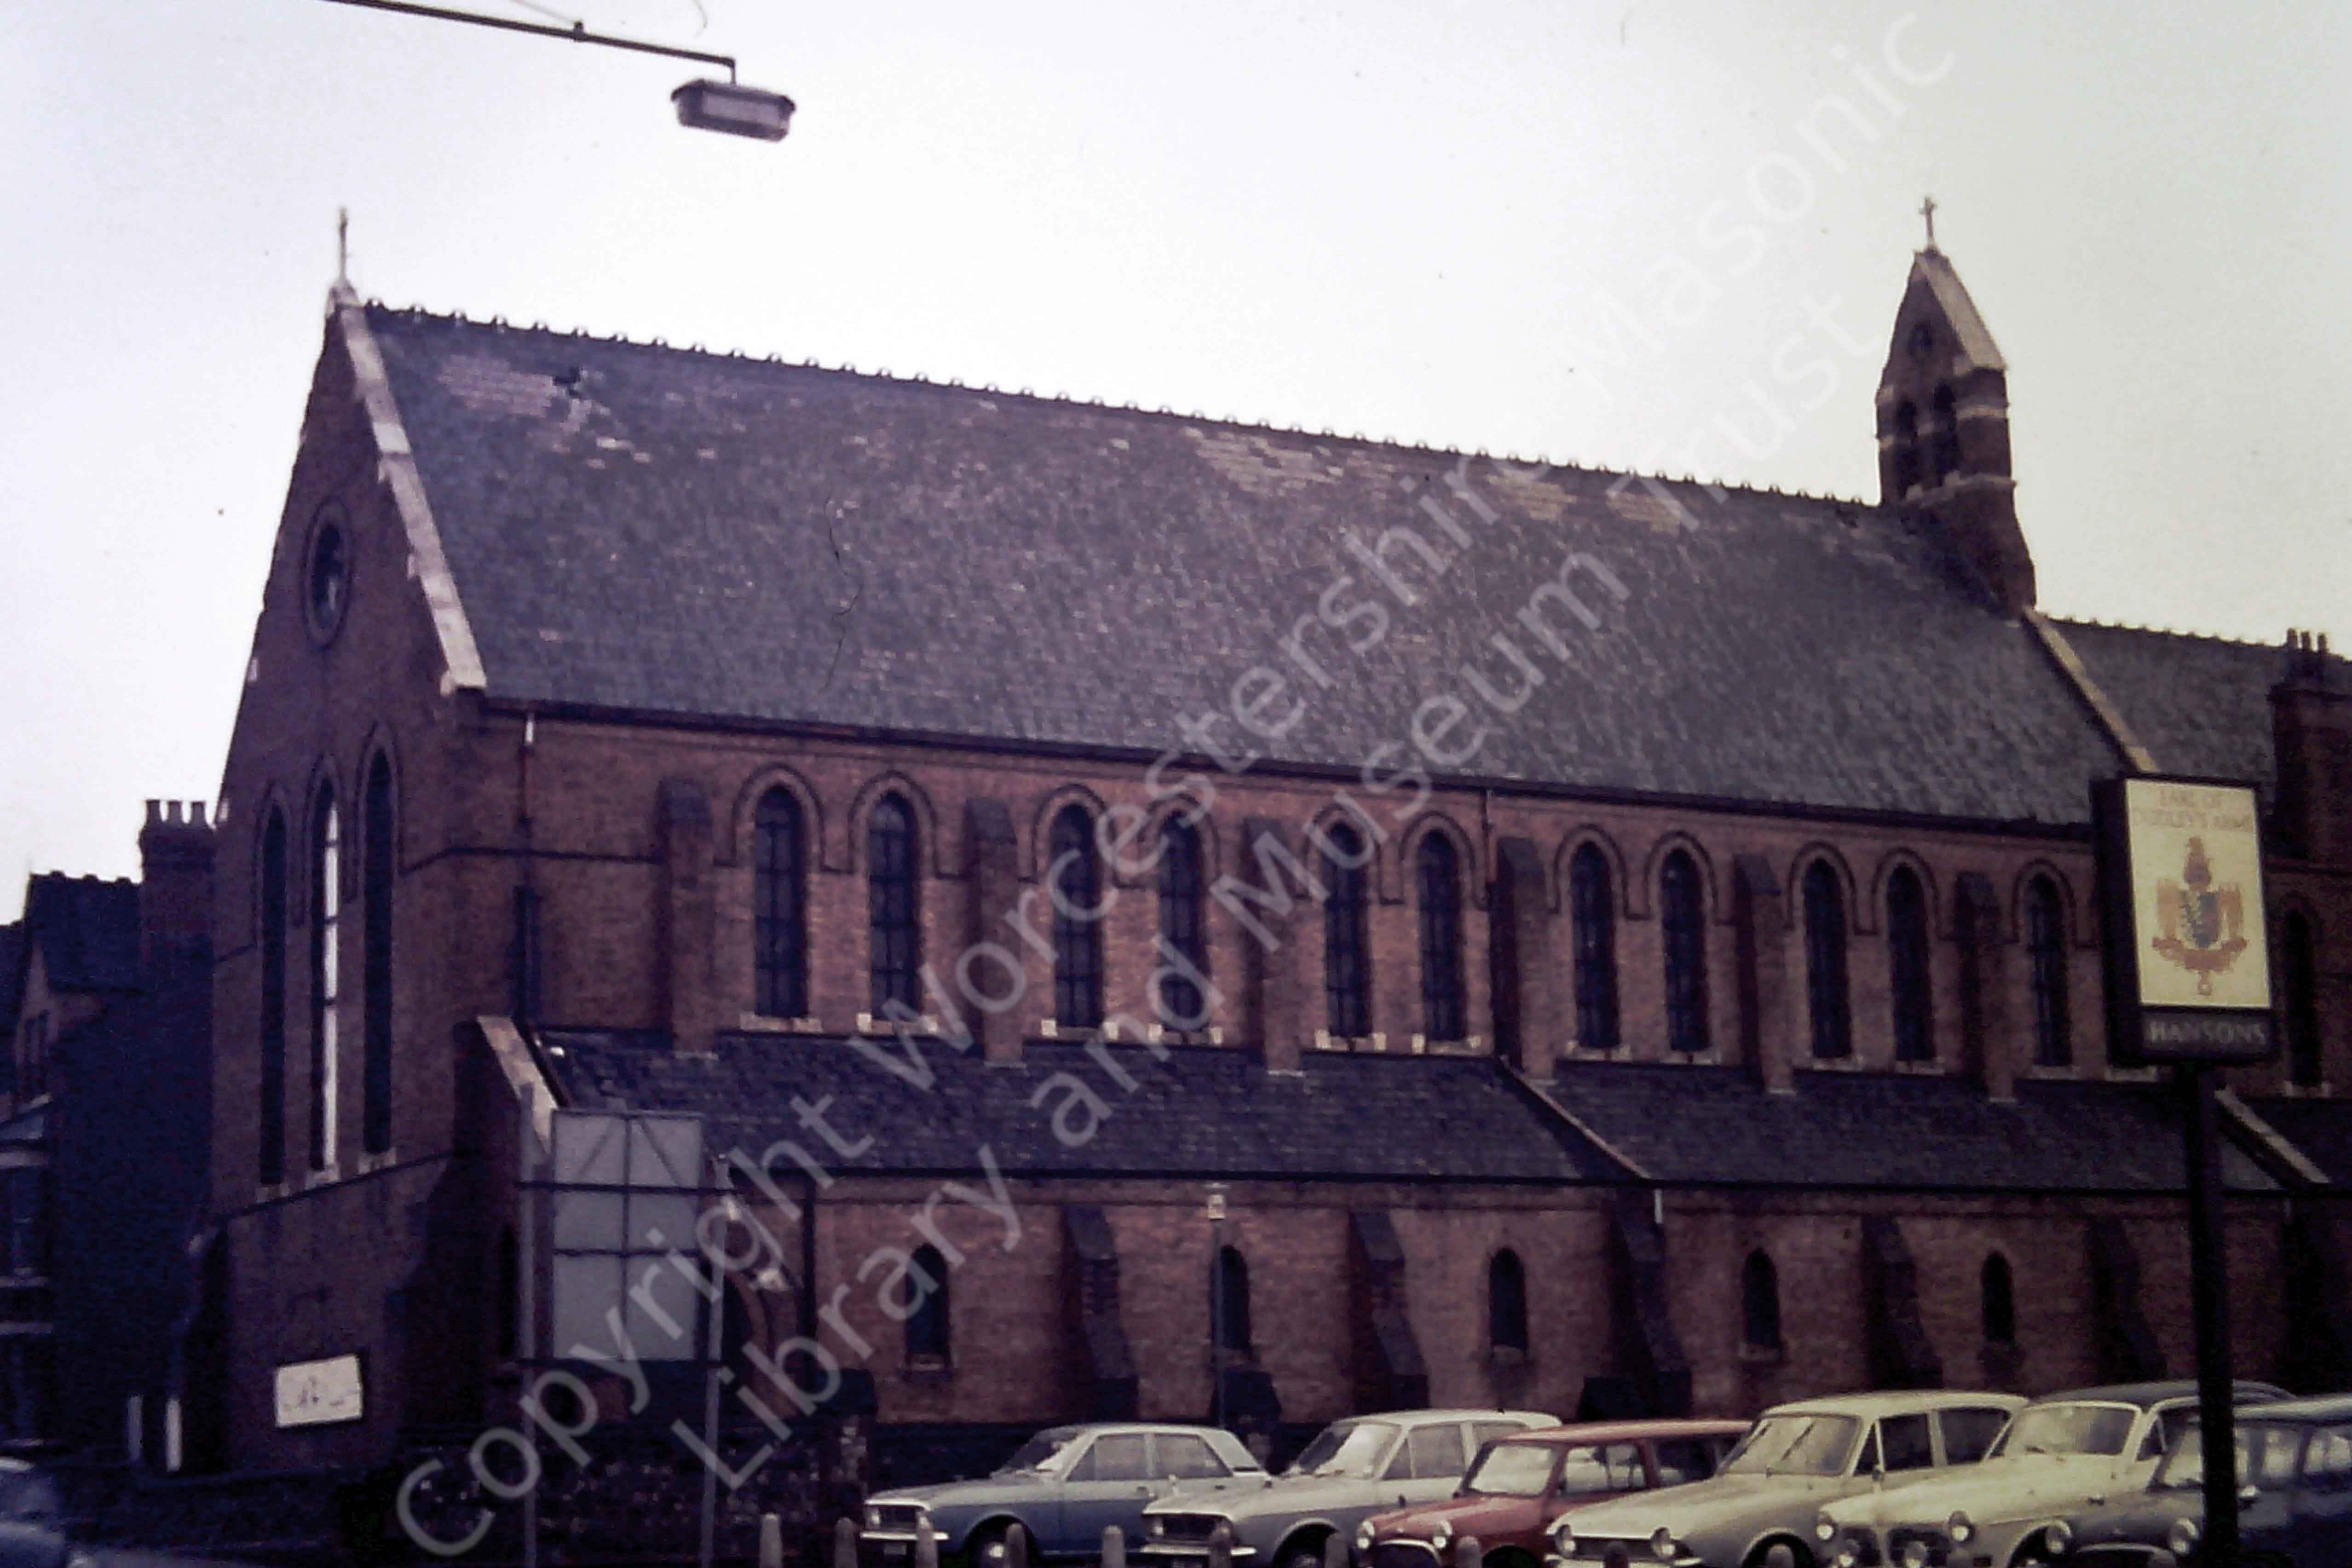

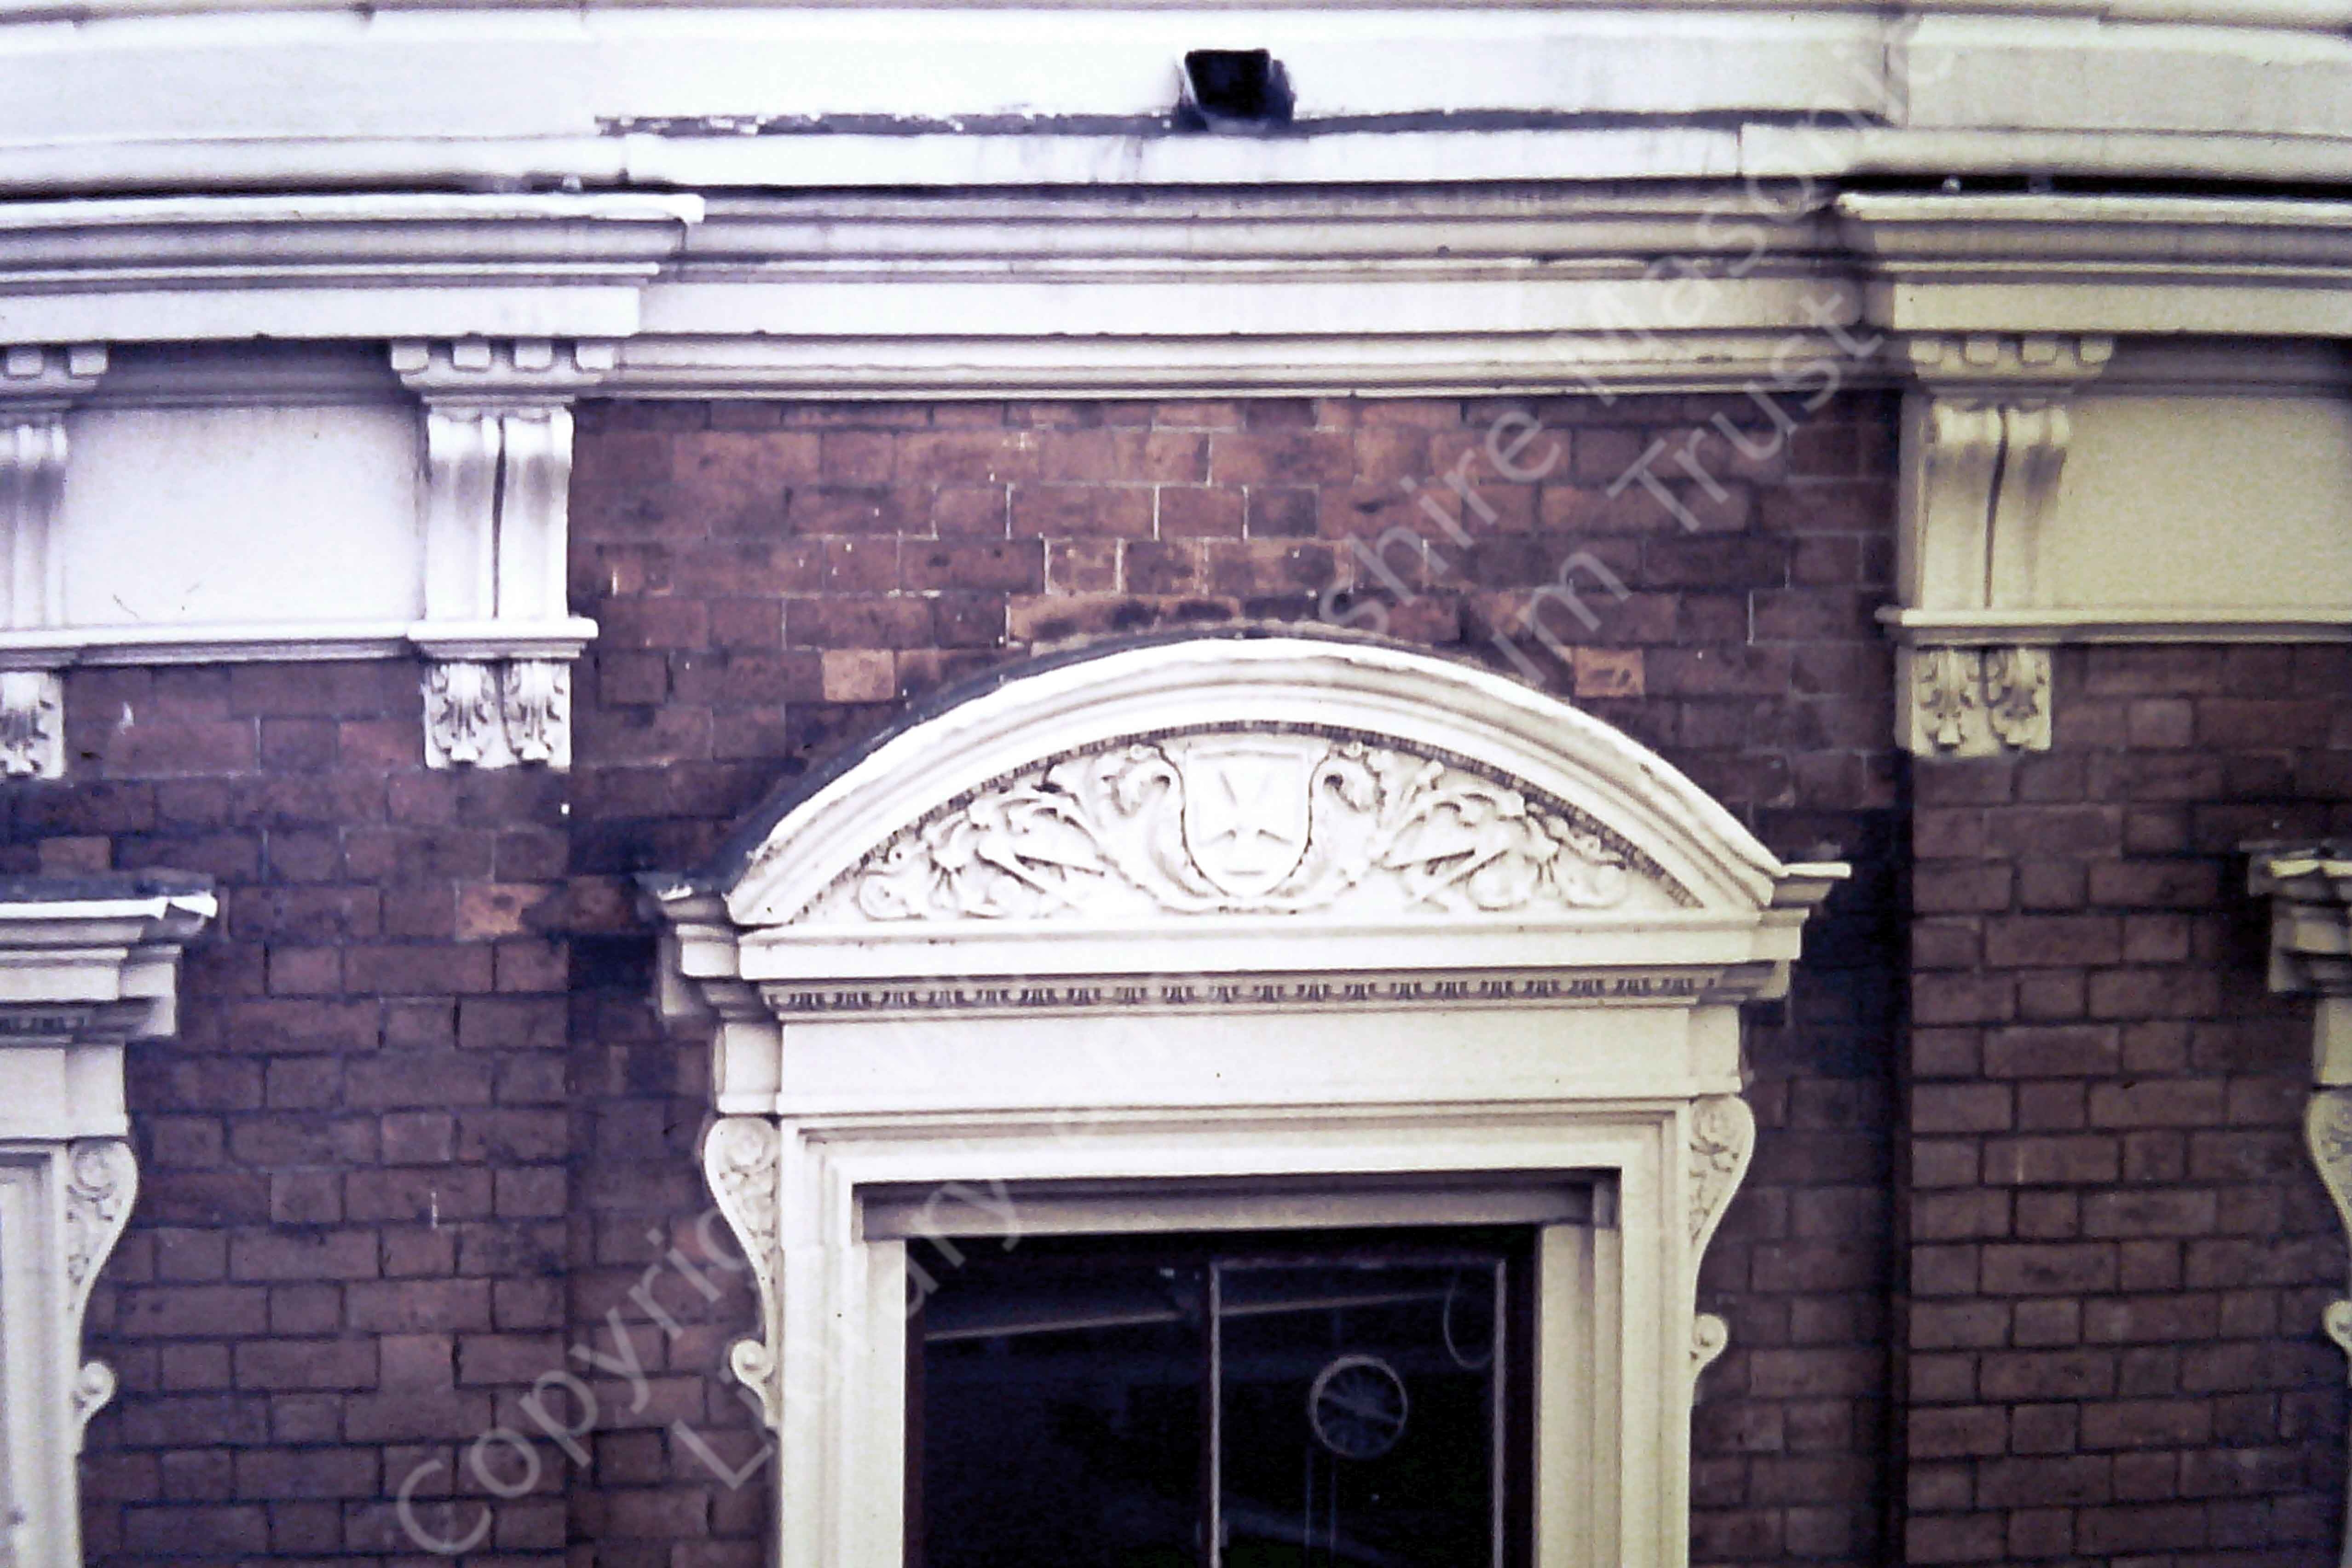
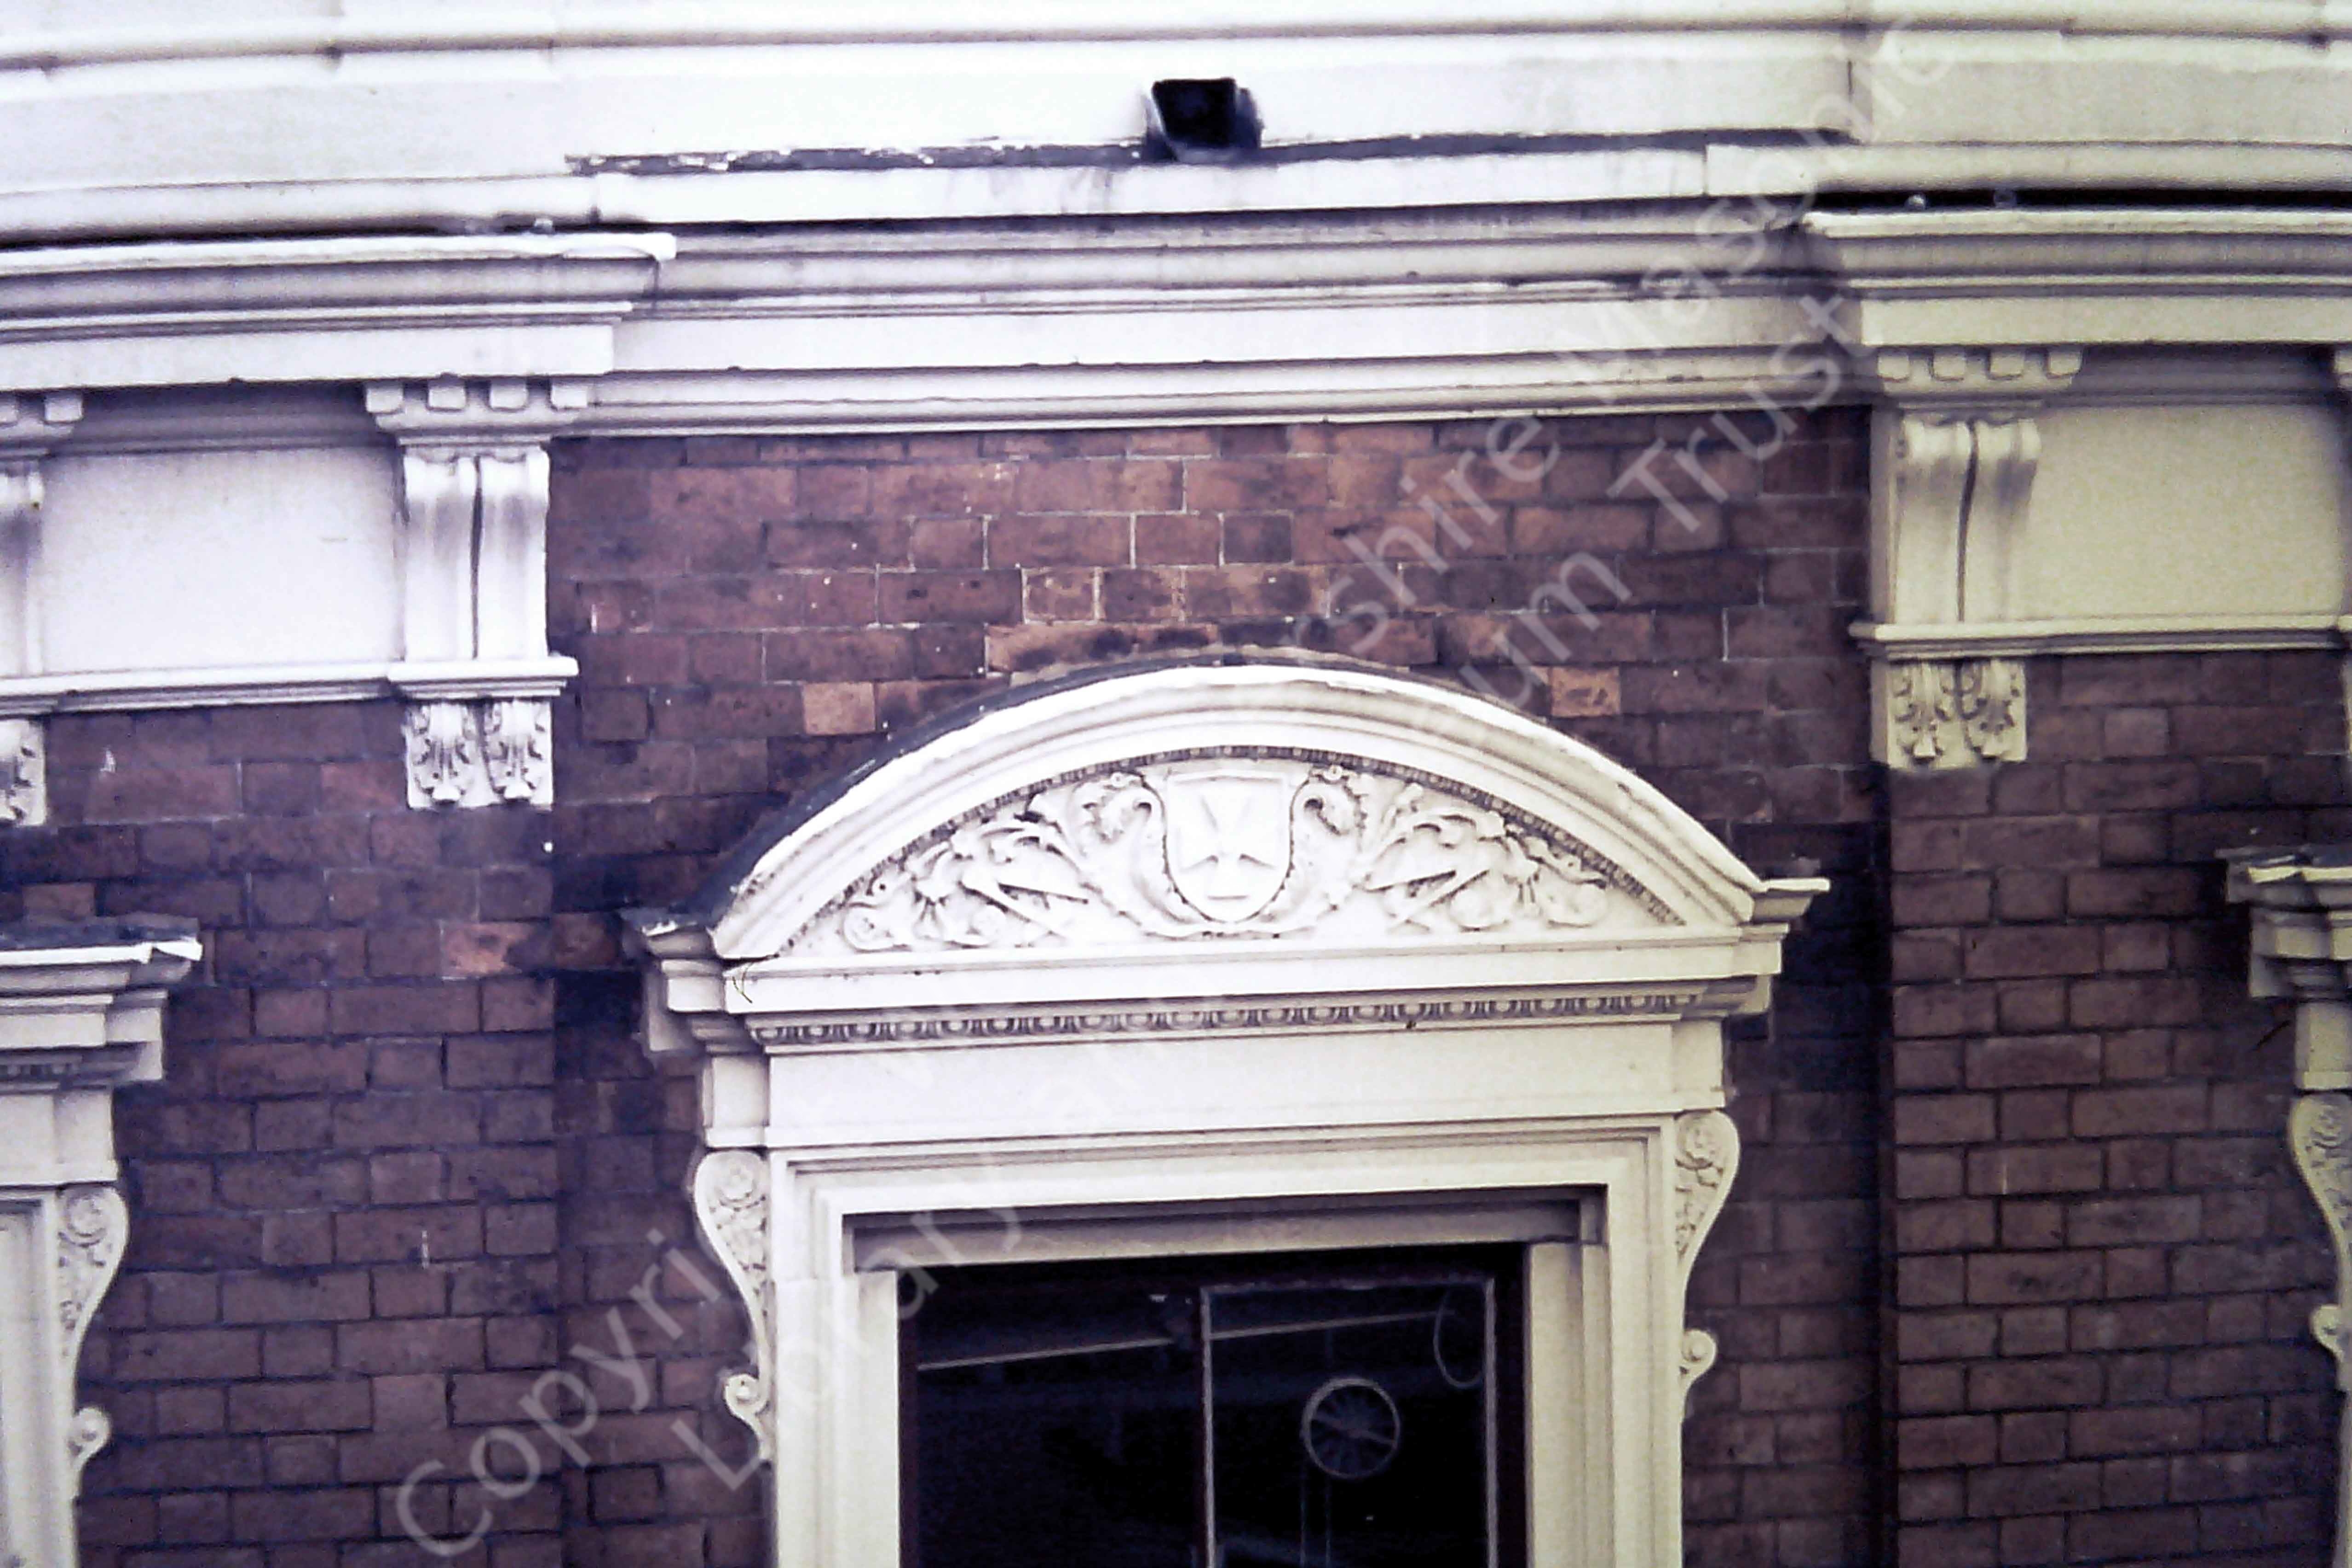
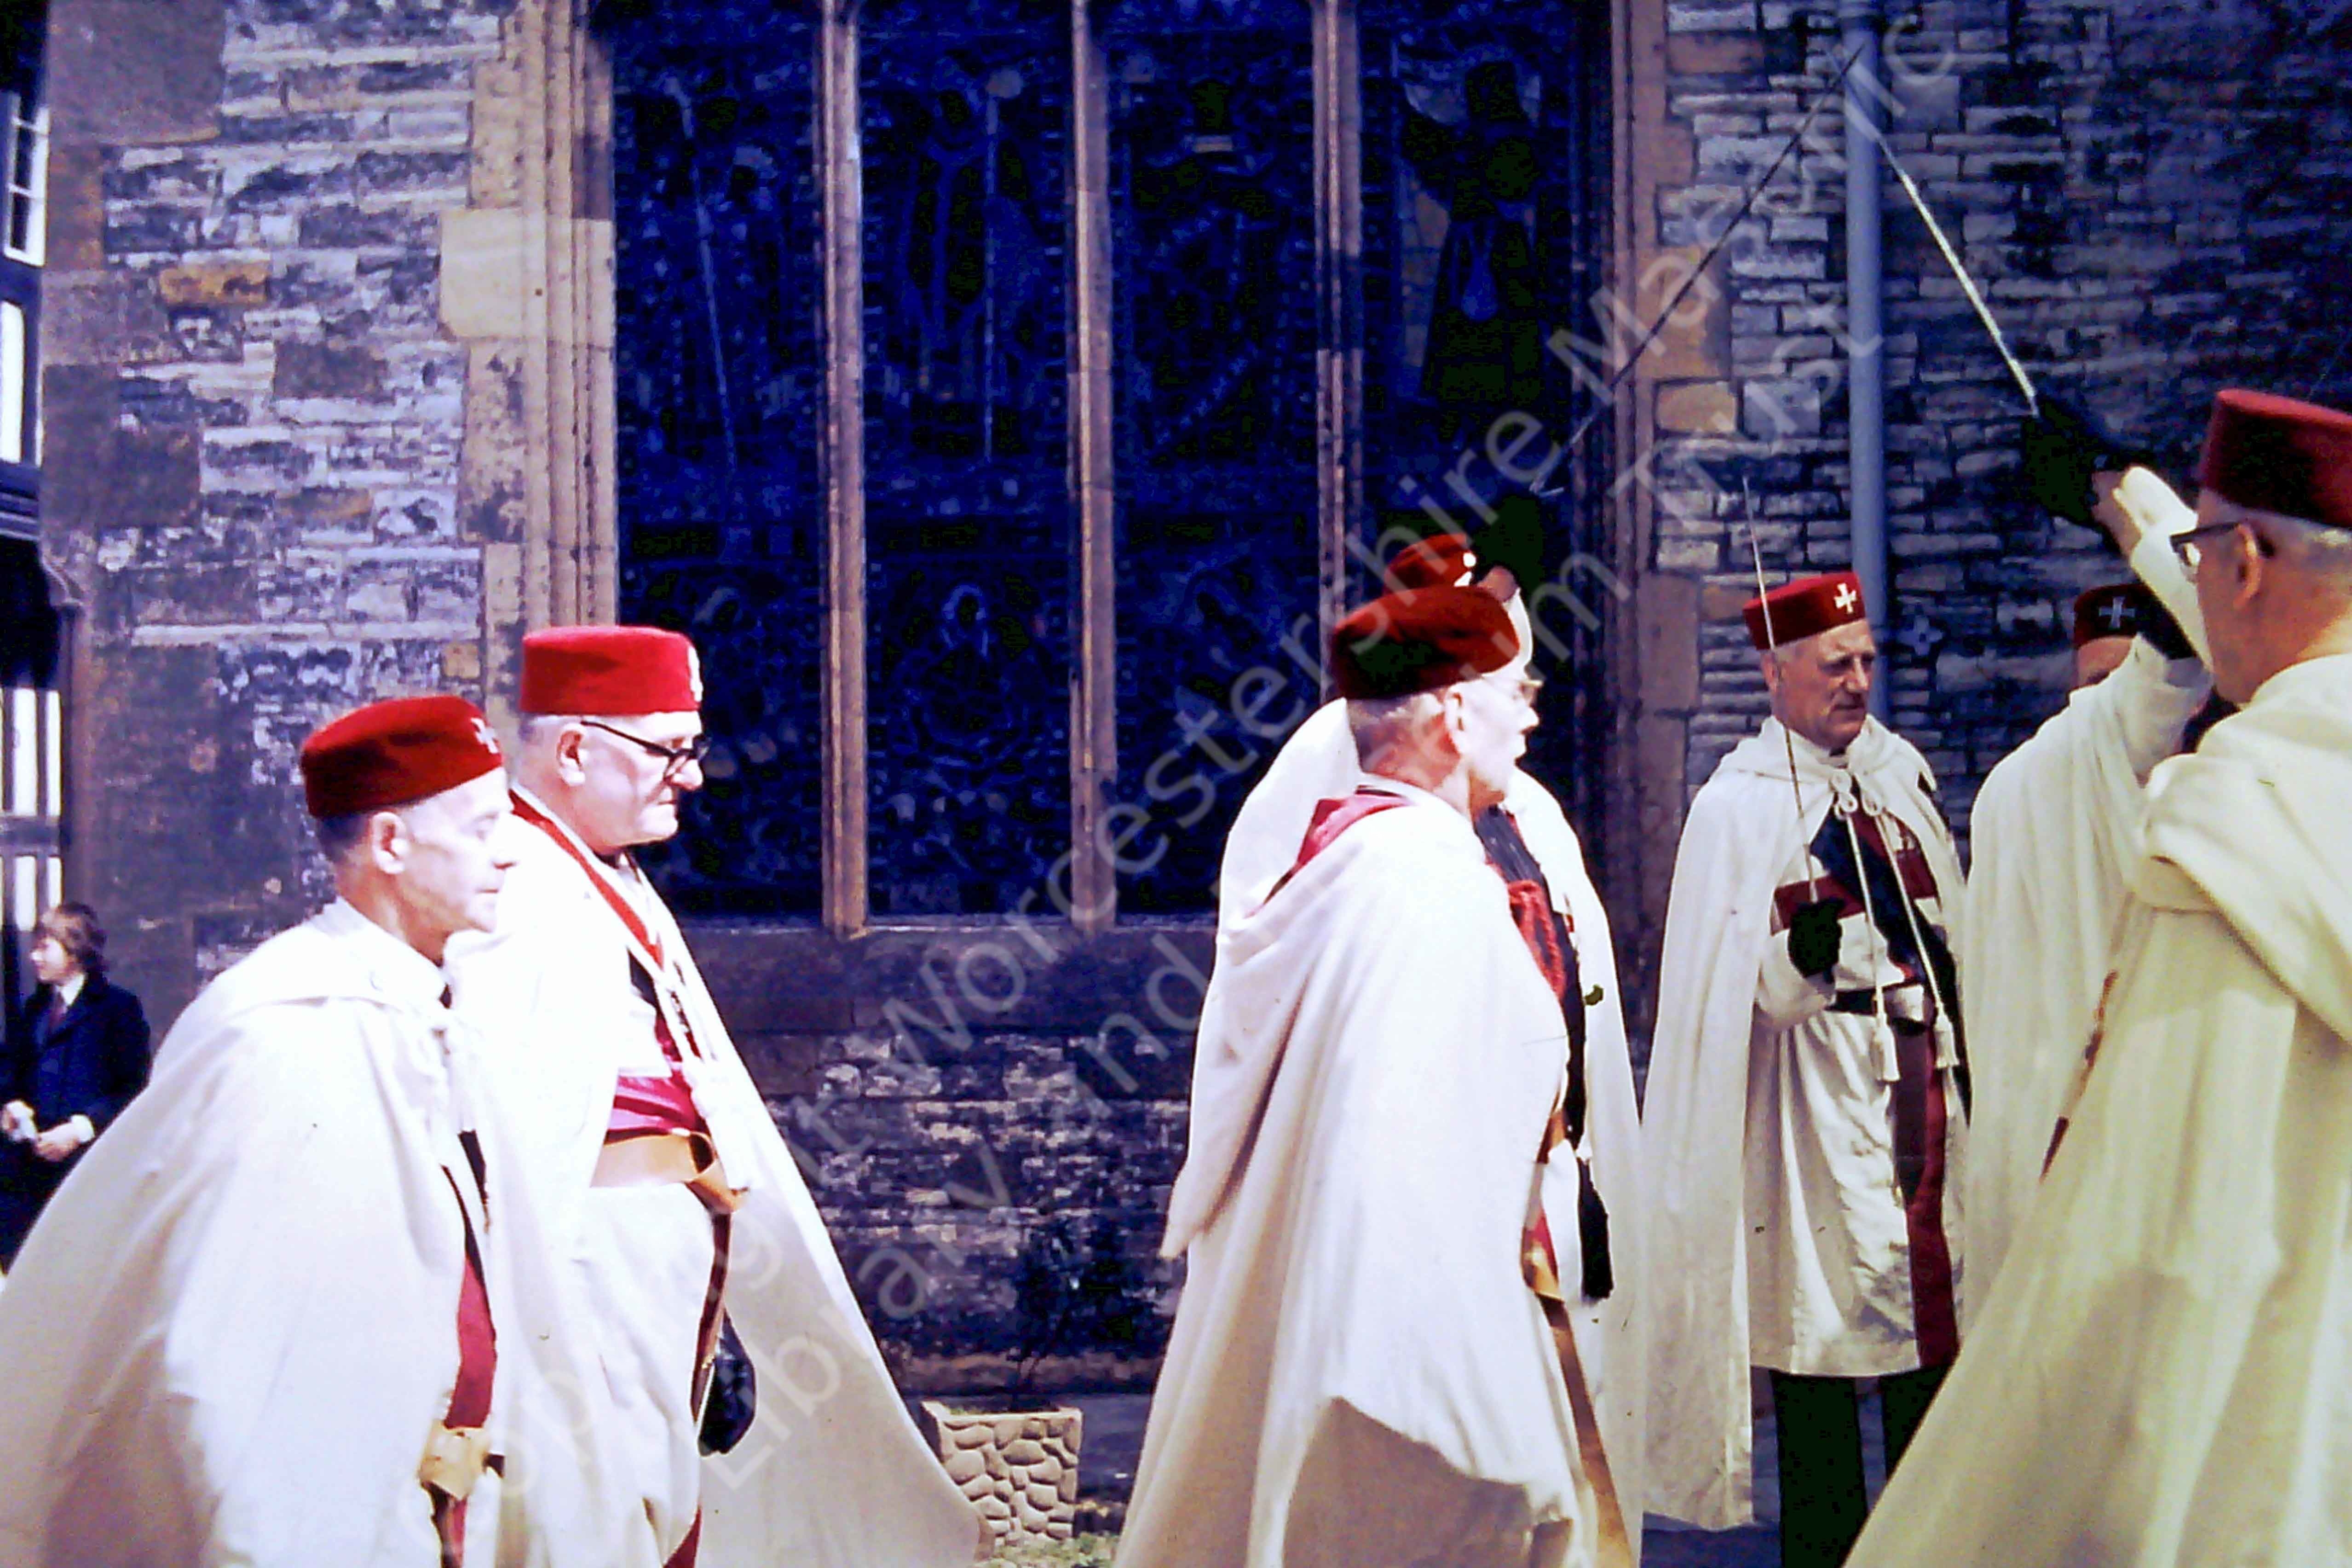
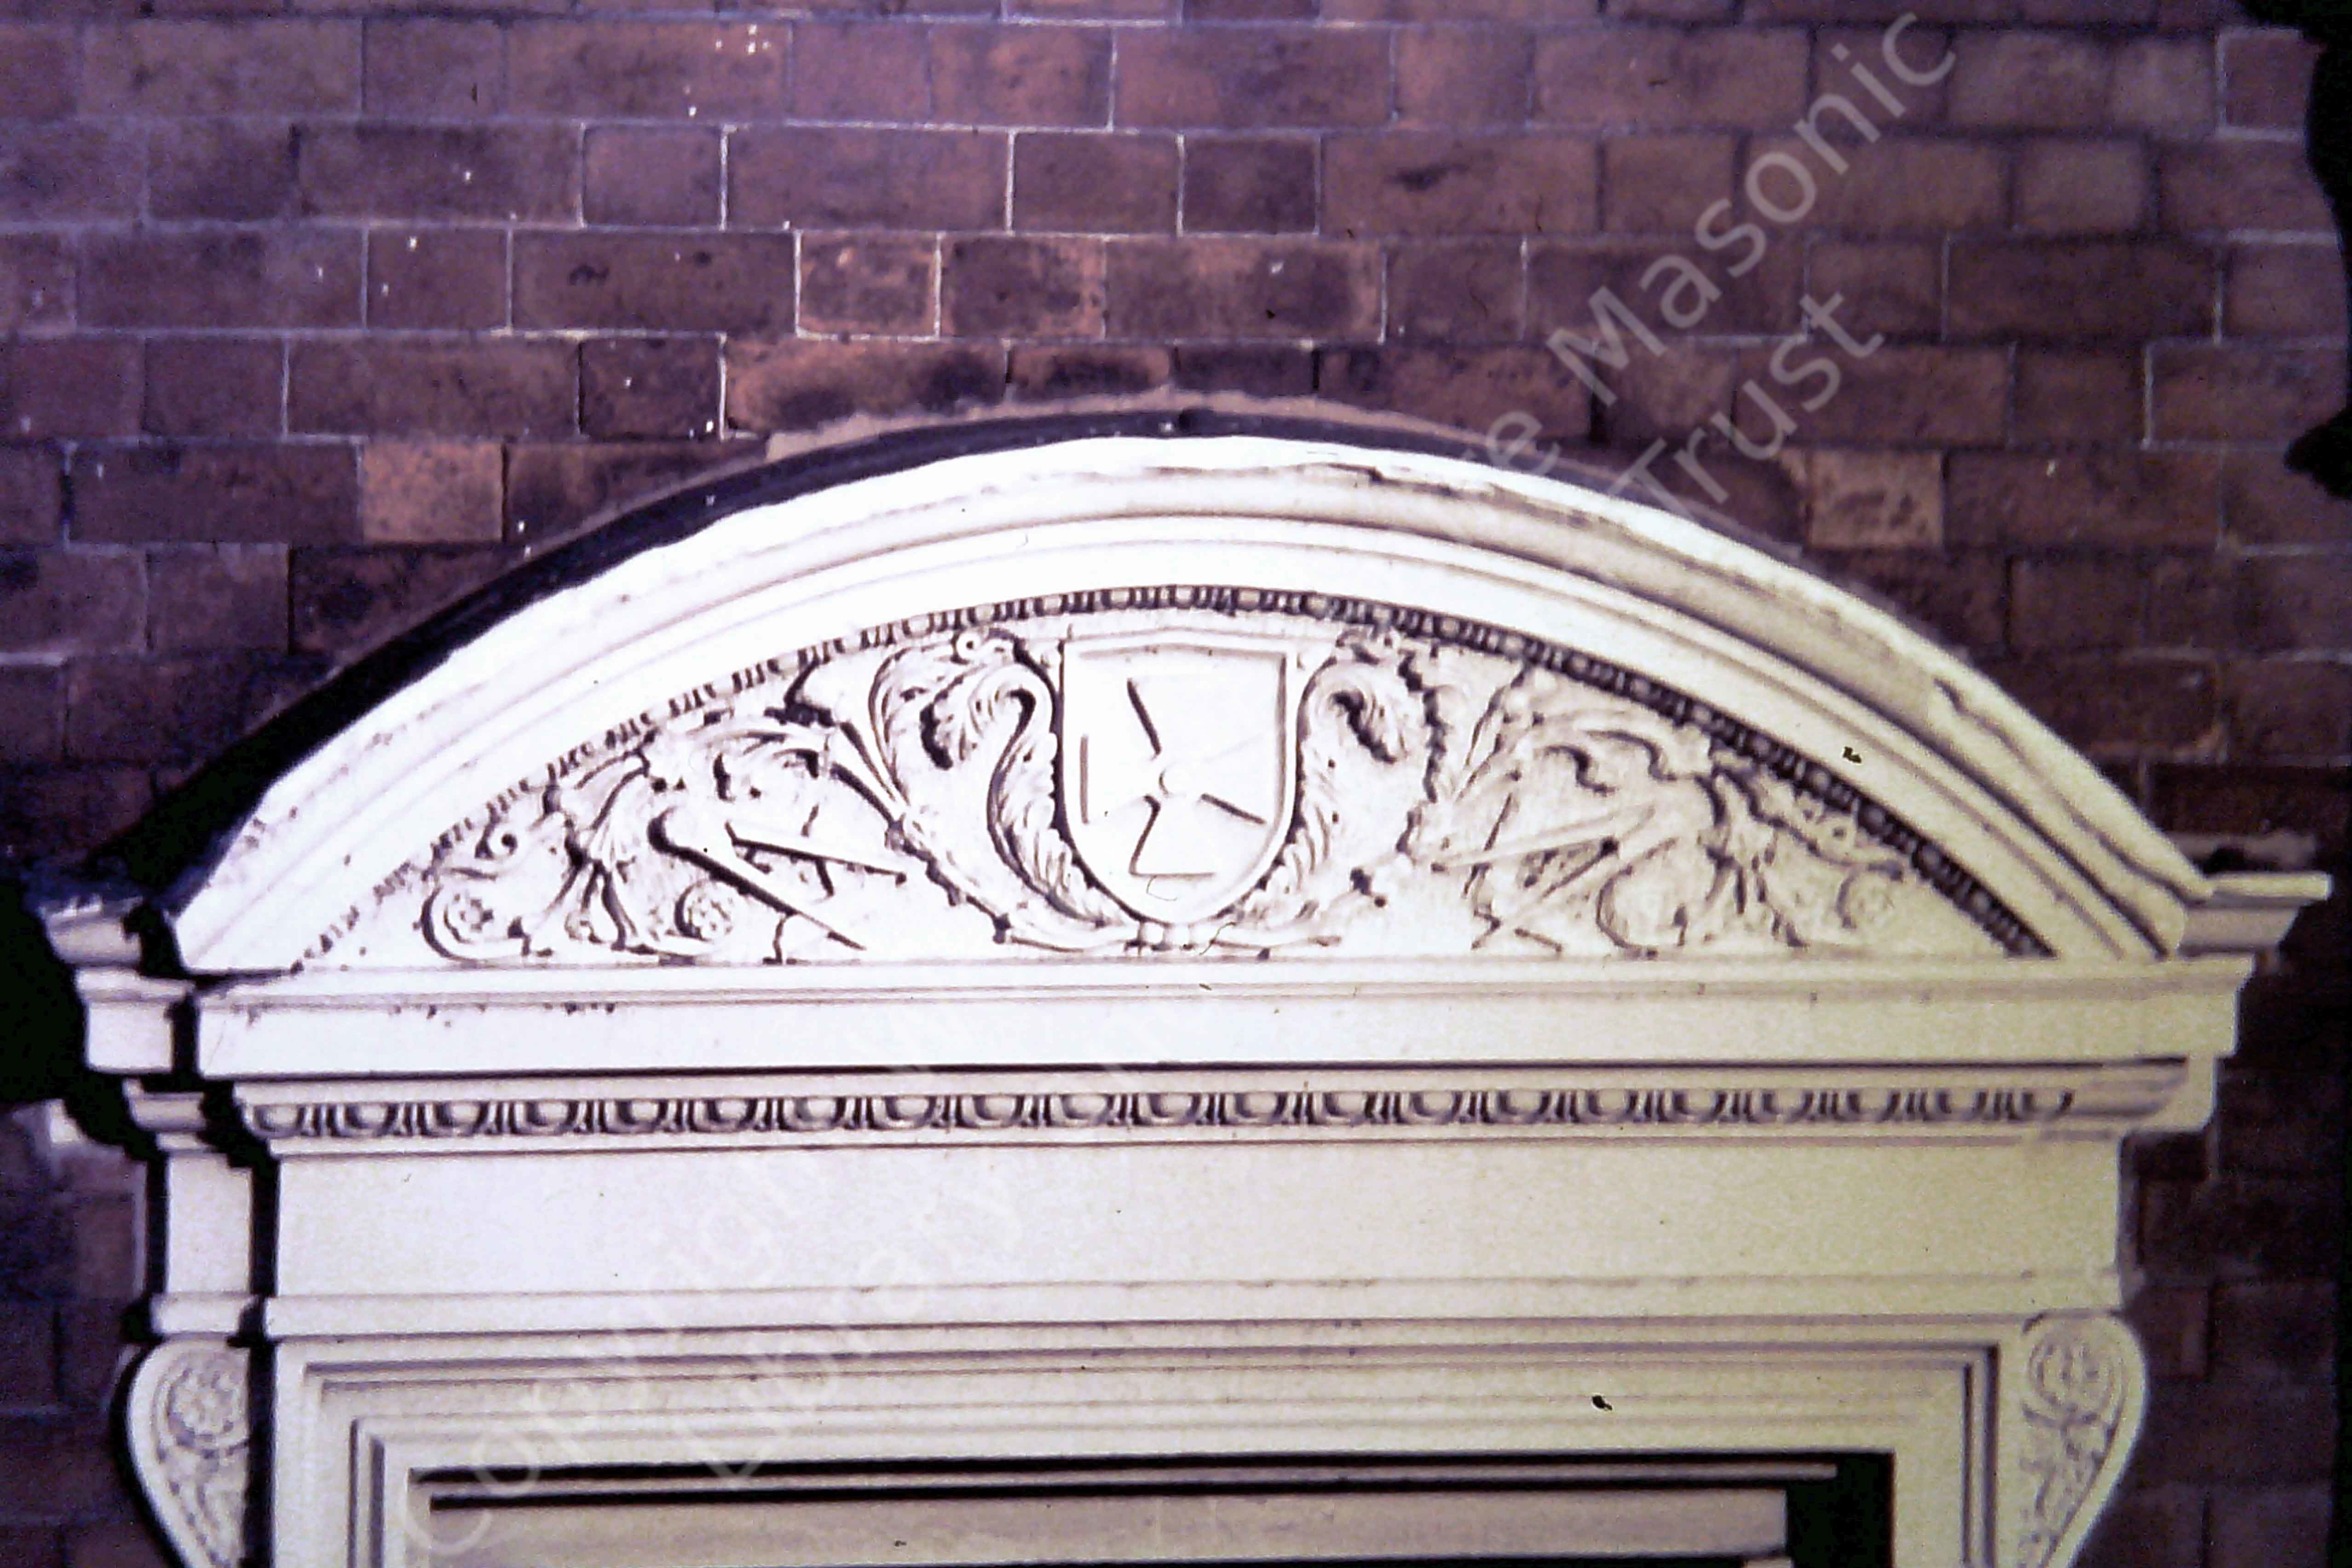
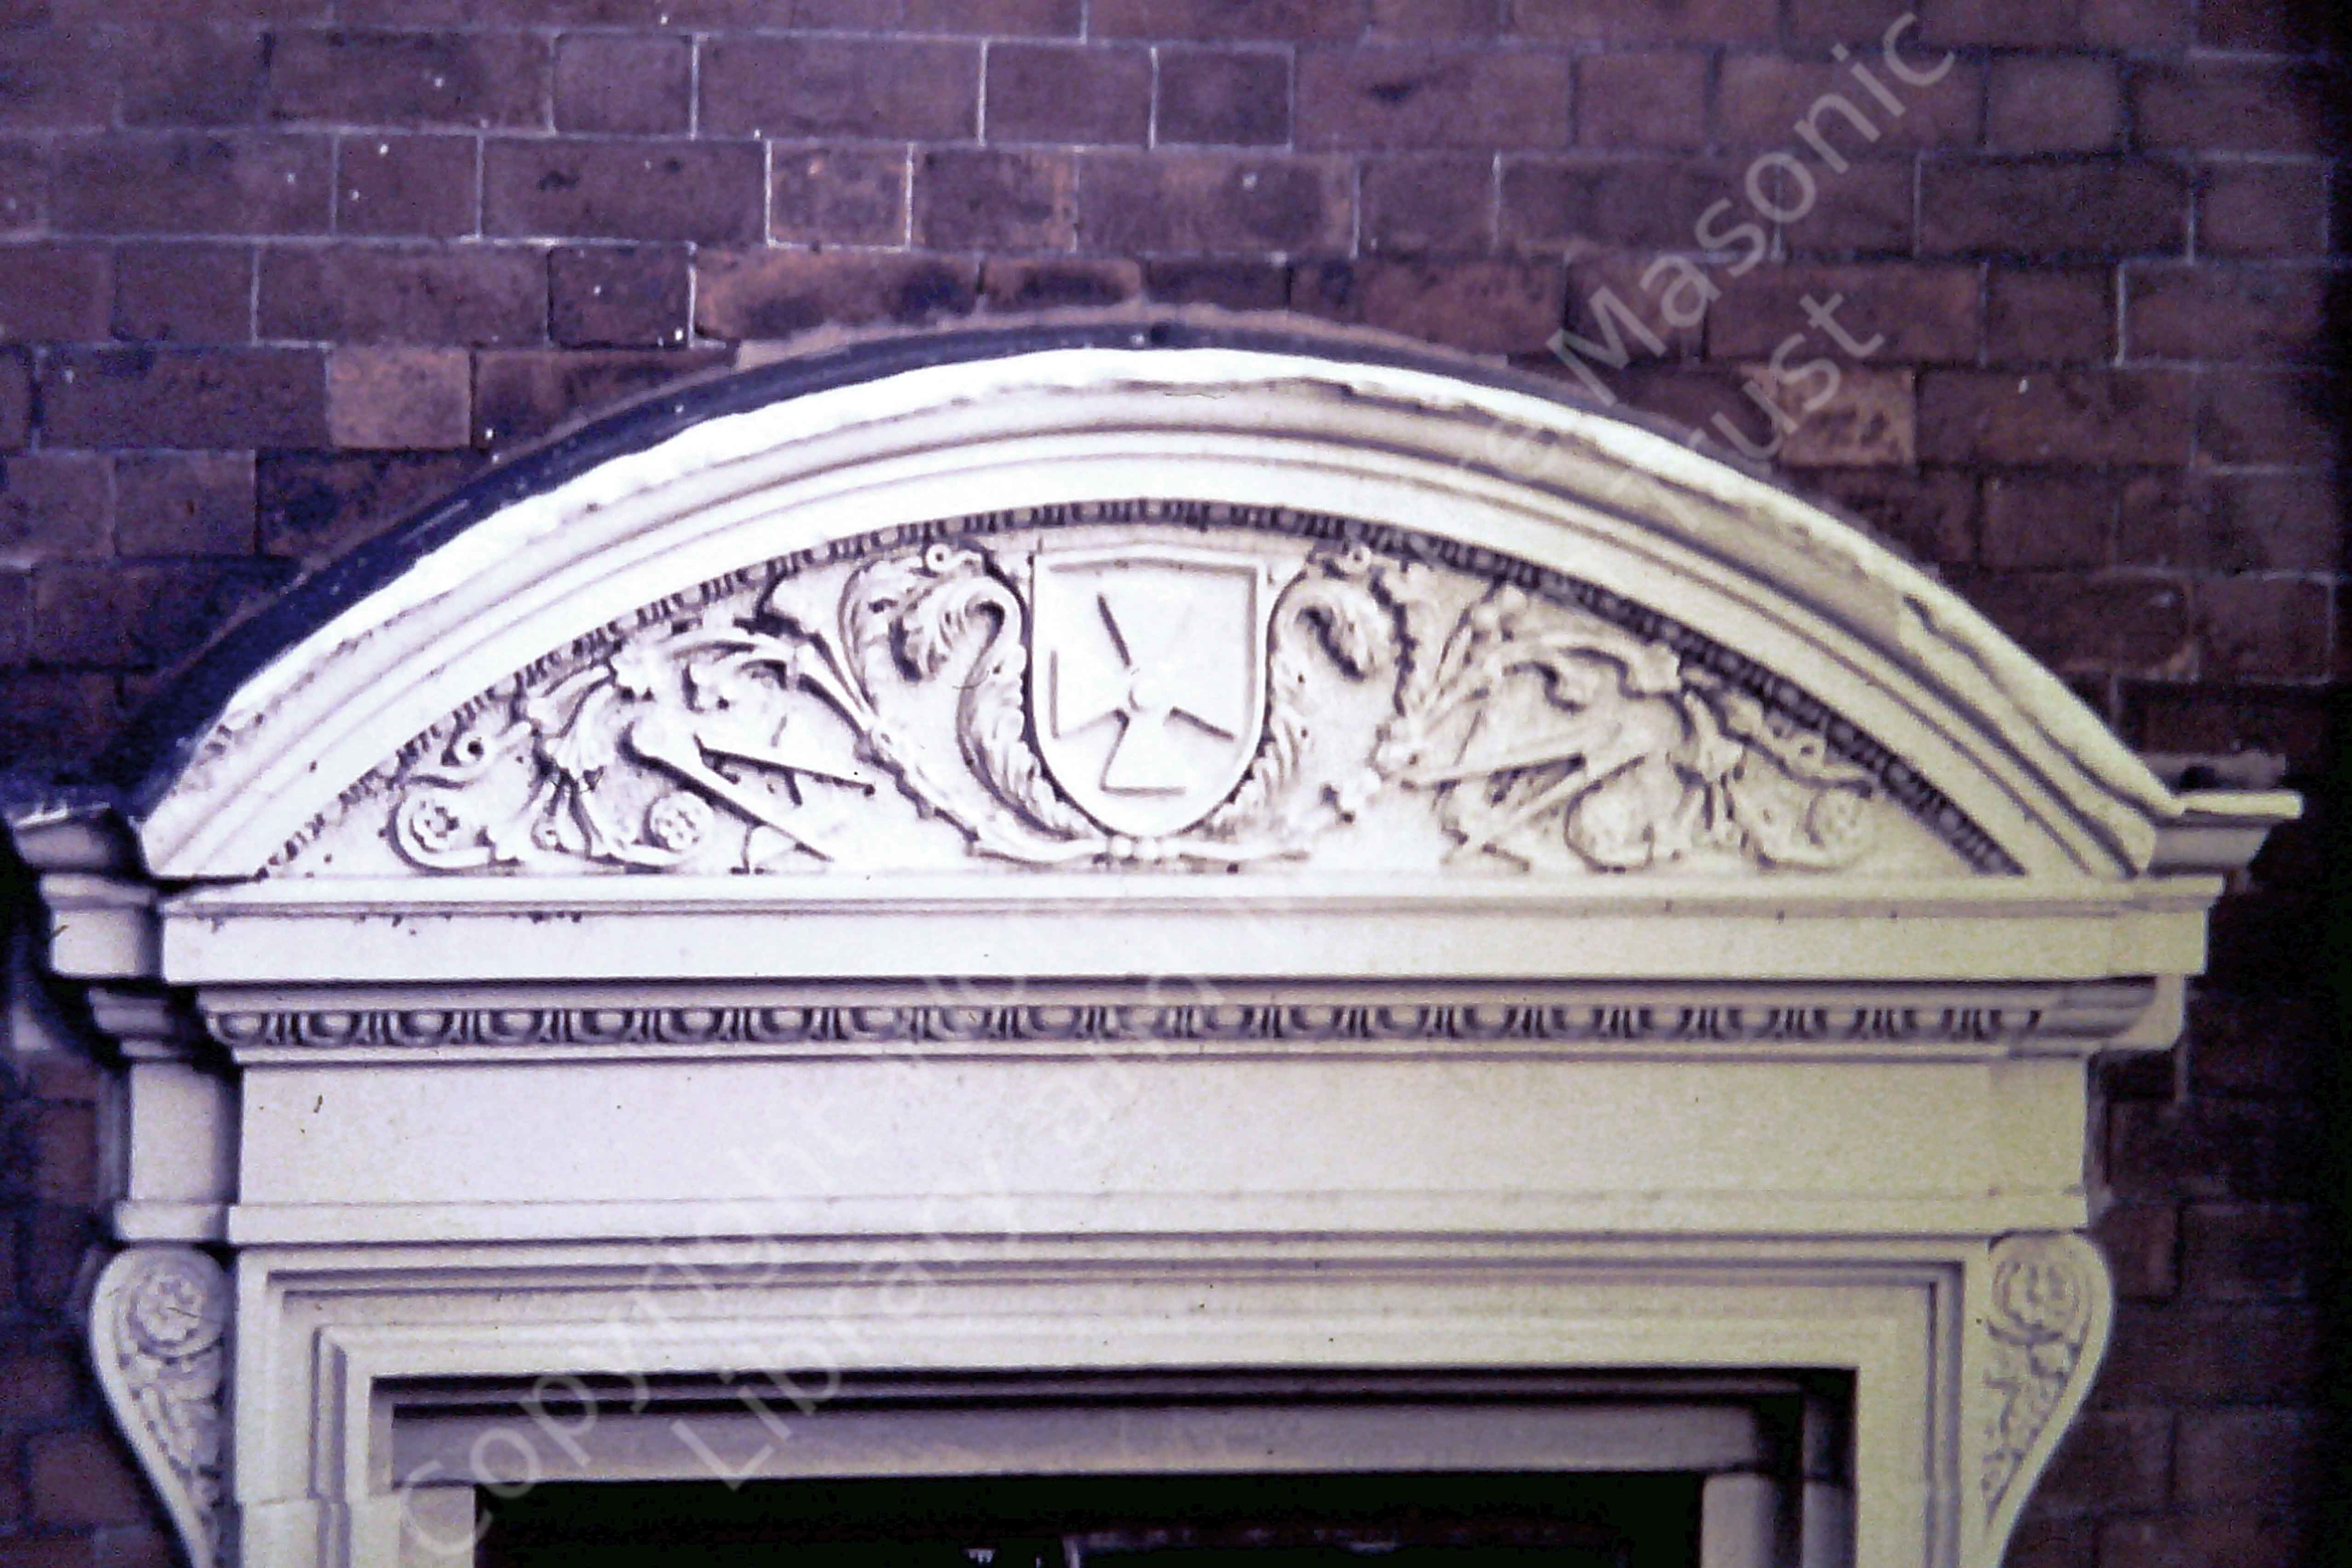
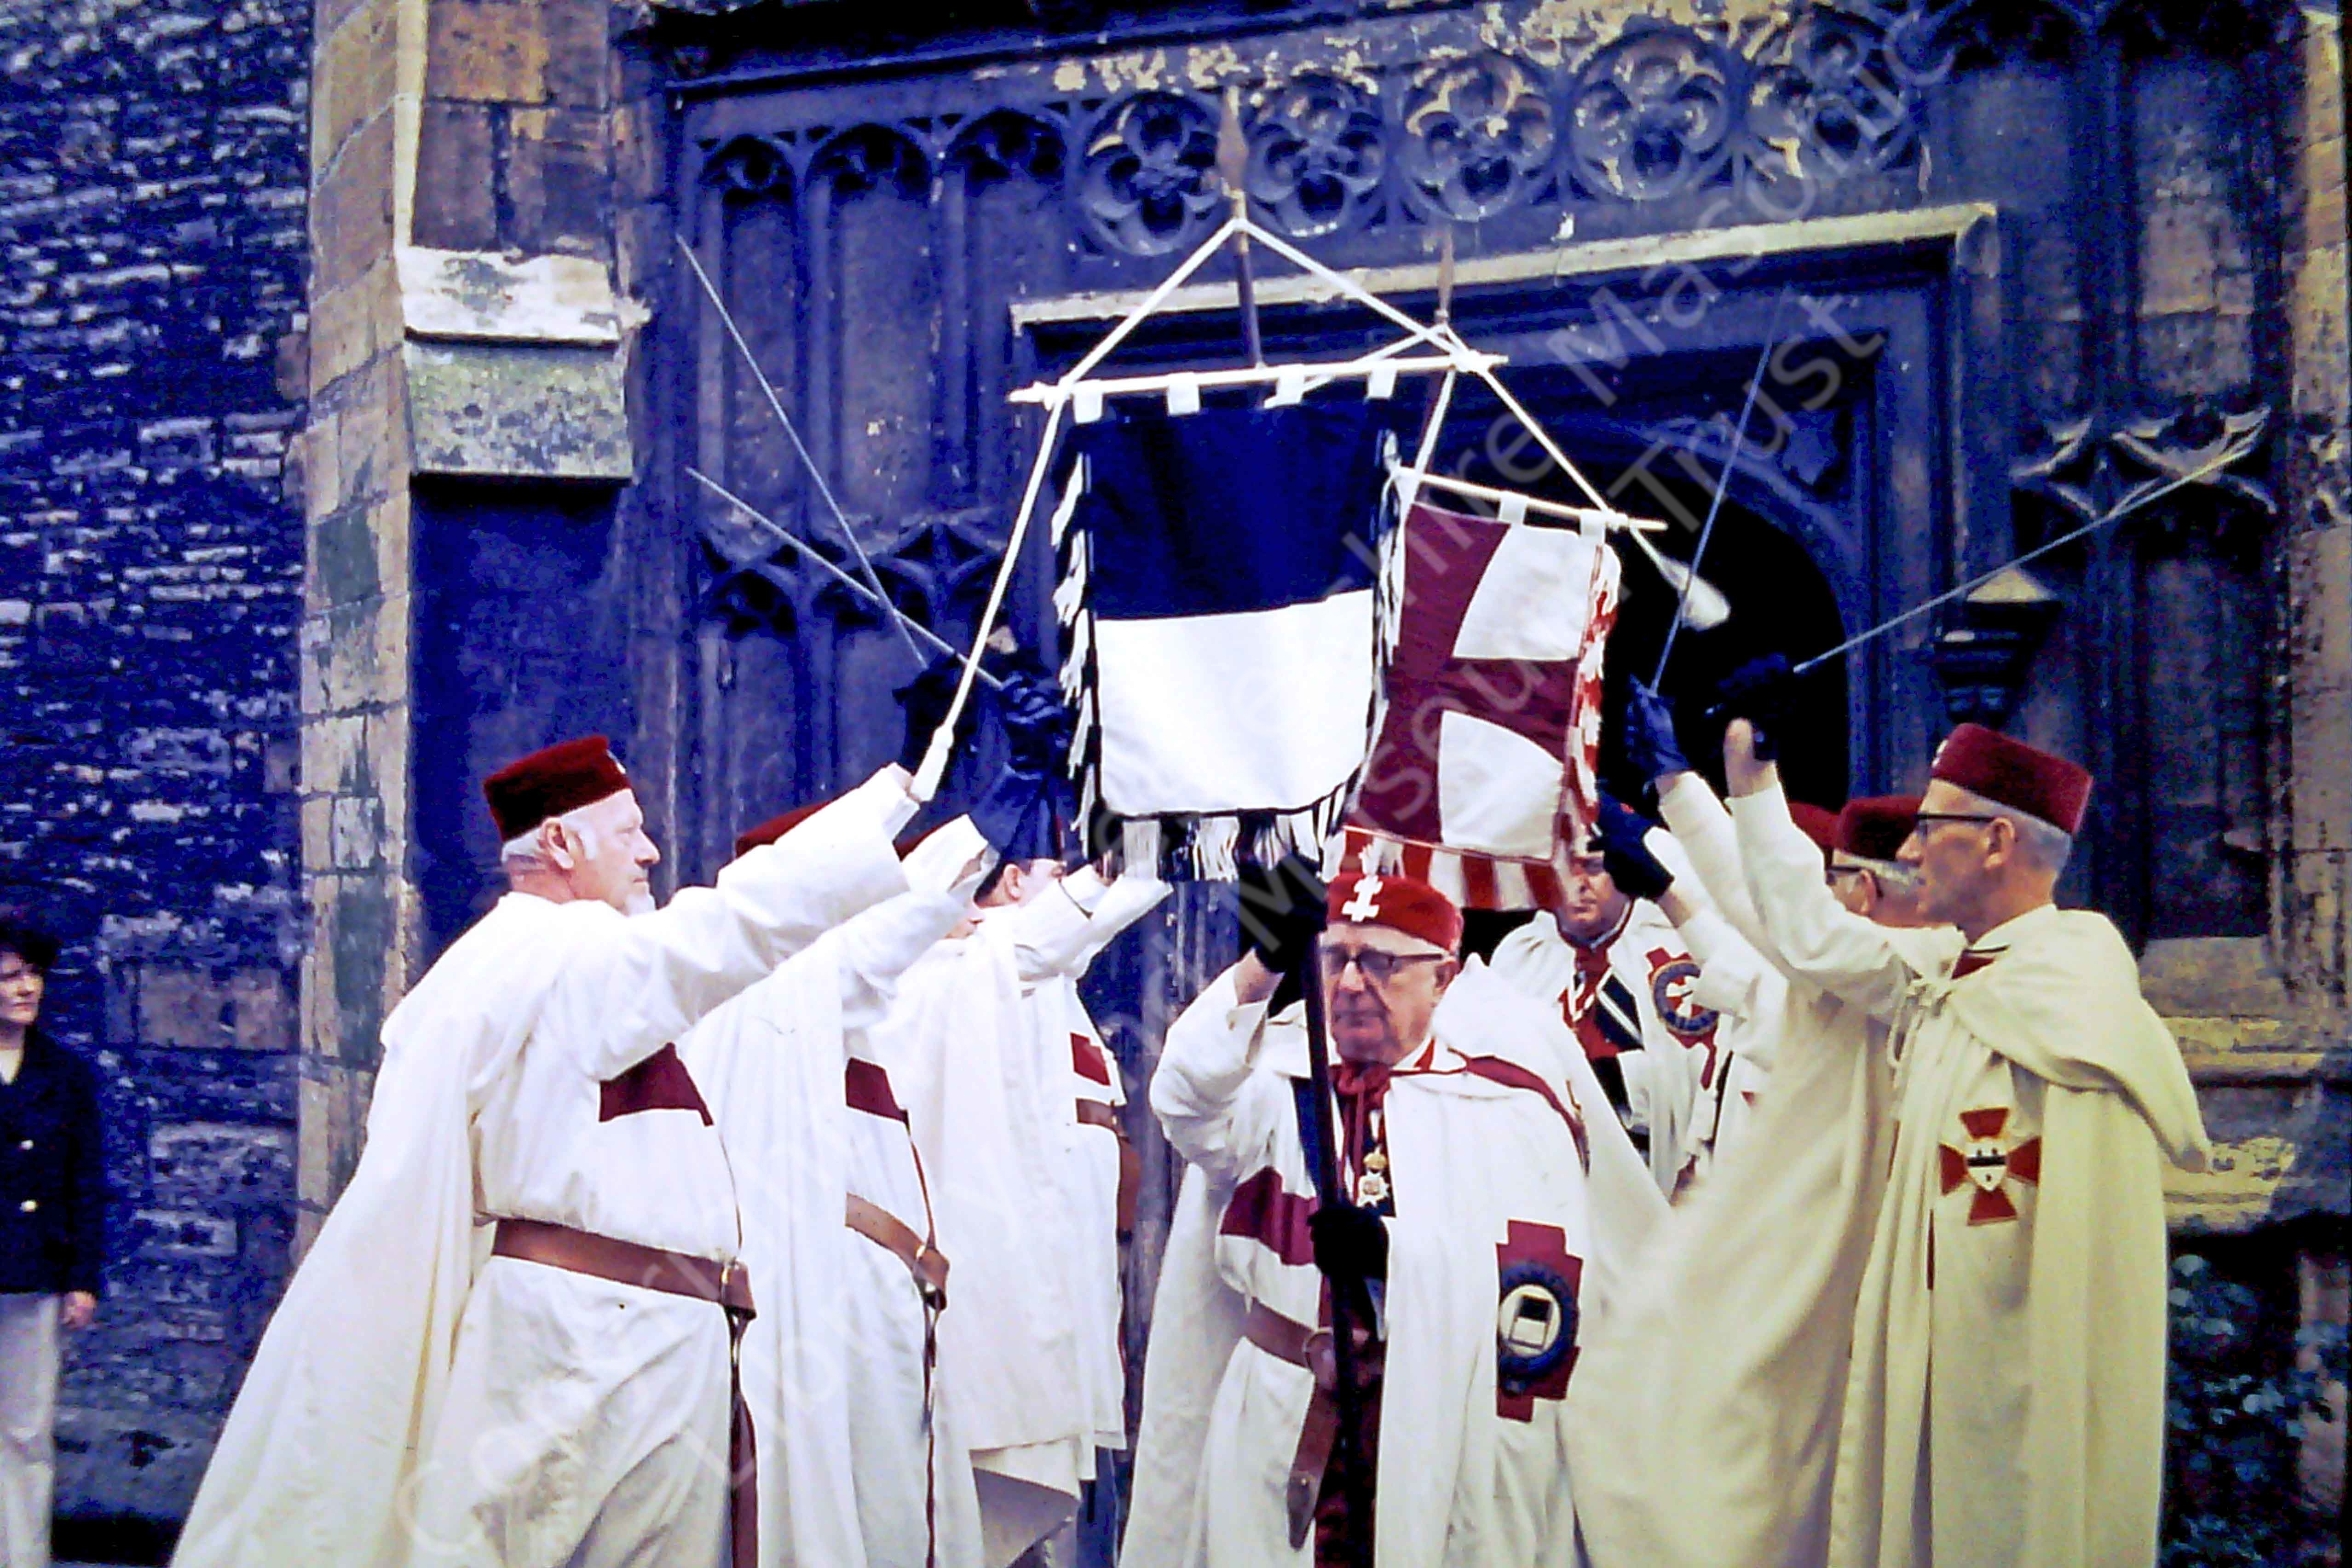
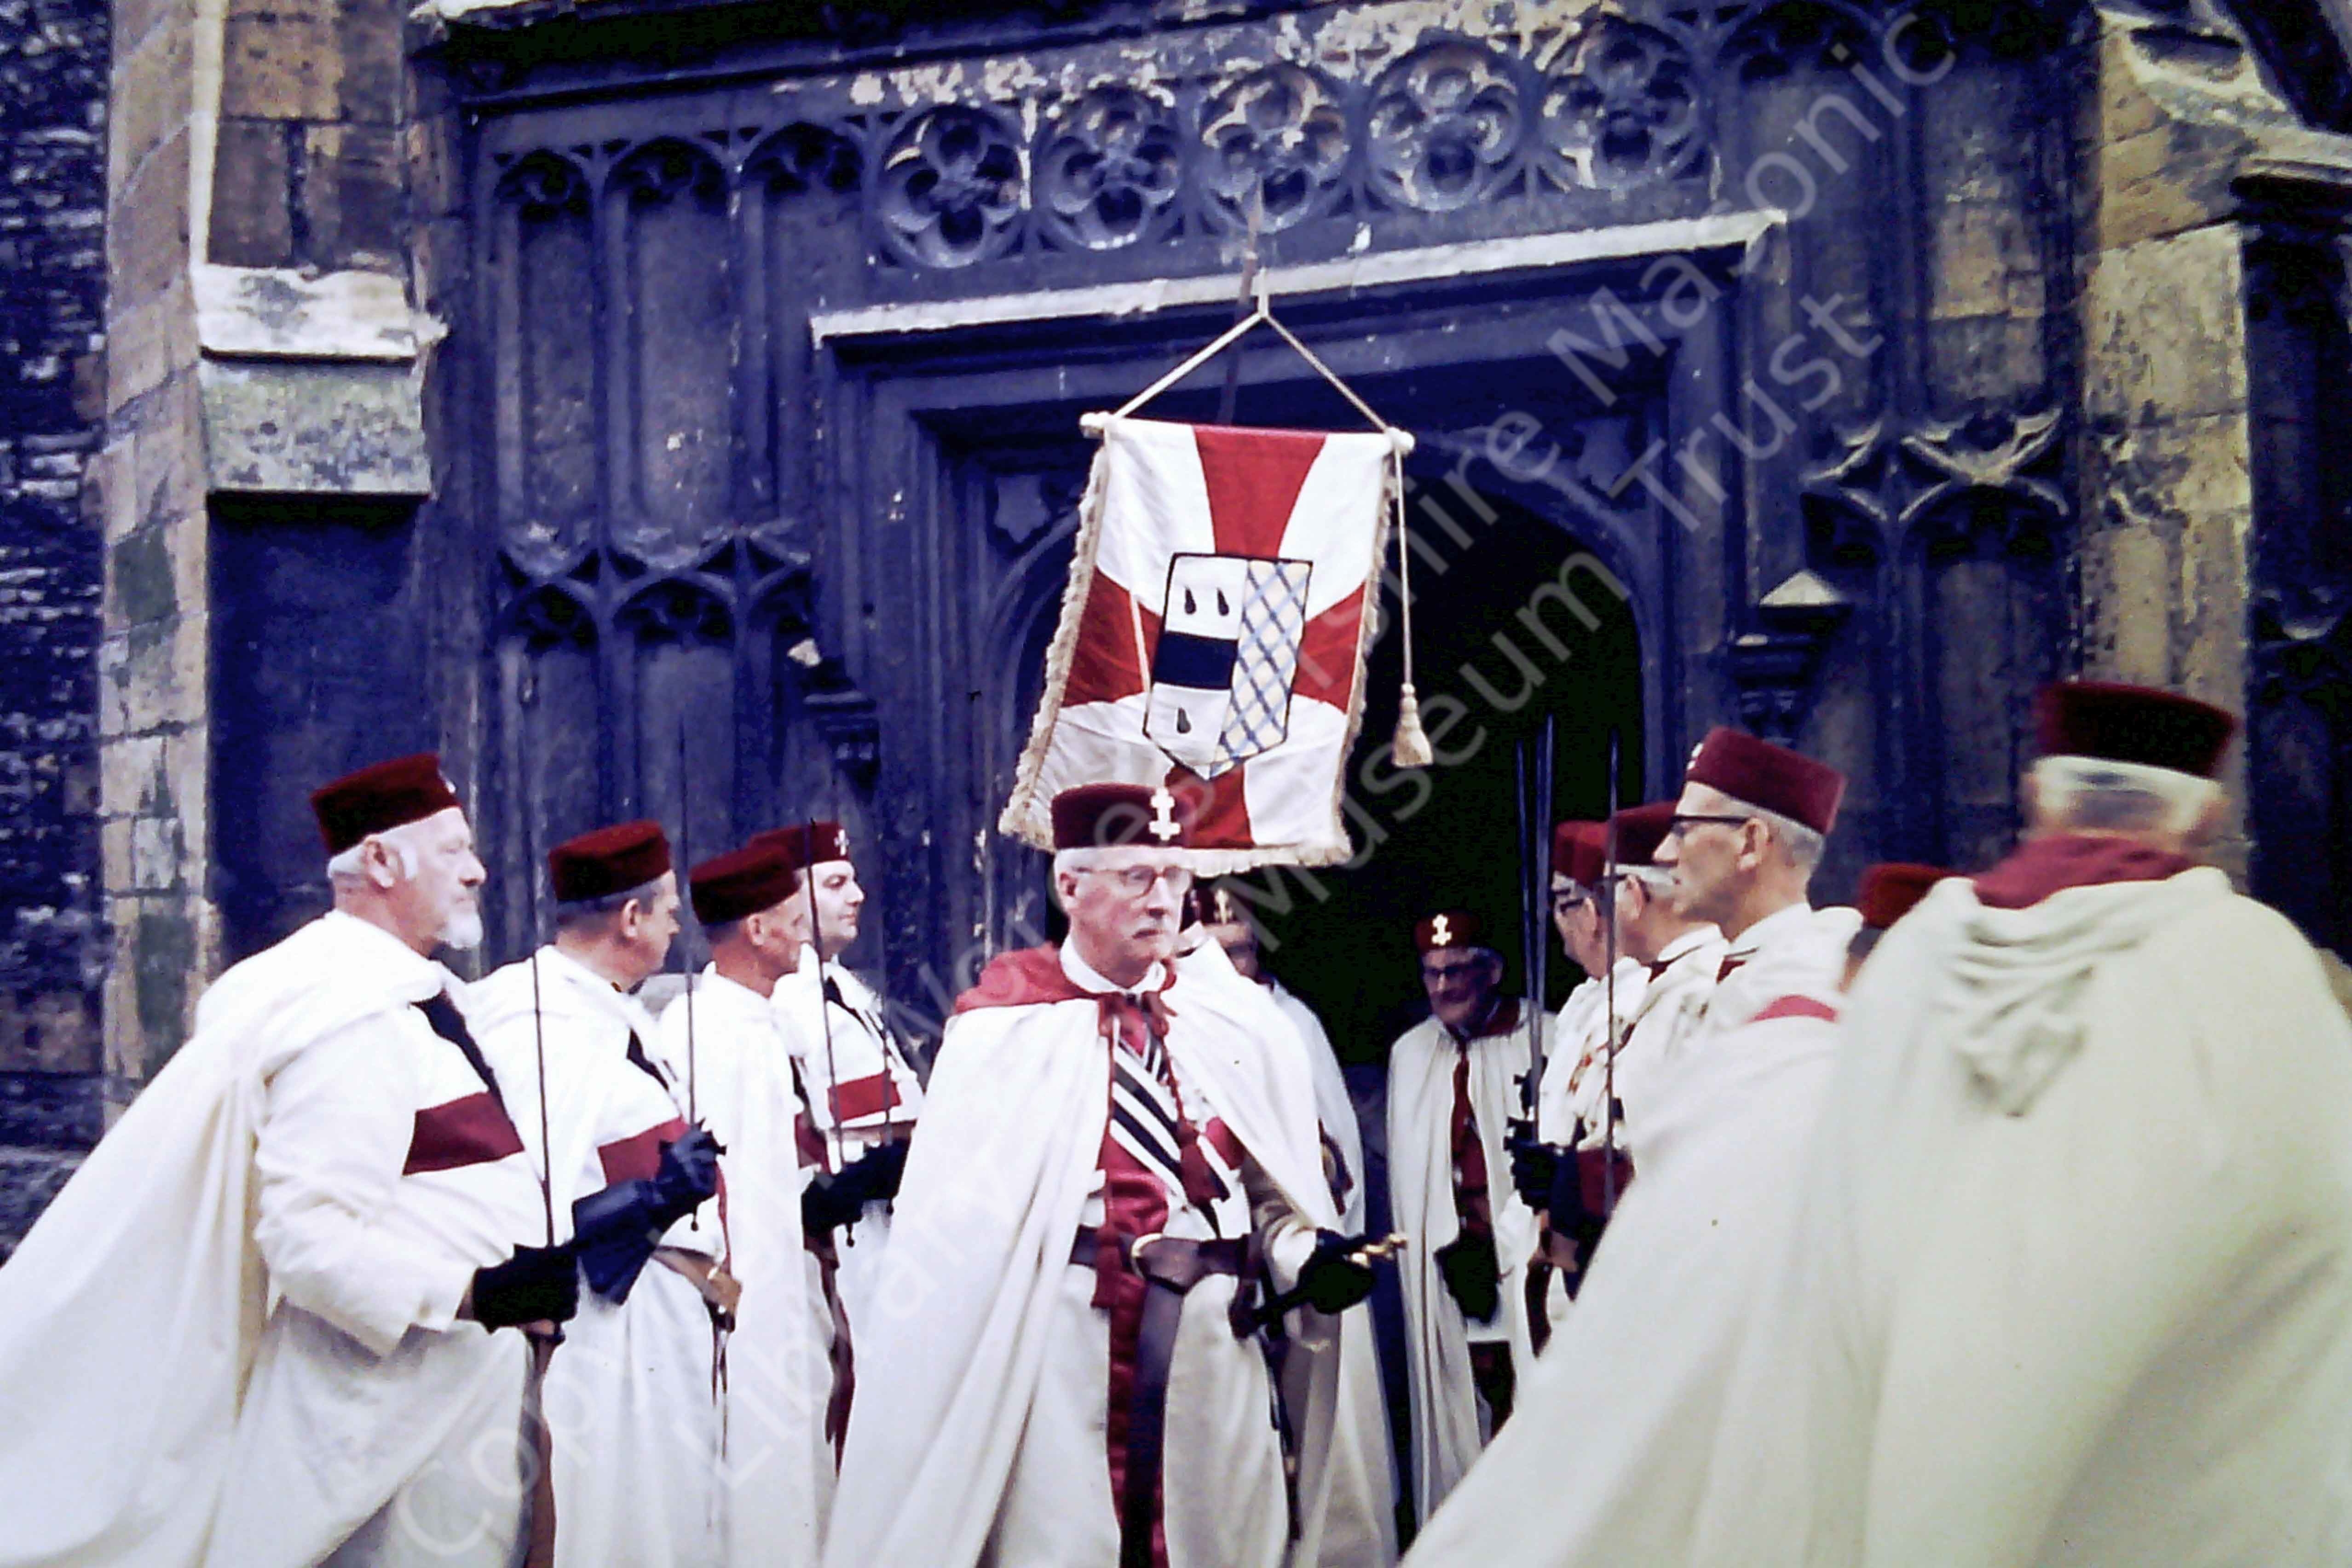
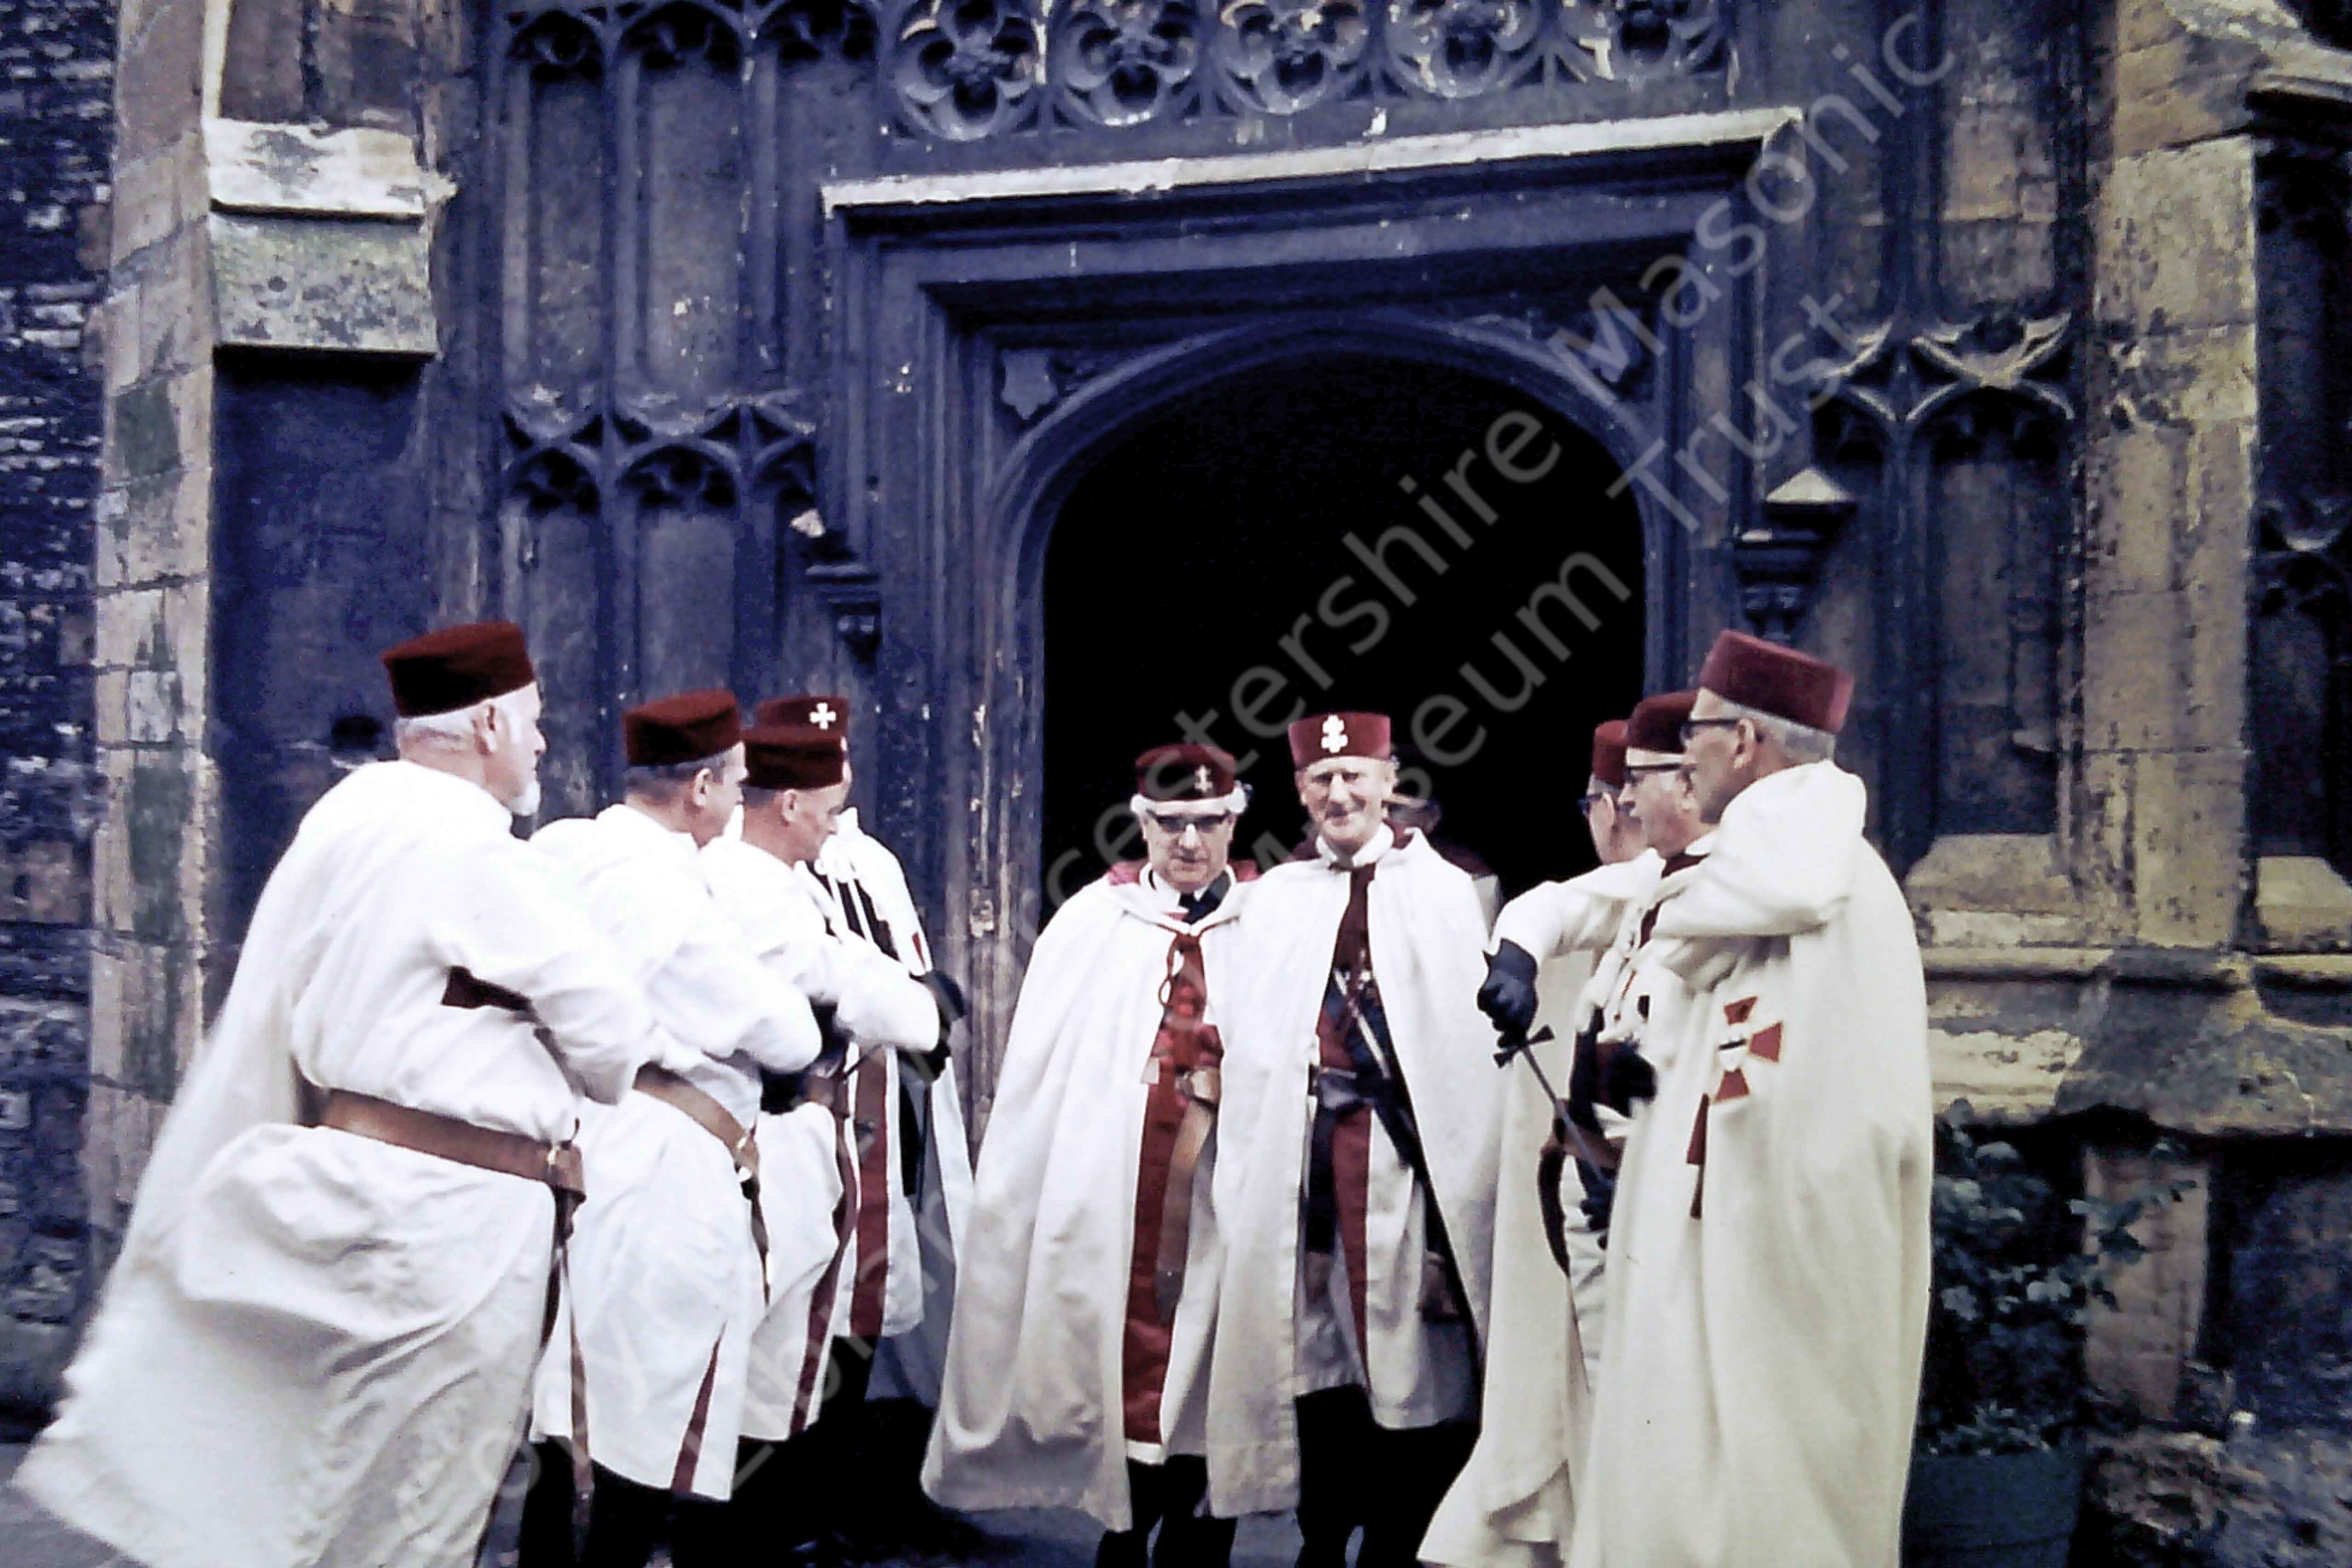
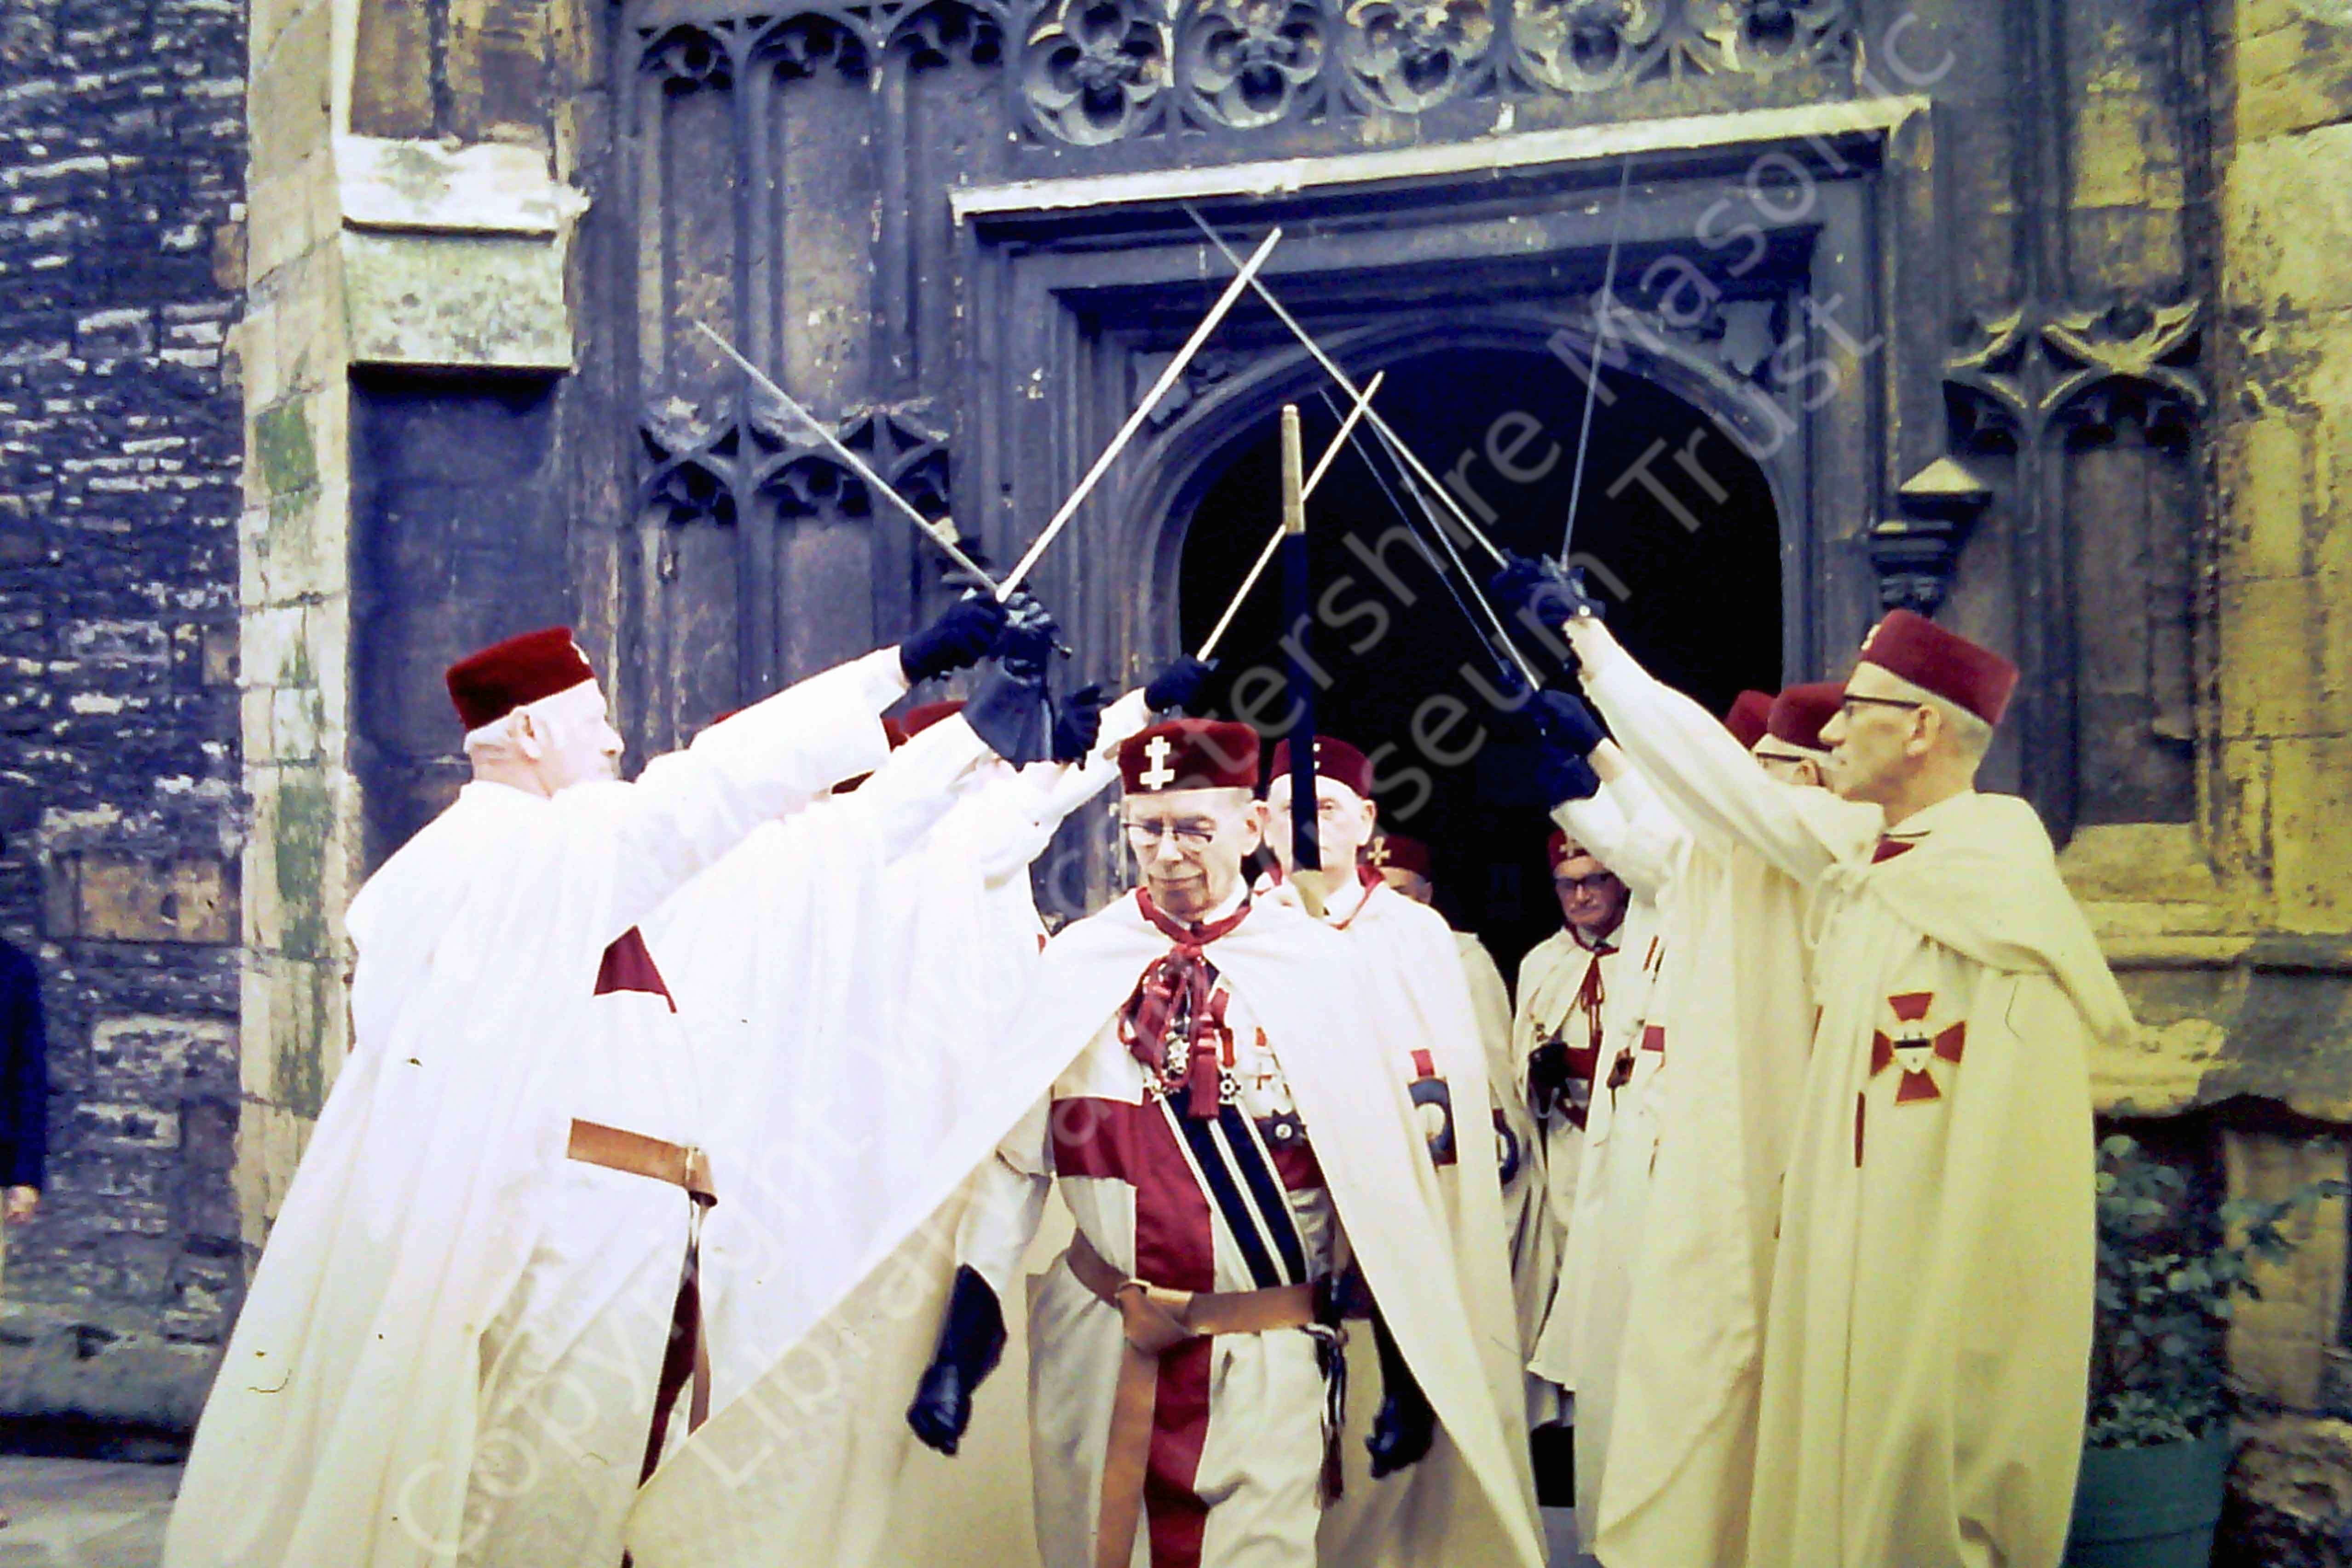
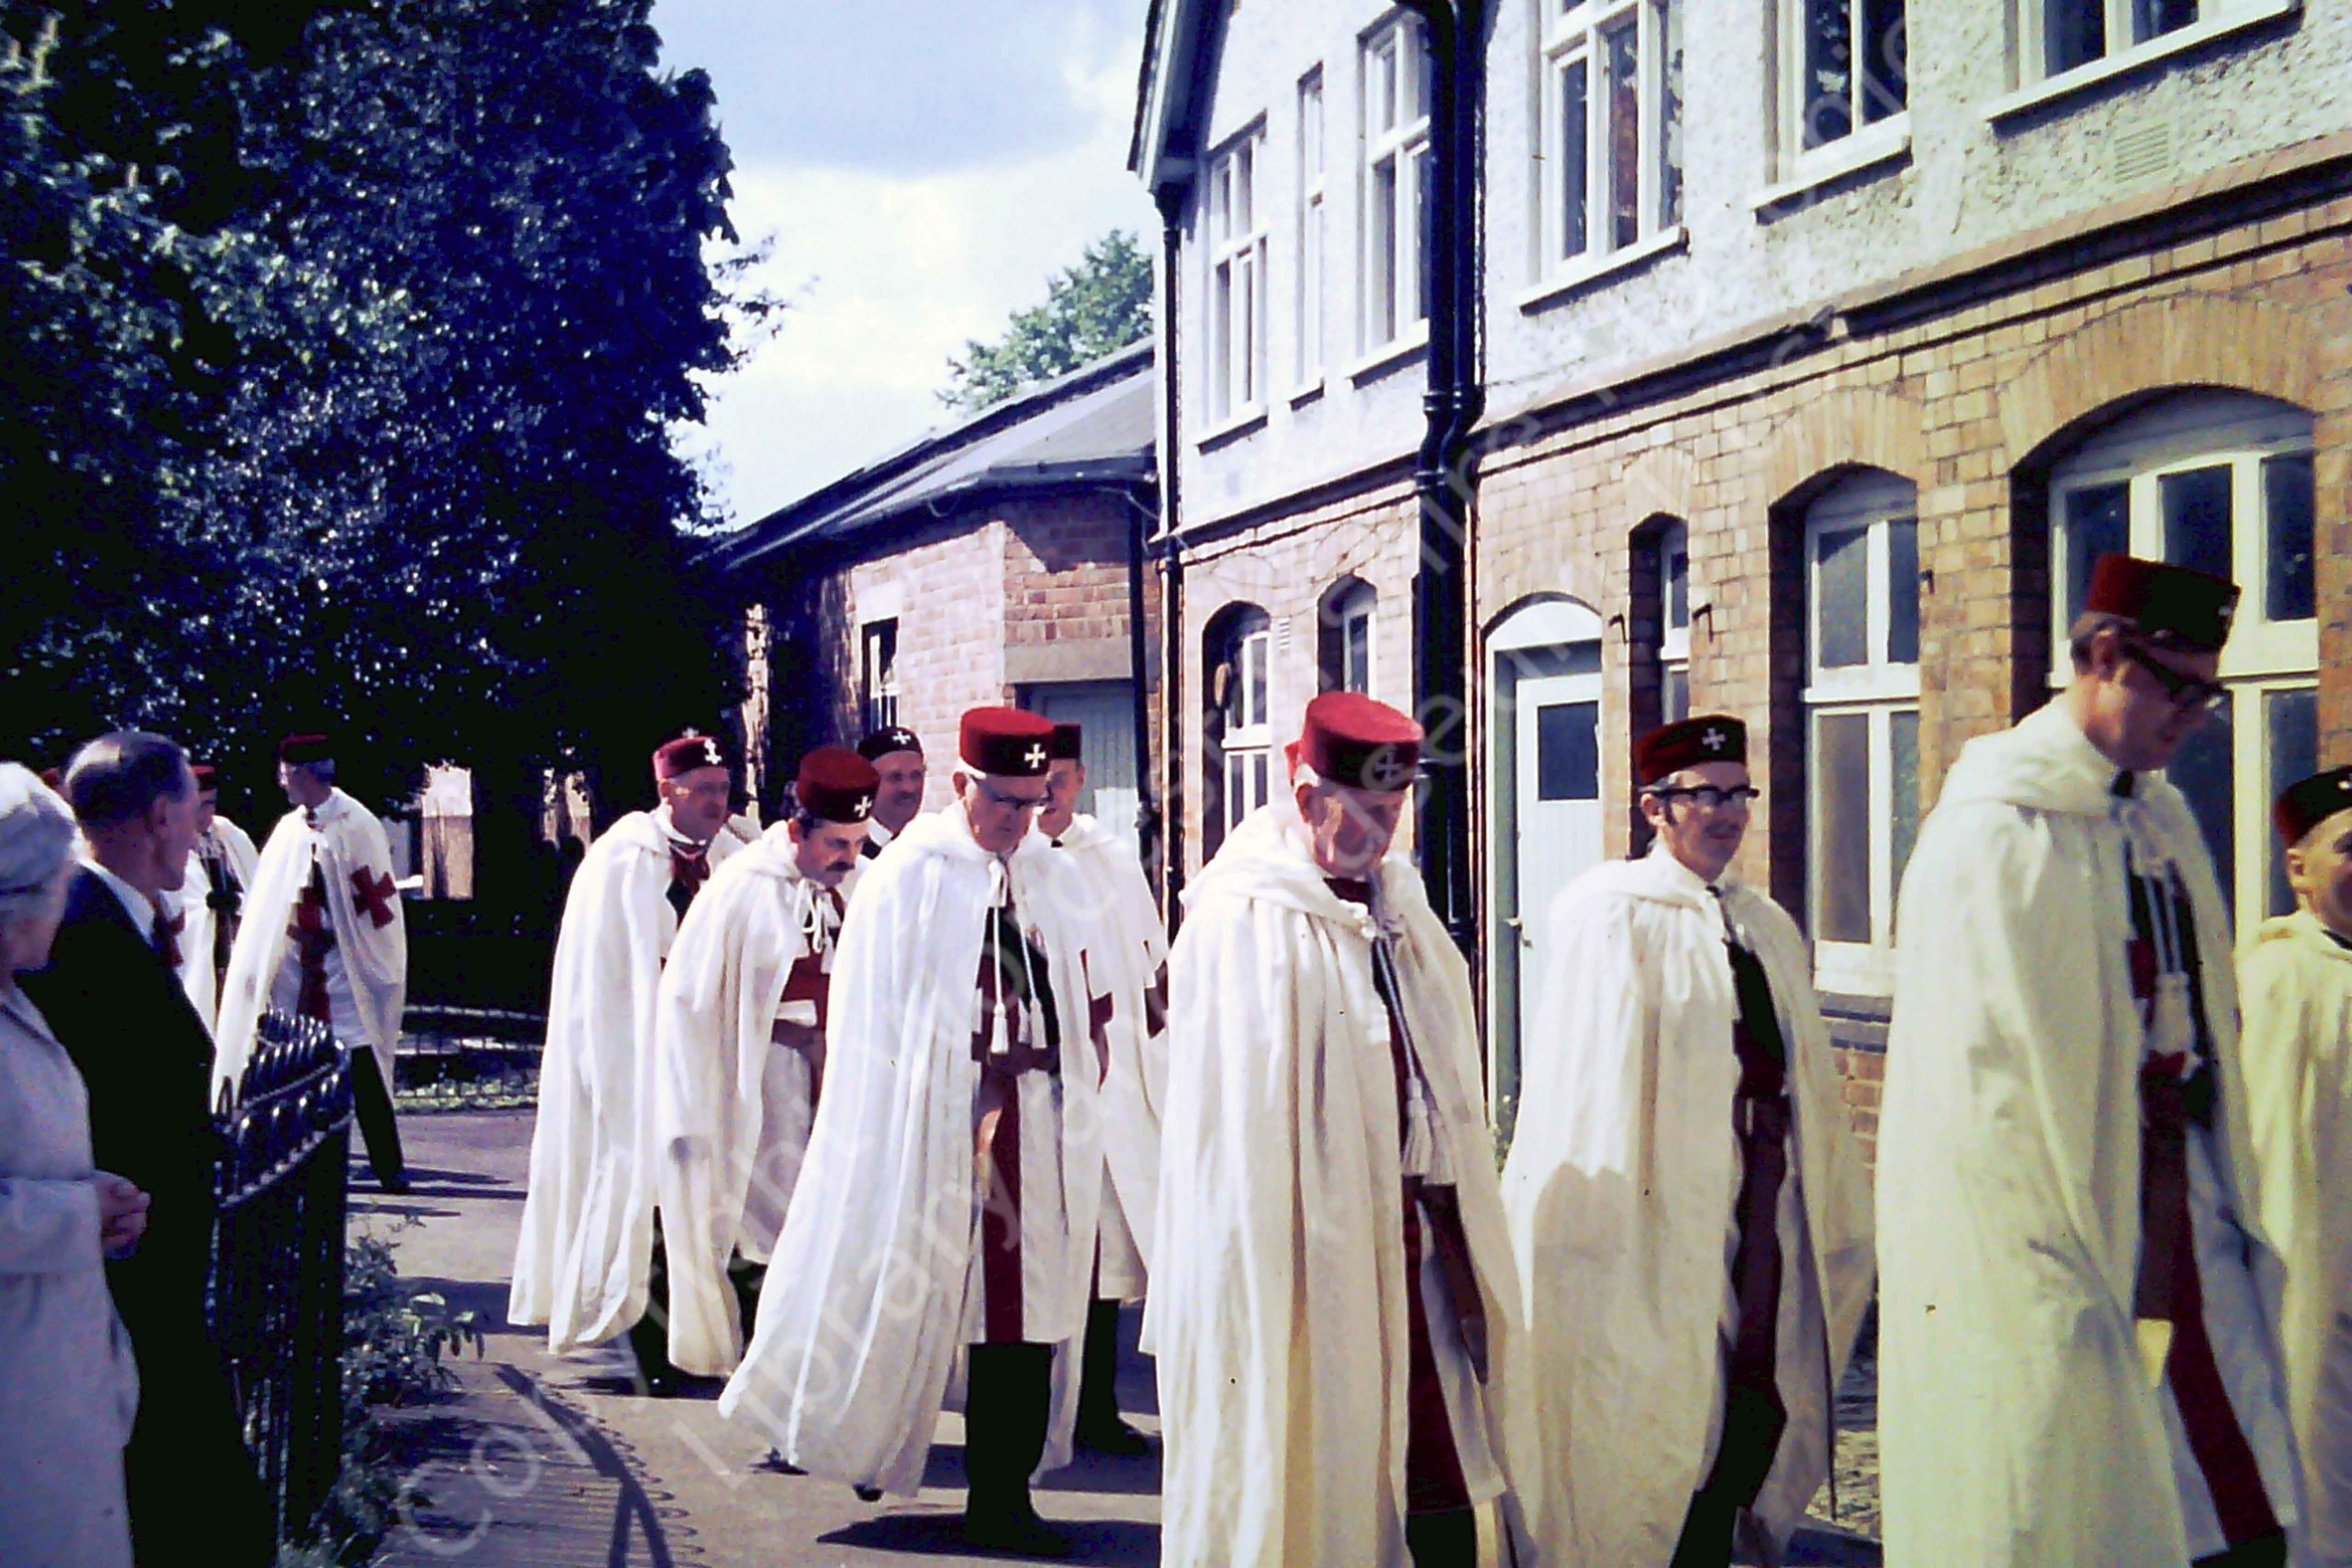
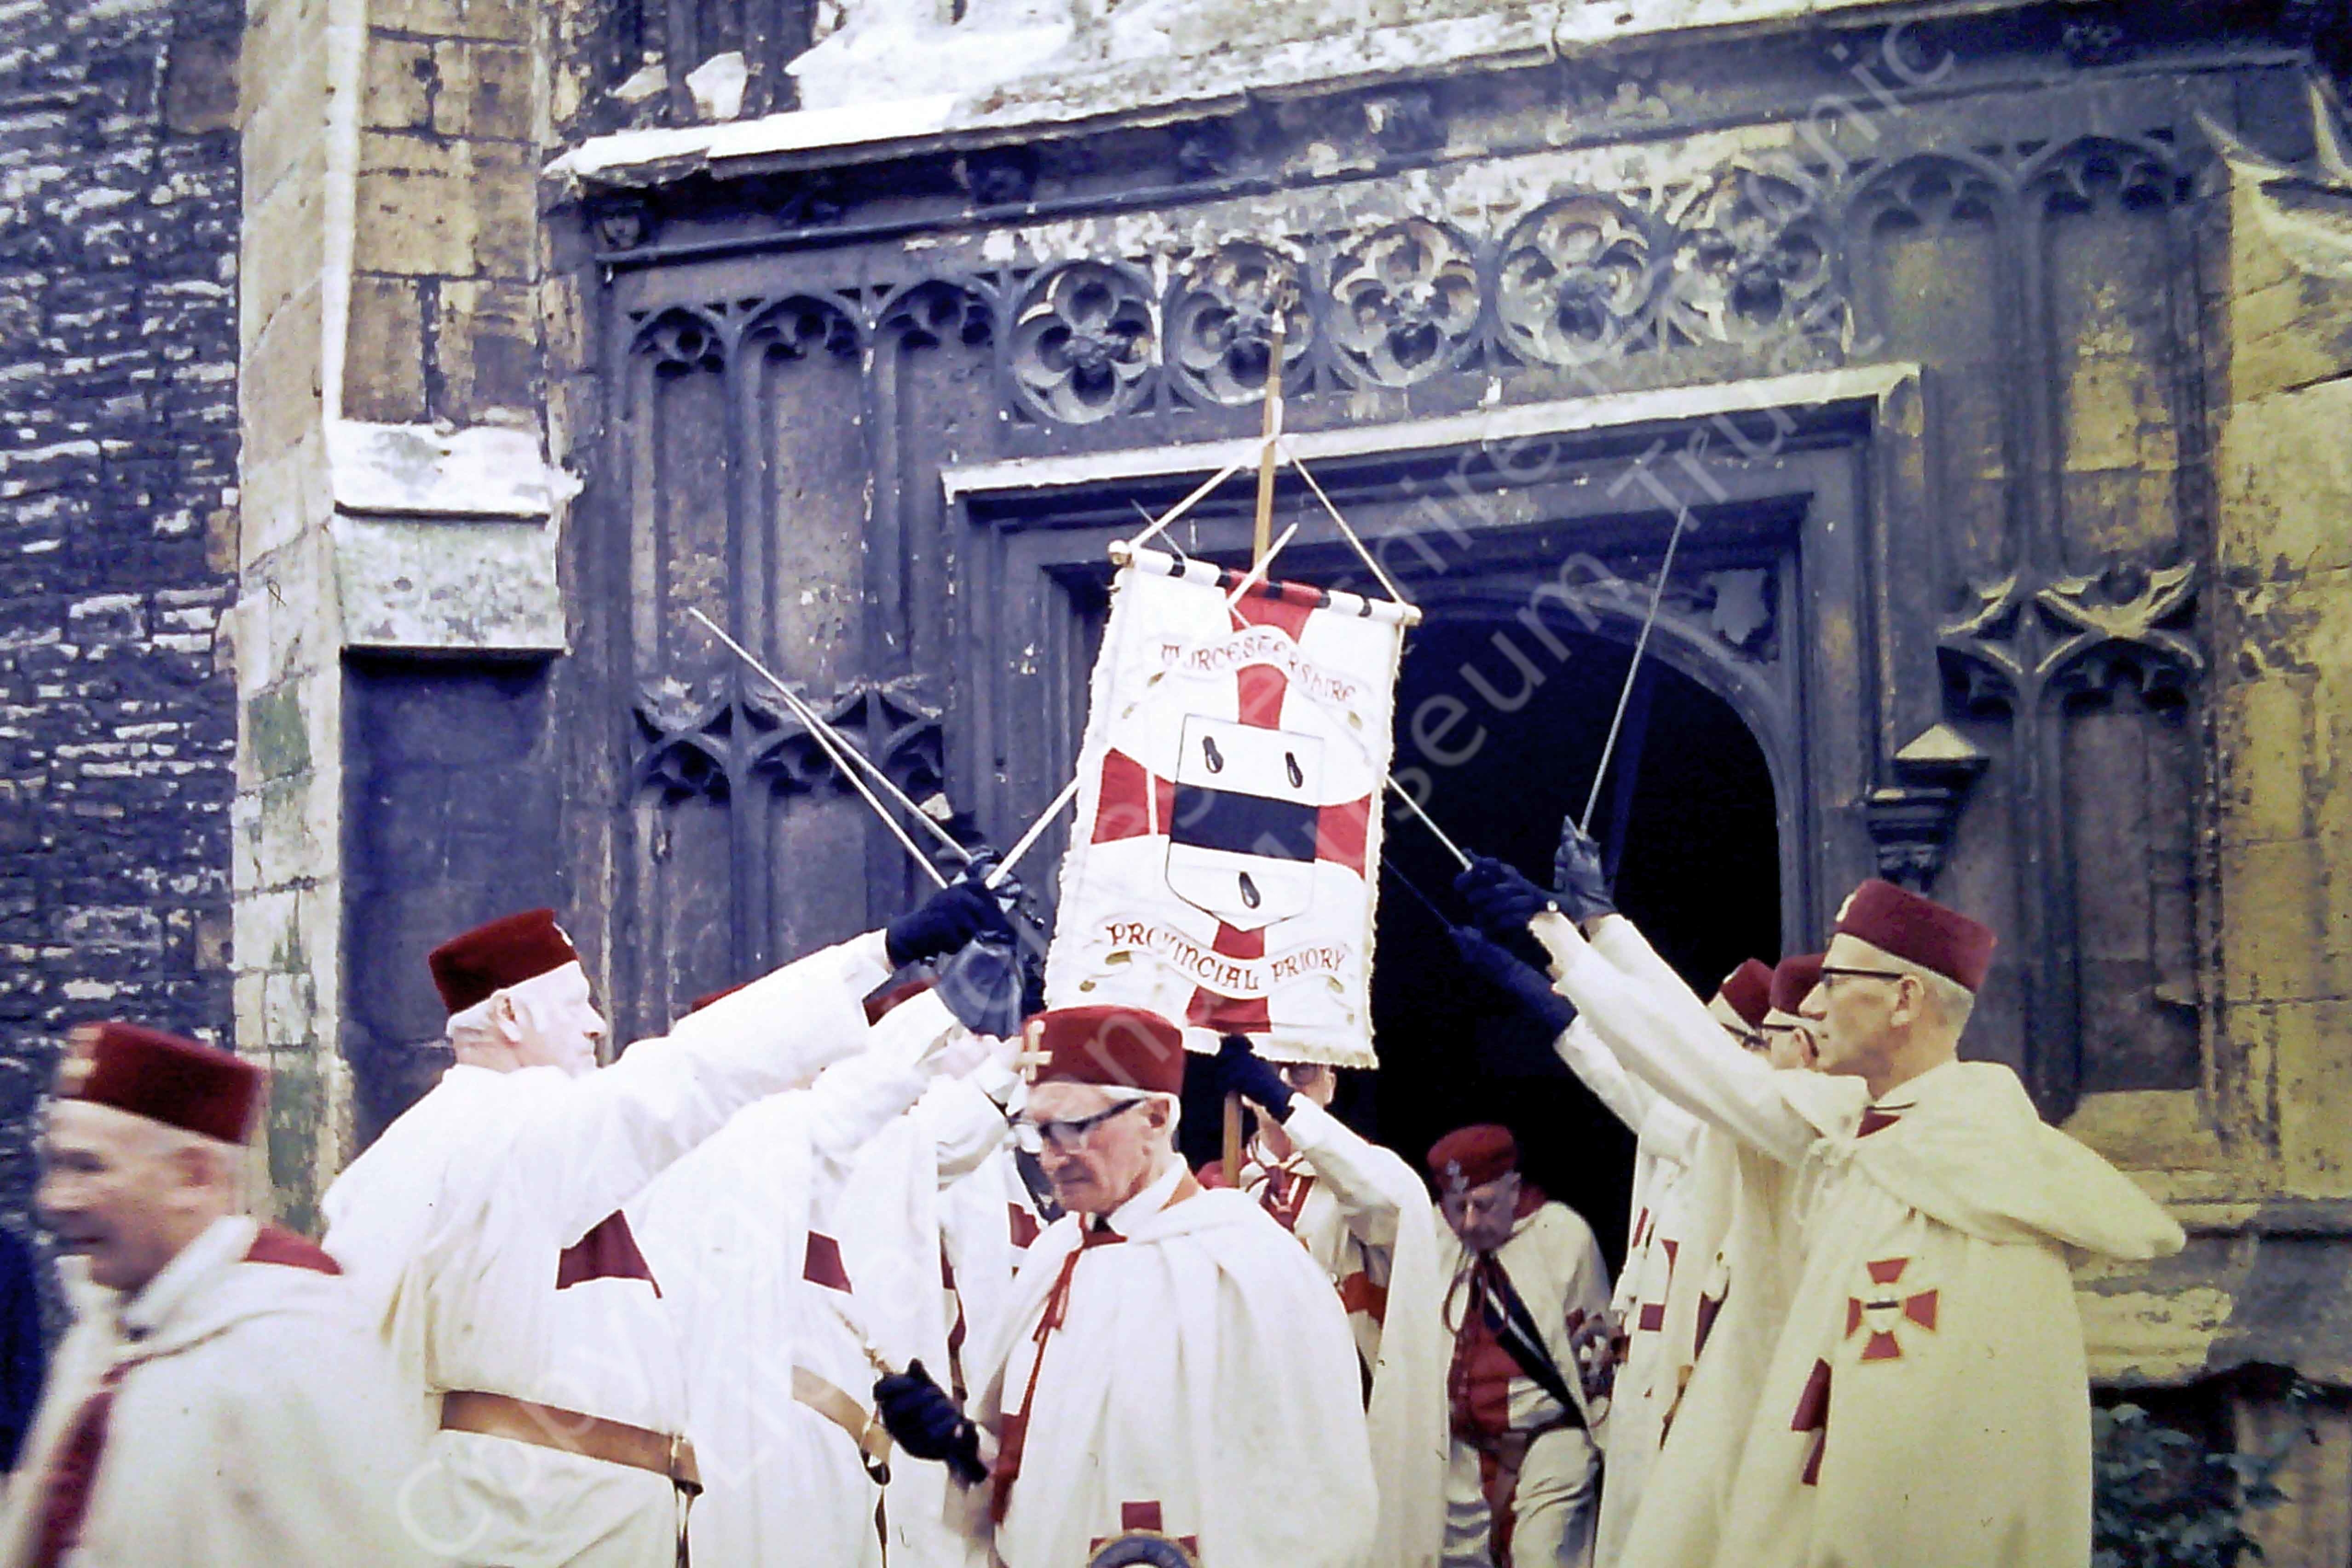
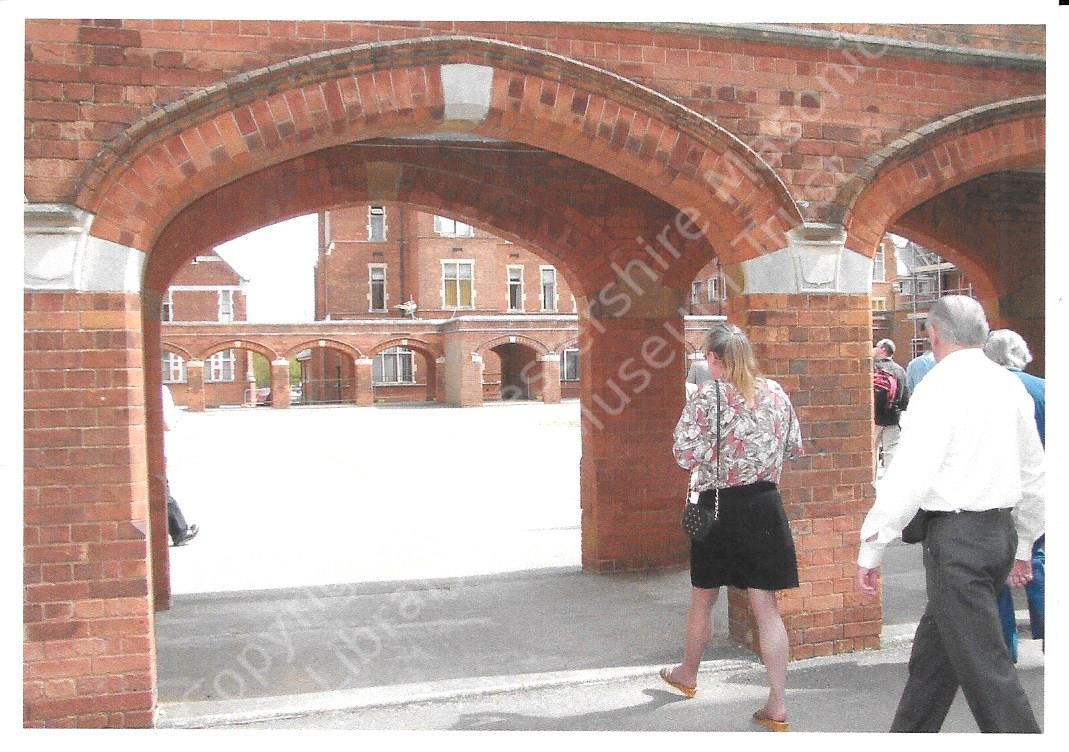
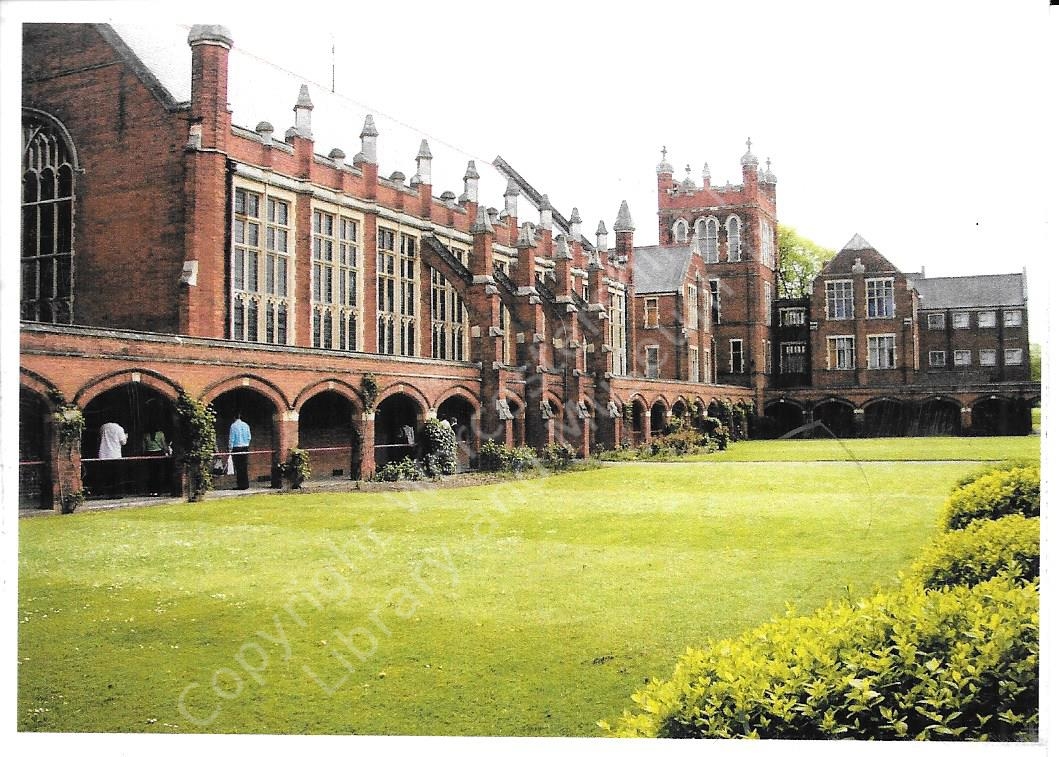
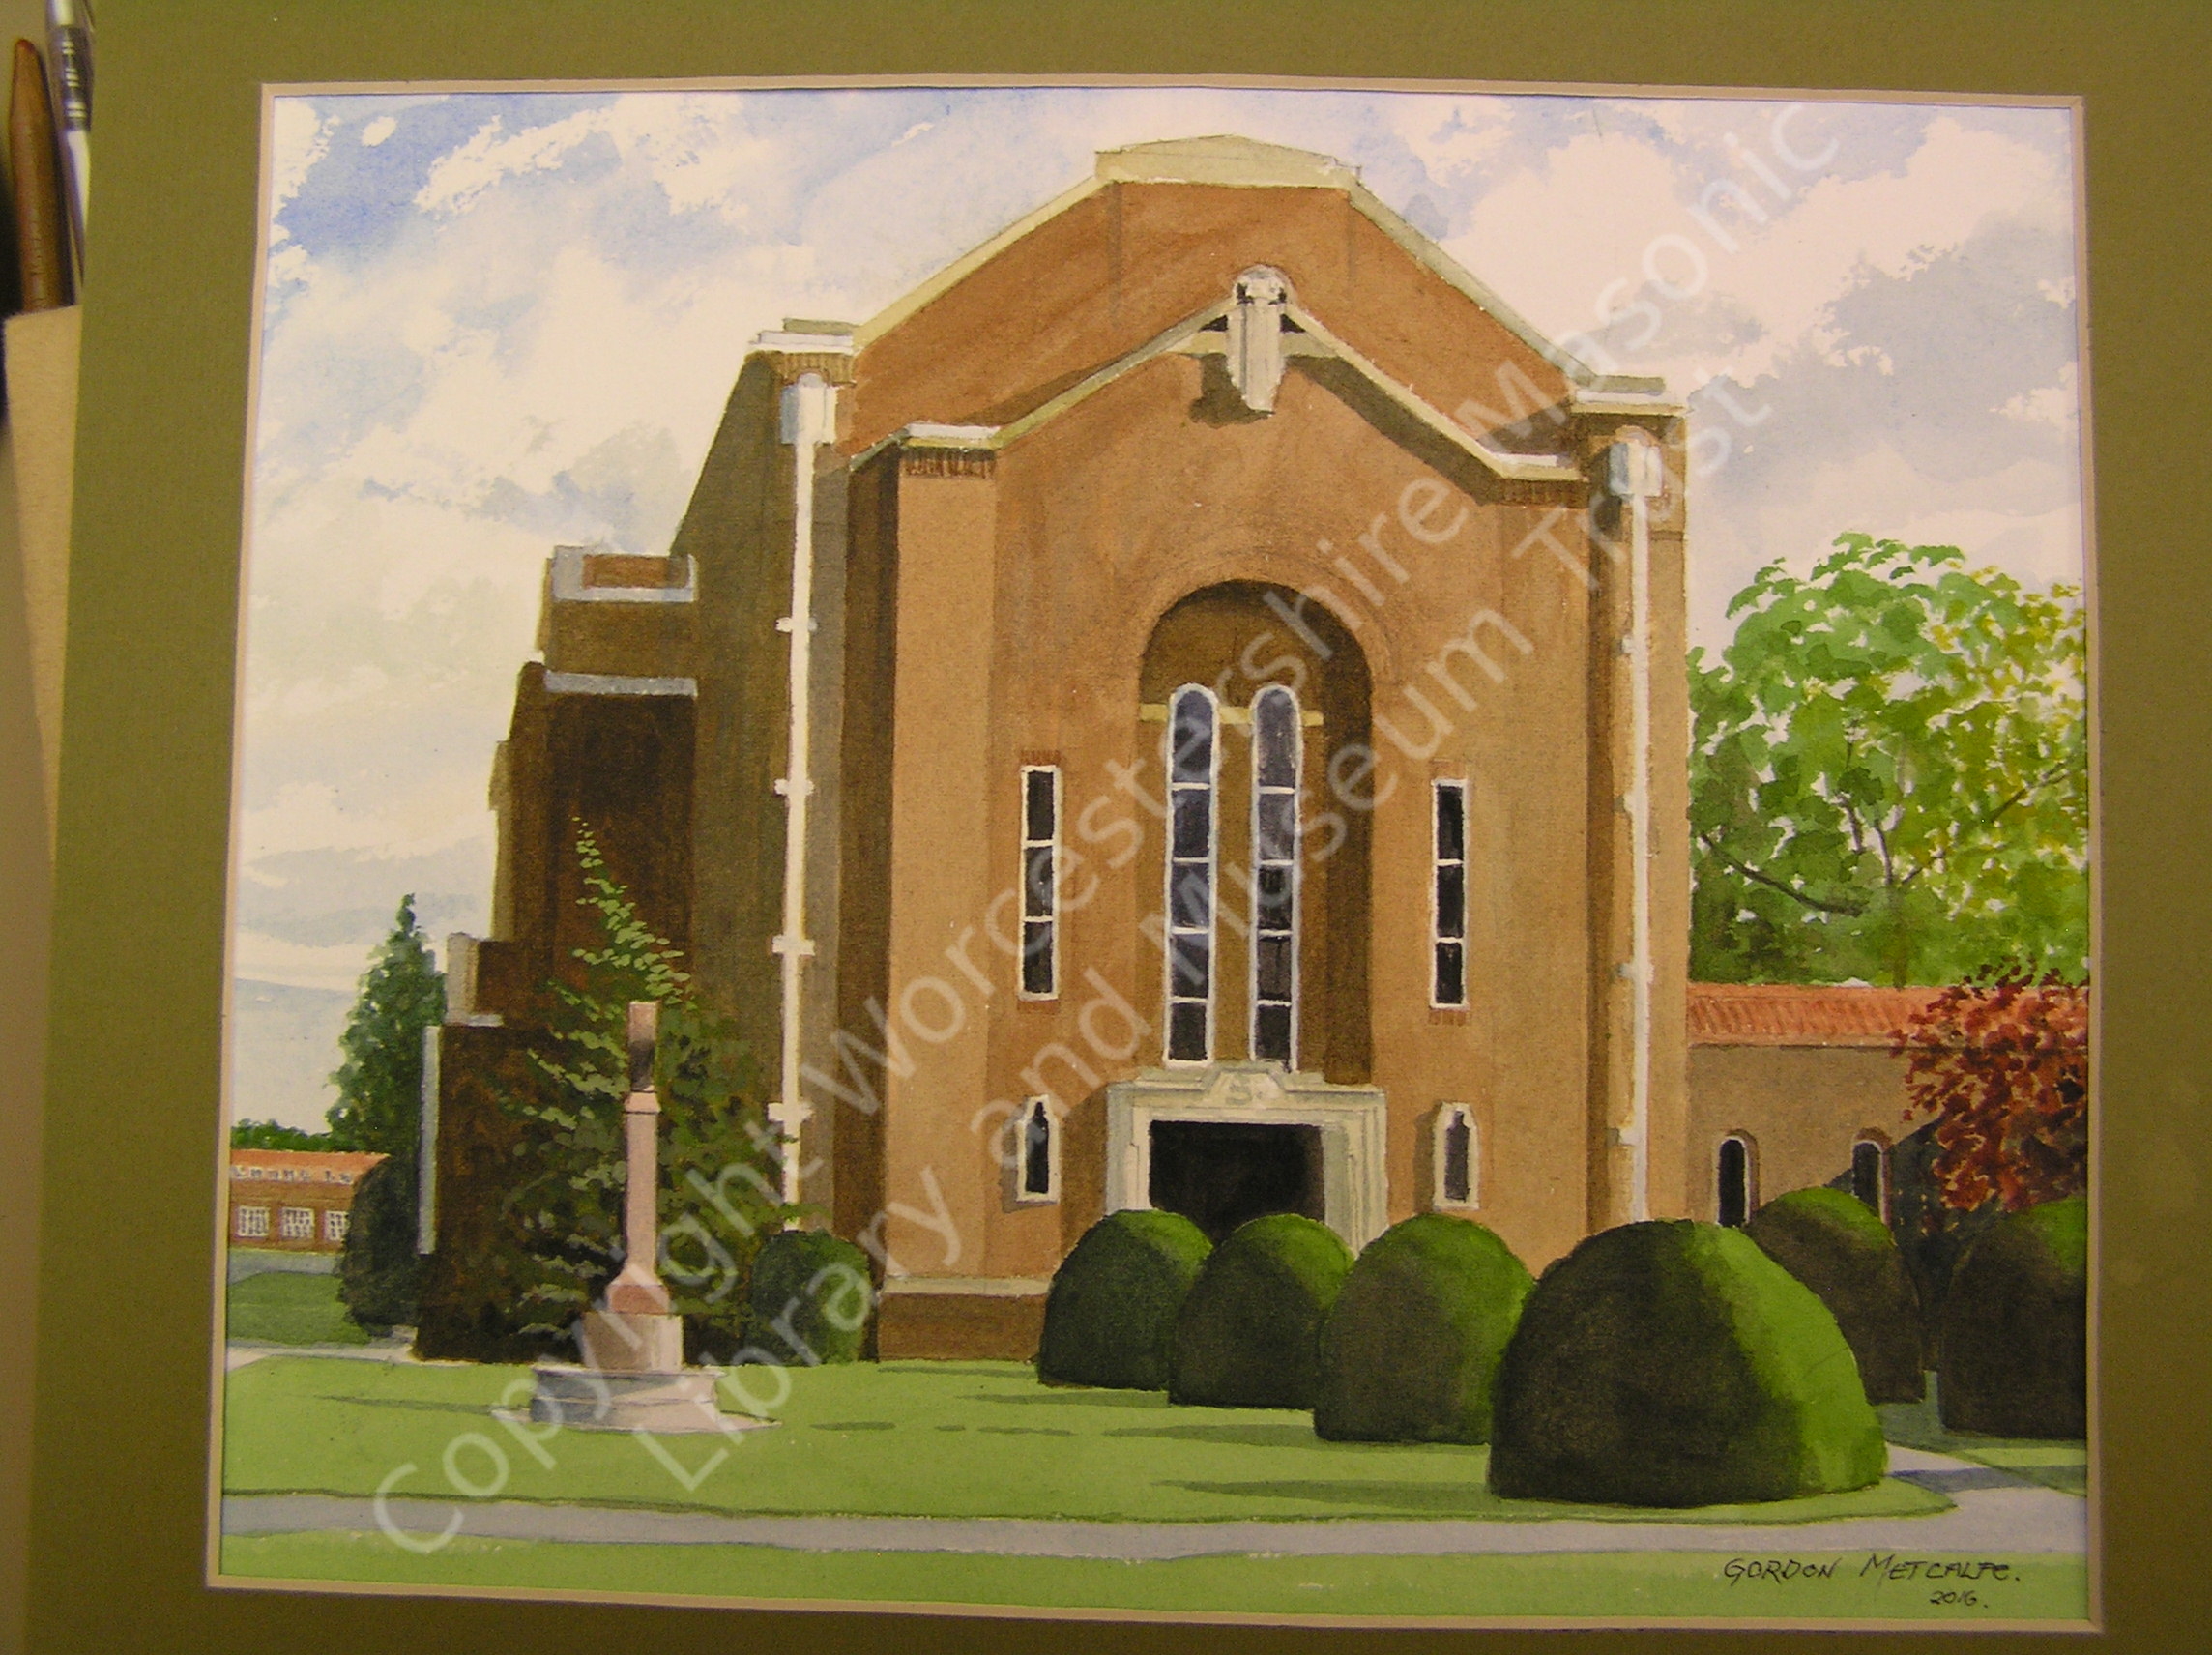
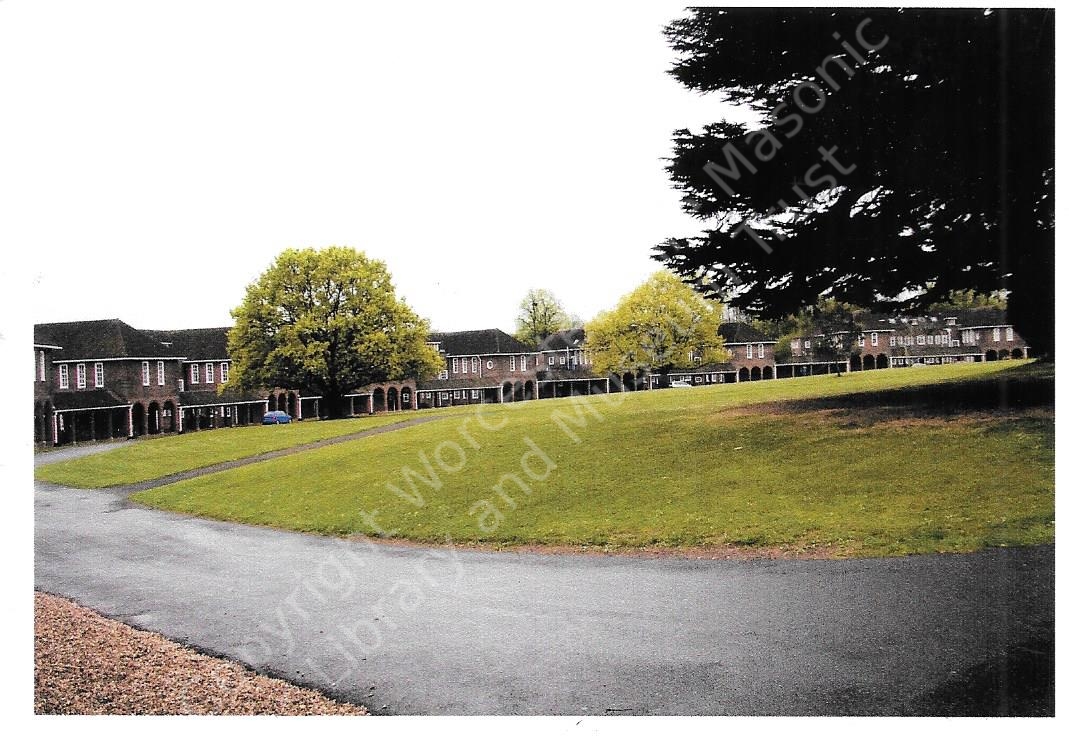

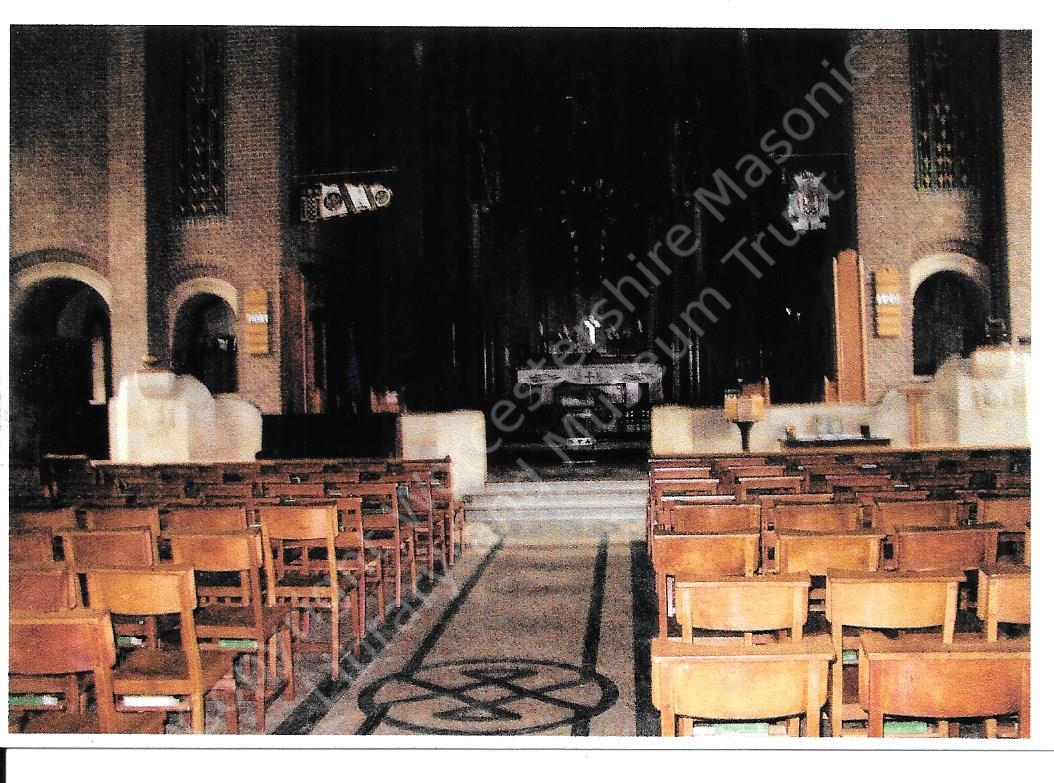
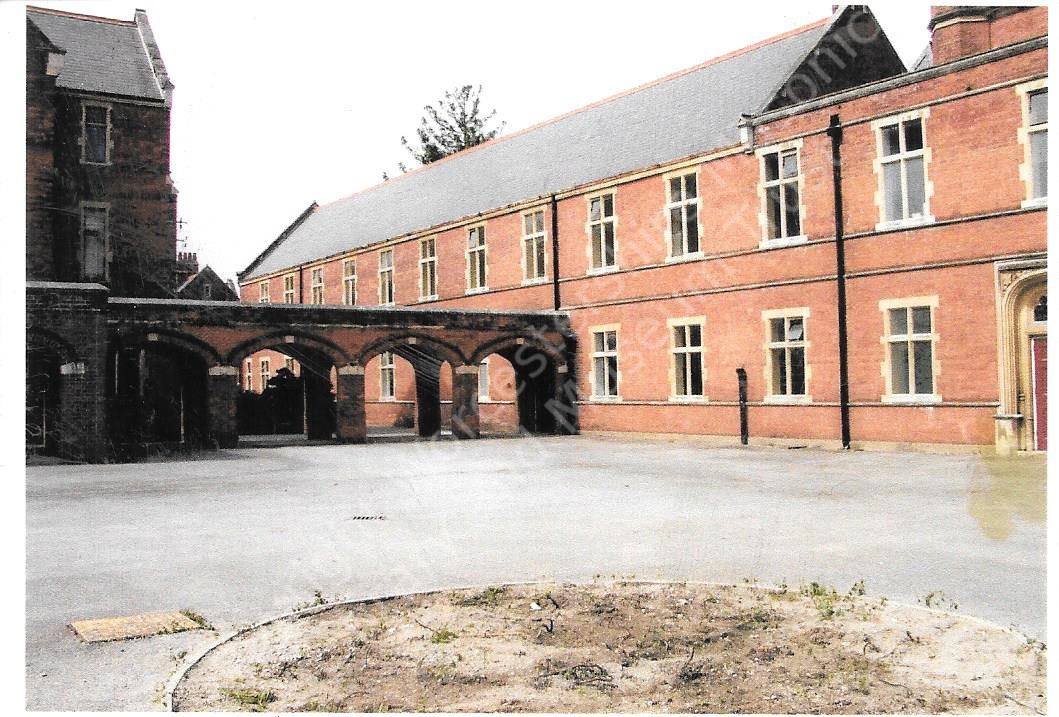
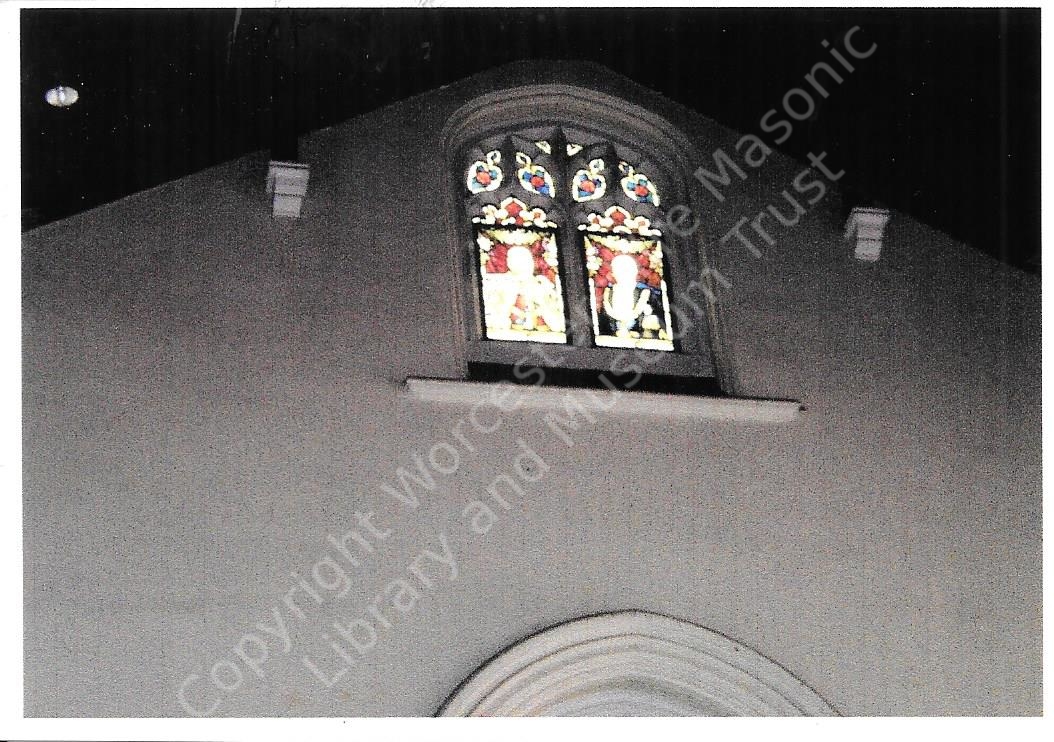
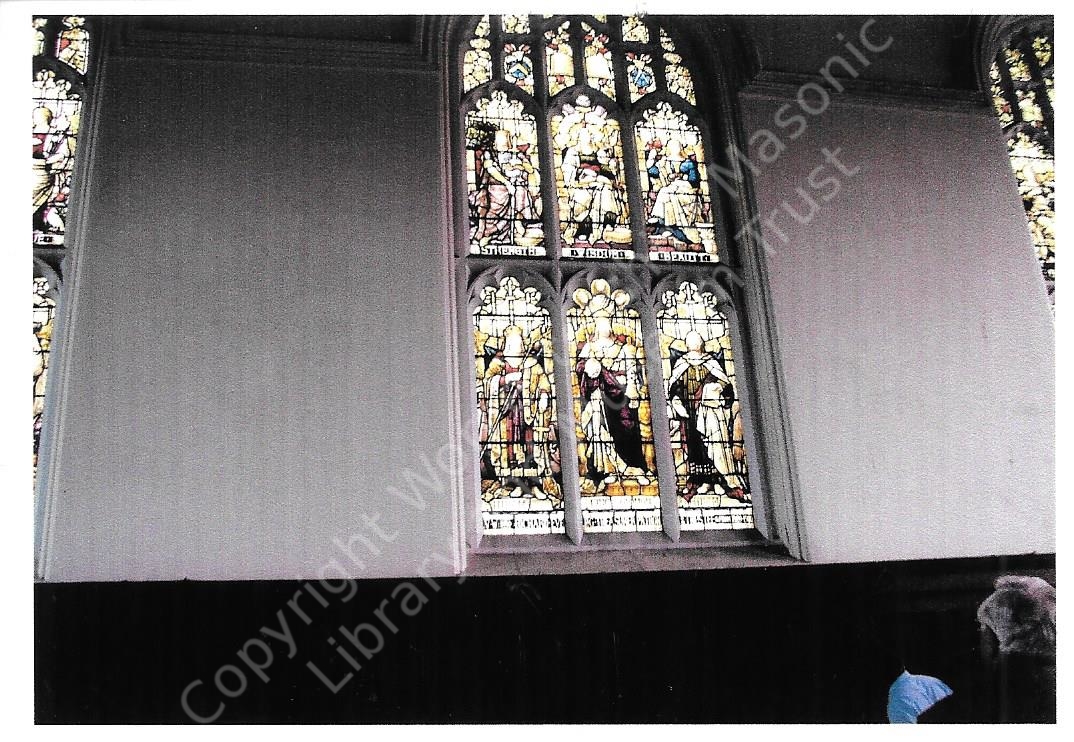
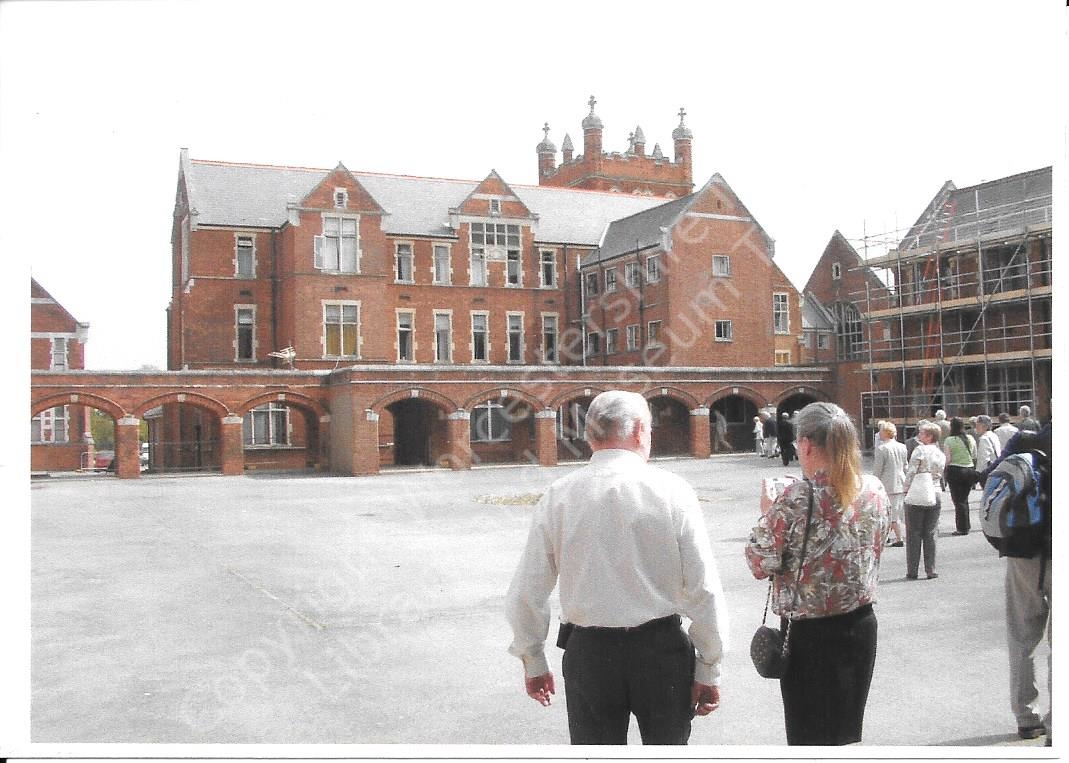
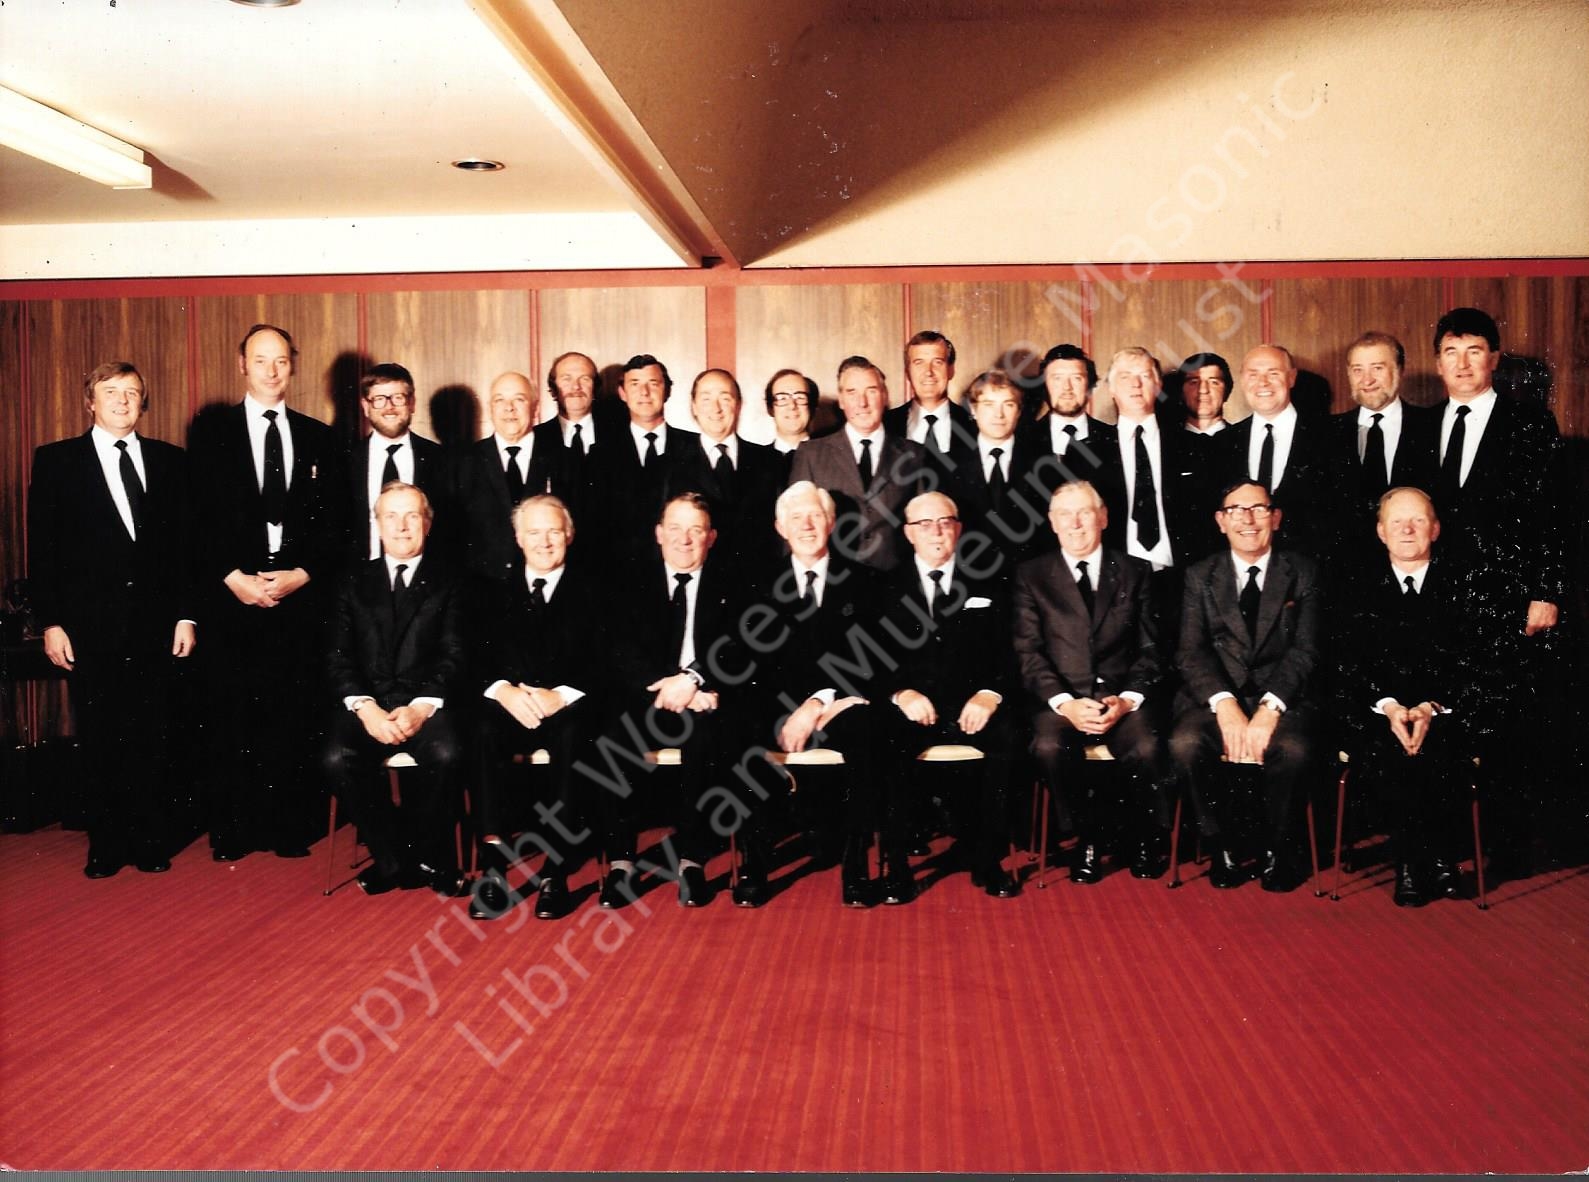
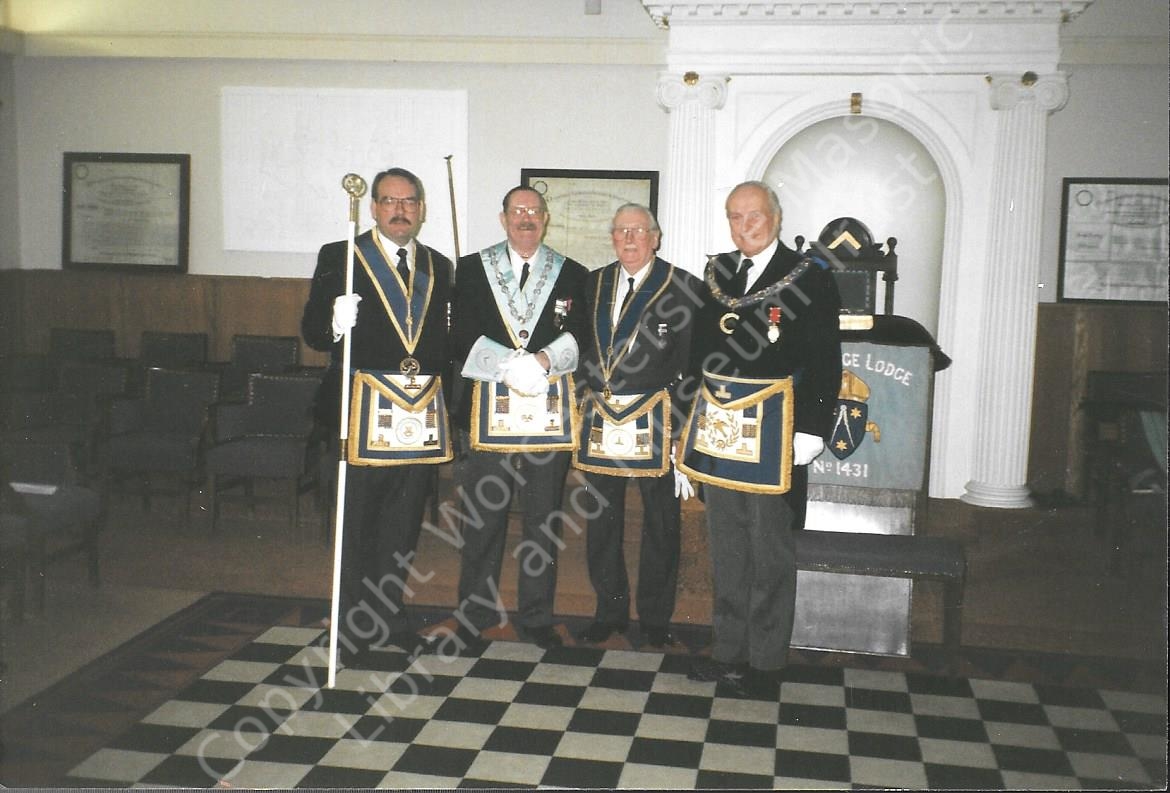
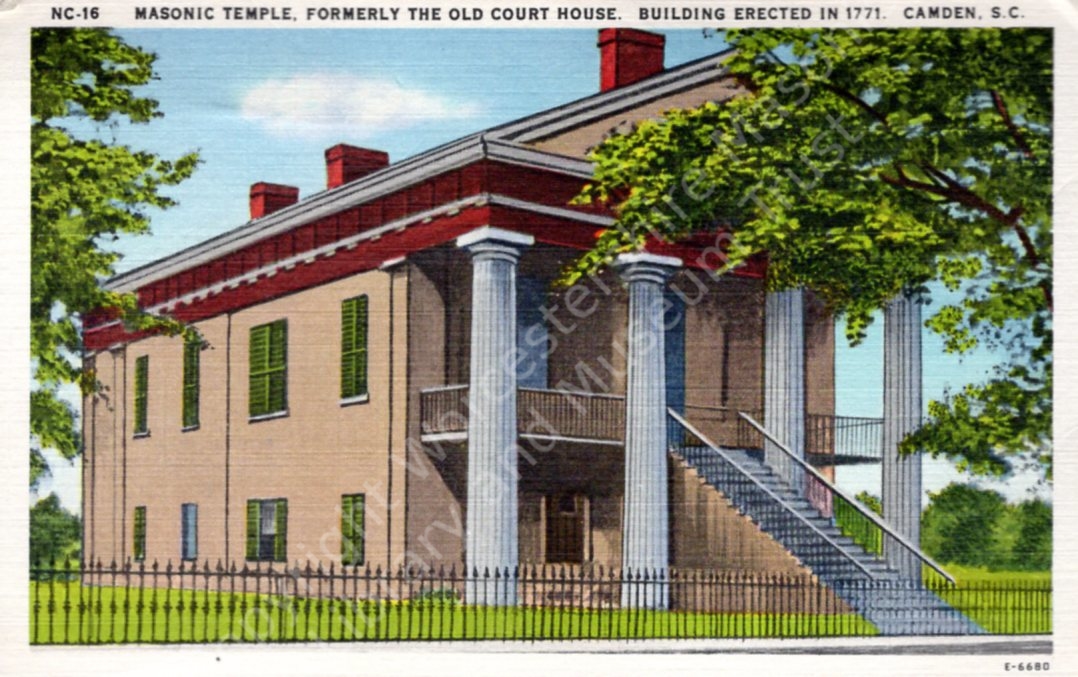
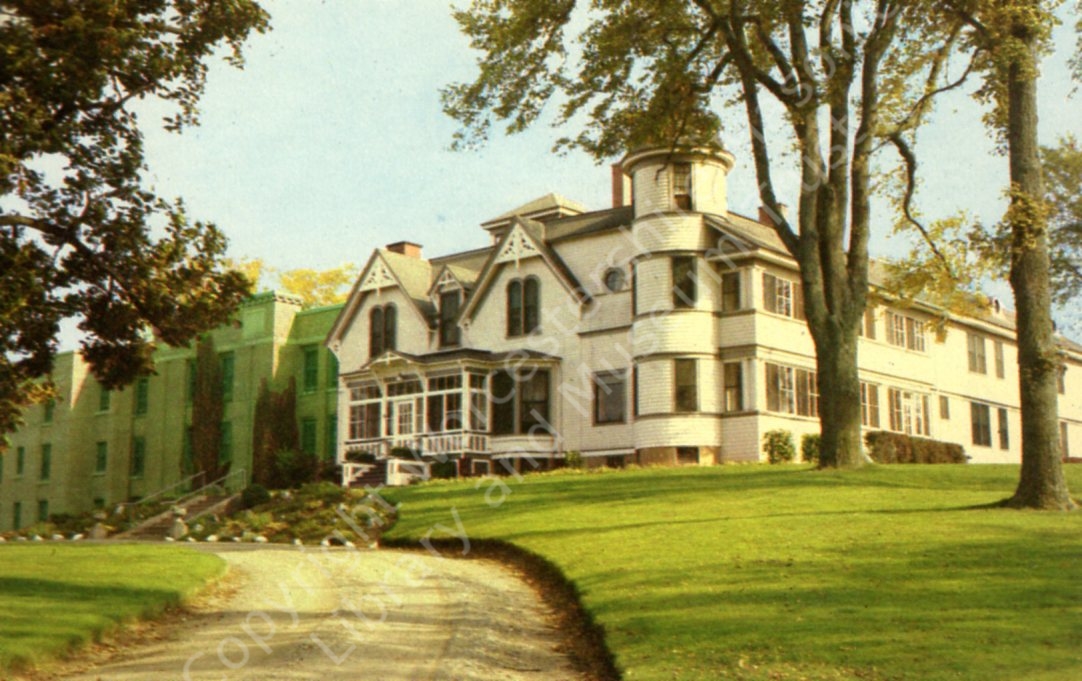

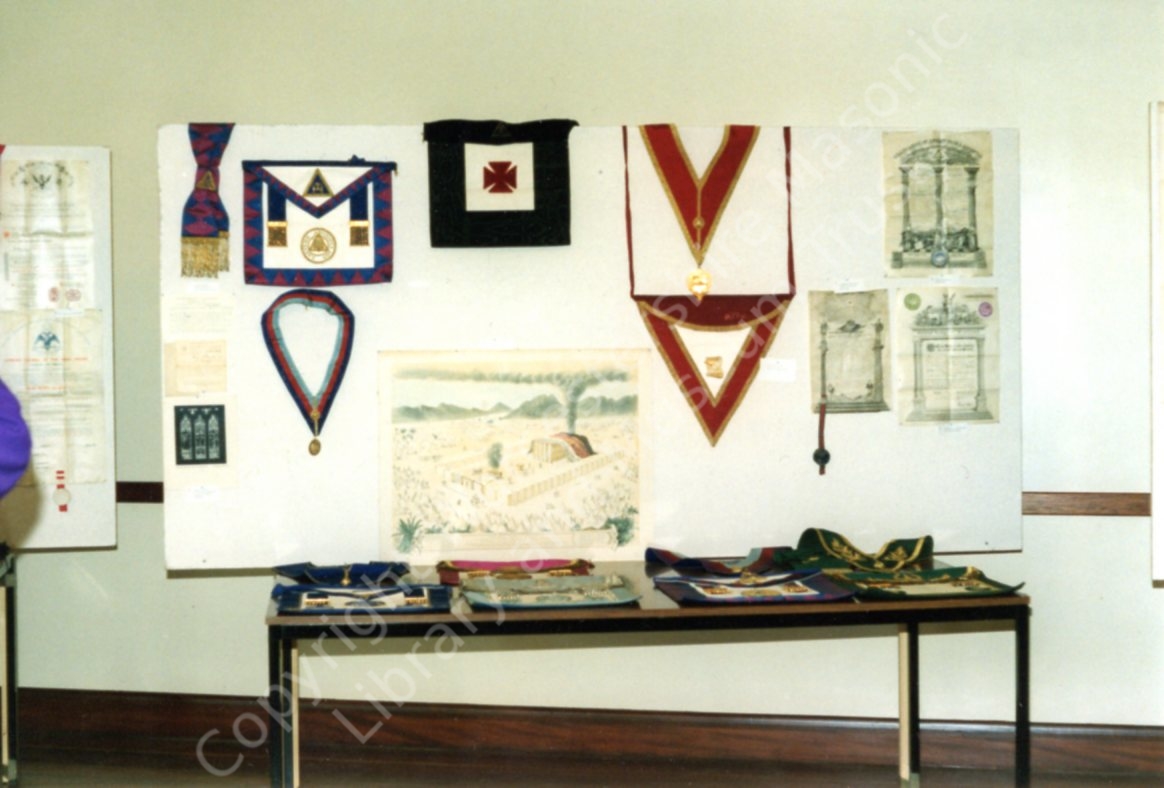
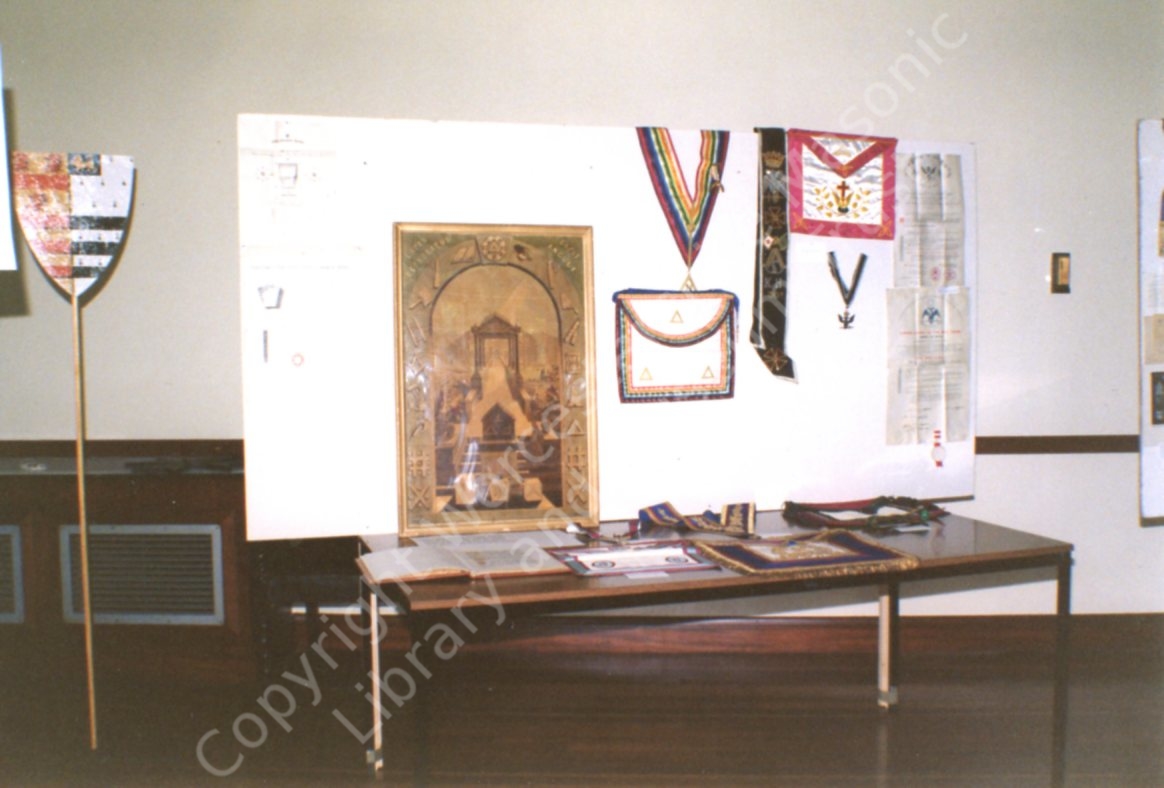
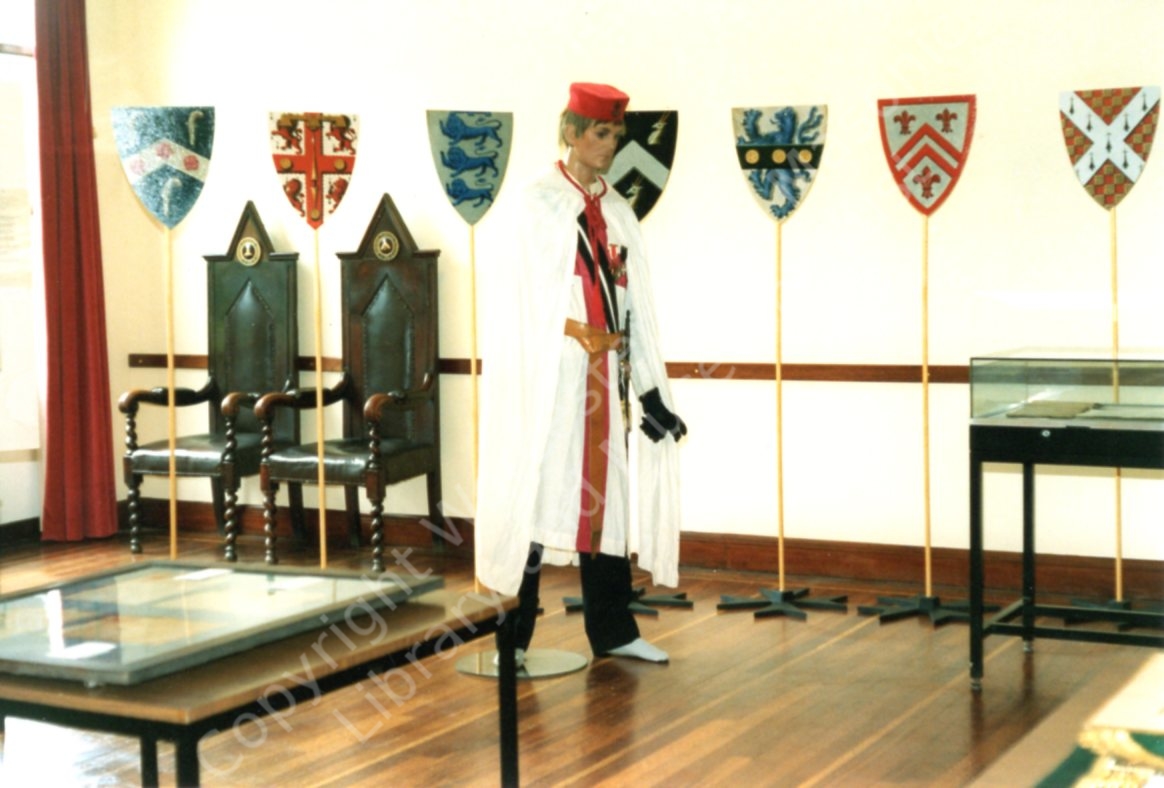
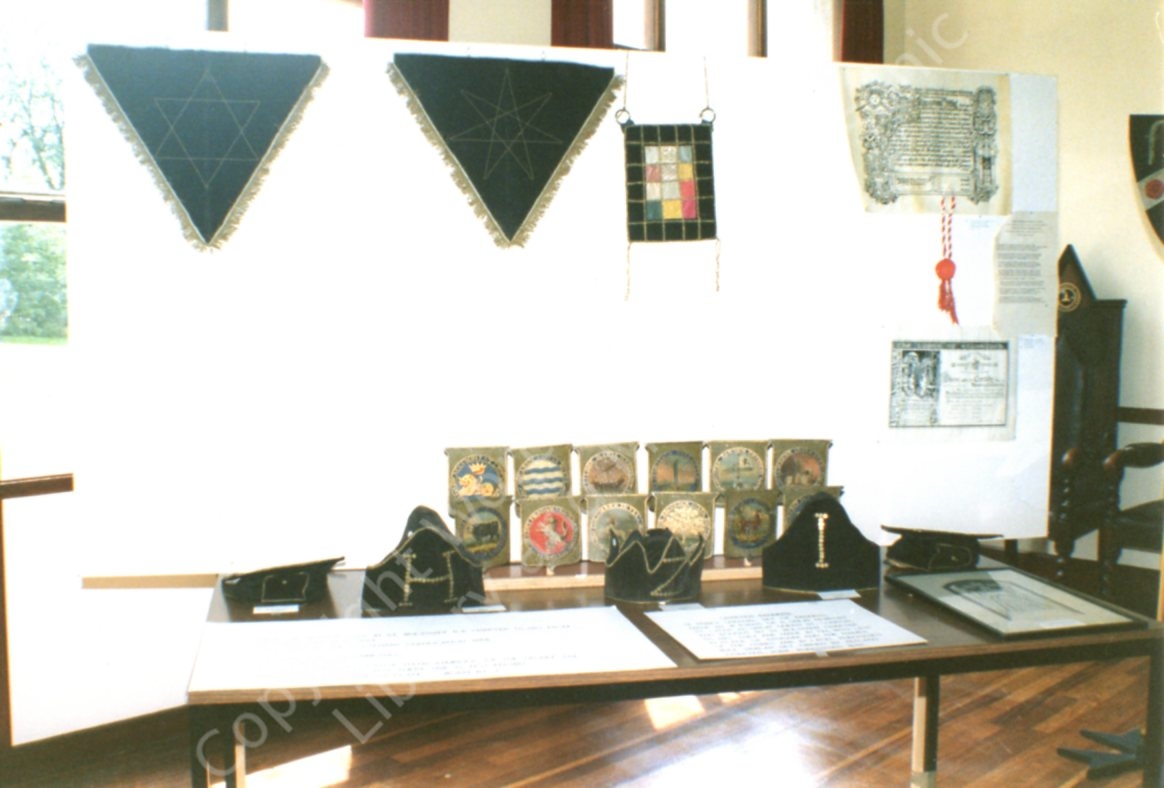
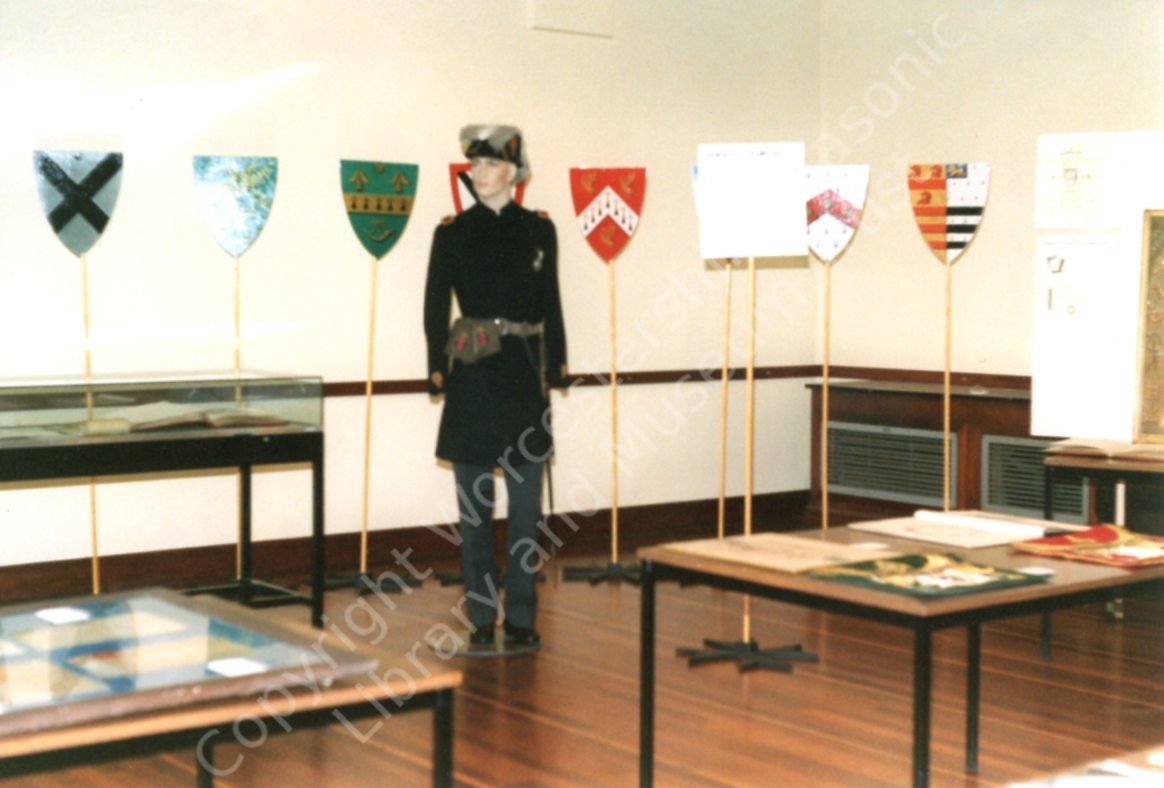

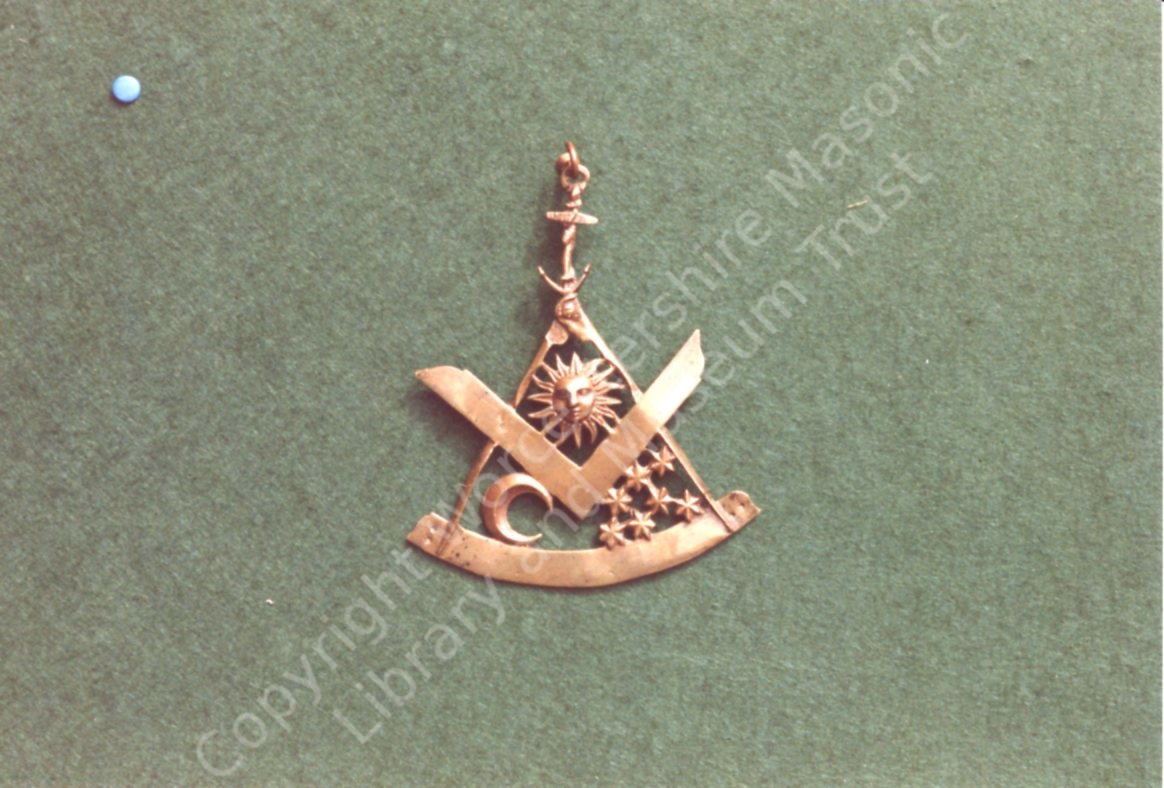
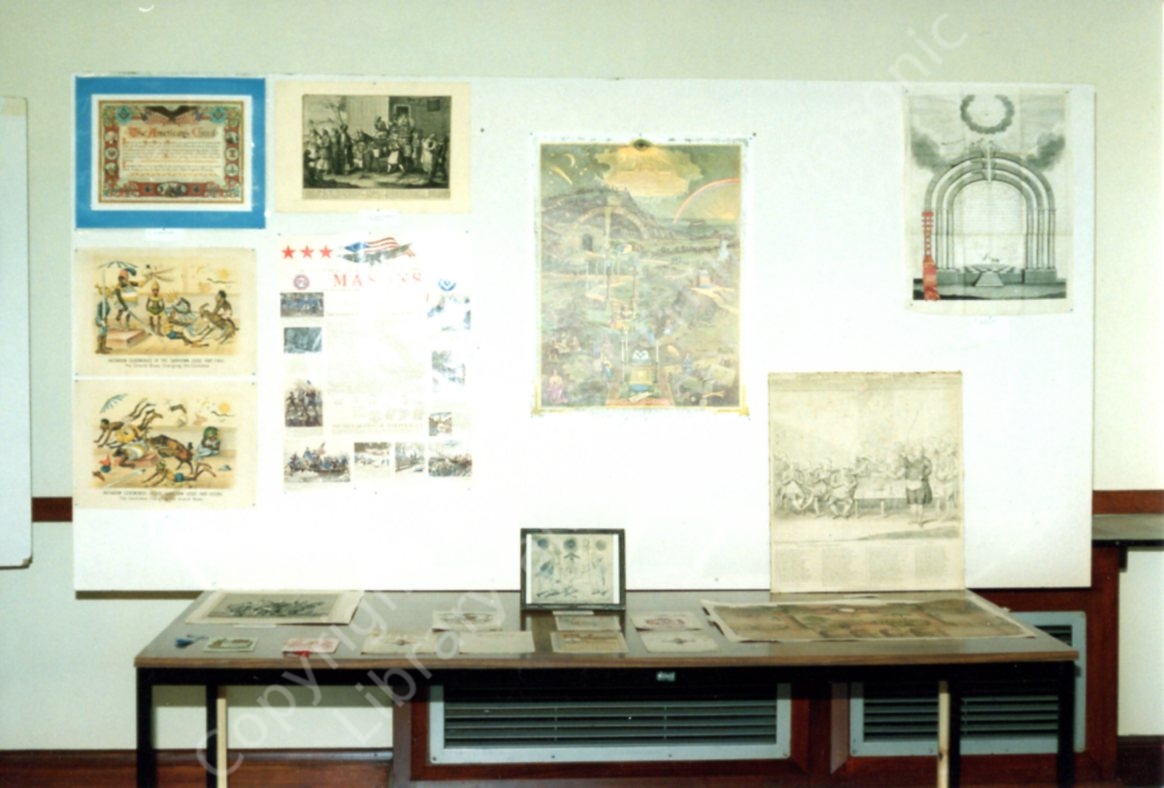
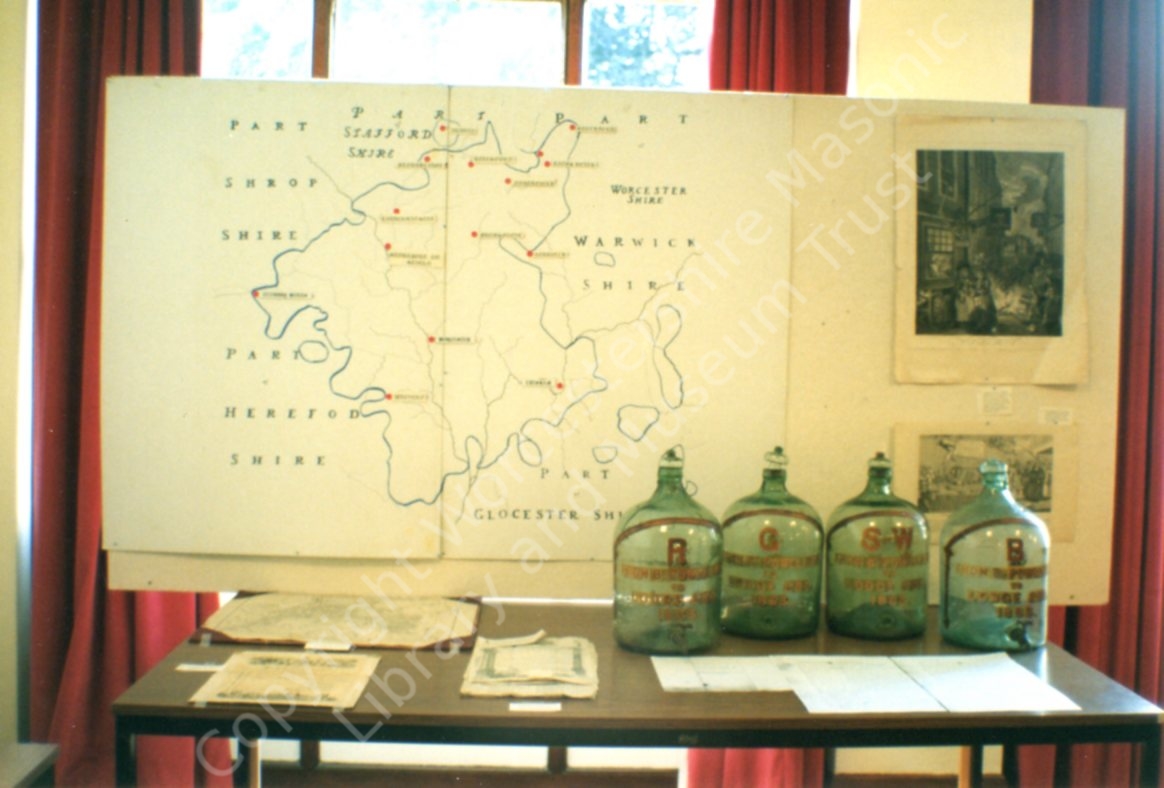
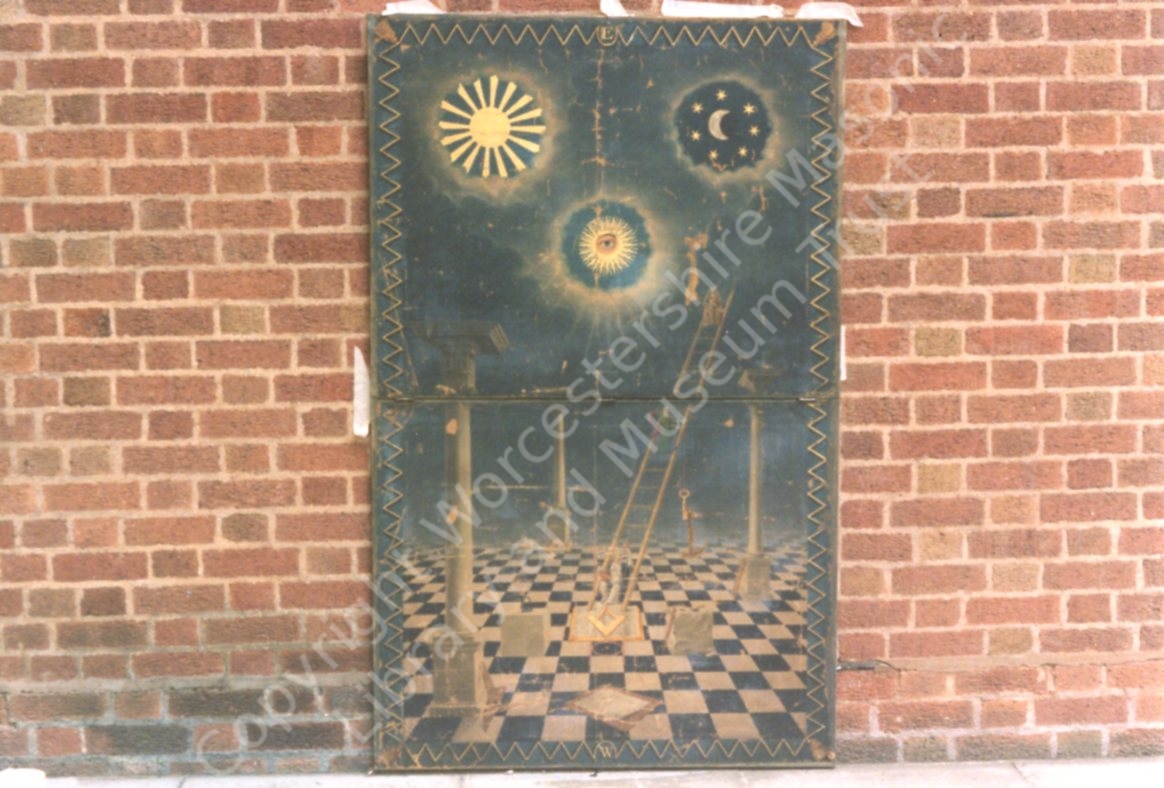
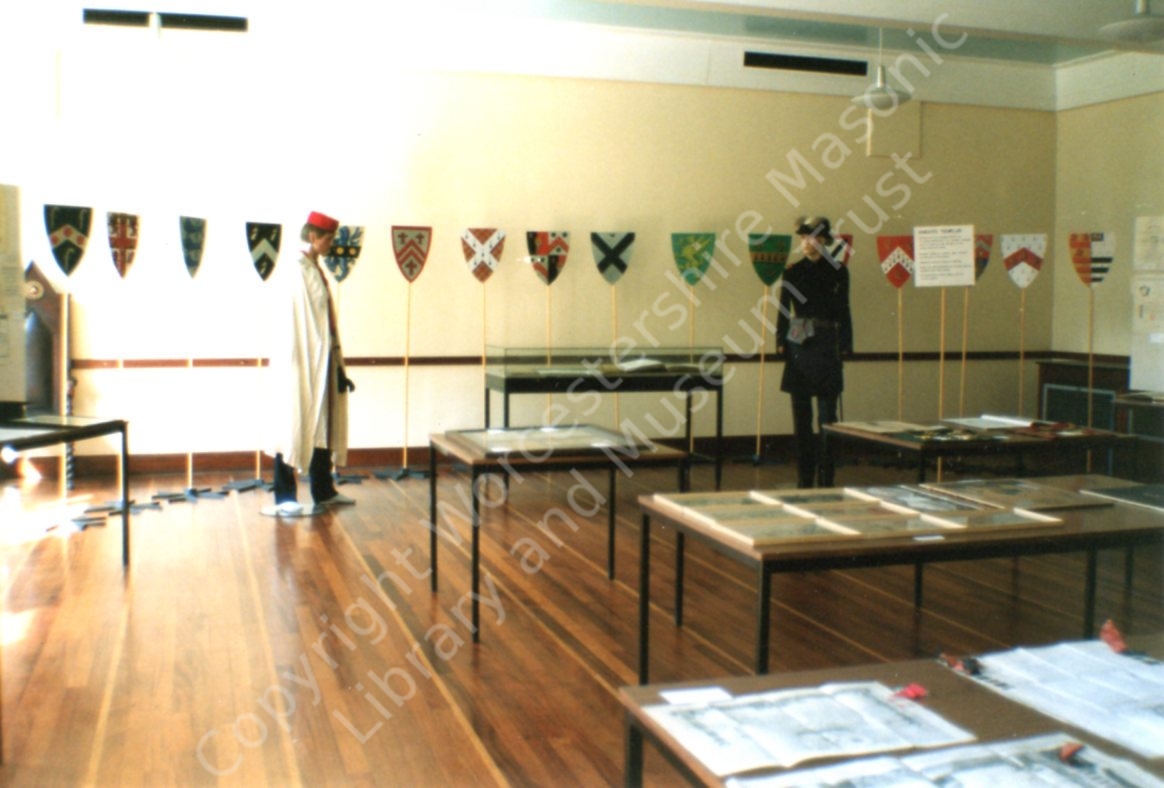
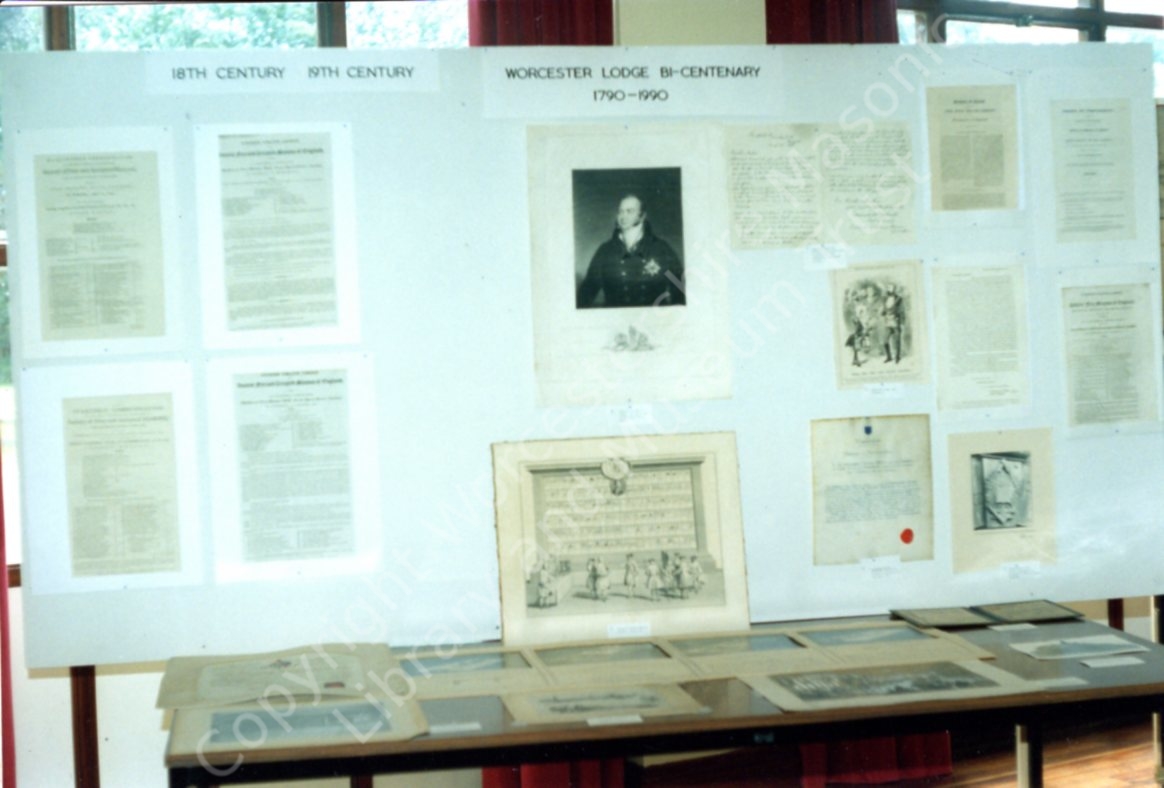
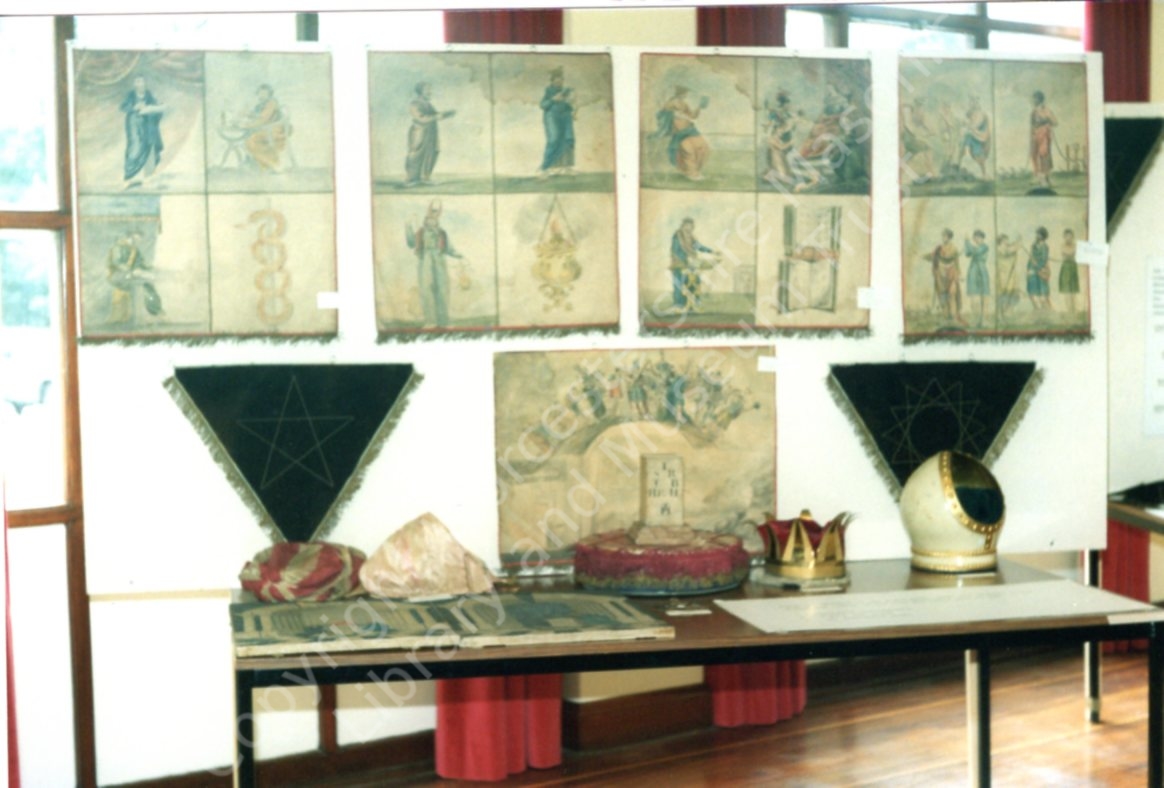
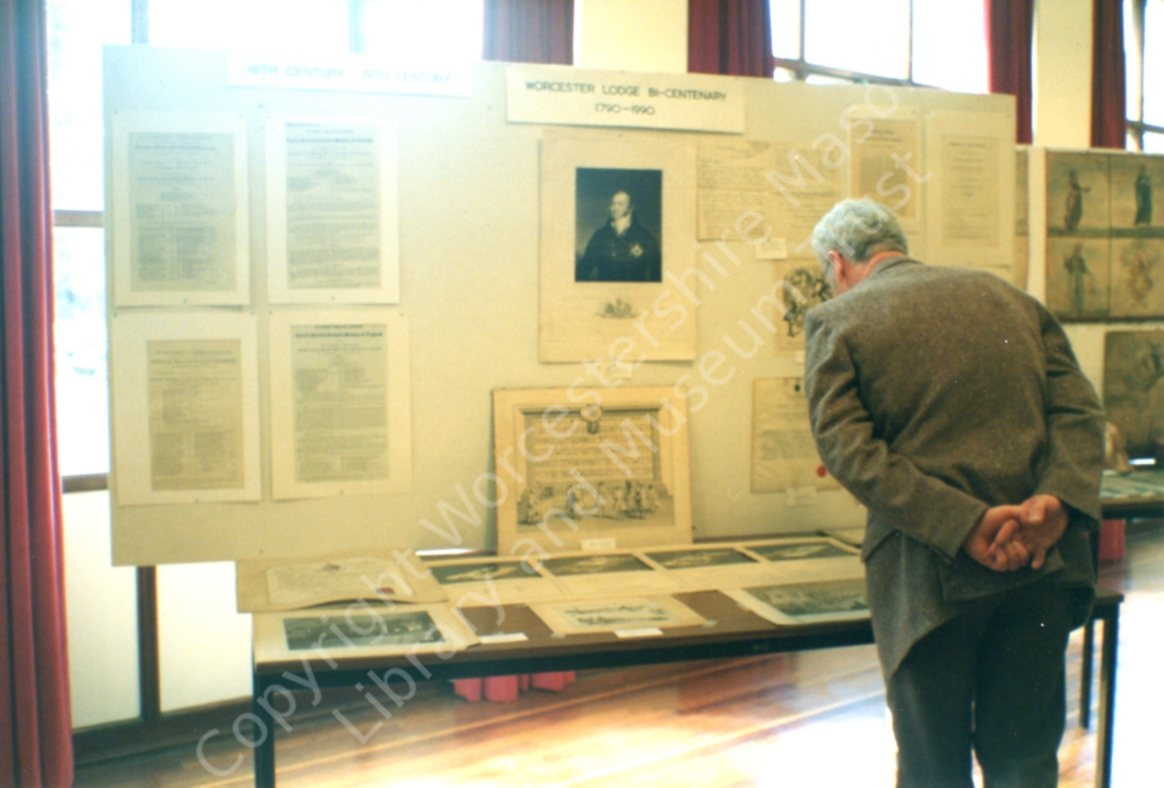
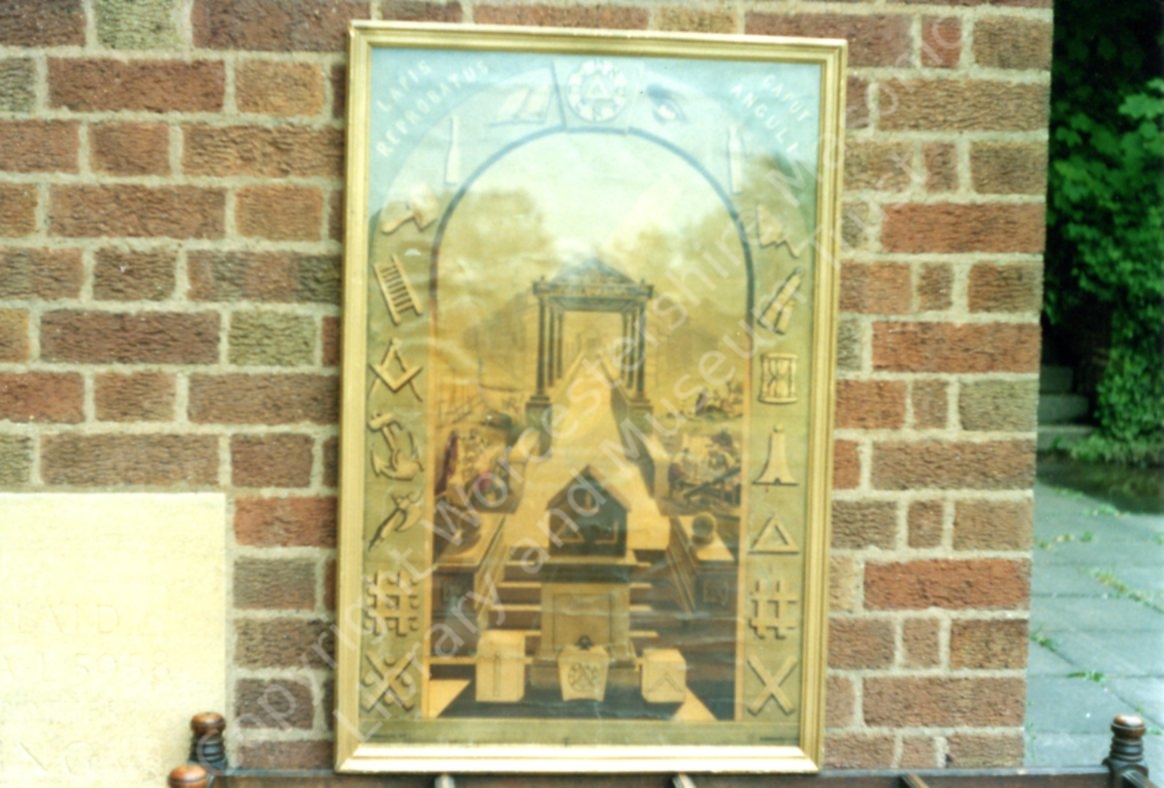
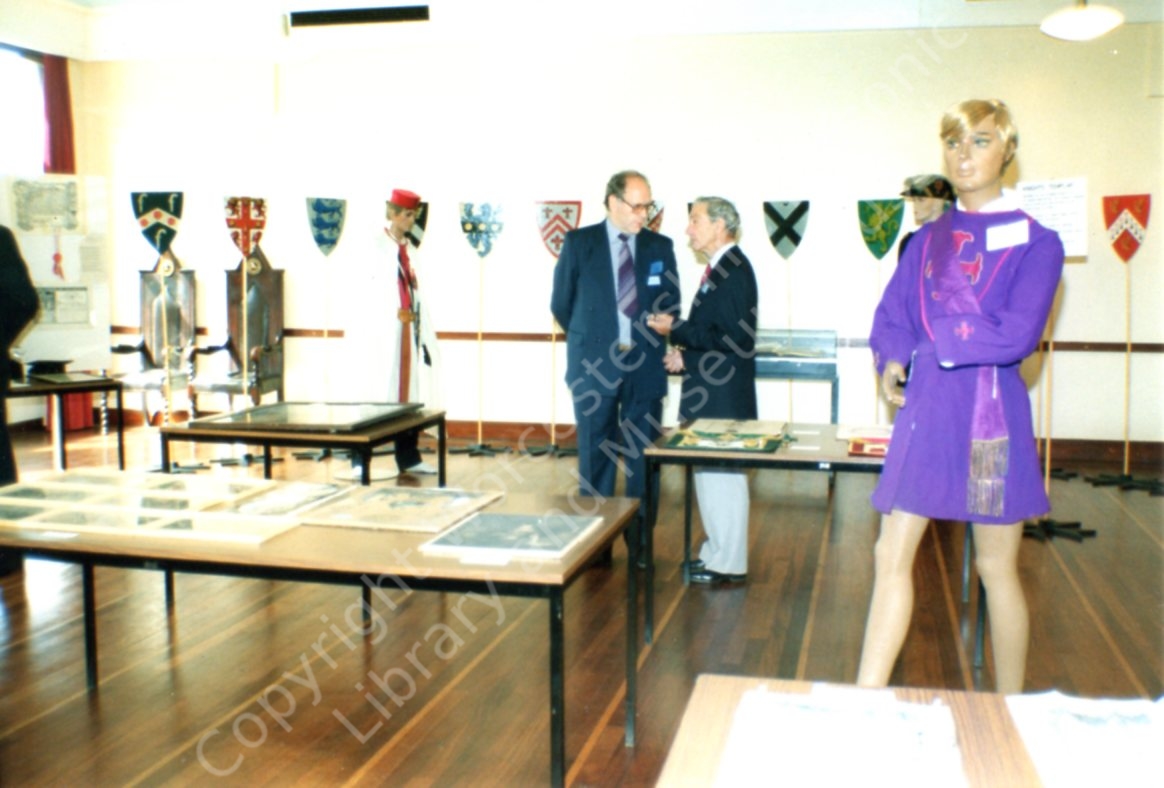
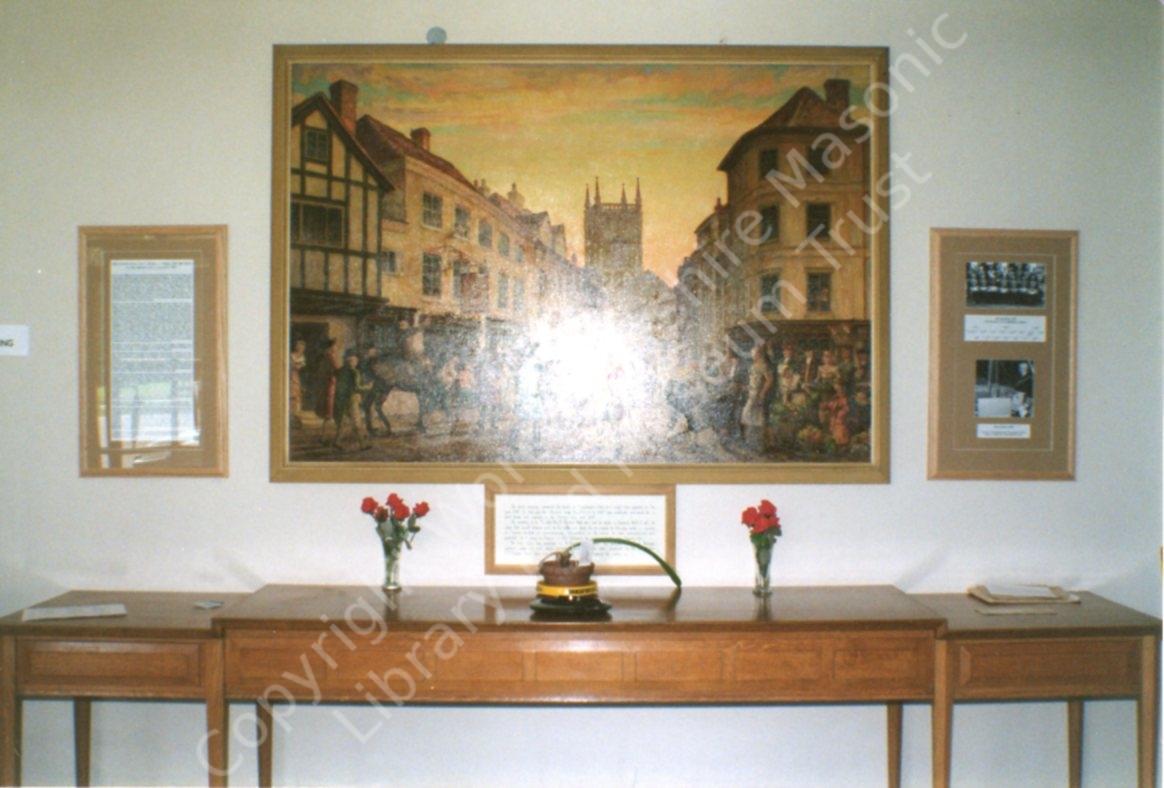

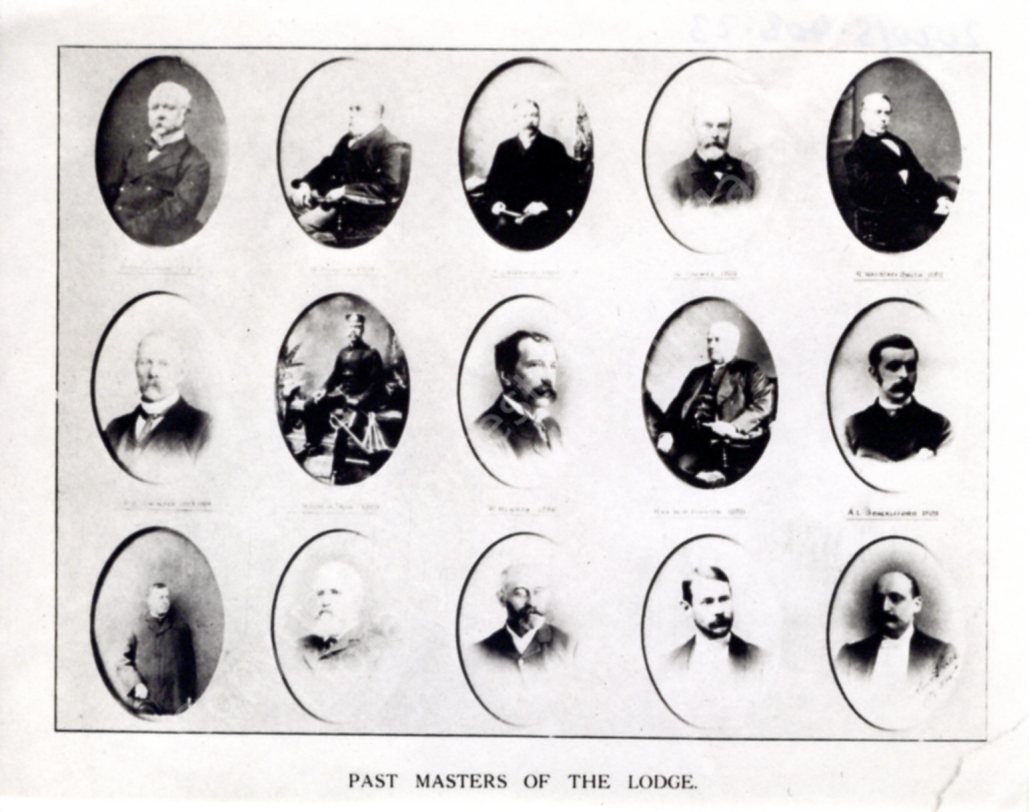
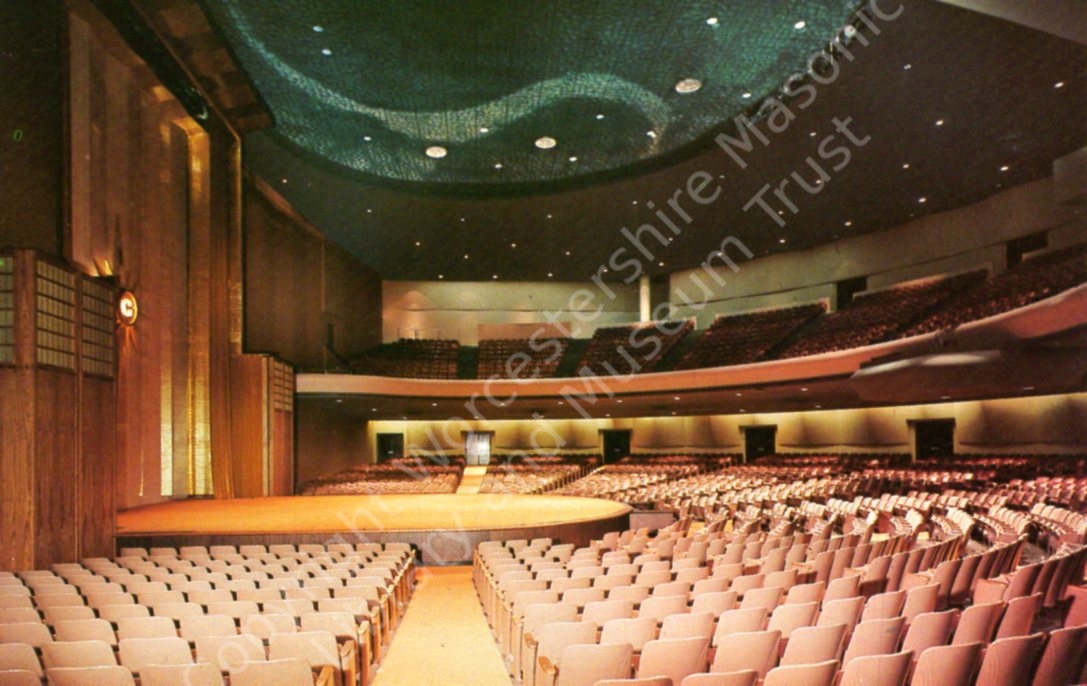

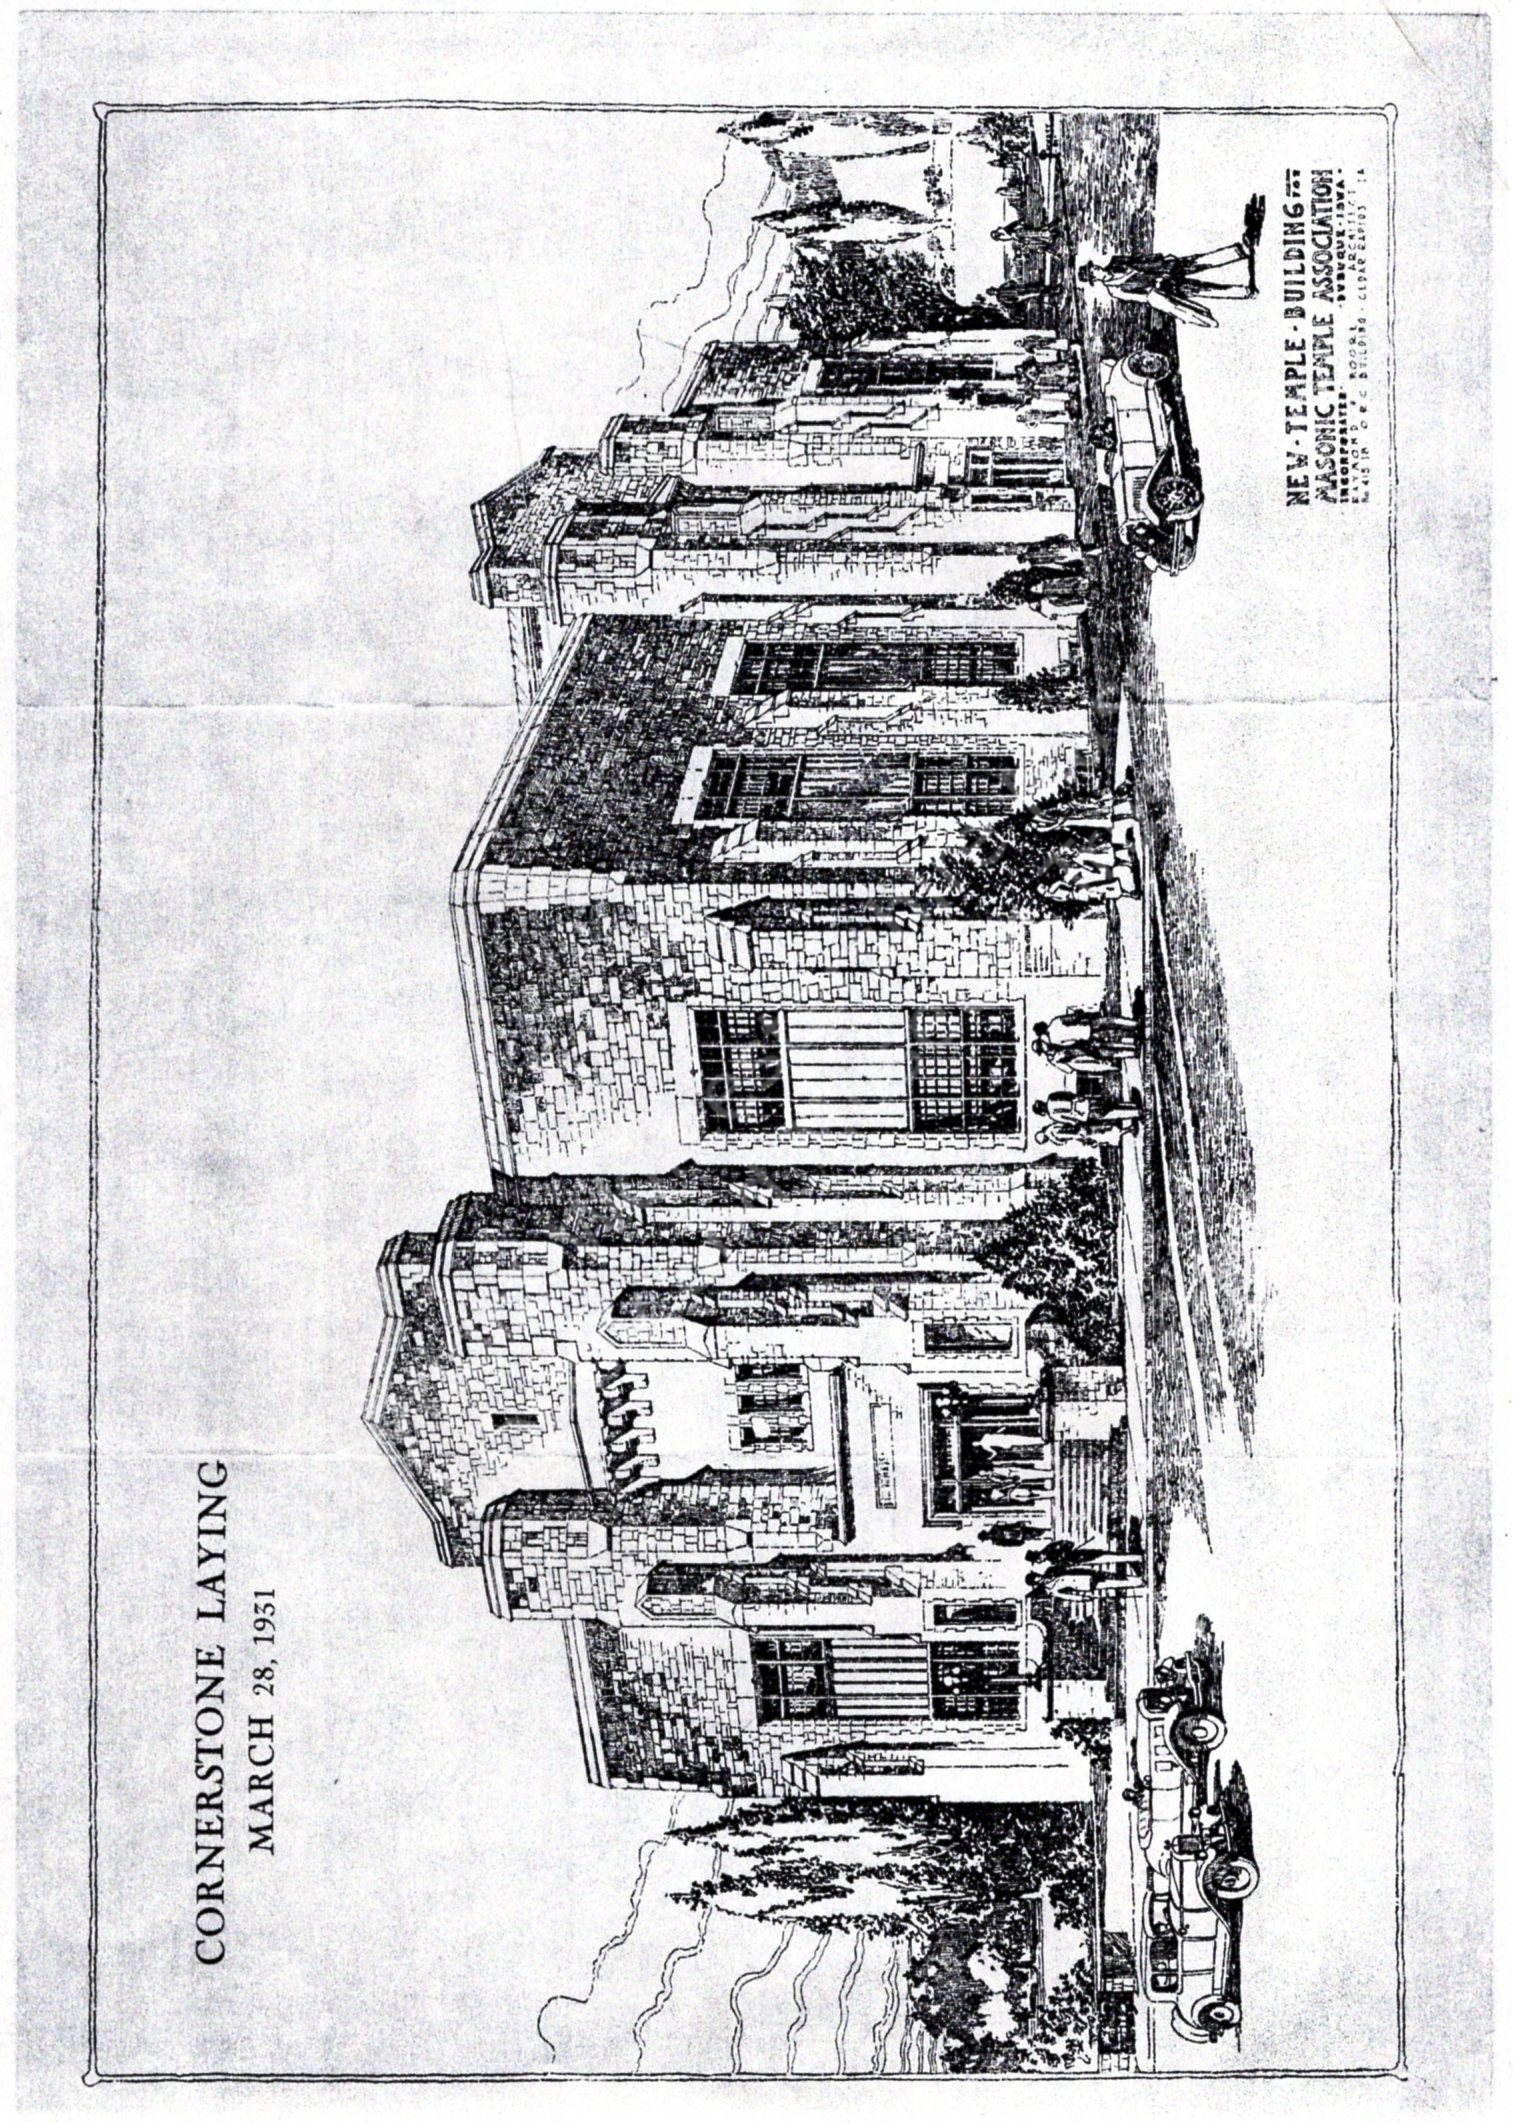

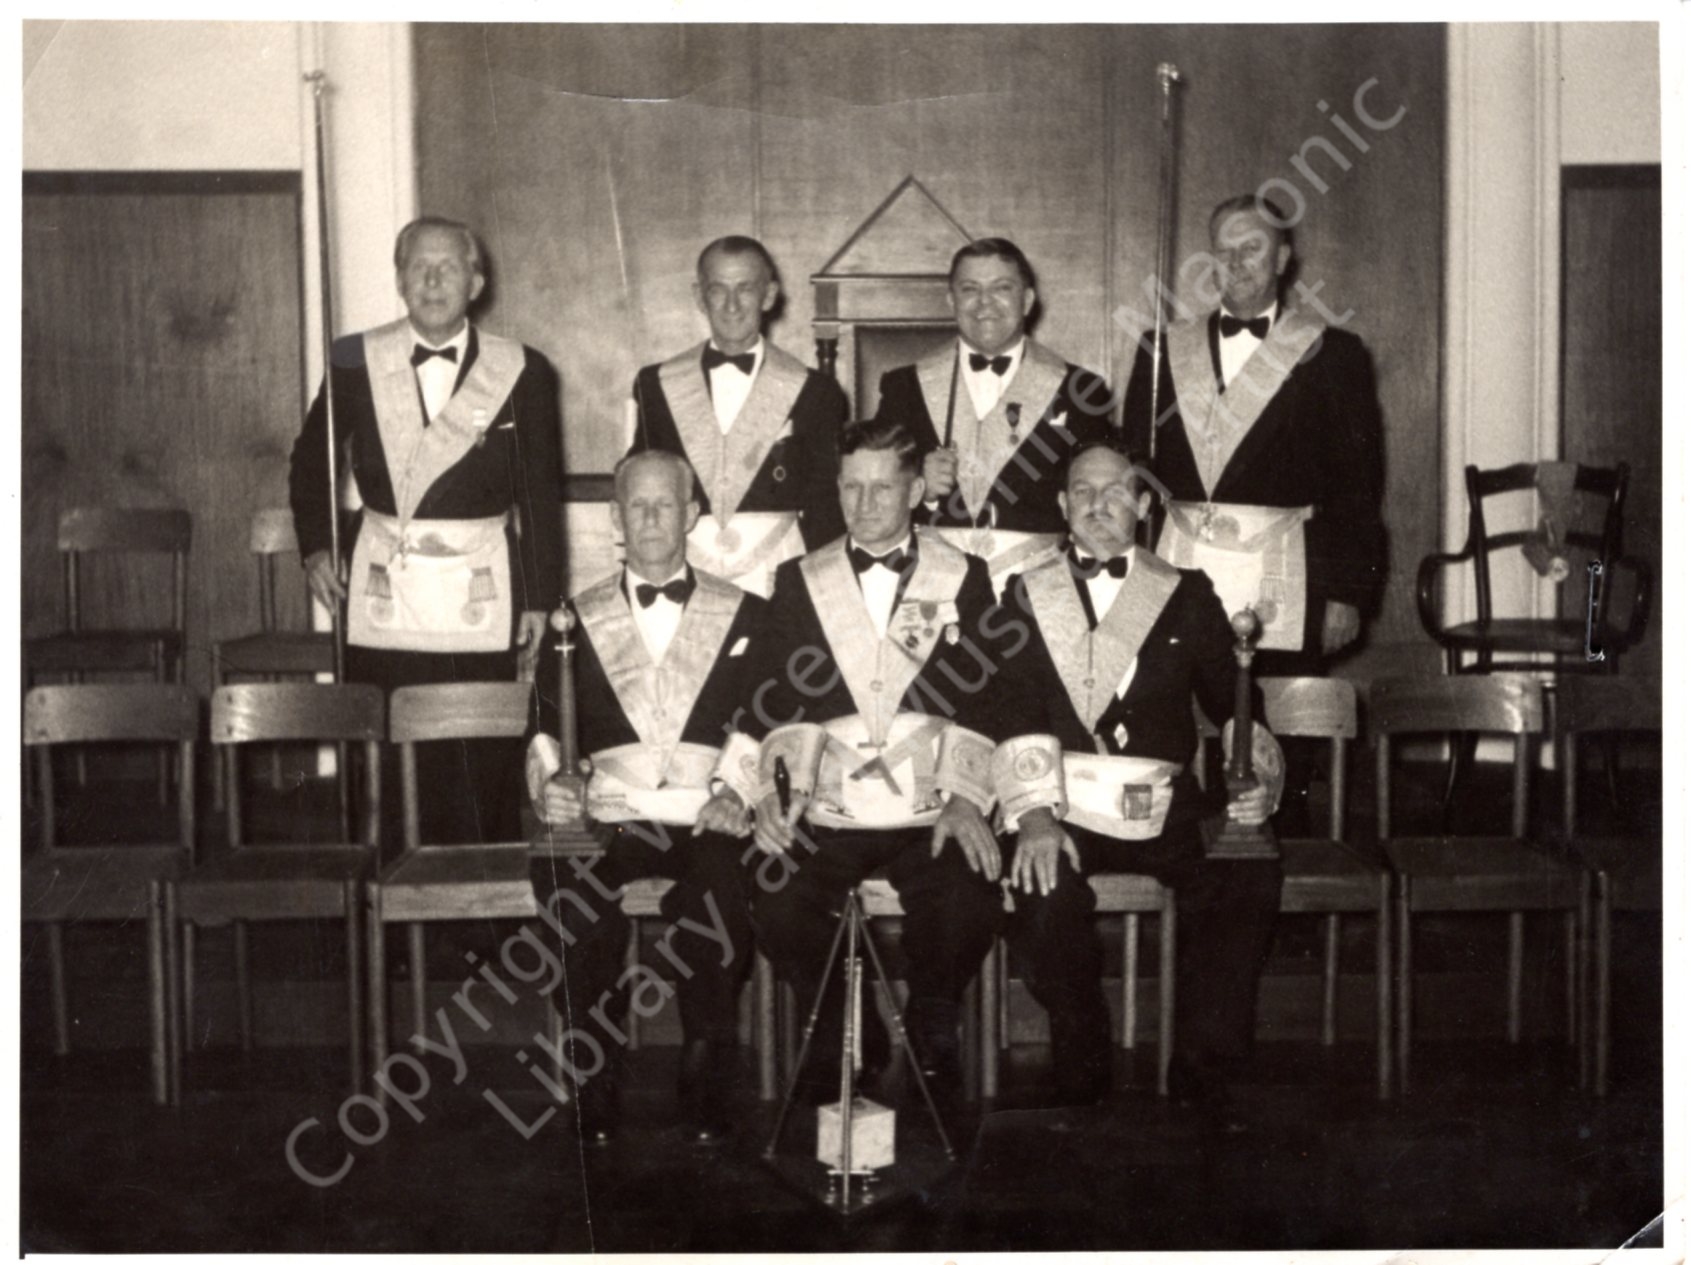
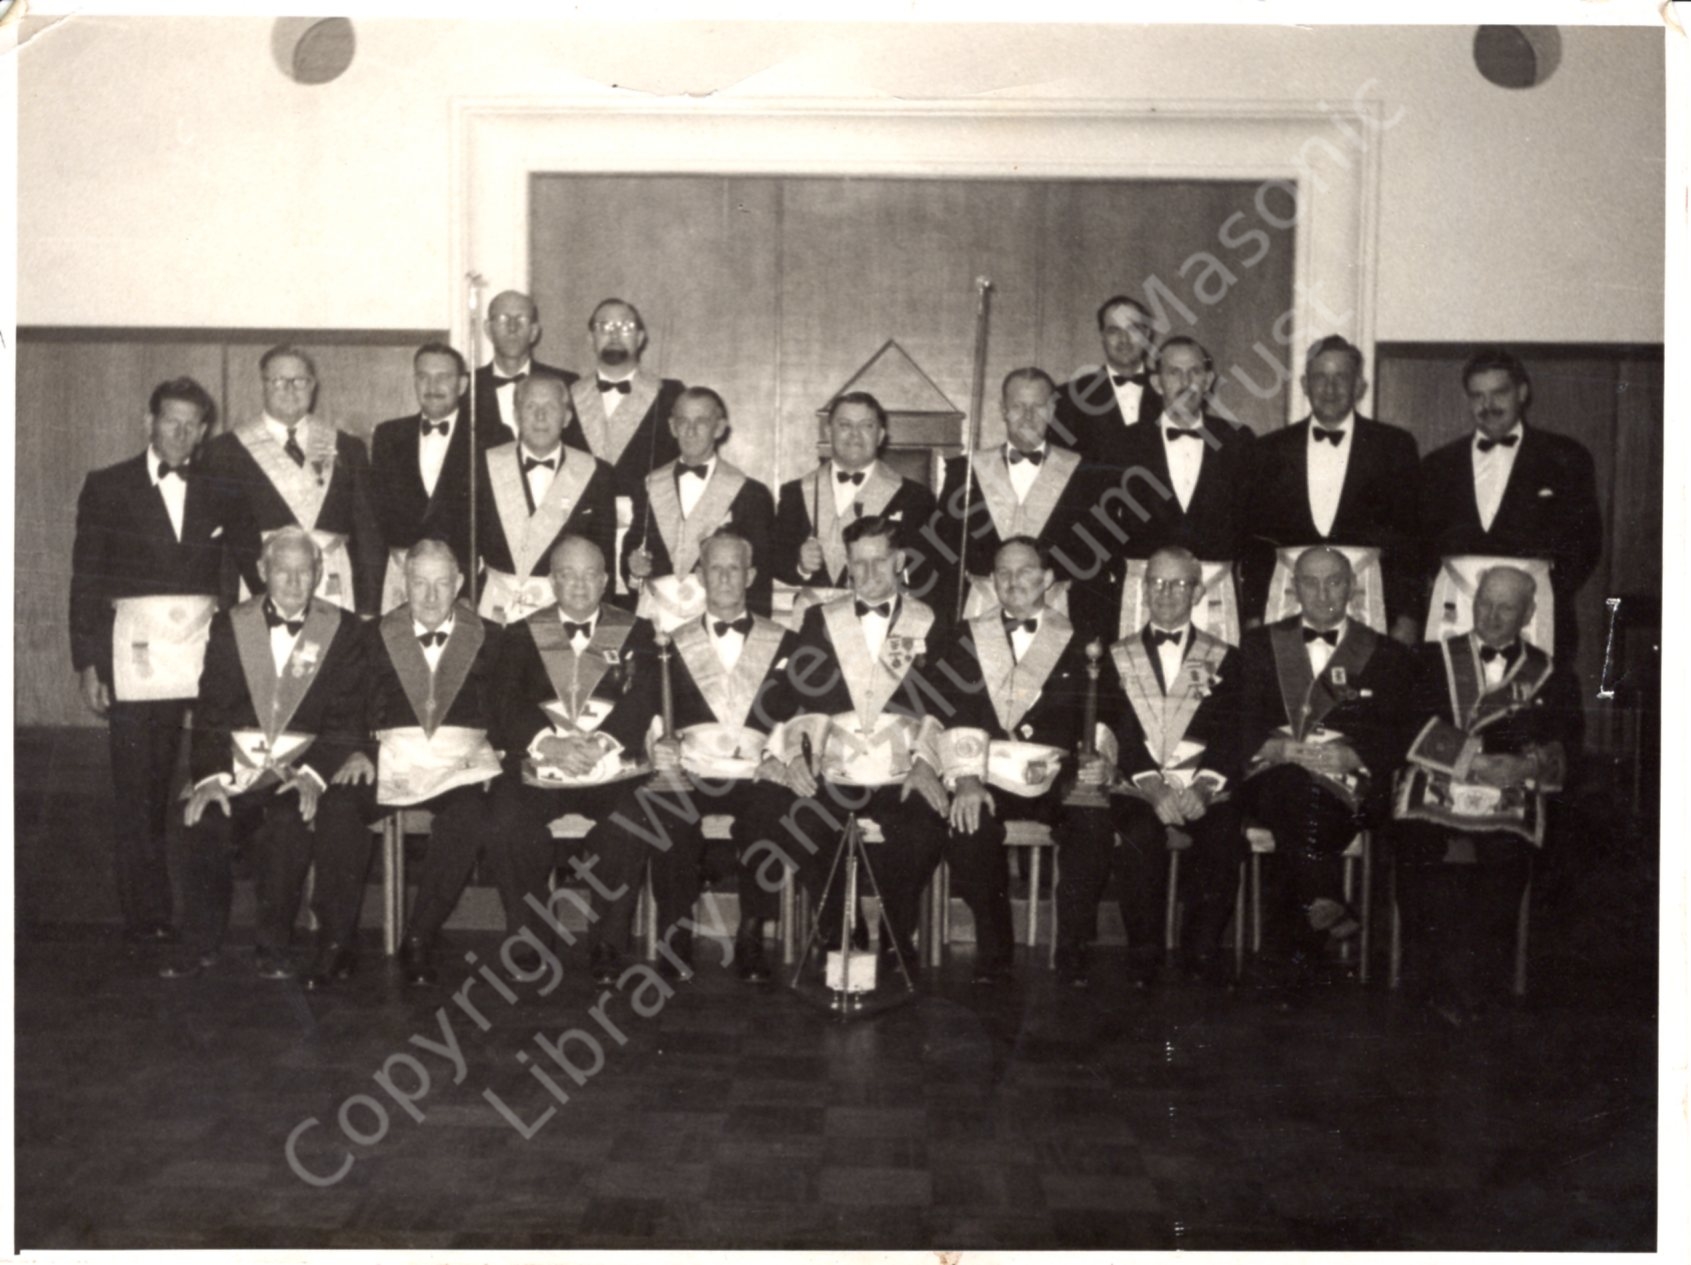
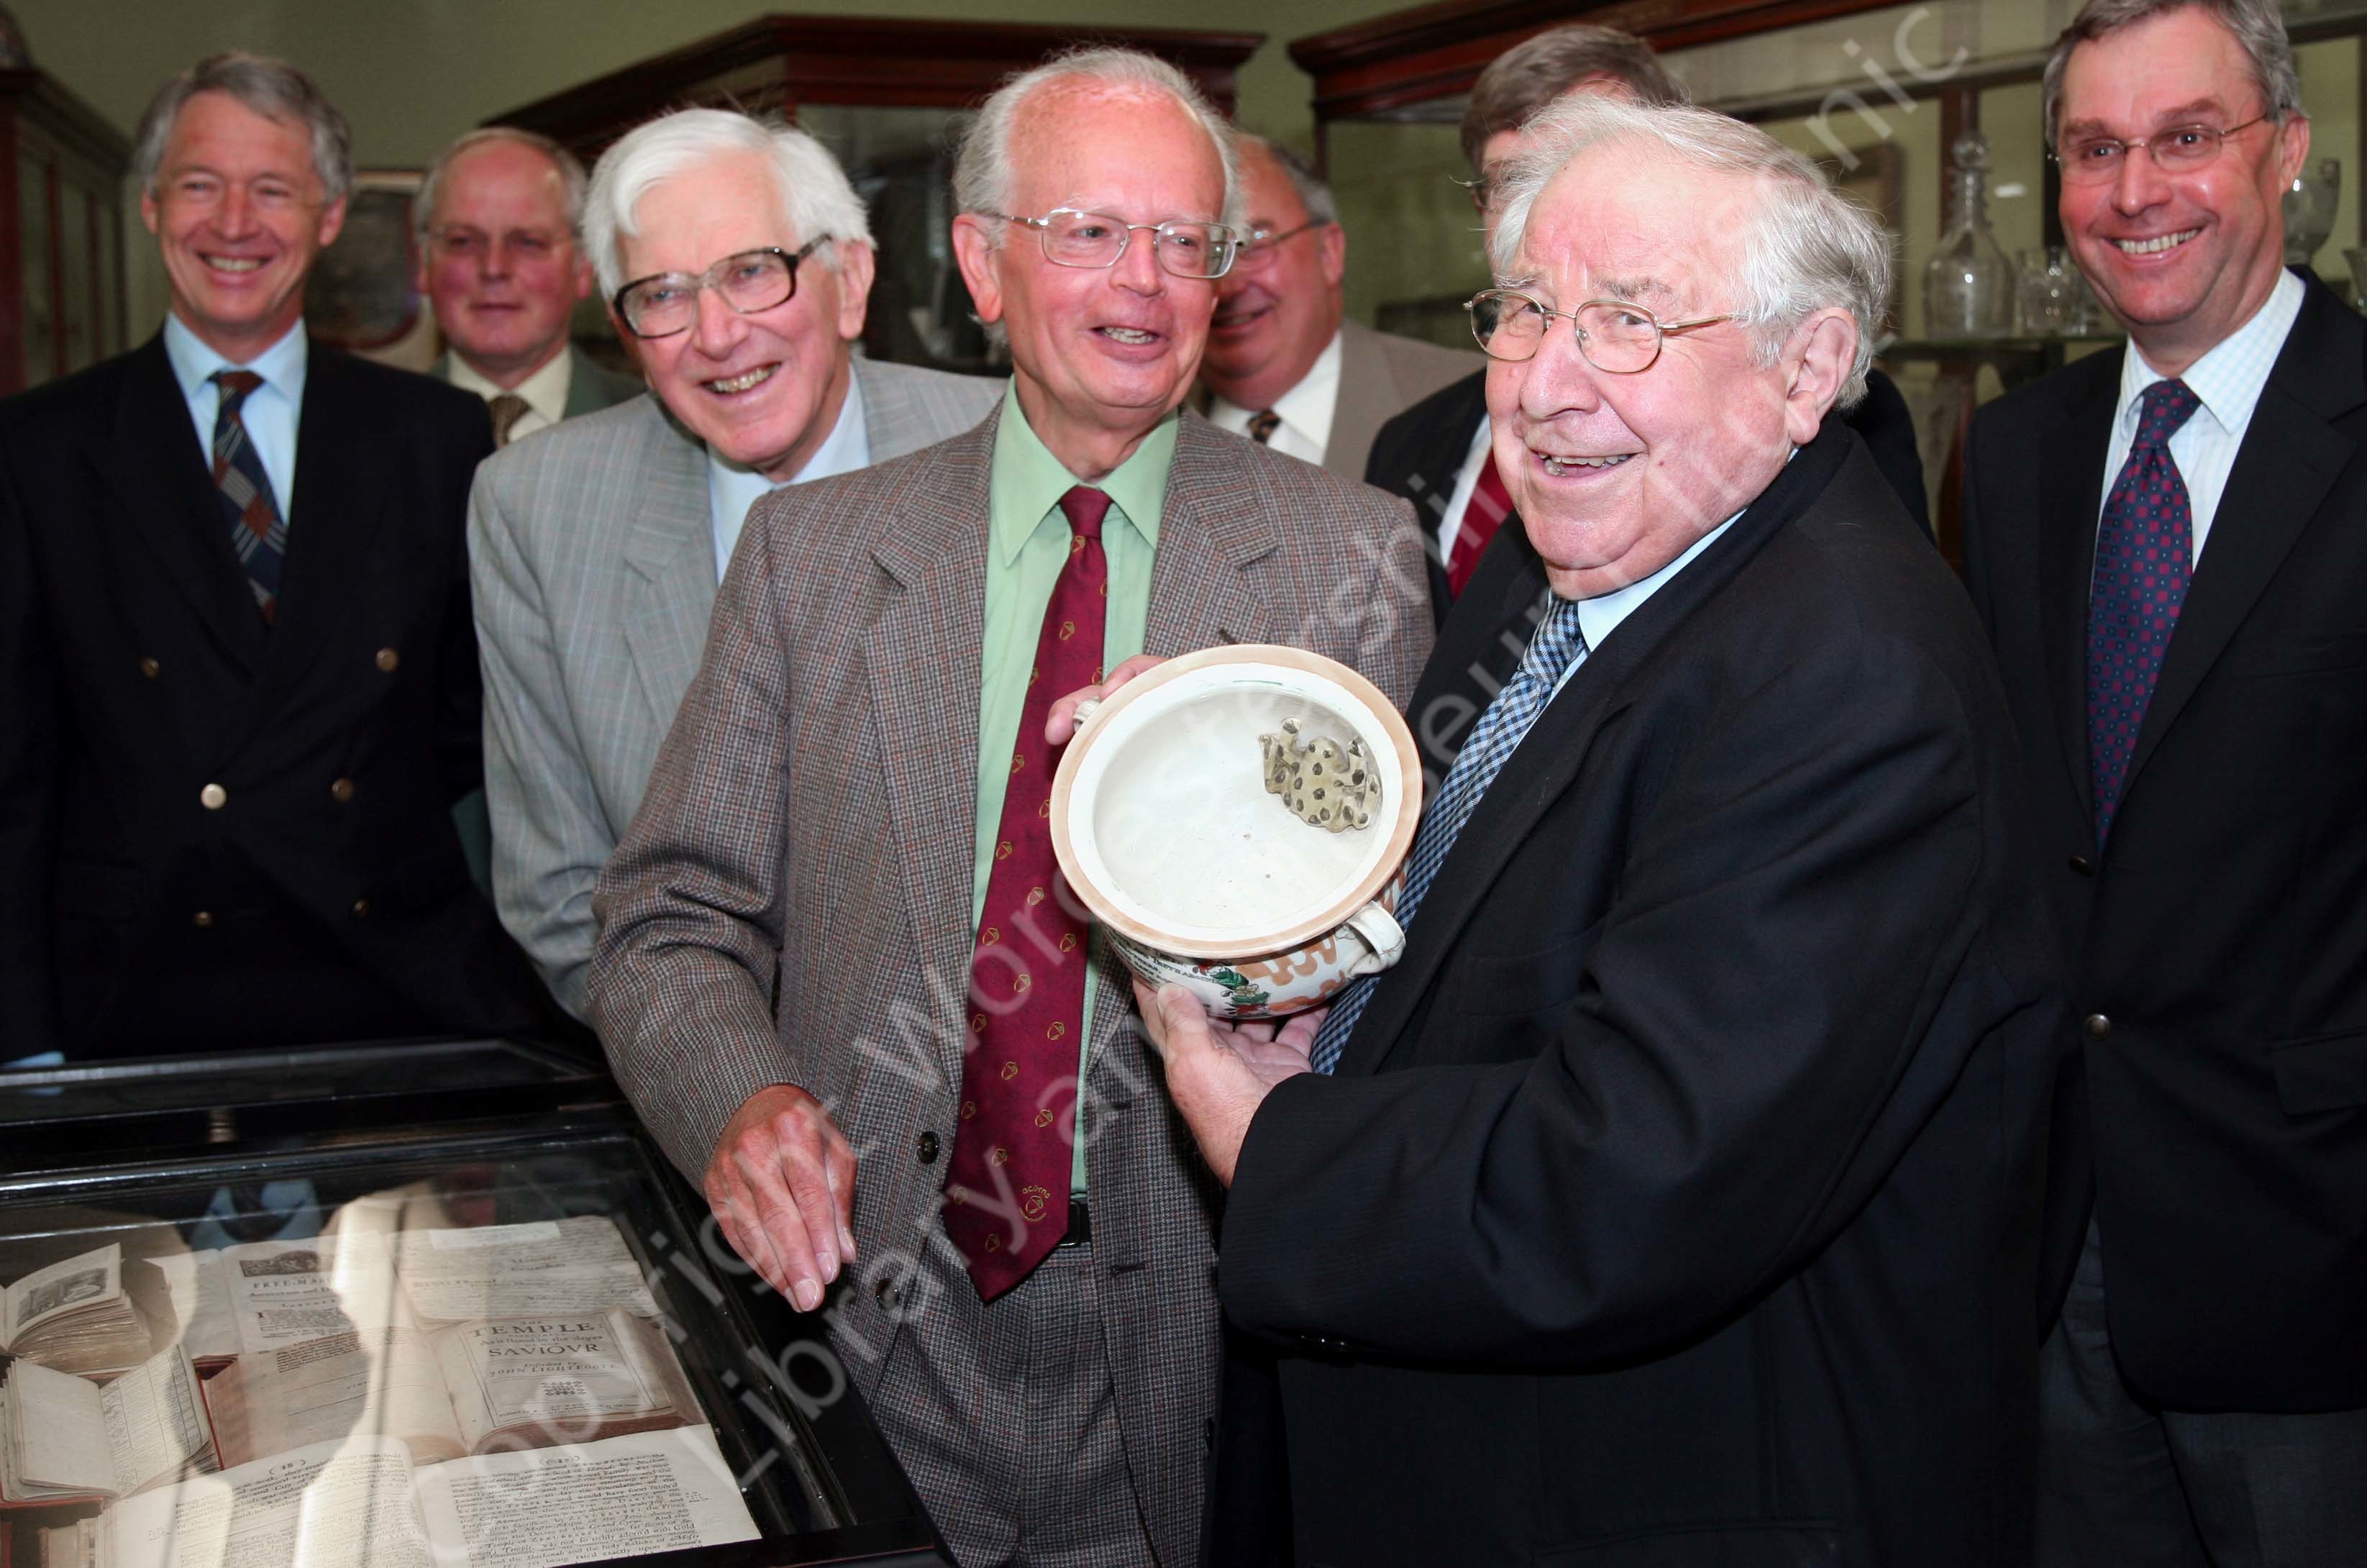
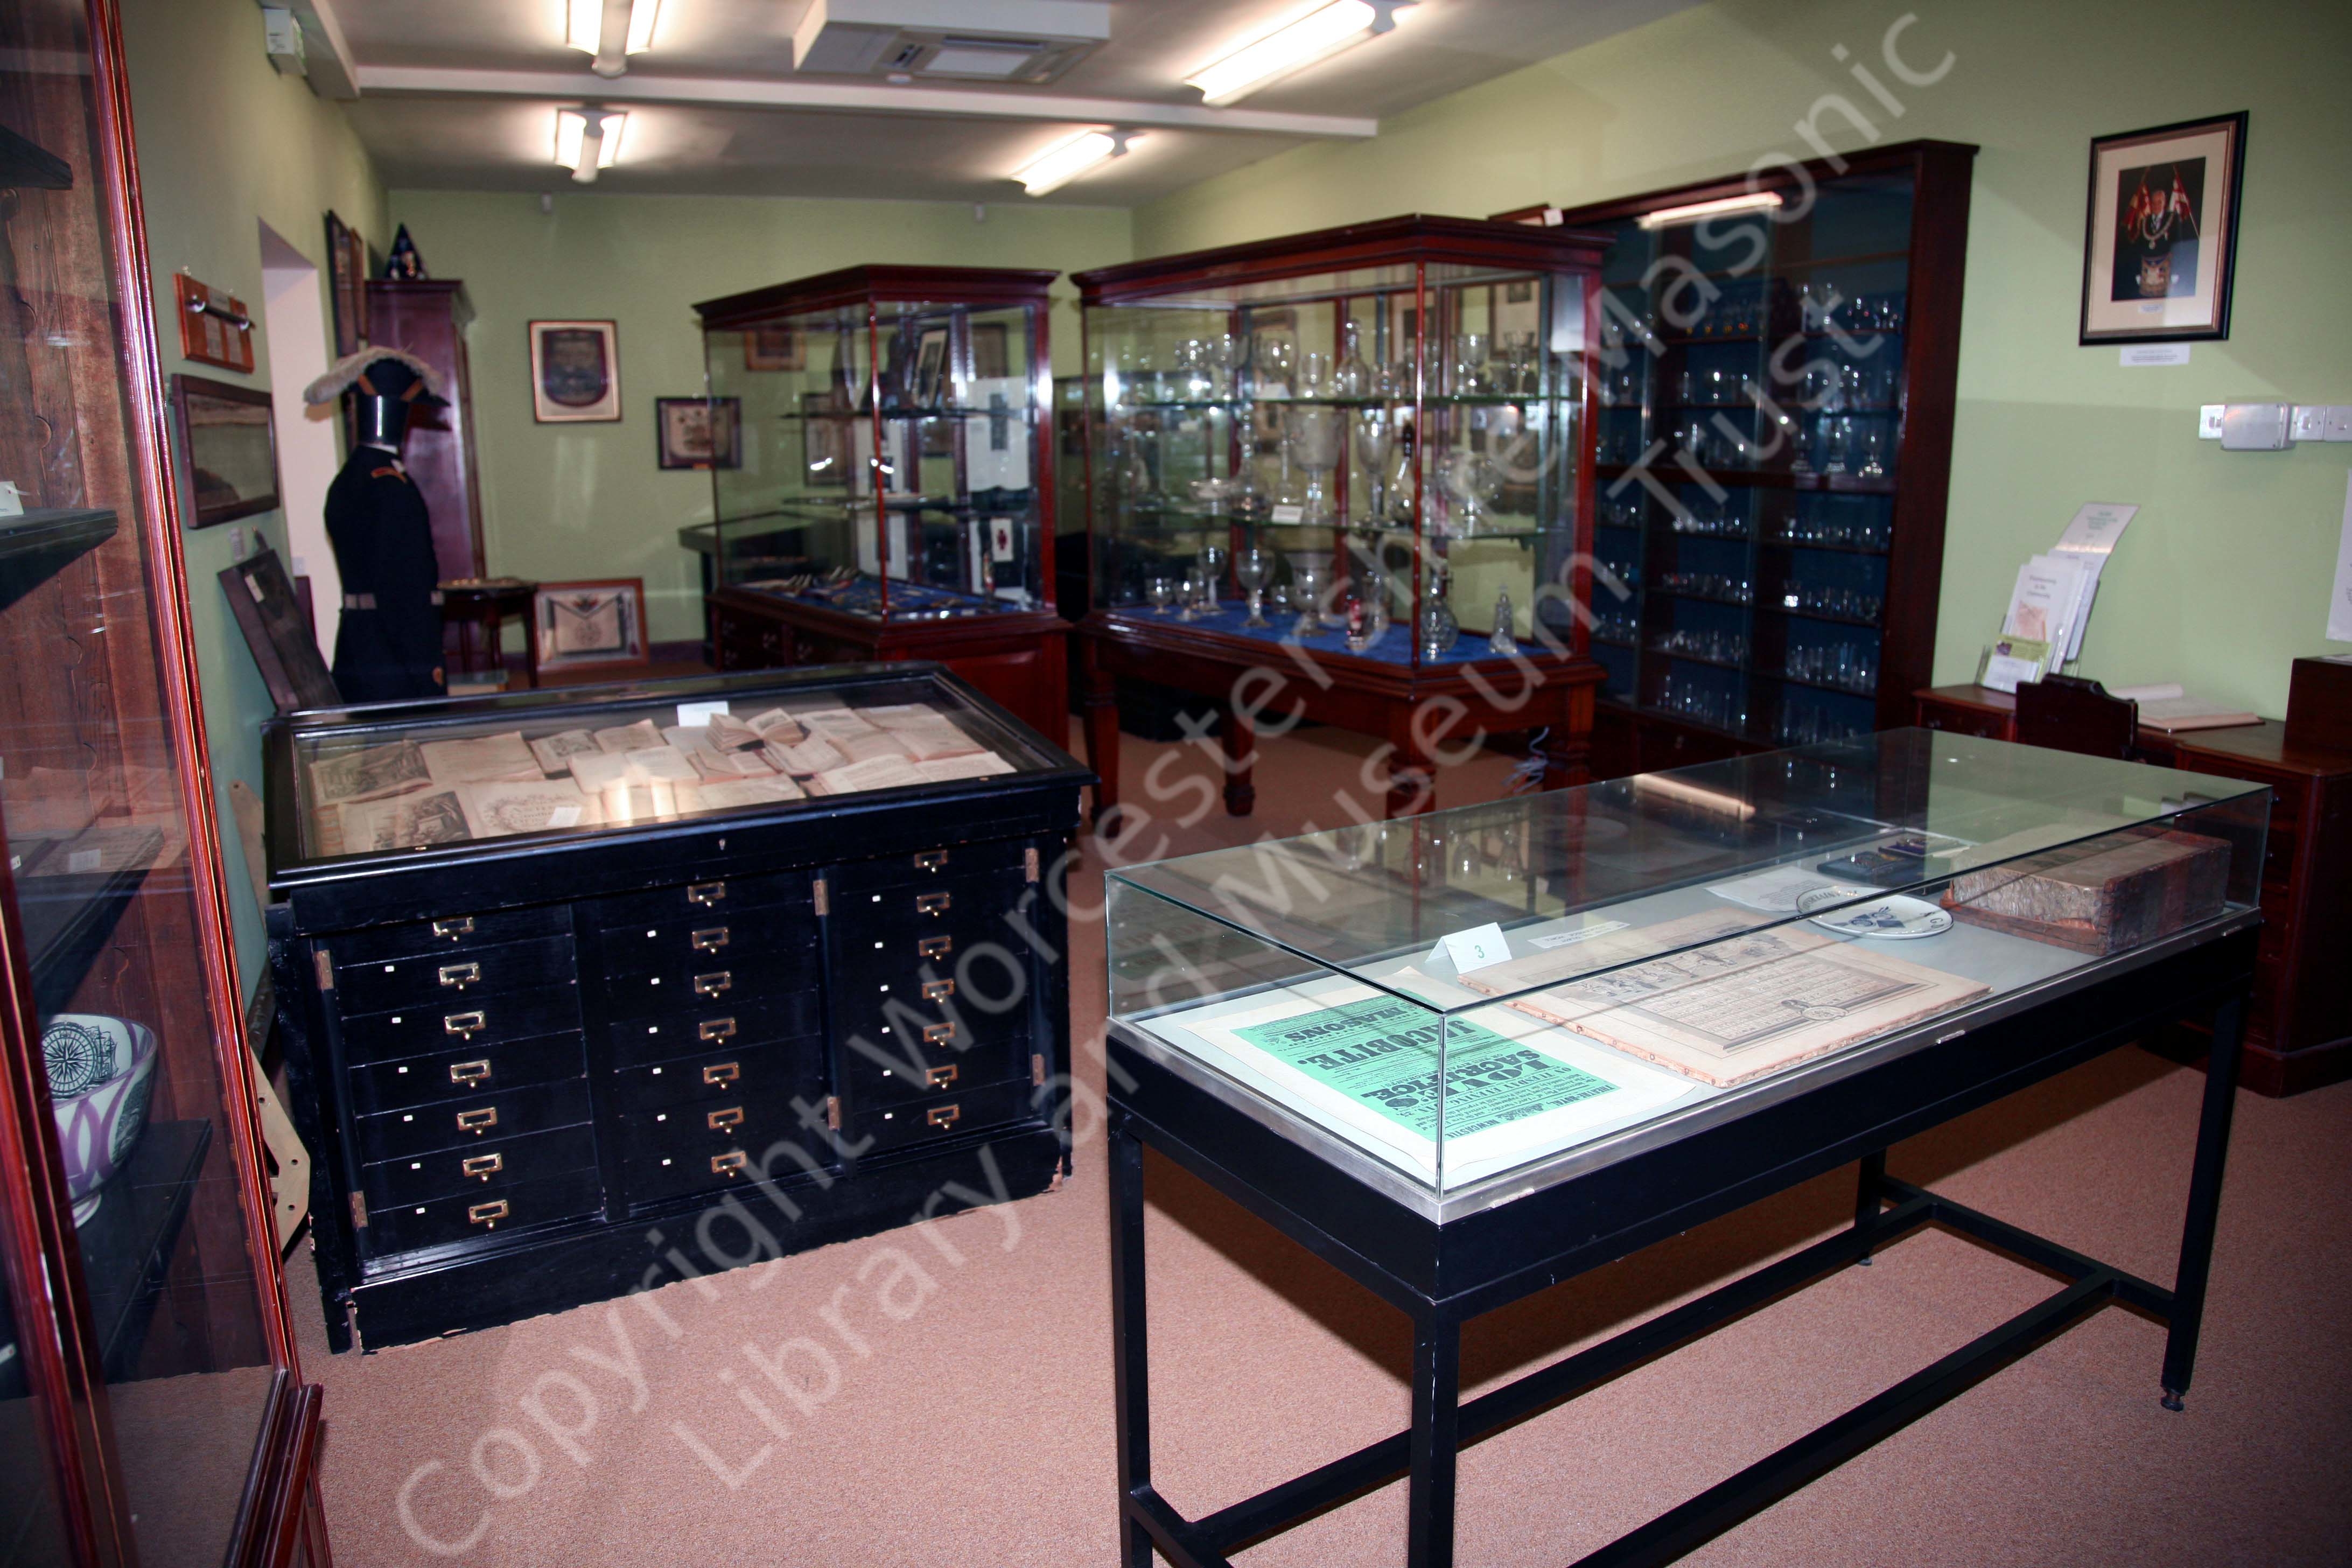
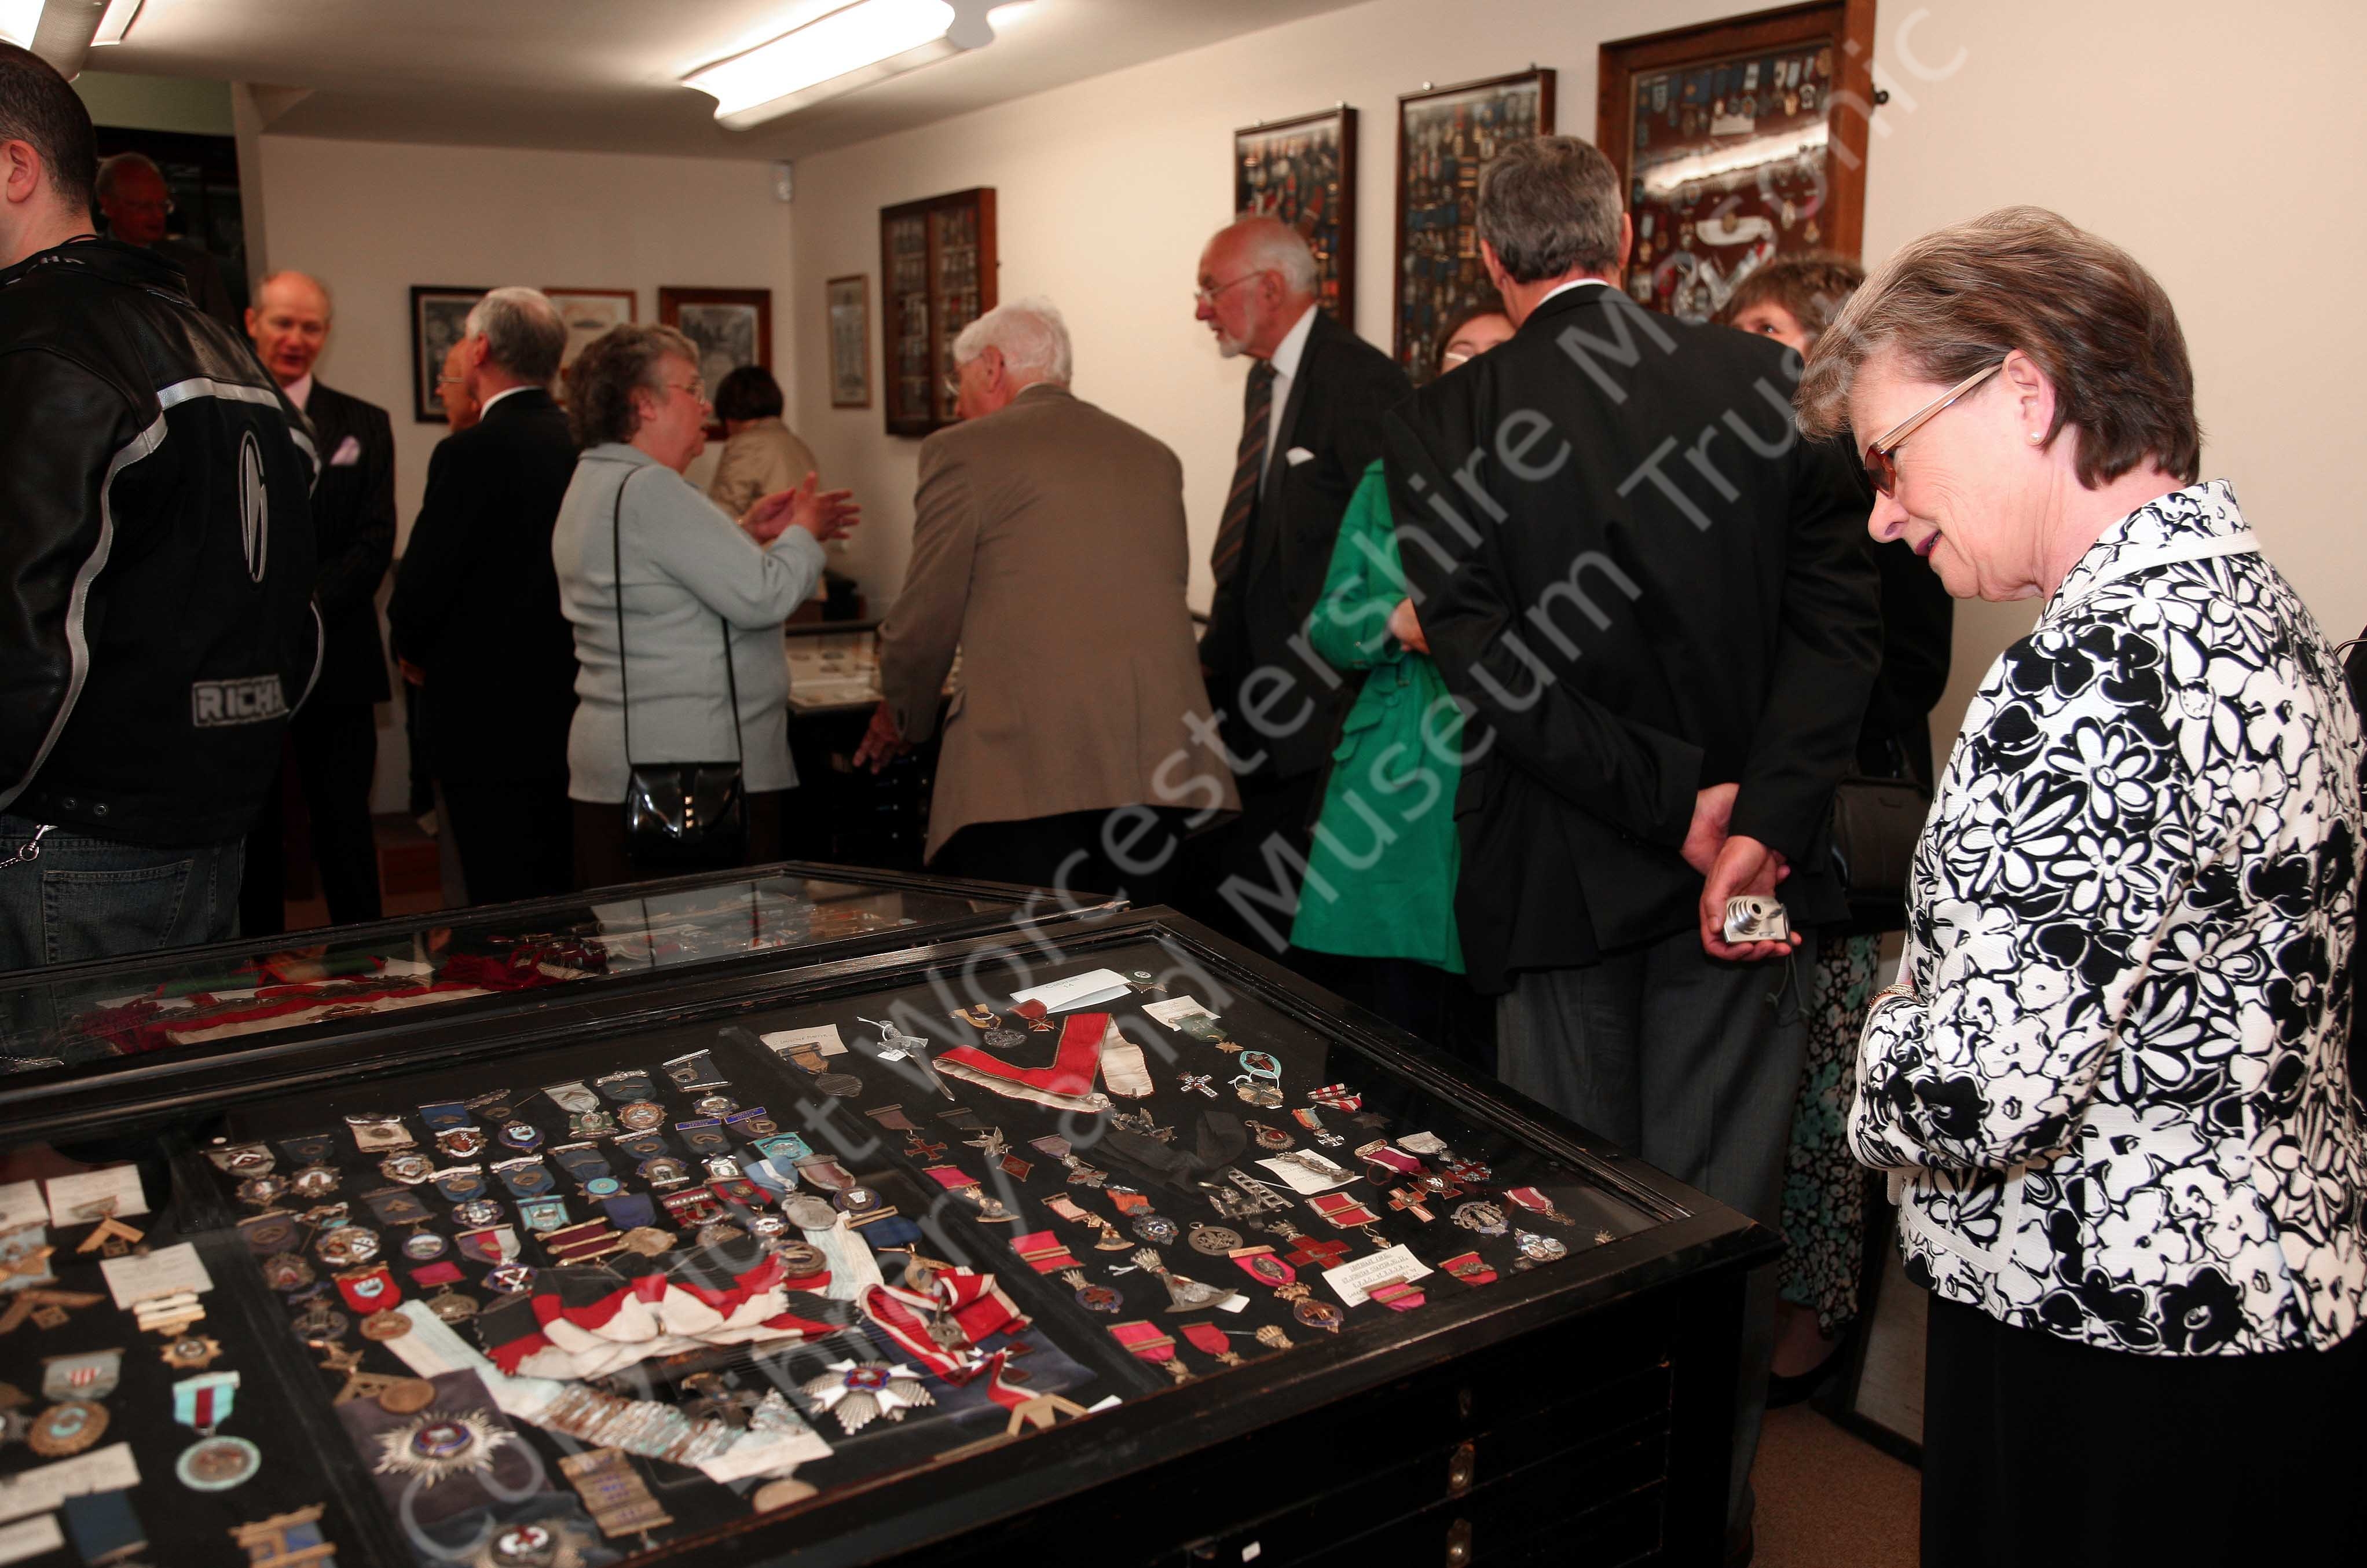
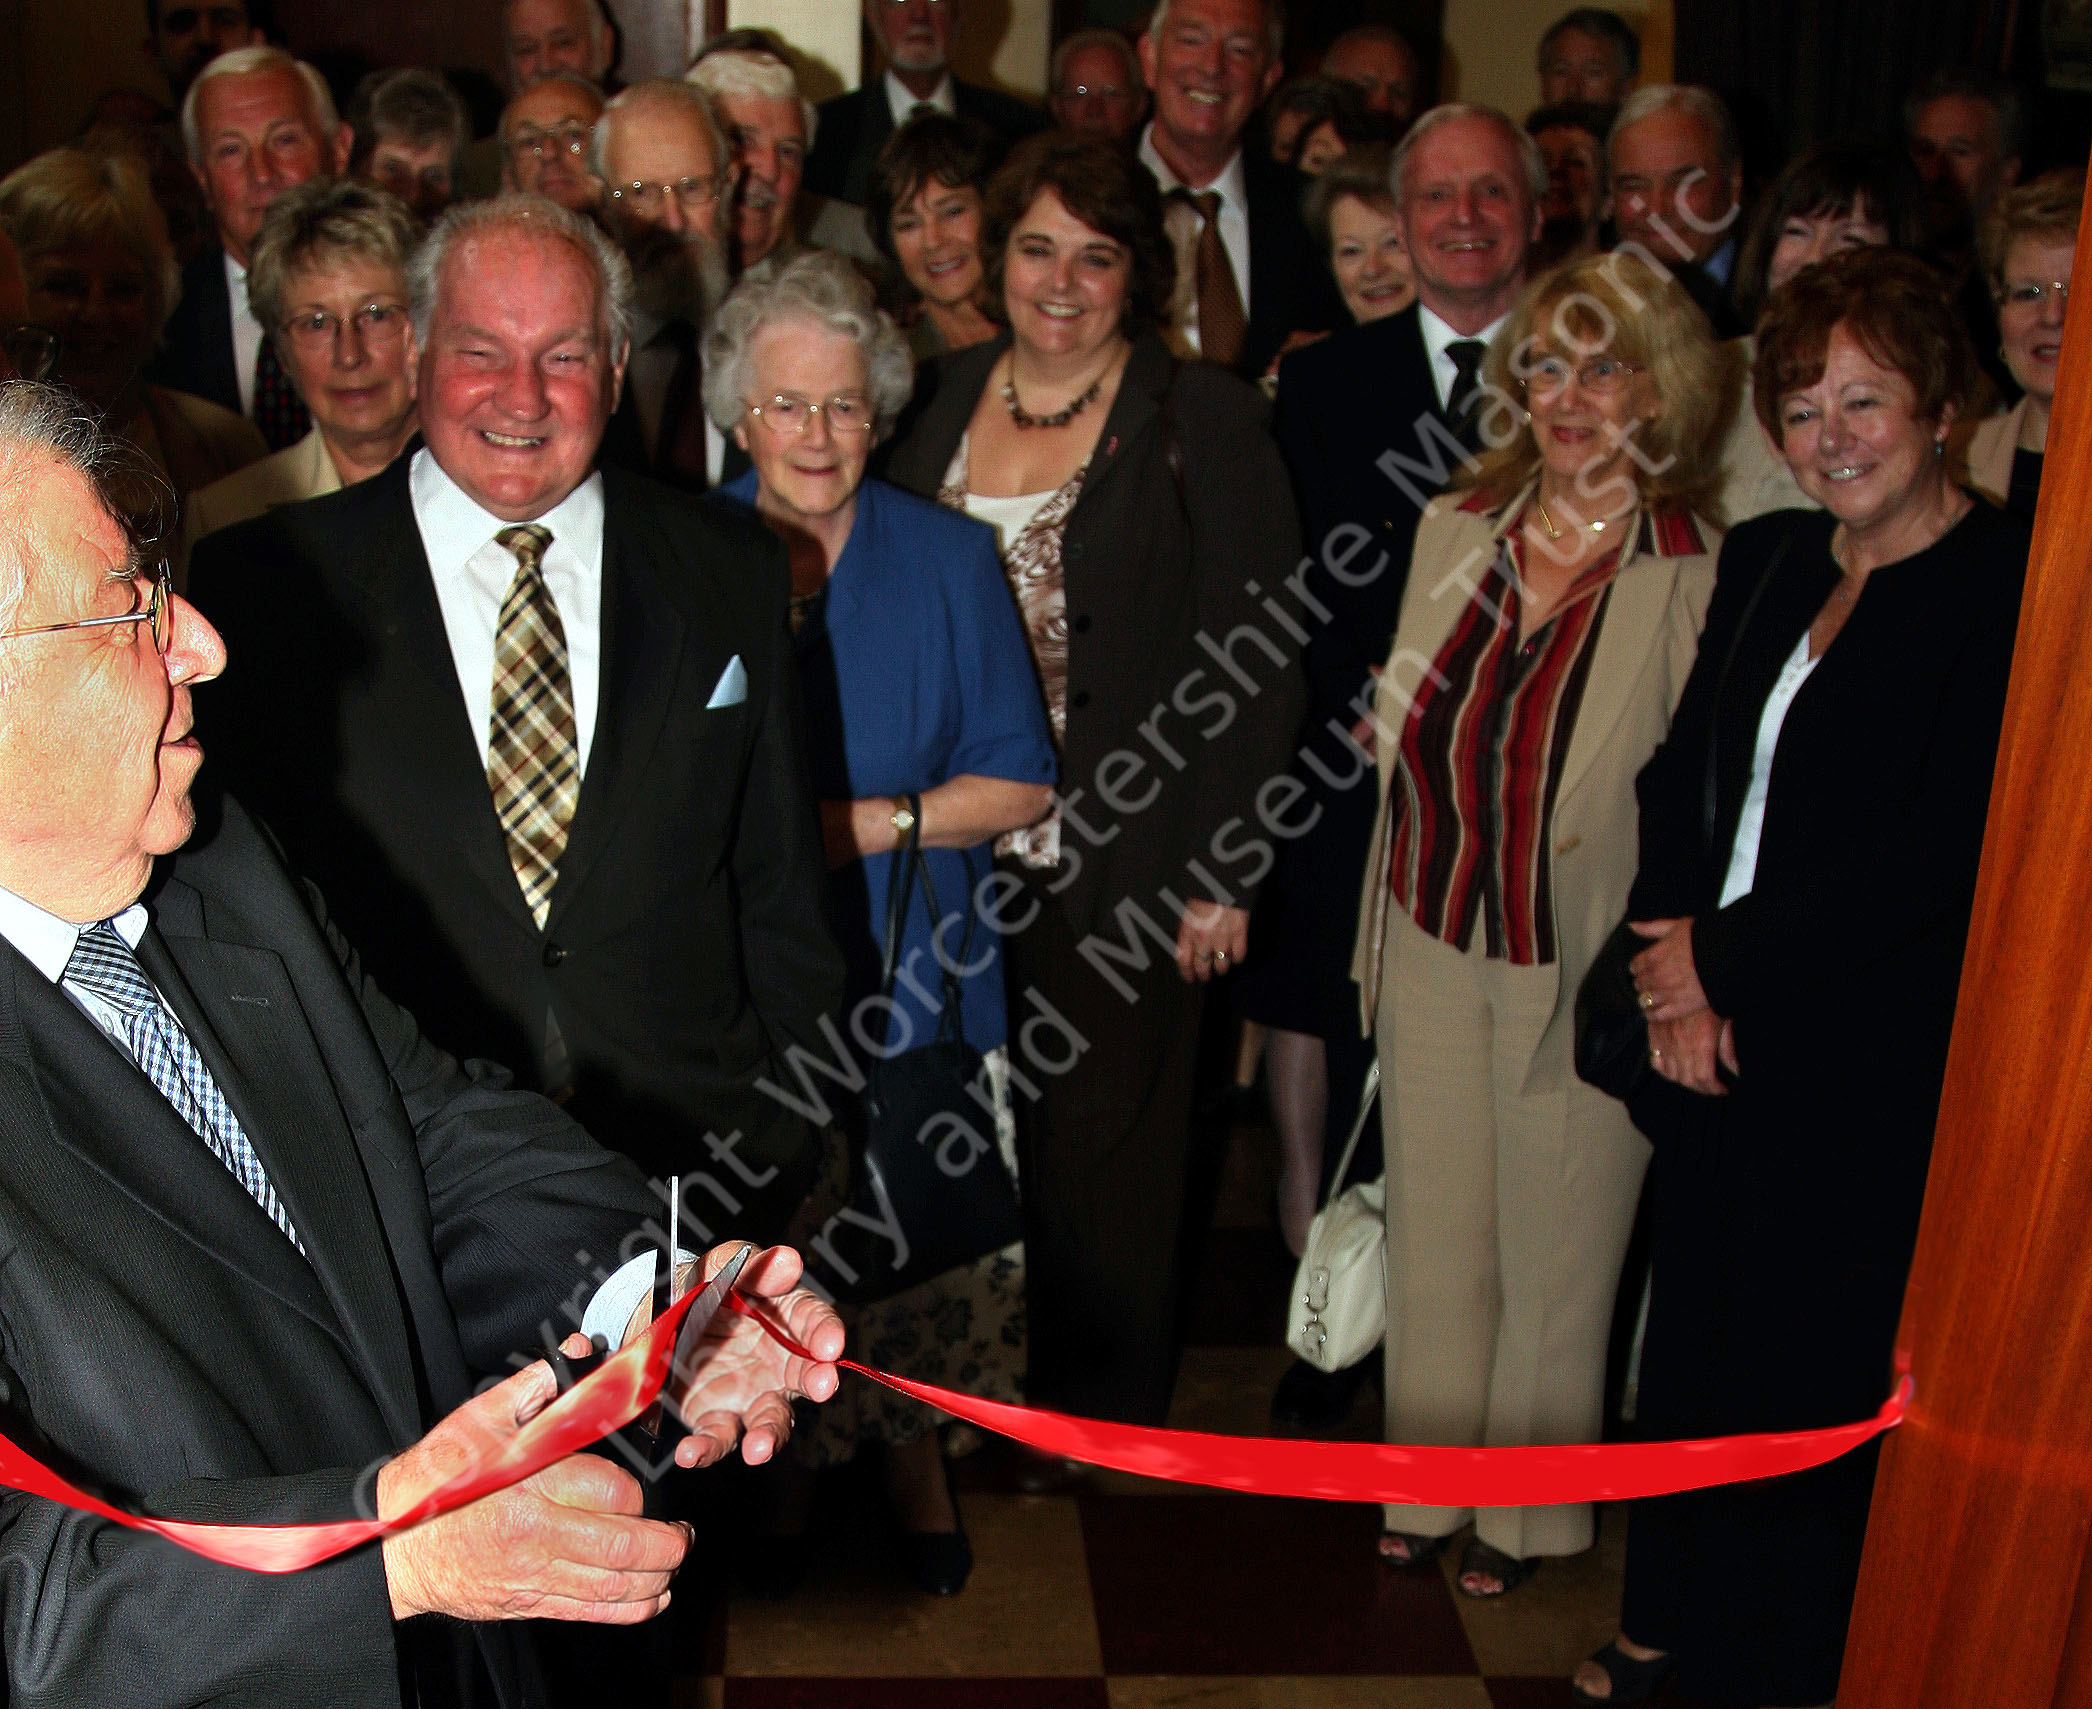
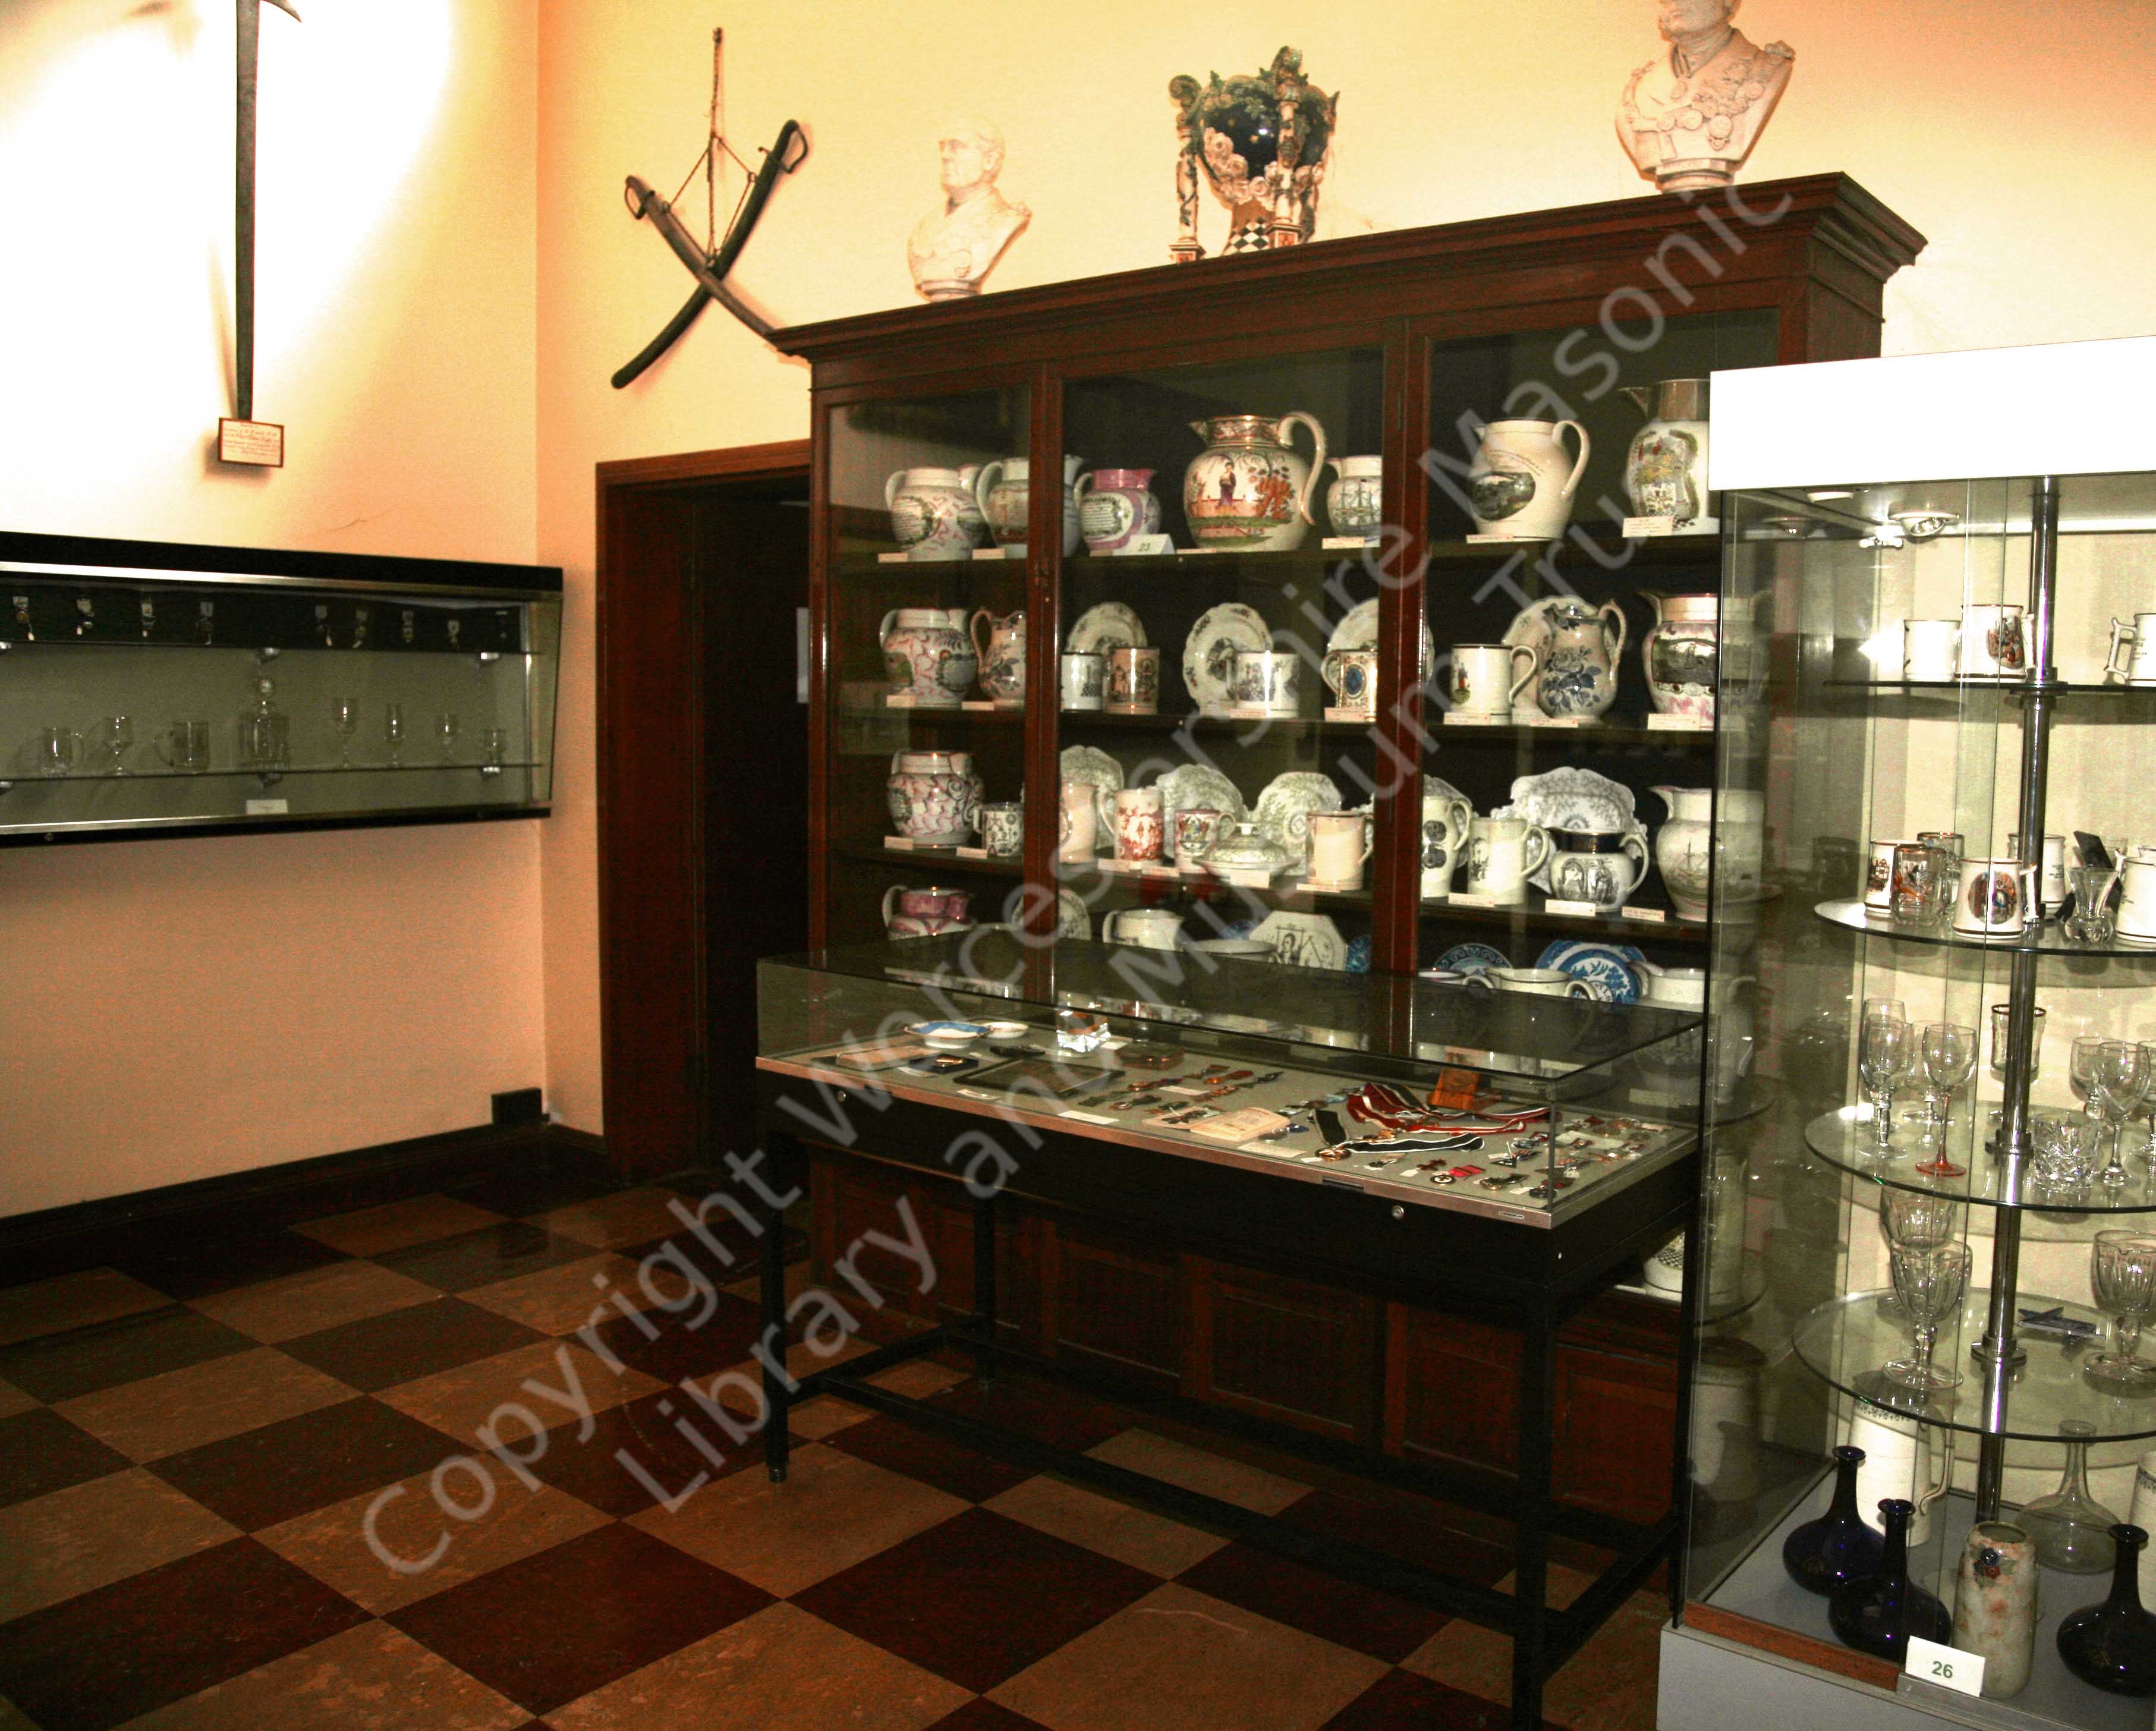
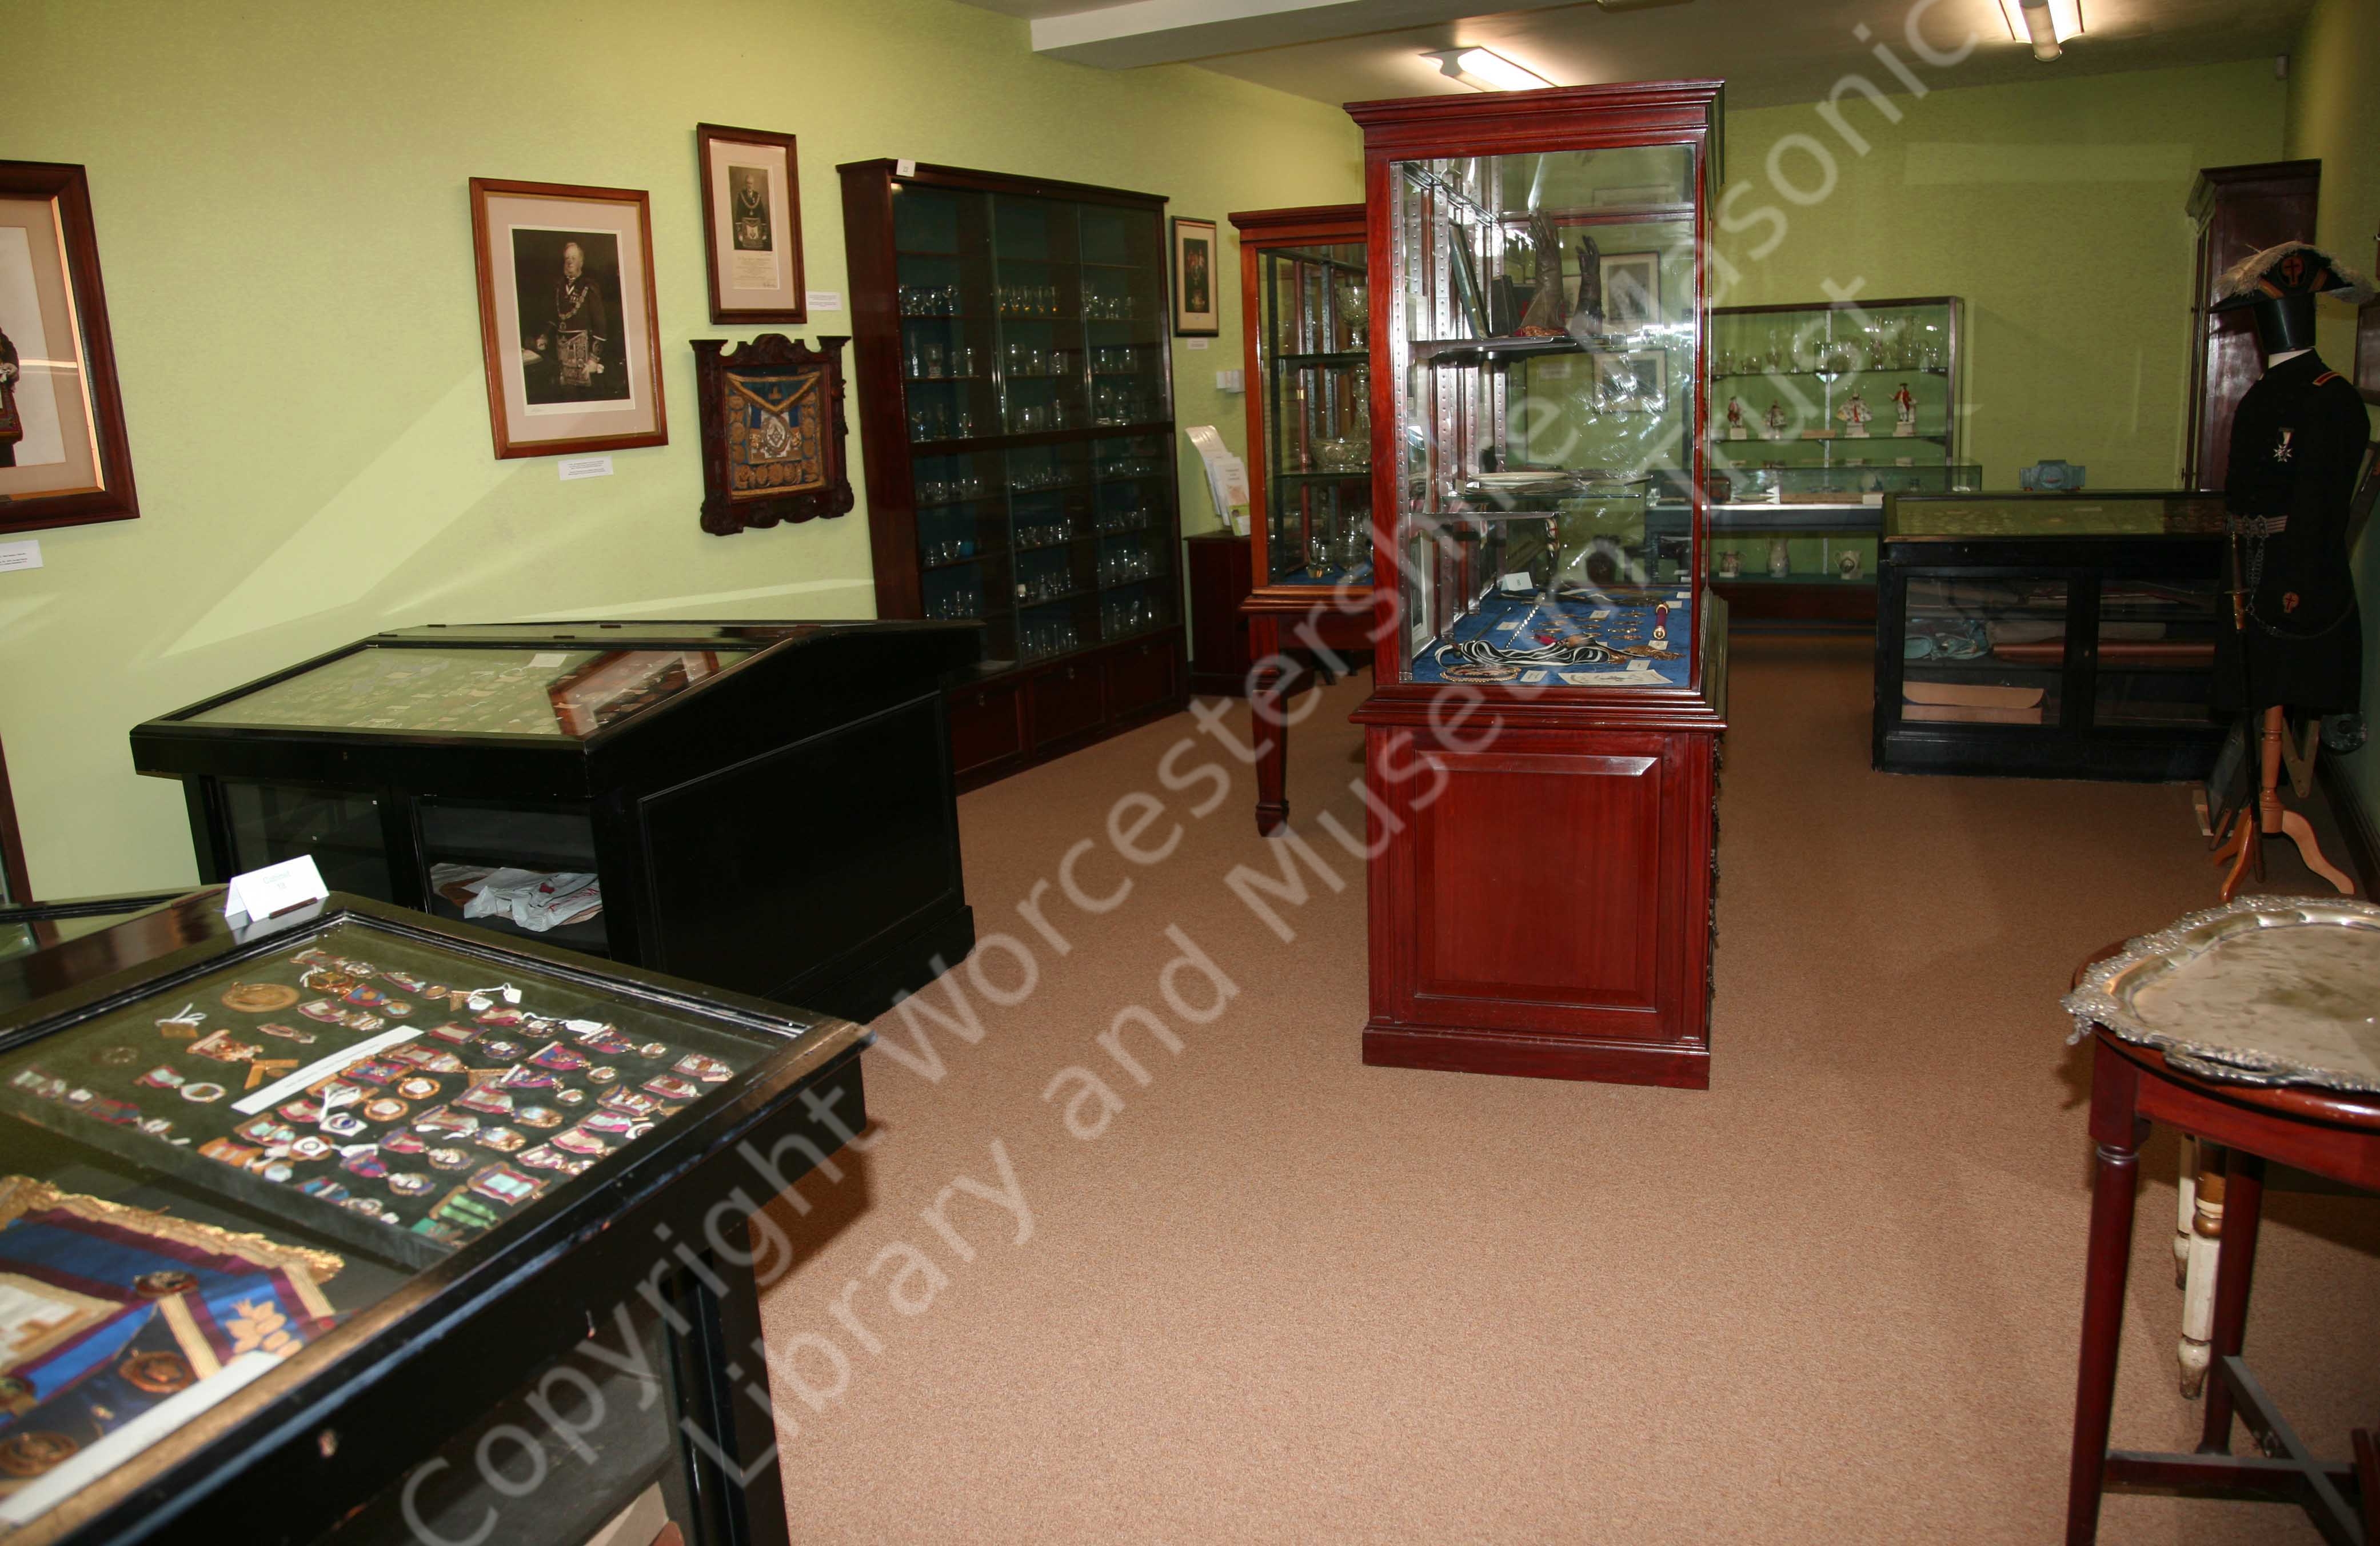
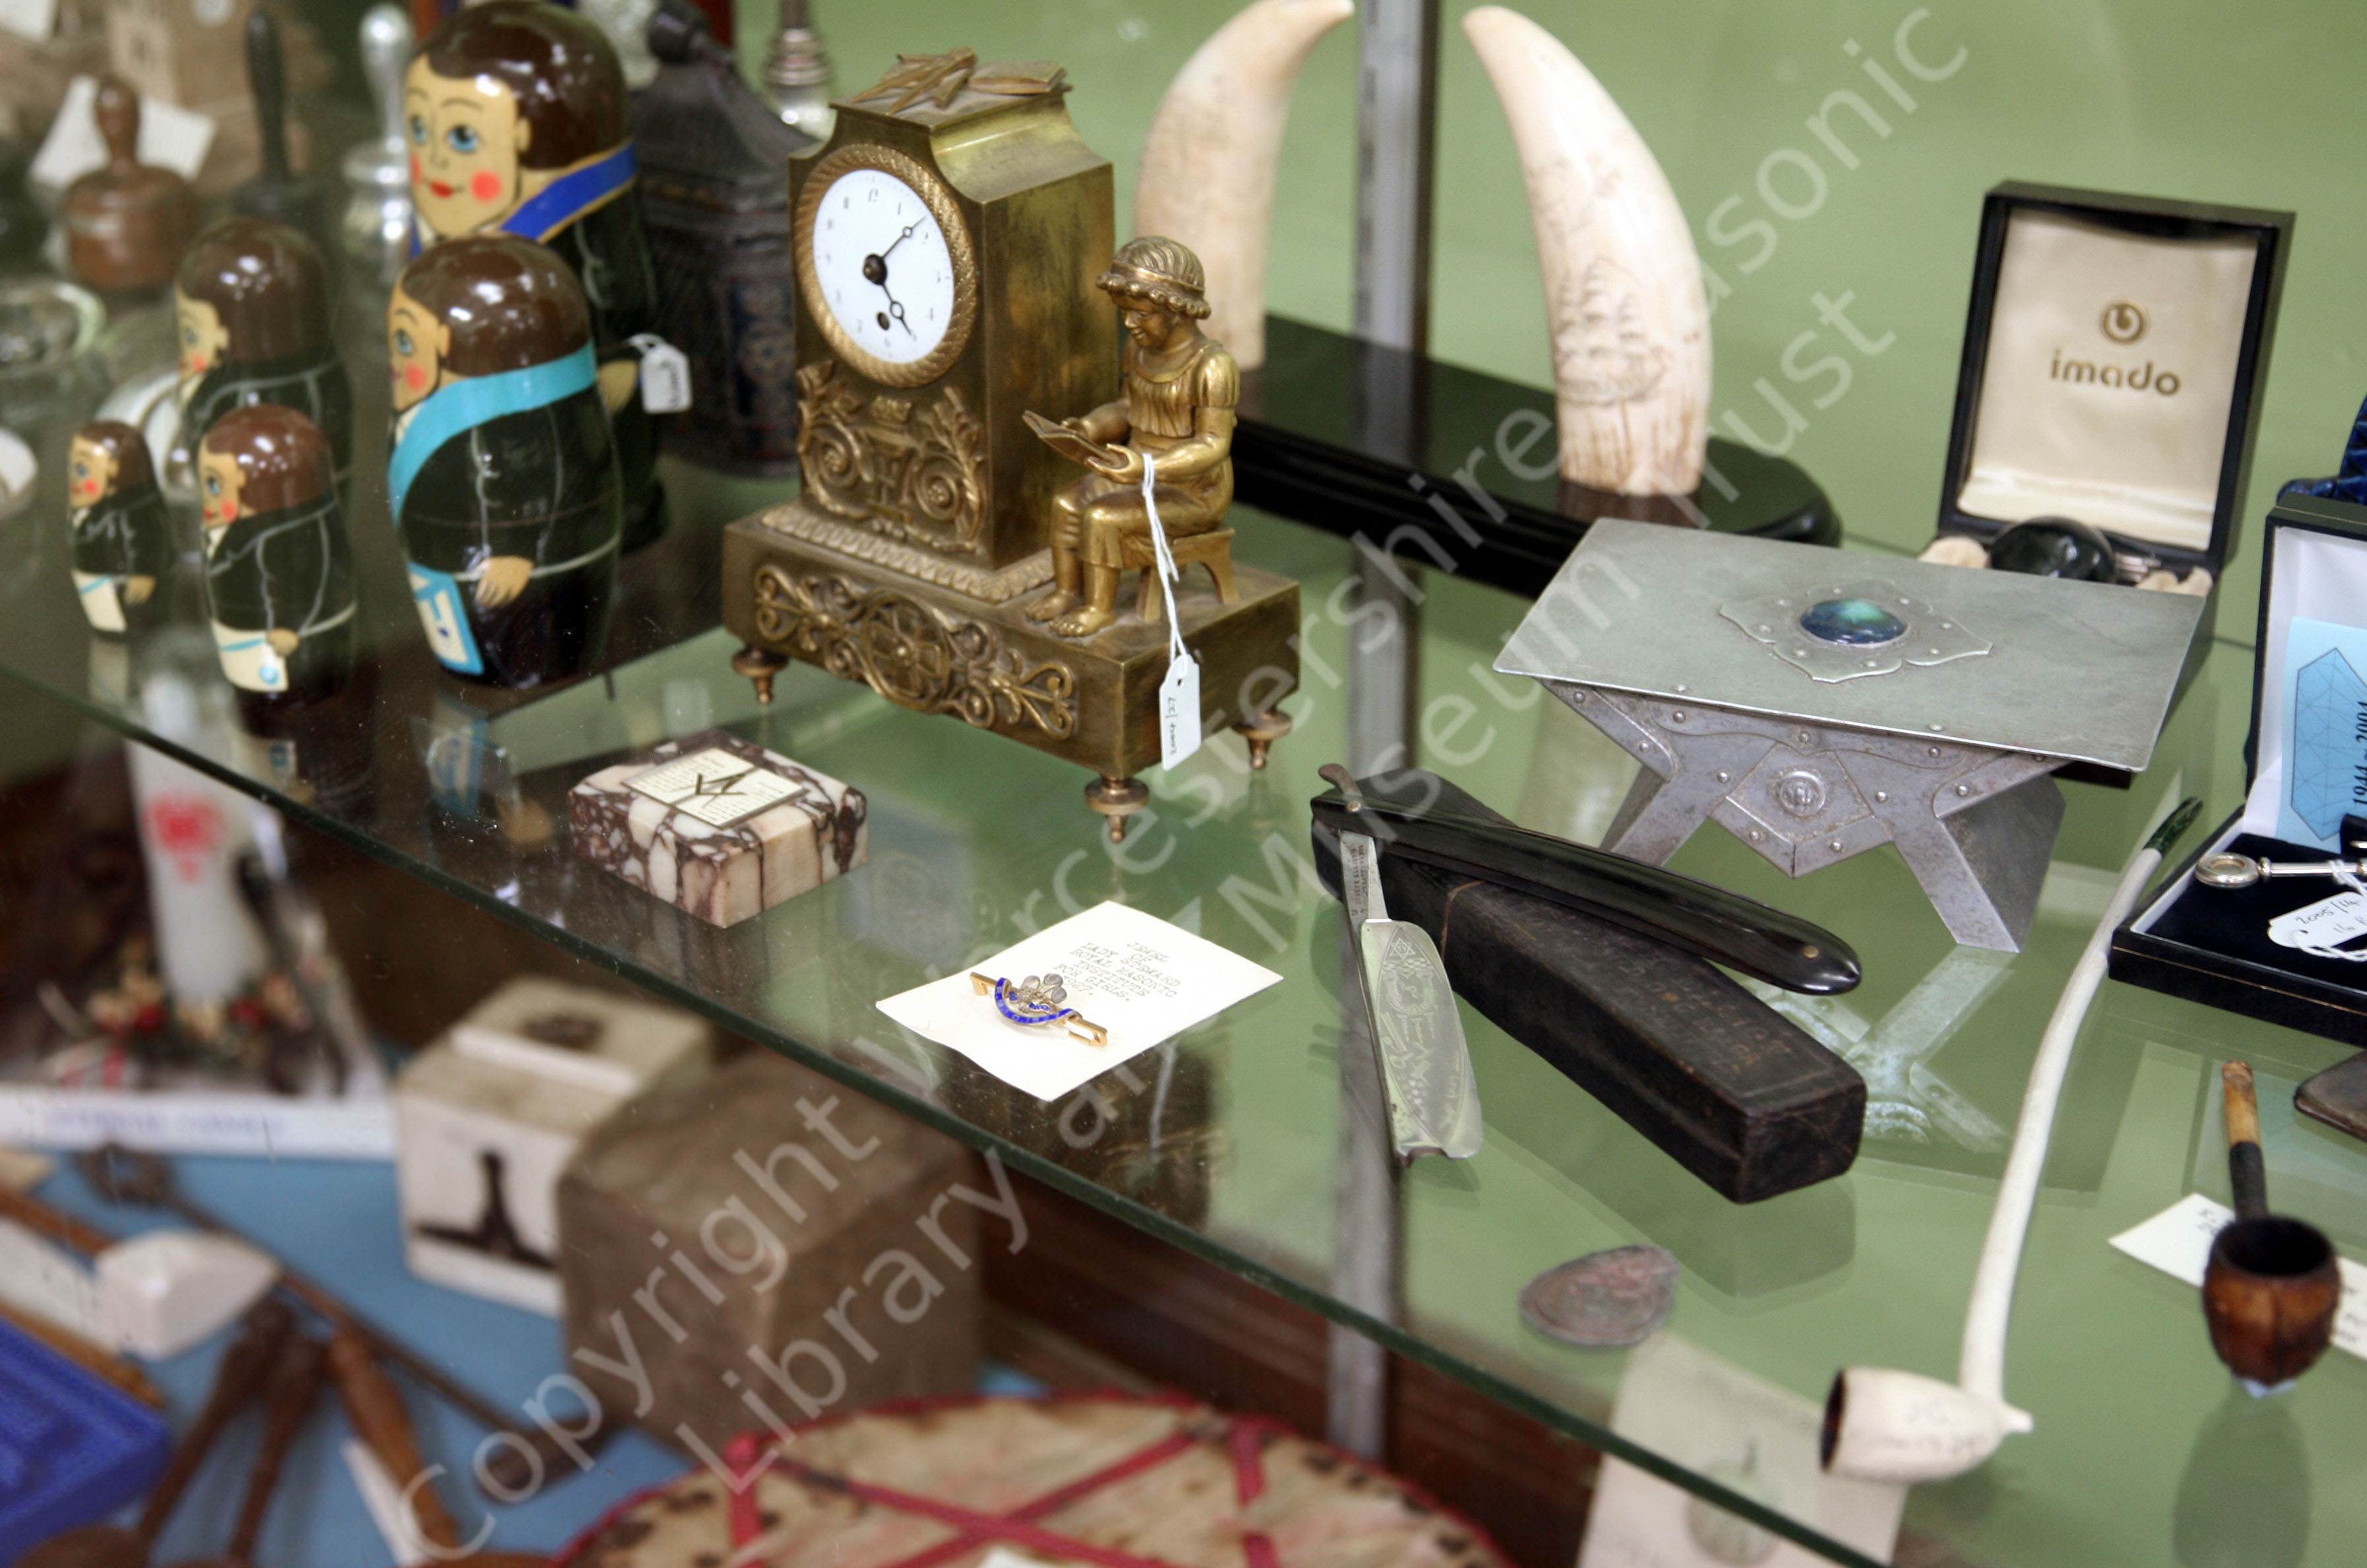
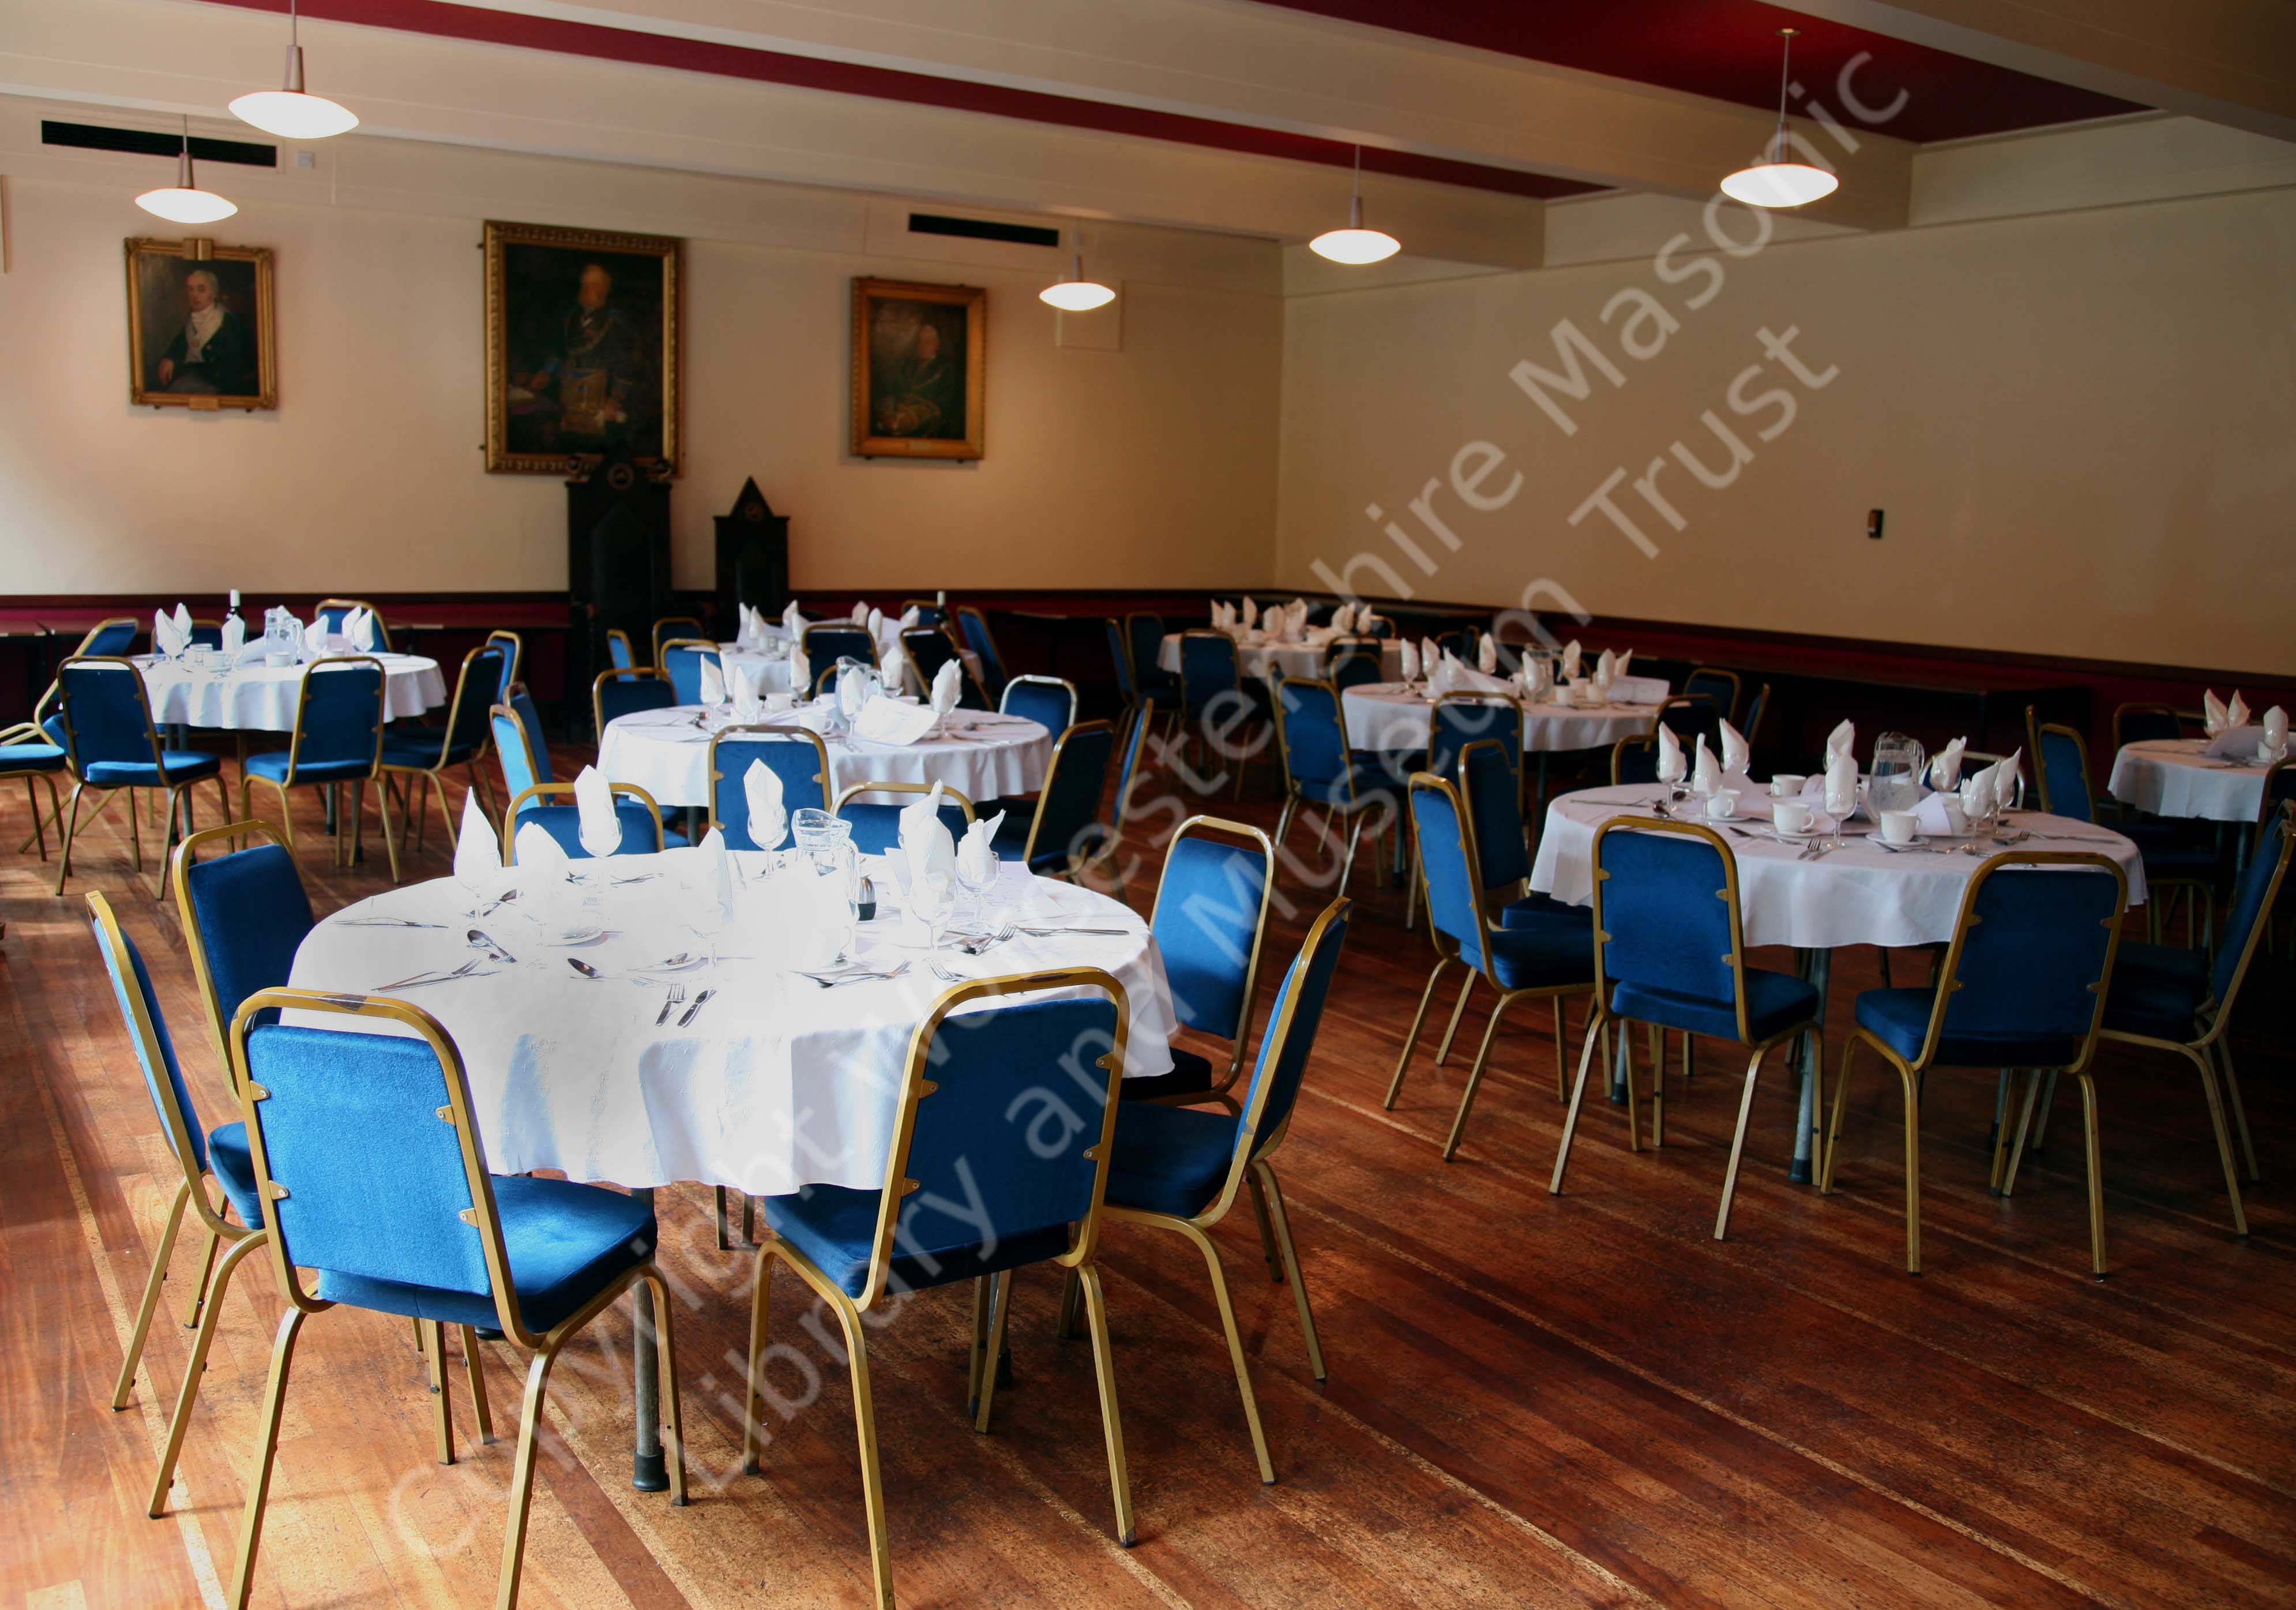
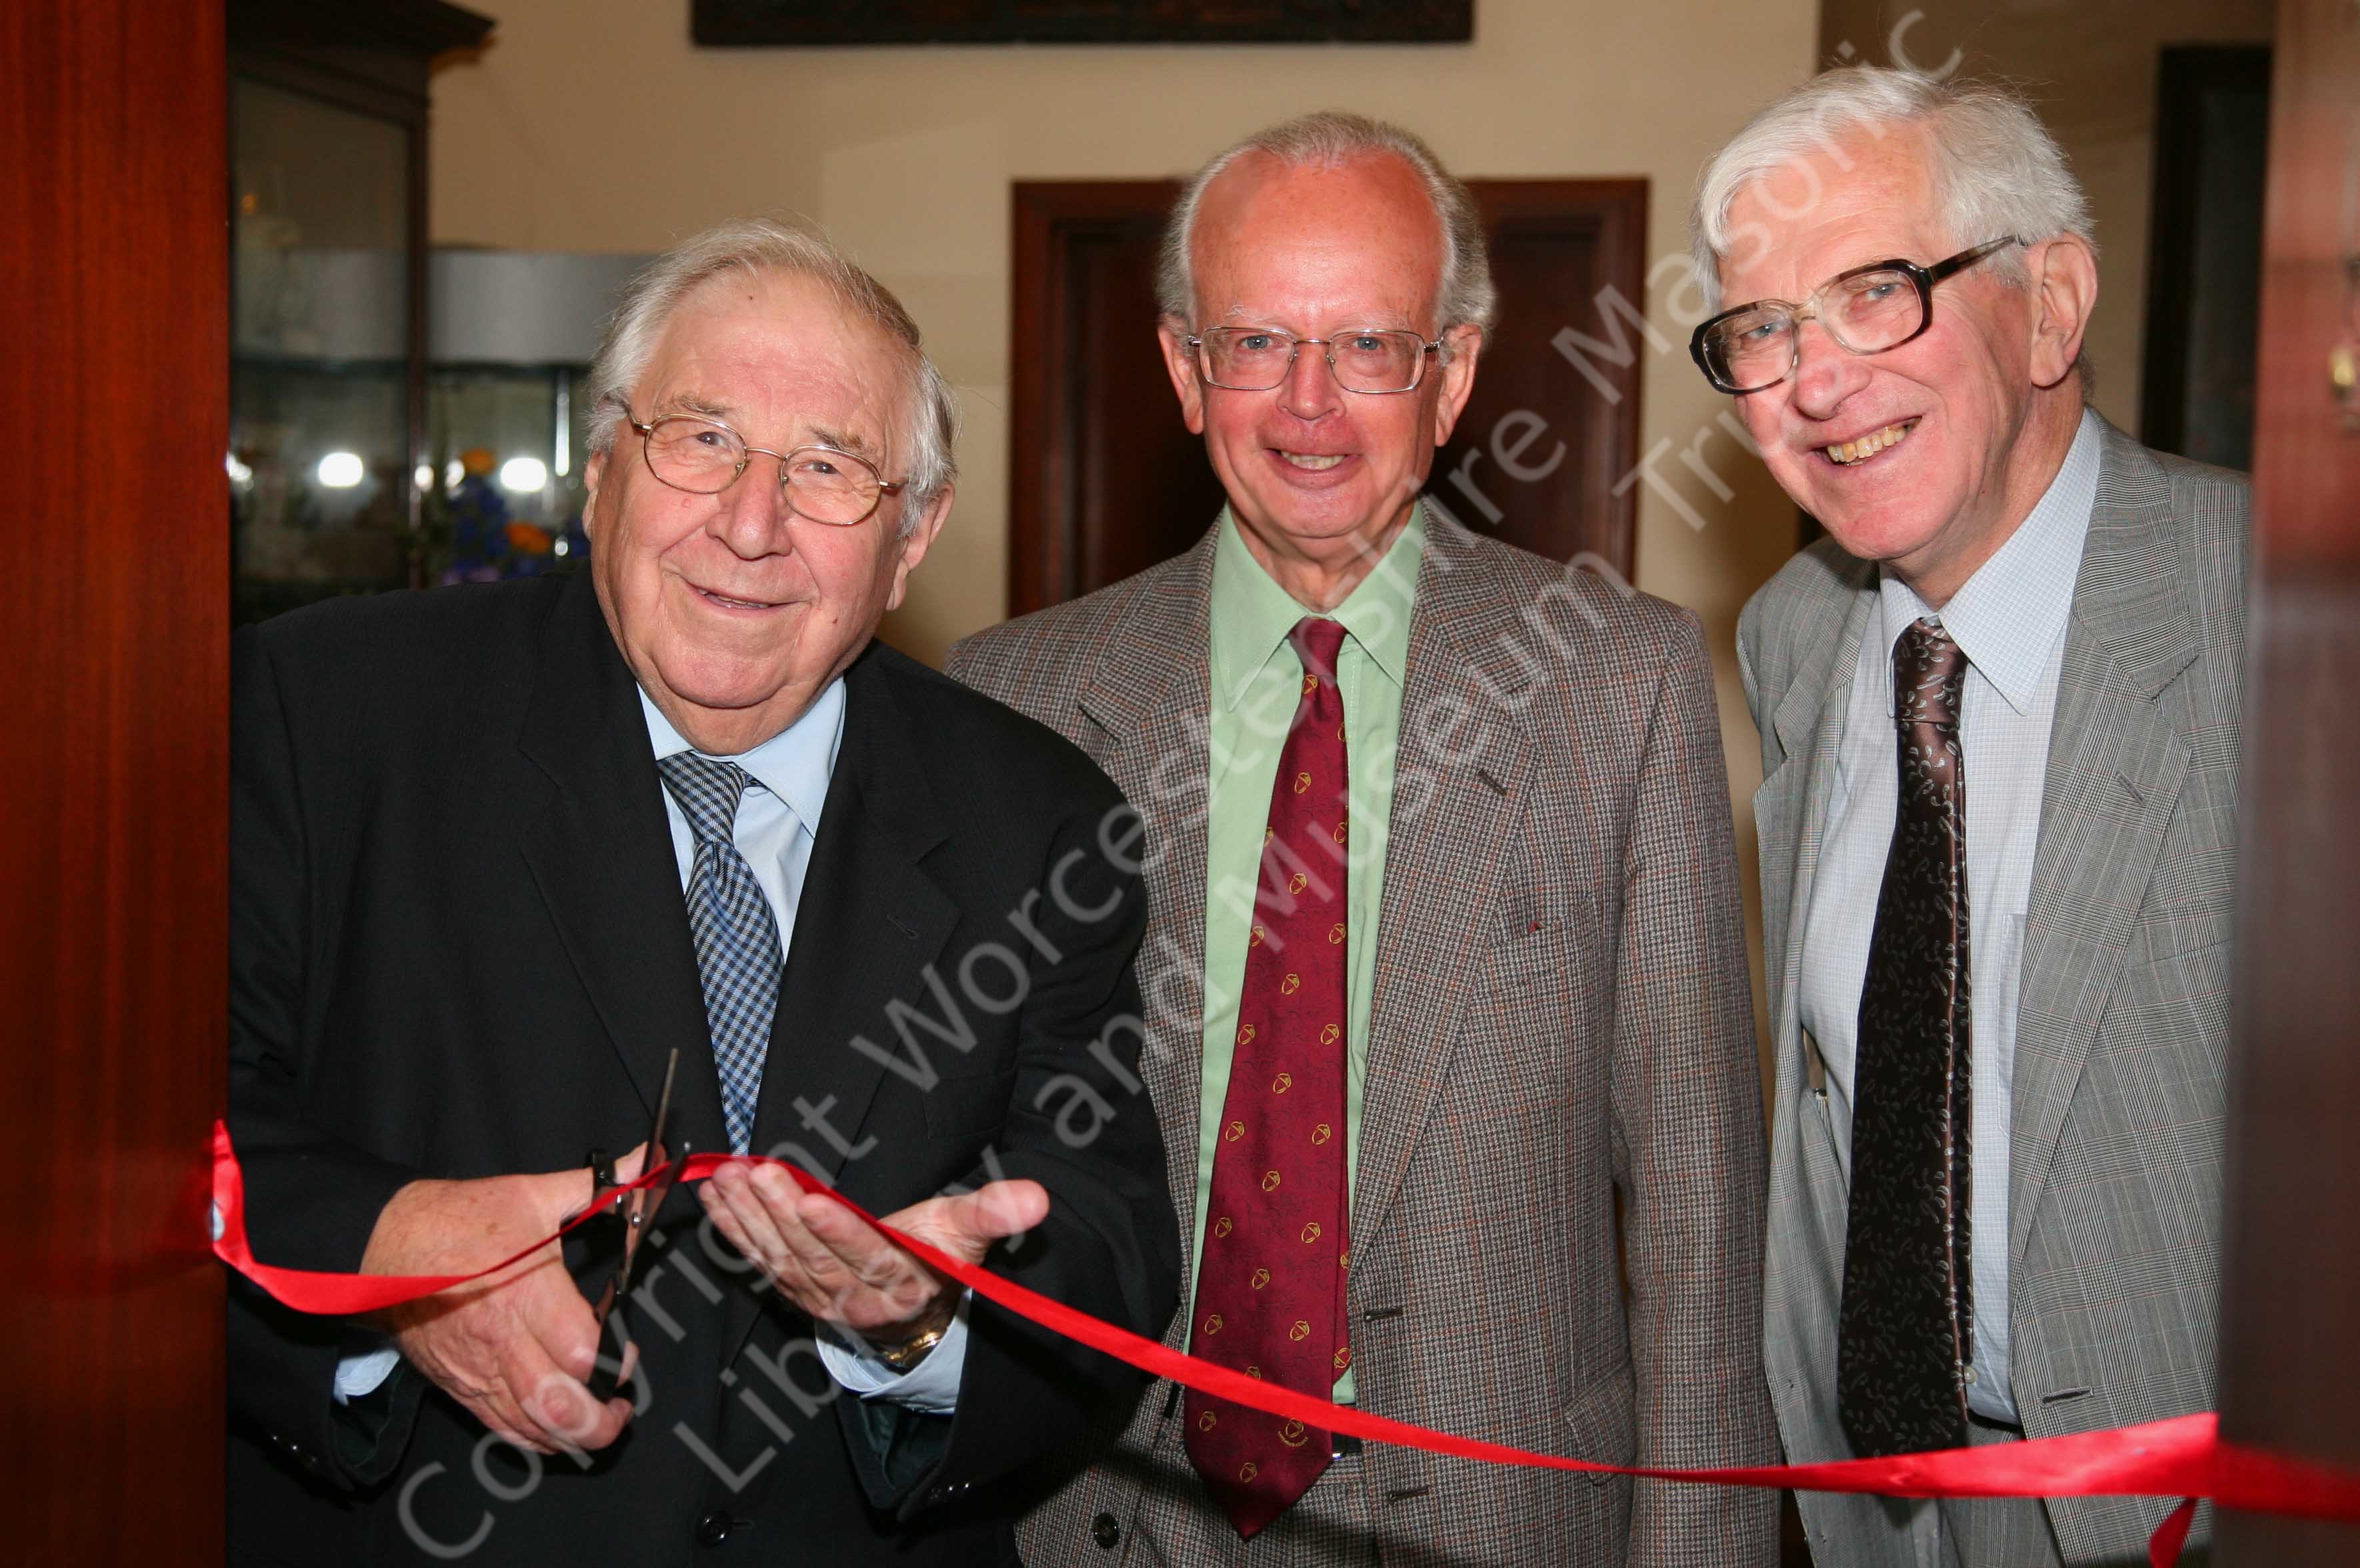
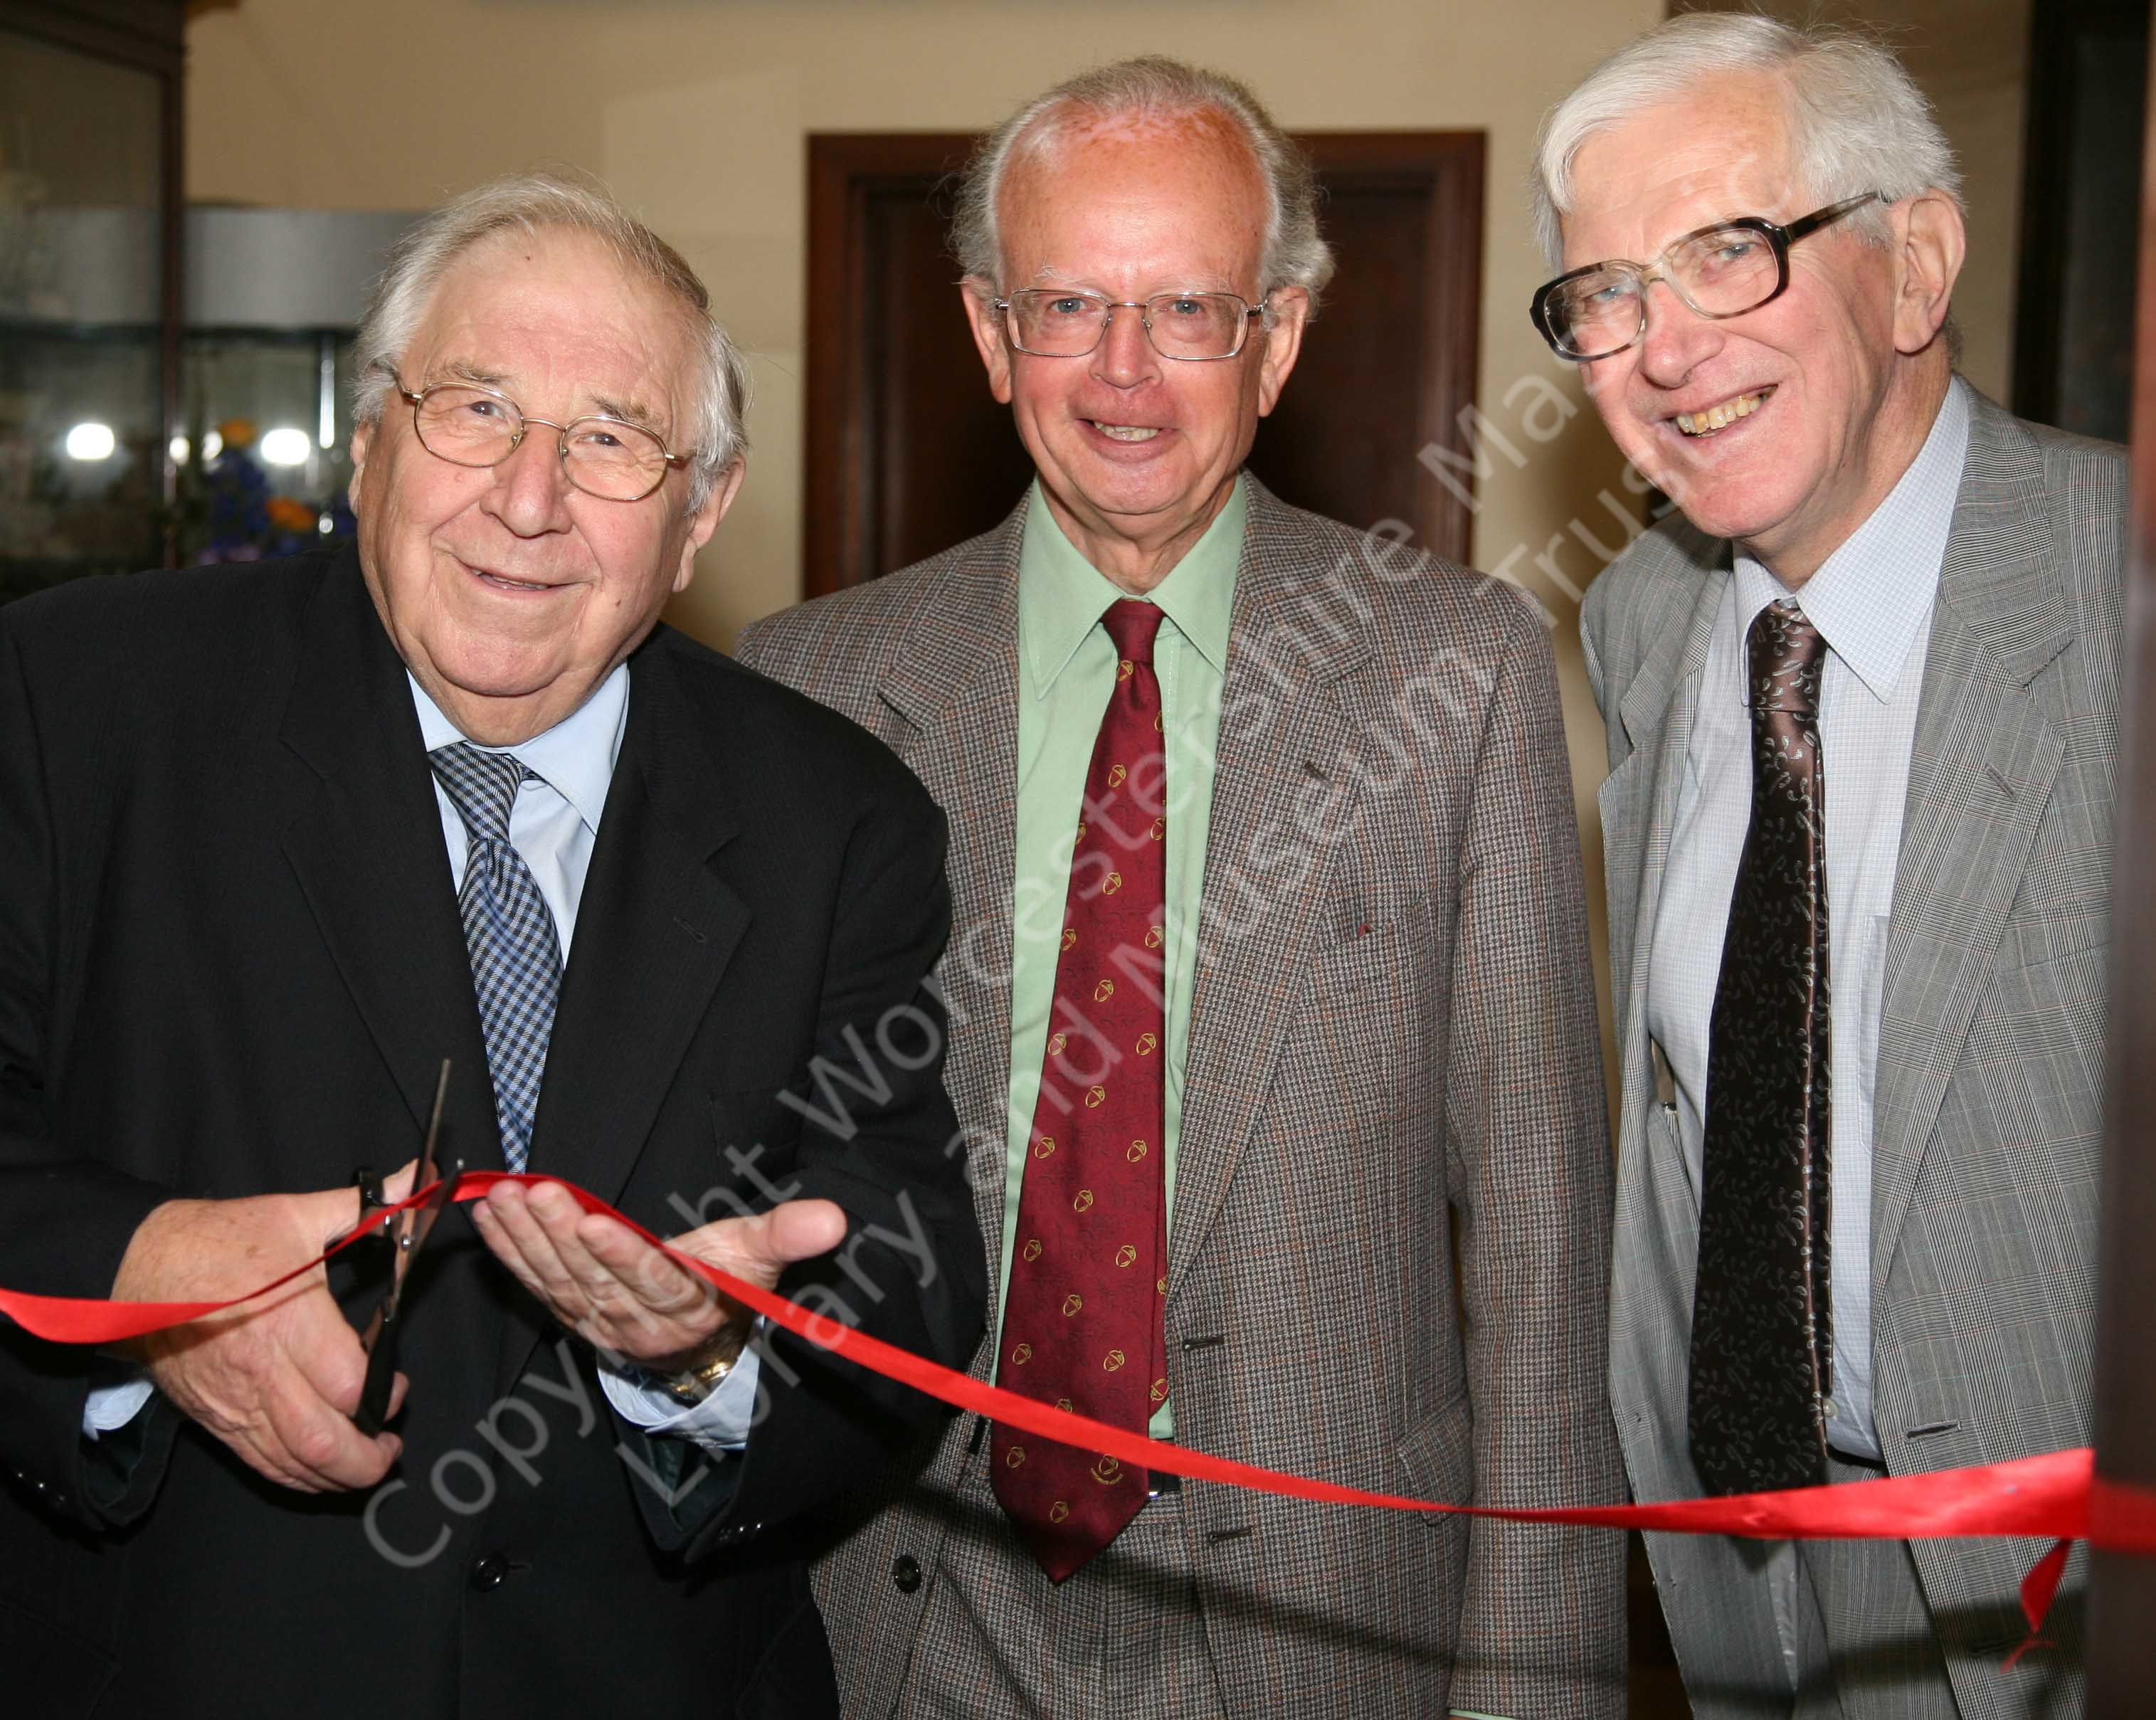
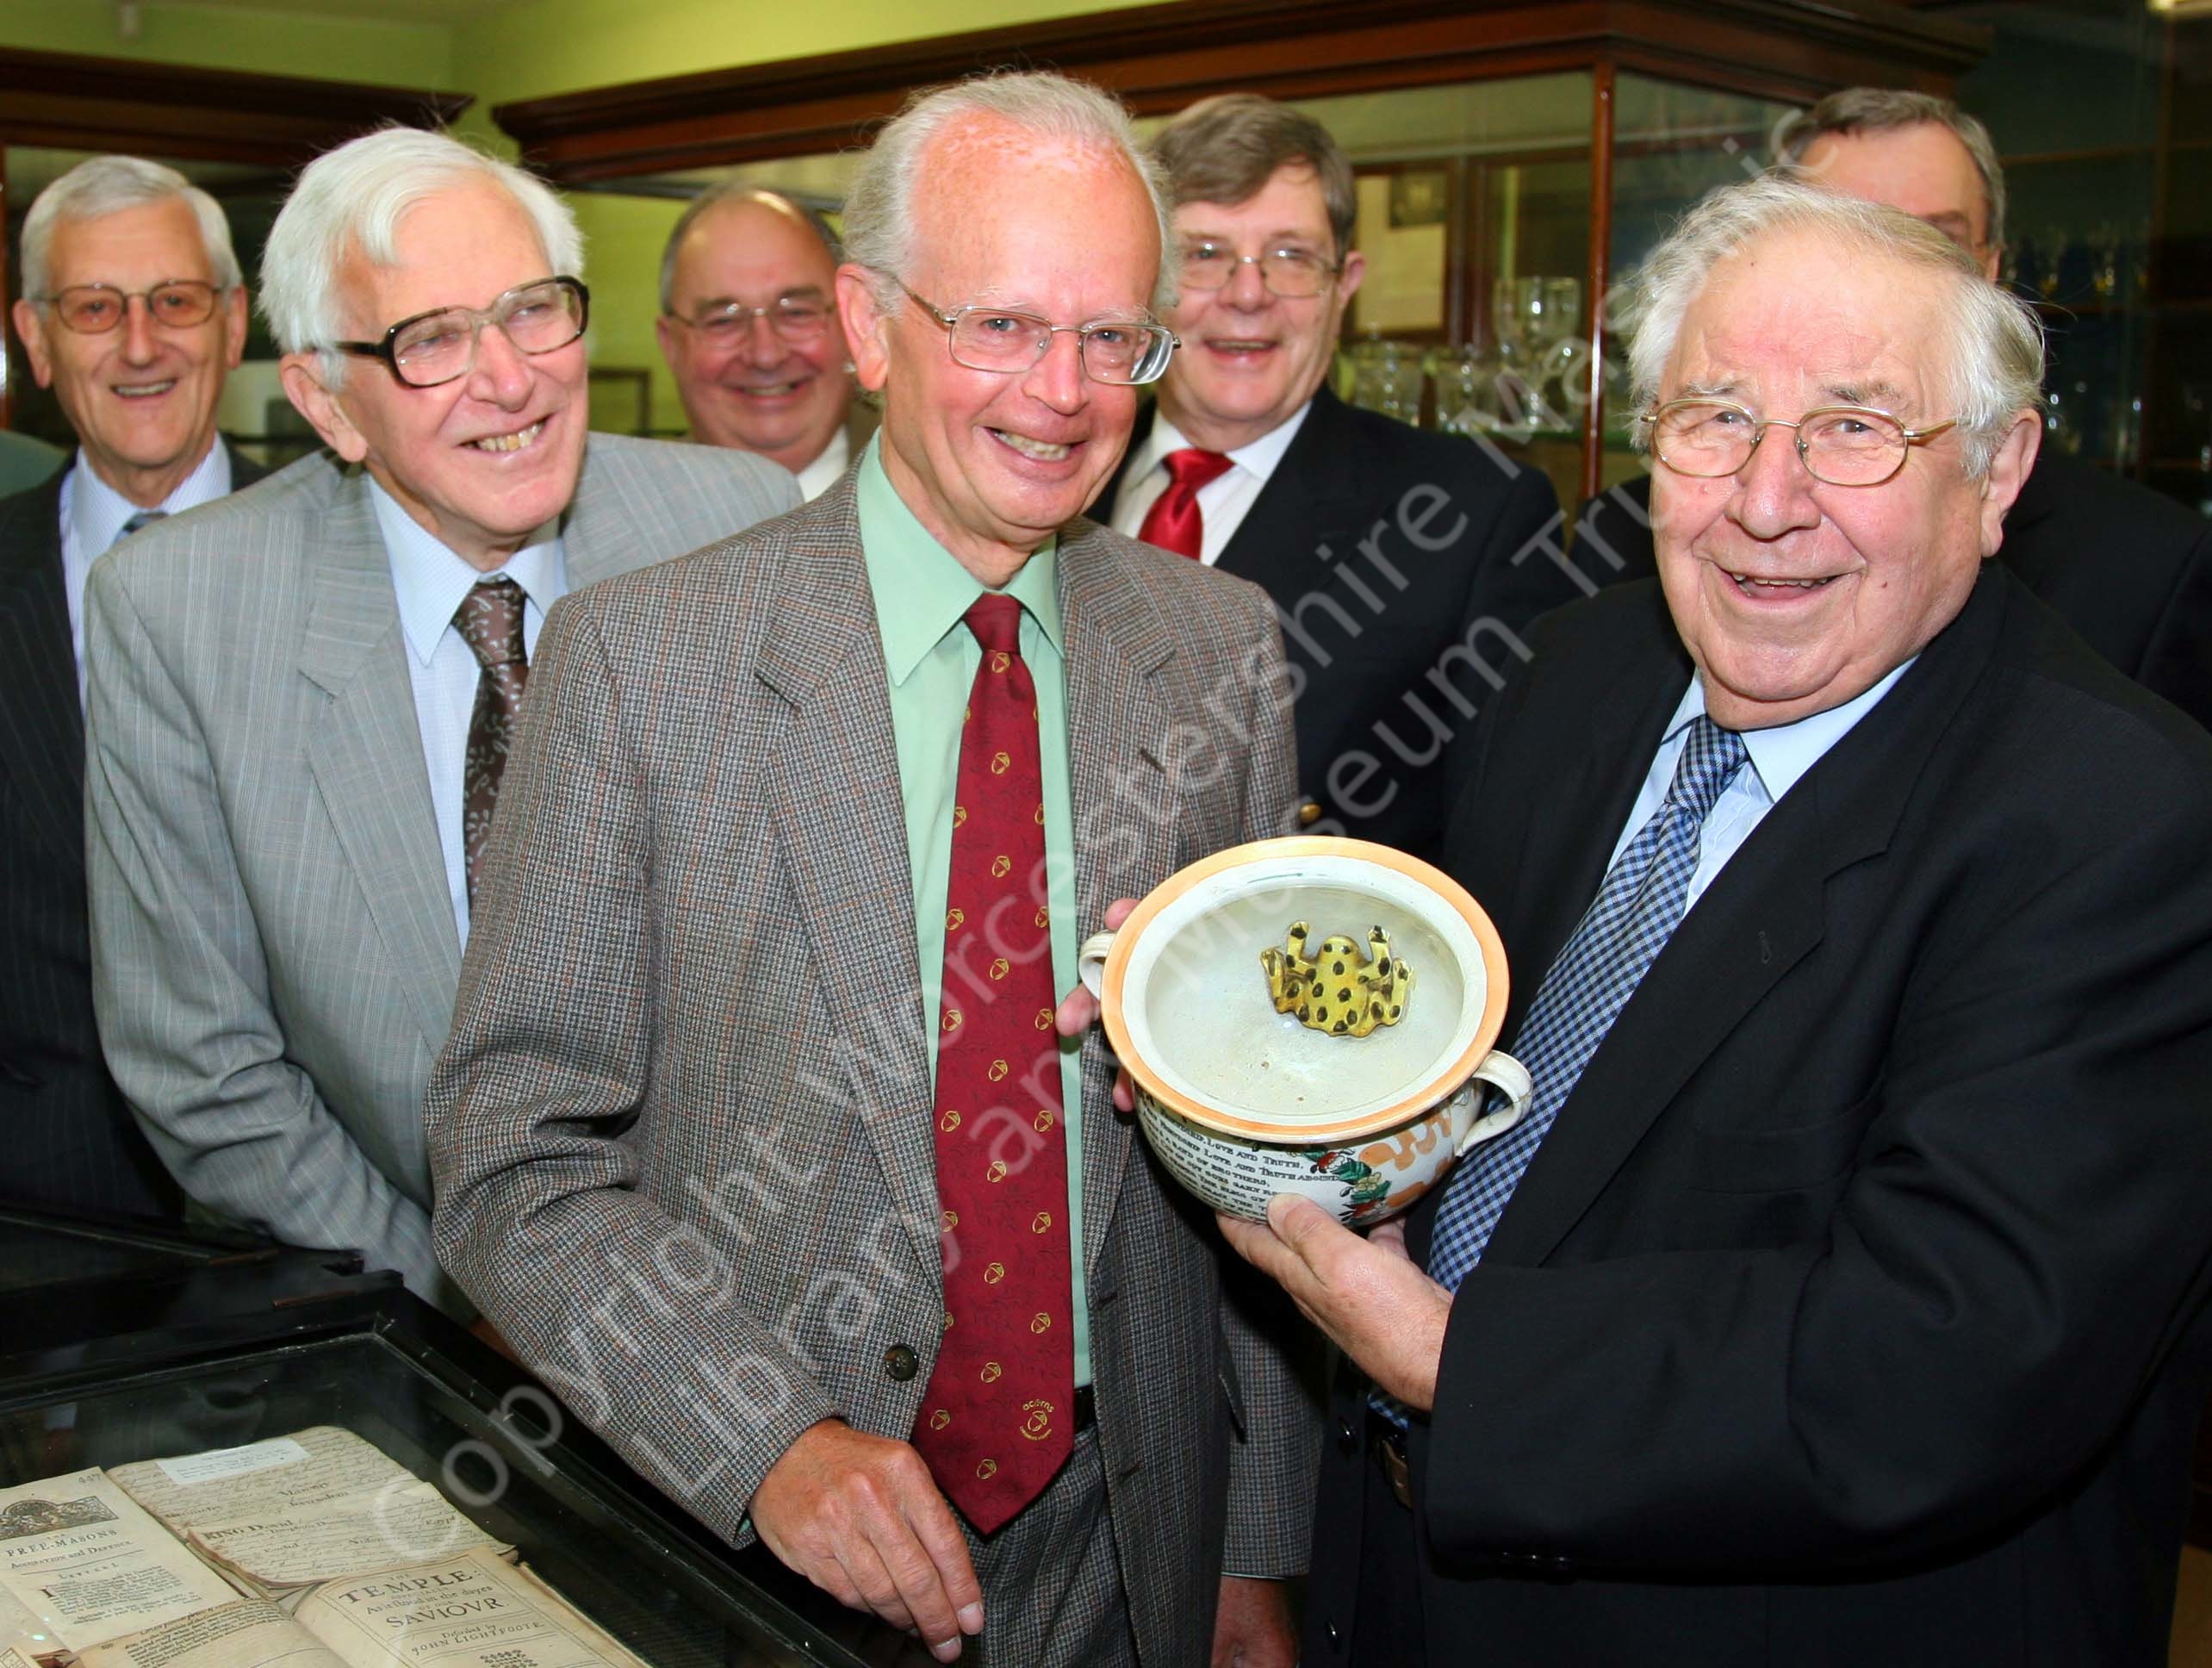
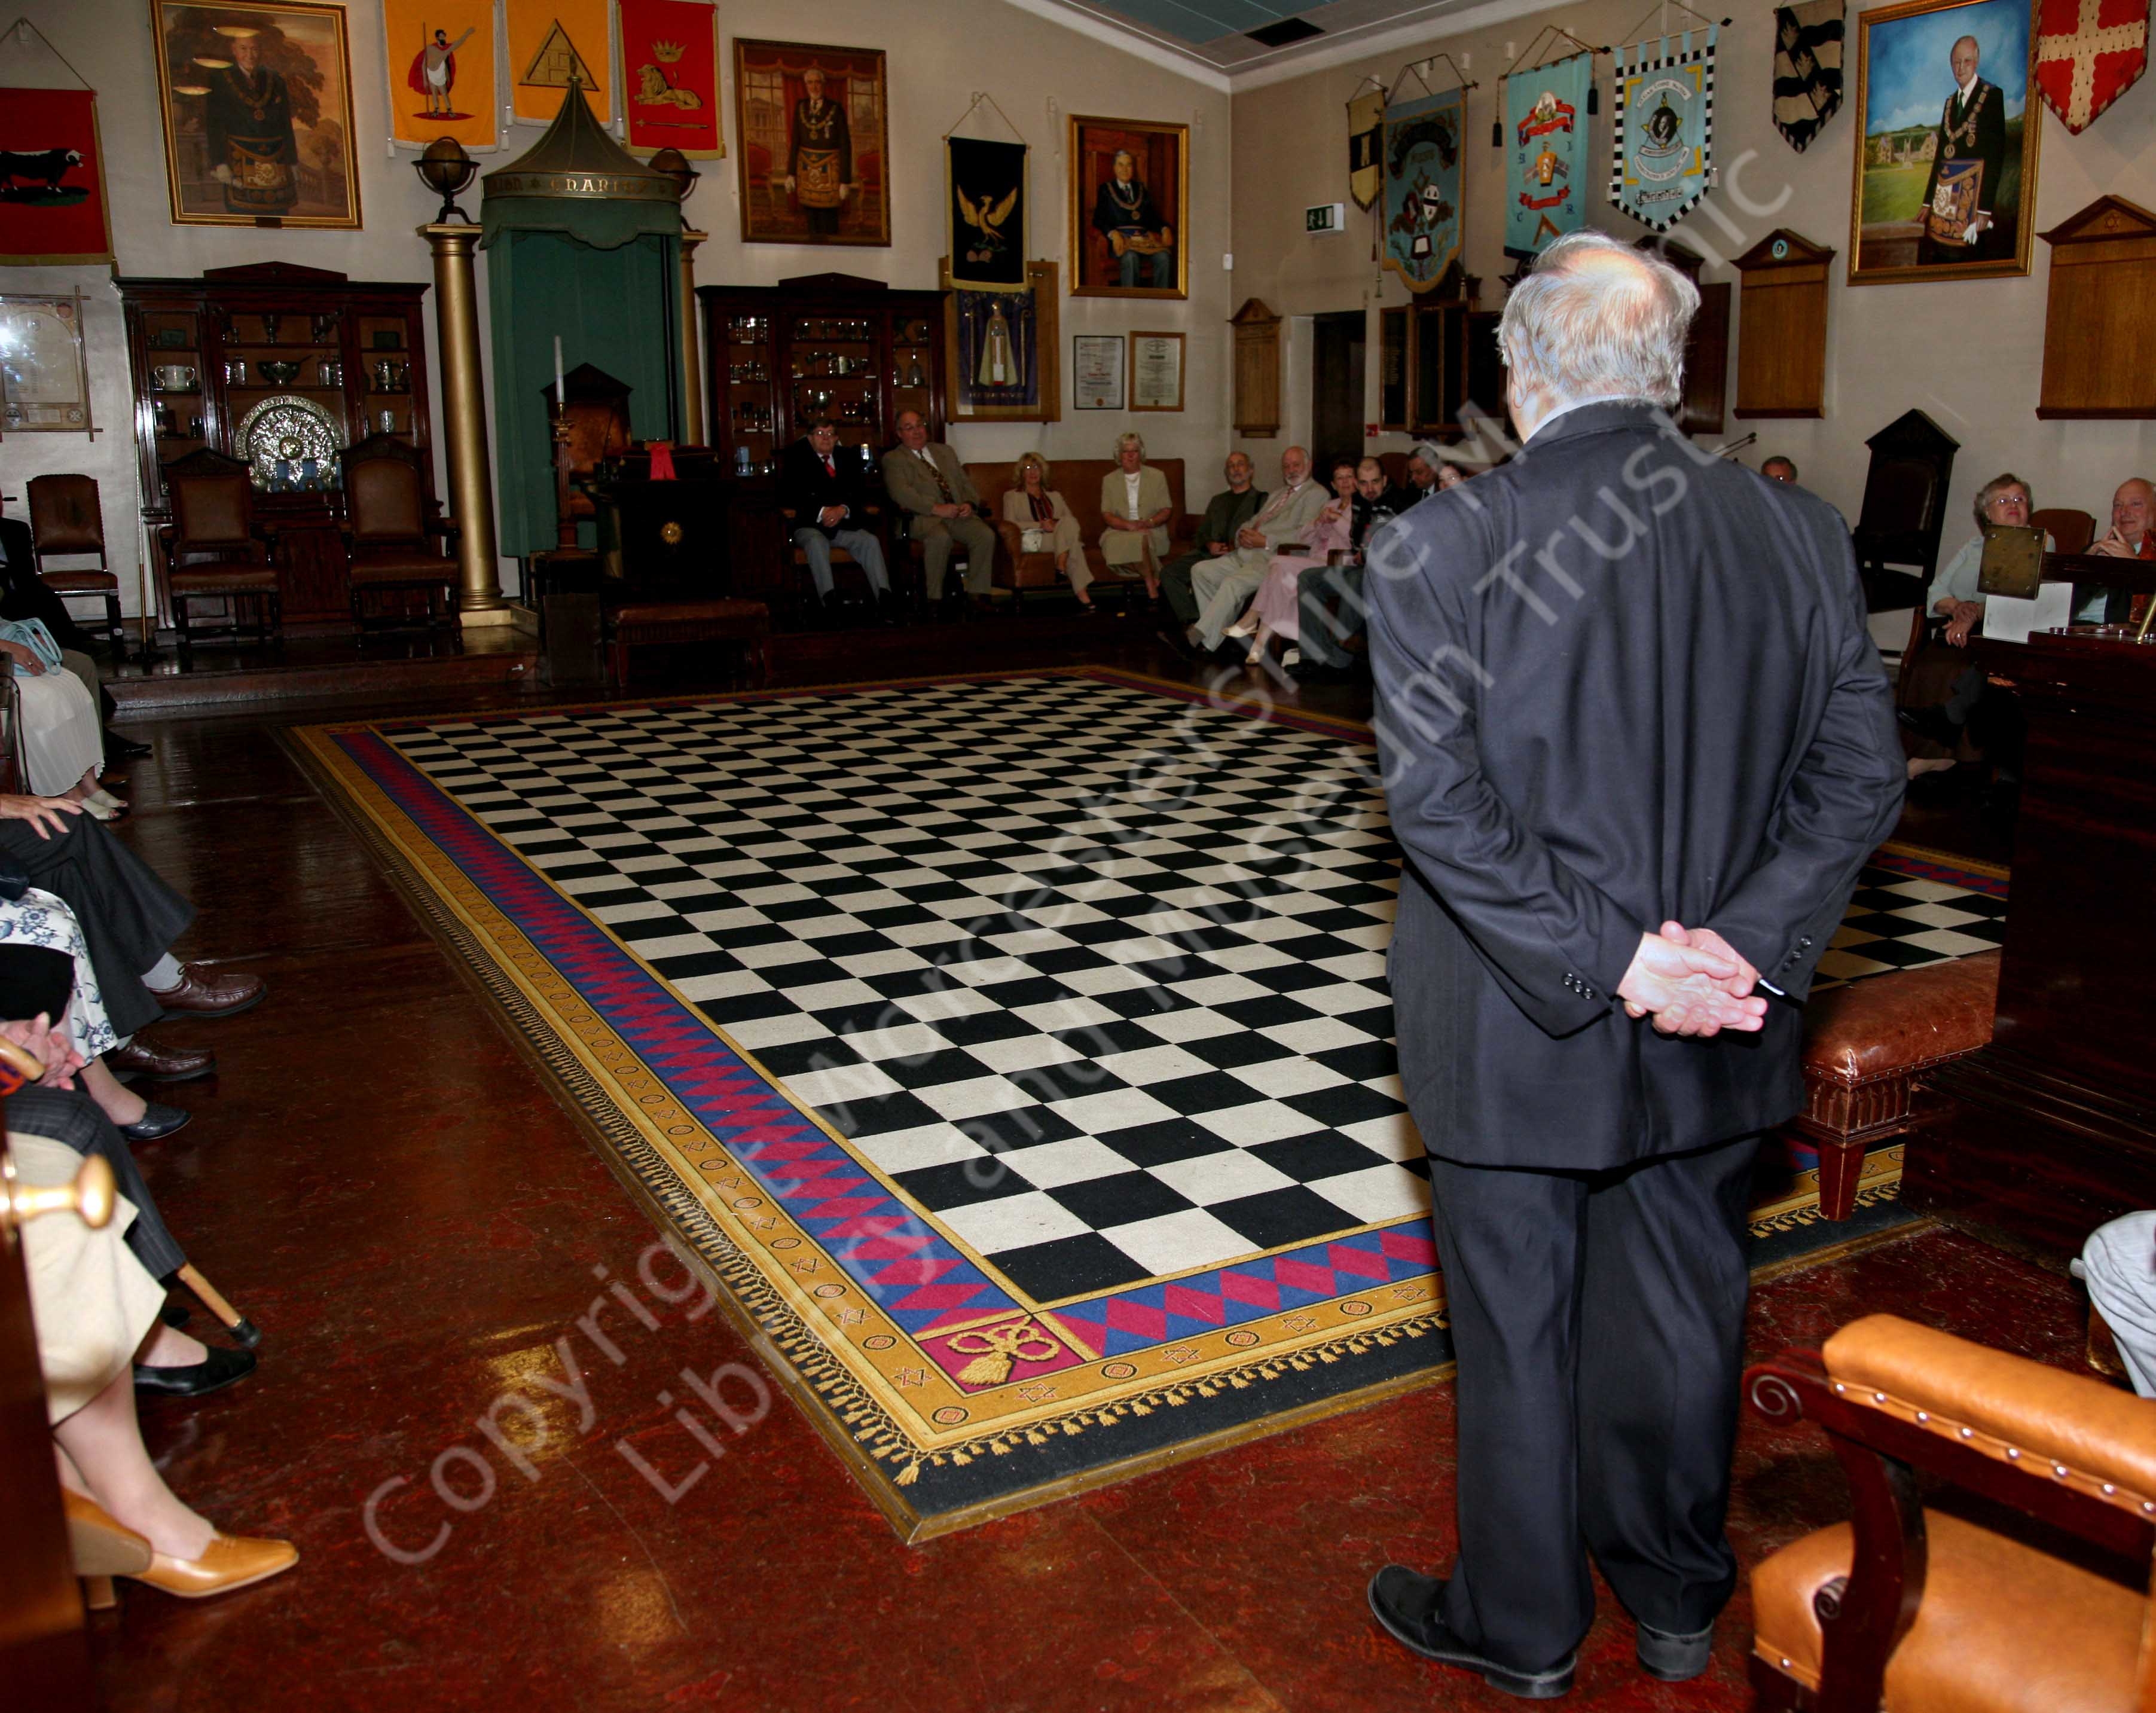
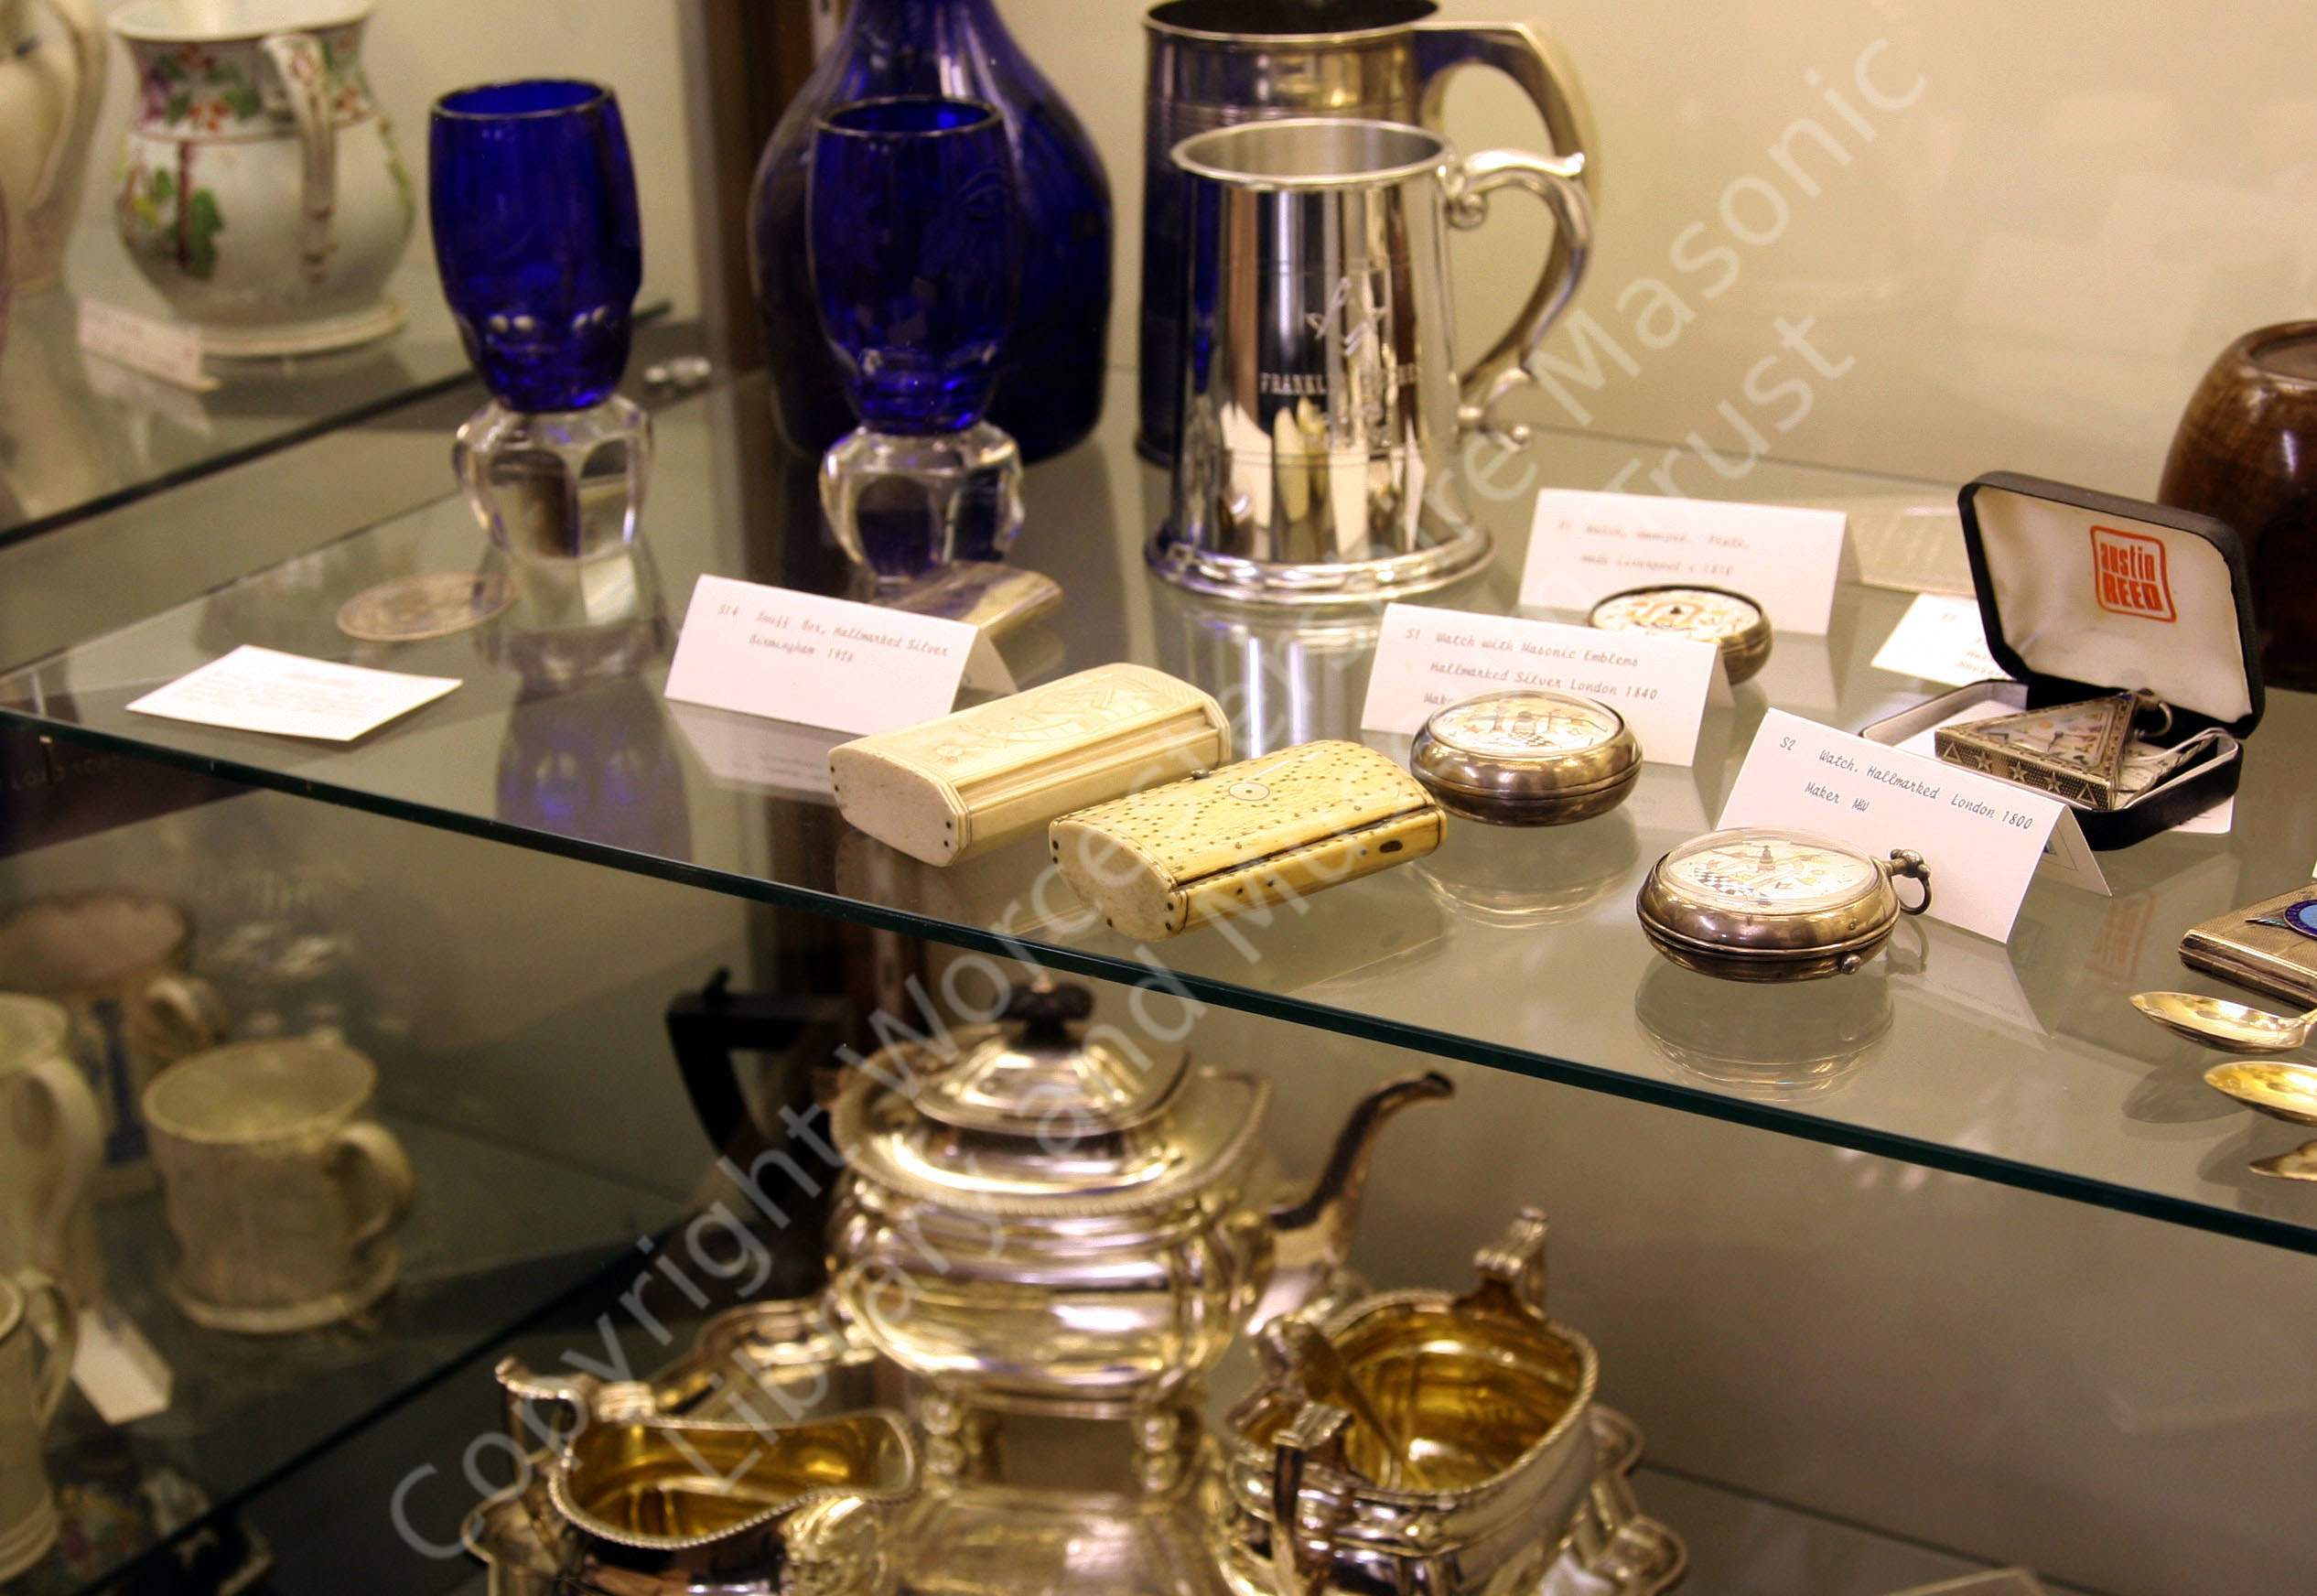
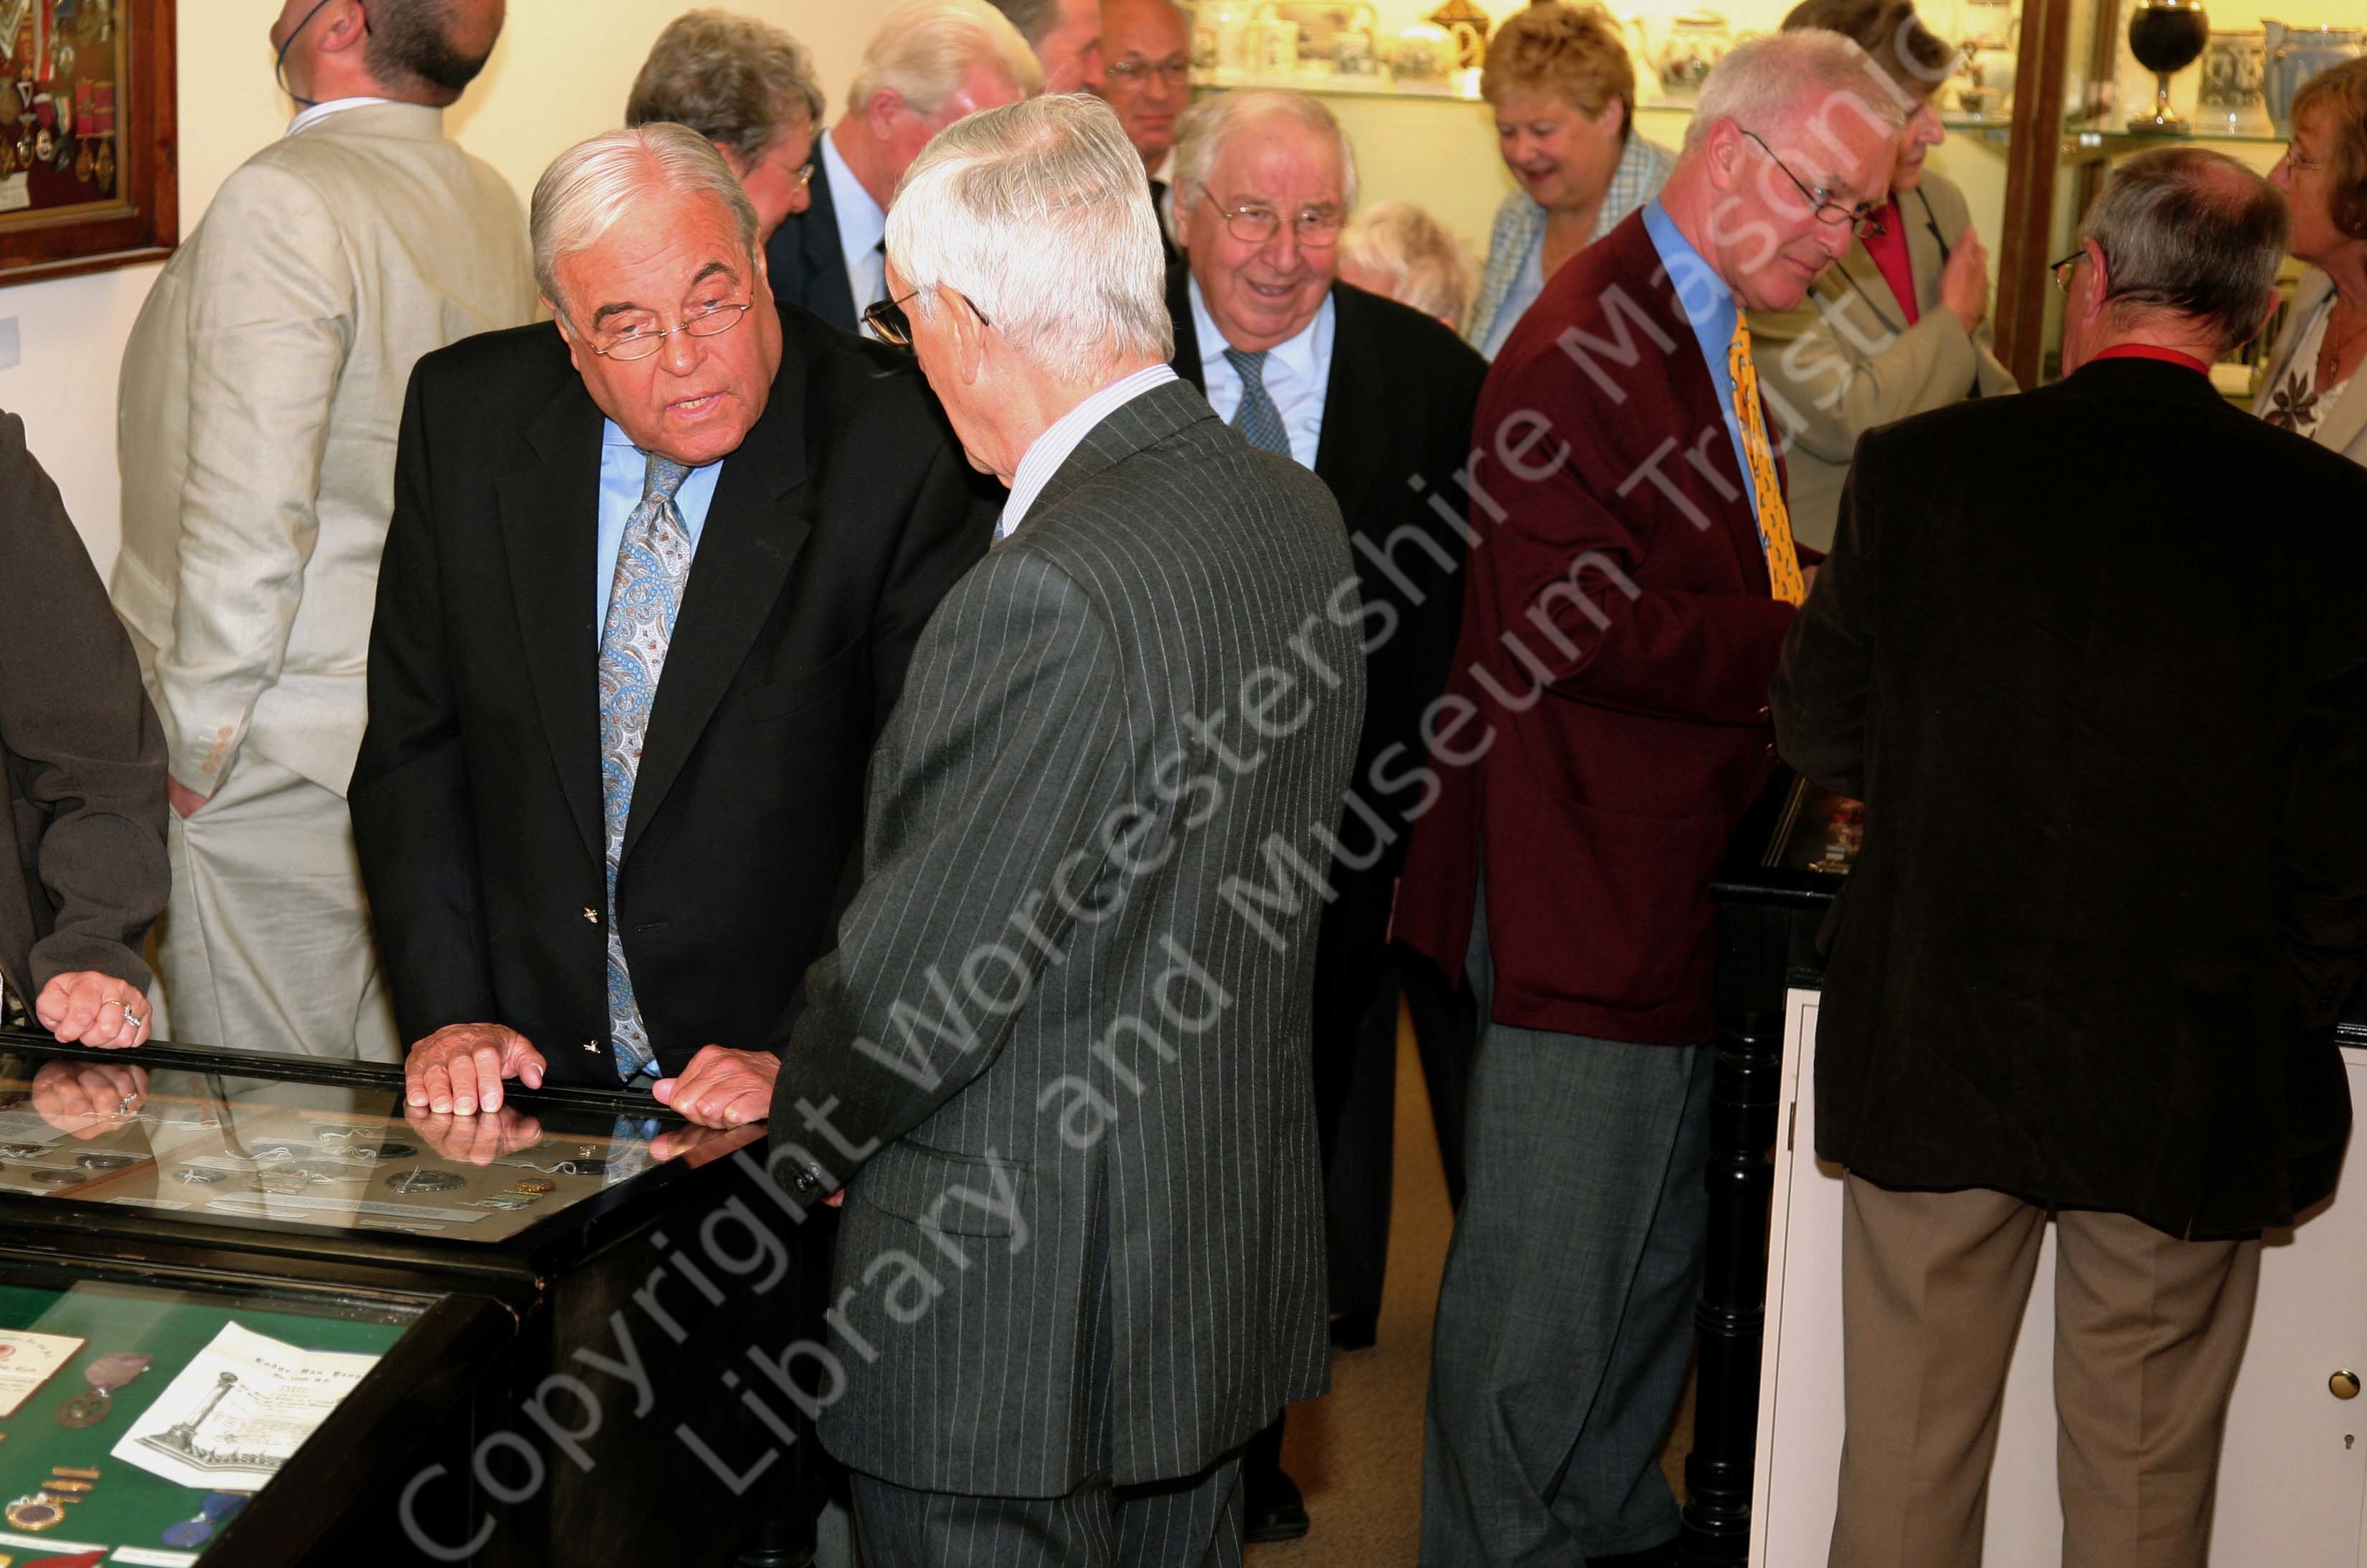
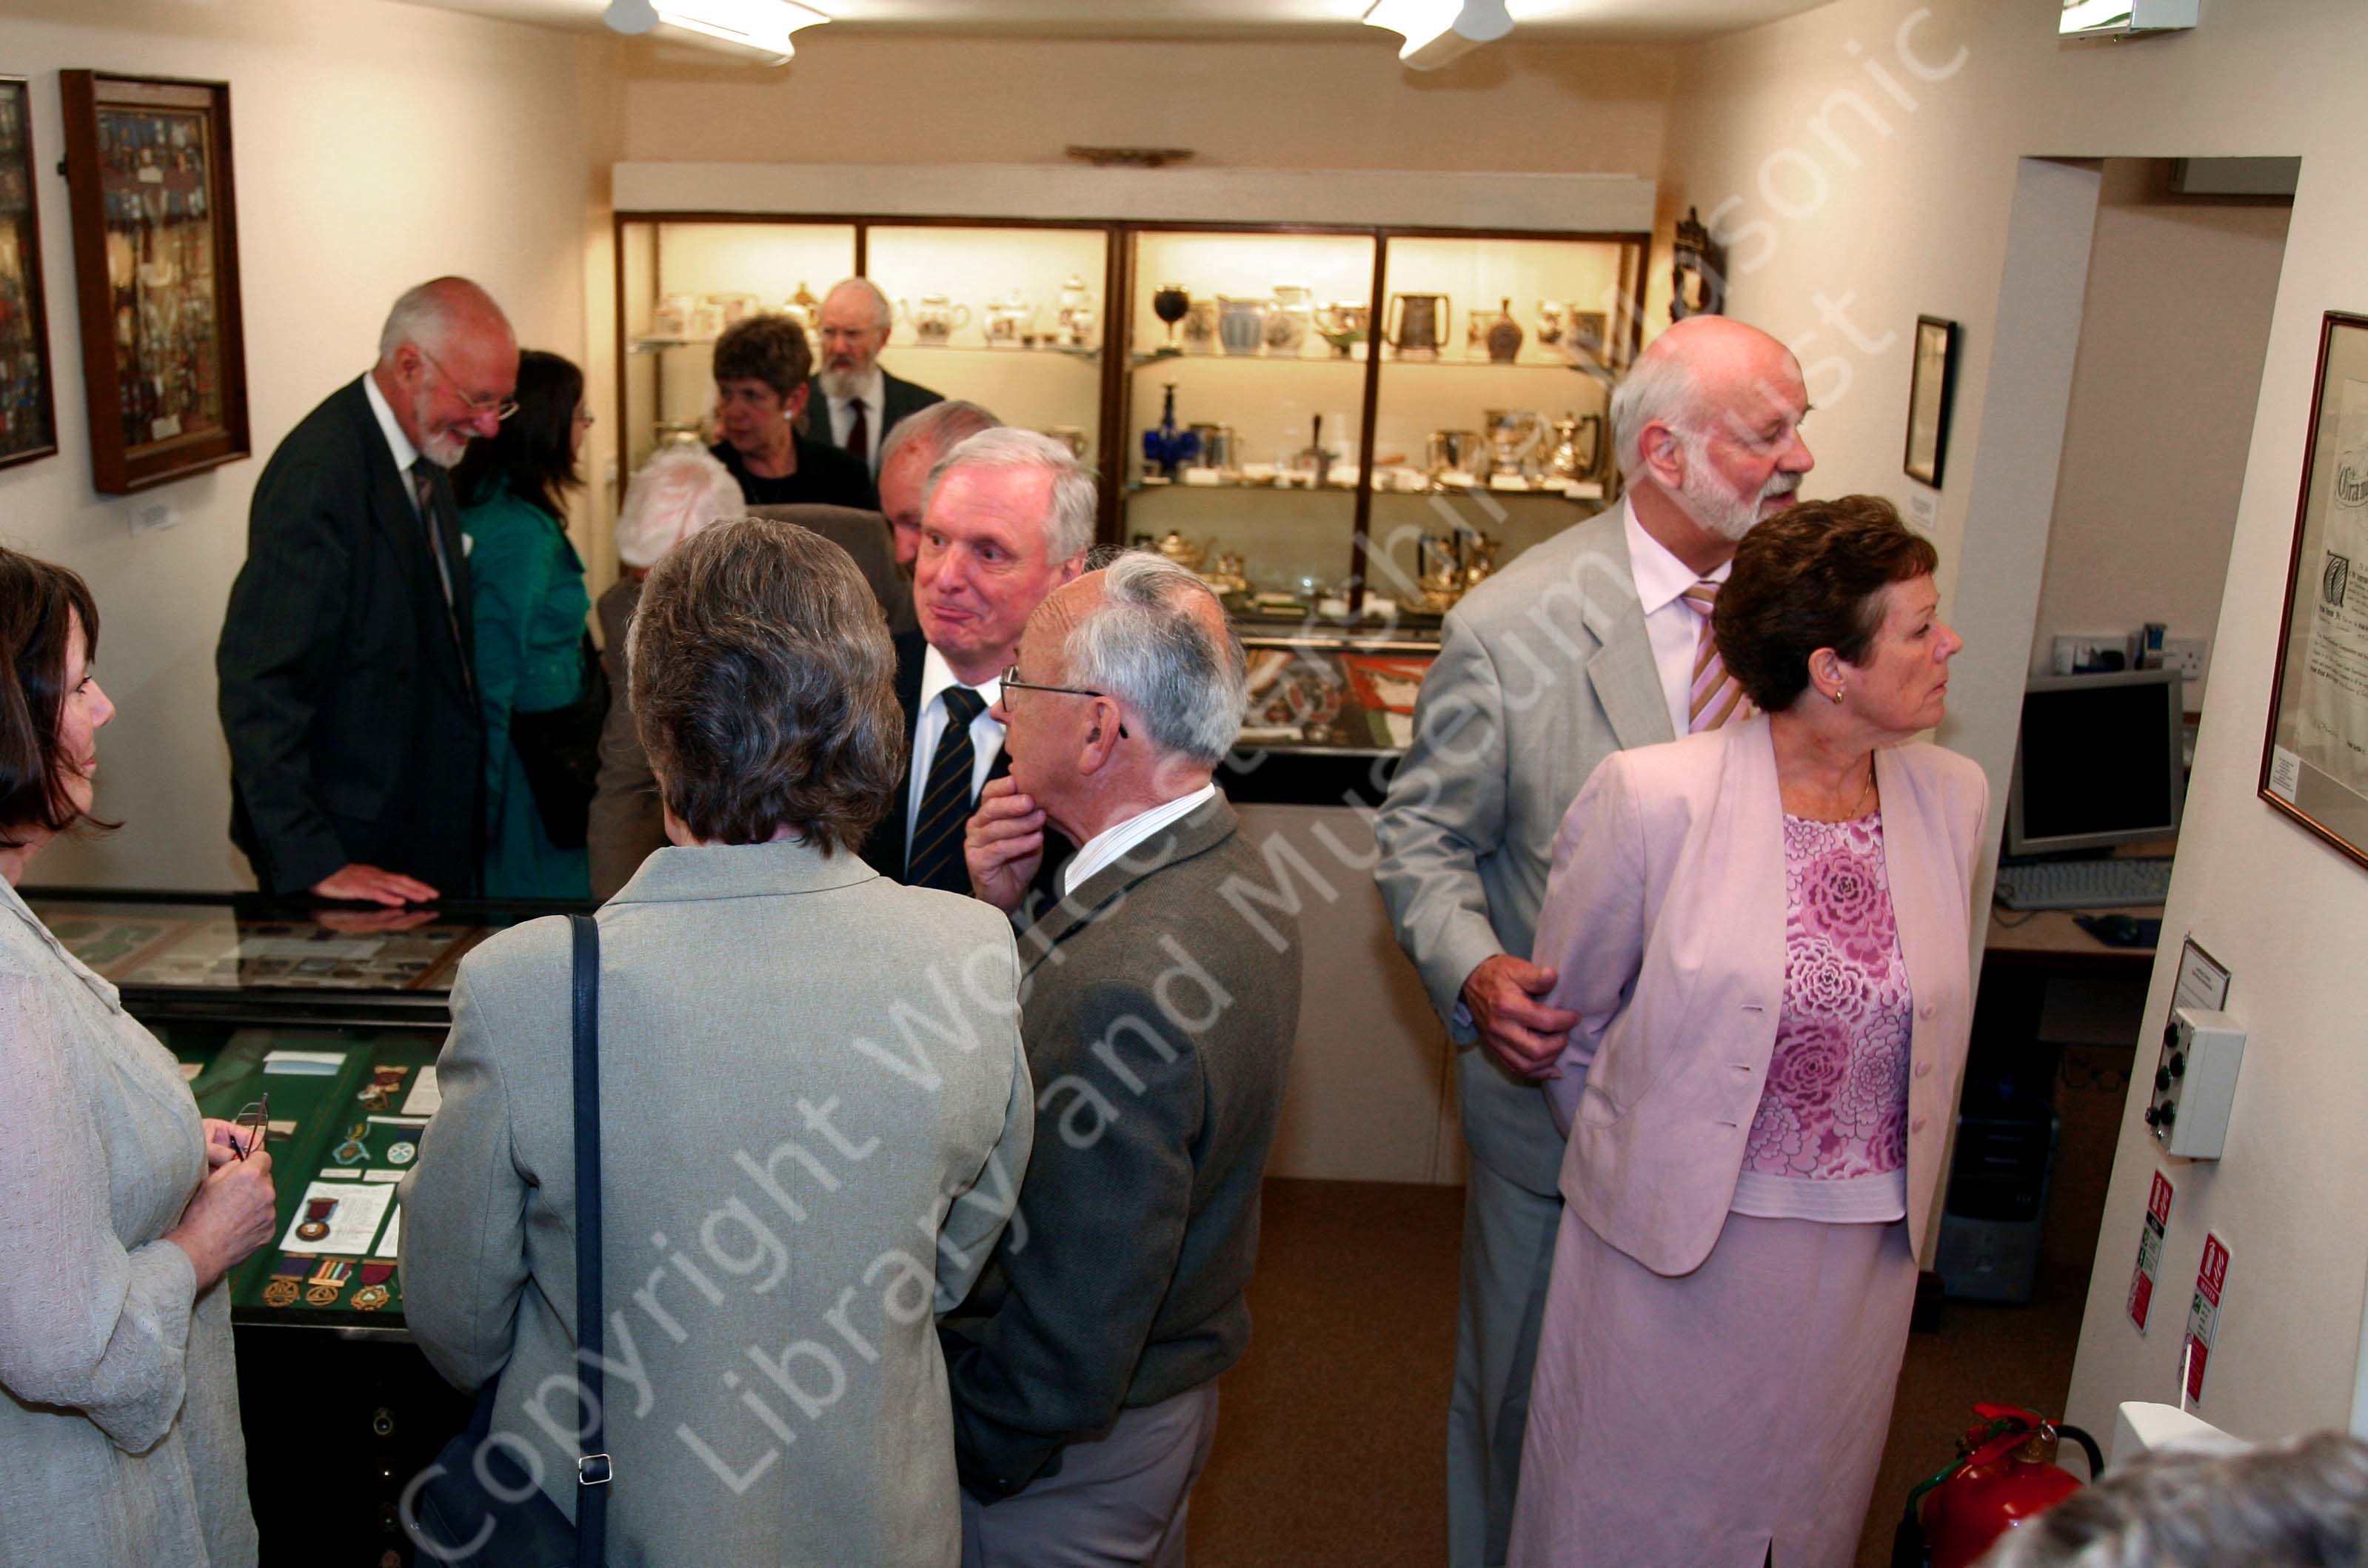
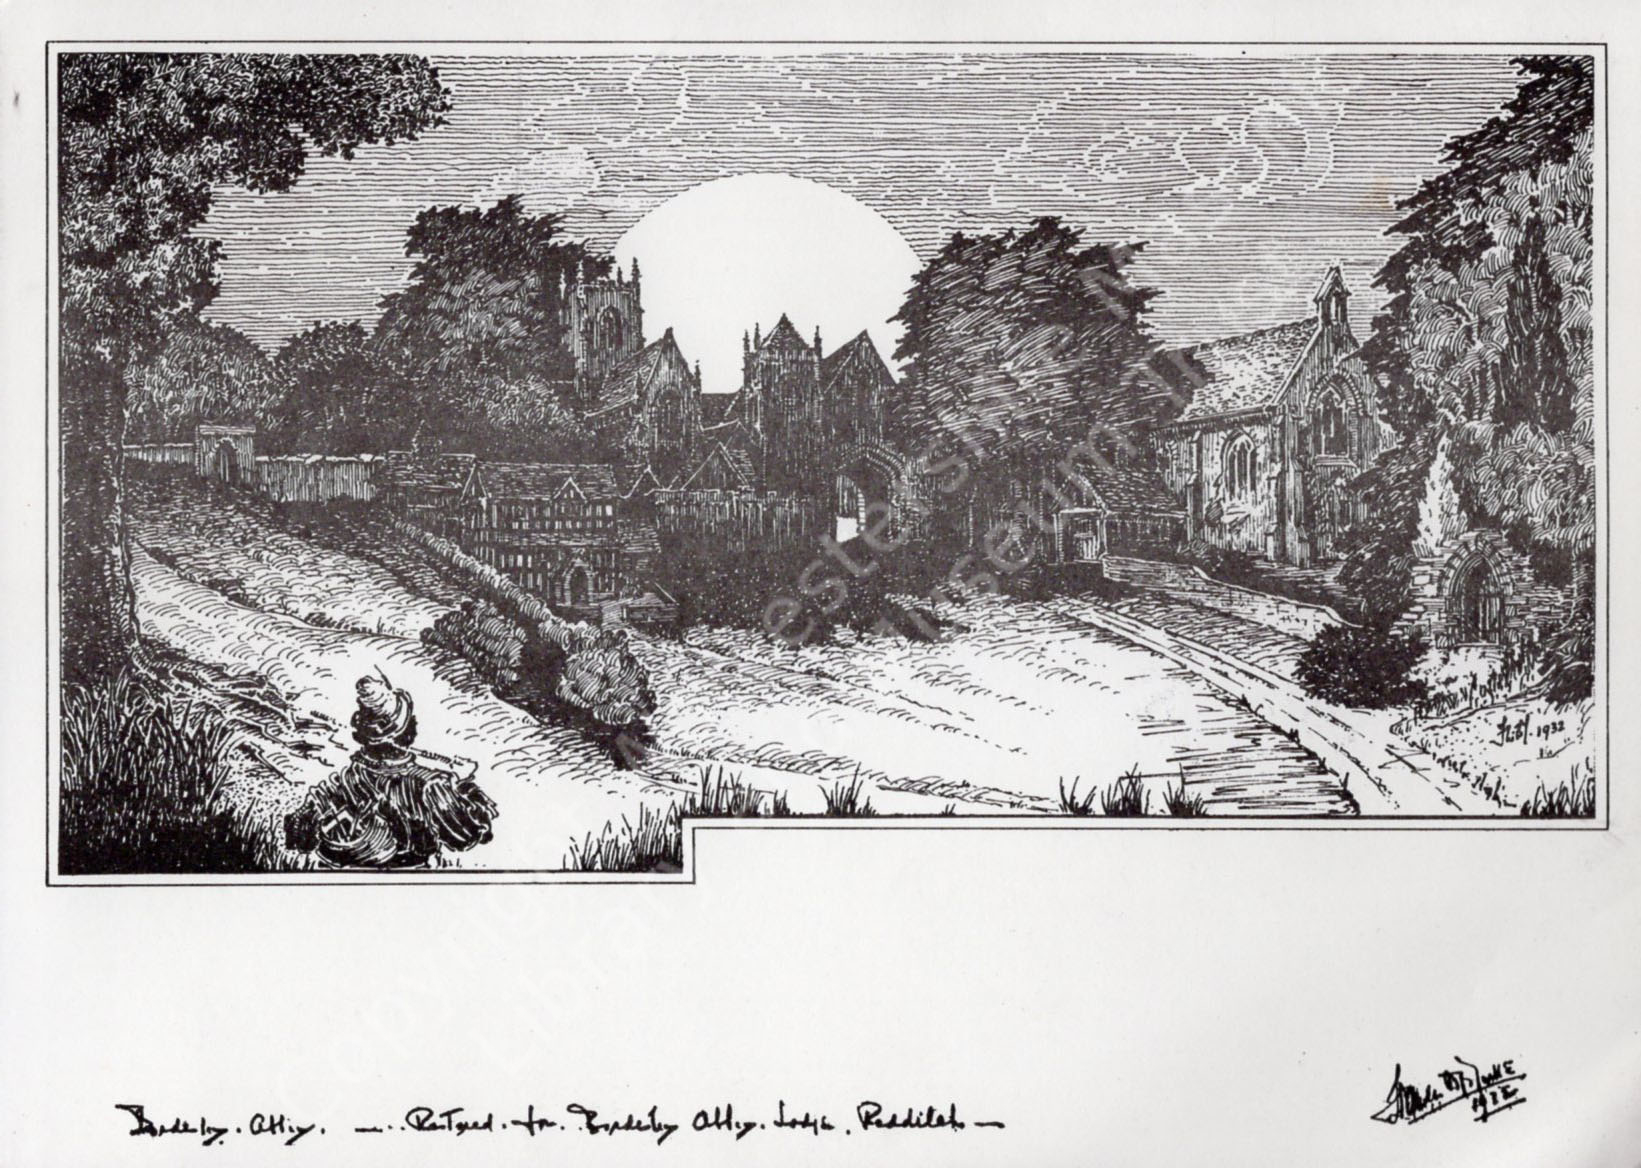
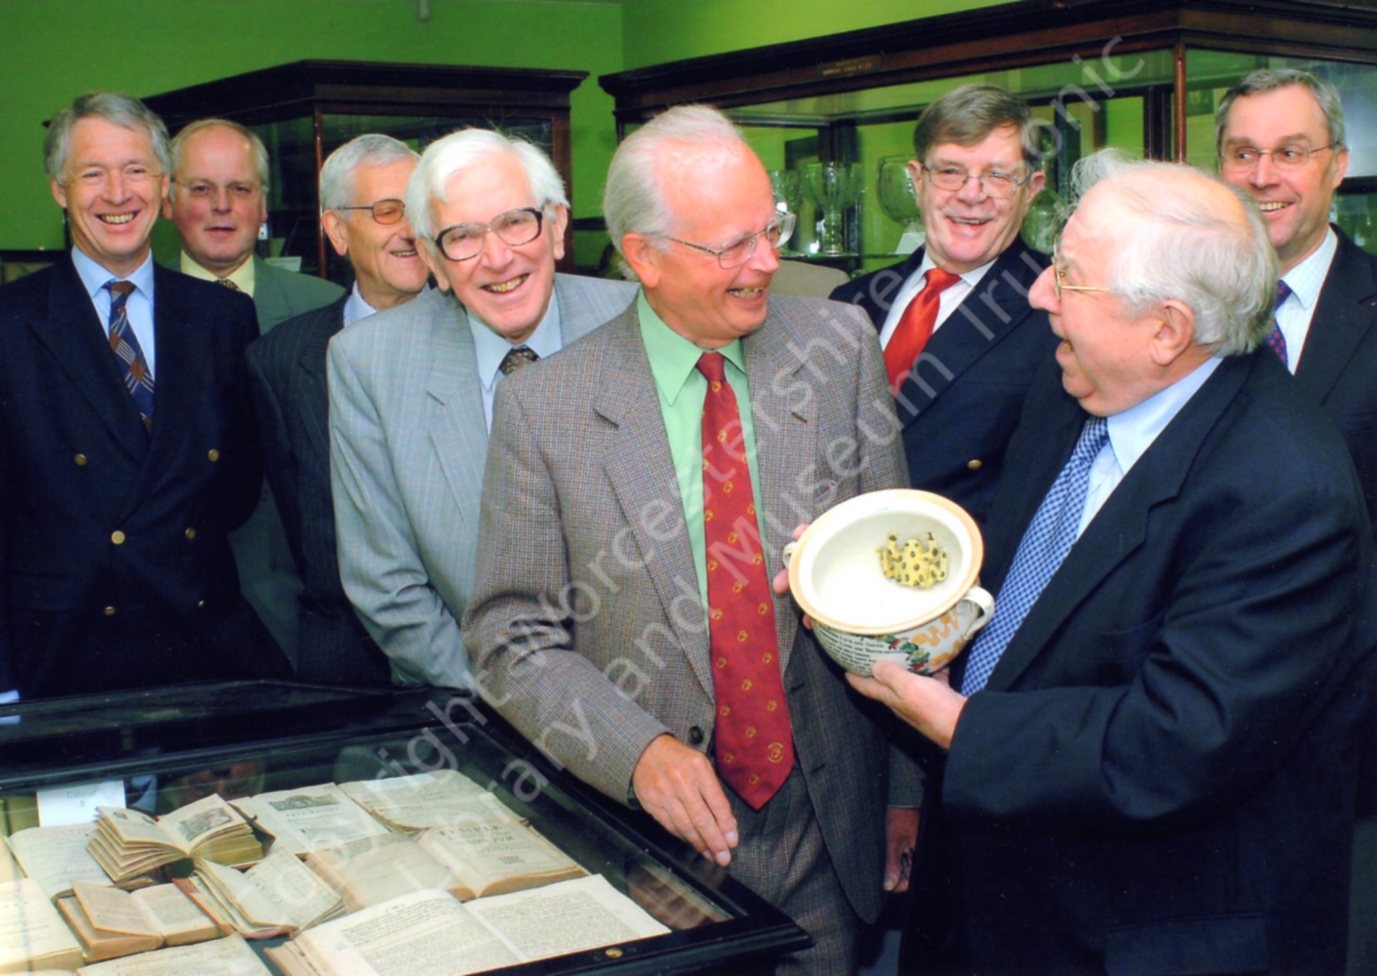
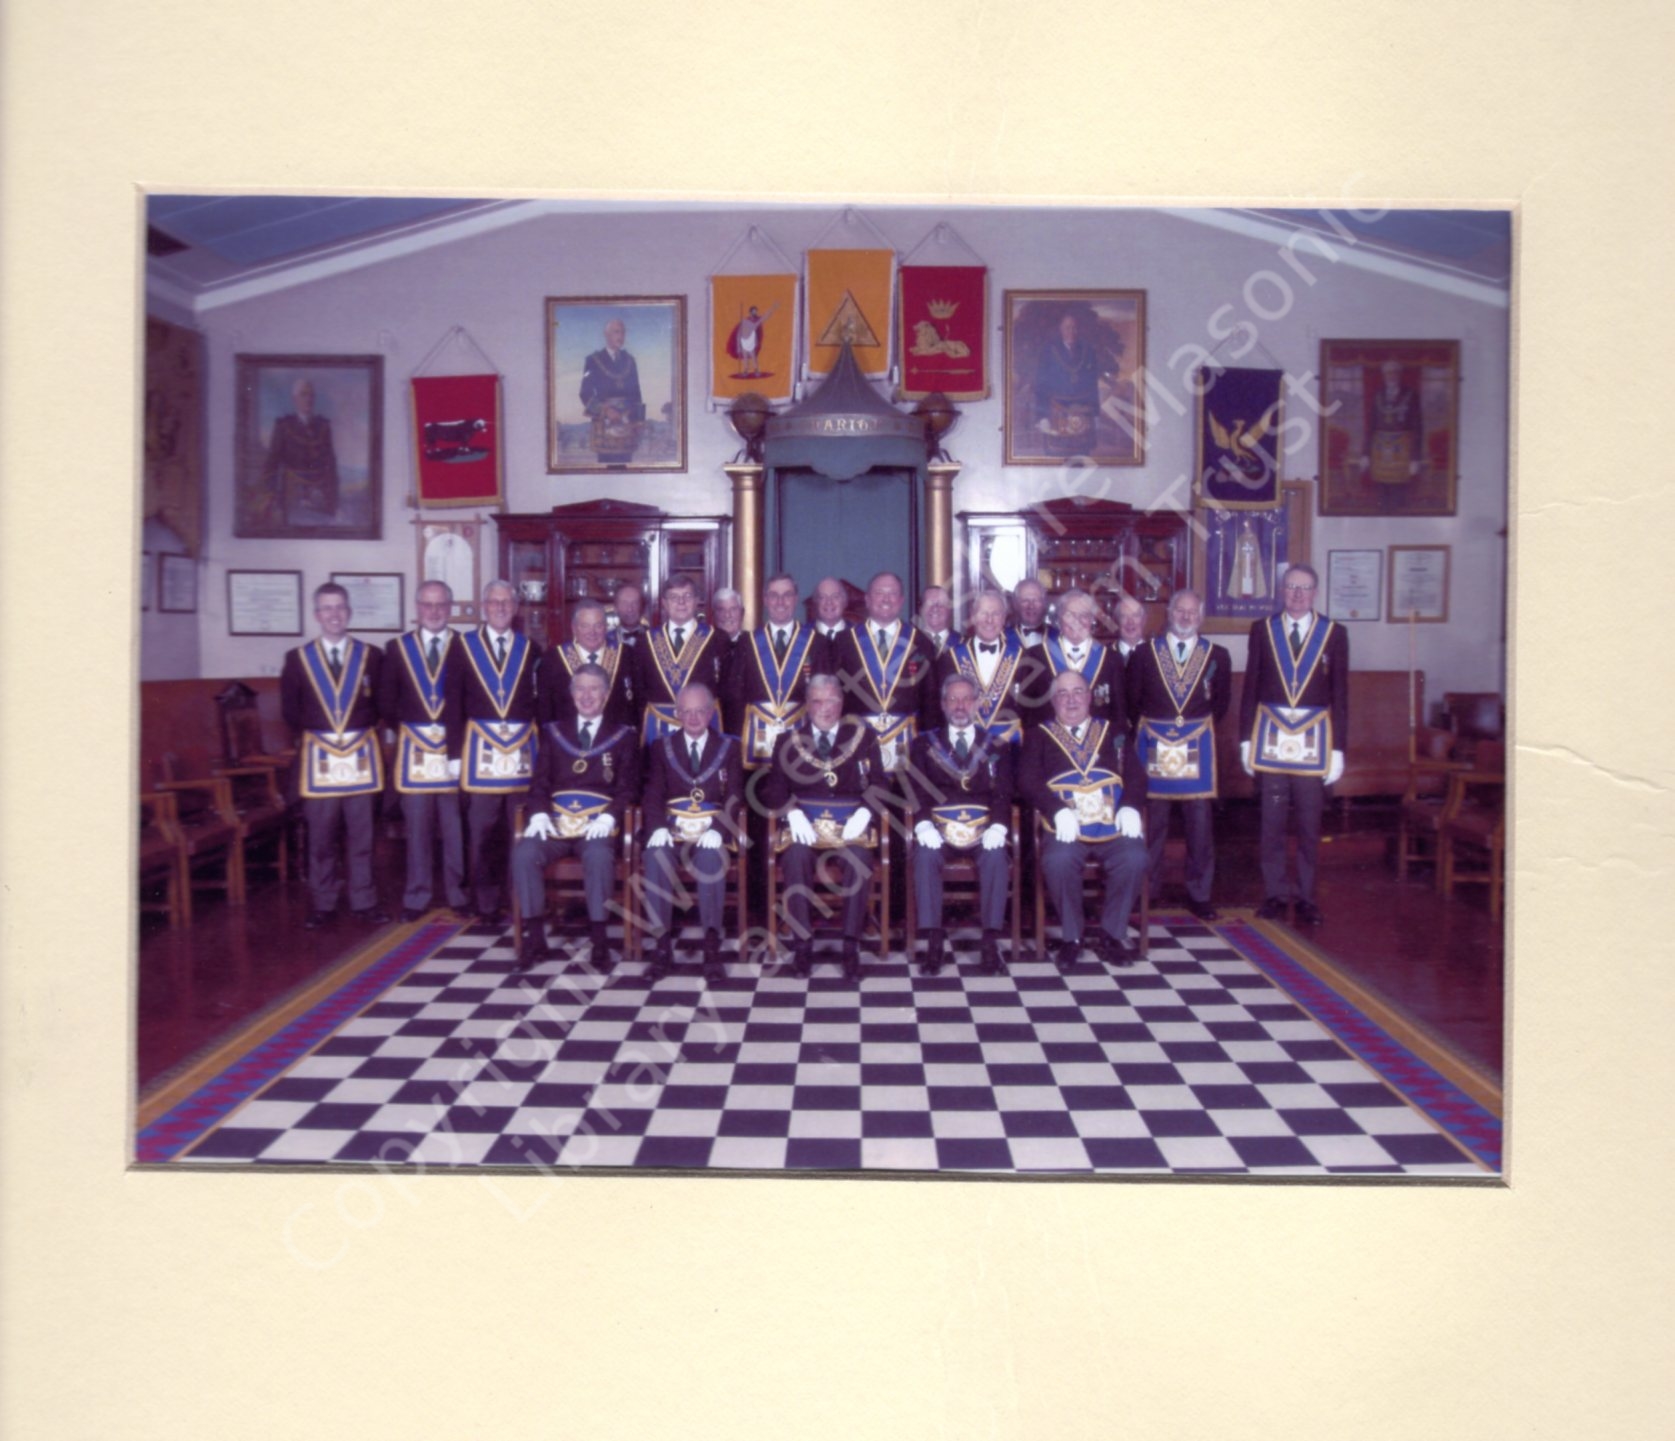

Click to return to page